Chocolate Mousse
/
You’ll find this recipe in:
Electric Refrigerator Recipes and Menus:
Recipes prepared especially for the General Electric Refrigerator
By: Miss Alice Bradley
Cleveland, 1927
Historic Recipe:
Chocolate Mousse – No. 40
Put in top of double boiler
¼ cup milk and
1 teaspoon gelatine. When milk is hot and gelatine is dissolved, add
½ cup cold milk, strain into refrigerator pan and put in freezing chamber of refrigerator. When cool beat until light. Meanwhile, melt over hot water
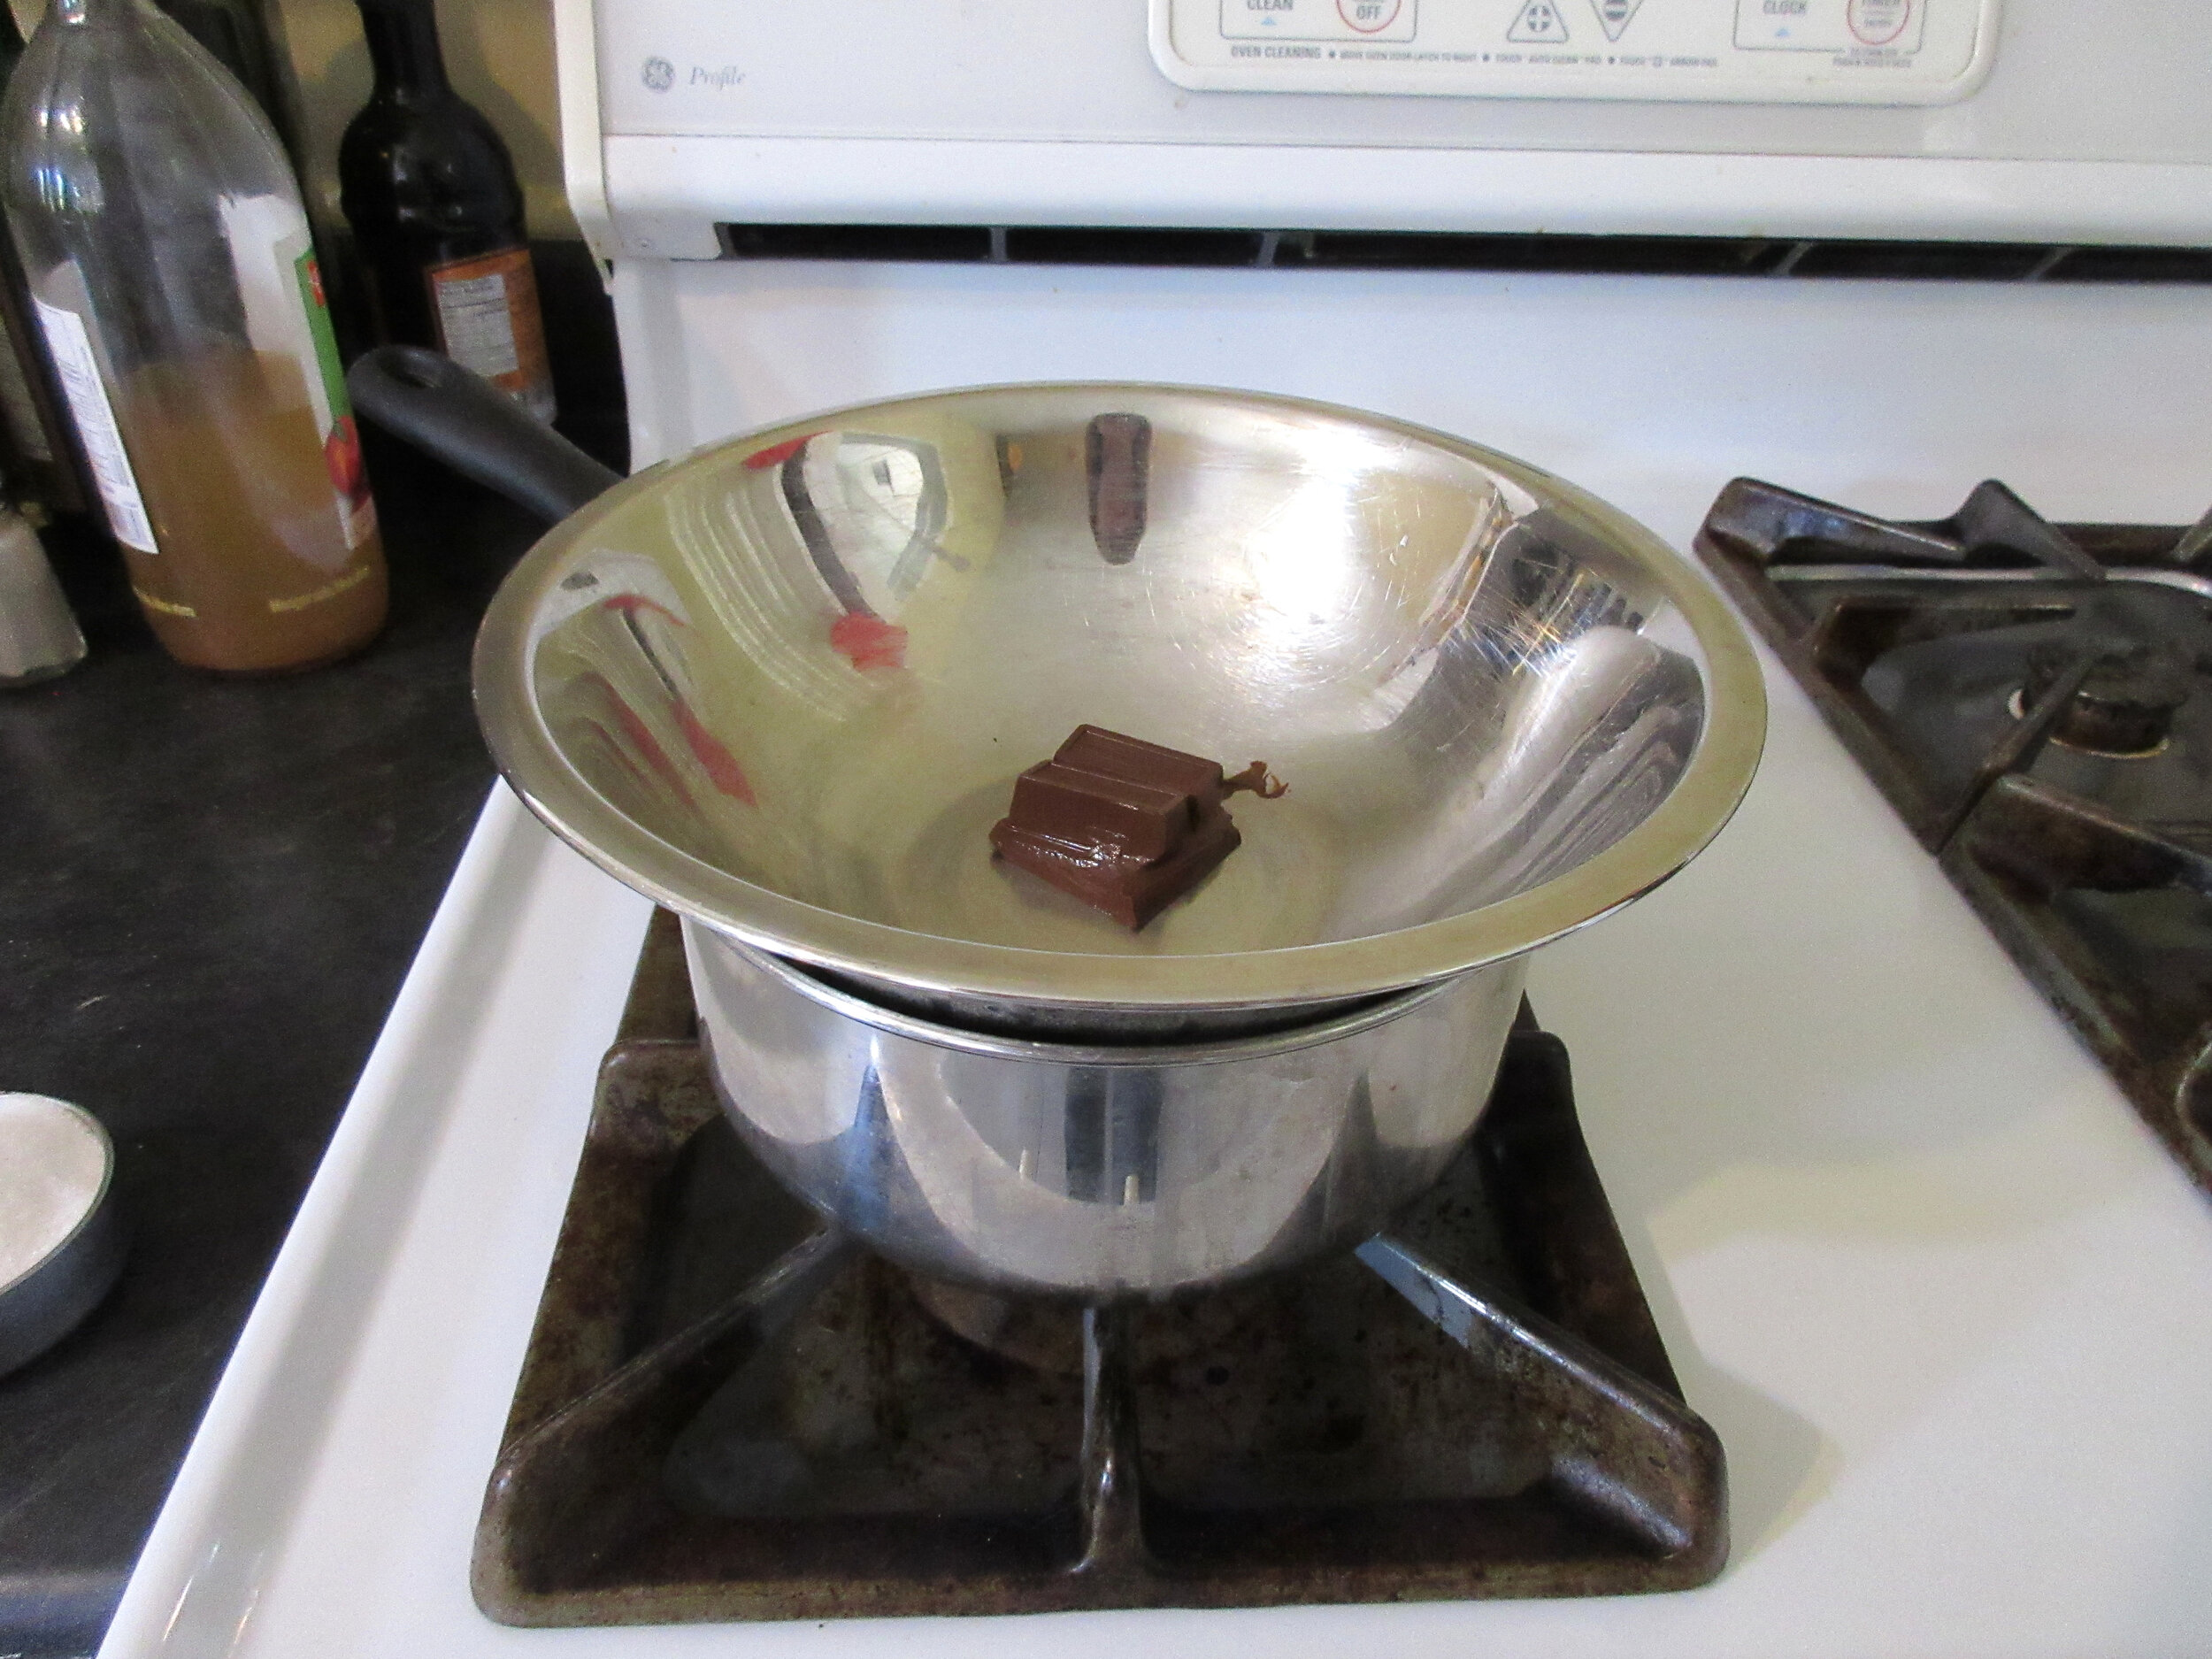
1 square chocolate, add
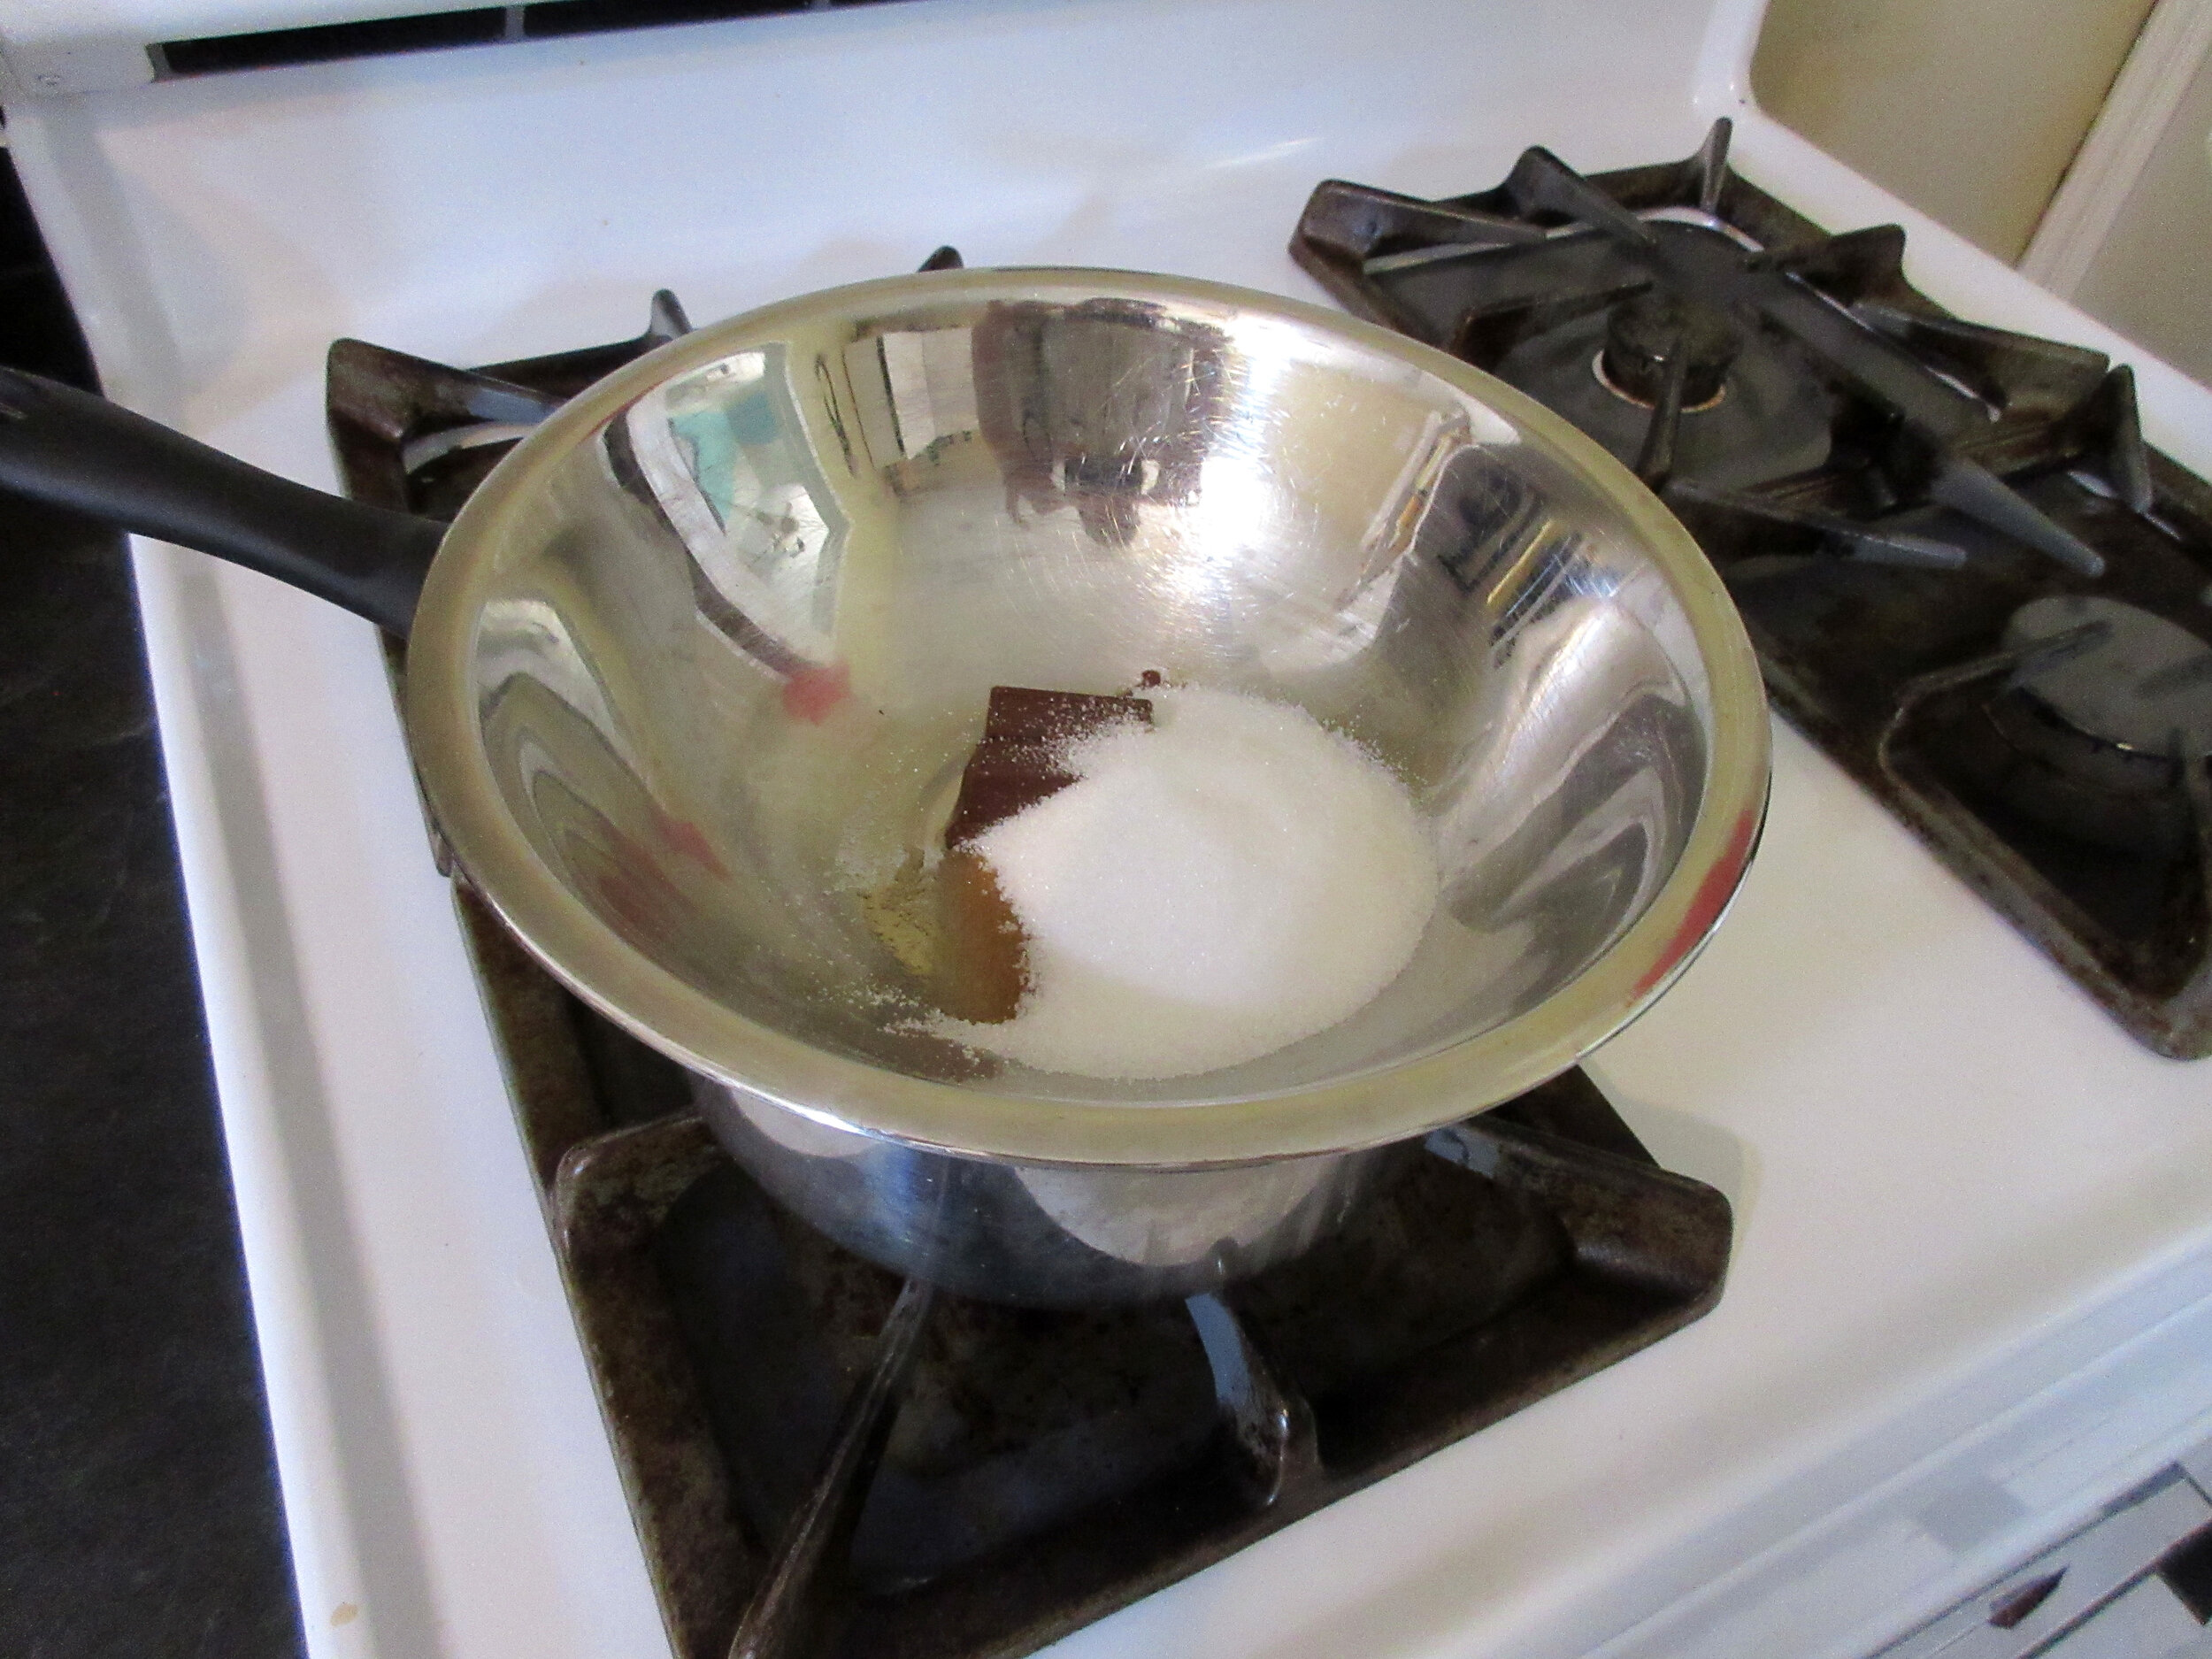
½ cup sugar
Few grains salt and
1 teaspoon vanilla and very slowly add
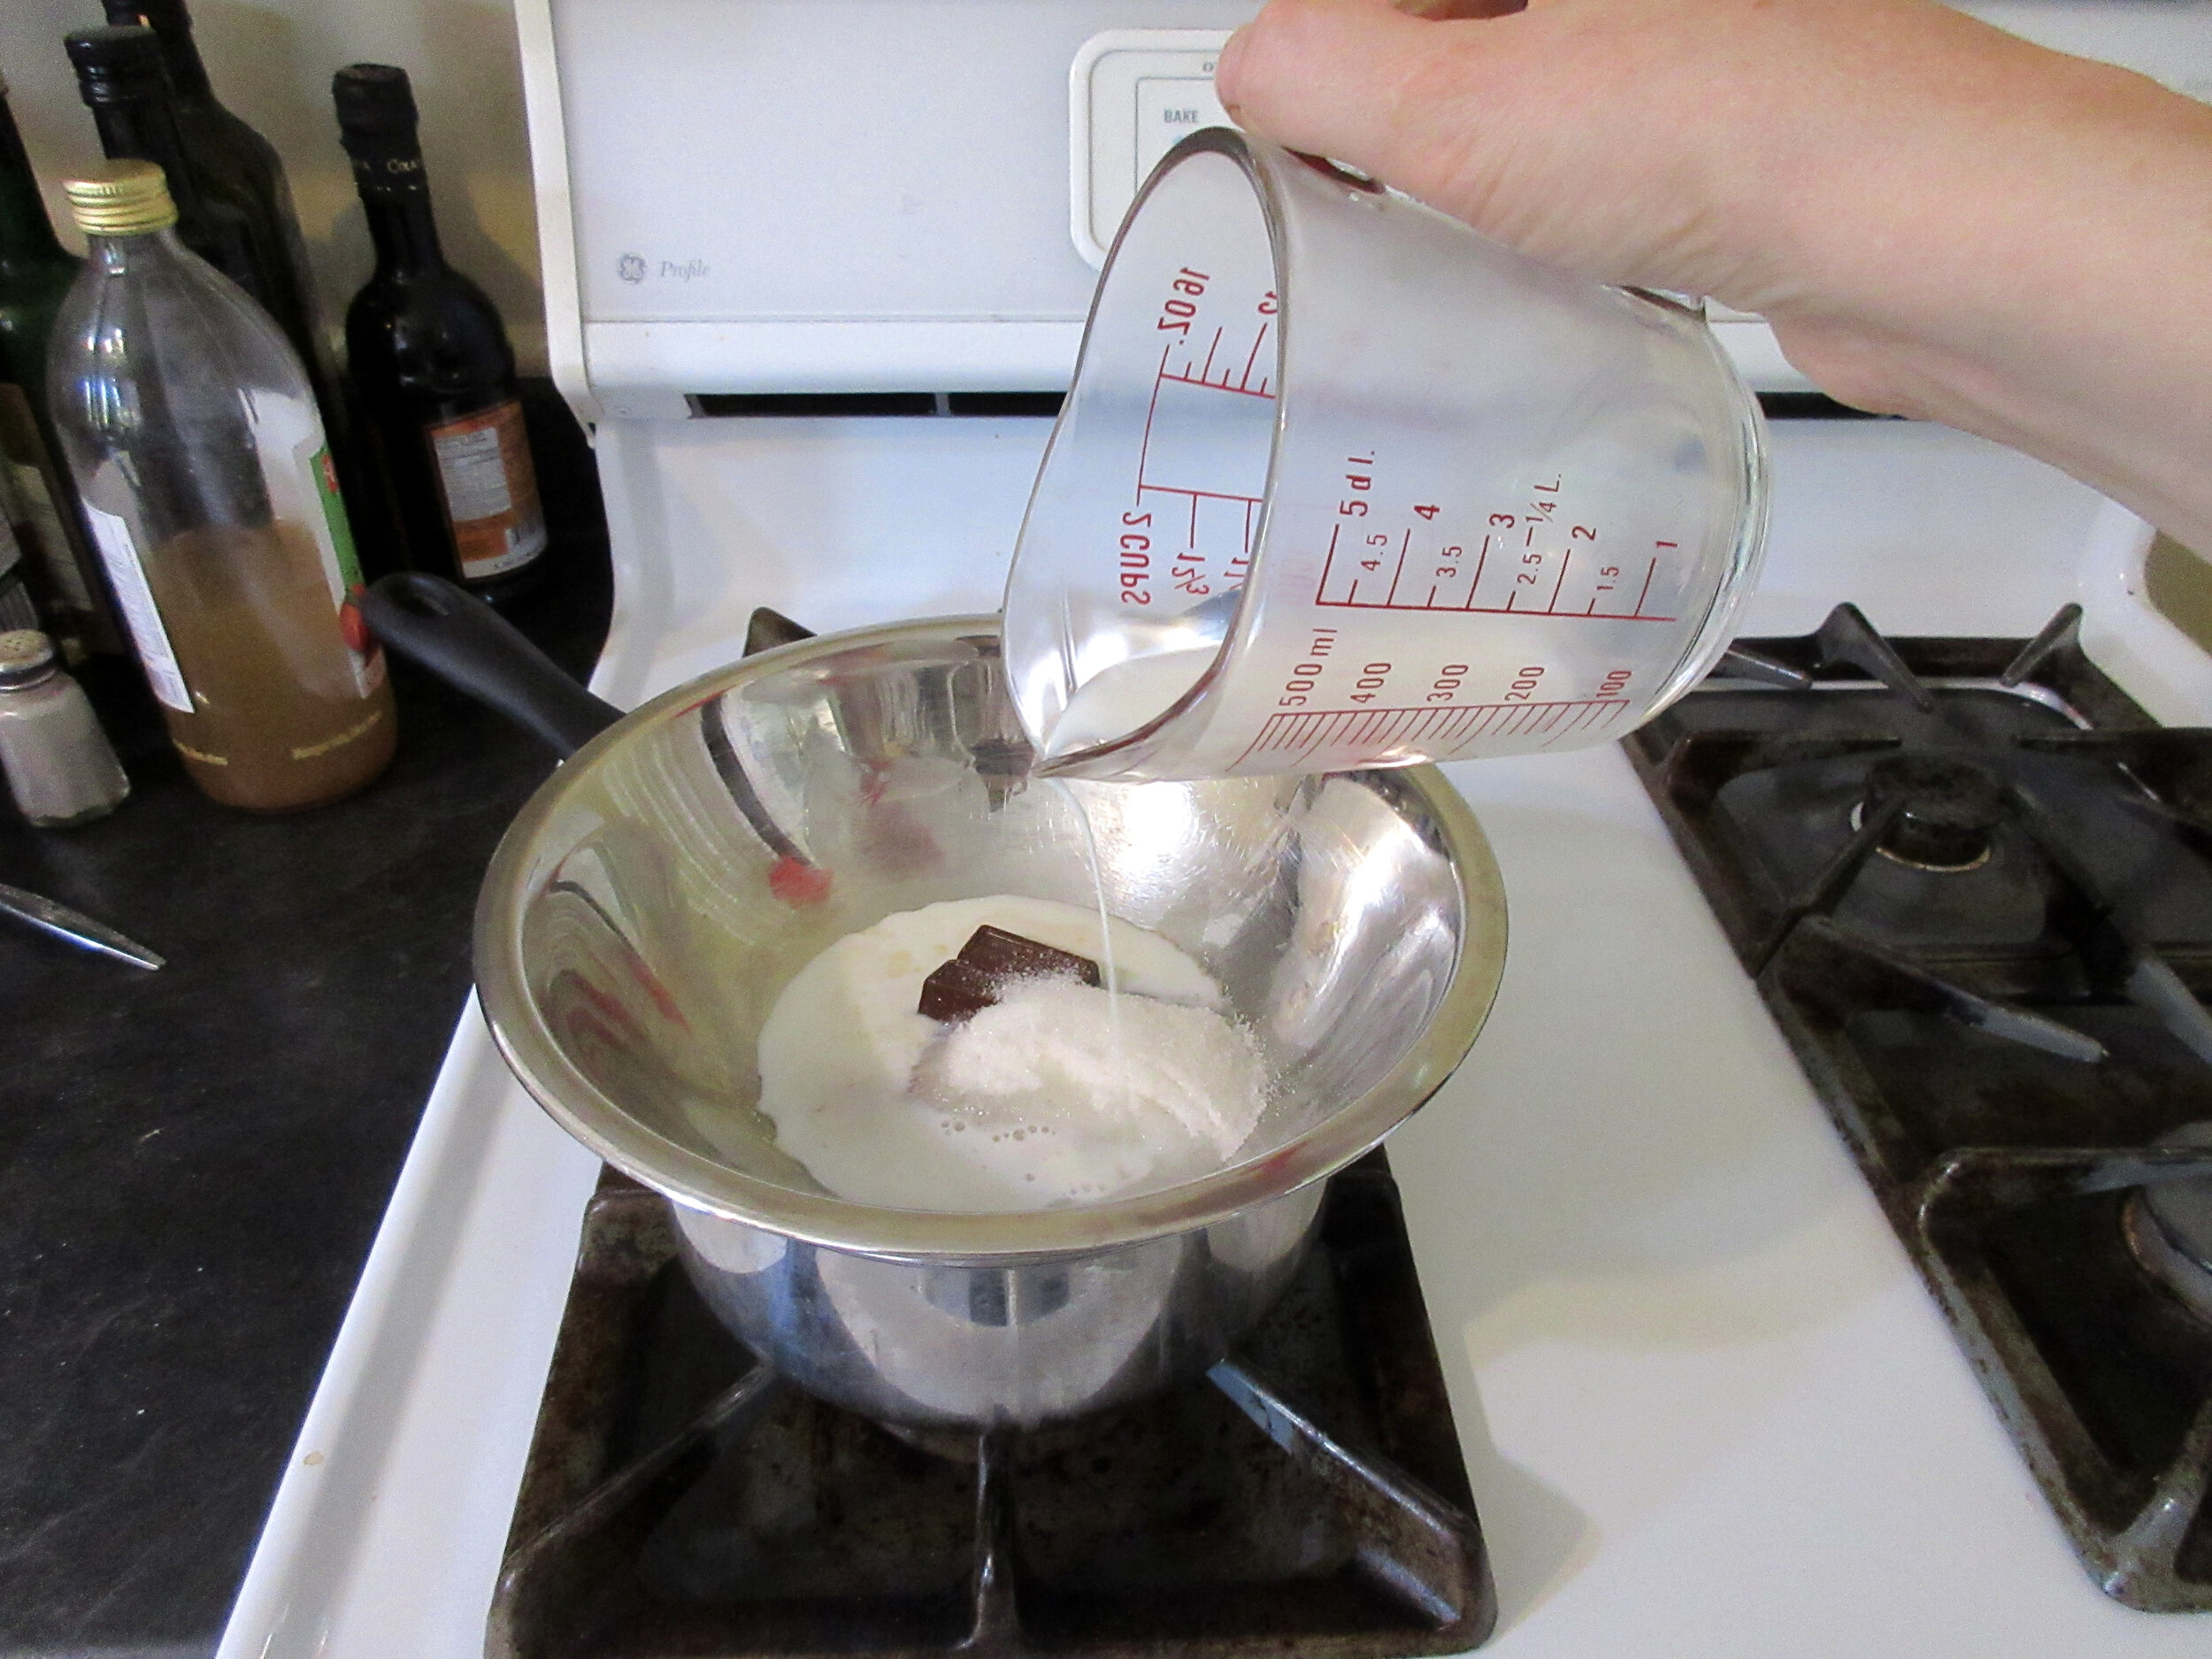
¼ cup milk. Stir until mixture boils. Strain and cool. Beat
½ pint cream until thick. Add beaten milk slowly and fold into chocolate mixture. Pour into refrigerator pan and freeze like Desserts and Salads That Need No Stirring, page 45. Serve if desired with
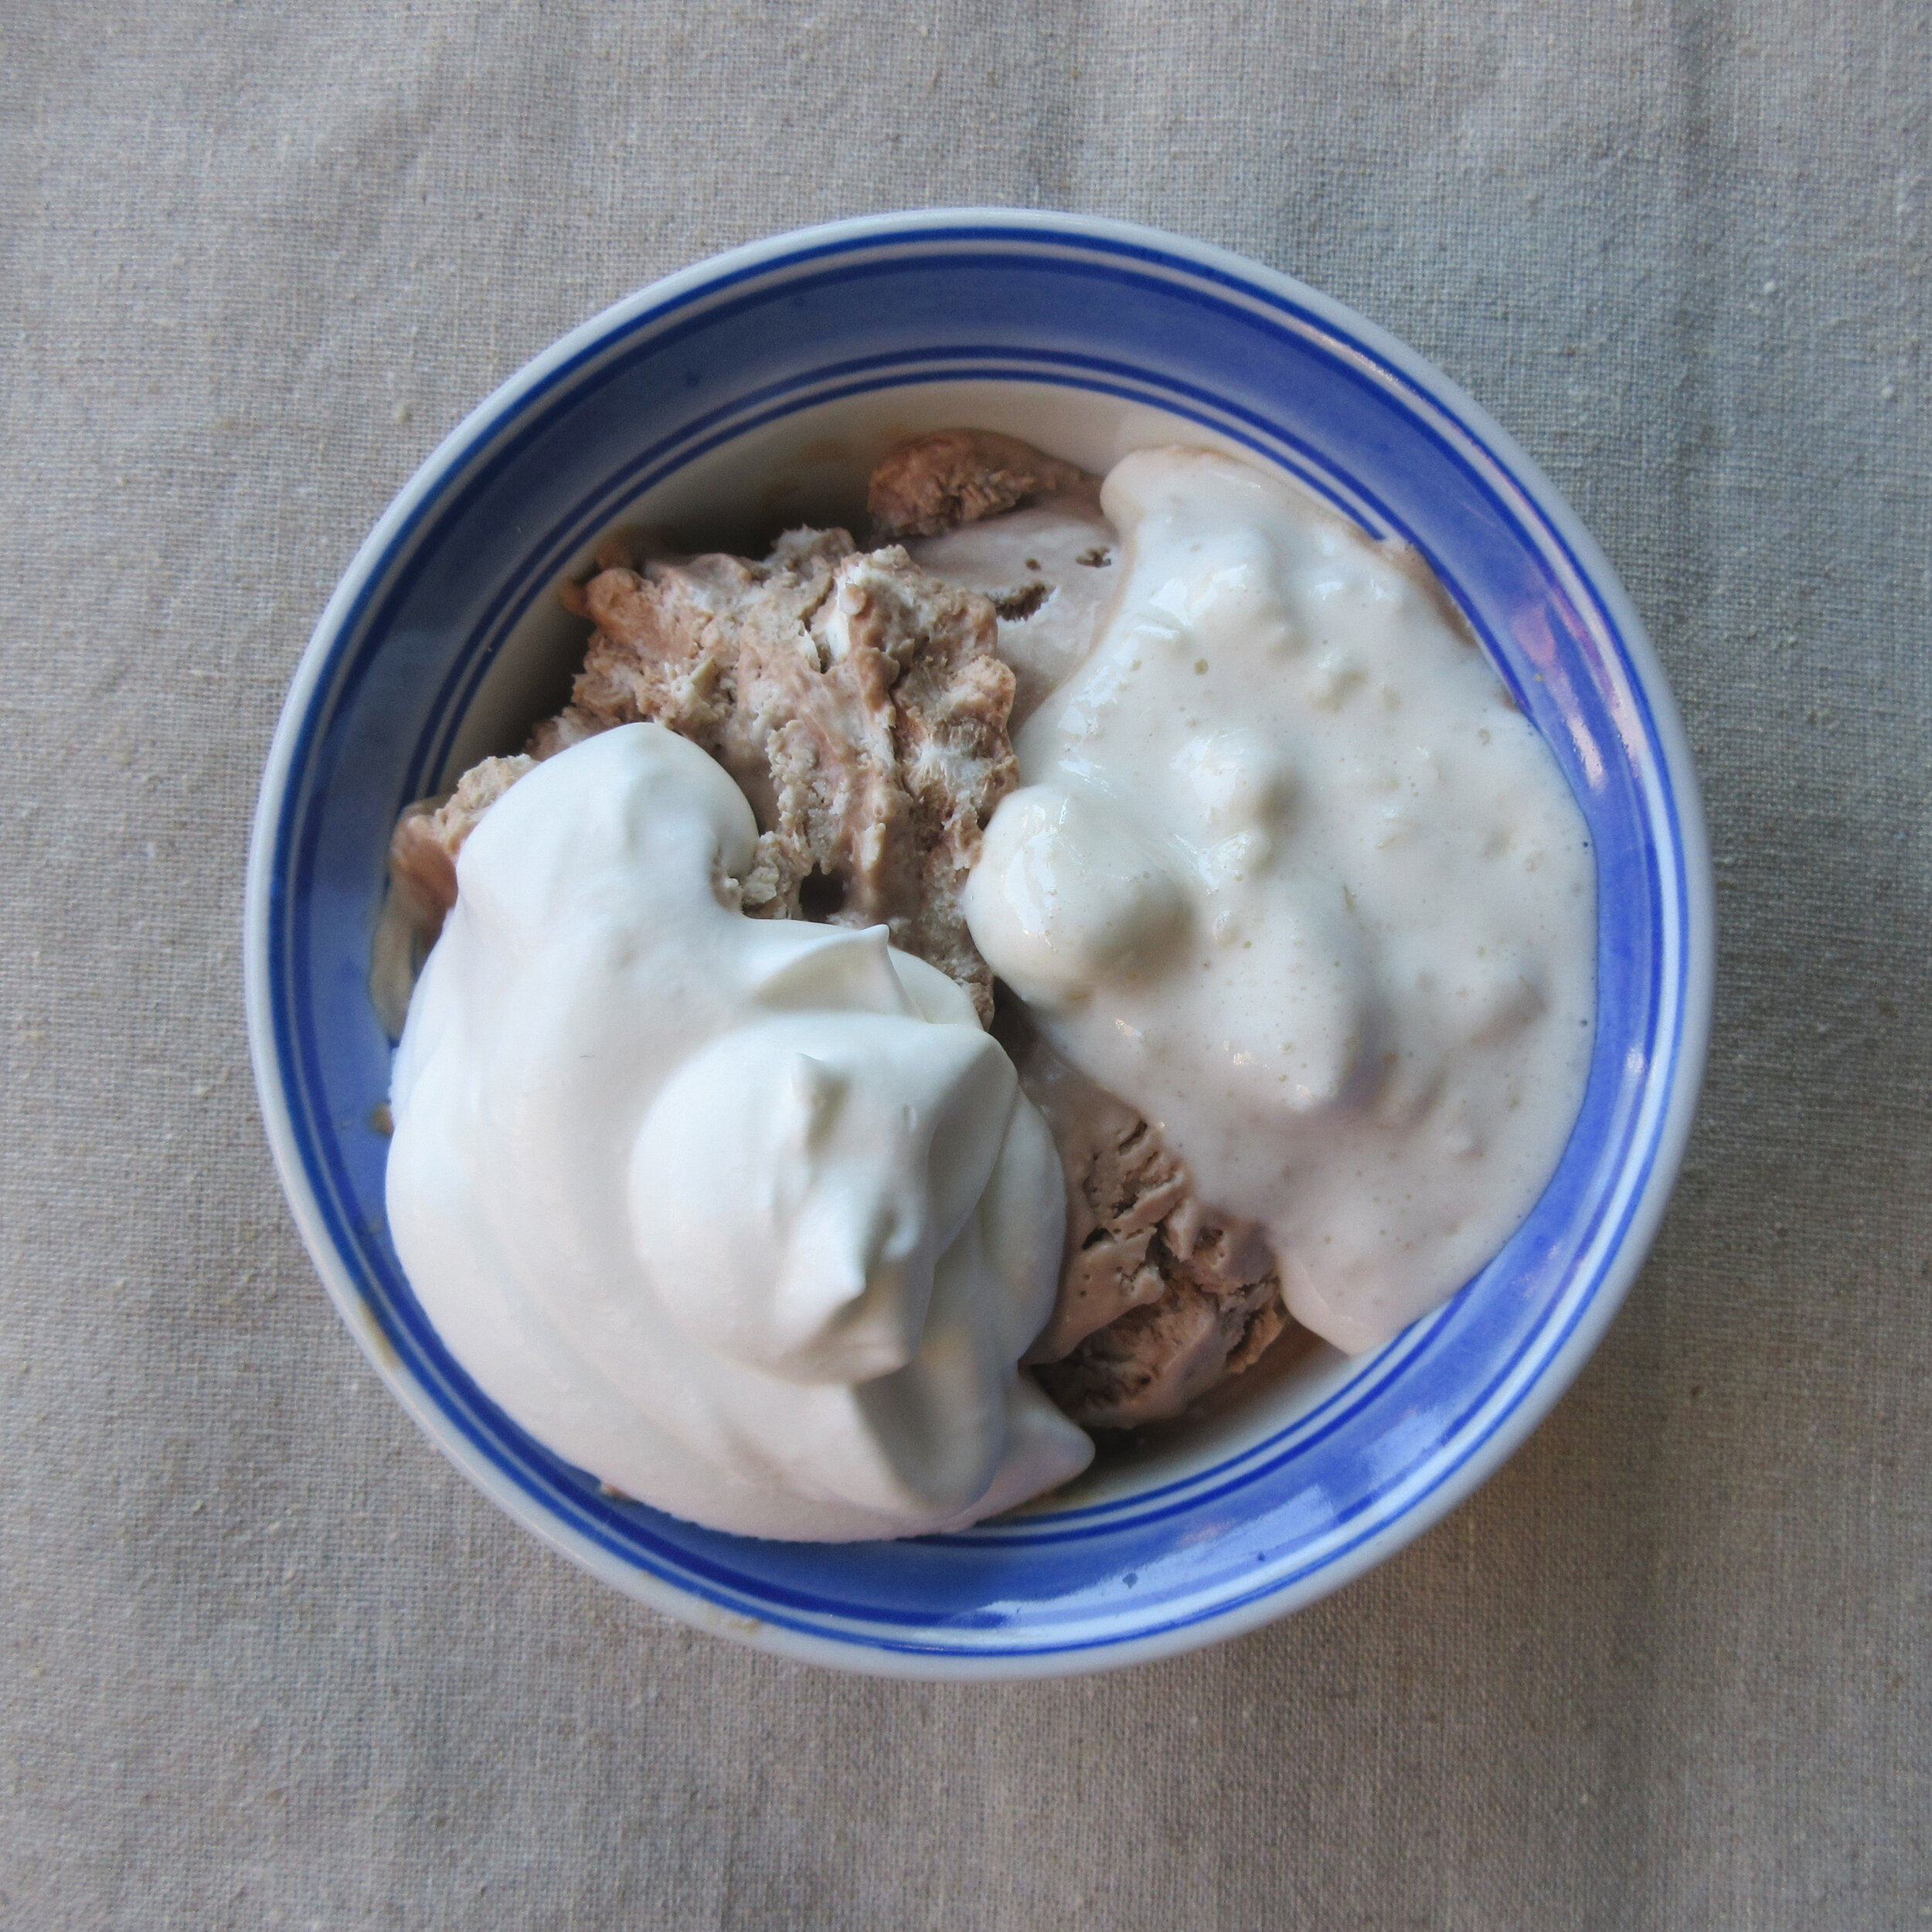
Whipped cream beaten stiff and flavored with vanilla or with oil of peppermint, or serve with Chocolate Sauce – No. 60.
I’ve put “To Freeze Desserts and Salads That Need No Stirring” and some other helpful hints from this cookbook about removing & serving the mousse at the bottom of this post.
My Chocolate Mousse recipe:
1 cup milk – 237 mL
1 tsp unflavoured gelatin
1 ounce baker’s chocolate – 28 g
½ cup white sugar – 100 g
1 tsp vanilla
dash of salt
1 cup 35% whipping cream – 237 mL
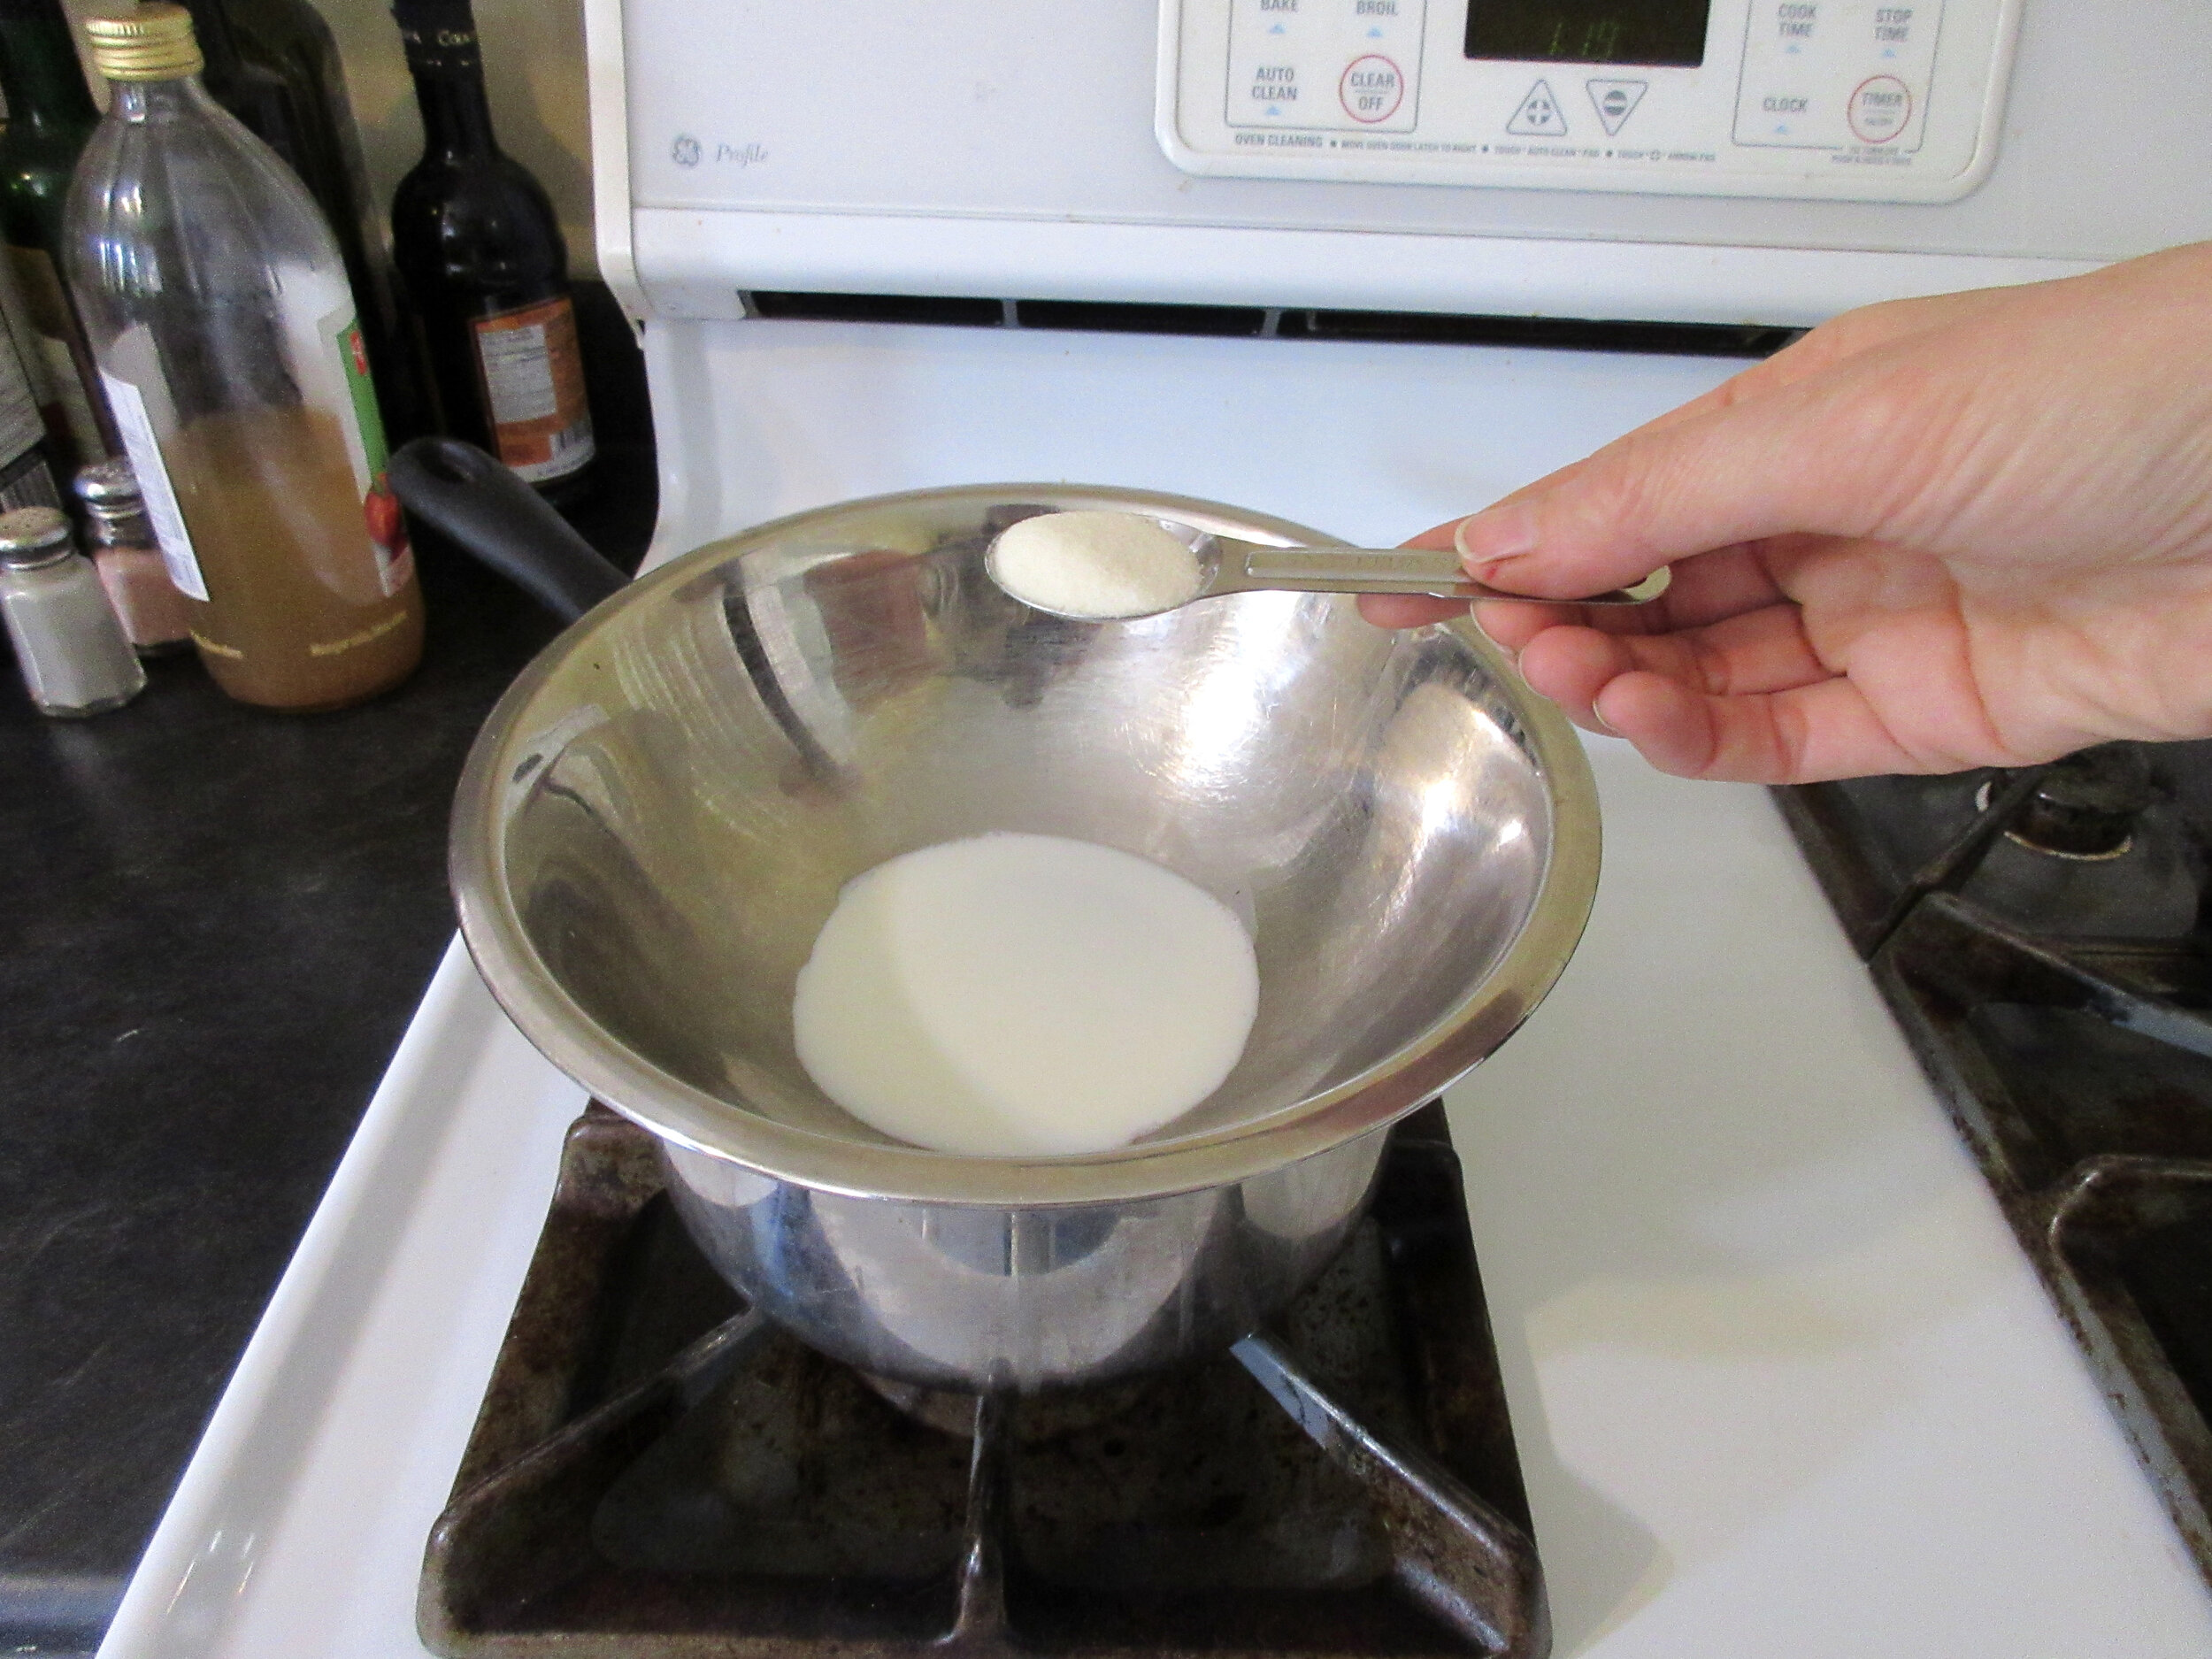
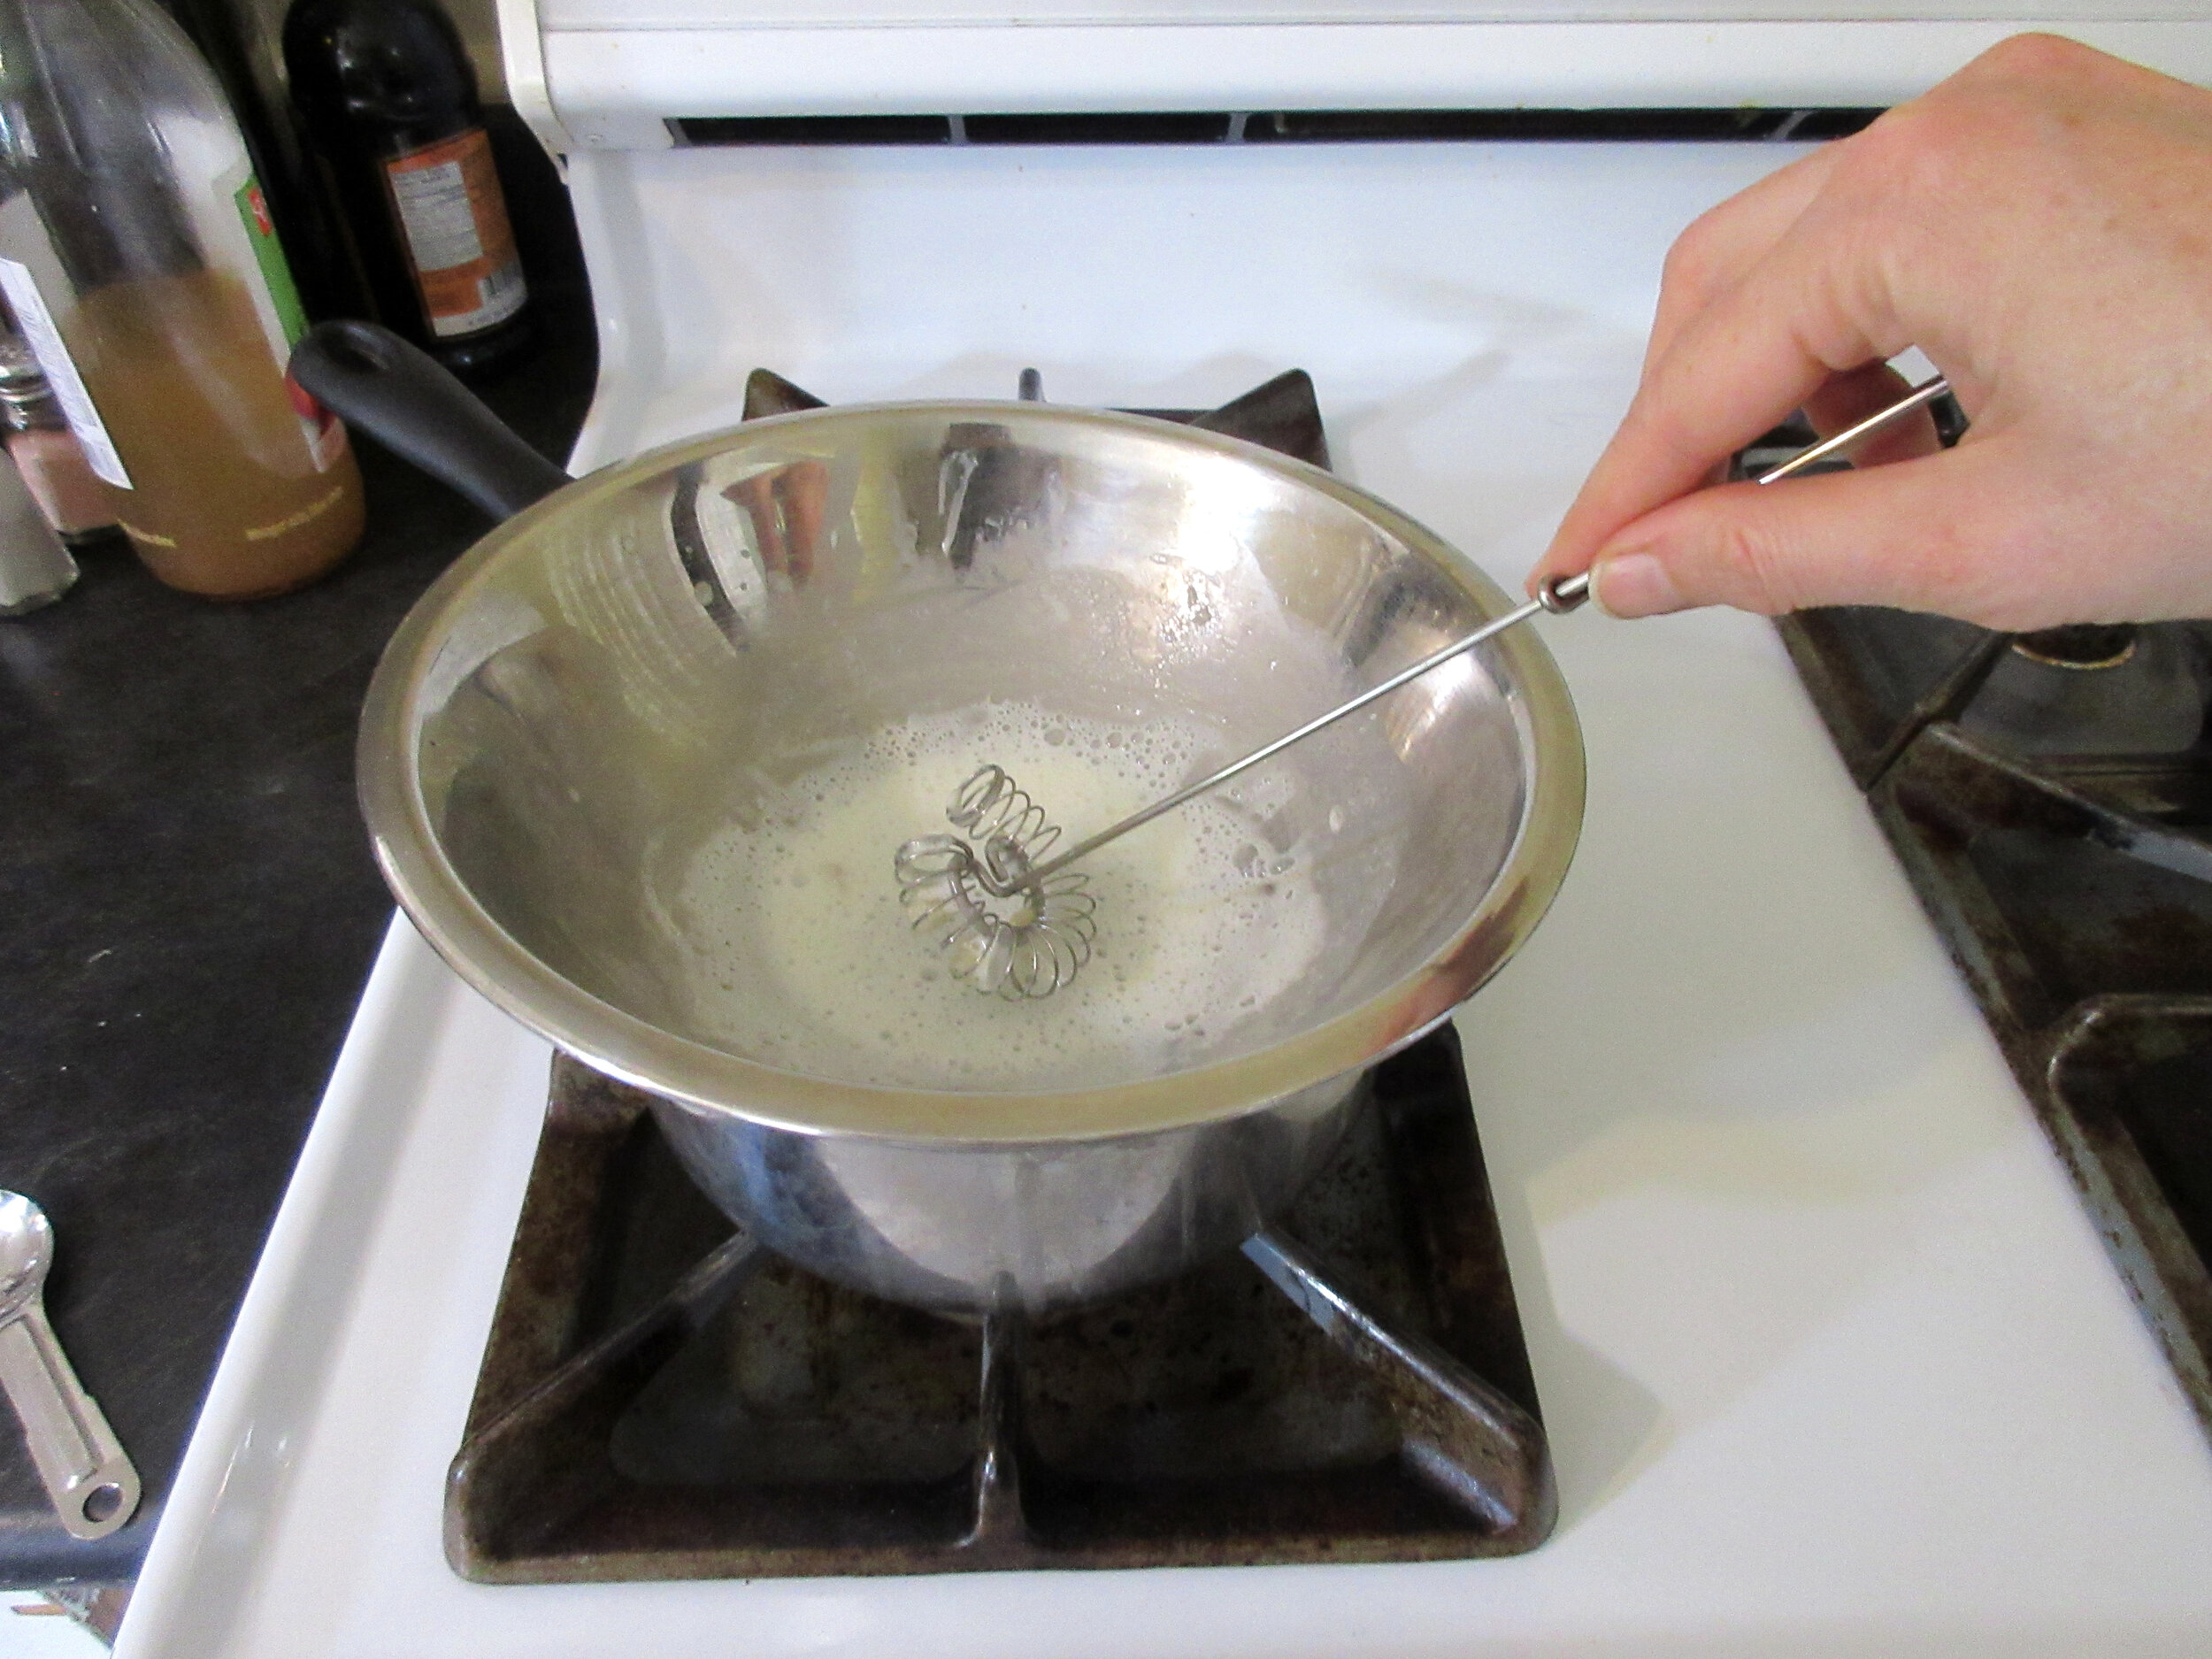
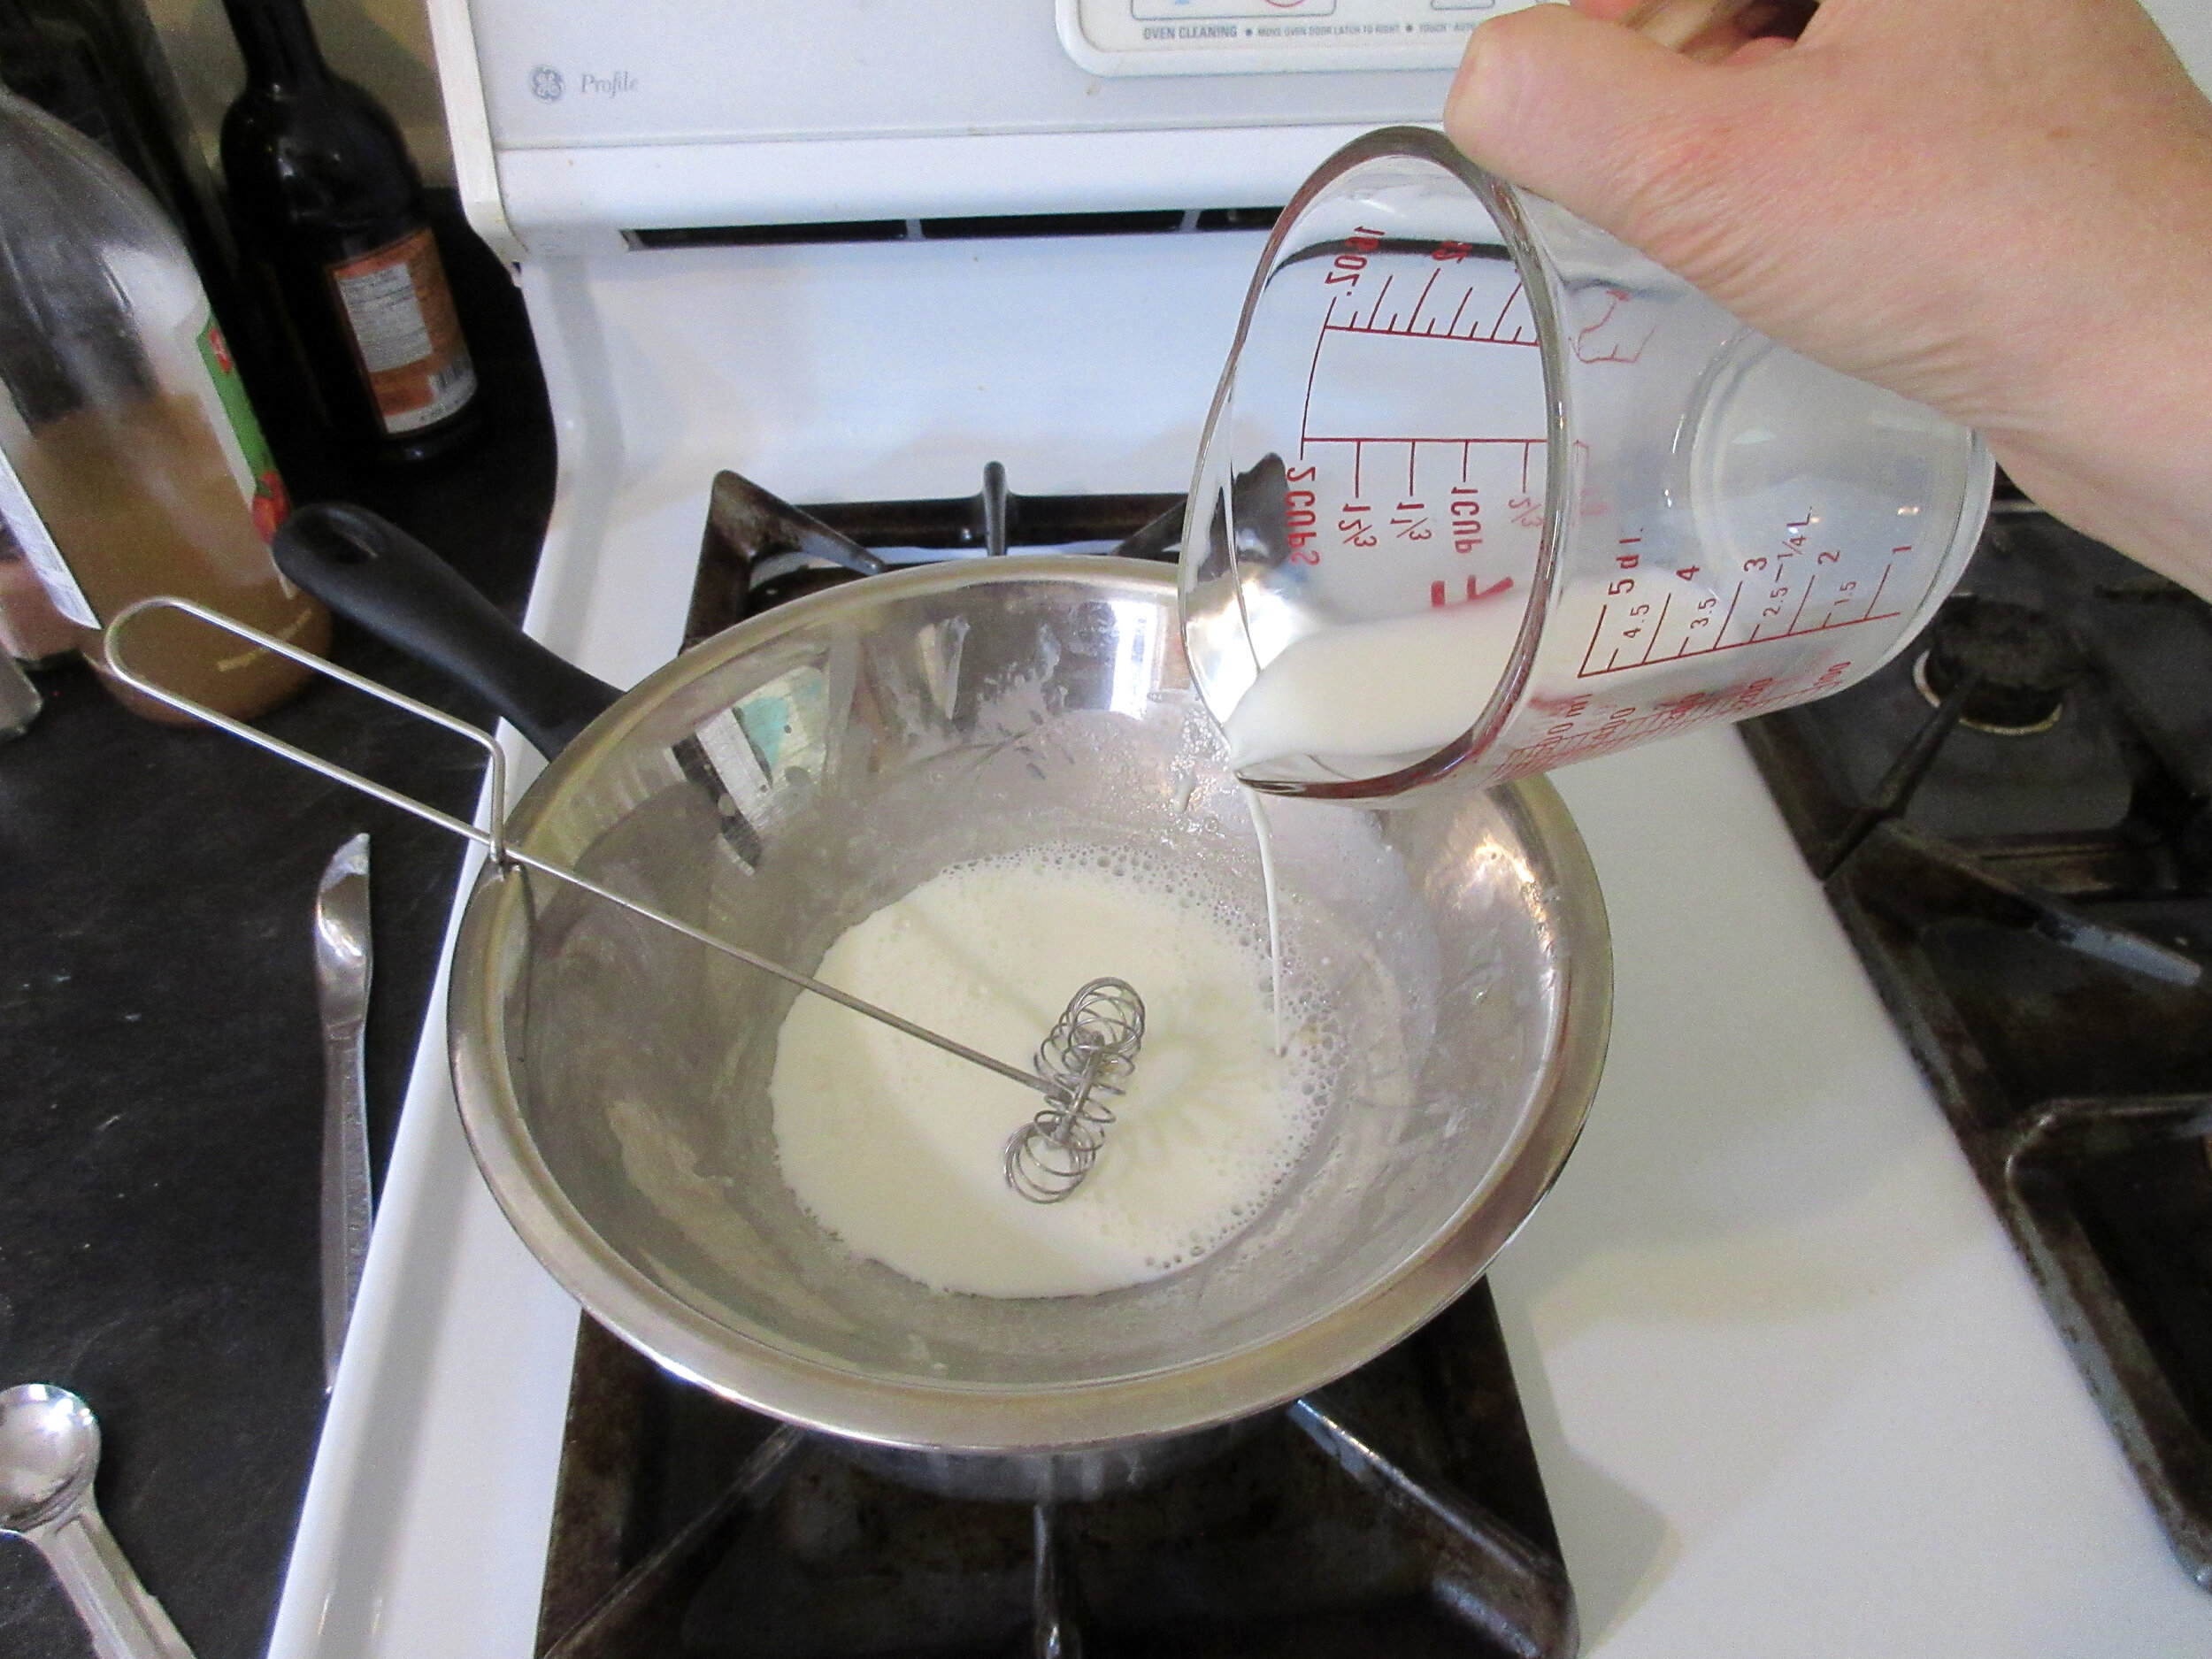
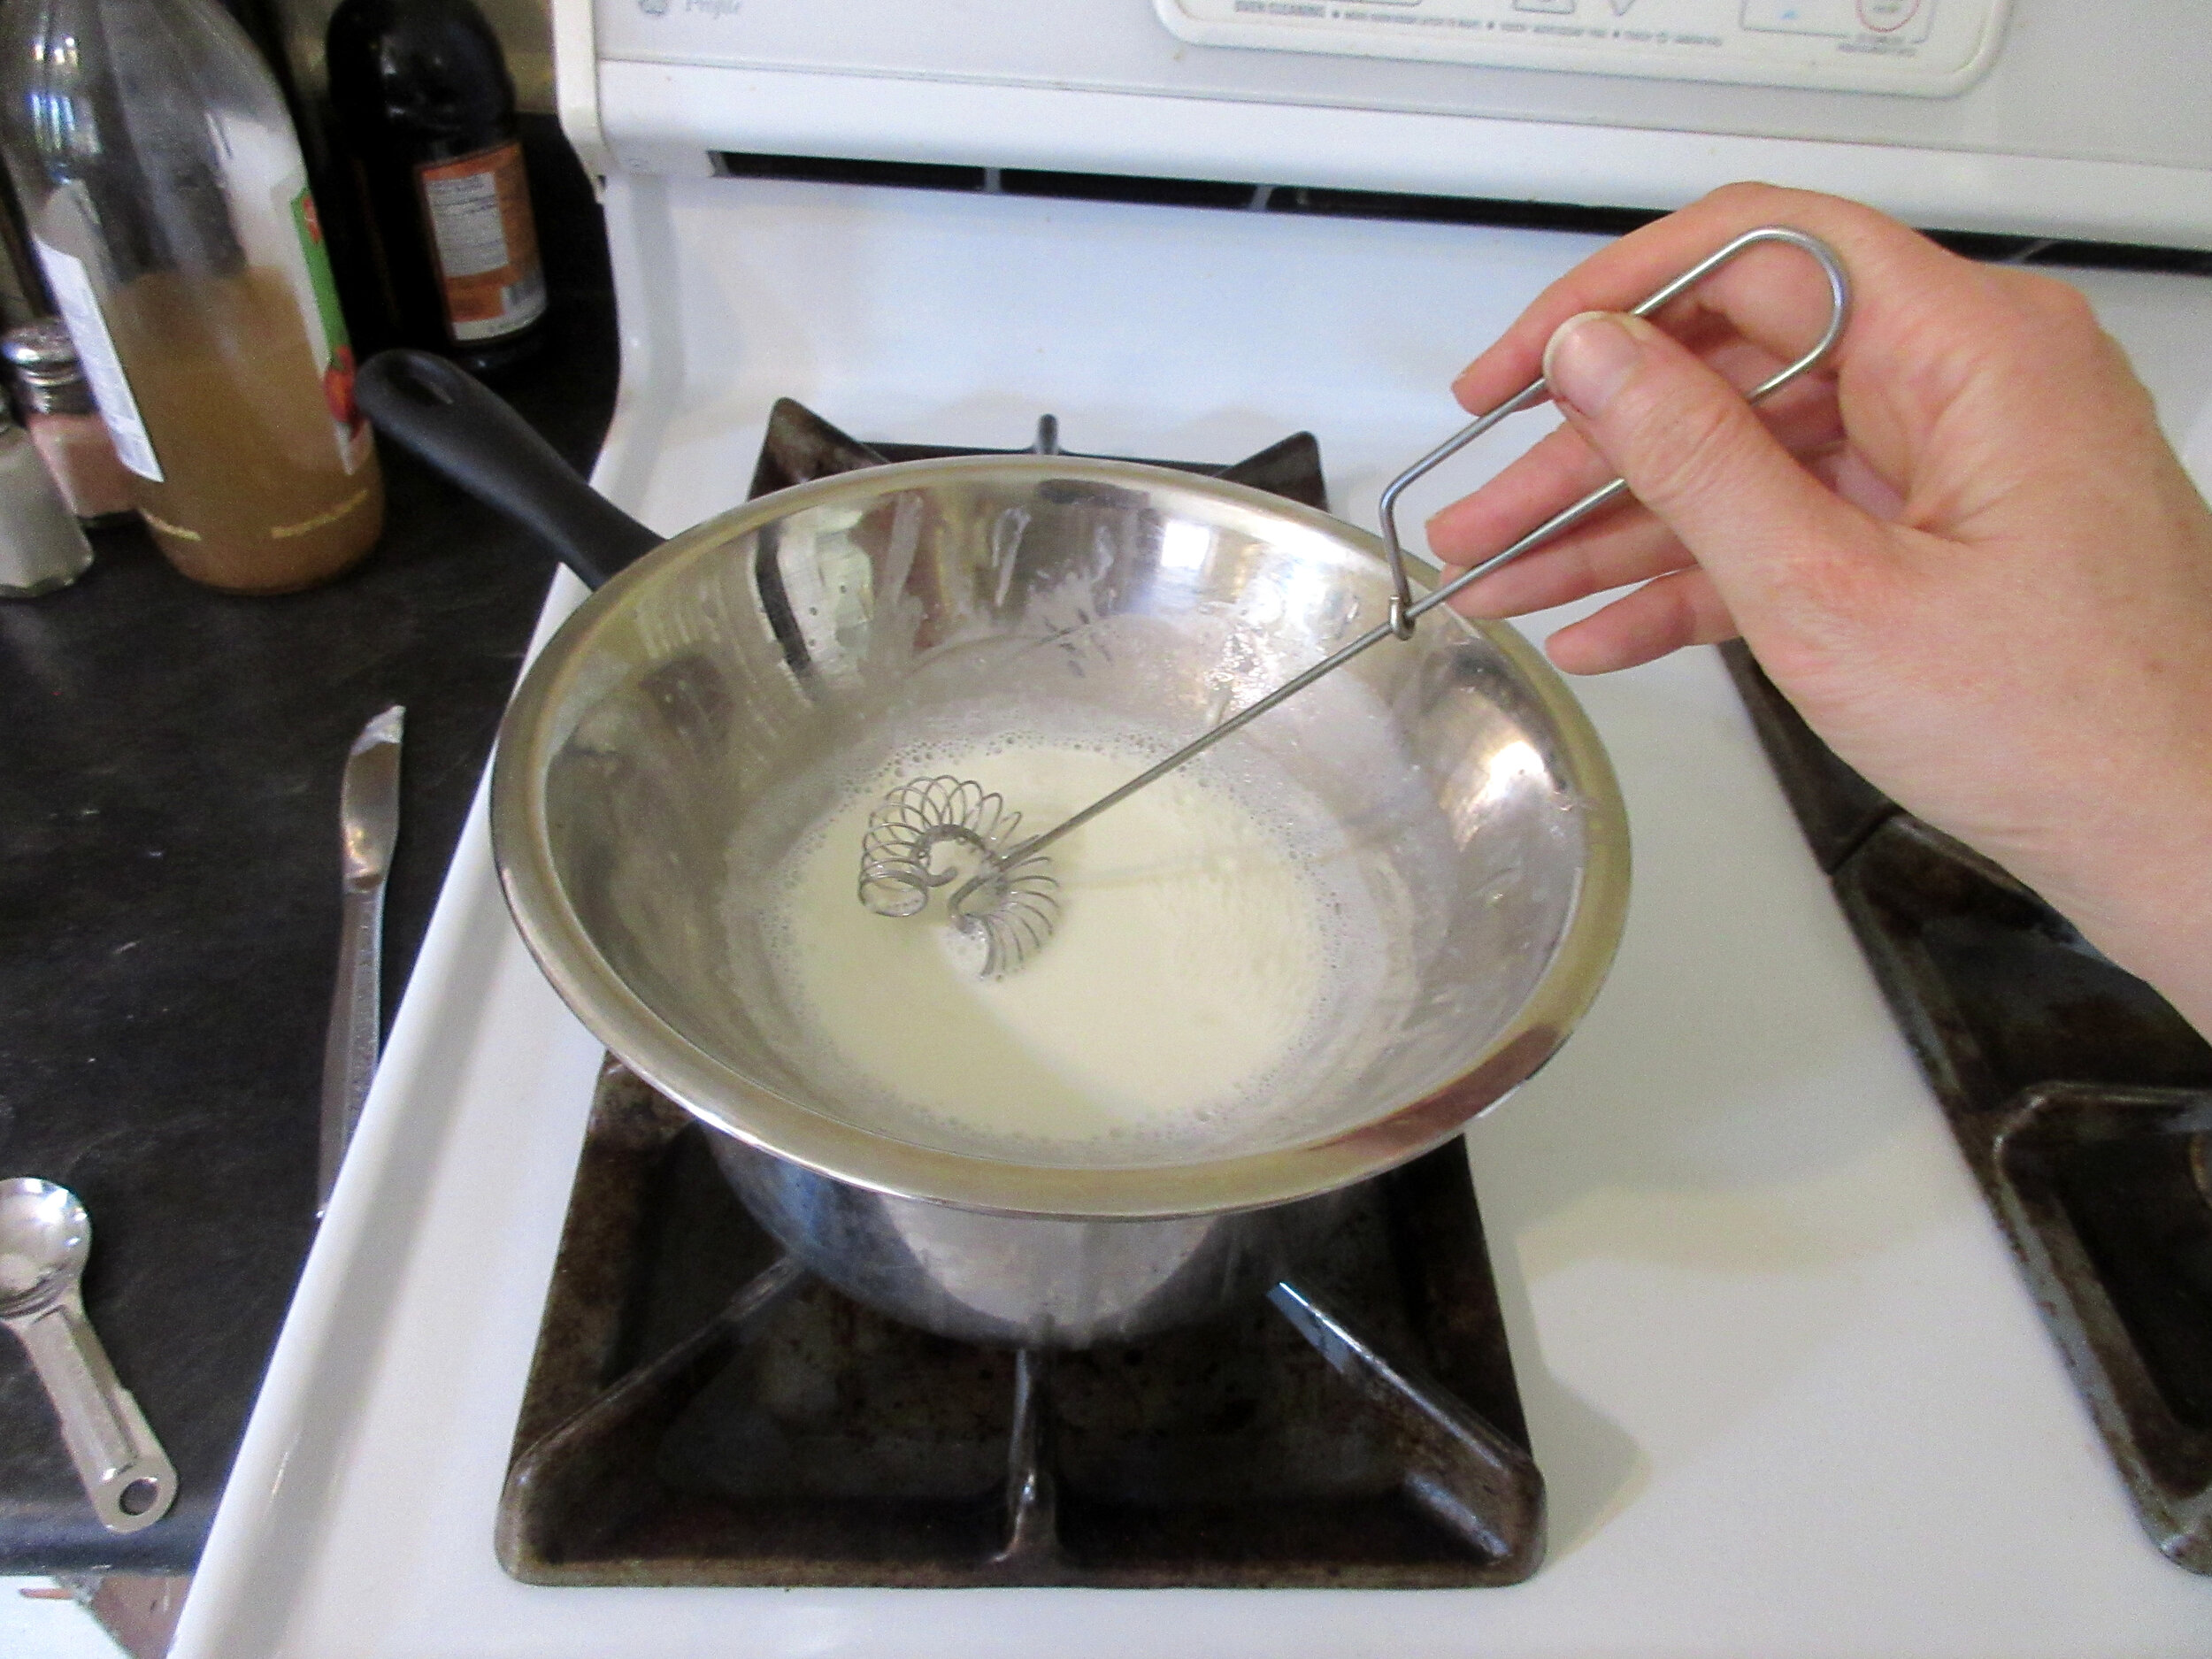
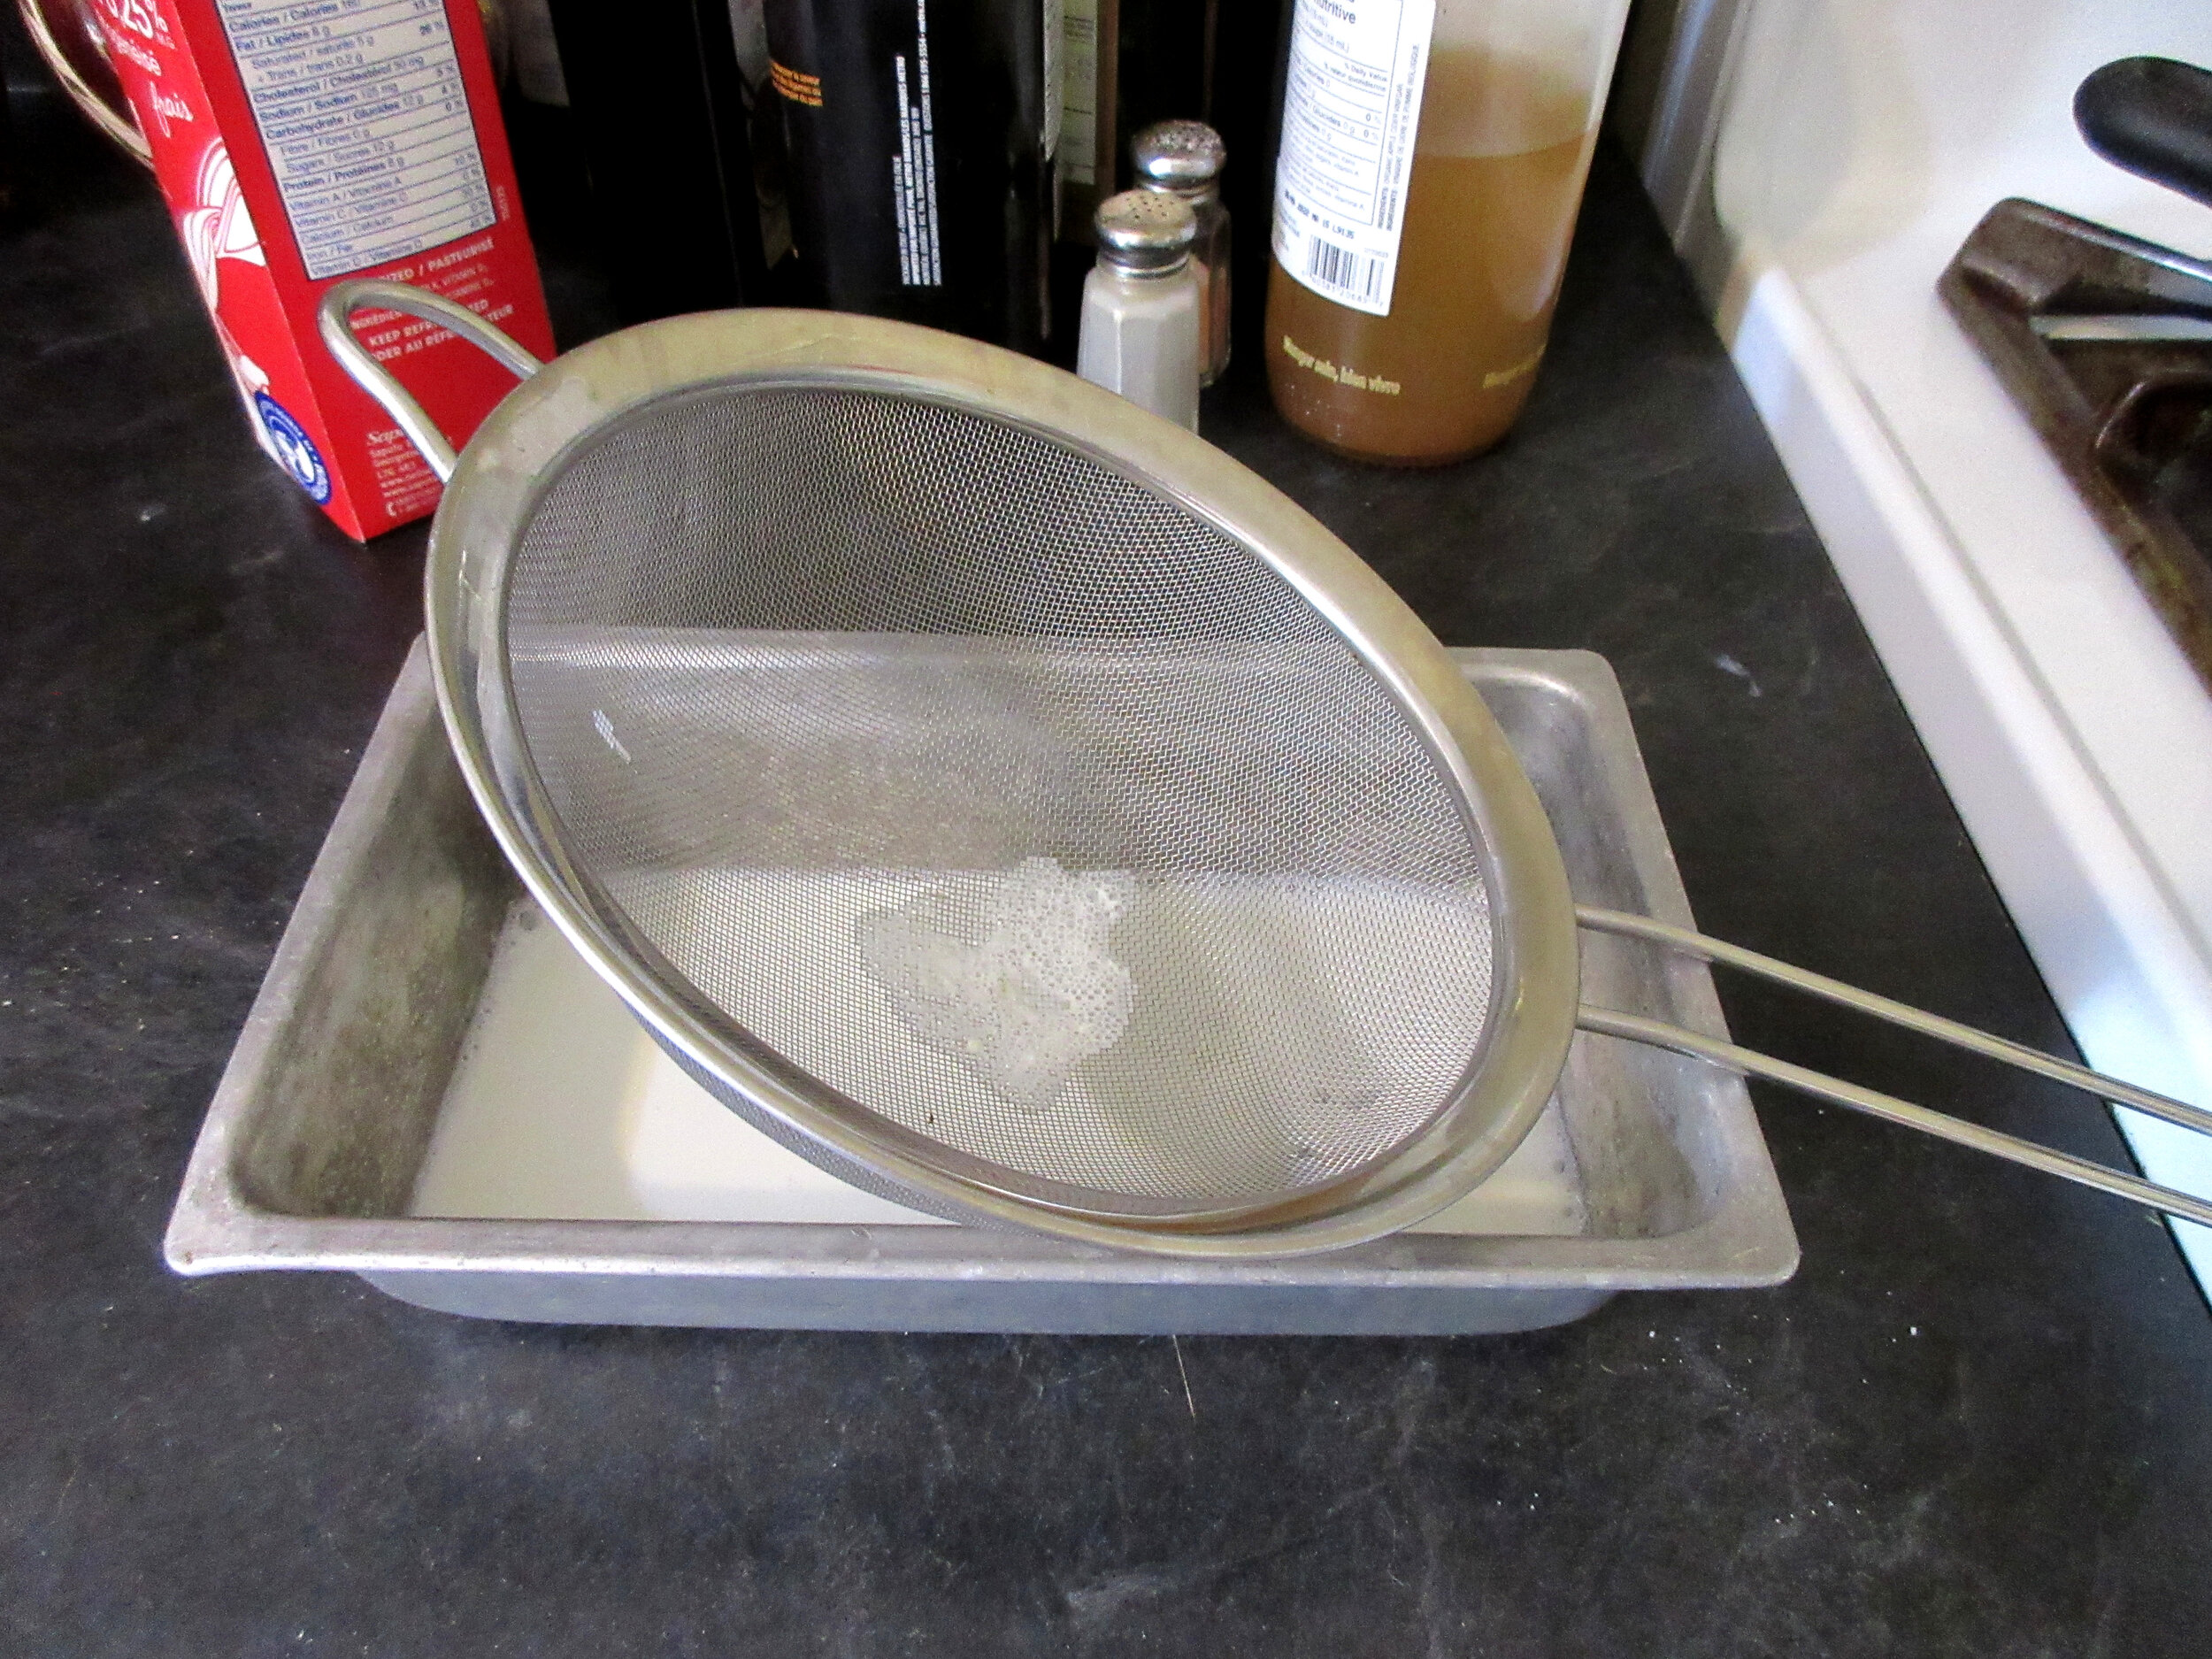
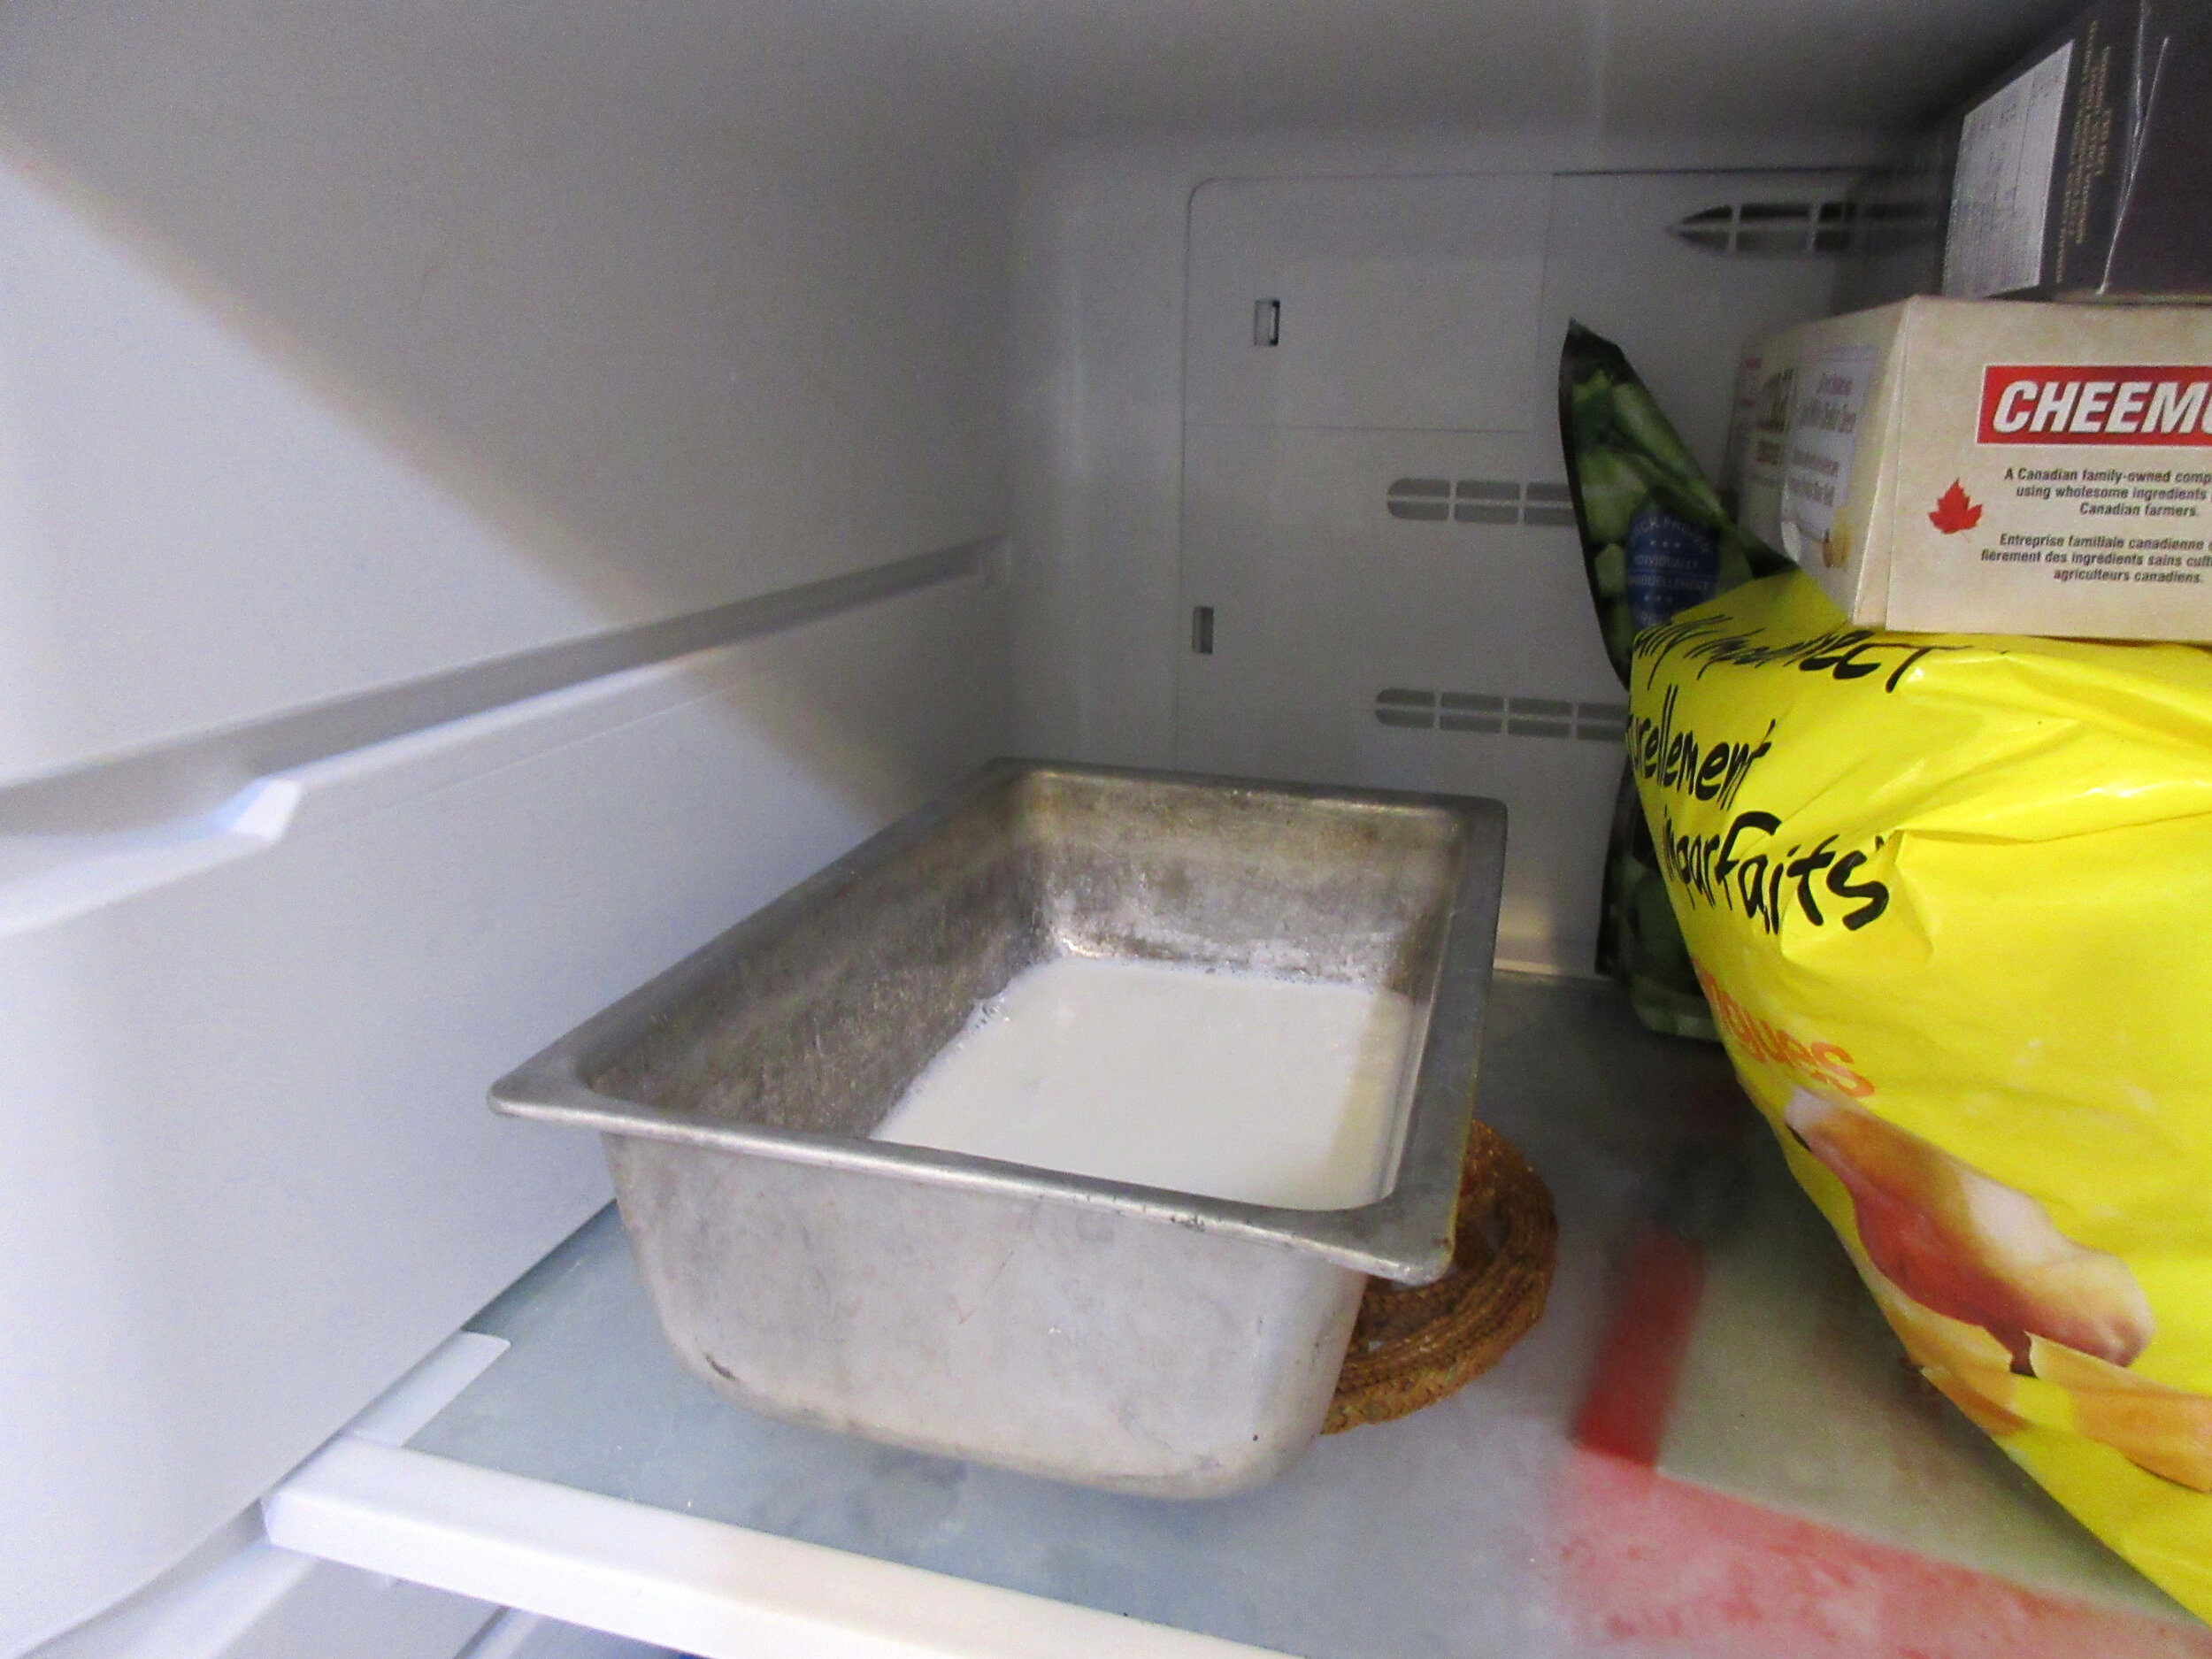
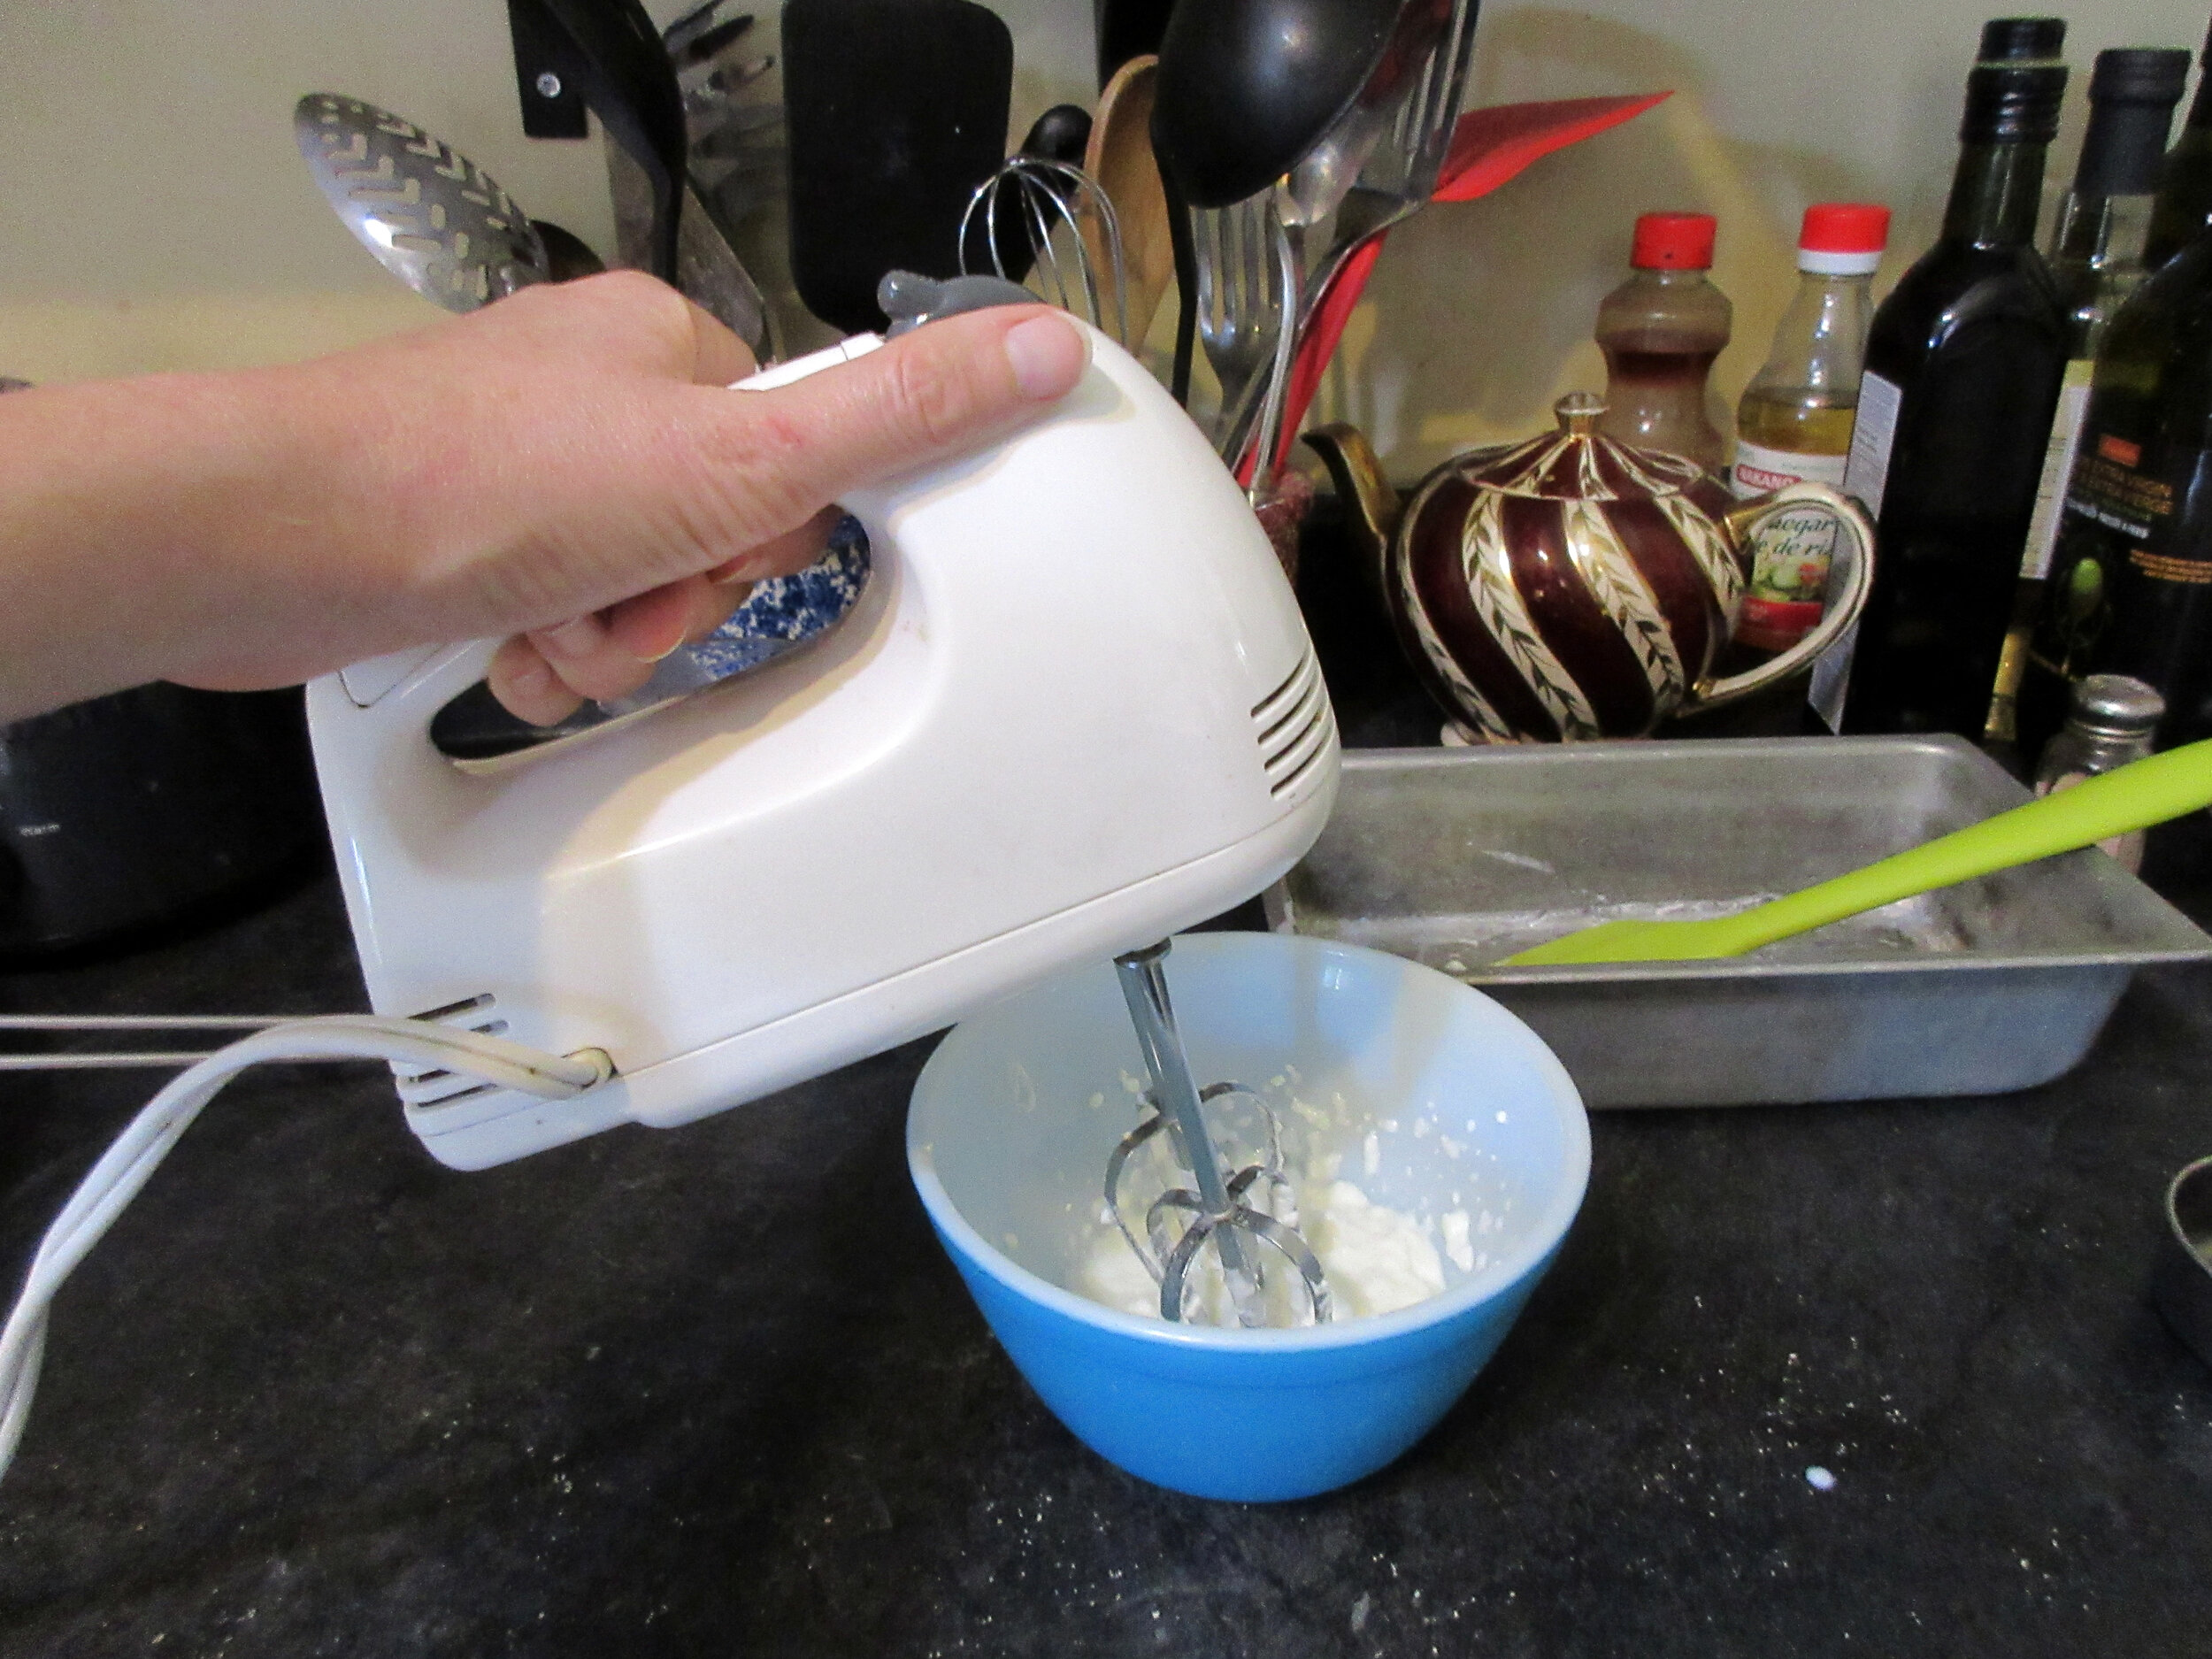
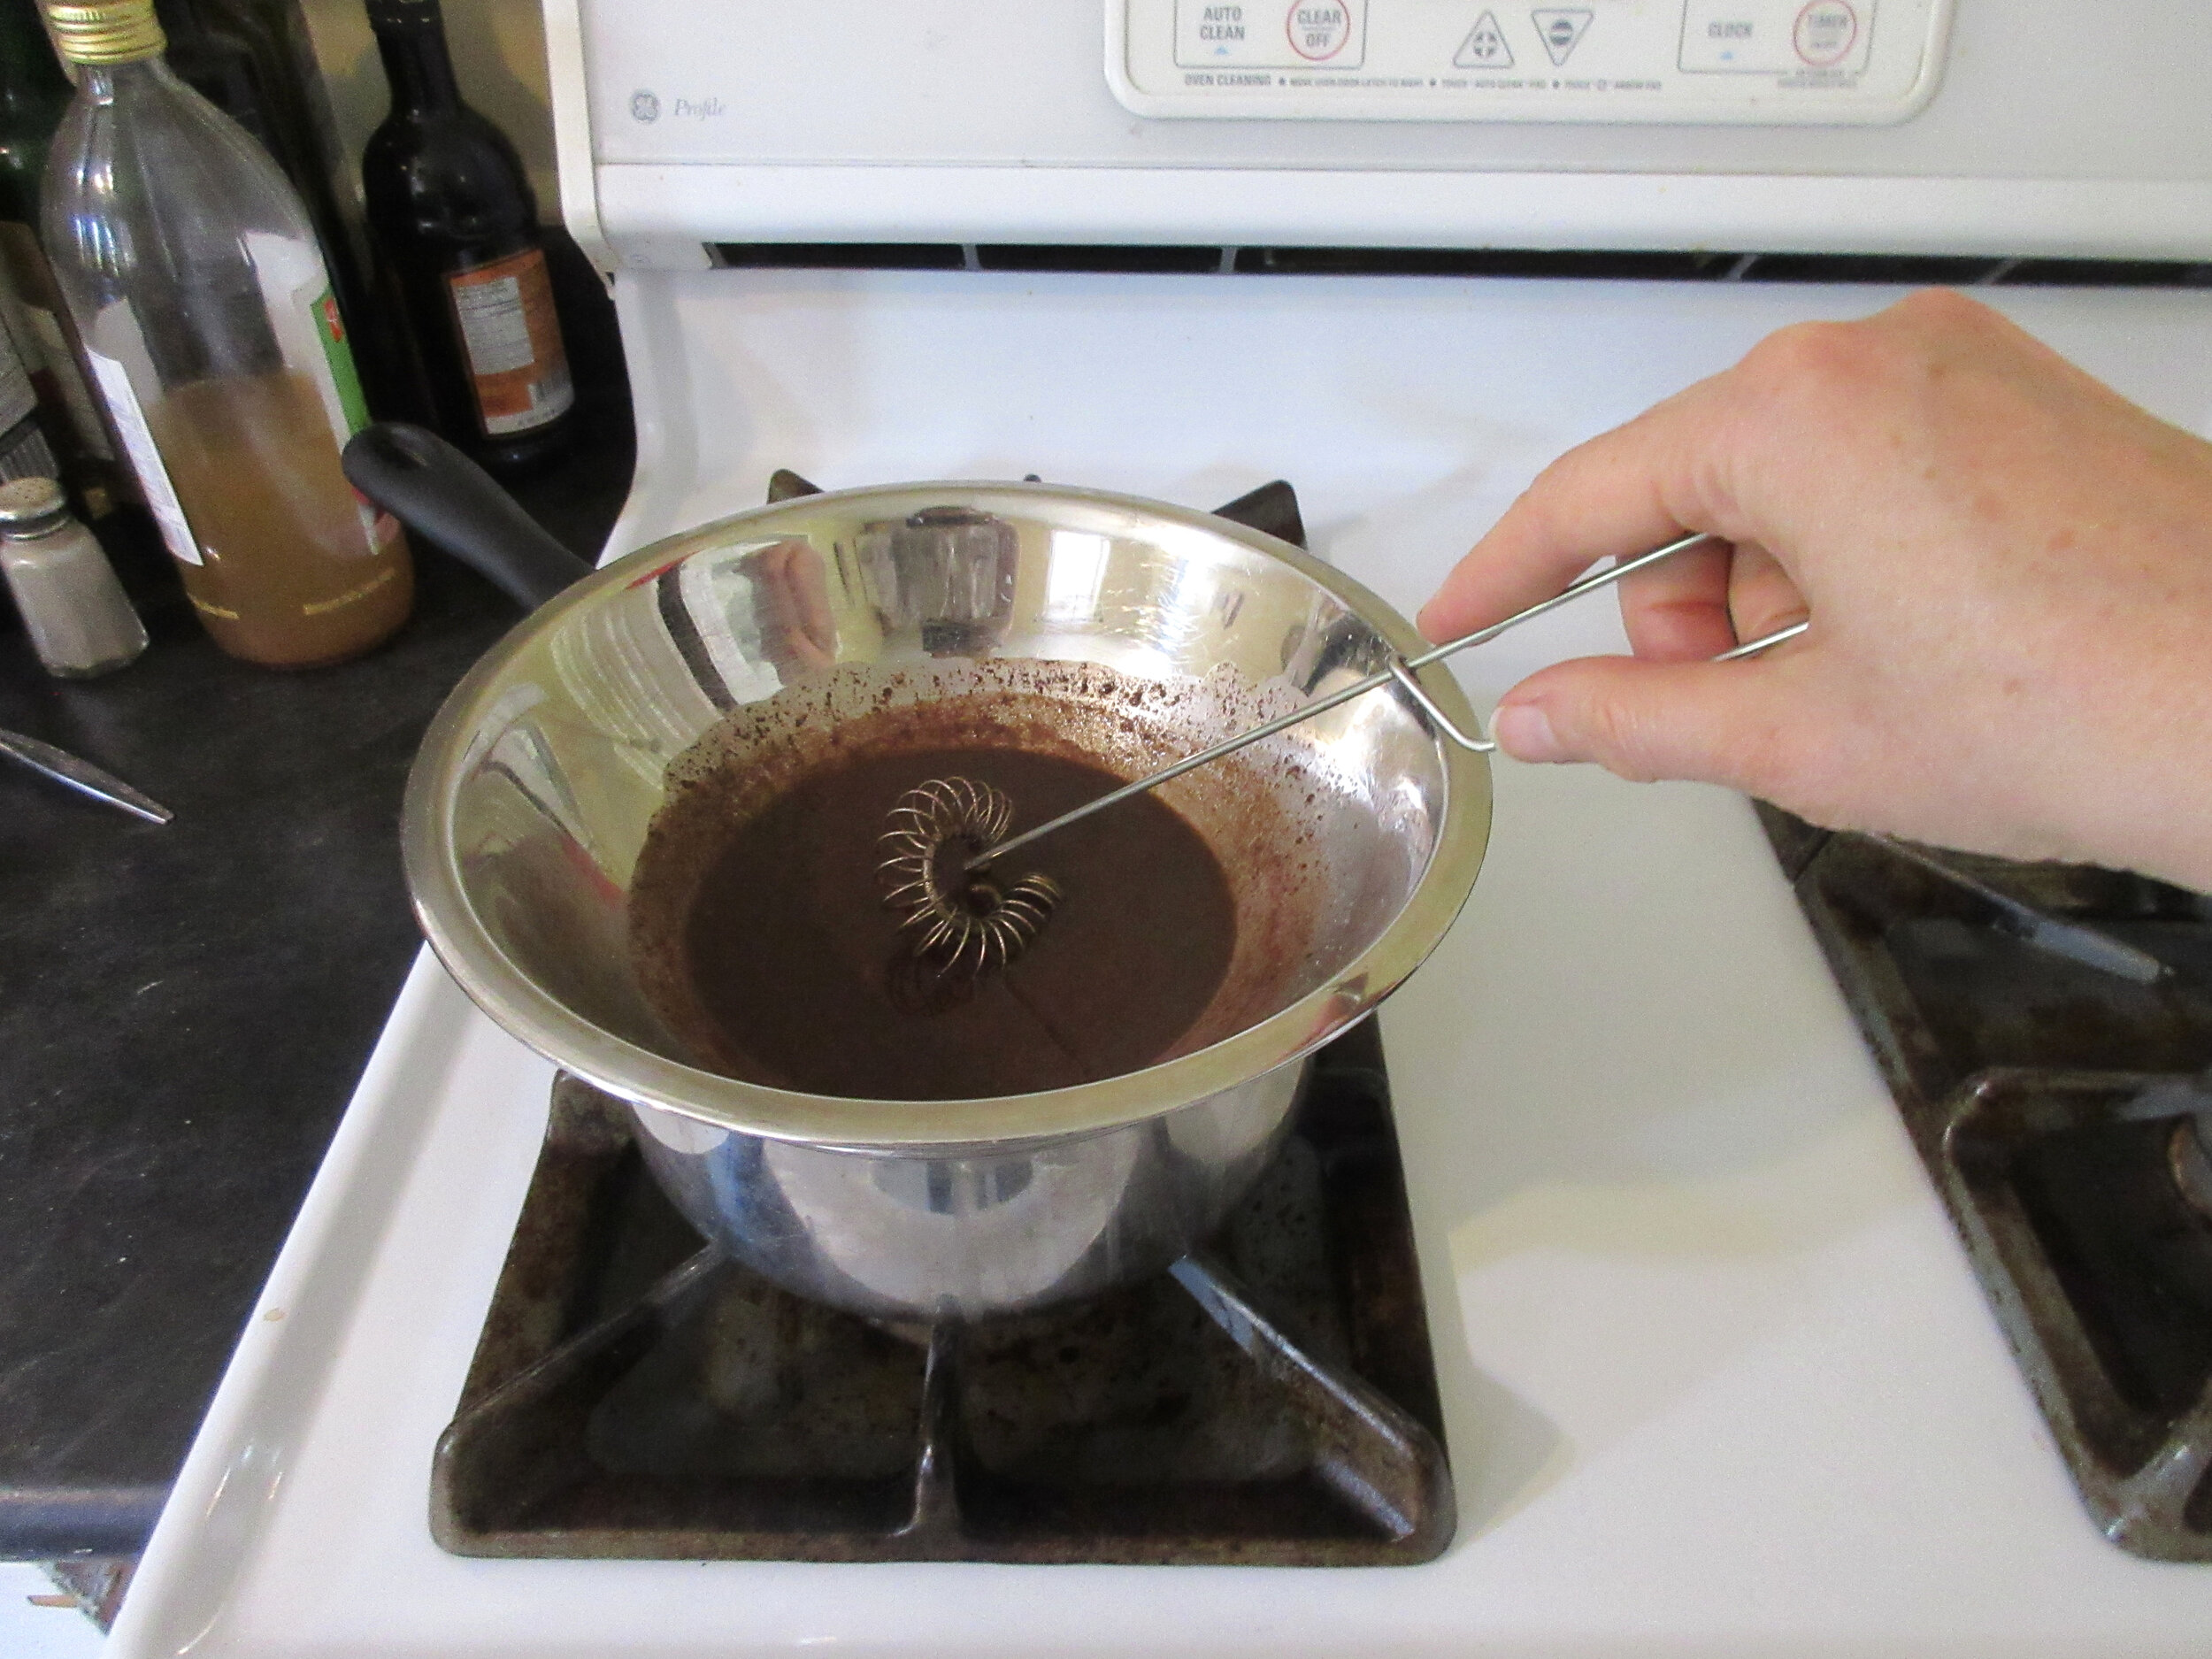
Warm ¼ cup (60 mL) milk in a double boiler, then add 1 tsp unflavoured gelatin. Whisk until dissolved, then add ½ cup (120 mL) cold milk. Strain the mixture through a sieve into a metal pan and place in the freezer until cool. When cool, beat until light.
While milk and gelatin mixture cools, melt baker’s chocolate in the double boiler, then stir in the sugar, vanilla and salt. Whisk in ¼ cup (60 mL) milk. Stir until it bubbles and remove from heat.
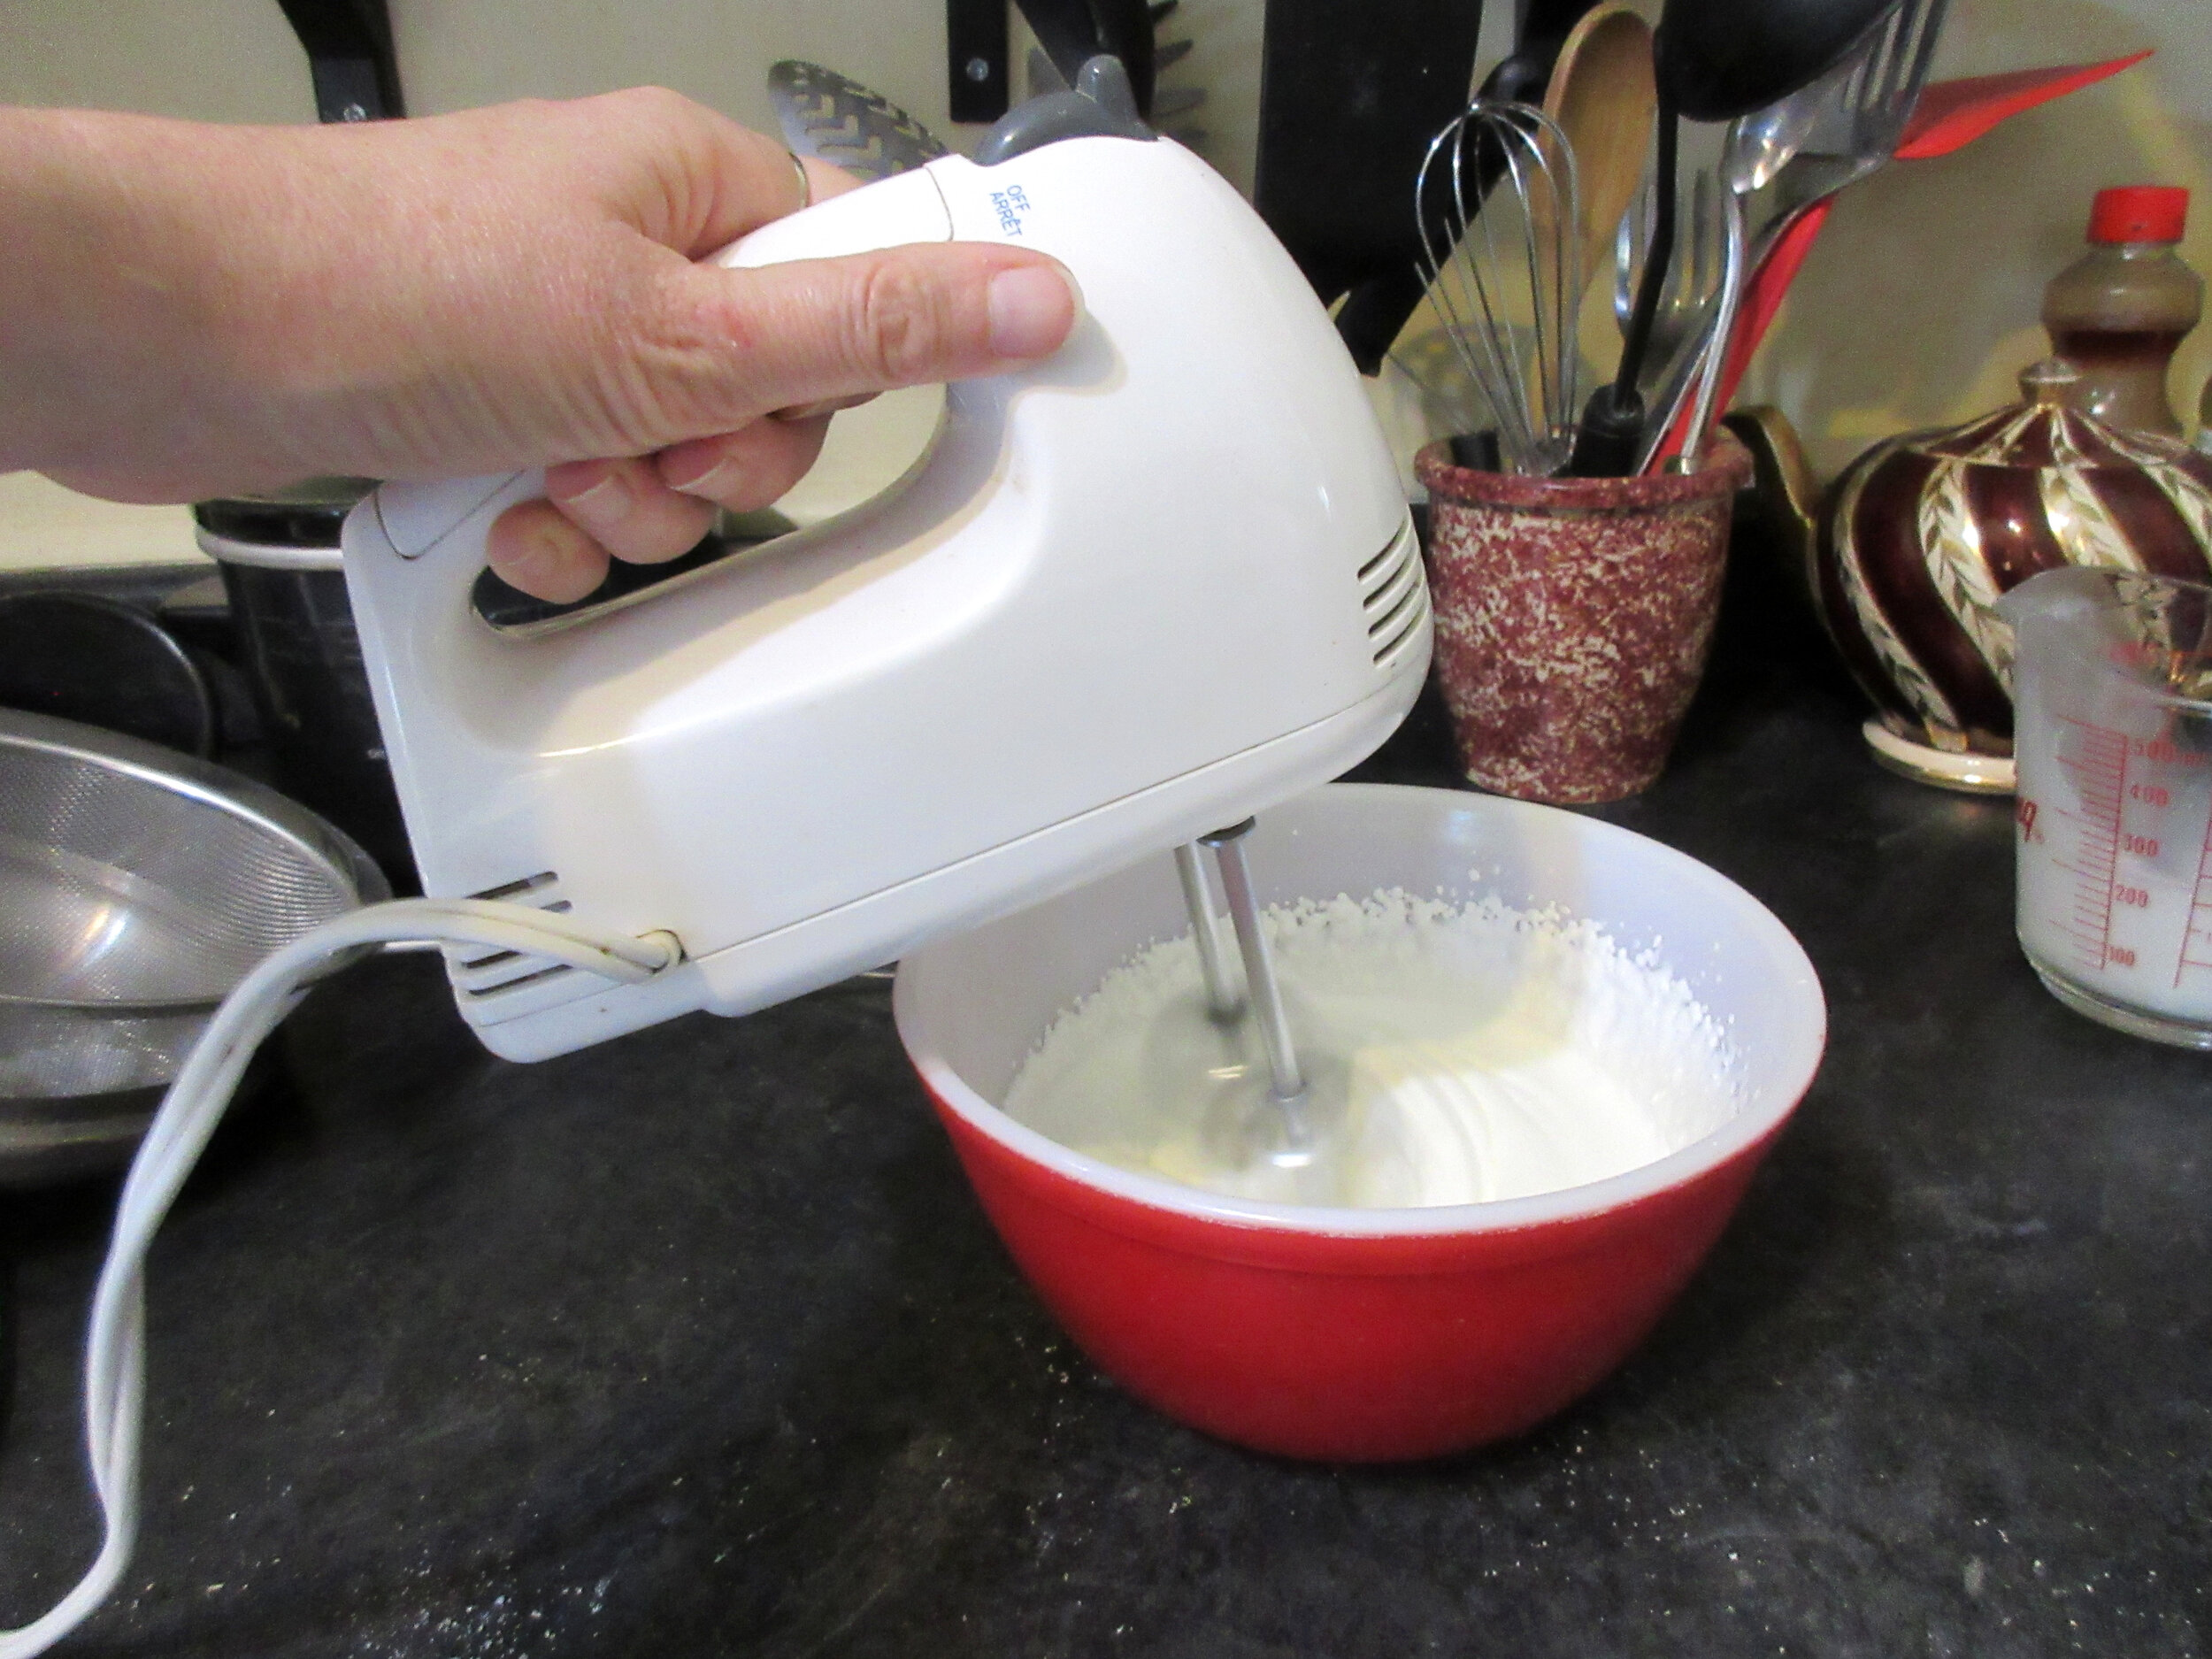
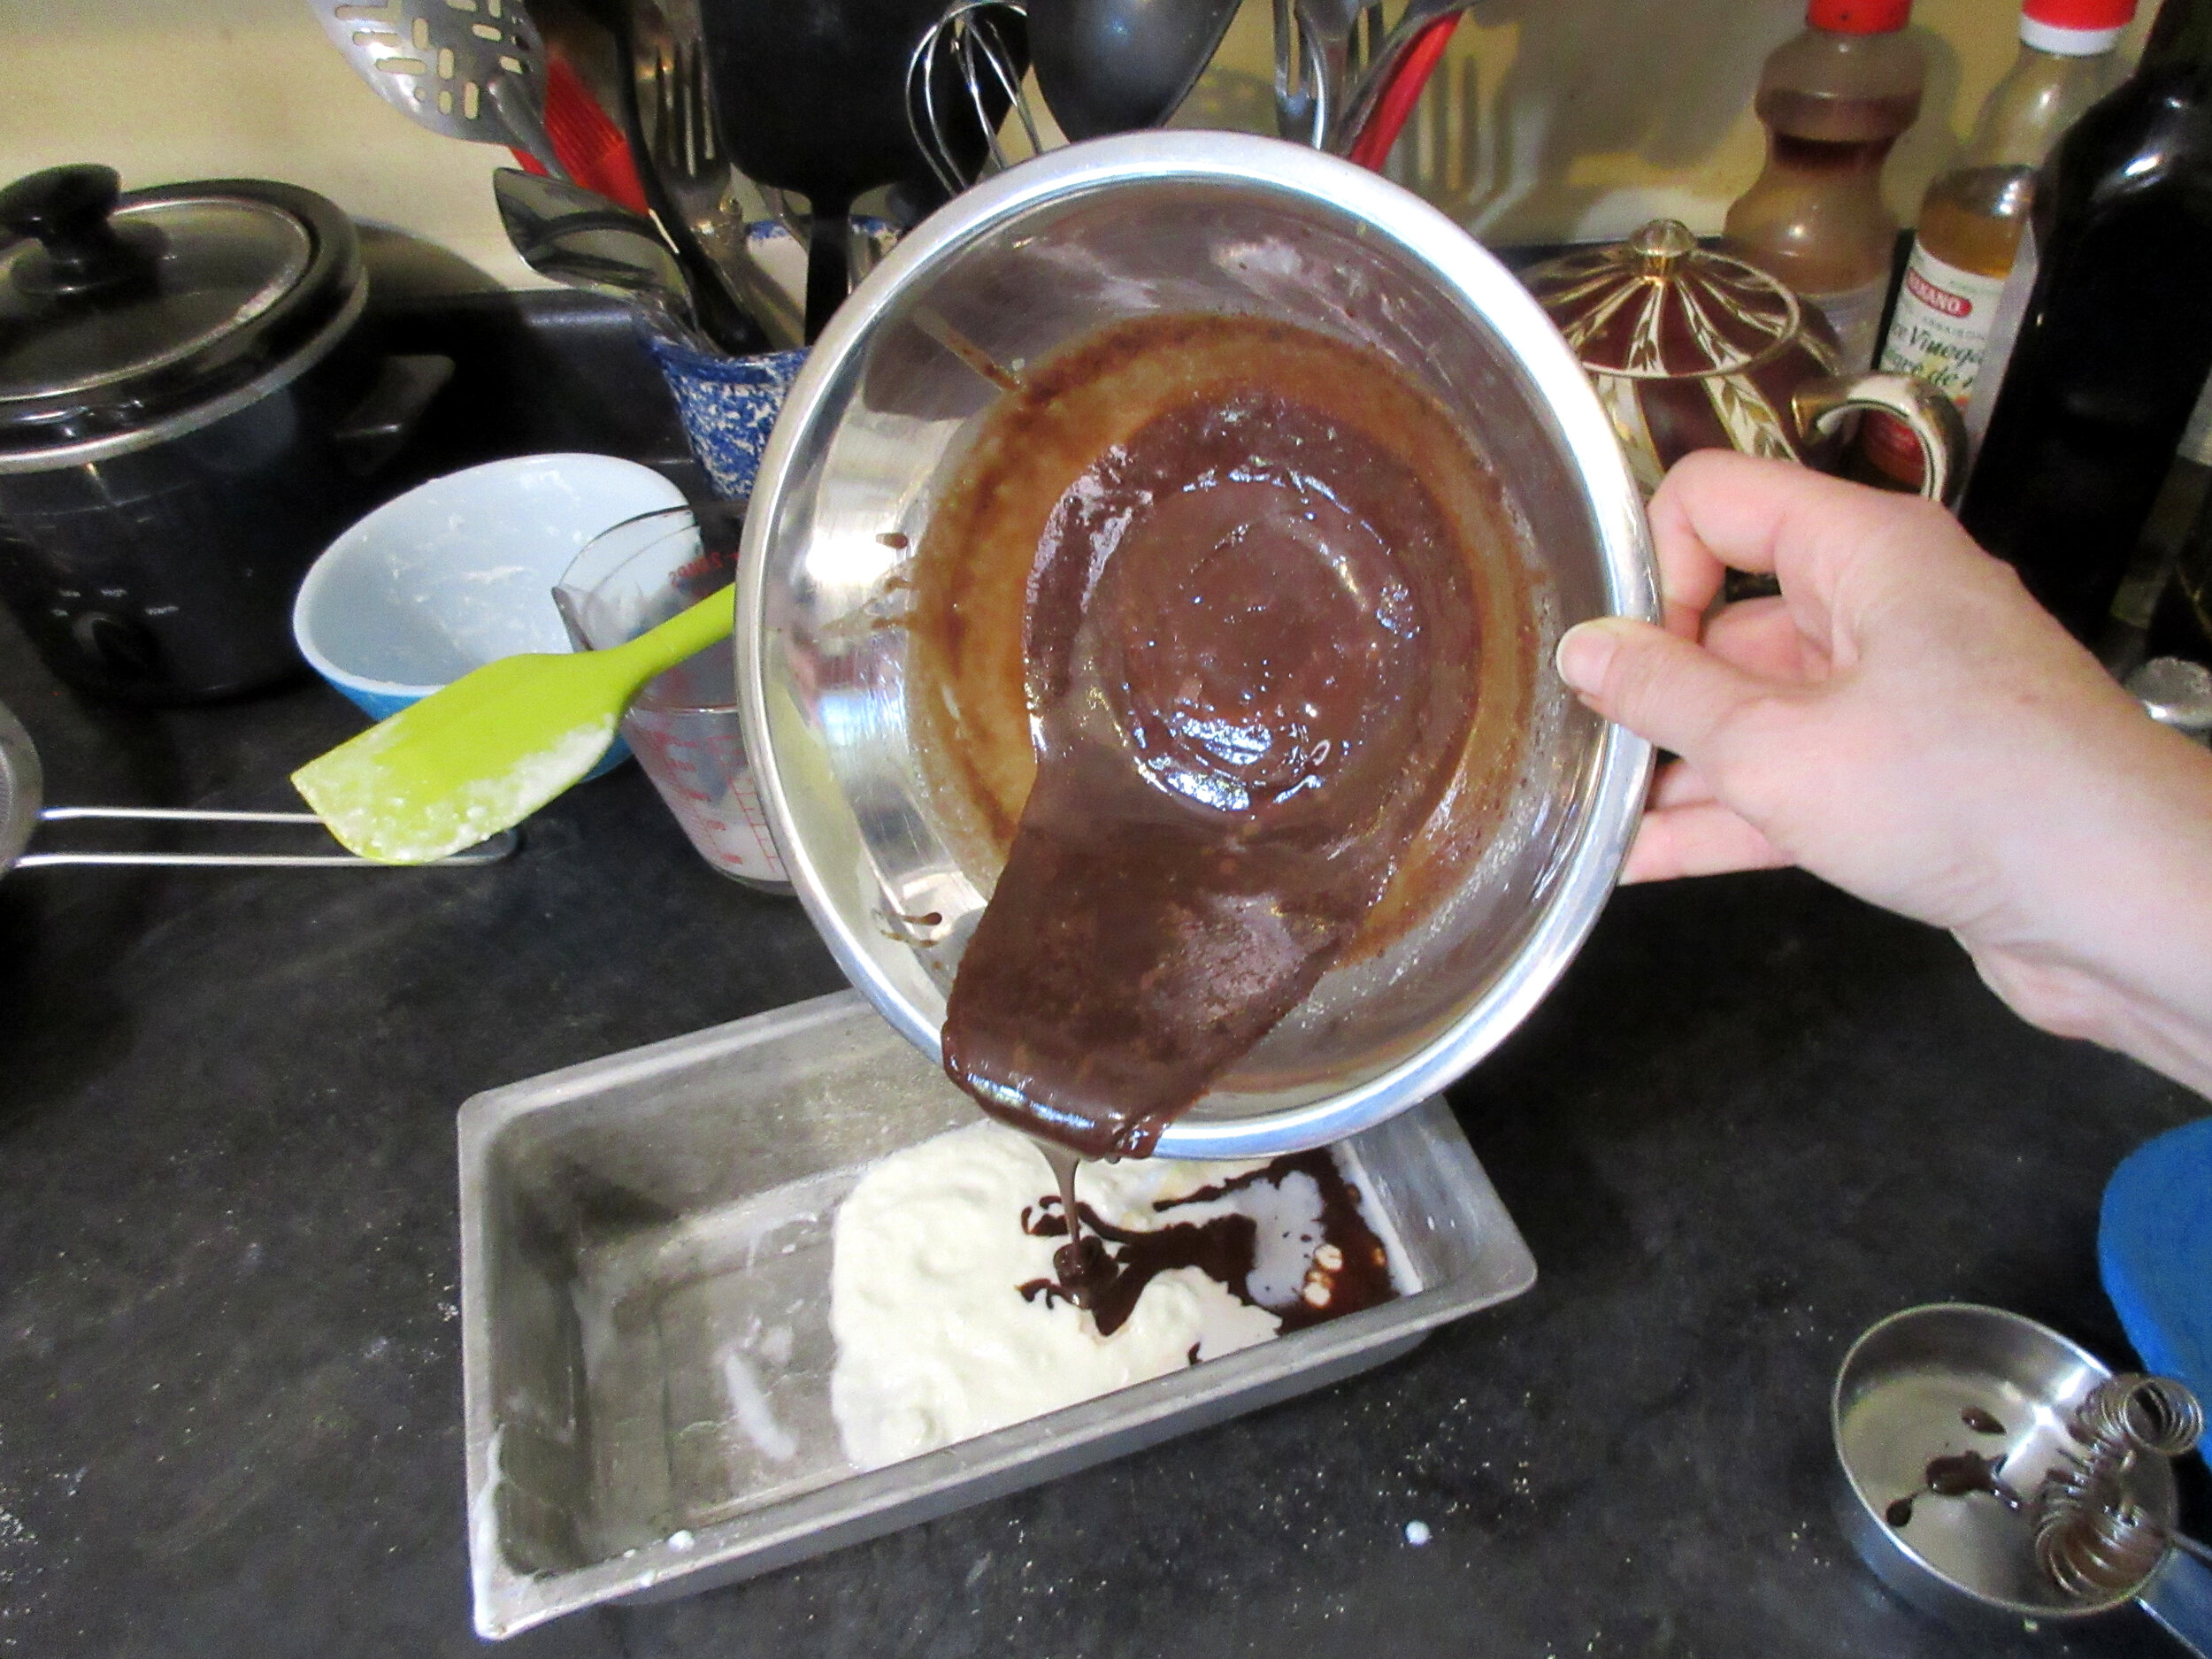
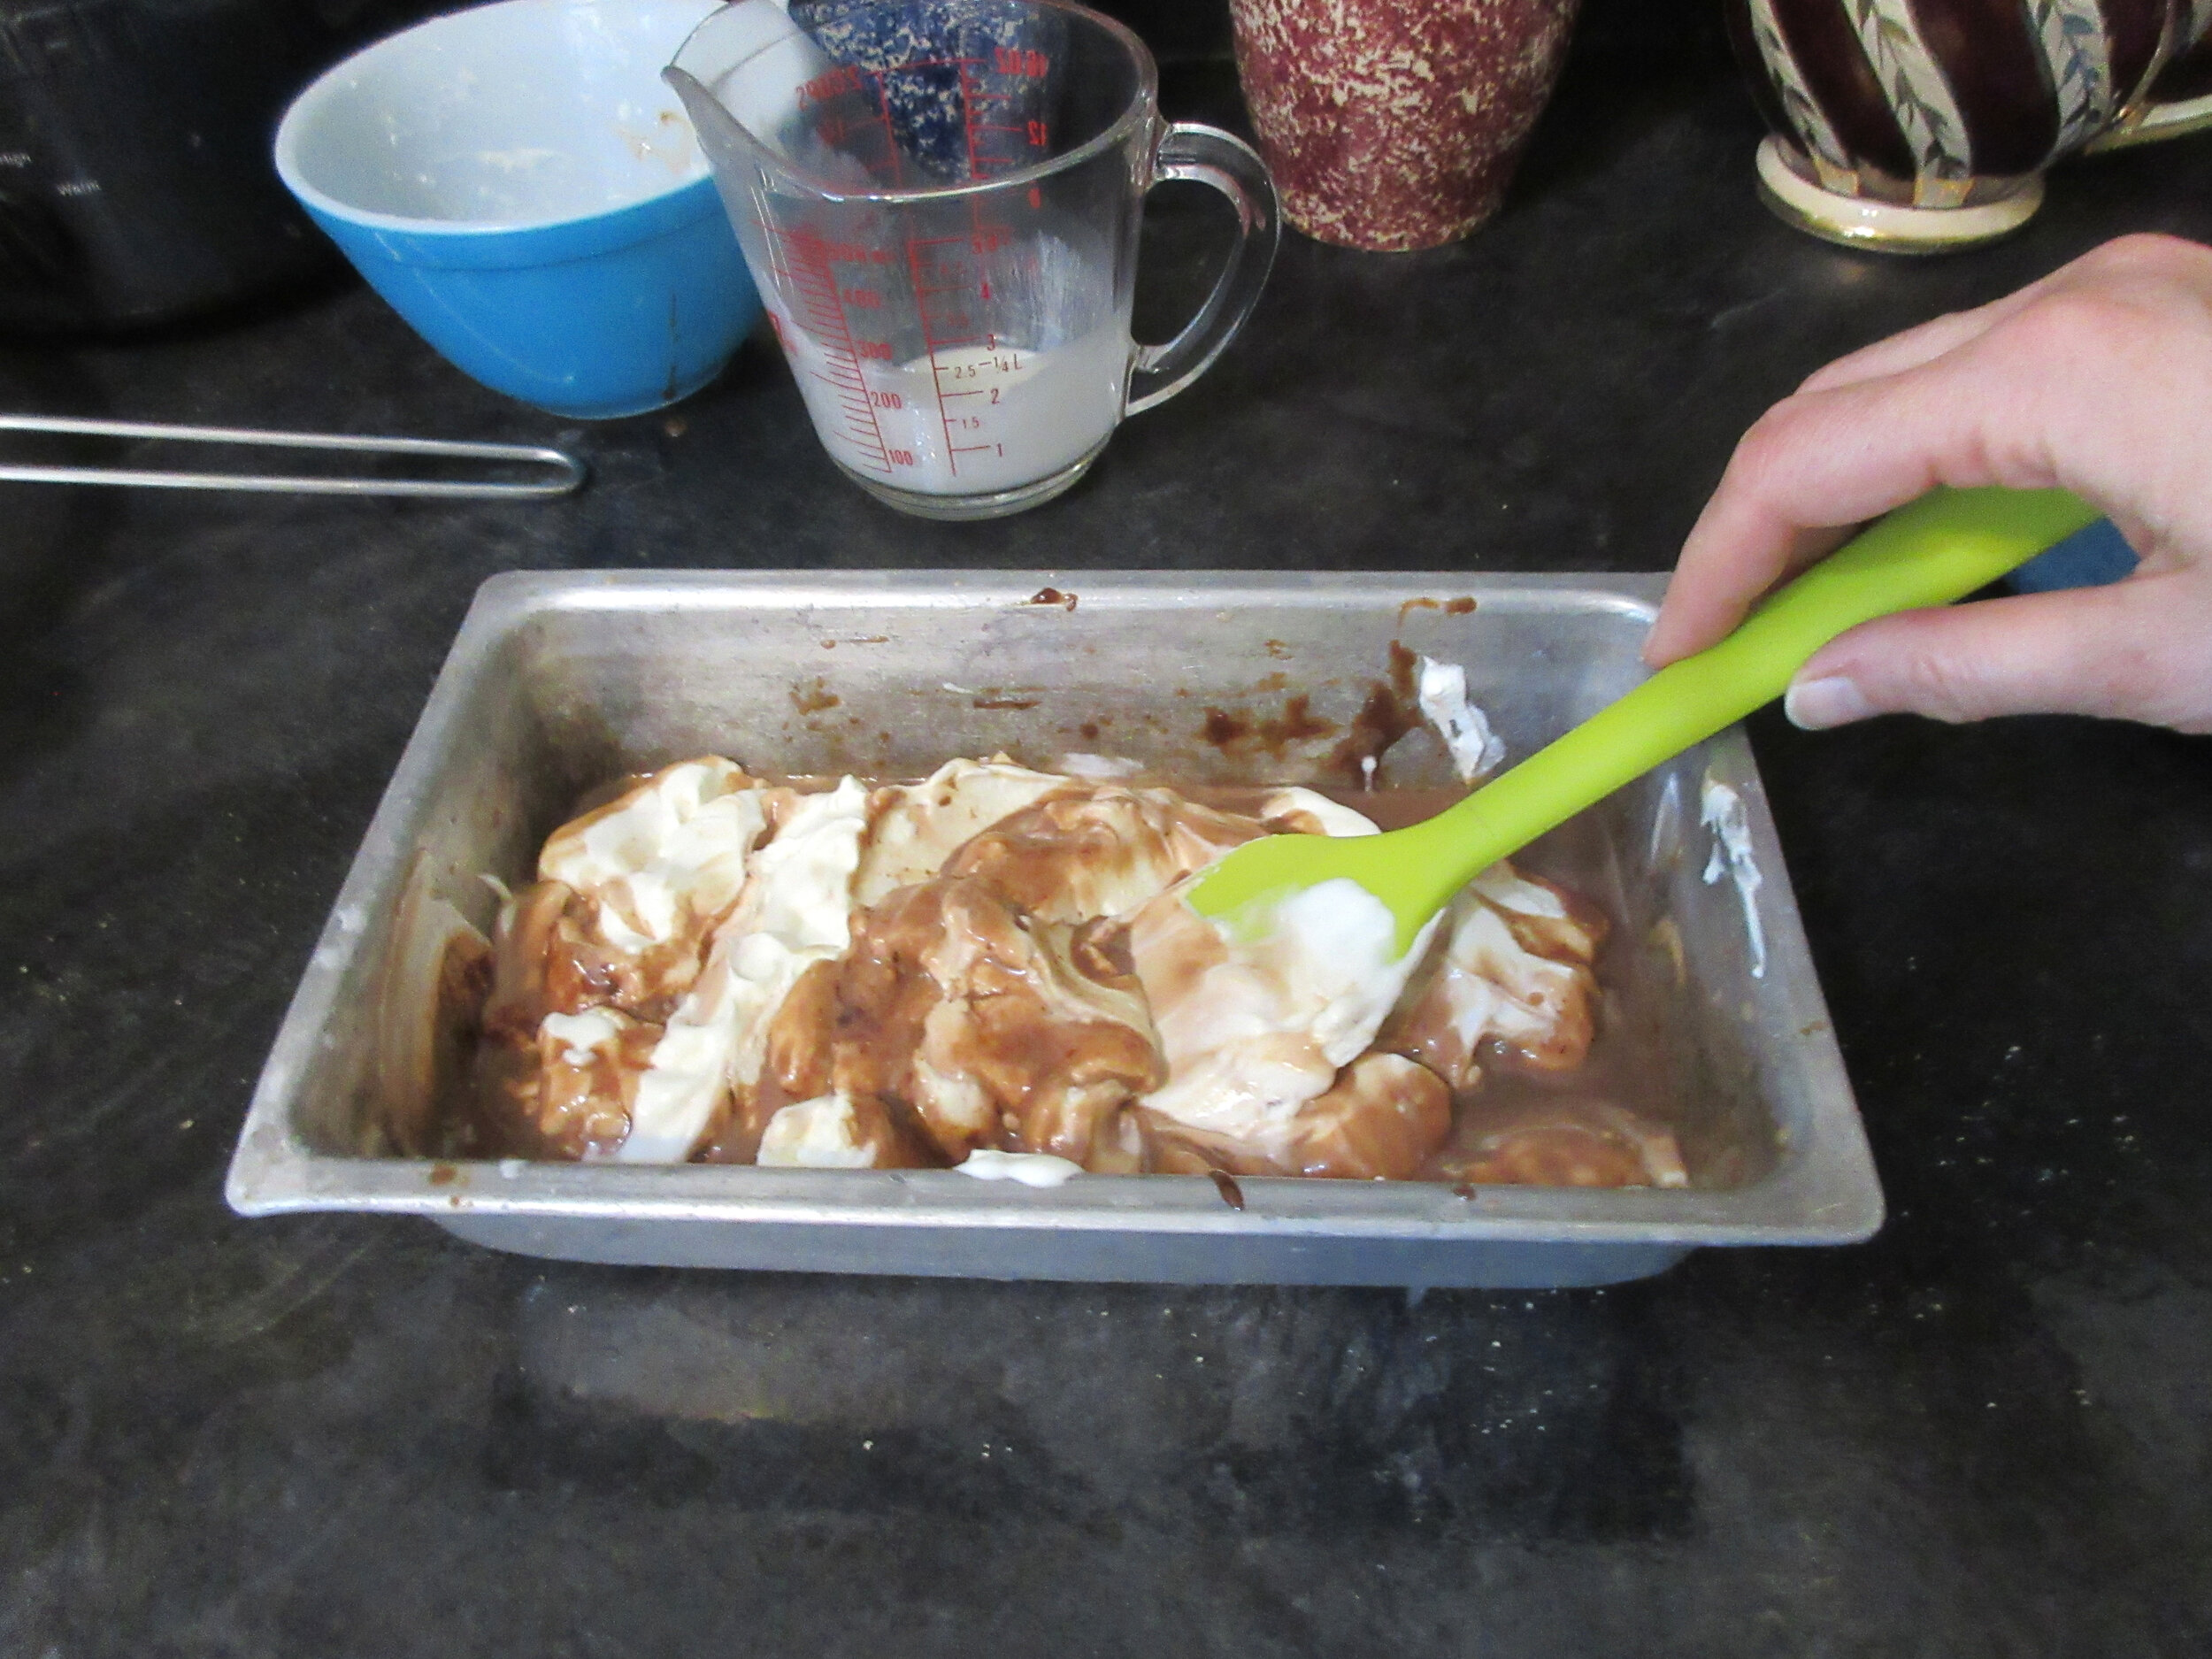
Beat the whipping cream until stiff. In the metal container, stir together the milk/gelatin and the chocolate combinations. Fold in the whipped cream and freeze.
Serve with Marshmallow Mint Sauce or Peppermint Whipped Cream
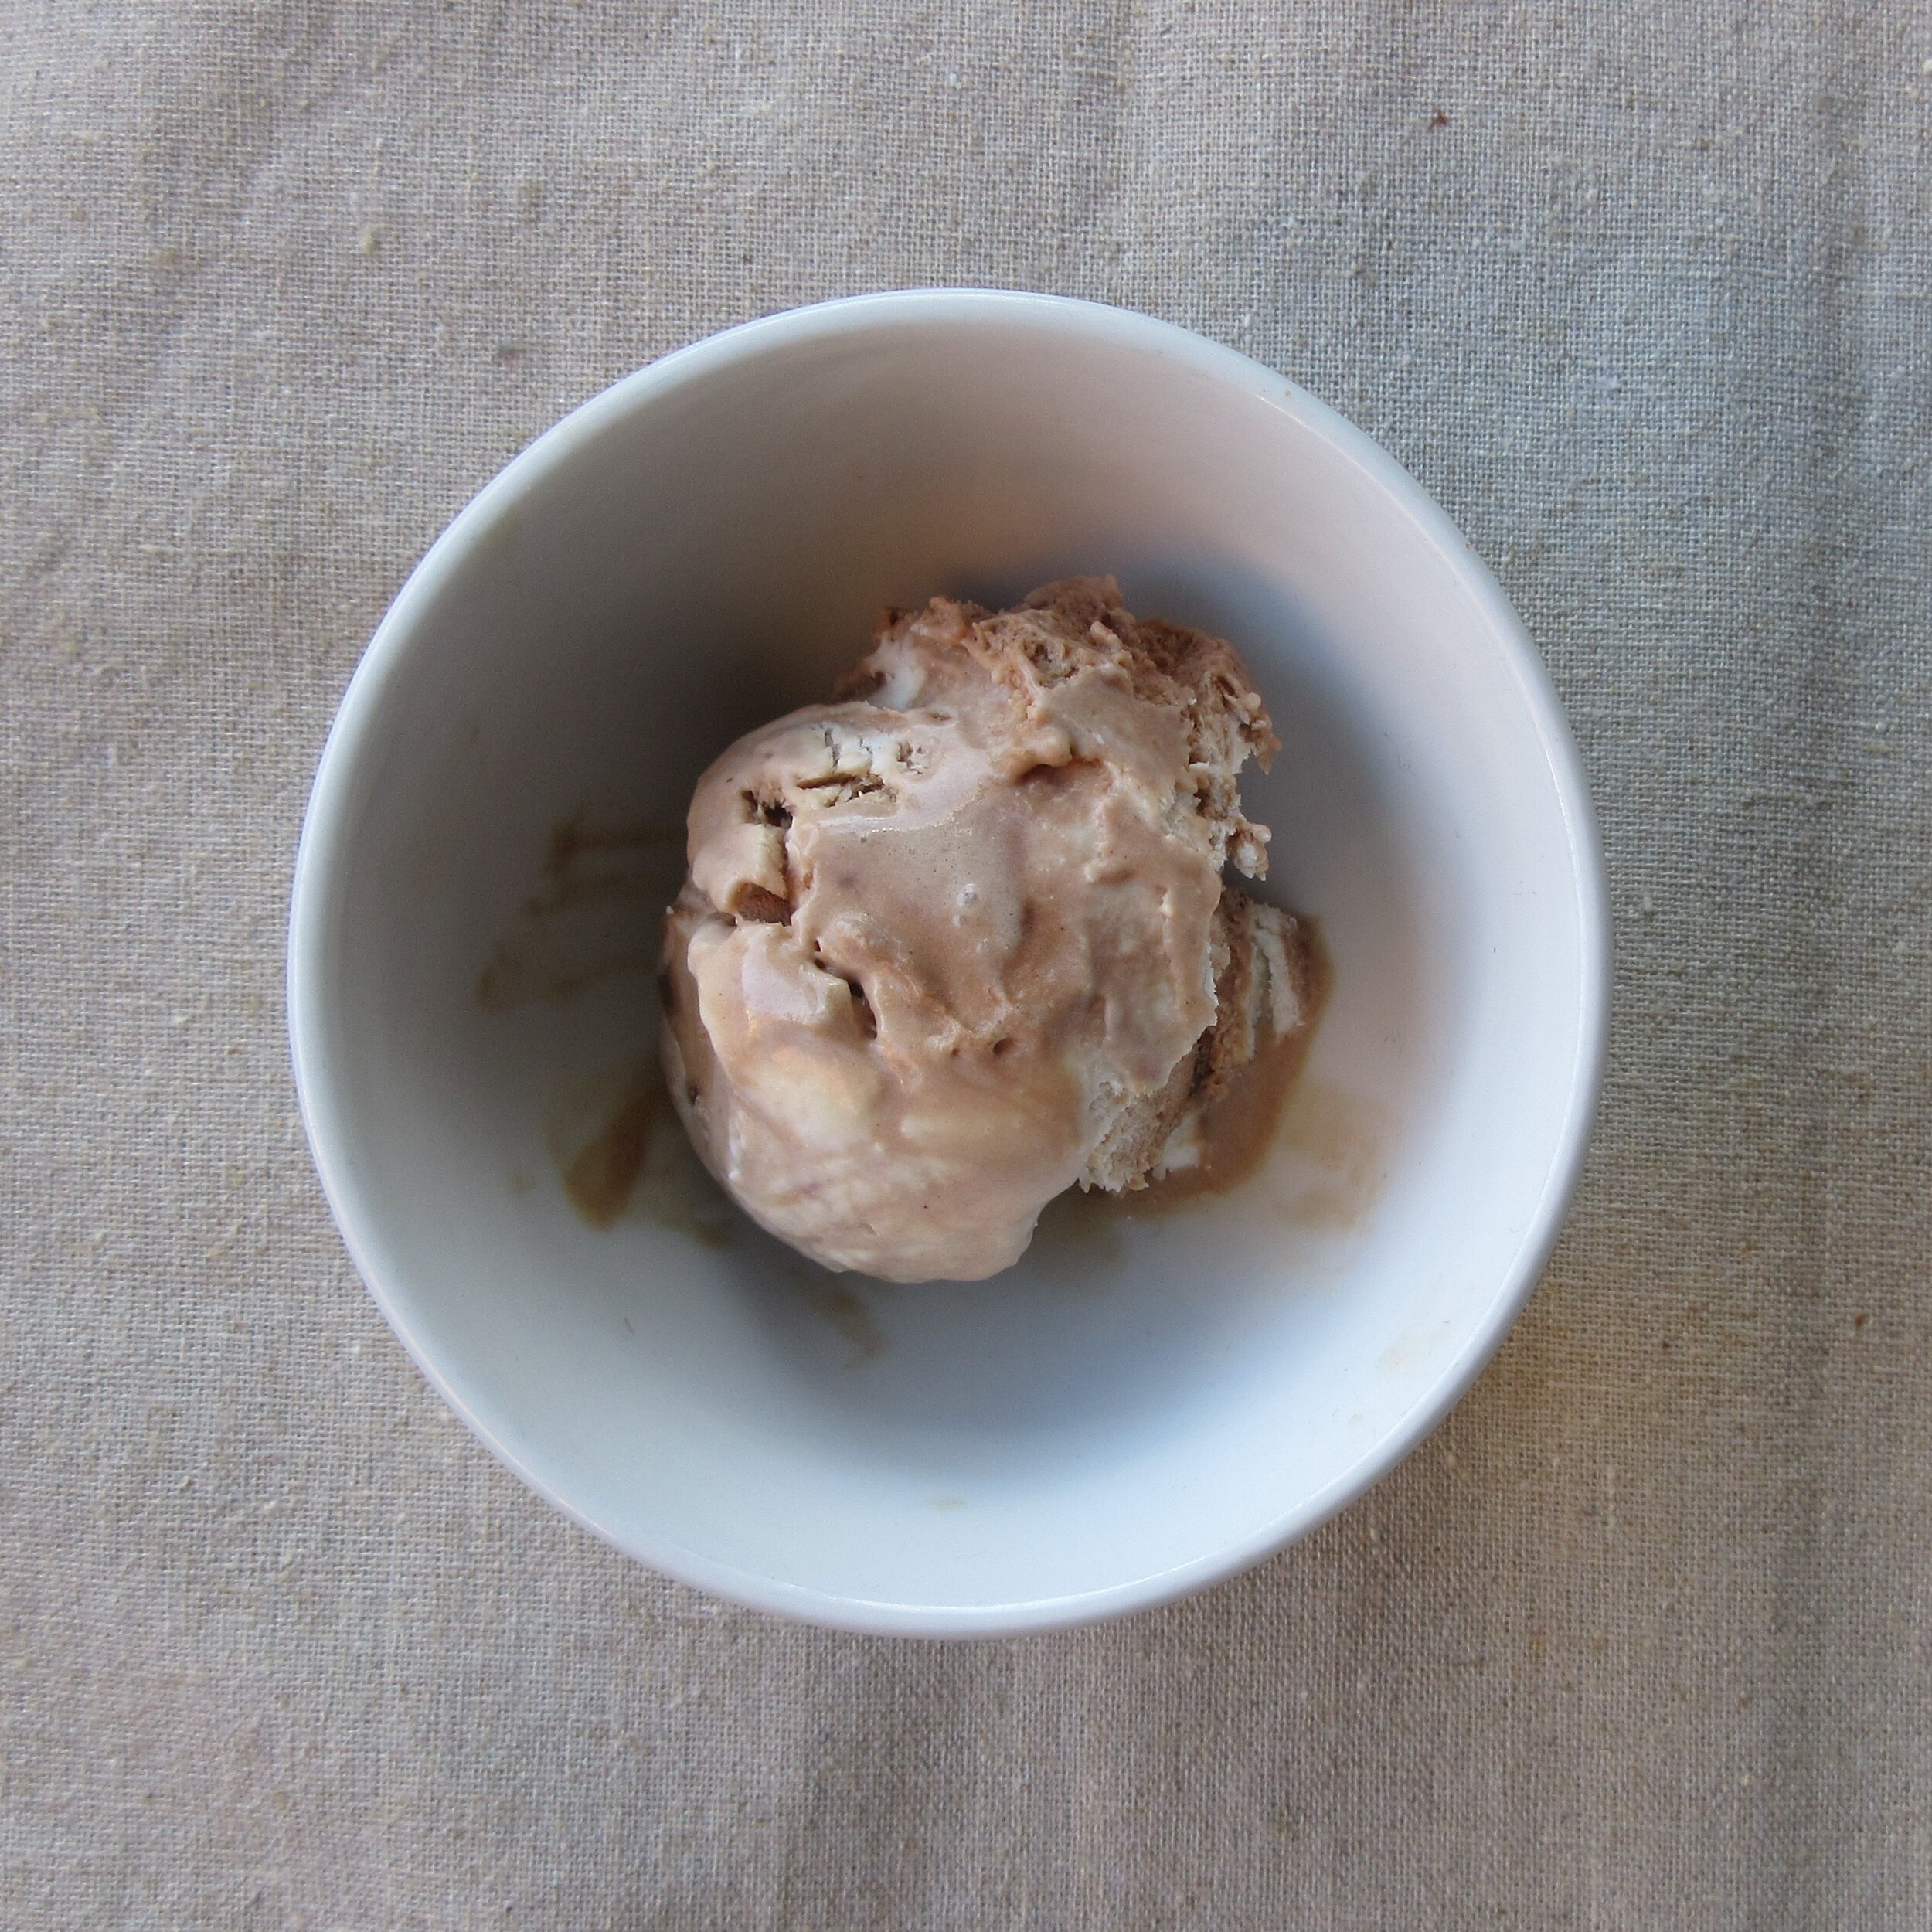
This Chocolate Mousse recipe comes from Electric Refrigerator Recipes and Menus, a 1929 cookbook written by Miss Alice Bradley that was put out by General Electric to help housewives learn how to use their newfangled kitchen appliance. It is mild and refreshing, but my batch ended up being more similar to an ice cream than a mousse (probably because my freezer is much more efficient than a 1929 “chilling unit”). Still delicious, anyhow. Top with Marshmallow Mint Sauce or Peppermint Whipped Cream from the same cookbook.
Head over to my post about Peppermint Whipped Cream to find out more about the General Electric Monitor Top Refrigerator and keep reading to find out what a refrigerator pan is and the appalling baker’s chocolate square fiasco of 2013.


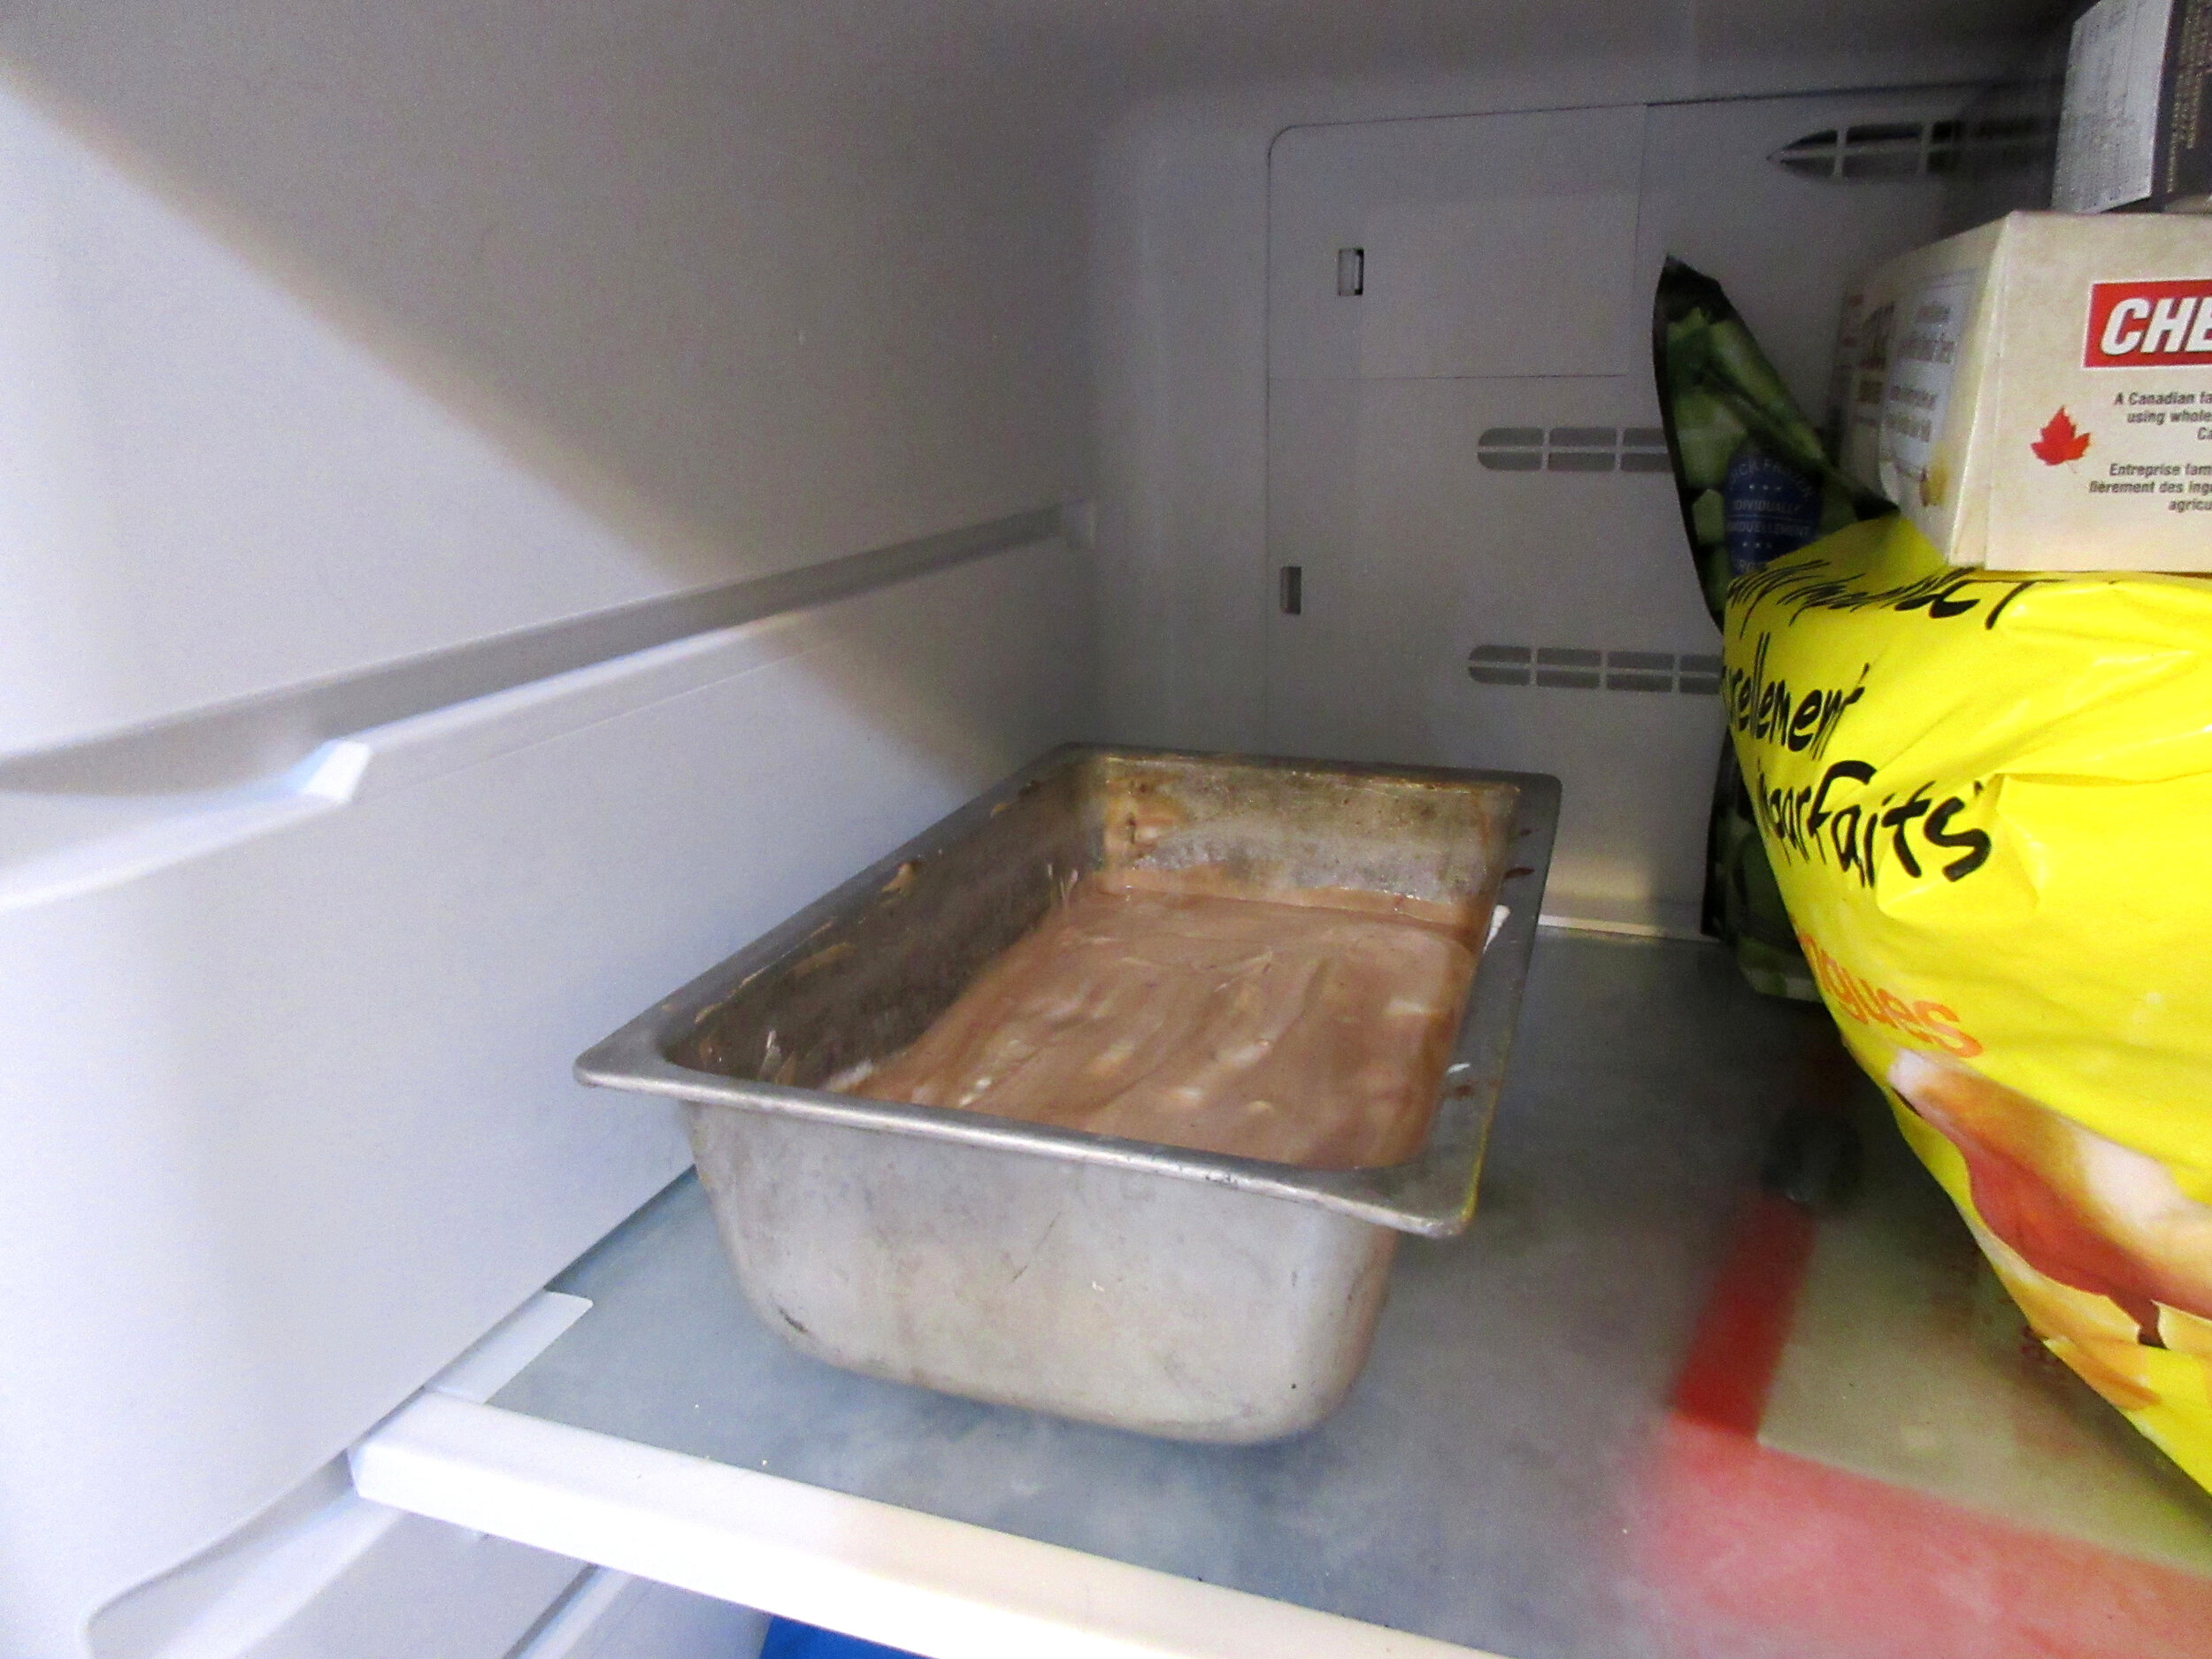
What is a refrigerator pan?
Electric Refrigerator Recipes and Menus mentions using a refrigerator pan in most of its recipes, so what is it? I’ve read through the cookbook and didn’t notice a written description of a refrigerator pan, but they did appear in a few of the illustrations in the cookbook.
Refrigerator pans are rectangular metal containers. When you make Chocolate Mousse, a good substitute for an official refrigerator pan would be any metal container, mold or baking pan of the correct size. You can see refrigerator pans during recipe preparation in the illustrations below.
Look at the illustrations above and you’ll see a refrigerator pan in the chilling unit of the refrigerator. These pans would make efficient use of the small space in your chilling unit, since you can stack more than one pan. In another illustration, you’ll see a fruit salad that was frozen in one of these pans and has been unmolded onto a bed of lettuce for serving.
I must say, the rectangular shape of the refrigerator pan fruit salad certainly isn’t as eye-catching as intricate and decorative gelatin and dessert molds, but perhaps serving dishes frozen in rectangle refrigerator pans was seen as a sign of progress and affluence at the time.


Likely, refrigerator pans were accessories that came with the purchase of a General Electric refrigerator or perhaps they were an optional add-on. We can see one of these pans in action, thanks to Museums Victoria where there’s a larger GE Monitor Top Refrigerator in the Collection. Thankfully, some of this fridge’s accoutrements weren’t thrown out over the years. Below, you’ll see a photograph of a refrigerator pan and some of its accompanying accessories: a cover and a support that fits in the bottom of the round chilling unit.
It isn’t easy to make out the support piece in the illustrations in Electric Refrigerator Recipes and Menus, but seeing this accessory photographed helps to explain some instructions in the book: “Spill a little water in the chilling unit before putting the cast iron freezing tray support in place. This will make it freeze solidly to the chilling unit.” The refrigerator pan cover would make stacking two pans in the chilling unit easier and less messy. My educated guess is that the refrigerator pans also would have had removable frames for making ice cubes, simply because of this excerpt from the book: “Water can be frozen in the pans, with or without the frames.”


Photographs of General Electric Monitor Top Refrigerator accessories courtesy of Museums Victoria Collections
If you ever get your hands on a working Monitor Top Refrigerator (it’s possible – these fridges were made to last and are actually more energy efficient than our fridges today), here’s some more tips for using refrigerator trays from Electric Refrigerator Recipes and Menus:
“For rapid freezing it is absolutely necessary to have good contact between the tray and the chilling unit.”
“The bottom tray always freezes faster than the top one, and the shallow tray faster than the deep one.”
“A spatula or knife may be inserted between the lower tray and tray support to loosen the tray after it is frozen.”
“A tray of ice cubes may be placed on top of the mixture that is to be frozen. This will preserve the ice from melting, and will hasten the freezing in the lower container. Use cover on the lower pan.”
A rectangular metal pan that’s custom-made for the freezing chamber isn’t only common with General Electric refrigerators at that time. The 1933 booklet Your Frigidaire; Recipes and other Helpful Information explains how to use Frigidaire Freezing Trays. Two types of these stainless steel freezing trays were furnished with the purchase of a refrigerator: metal trays with removable metal grids and metal trays with removable rubber grids. The freezing compartment appears to have a shelf in it to facilitate stacking these freezing trays and each tray features a handle to assist with sliding the trays in and out, which was probably a user experience improvement over the hassle of having to wedge the General Electric refrigerator trays out of the chilling unit with a knife!
Illustrations from Your Frigidaire; Recipes and other Helpful Information showing Frigidaire Freezing Trays
A word to the wise about baker’s chocolate:
Be careful when making recipes that use the ingredient measurement of a “square” of baker’s chocolate! Our Chocolate Mousse recipe tells us to “melt over hot water 1 square chocolate”, which led me to look into how big chocolate squares were in 1929. All evidence that I found indicated that square of baker’s chocolate weighed 1 ounce (28 g) back then, which is what most people would consider the size of a chocolate square today.
While I was researching chocolate squares in 1929, I accidentally found out that many brands of baker’s chocolate changed the size of their squares in 2013 without making a big to-do about it! I remember a chocolate cake that I made a few years ago that was barely chocolate at all and I wonder if this size change was the culprit. The baker’s chocolate package that I bought to make Chocolate Mousse has the traditional 1 ounce per square, though. A square is split into ½ ounce rectangles for easy breakage, so be sure to remember your geometry and use a full 1 oz. square (2 rectangles).
This sneaky baker’s chocolate square reduction comes down to profits, of course. Food companies reduce what you get per package, while not reducing the price to the same amount. In many instances, at least in North America, when you buy a package of baker’s chocolate in 2021, the squares do not weight 1 ounce, they weigh ½ ounce. You get 50% the chocolate when you buy a package of baker’s chocolate now, but I’ve seen complaints online that a package costs 75% to 100% of what it used to.
I can’t get over how irresponsible this is. Sure, it isn’t great that you get less of many ingredients for more money these days, but with most ingredients, you don’t take the food straight out of the package and put it in the mixing bowl. You measure it with a scale or a measuring cup or spoon first.
A square of baker’s chocolate is a unit of measurement. A unit of measurement has been halved in the night and released into the world without a warning that the change has happened! Many people aren’t going to know and make horribly weak chocolate recipes as a result. These companies are messing with our joy.
You’d think when this reduction was being discussed in the company boardrooms, someone would have said, “We can’t half the size of a square! Do you know how many recipes use a square to measure out baking chocolate?” You’d also think that the response would have been, “You’re right! We can’t do that to the world! Let’s reduce the size of another product.”
Perhaps I’m being too dramatic. Be careful the next time you need to buy baker’s chocolate for a recipe, though. You might need to buy twice as many squares.


Read Electric Refrigerator Recipes and Menus online:

To Freeze Desserts and Salads That Need No Stirring
Freezing Method III – Many mixtures can be frozen without stirring. Put mixture in the refrigerator pan and leave in the chilling unit 3 hours or until mixture is firm.
A mousse or parfait frozen in this way in the General Electric Refrigerator is most delicious.
One hour makes 1 pint of mixture very cold and partially frozen.
After 2 hours it has a mushy consistency.
In 3 or 4 hours it should become hard enough to slice and hold its shape. It can be served the same as ice cream. Very fluffy mixtures may not freeze as solidly on top as on the bottom.
In 4 hours it seems to be especially good and somewhat ripened.
A larger amount of mixture takes a longer time to freeze.
It is usually practical to prepare a frozen mixture immediately after one meal and leave it in the refrigerator until the next. One to 2 quarts of mixture may require 7 hours. We have filled the large pan with mousse on Saturday morning, have gone away from home and returned to serve it Sunday night. It can be prepared after breakfast and served for evening dinner or after lunch to serve in the evening.
To Remove Desserts from Refrigerator Pan – Place refrigerator pan for an instant in a large pan of warm water, loosen from the edges with a knife and invert on the serving dish; or remove with a spoon or ice cream scoop and put in individual glasses; or cut in squares or slices, remove with a broad spatula and serve on ice cream plates. To facilitate removal, pans may be lined with heavy paraffin paper before packing frozen ice cream or mixtures that need no stirring.
Individual Frozen Desserts – Any mousse or parfait may be frozen, or a frozen ice cream can be packed in small molds in the chilling unit.
To Serve Individual Desserts – Dip molds for an instant in warm water, loosen around the edge and invert on serving plate.