
Cider Cake
Cider Cake is a simple coffee cake spiced with apple cider, brown sugar, cinnamon and cloves. This recipe is found in The Frugal Housewife’s Manual, which is the first cookbook compiled and published in the English language in Canada in 1840. I tested out this Cider Cake recipe when I was preparing for an Open Hearth Baking class that was to be taught at Nelles Manor Museum in Grimsby, Ontario in early April 2020. An interesting note is that The Frugal Housewife’s Manual was compiled by someone with the initials A. B., who lived in Grimsby, Ontario at the time. Conceivably, this A.B. and the Nelles family who lived at Nelles Manor would have been acquainted with each other since the both lived in the same small community.
This was one of the mid-1800s recipes that I would be preparing using Nelles Manor’s Open Hearth with the class participants using the Dutch Oven. Other open hearth baking recipes would have made by using other open hearth baking implements, such as cheese straws fried on the griddle, coconut macaroons in the reflector oven, and fritters fried on a trivet. Keep an eye out in this blog for a description of how I used the dutch oven to bake the Cider Cake, and future blog posts for how-tos for all the open hearth baking techniques I’ve mentioned.
Cheese Cookies
March 31st is the anniversary of this blog – and in honour of my first recipe, Cayenne Cheese from Mrs. Beeton’s Book of Household Management, which is the first written recipe for Cheese Straws, I’ve been making recipes that feature flour, butter, cheese, salt and cayenne pepper each year to mark the occasion. This Cheese Cookie recipe is from the 1940s edition of the Joy of Cooking.

Rhubarb Cups
Rhubarb Cups are a simple, three-ingredient, make-ahead dessert from the 1847 cookbook The Lady’s Receipt Book by Eliza Leslie. Rhubarb Cups would be a perfect dish to add to your recipe rotation if you’ve got a freezer full of stewed rhubarb! I have to admit, they don’t end up being the most visually appealing dessert, but what they lack in aesthetics, they make up for in taste.
The cups themselves are very mild, but this recipe also includes a zippy and flavourful butter, sugar and lemon hard sauce. As an added bonus, in this blog post you’ll find out where you can find rhubarb growing wild in Banff National Park.
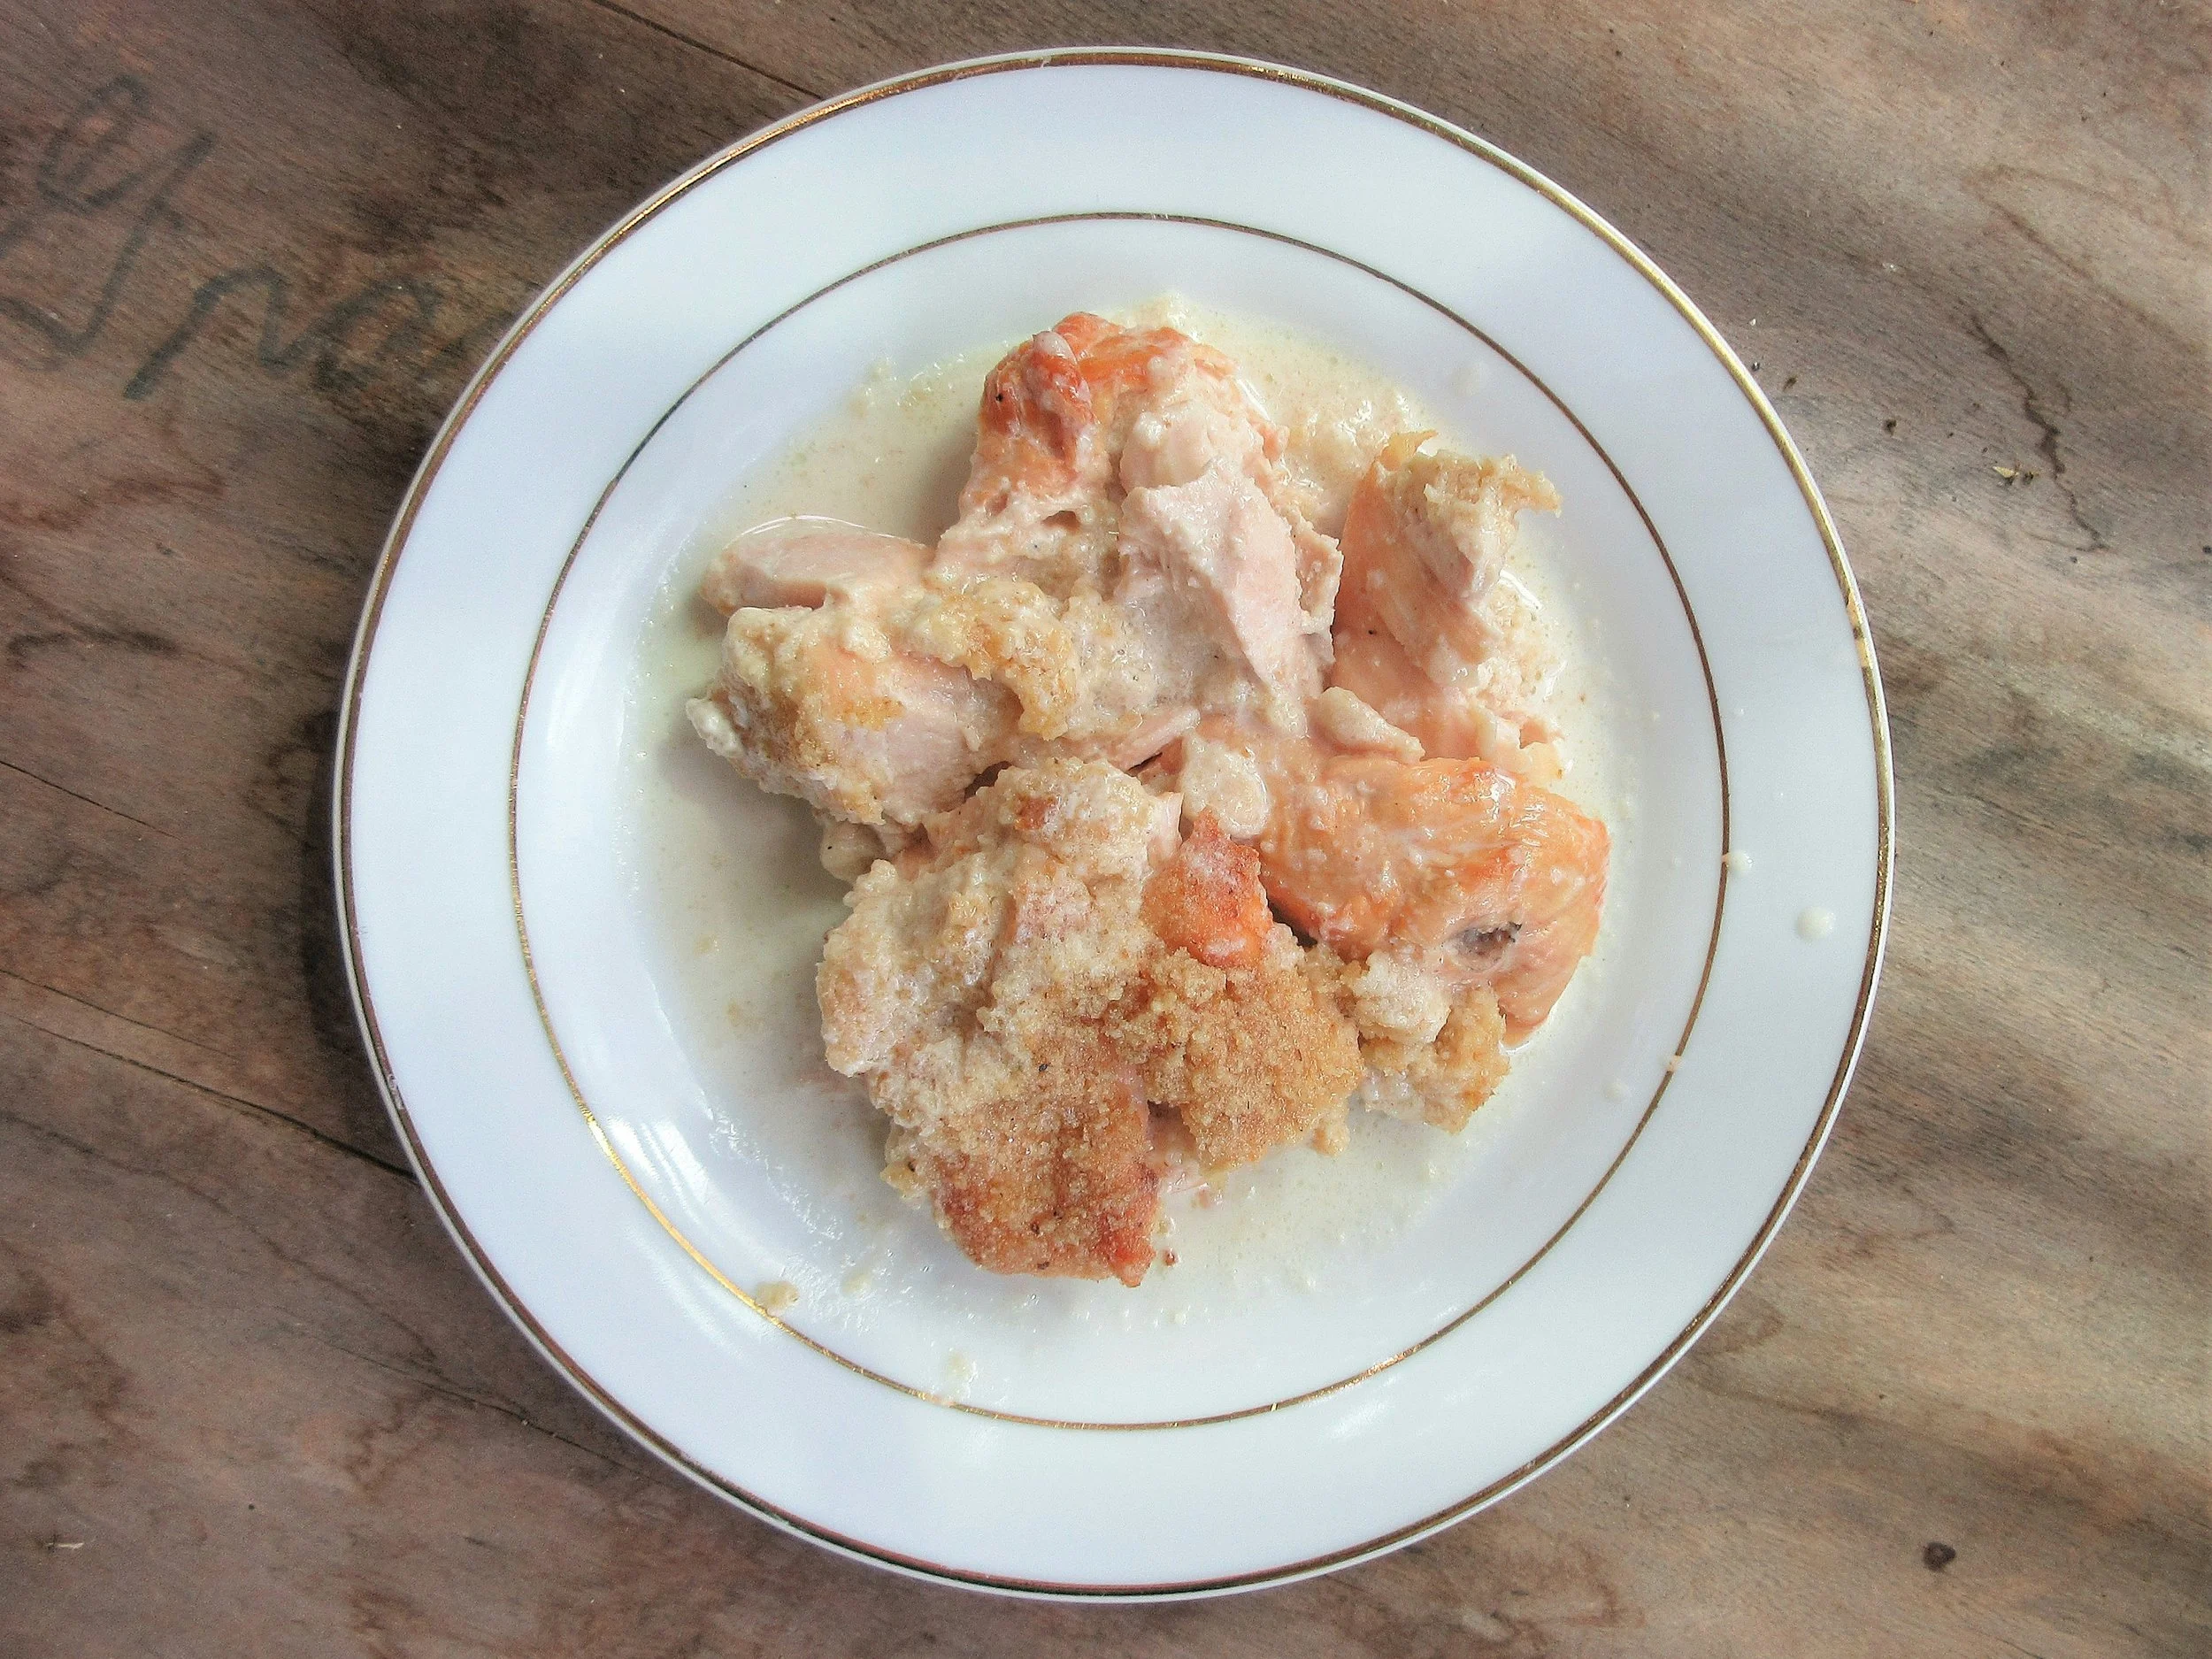
Fillets of Chickens, with Bechamel-ſauce and Bread-crumbs
It’s been a while since I made Fillets of Chickens, with Bechamel-ſauce and Bread-crumbs at Nelles Manor Museum. I made it twice in the summer of 2019, which was the last time that I was able to teach an open hearth cooking class there. The recipe’s from the 1781 cookbook The Practice of Modern Cookery by George Dalrymple and at this class, we made recipes that would have been popular when the house was newly constructed using fresh garden produce and some newly purchased open hearth cooking implements.
Keep reading after the recipe to learn about some open hearth cookery techniques using a salamander and a couple of different styles of reflector ovens.
Short or Flaky Pastry
Every year in March for my blogging anniversary, I make a different Cheese Straw recipe and this year’s Cheese Straws called for an pre-prepared batch of pastry. I searched for a pastry recipe from the same time period and found Short or Flaky Pastry in the 1901 classic The Settlement Cook Book.
Short or Flaky Pastry is a puff pastry recipe that’s easy to pull off and it does live up to its name by producing a pastry that’s both flaky and light. It calls for half butter and half lard, but it is also delicious when made with only butter. This is definitely a recipe that I’m going to look up on my own website when I need to make some puff pastry fast!
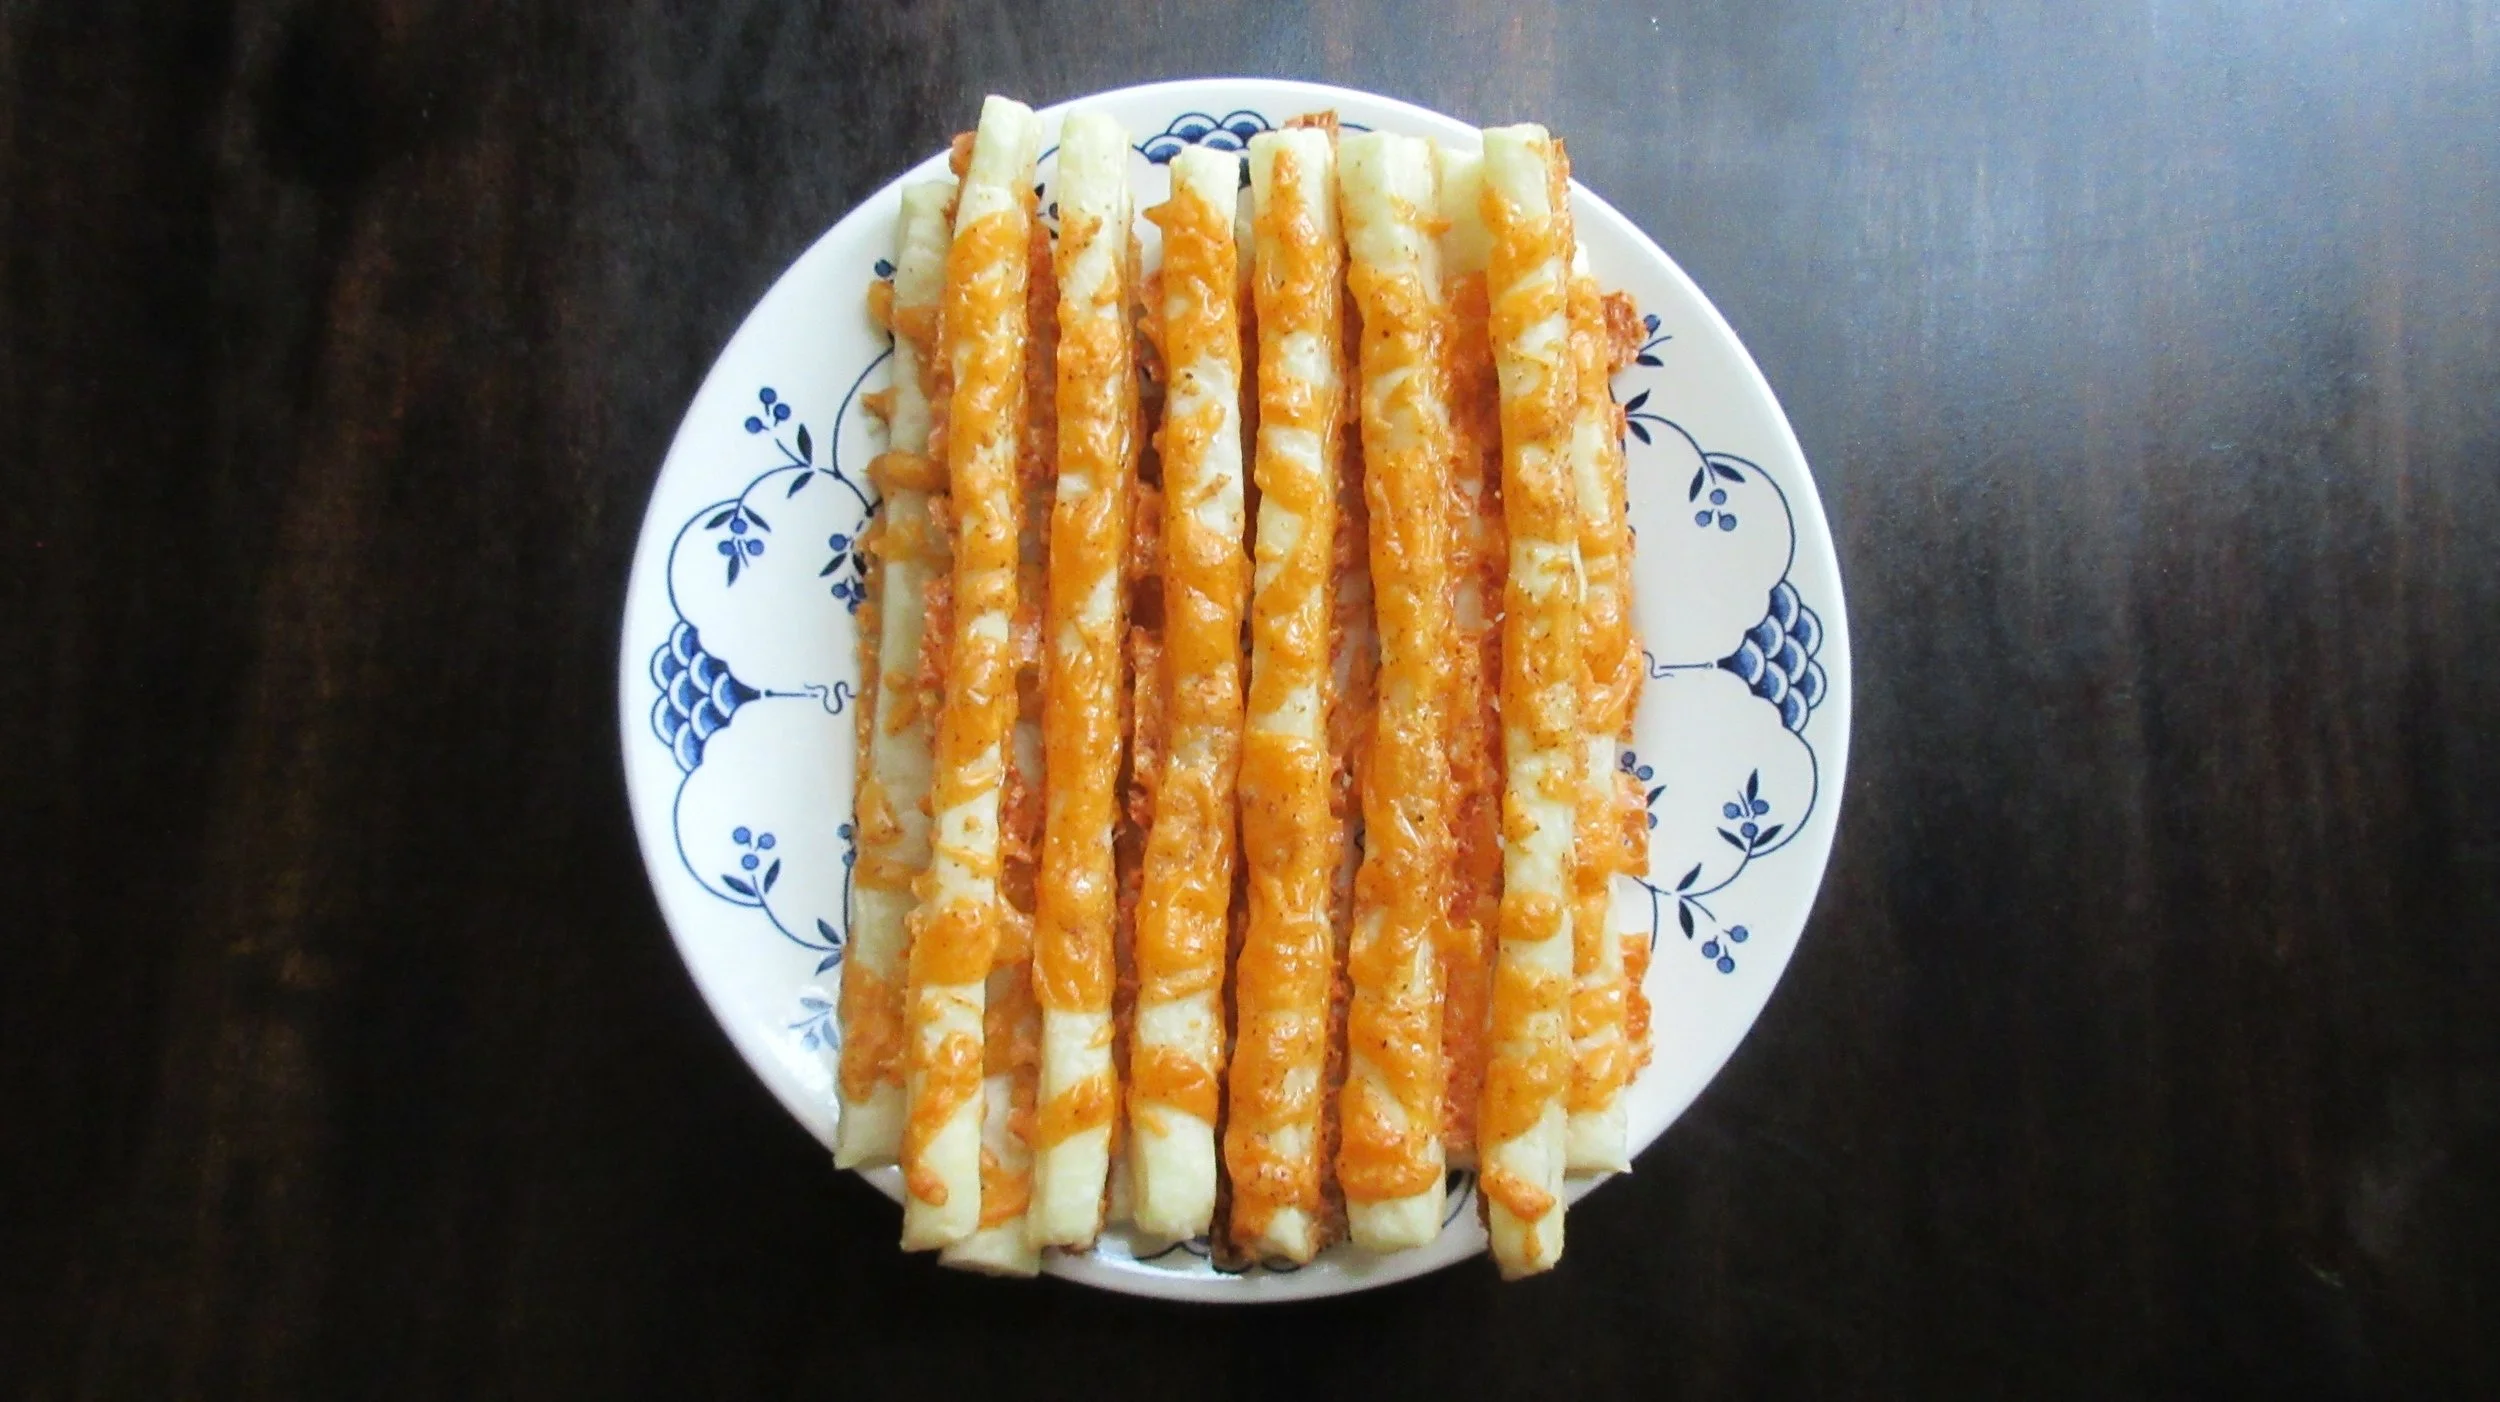
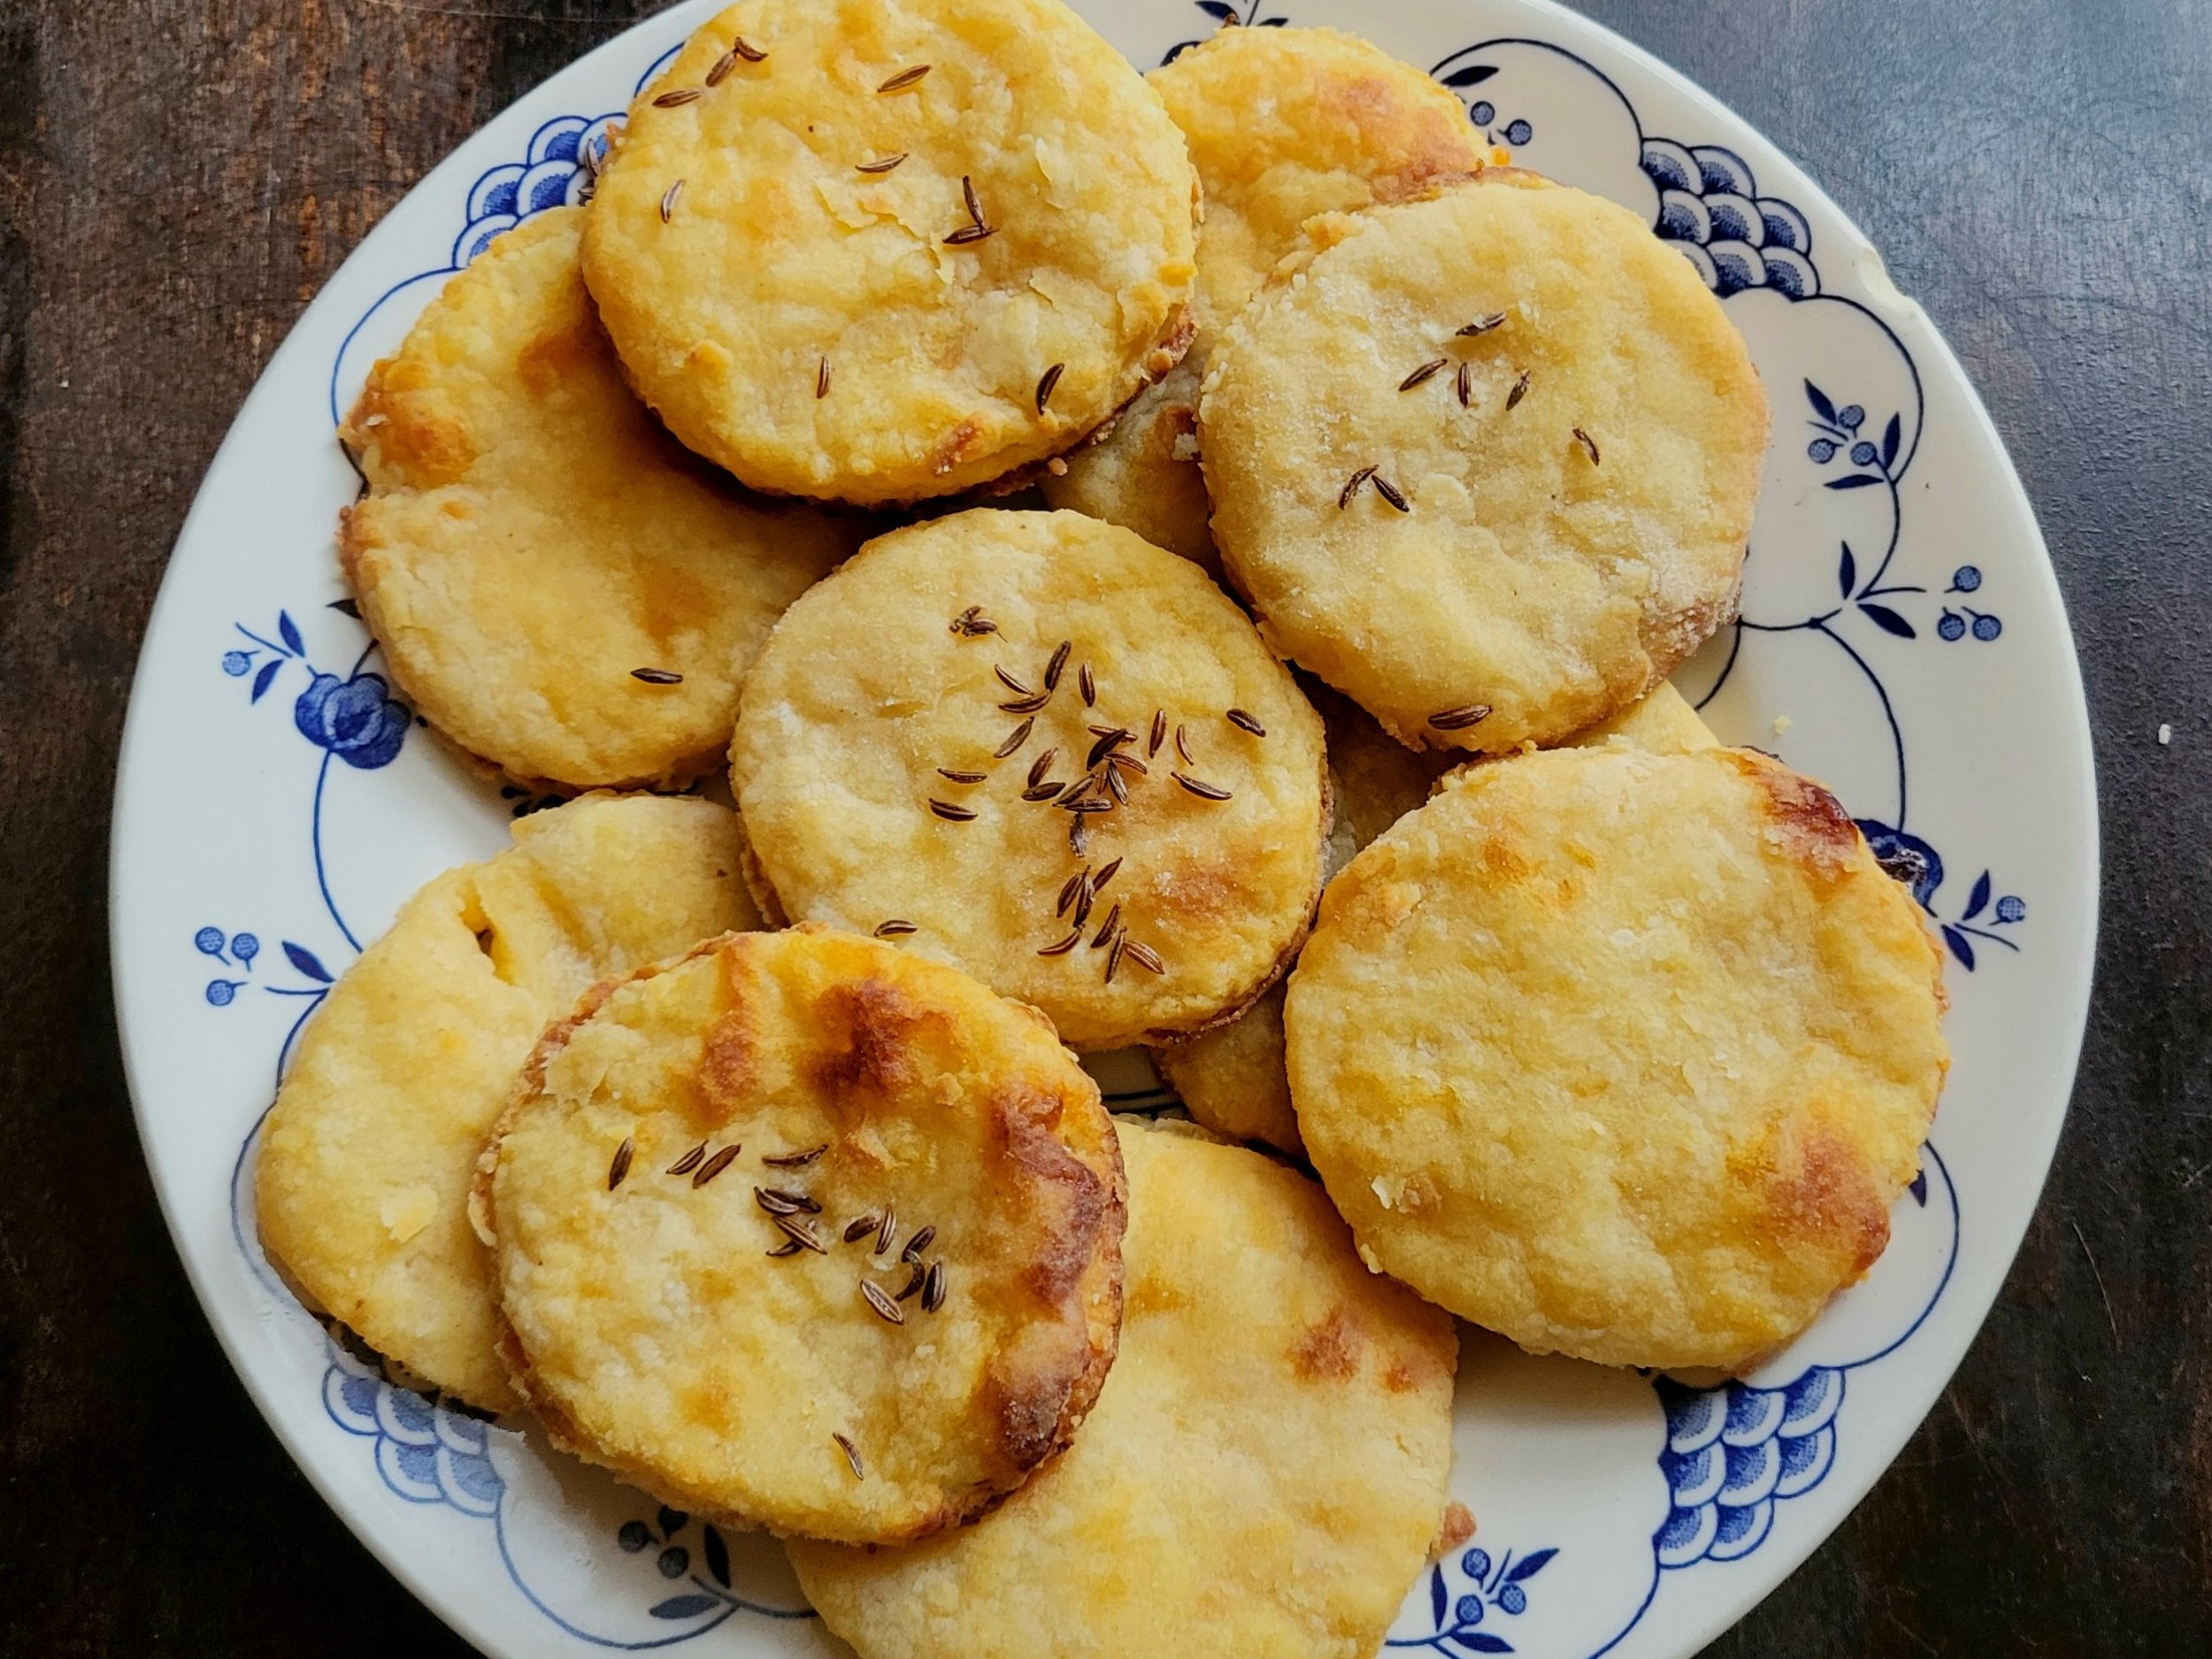
Cheese Straws
It’s my anniversary today! Three years ago today, I was furiously completing my first blog post, Cayenne Cheeses, which still is one of my favourite historic recipes. Each year ever since, I’ve made another baked cheesy recipe with cheese, butter, flour, salt and cayenne pepper in the ingredient list.
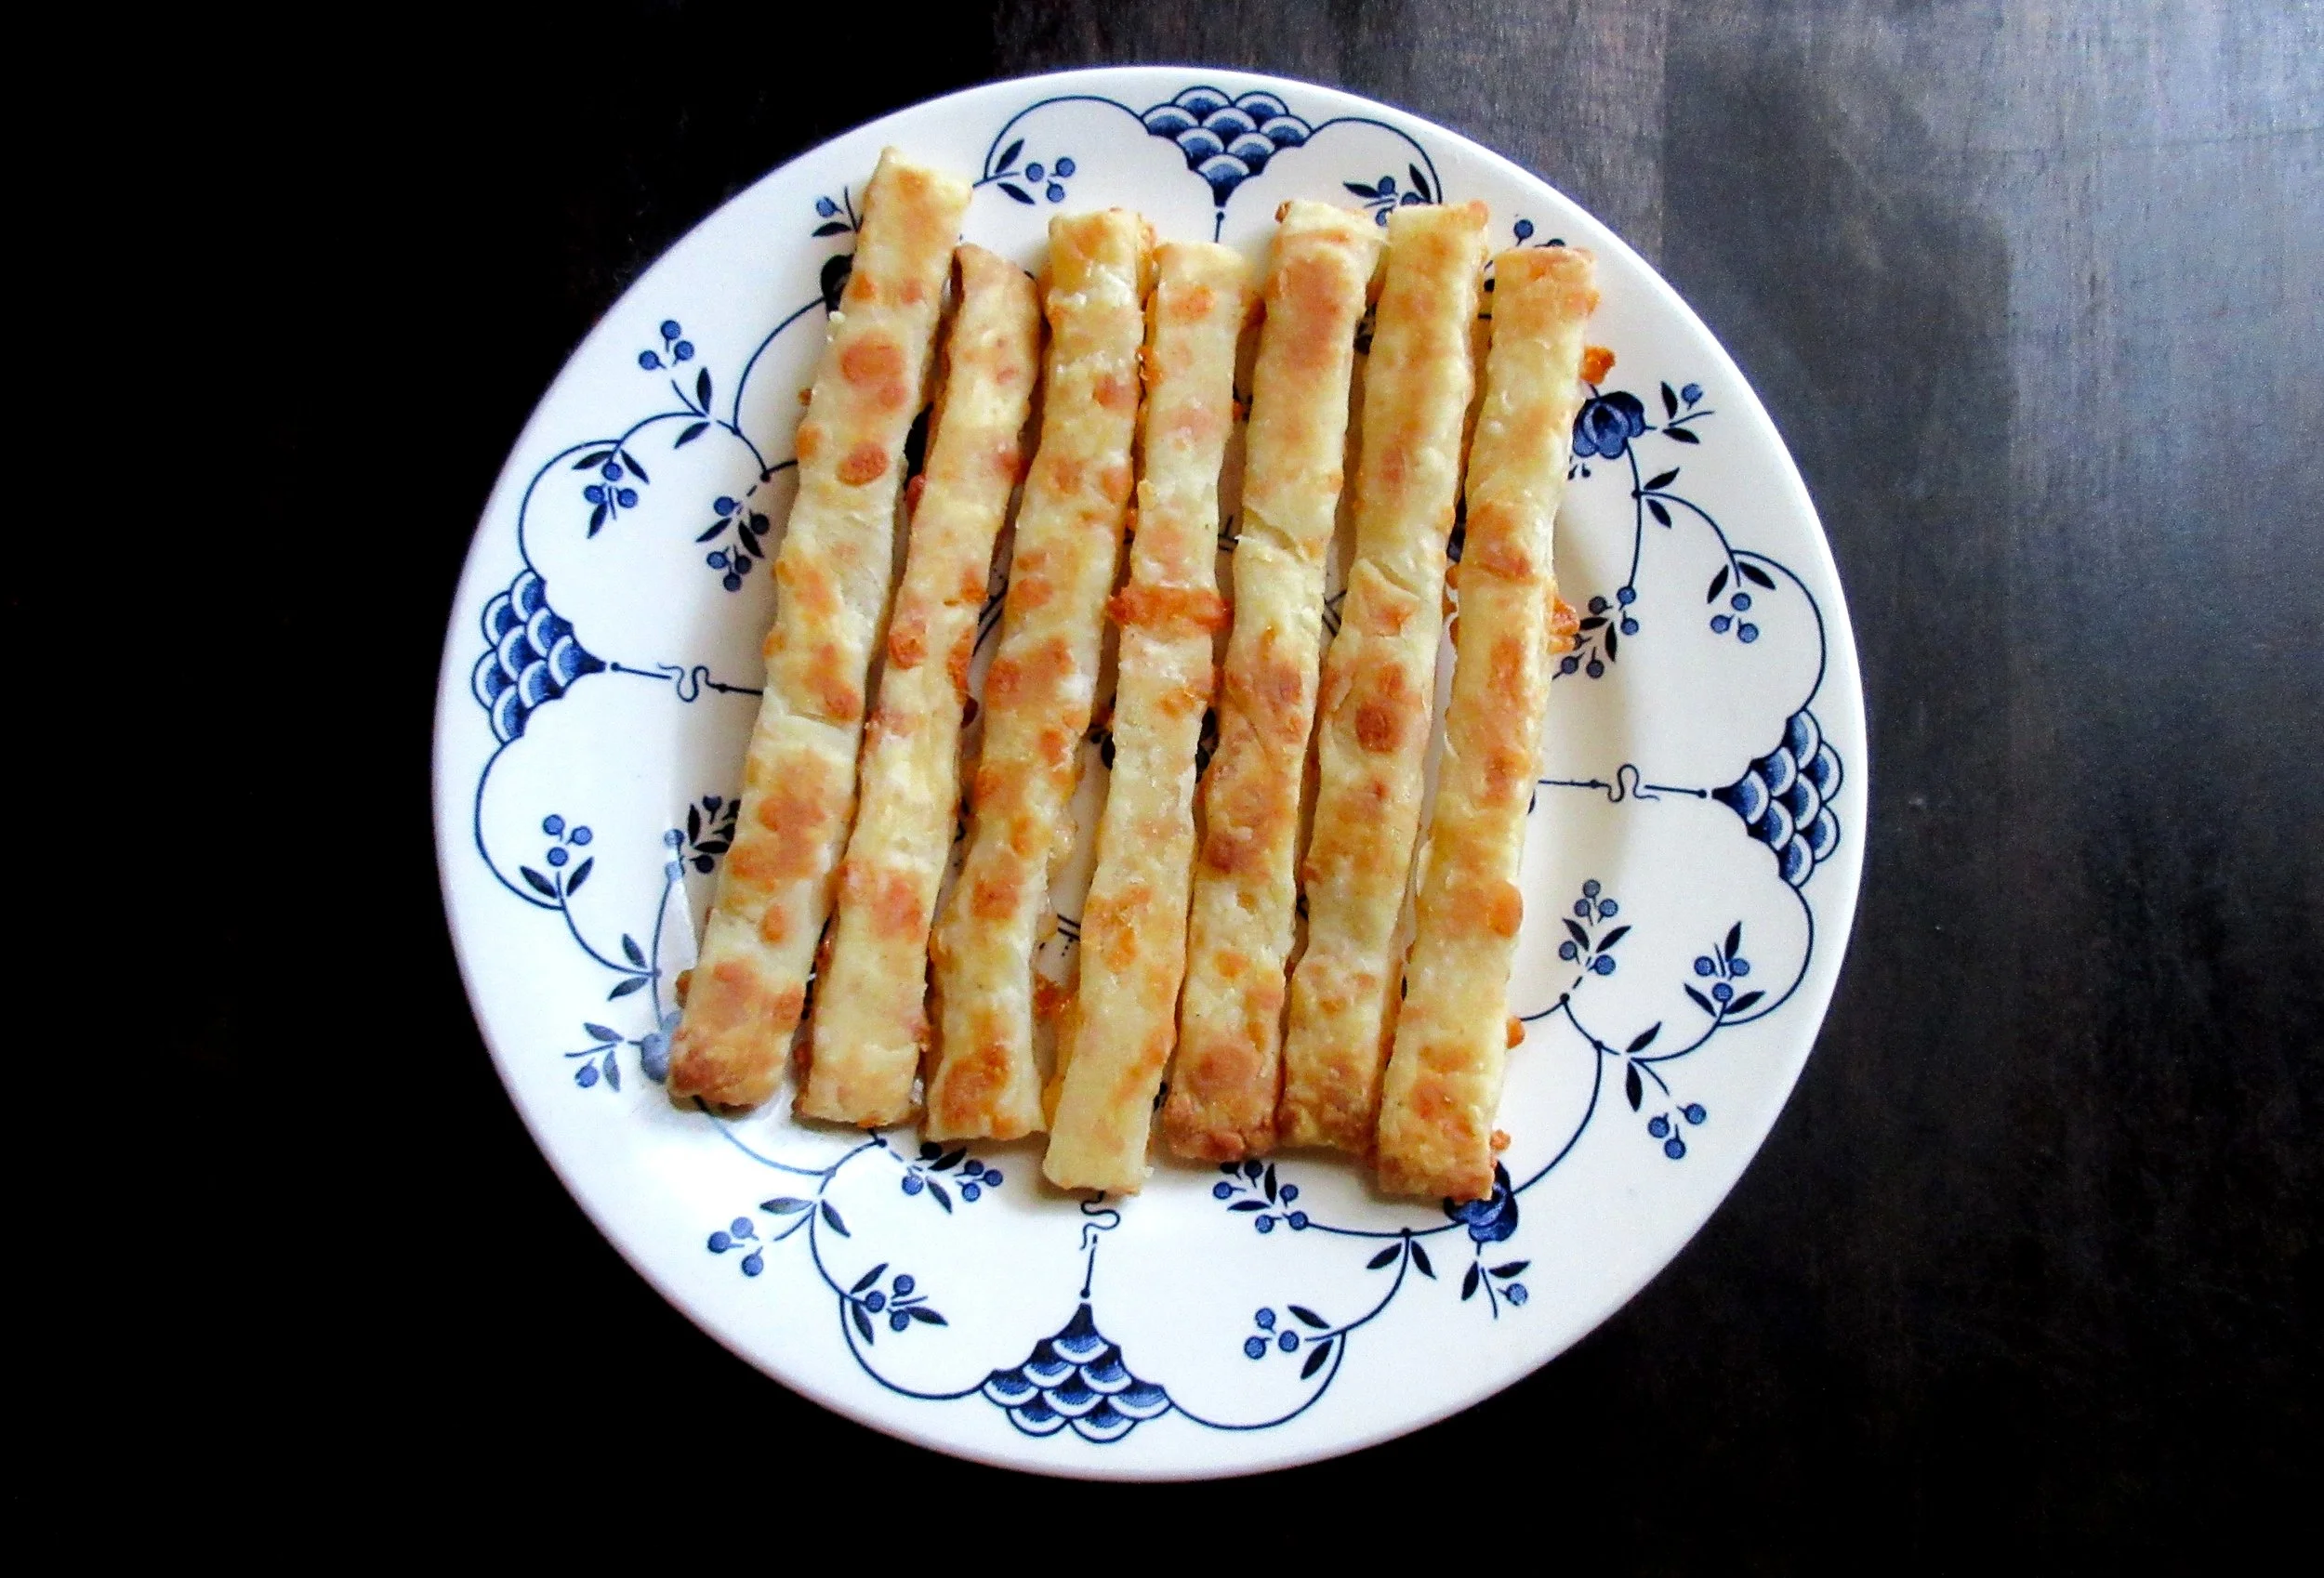
This Cheese Straw recipe is from the 1903 Good Housekeeping Everyday Cook Book and it’s very simple to put together. Grate cheese, season with salt and cayenne pepper and sprinkle it on top of thin strips of pastry. It’s an excellent recipe for making a delicious snack from the extra pastry when you’re making a pie. You could also make or buy pastry if you want a larger batch. They taste quite more-ish, so you might very well want to make pastry specifically for this recipe!
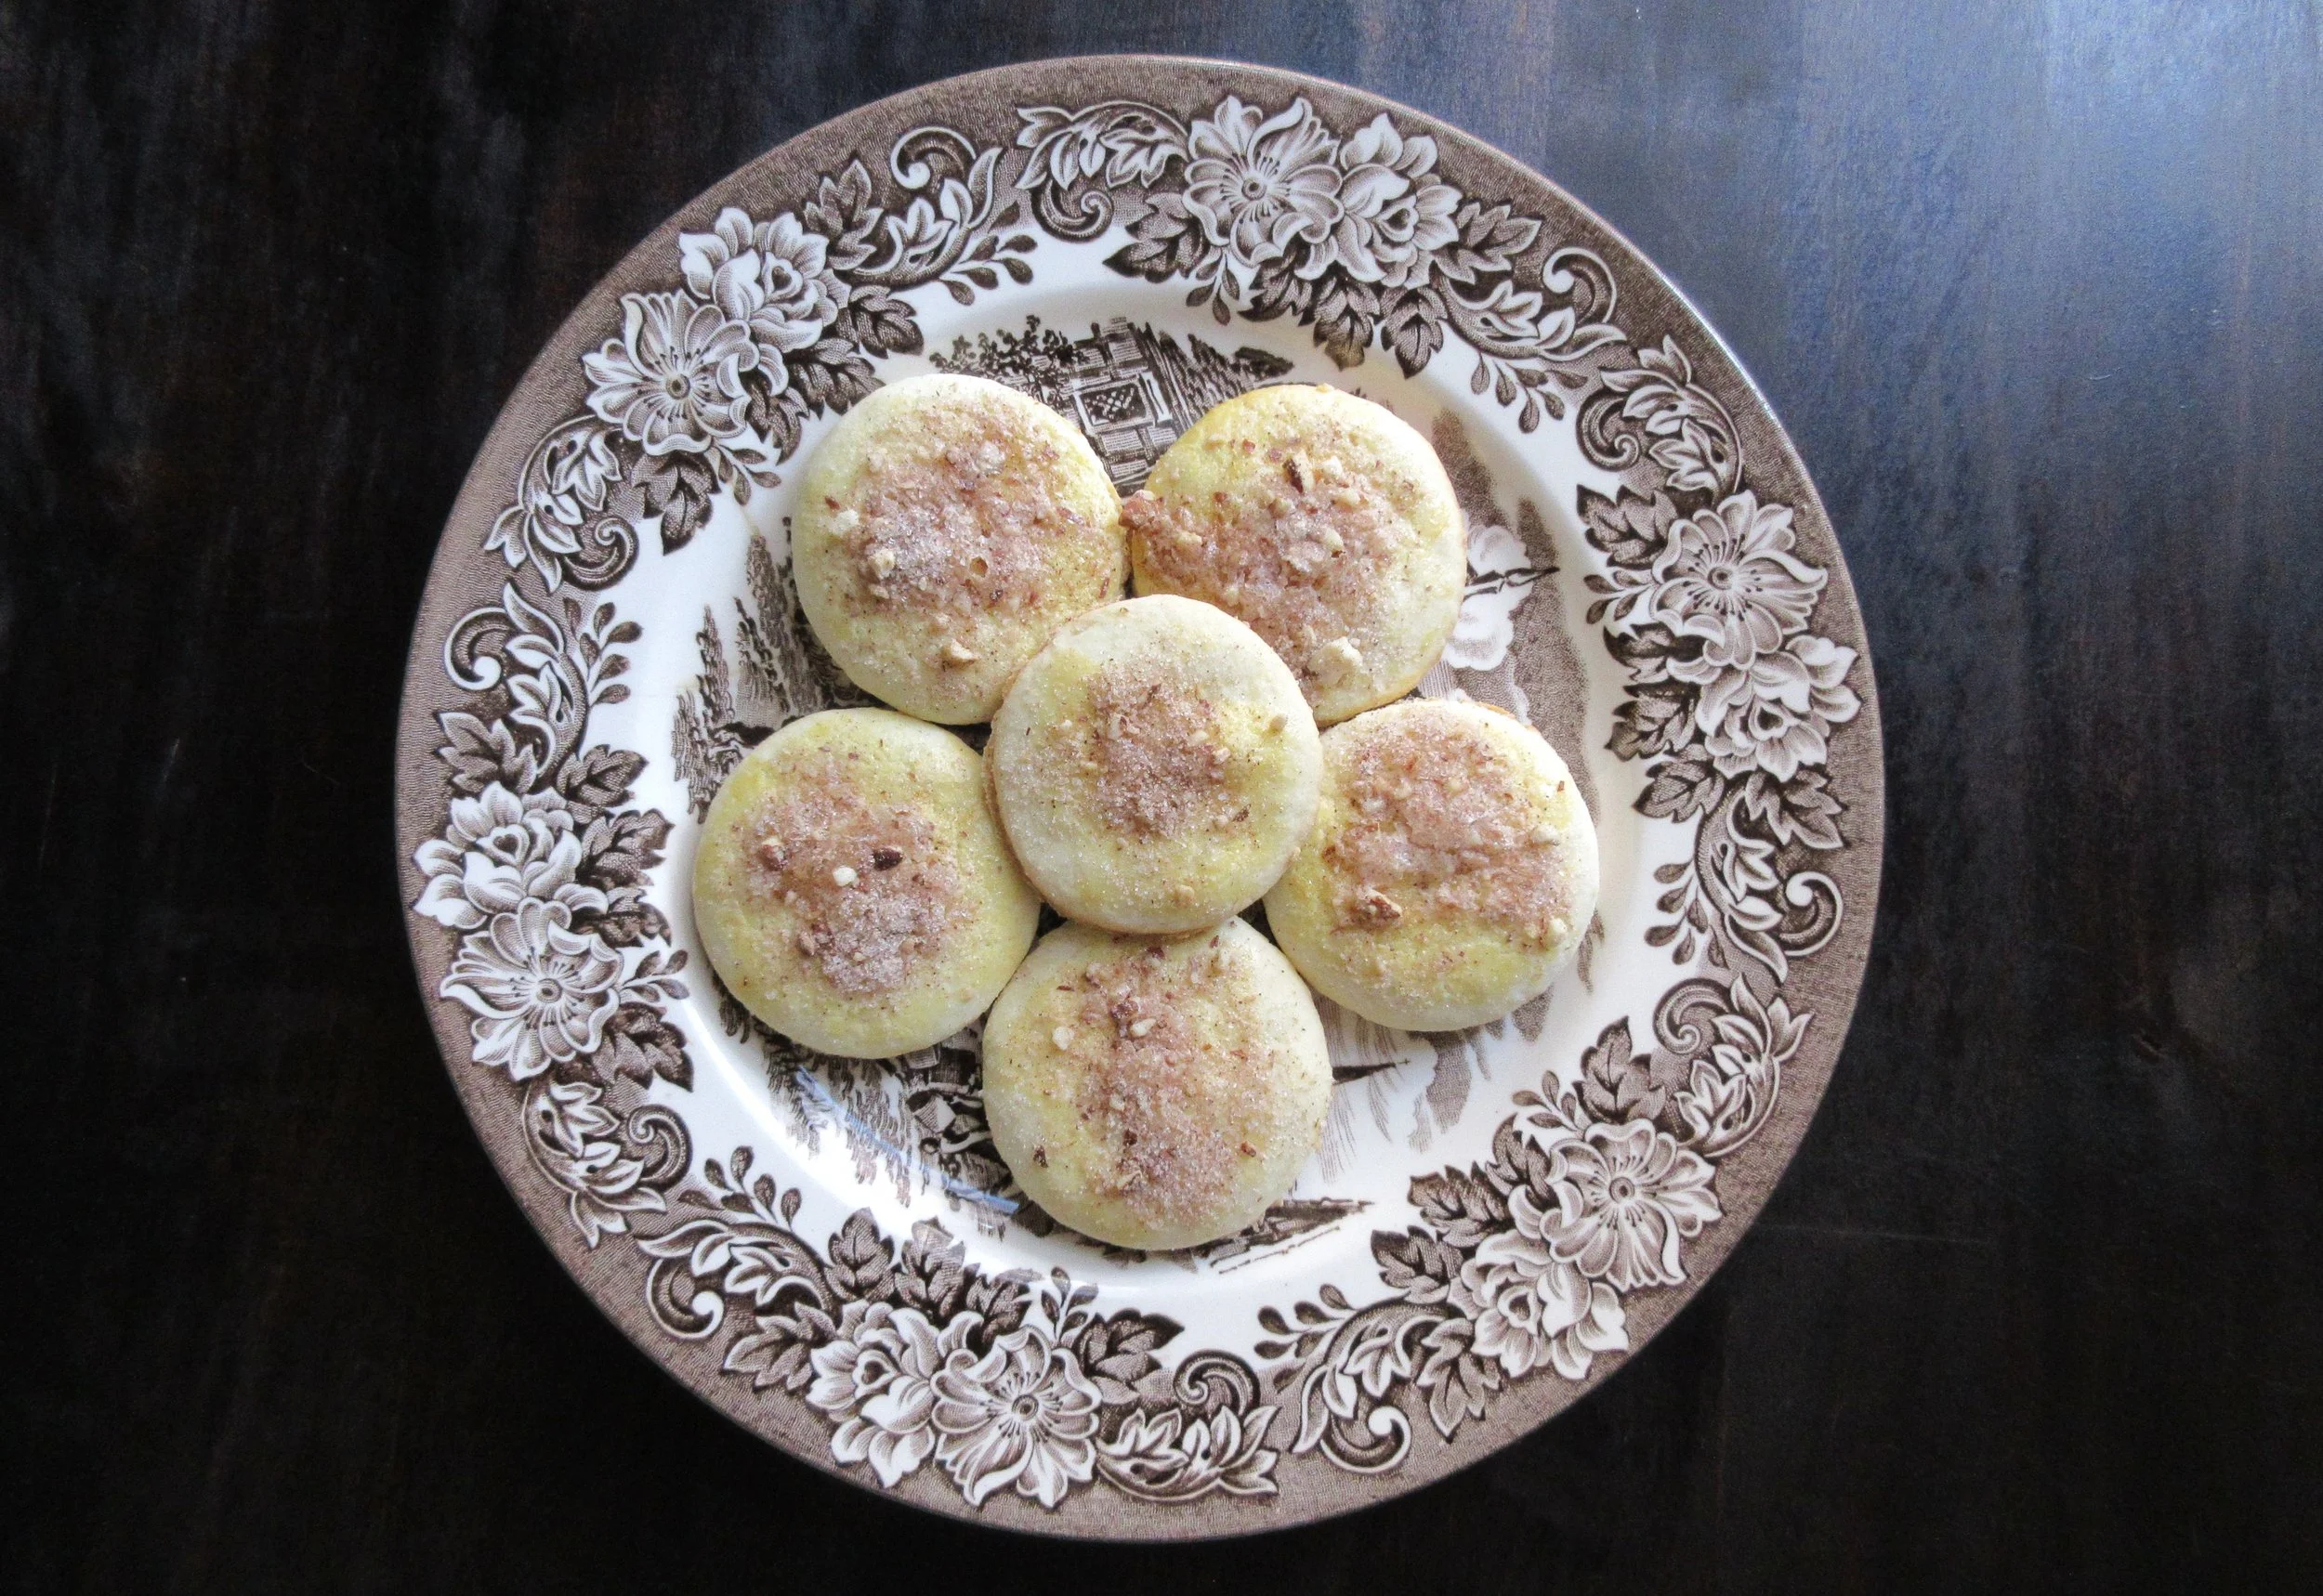
Cup Cookies
Cu p Cookies are a milk, lemon and sugar cookie with an almond, sugar & cinnamon topping sprinkled on top. This recipe is from Aunt Babette’s Cook Book from 1889, and its leavening agent is Ammonium Bicarbonate or Baker’s Ammonia
I’ve chosen this recipe because for the last 2 years, my Ammonia Cakes recipe has been my most popular post by far. This tells me that there’s an appetite for research and recipes using Baker’s Ammonia, but I’m torn, because Ammonia Cakes is not a delicious recipe at all! I had to make a second recipe, Icing for Cake to save the Ammonia Cakes so they were edible and they didn’t end up in the compost.
Cup Cookies are a much more delicious ammonium bicarbonate cookie. Stick with this recipe for the deliciousness, but head over to Ammonia Cakes for a bit of history about Baker’s Ammonia.
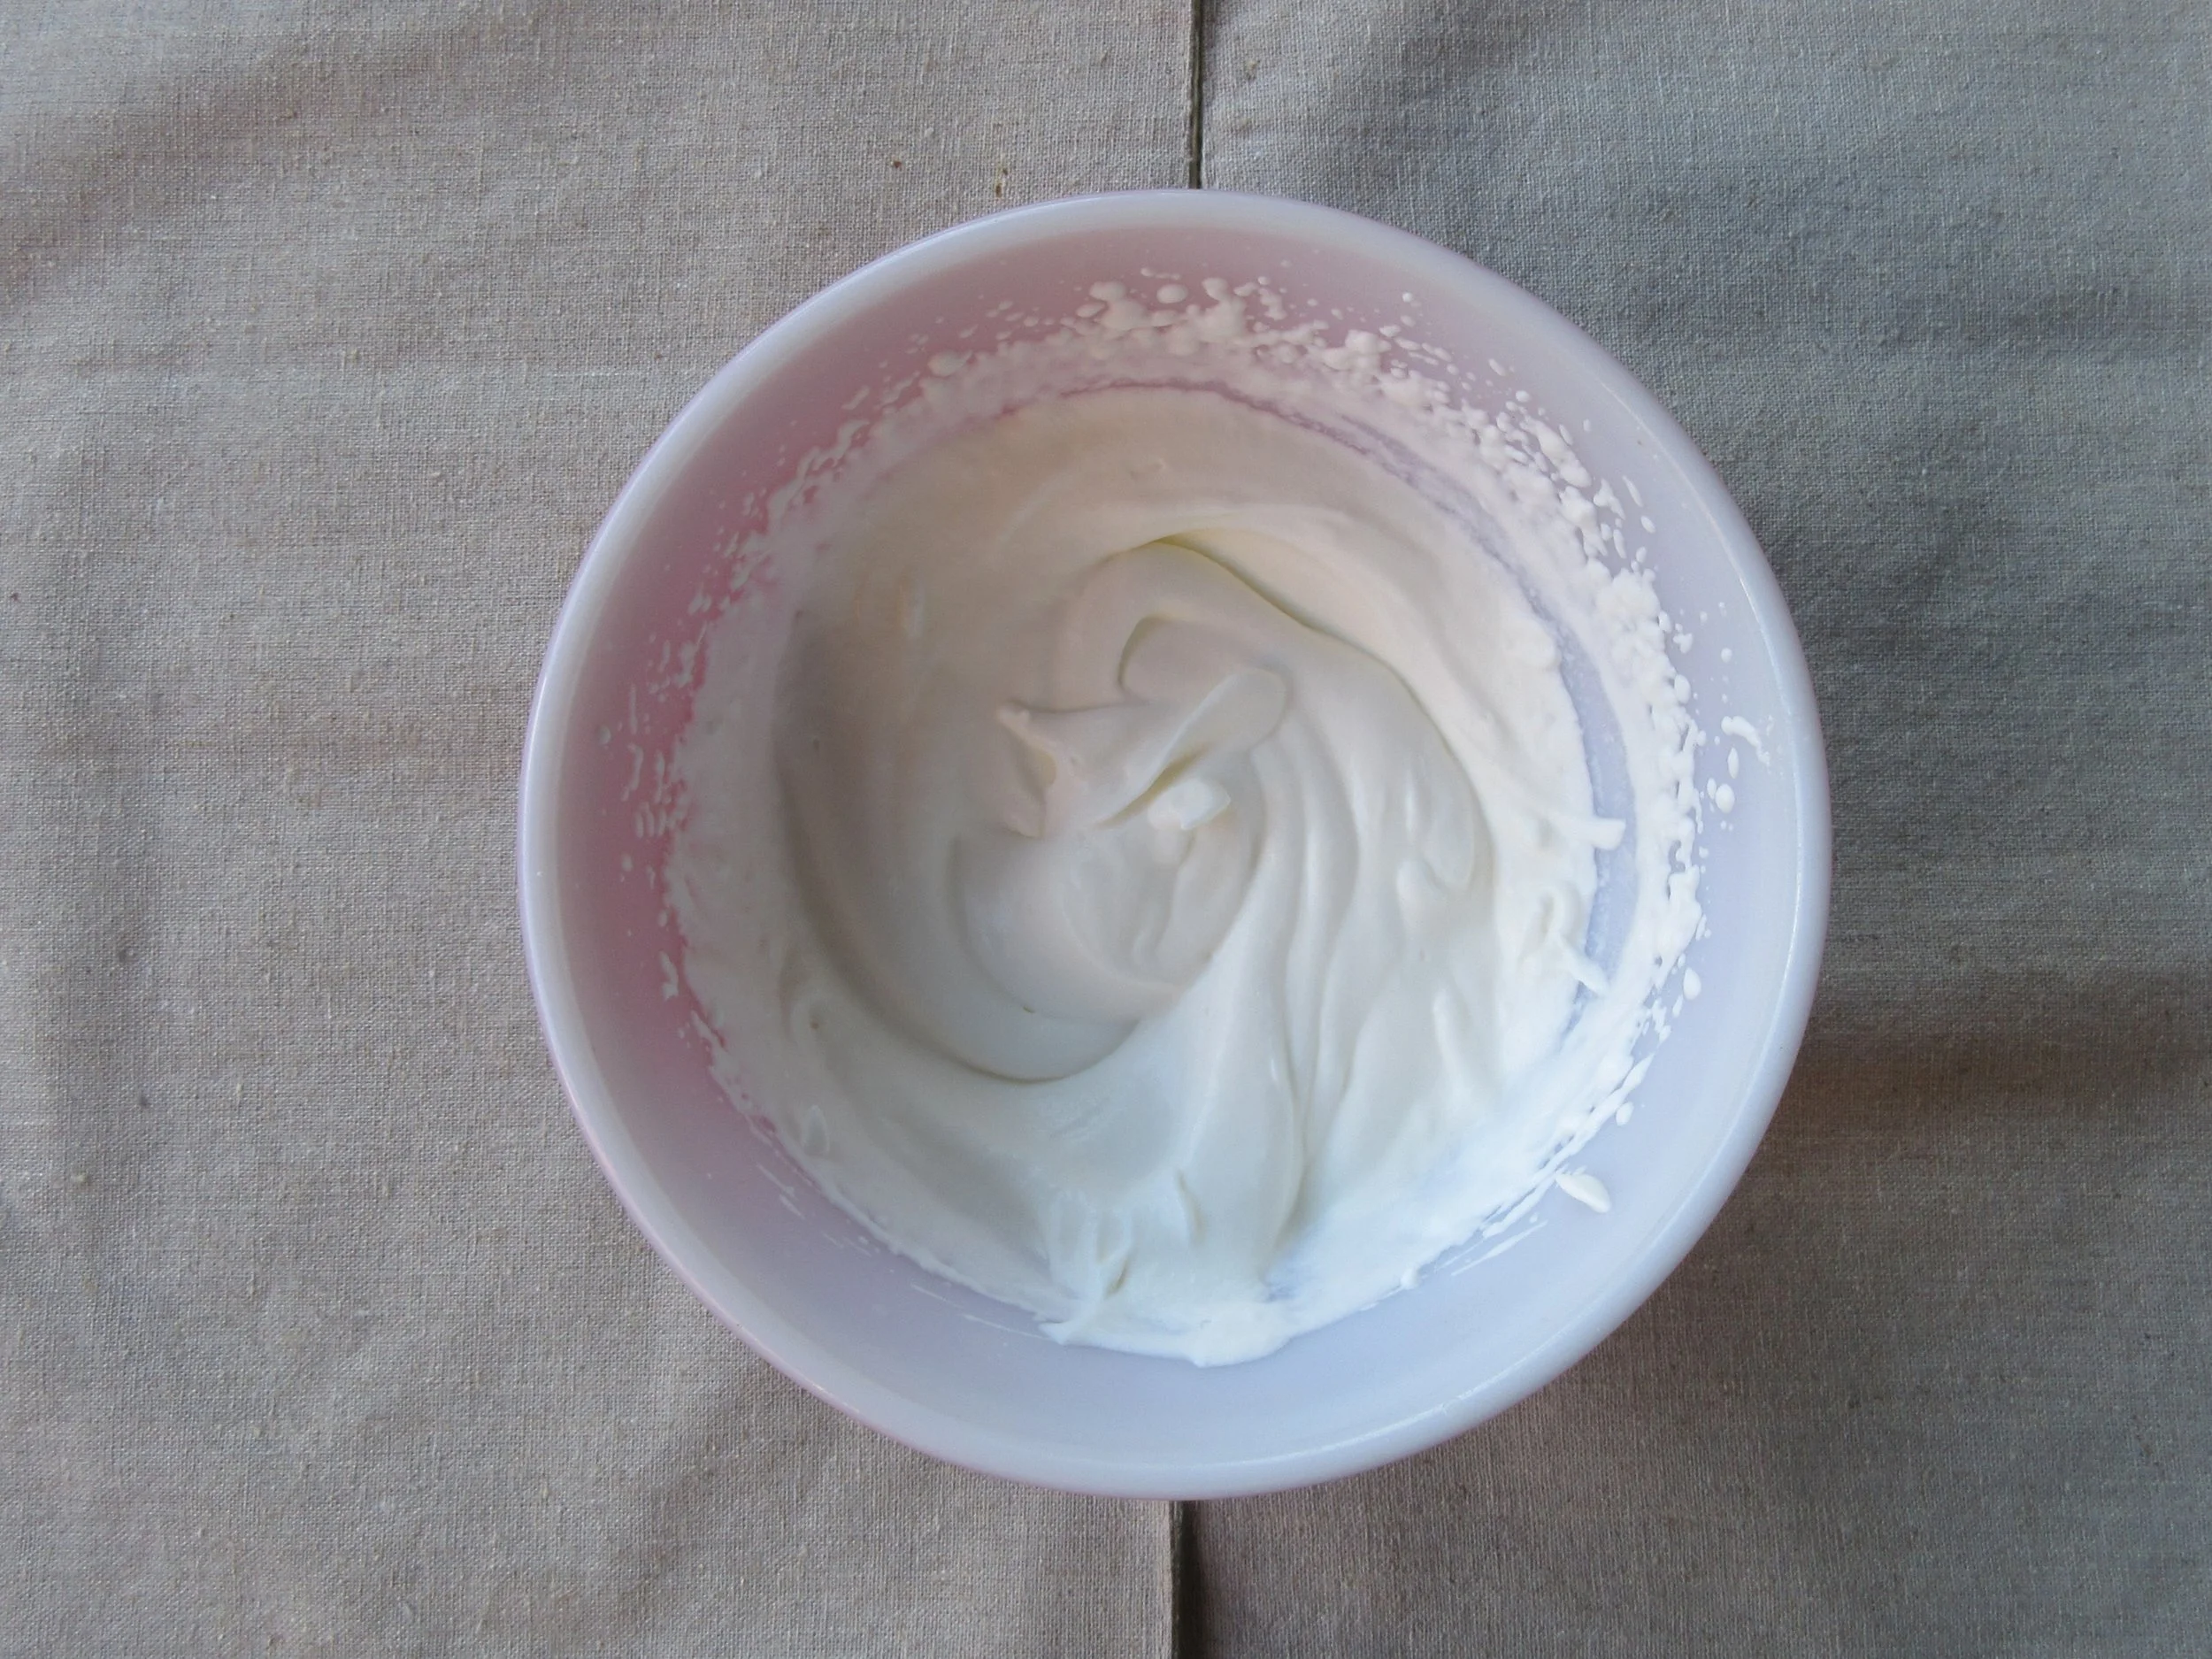
Peppermint Whipped Cream
Along with Marshmallow Mint Sauce, Peppermint Whipped Cream is one of the suggested toppings for the Chocolate Mousse recipe from the 1927 cookbook Electric Refrigerator Recipes and Menus. With only two ingredients, Peppermint Whipped Cream is tasty and easy to make and is a delightful topping for the frozen mousse.
Written by Alice Bradley of the Boston Cooking School, Electric Refrigerator Recipes and Menus was a helpful resource for housewives who welcomed a General Electric Monitor Top Refrigerator into their kitchen. The Monitor Top was the first household electric refrigerator that was affordable for the middle class and it was advertised as a healthier, time-saving and money-saving option than ice refrigerators.
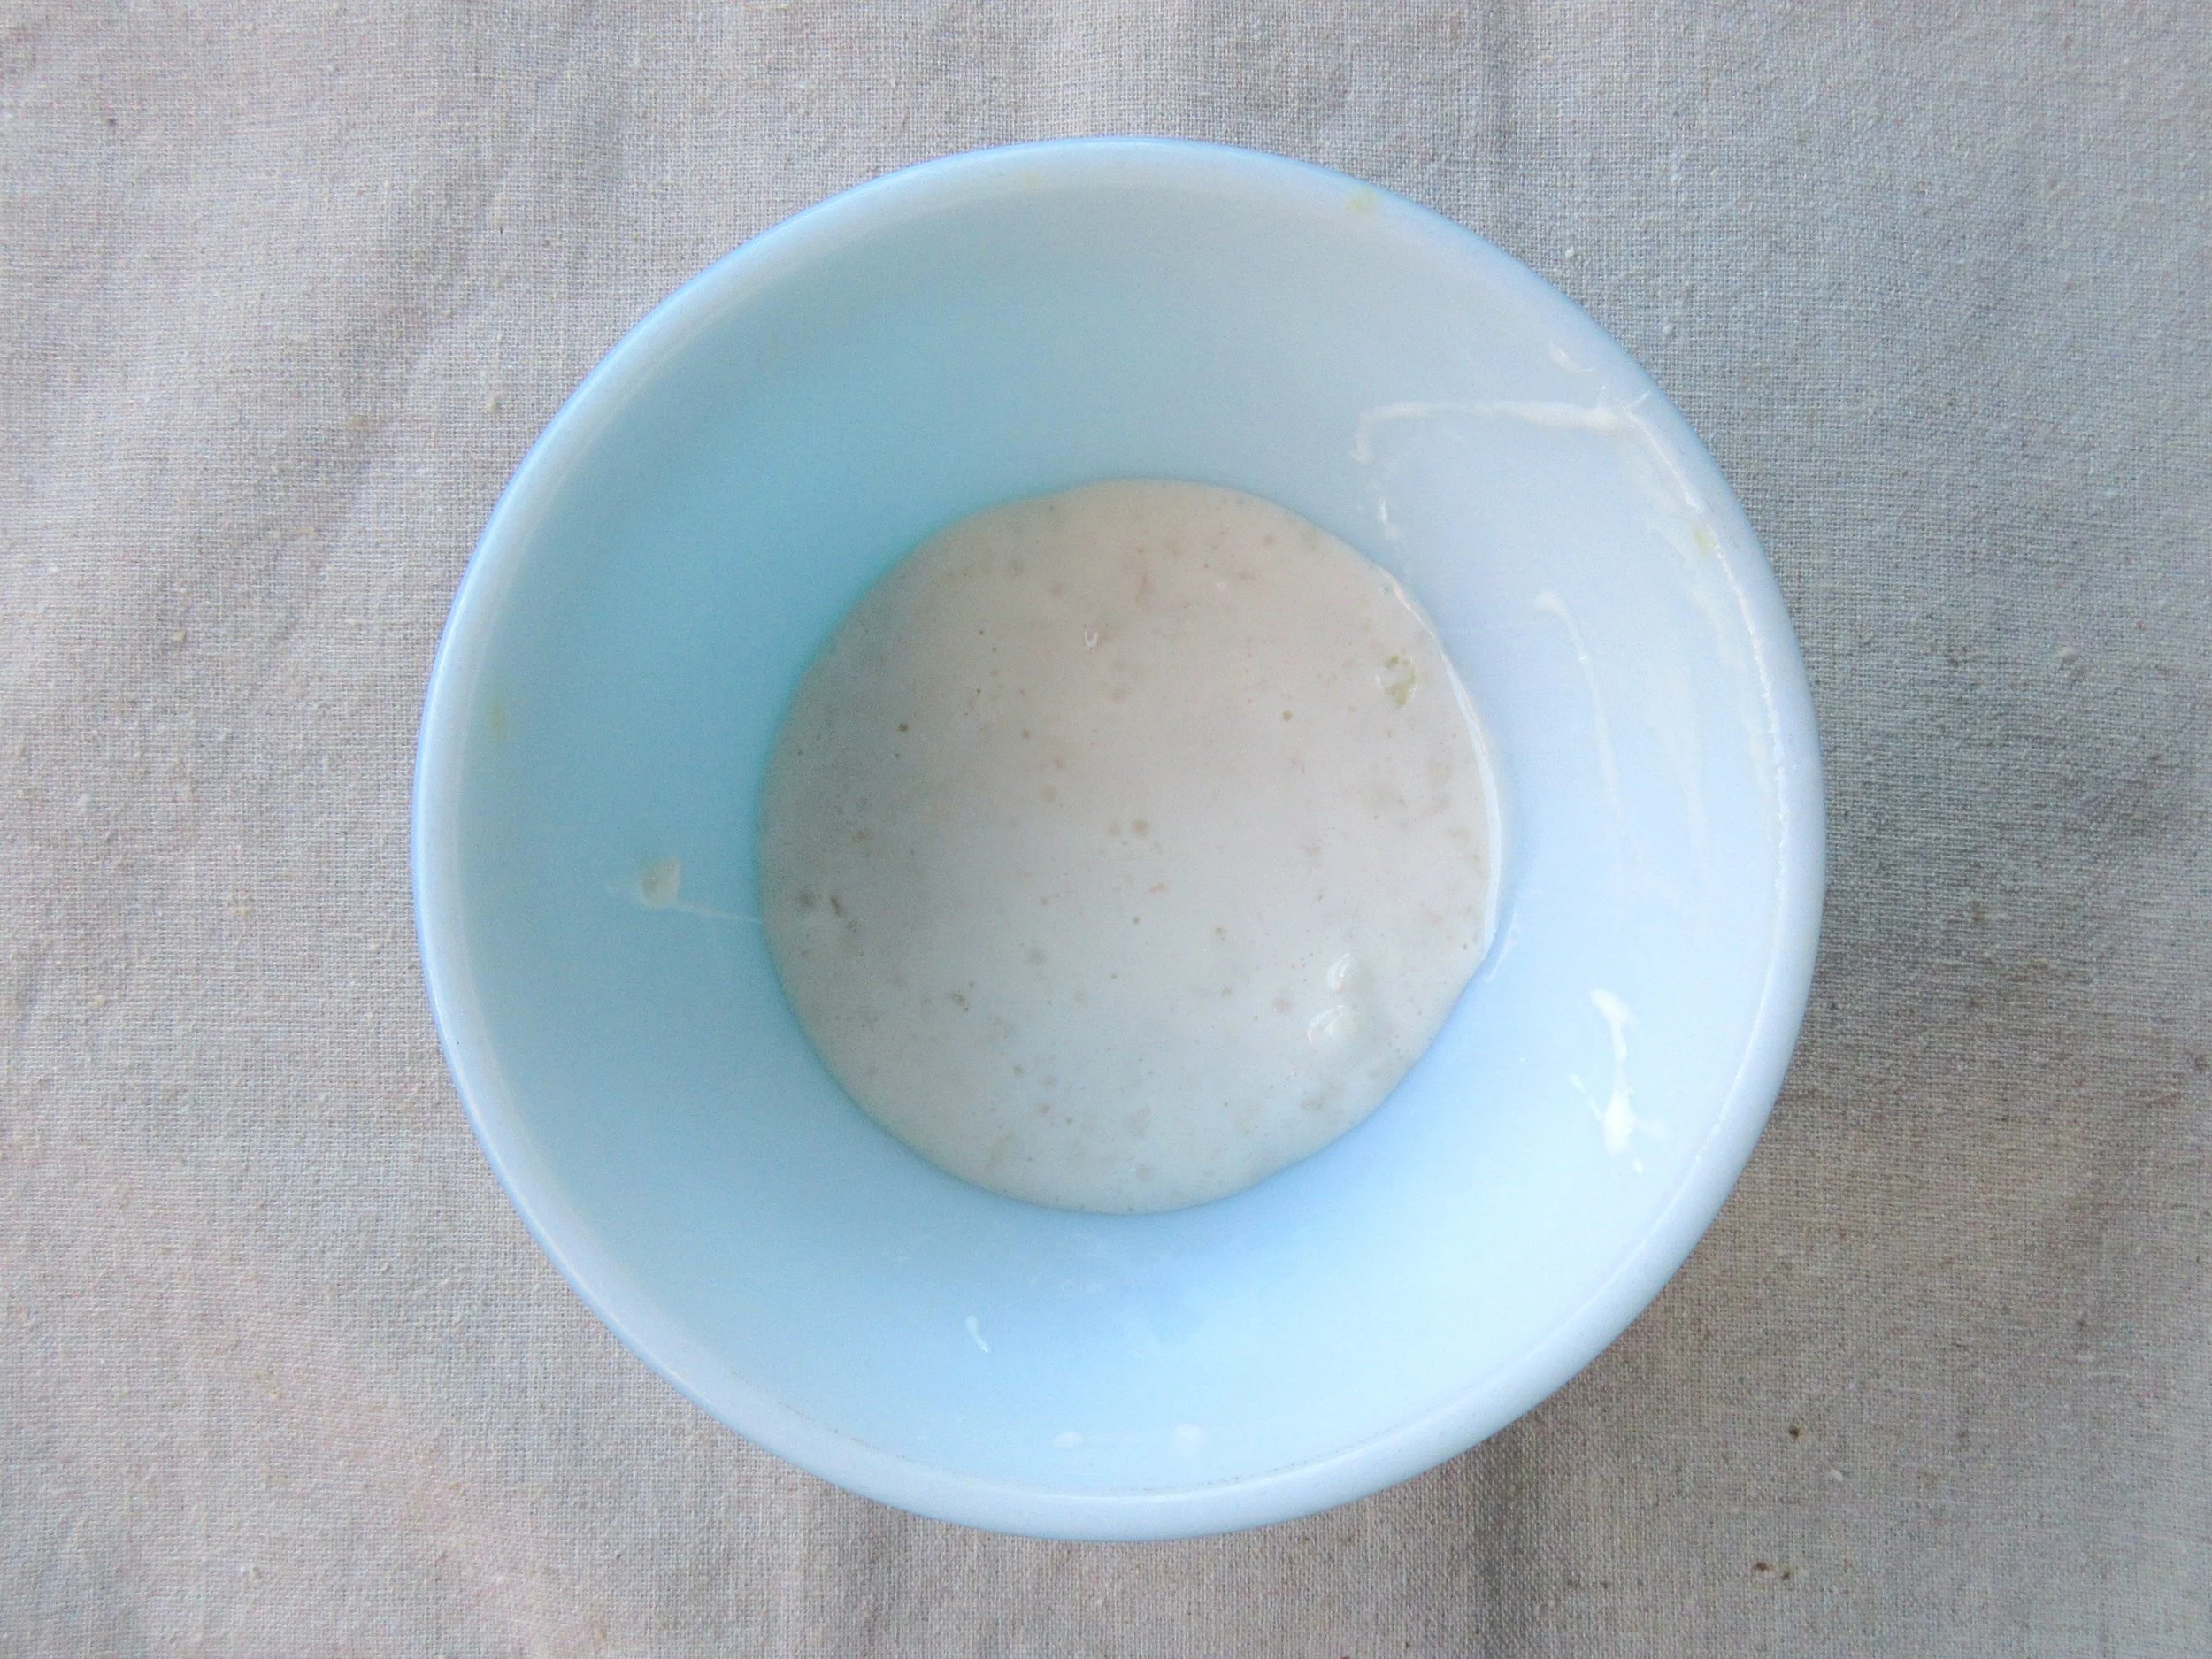
Marshmallow Mint Sauce
Marshmallow Mint Sauce is found in the Ice Cream Sauces chapter of the 1929 cookbook Electric Refrigerator Recipes and Menus, which contained “Recipes prepared especially for the General Electric Refrigerator”.
This minty sauce is a homemade peppermint-flavoured, albeit less fluffy, marshmallow fluff meant to top the Chocolate Mousse recipe from the same cookbook. It has a very sweet and candy-like flavour that I really enjoyed despite not having much of a sweet tooth. Keep scrolling after the recipe to read a brief history of the marshmallow and find out the roots of some common marshmallow recipes.
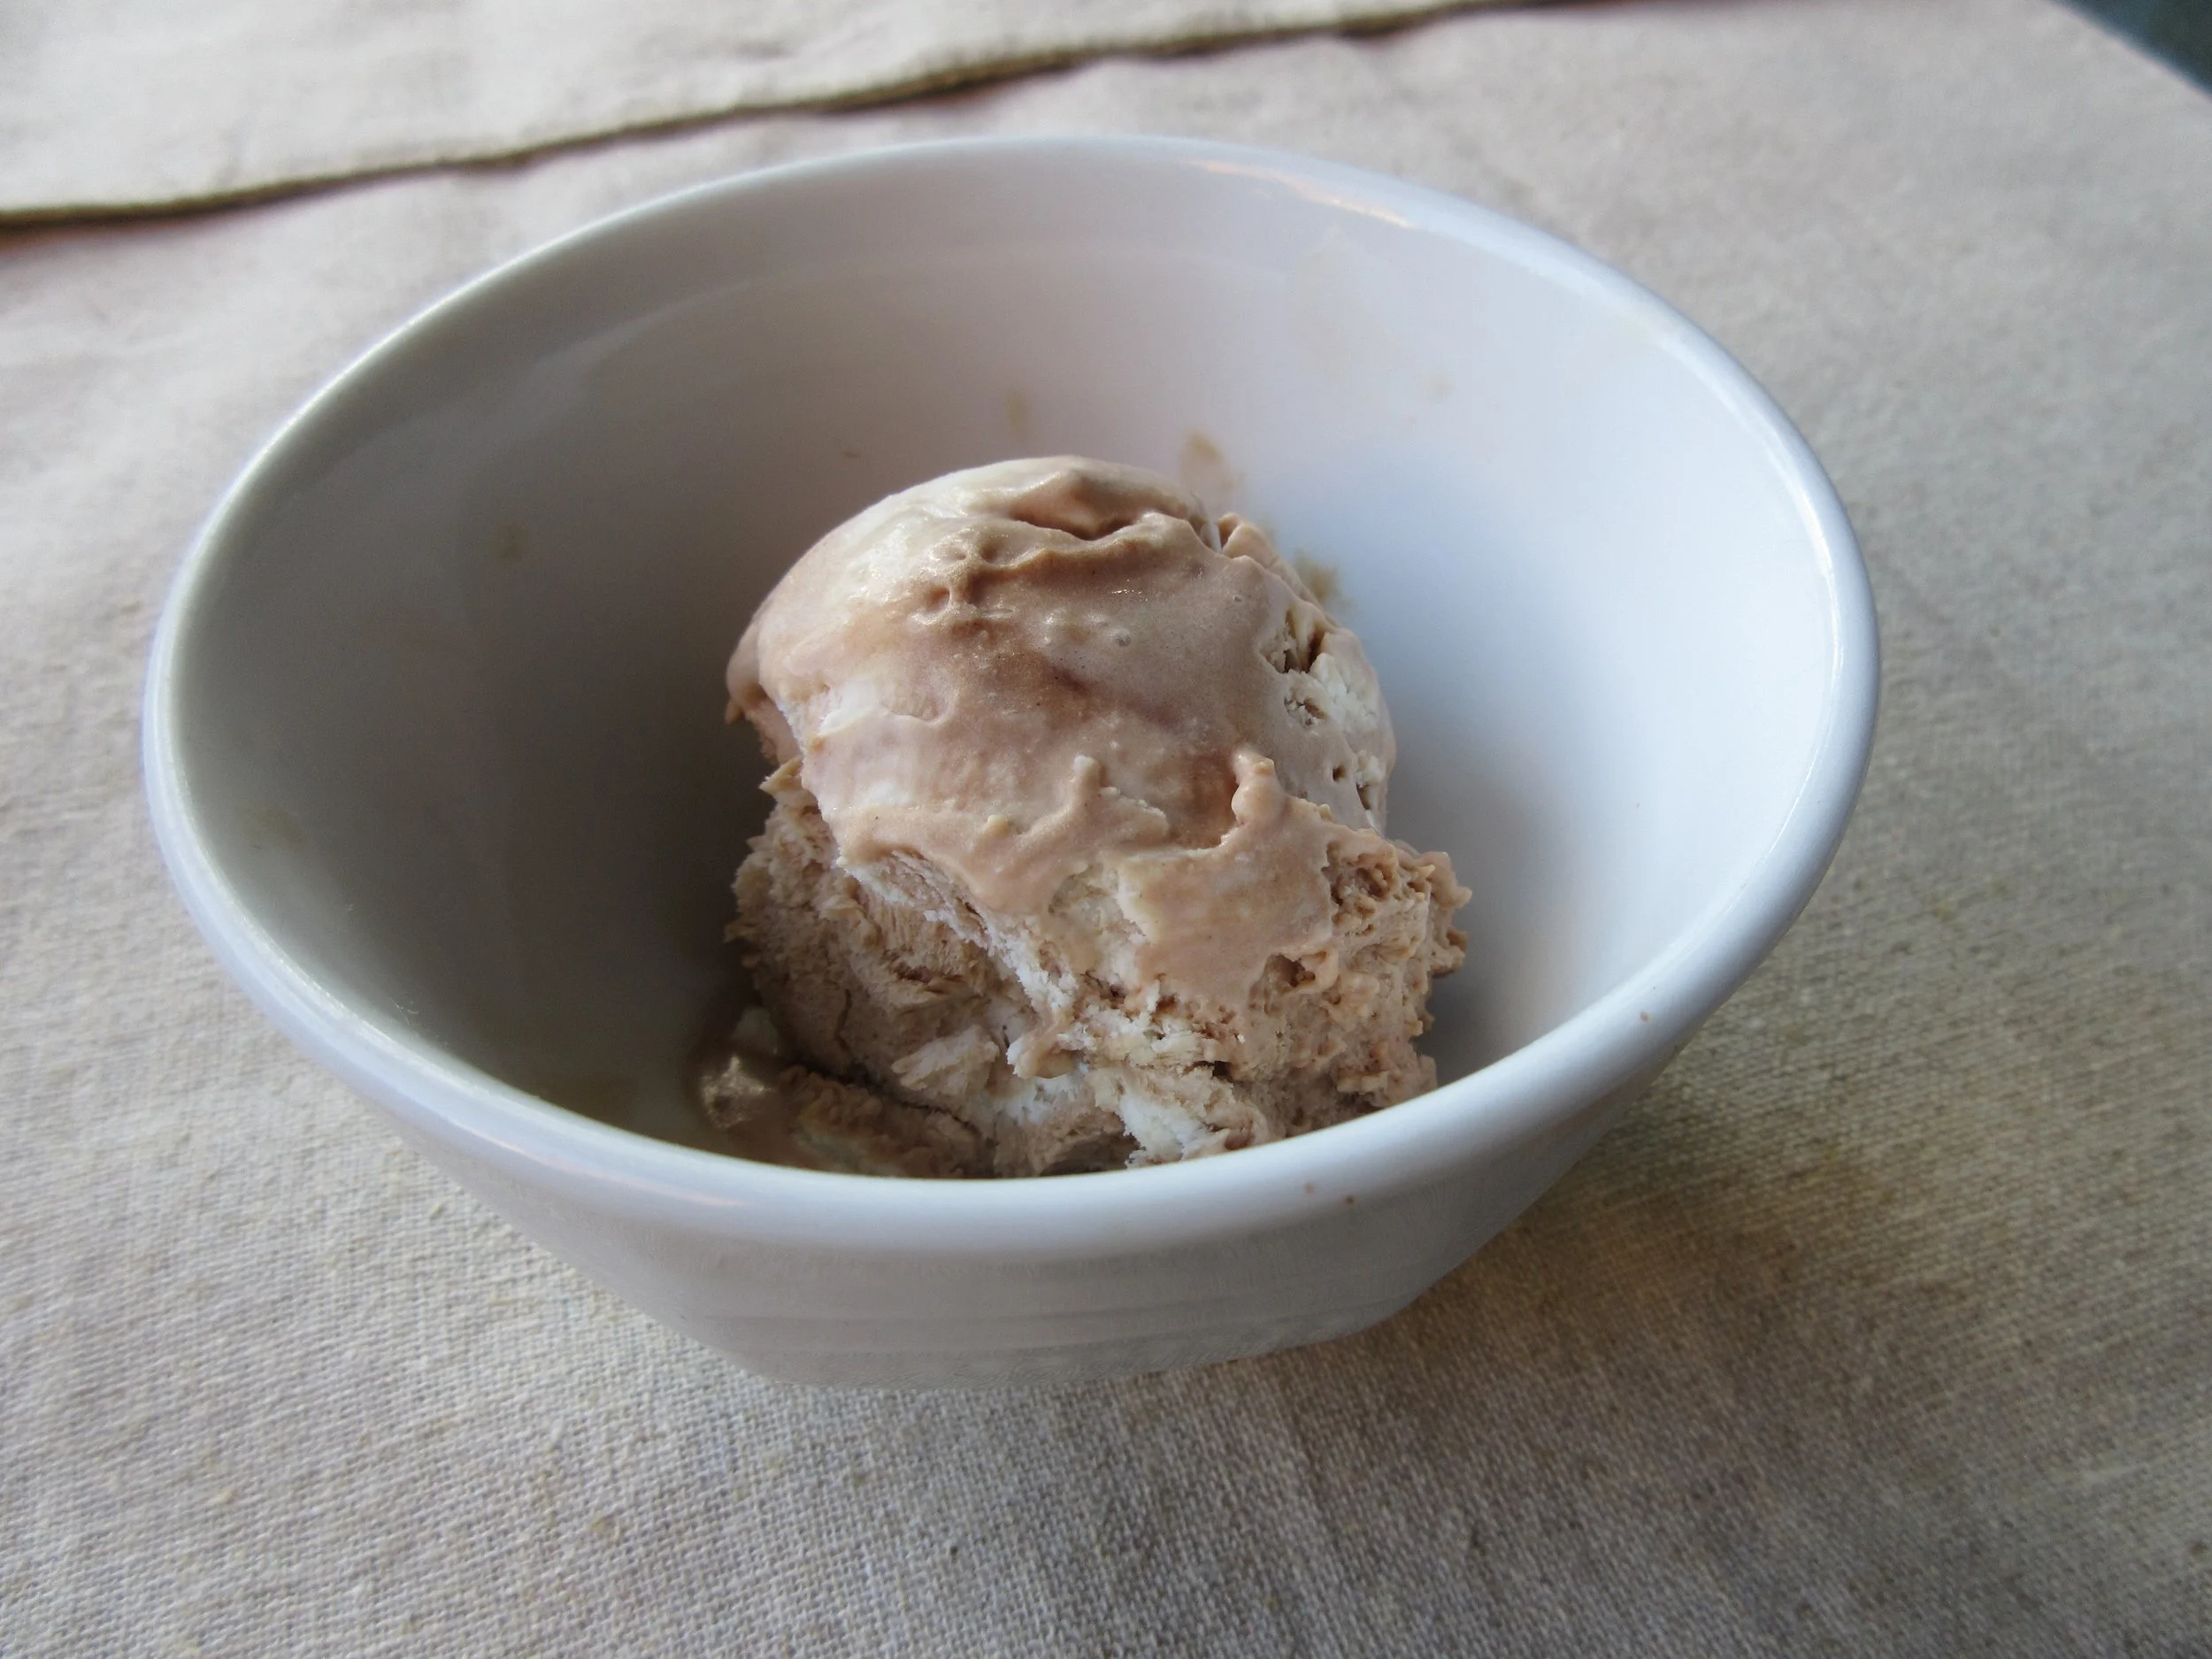
Chocolate Mousse
This Chocolate Mousse recipe comes from Electric Refrigerator Recipes and Menus, a 1929 cookbook written by Miss Alice Bradley that was put out by General Electric to help housewives learn how to use their newfangled kitchen appliance, the freezer.
The mousse is mild and refreshing, but my batch ended up being more similar to an ice cream than a mousse, probably because my freezer is much more efficient than a 1929 “chilling unit”. Still delicious, anyhow. I’ve also made recipes on this blog for Marshmallow Mint Sauce and Peppermint Whipped Cream from the same cookbook.
Keep reading after the historic recipe and my recipe interpretation to learn about an accessory that commonly was included with early refrigerators: the Refrigerator Pan.
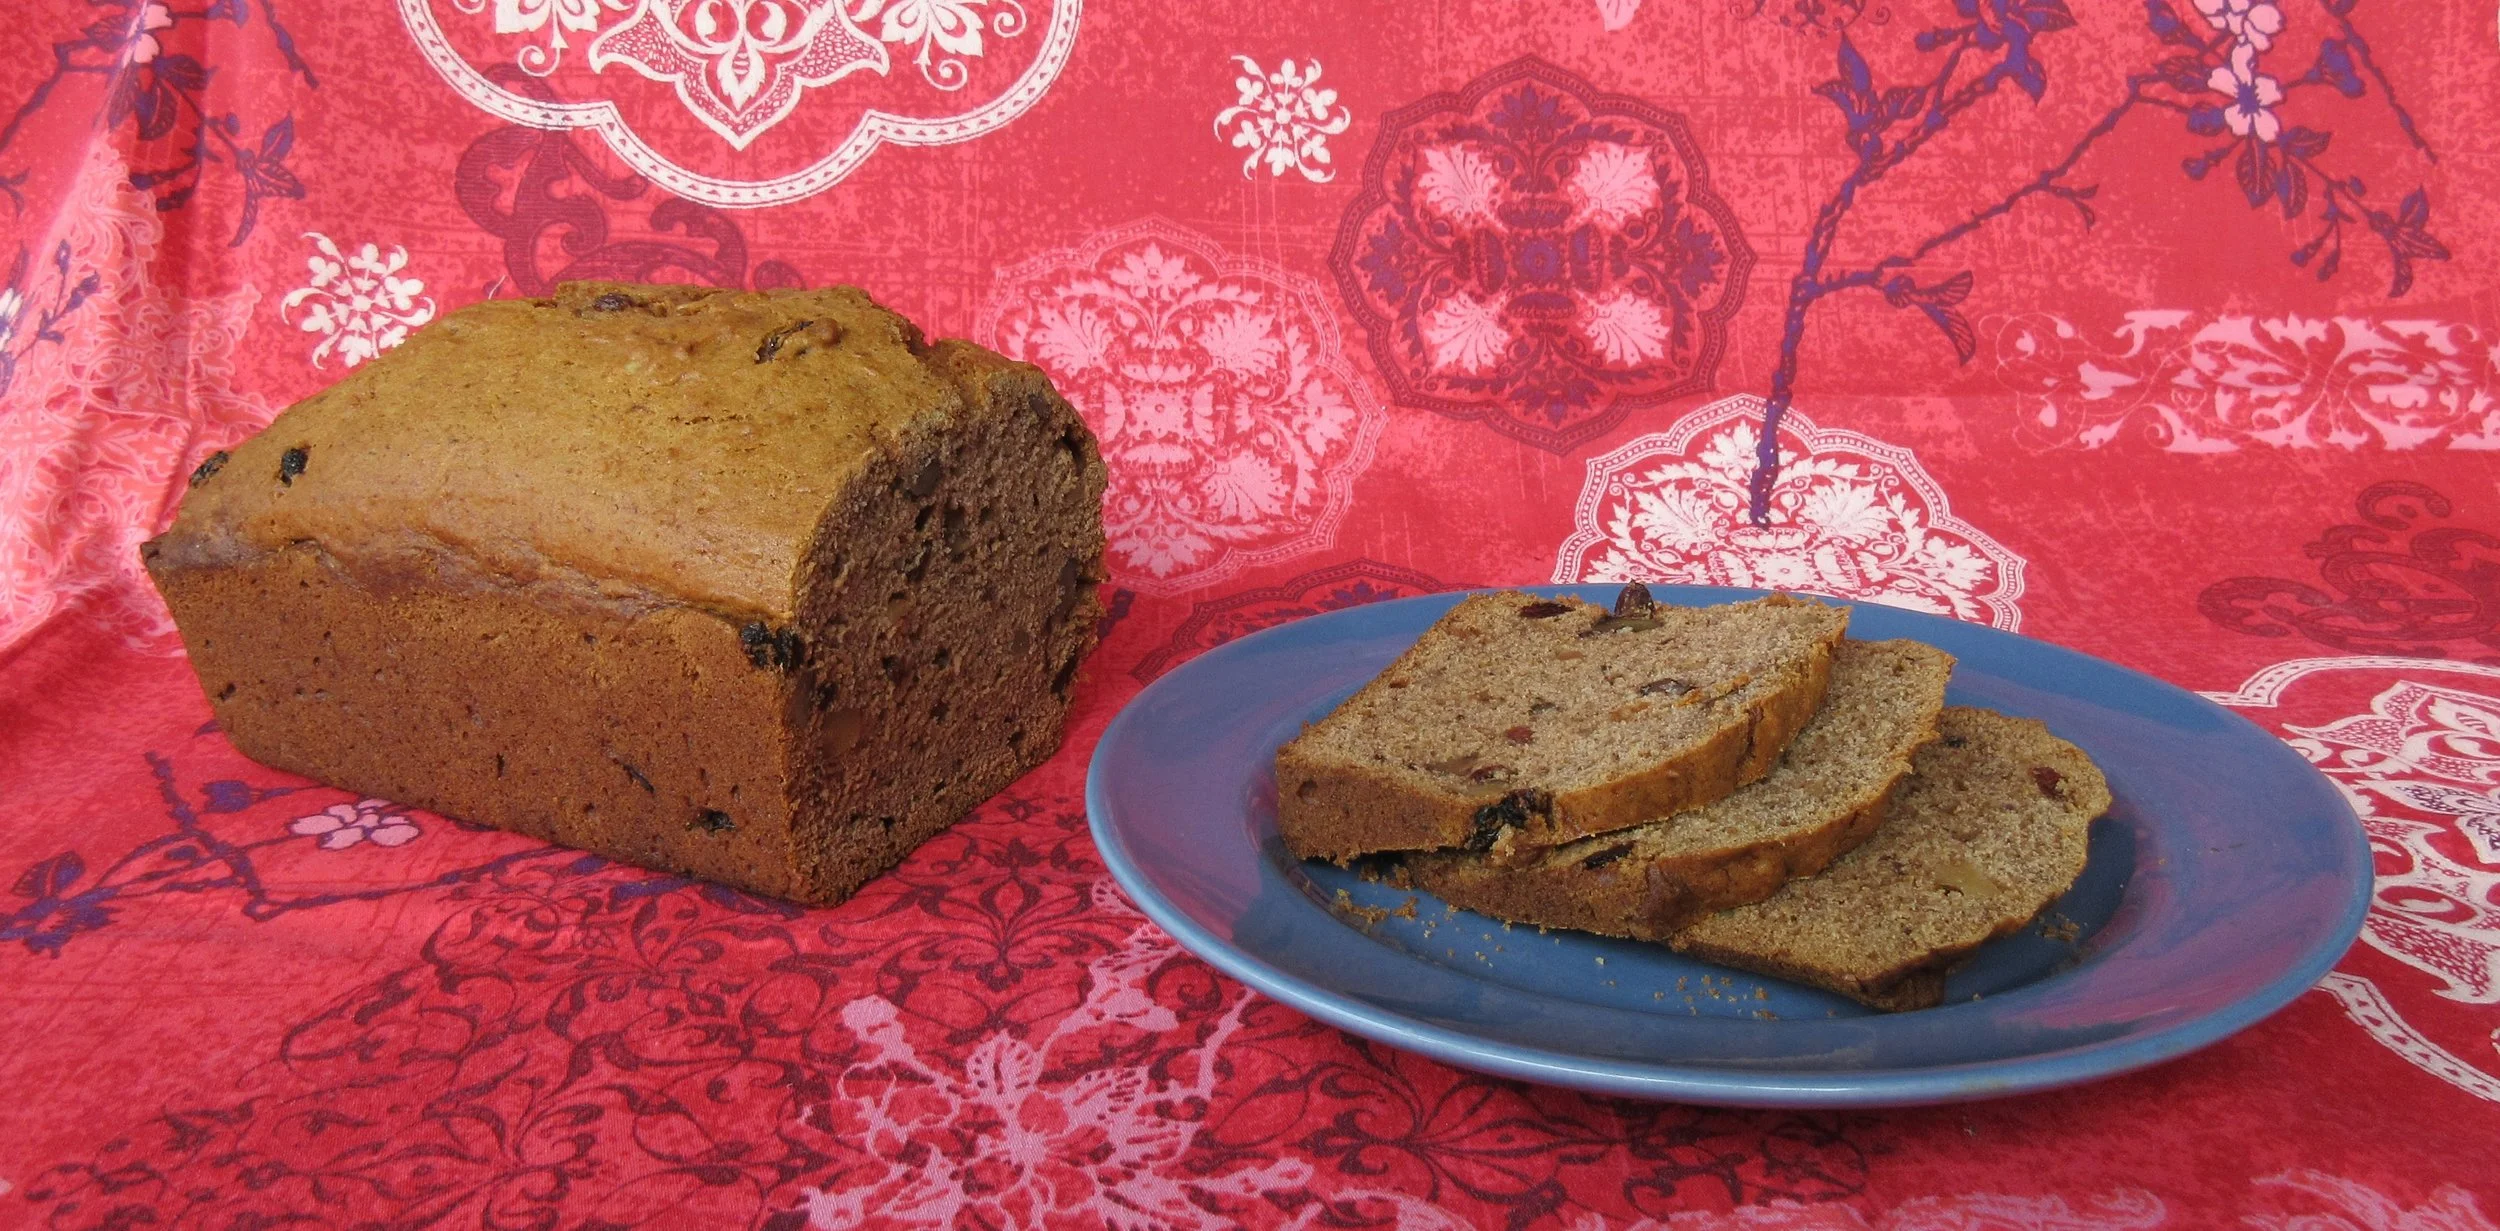
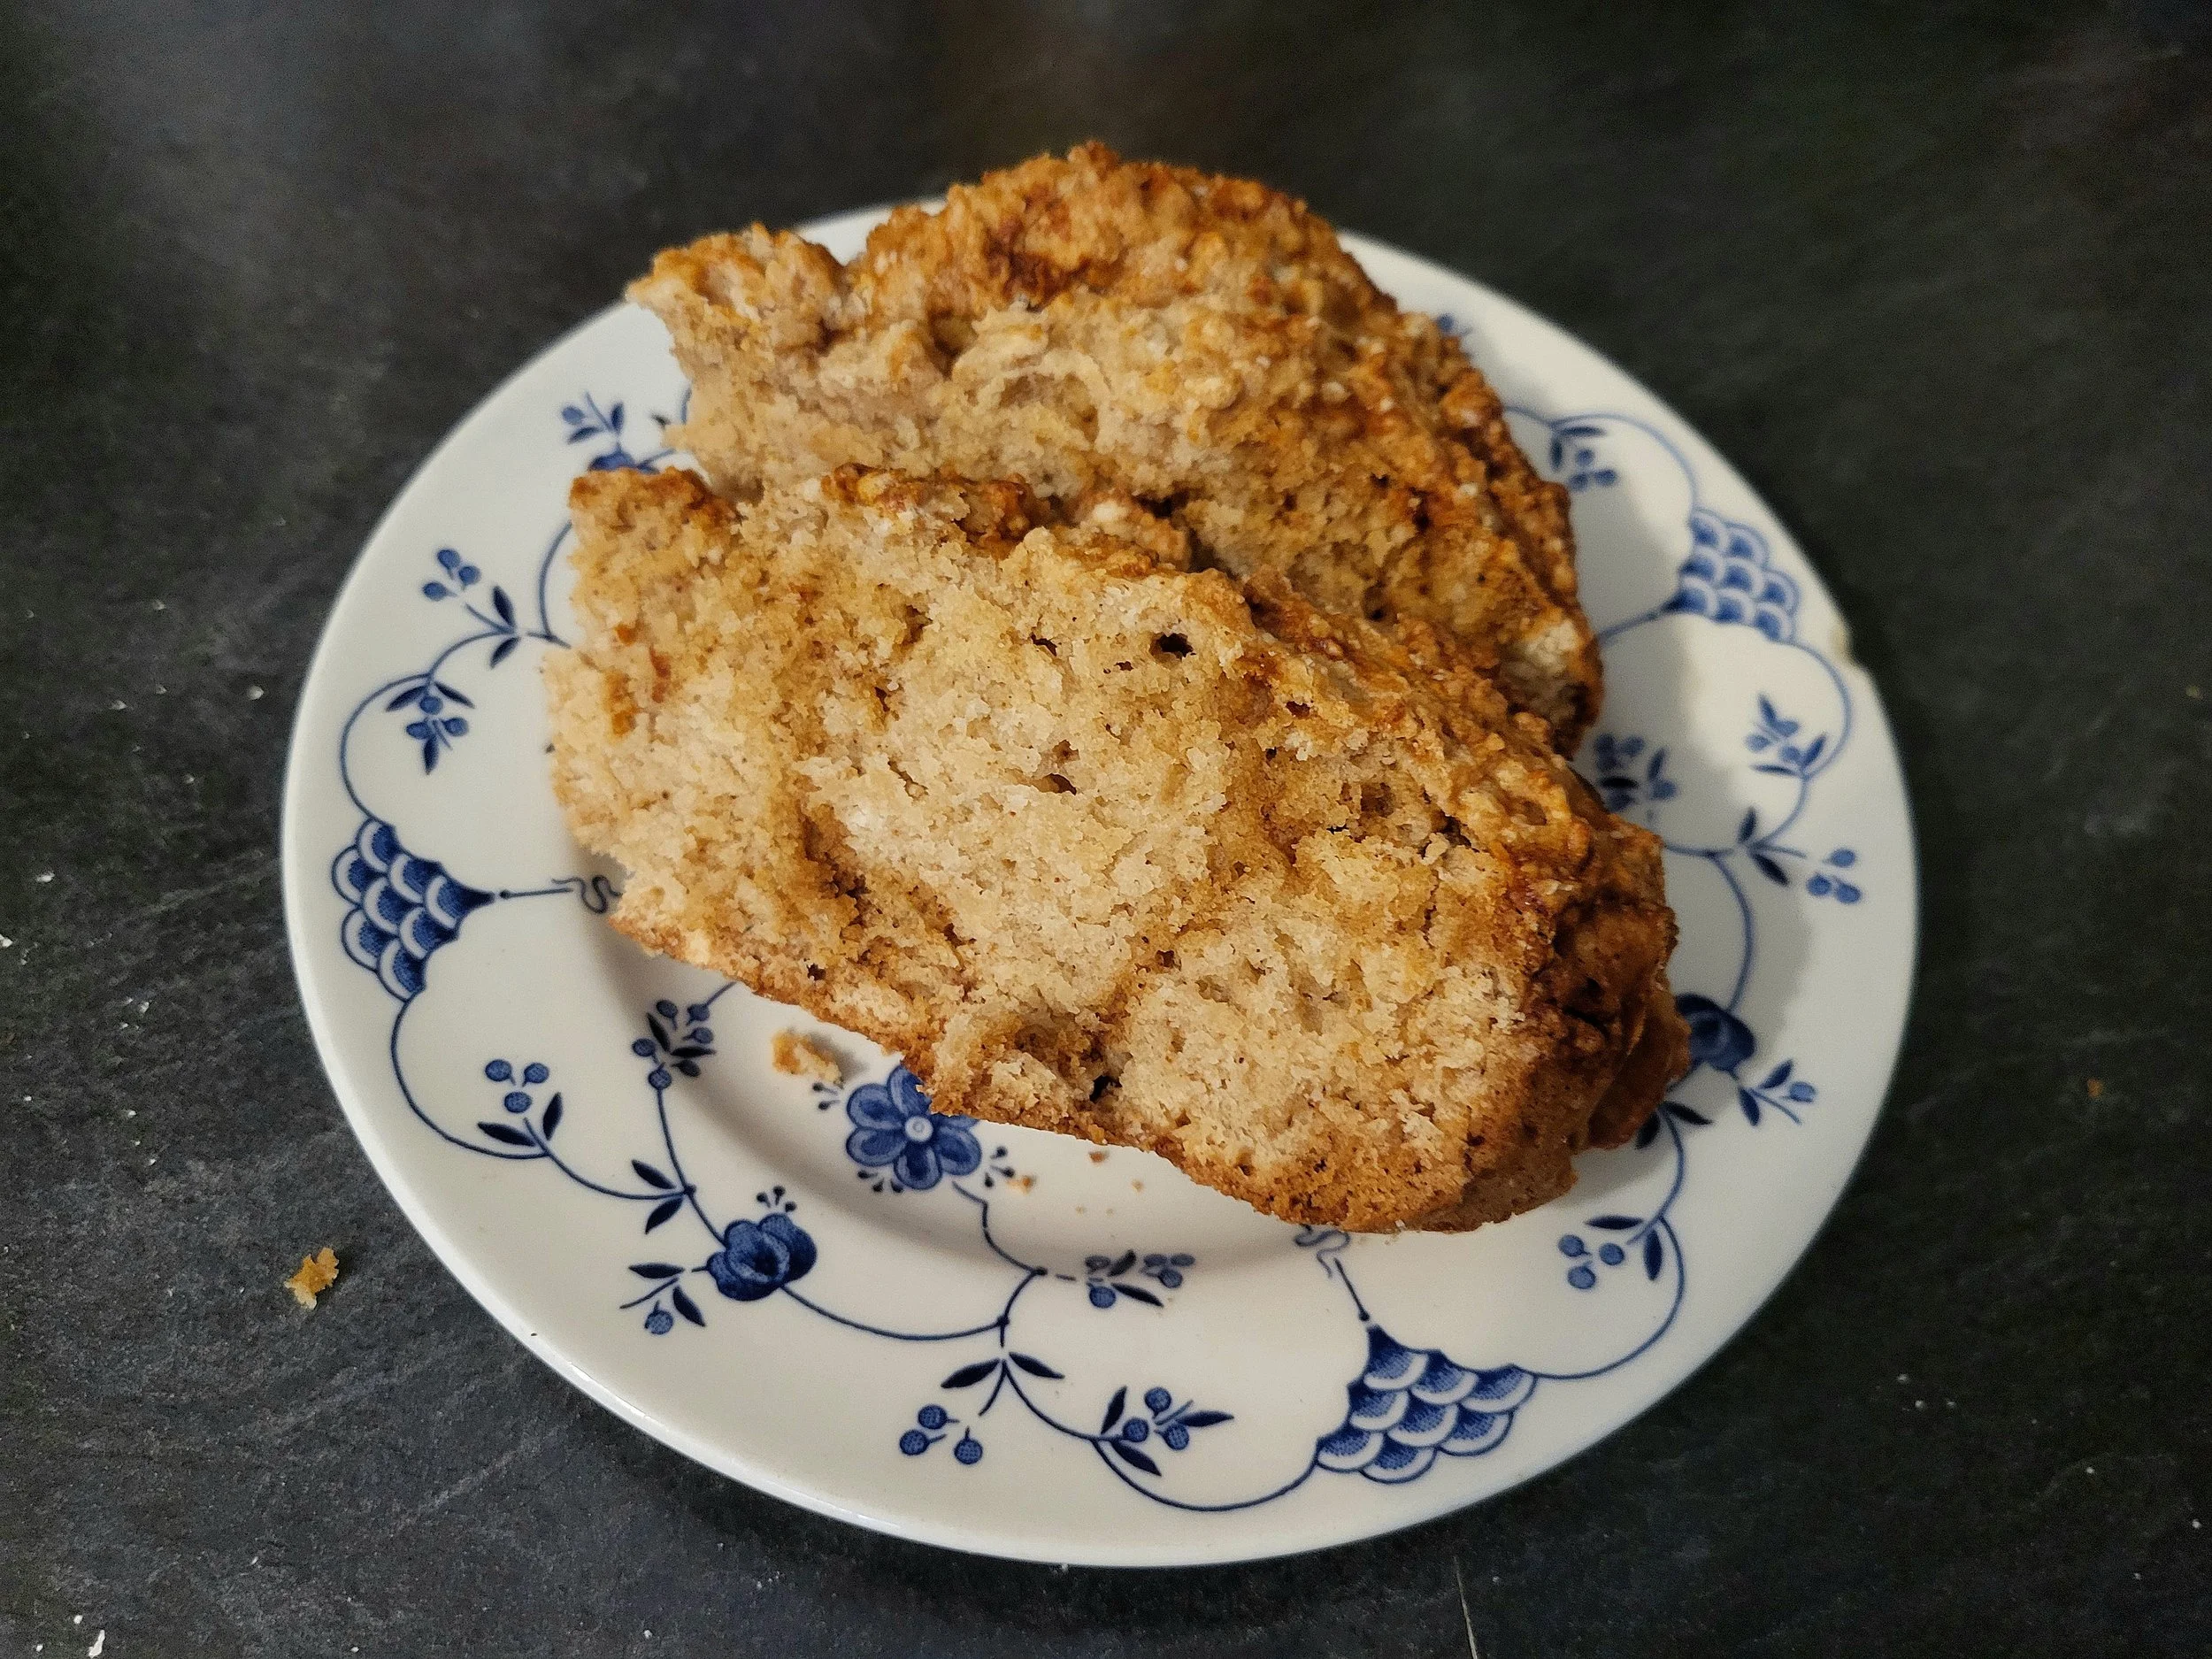
Apple Sauce Cake
Apple Sauce Cake is a dairy-free apple & spice loaf, which has a dense but moist consistency. This recipe contains walnuts and raisins, but you could certainly swap in nuts, seeds and dried fruits of your choice. This recipe is from the 1946 cookbook A Modern Kitchen Guide, which was published in Chicago, but distributed by Farmer’s Advocate magazine based out of London, Ontario, Canada. Have a read to find out more about this free cookbook/promotional vehicle that ended up in kitchens all over Canada and the United States.
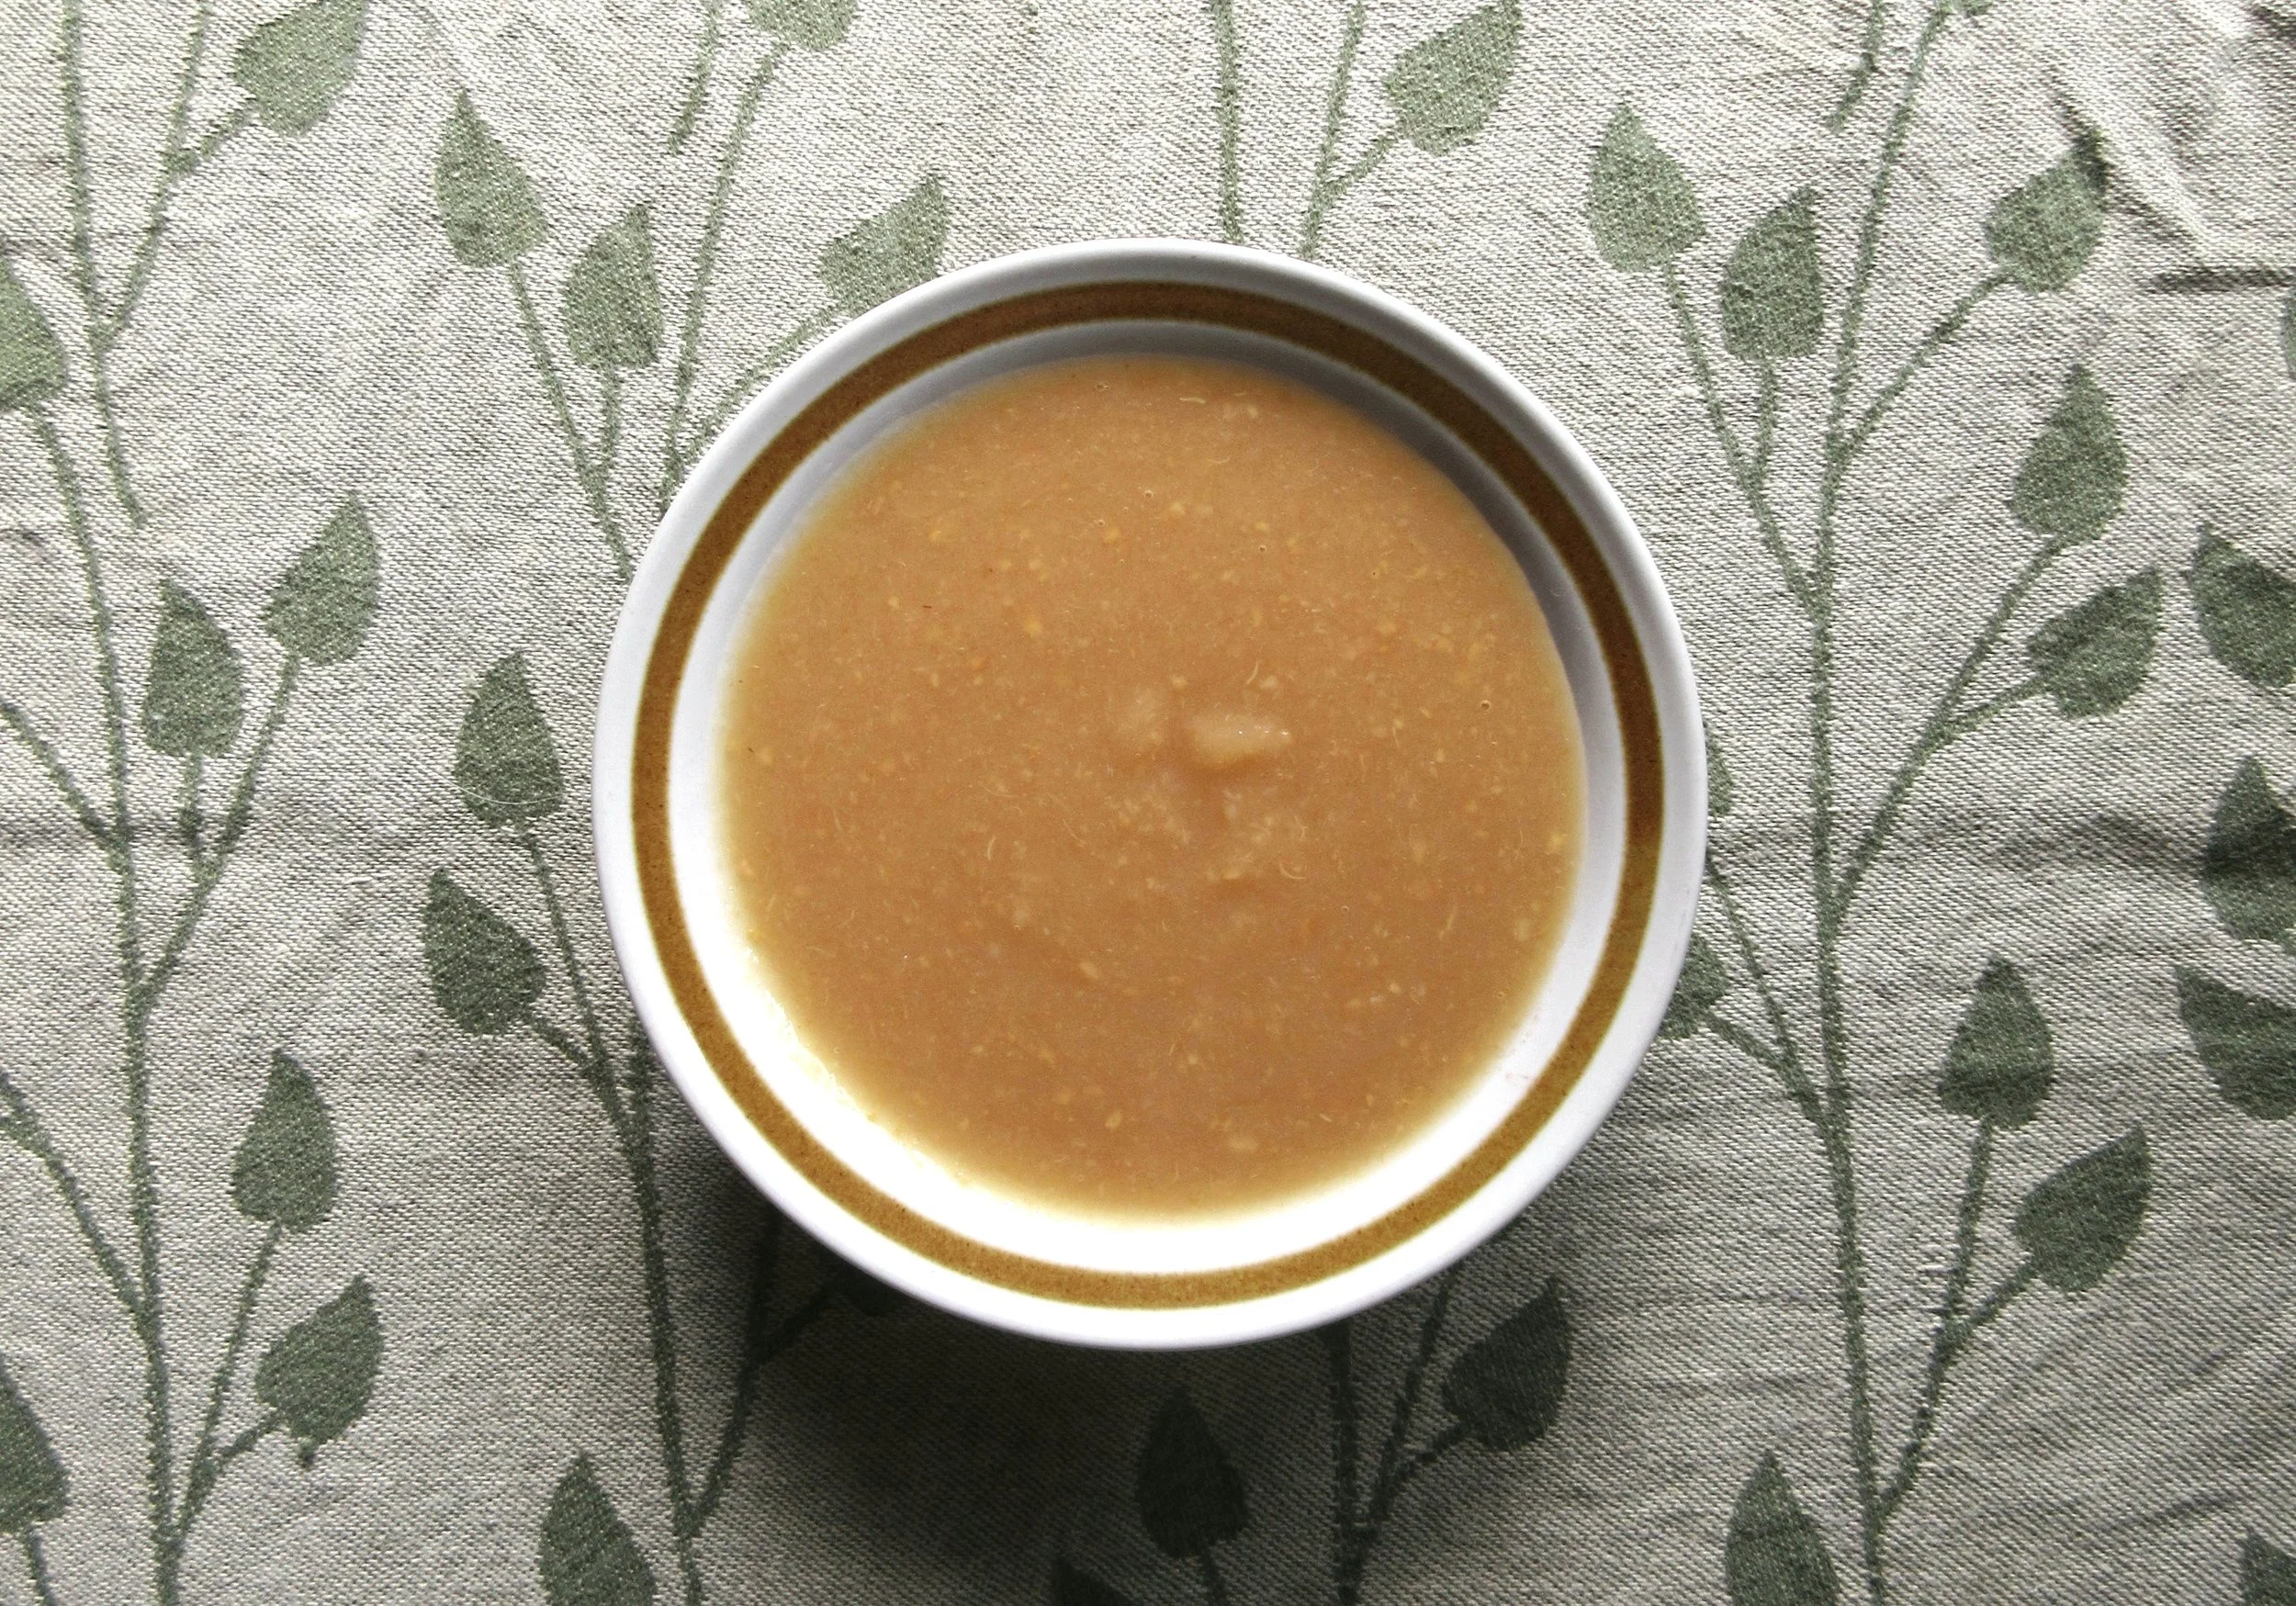
Boiled Cider Apple Sauce
Welcome to the annual Apple Season here on my blog! From late July to the end of August, we are barraged with apples from the apple tree that hangs over into our back yard, so I usually do a couple of apple recipes this time of the year.
I’ll bet you can guess the ingredients in Boiled Cider Apple Sauce: apples and apple cider. This 1877 recipe from Buckeye Cookery and Practical Housekeeping creates a flavourful apple sauce with no added sugar or spices.

Freſh Raſpberry Water
Fresh Raspberry Water is a refreshing beverage with a zip. We made it at a historic cooking class that I taught last July at Nelles Manor Museum http://nellesmanor.ca/ and I remember that it was very satisfying to drink after cooking over an open hearth on a hot summer day.
It’s a simple recipe. Remove the raspberry seeds with a sieve, then add lemon juice, white sugar and water. I pulled this gem of a recipe from the 1790 cook book The Complete Confectioner by Frederick Nutt.
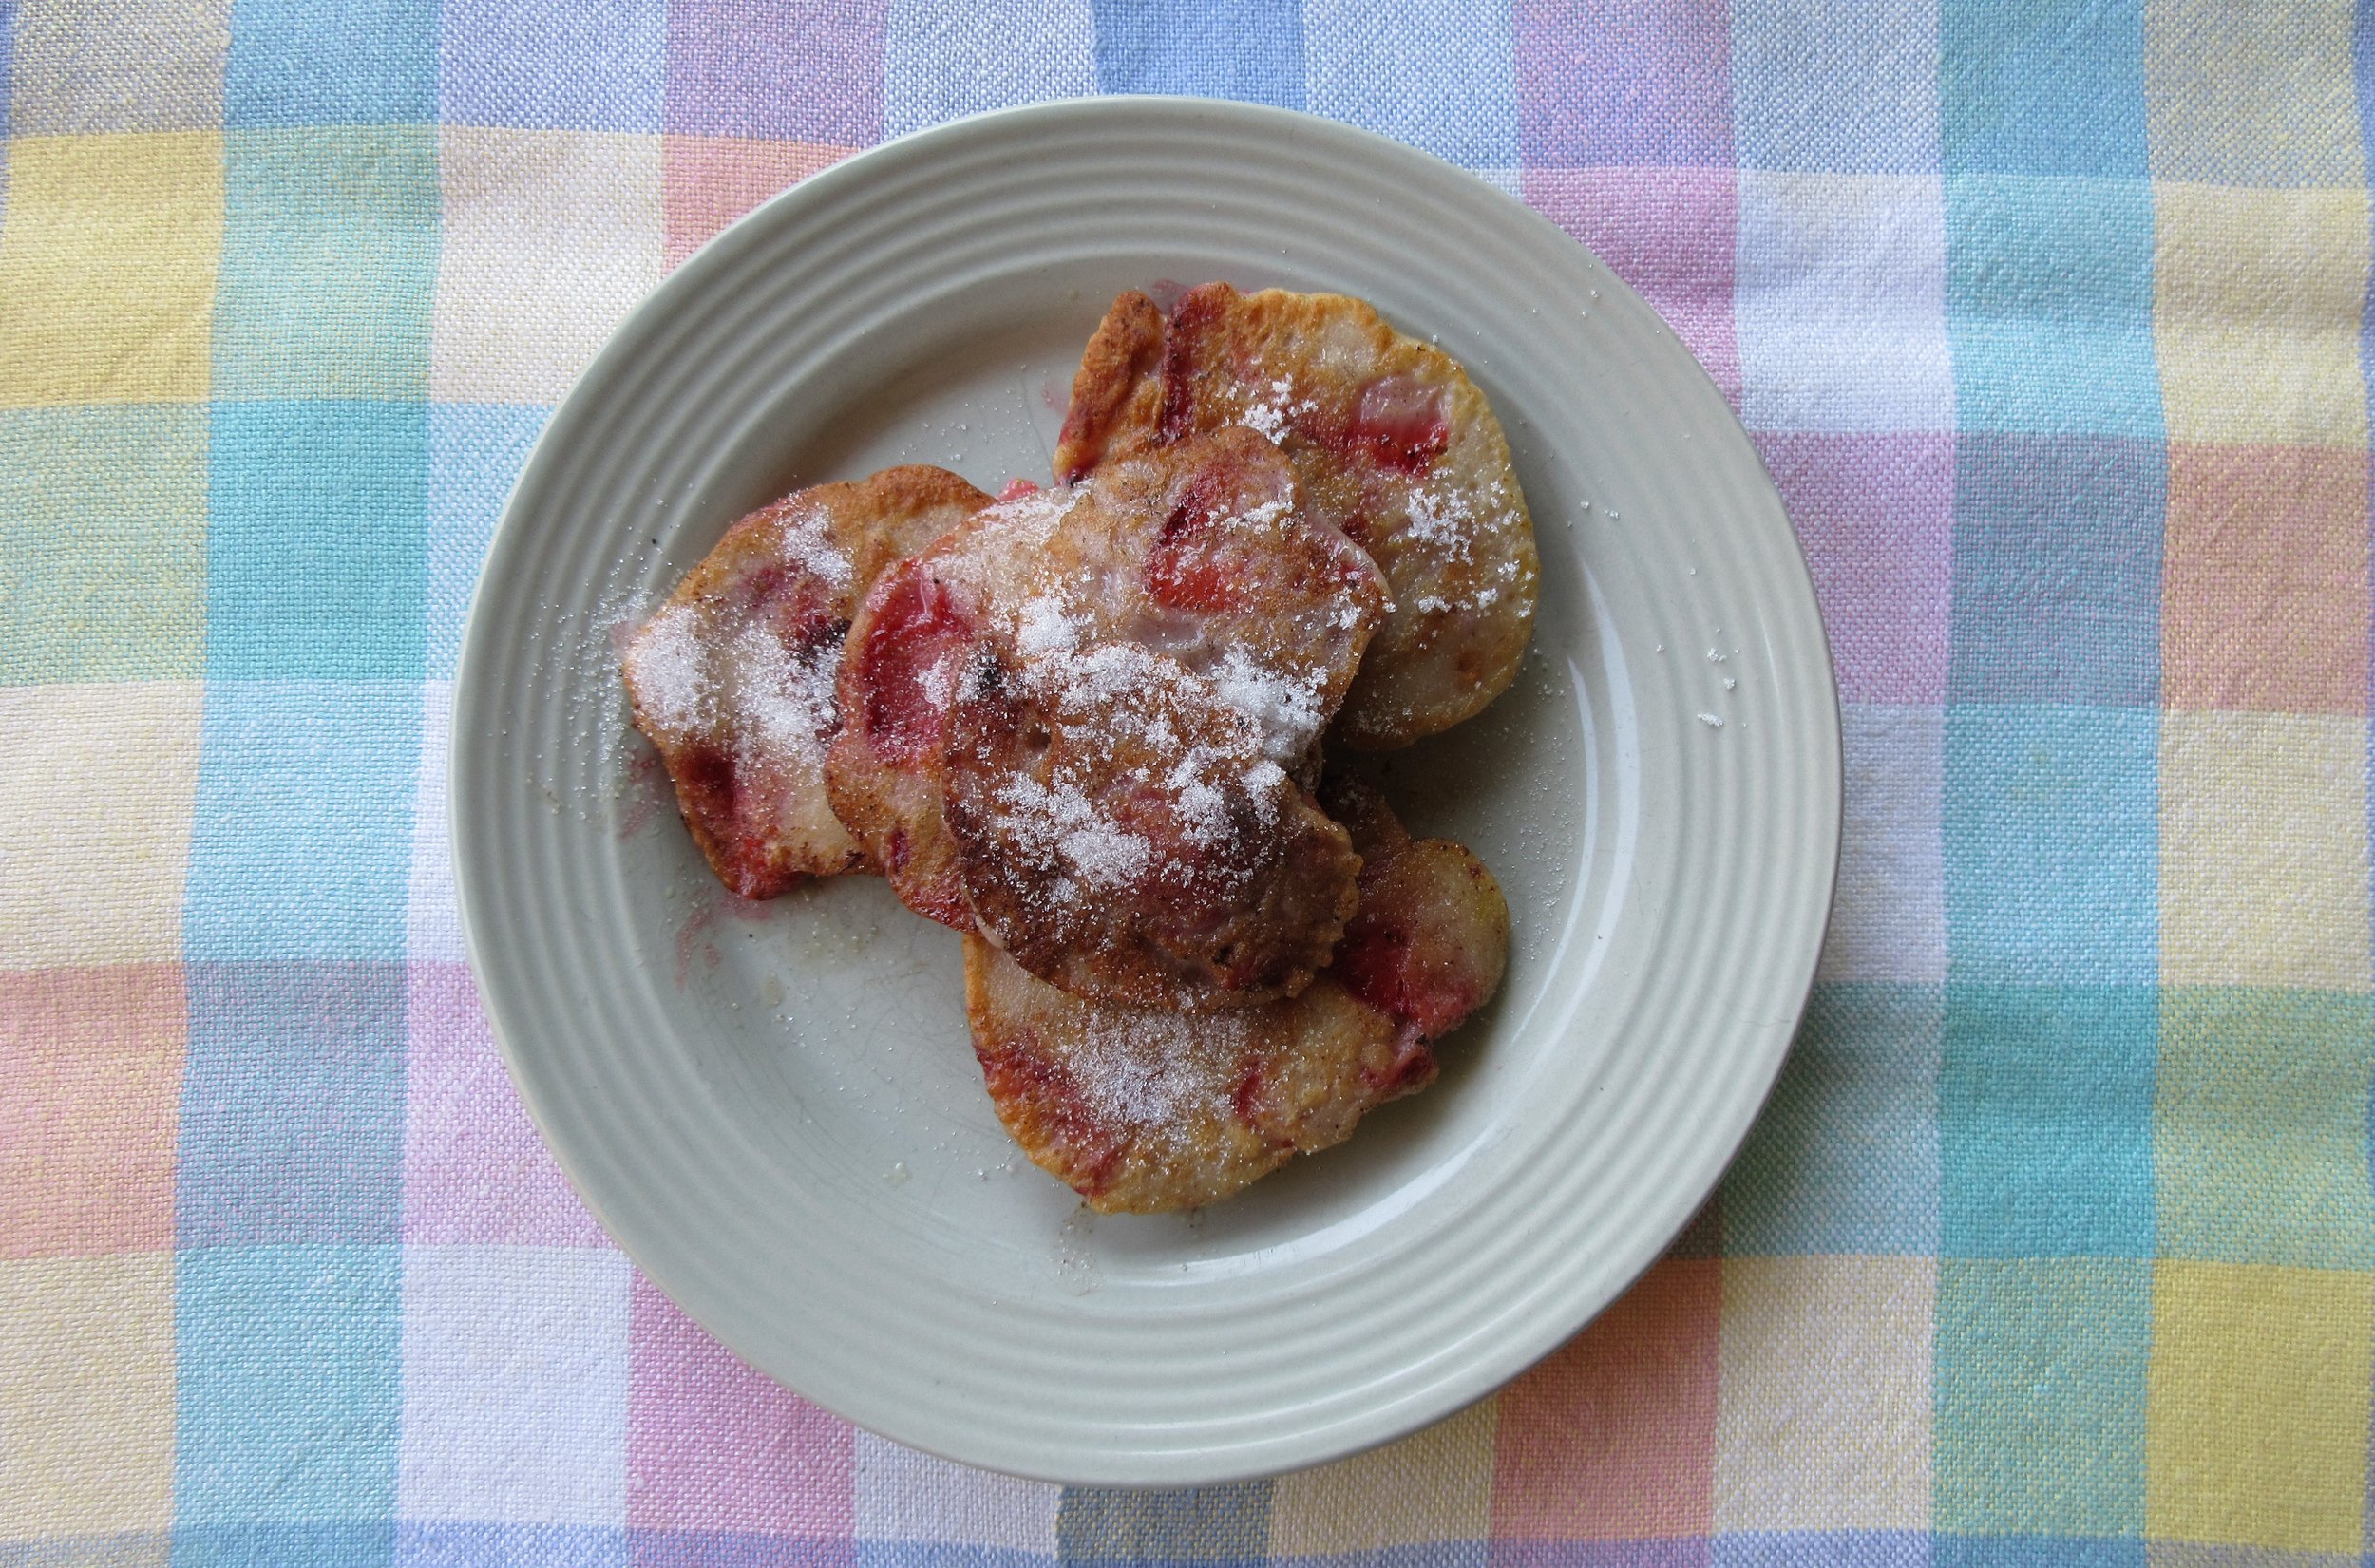
Strawberry-fritters
Strawberry-fritters is one of the recipes that we made at an open hearth cooking class that I taught at Nelles Manor Museum http://nellesmanor.ca/ last summer. This class featured scrumptious seasonal recipes made with garden produce and recipes from the late 1700s, when the home was newly built by the Nelles family.
I learned when I made Apple Frazes that adding a bit of alcohol to your batter is a good idea, so I made a batch for a socially distanced outdoor Canada Day gathering. They taste like fried strawberries and white wine and I liked them so much that I wanted to make the recipe again here on this blog and share it with all of you!
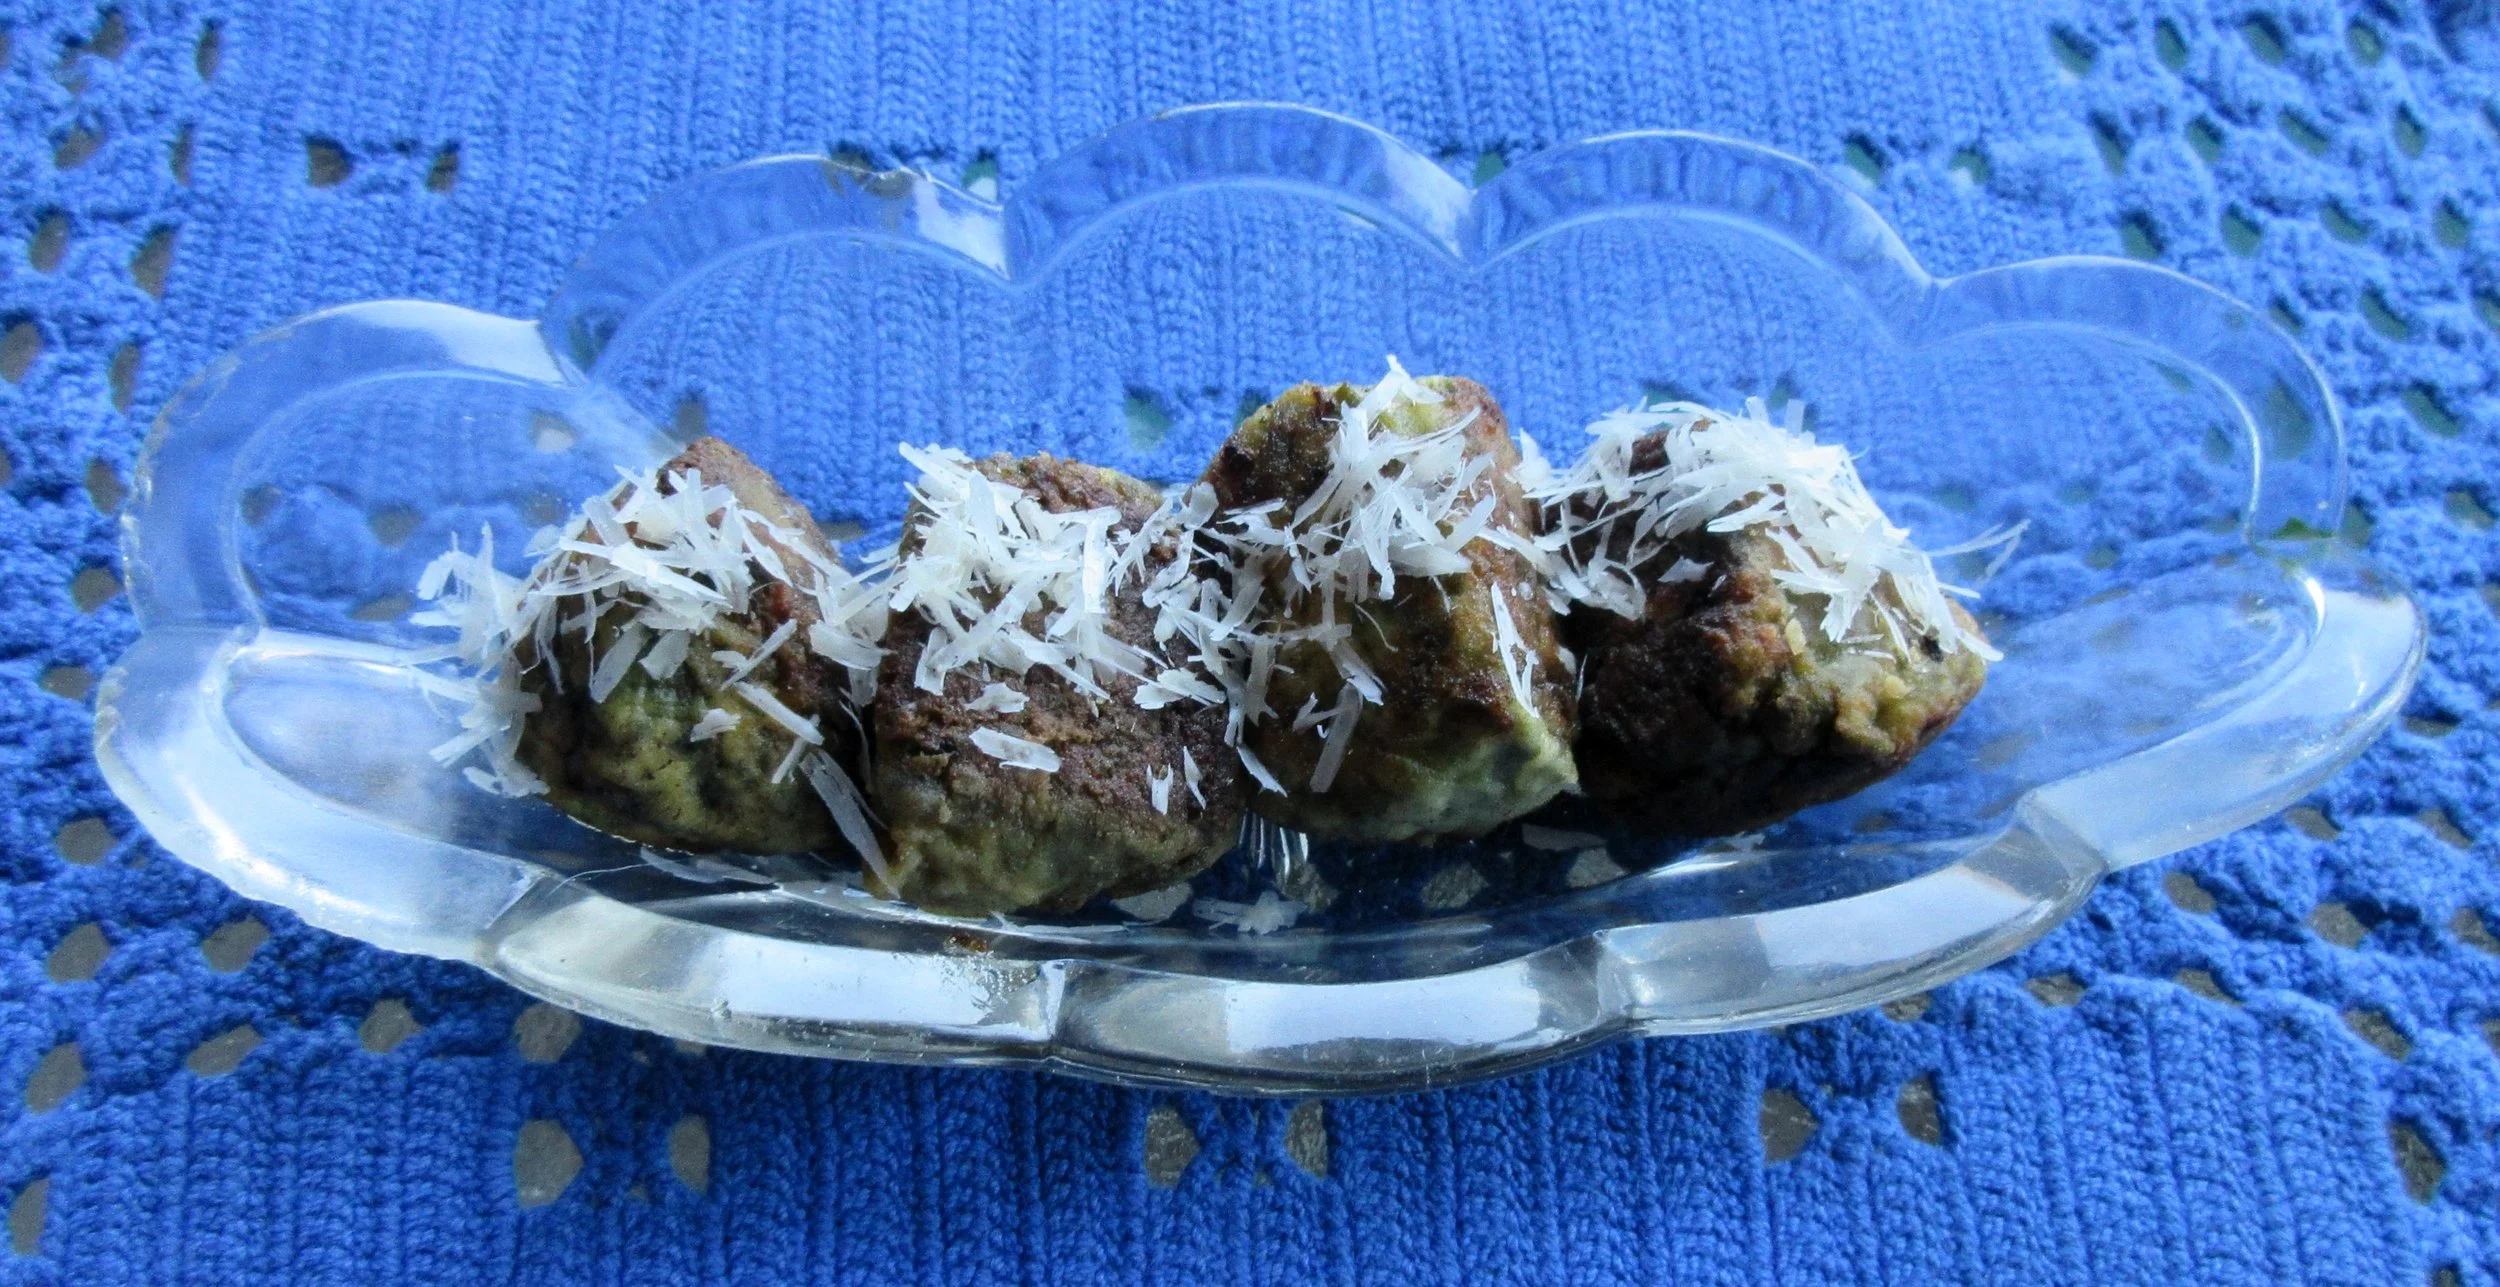
Spinach and Ricotta Dumplings
Spinach and Ricotta Dumplings is found in The New York Times Cook Book from 1961 and it’s a recipe that I had to make twice to end up with something edible. I had to veer from the original cooking method and I recommend adding some additional ingredients to amp up the flavour. The recipe gives the instruction to “shape into small balls” and since small could mean many sizes, I decided to make my dumplings the size of a Timbit.
That’s where the rambling nature of this blog post begins. I realized that most people who read my blog don’t live in Canada and might not know what a Timbit is. I started there, which lead to explaining what Tim Hortons is, which lead to writing about the first Tim Horton’s restaurant ever in my hometown of Hamilton, Ontario.
And then...since measuring something in Timbits is a very Canadian measurement, at the end I have a look at some very Canadian measurements on COVID-19 social distancing signs in Hamilton and Toronto. I’d love to hear what the COVID-19 signs are like in your part of the world, so please leave a comment!
Queen of Puddings
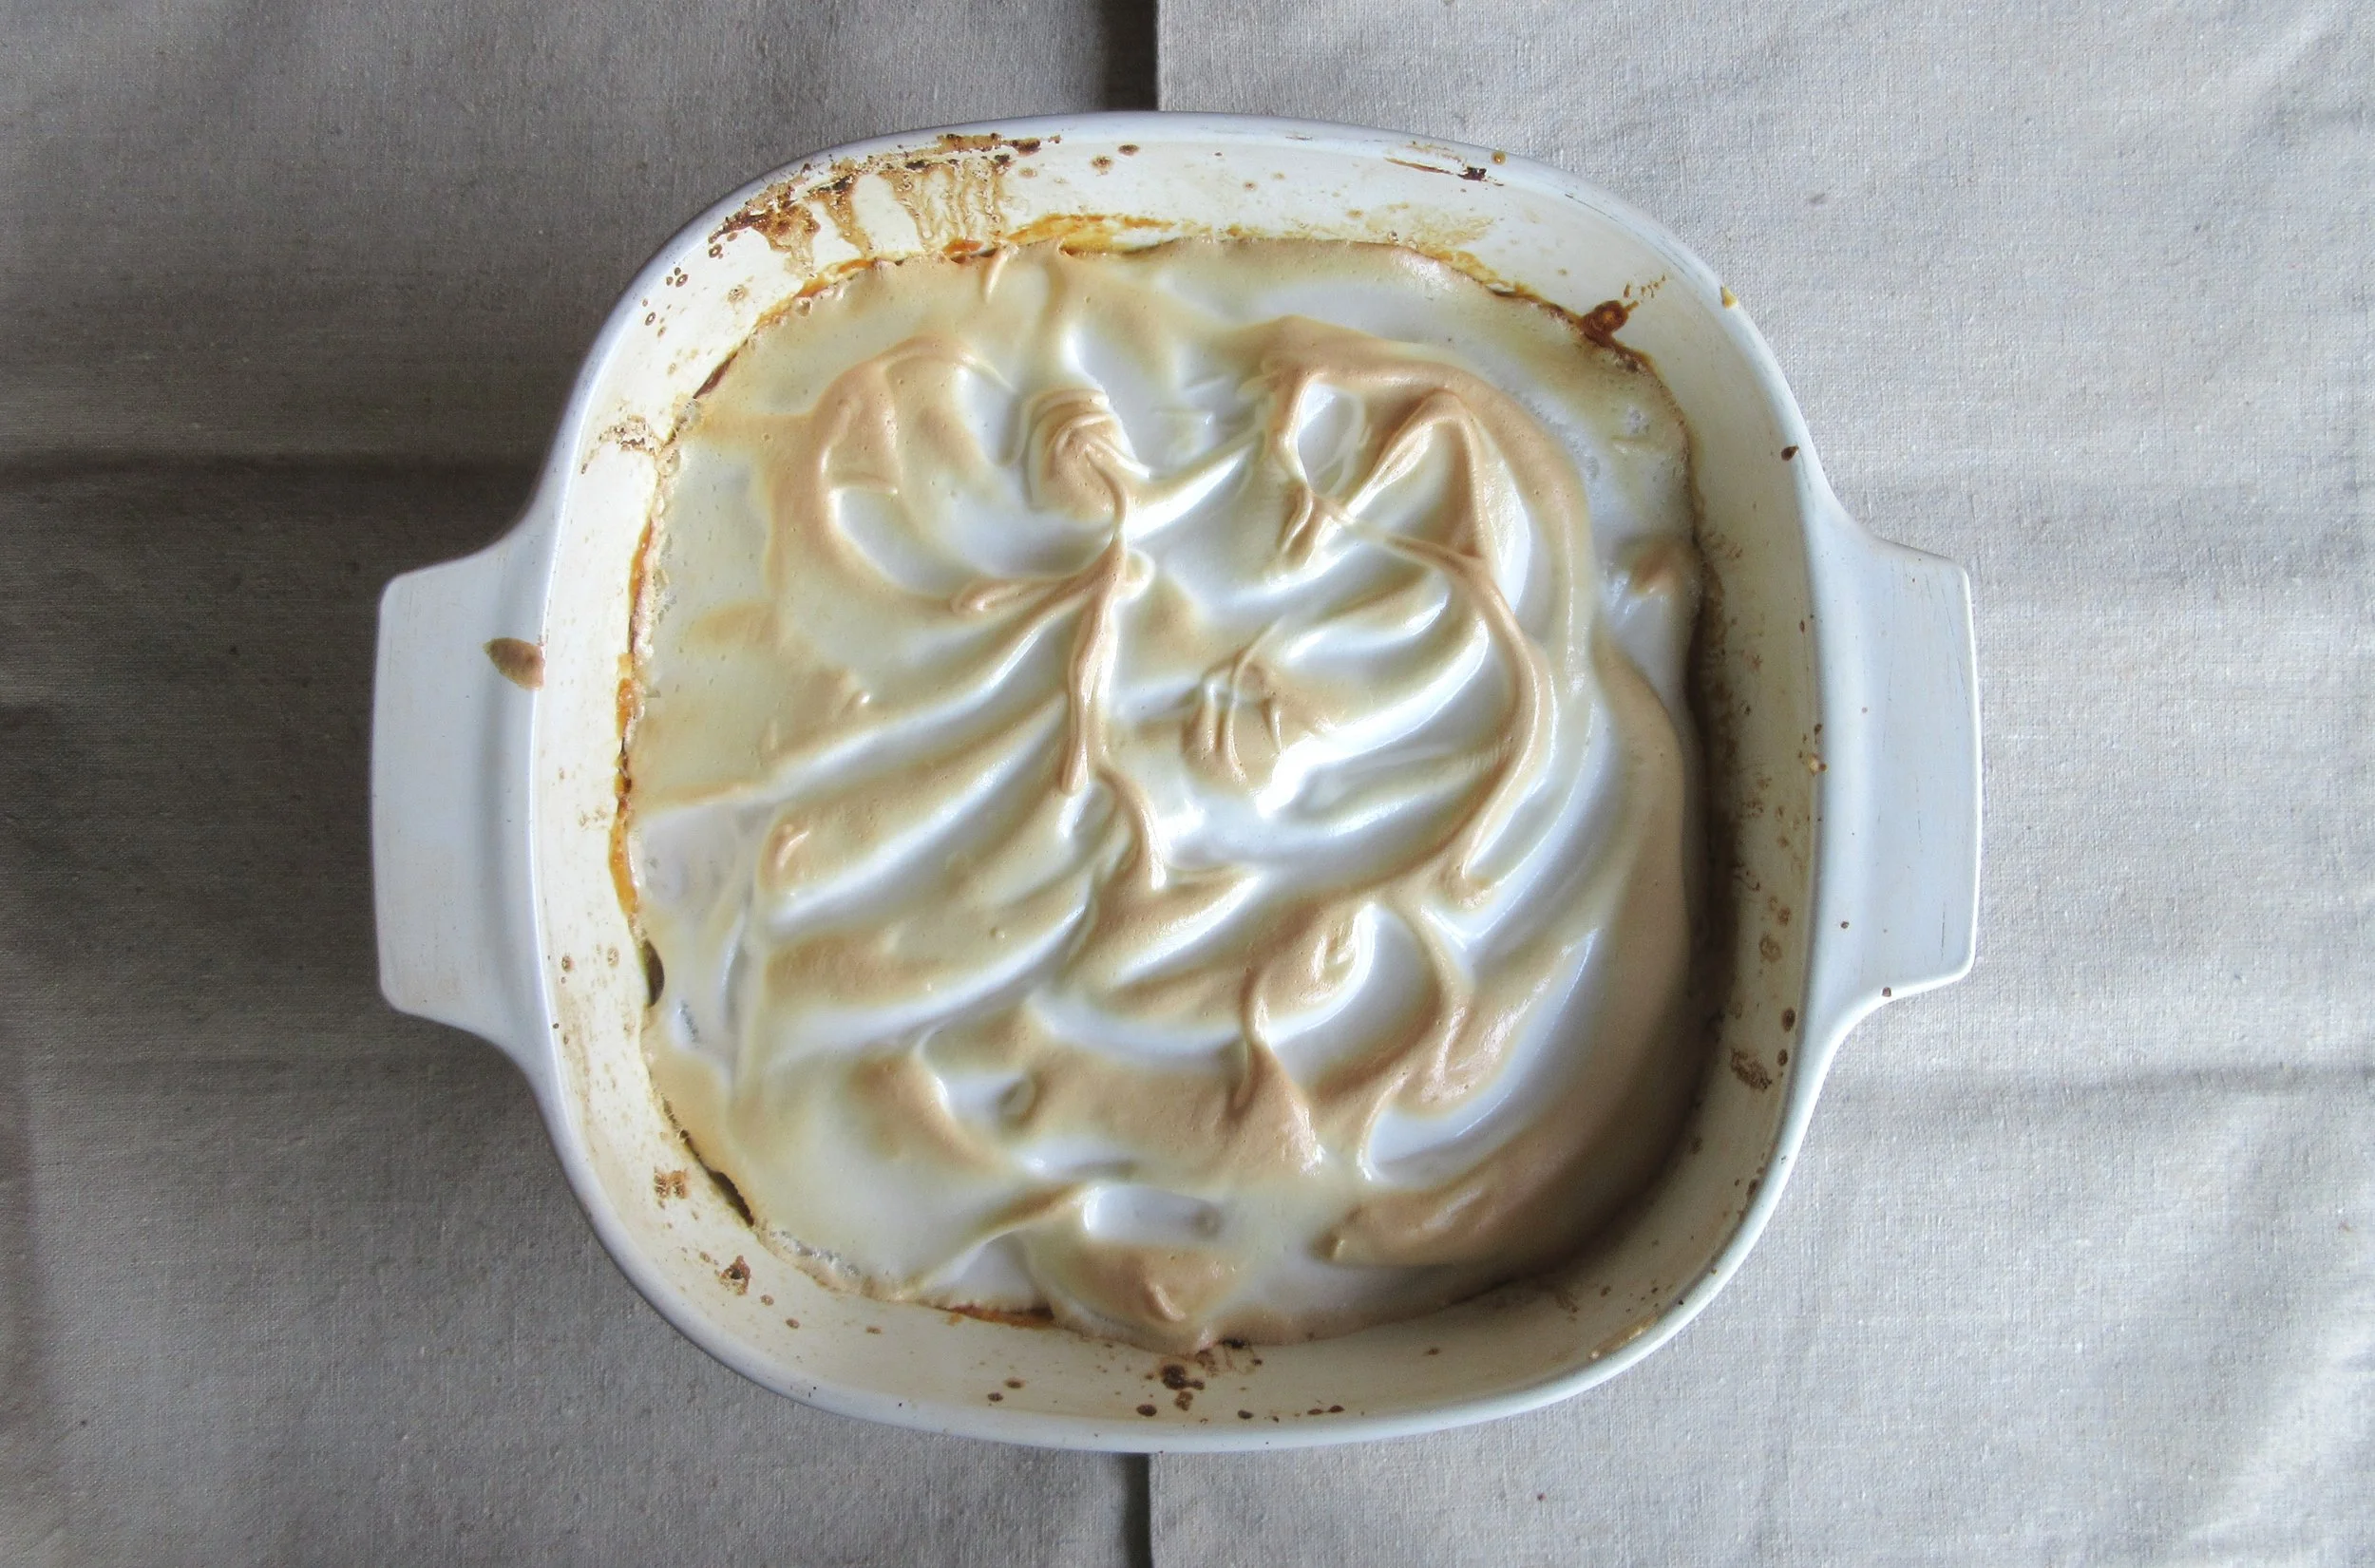
Queen of Puddings comes to us all they way from Toronto in 1877. The Home Cook Book is Canada’s first community cookbook with recipes contributed by women as a fundraiser for The Hospital for Sick Children. Queen of Puddings must have been popular in Toronto in the late 1870s because this recipe (with various names) was submitted by 5 different women to the Puddings chapter of the book!
I had plenty to share with friends & family and I described it to the people I gave it to as a lemony soufflé bottom with a jam layer and meringue on top. The reviews I received were: no response, that it was delightful and “it was very good and had a unique texture.”

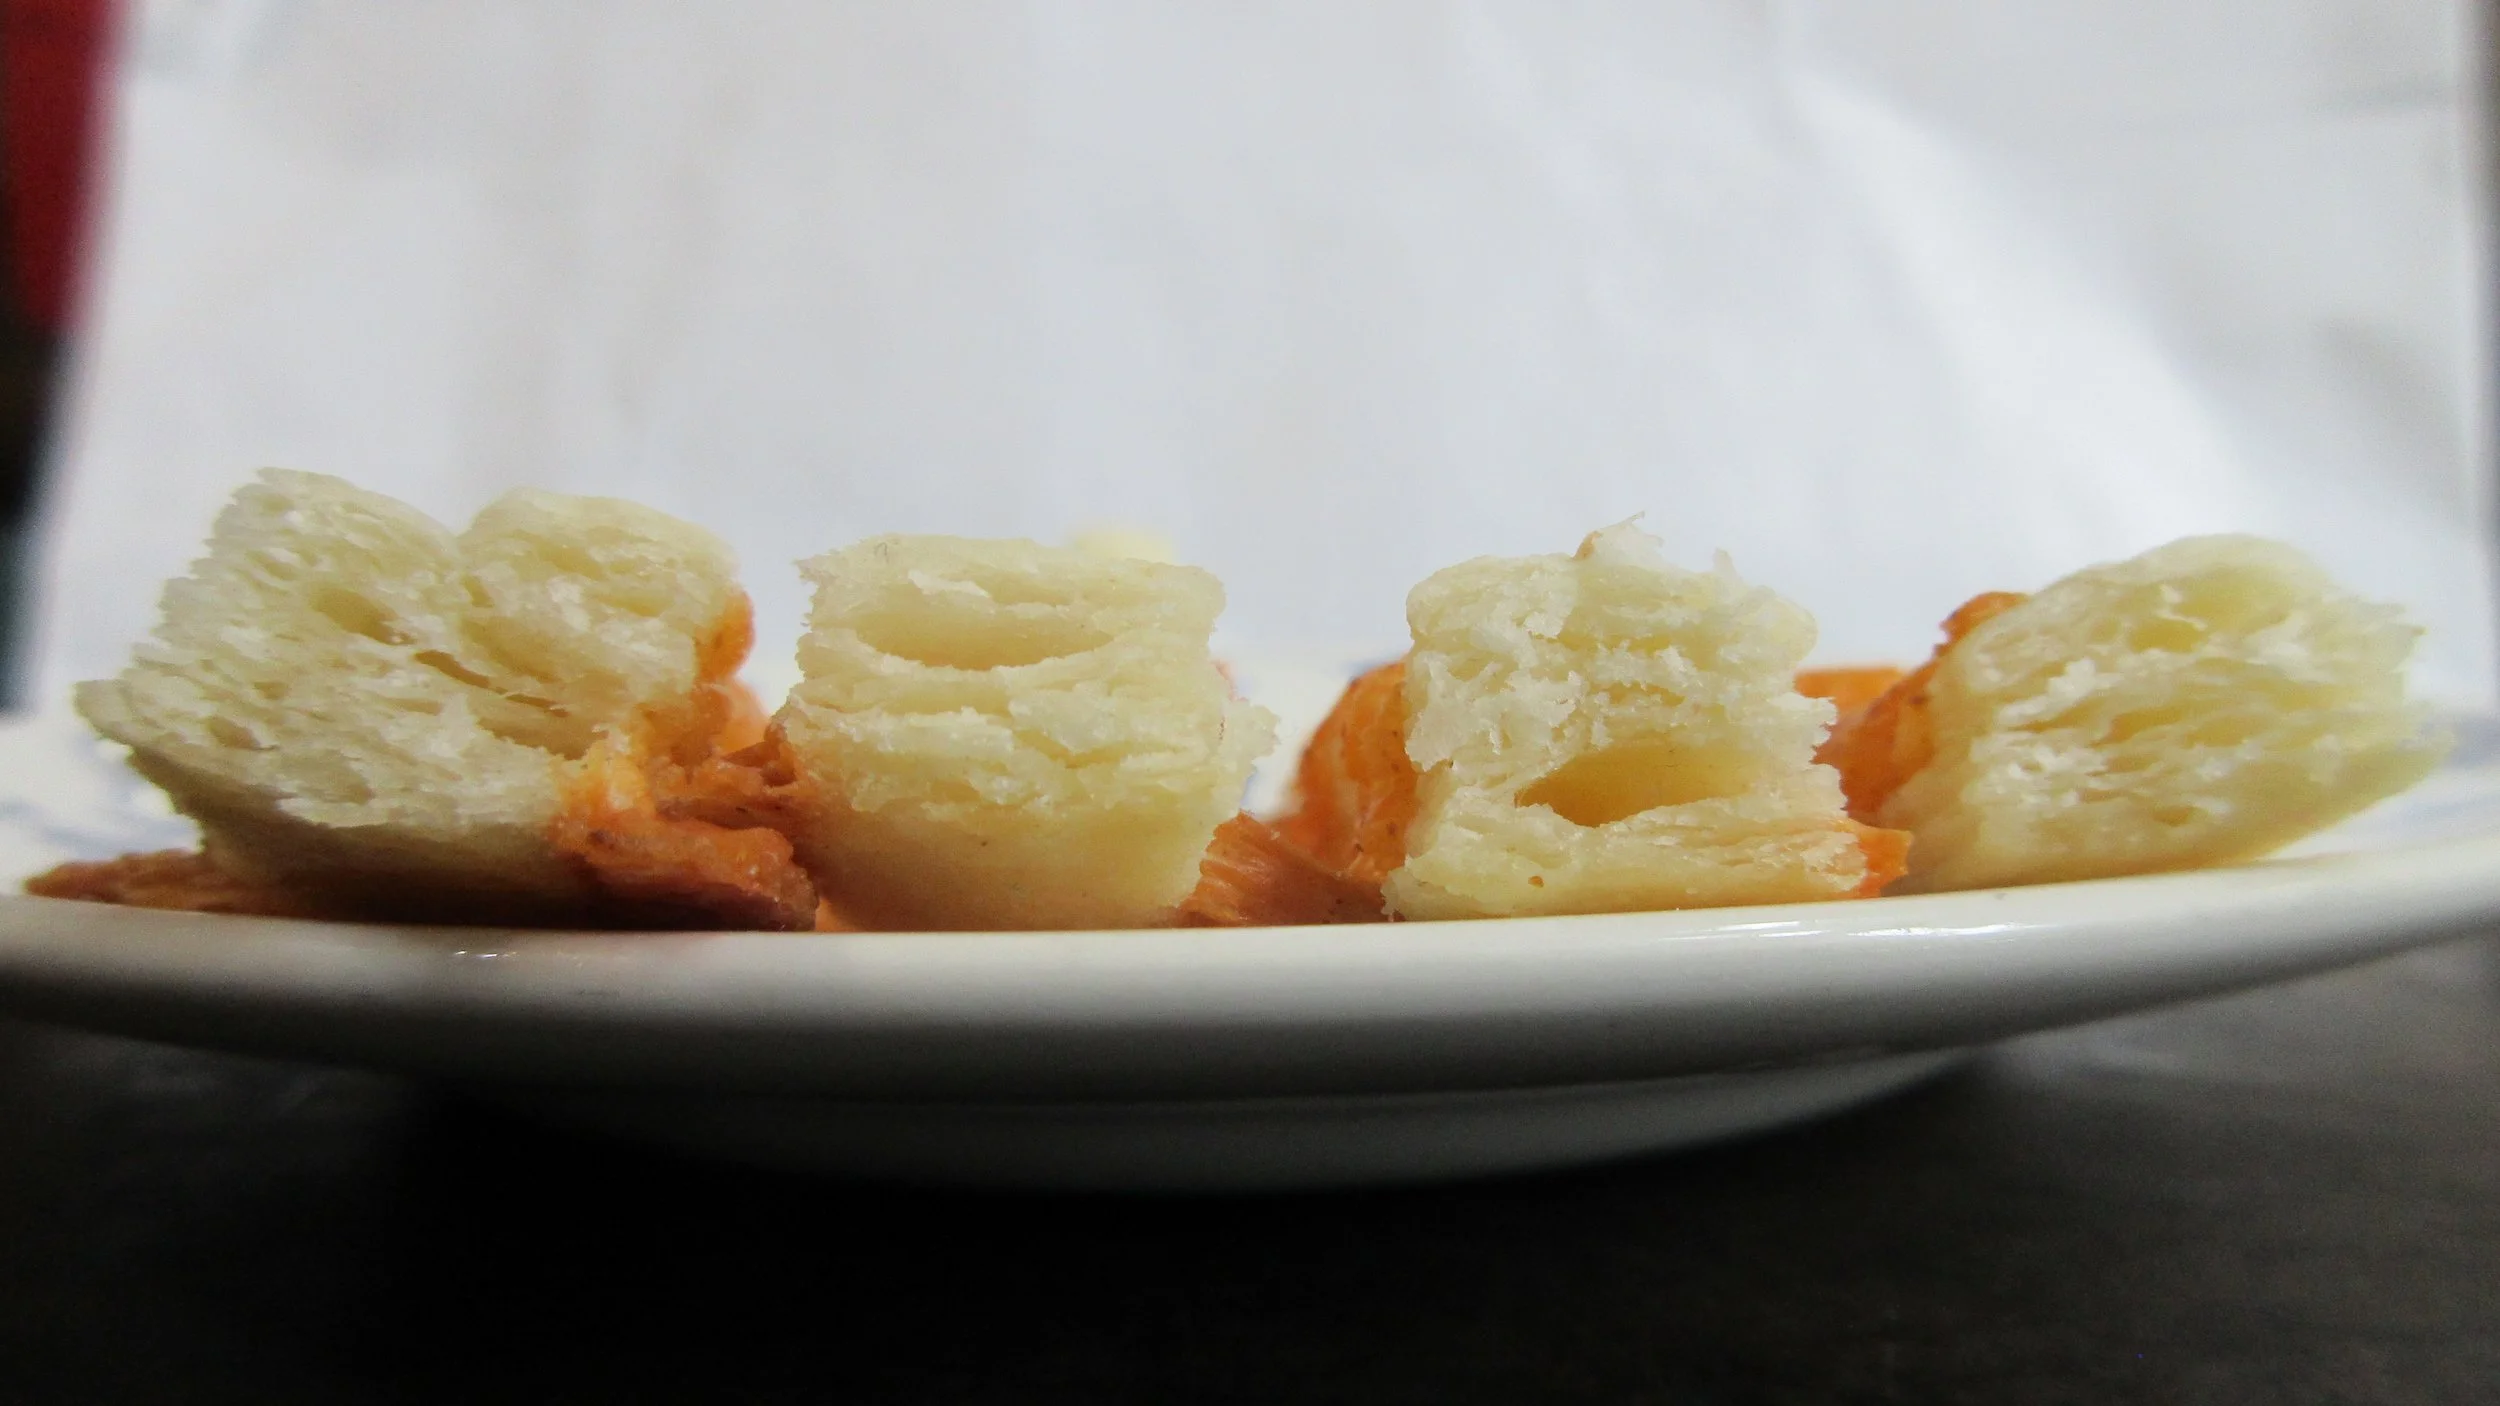
Pineapple Nut Stuffing
Pineapple Nut Stuffing will probably be the recipe I select the next time I make a Christmas or Thanksgiving turkey. The earthiness of the walnuts and the sharpness of the celery would complement the additional flavour of the turkey juices and the pineapple in the recipe is only perceptible by a slight sweetness.
This recipe is found in the 1950 The American Woman’s Cook Book and the introduction to the chapter on Stuffings for Fish, Meat, Poultry and Game lists alternative ways to prepare stuffing. Instead of cooking my stuffing inside of a fowl, I decided to try three of the methods listed in this paragraph: baked, steamed and fried in croquettes.
Cheese Straws
Today’s my 2nd Blogaversary! 2 years ago today, I nervously and excitedly hit “publish” on my very first recipe post. The recipe I picked was Cayenne Cheeses from the 1861 cookbook Mrs. Beeton’s Book of Household Management. I picked it because it was – and it still is – my favourite historic recipe that I’ve ever made and eaten.
A year later, I started the tradition of posting a similar recipe each year on March 31st to celebrate the milestone. Last year’s recipe was Cheese Hooies from the 1965 Stillmeadow Cookbook by Gladys Taber. 2020’s twist on baking flour, butter, cheese, salt and cayenne pepper together is Cheese Straws. This recipe come to us all the way from the 1891 Tried and True Cookbook, a community cookbook compiled by the “Ladies Aid Society and Friends of the First Methodist Episcopal Church of Deadwood, South Dakota”.
Hot Crabby Punch
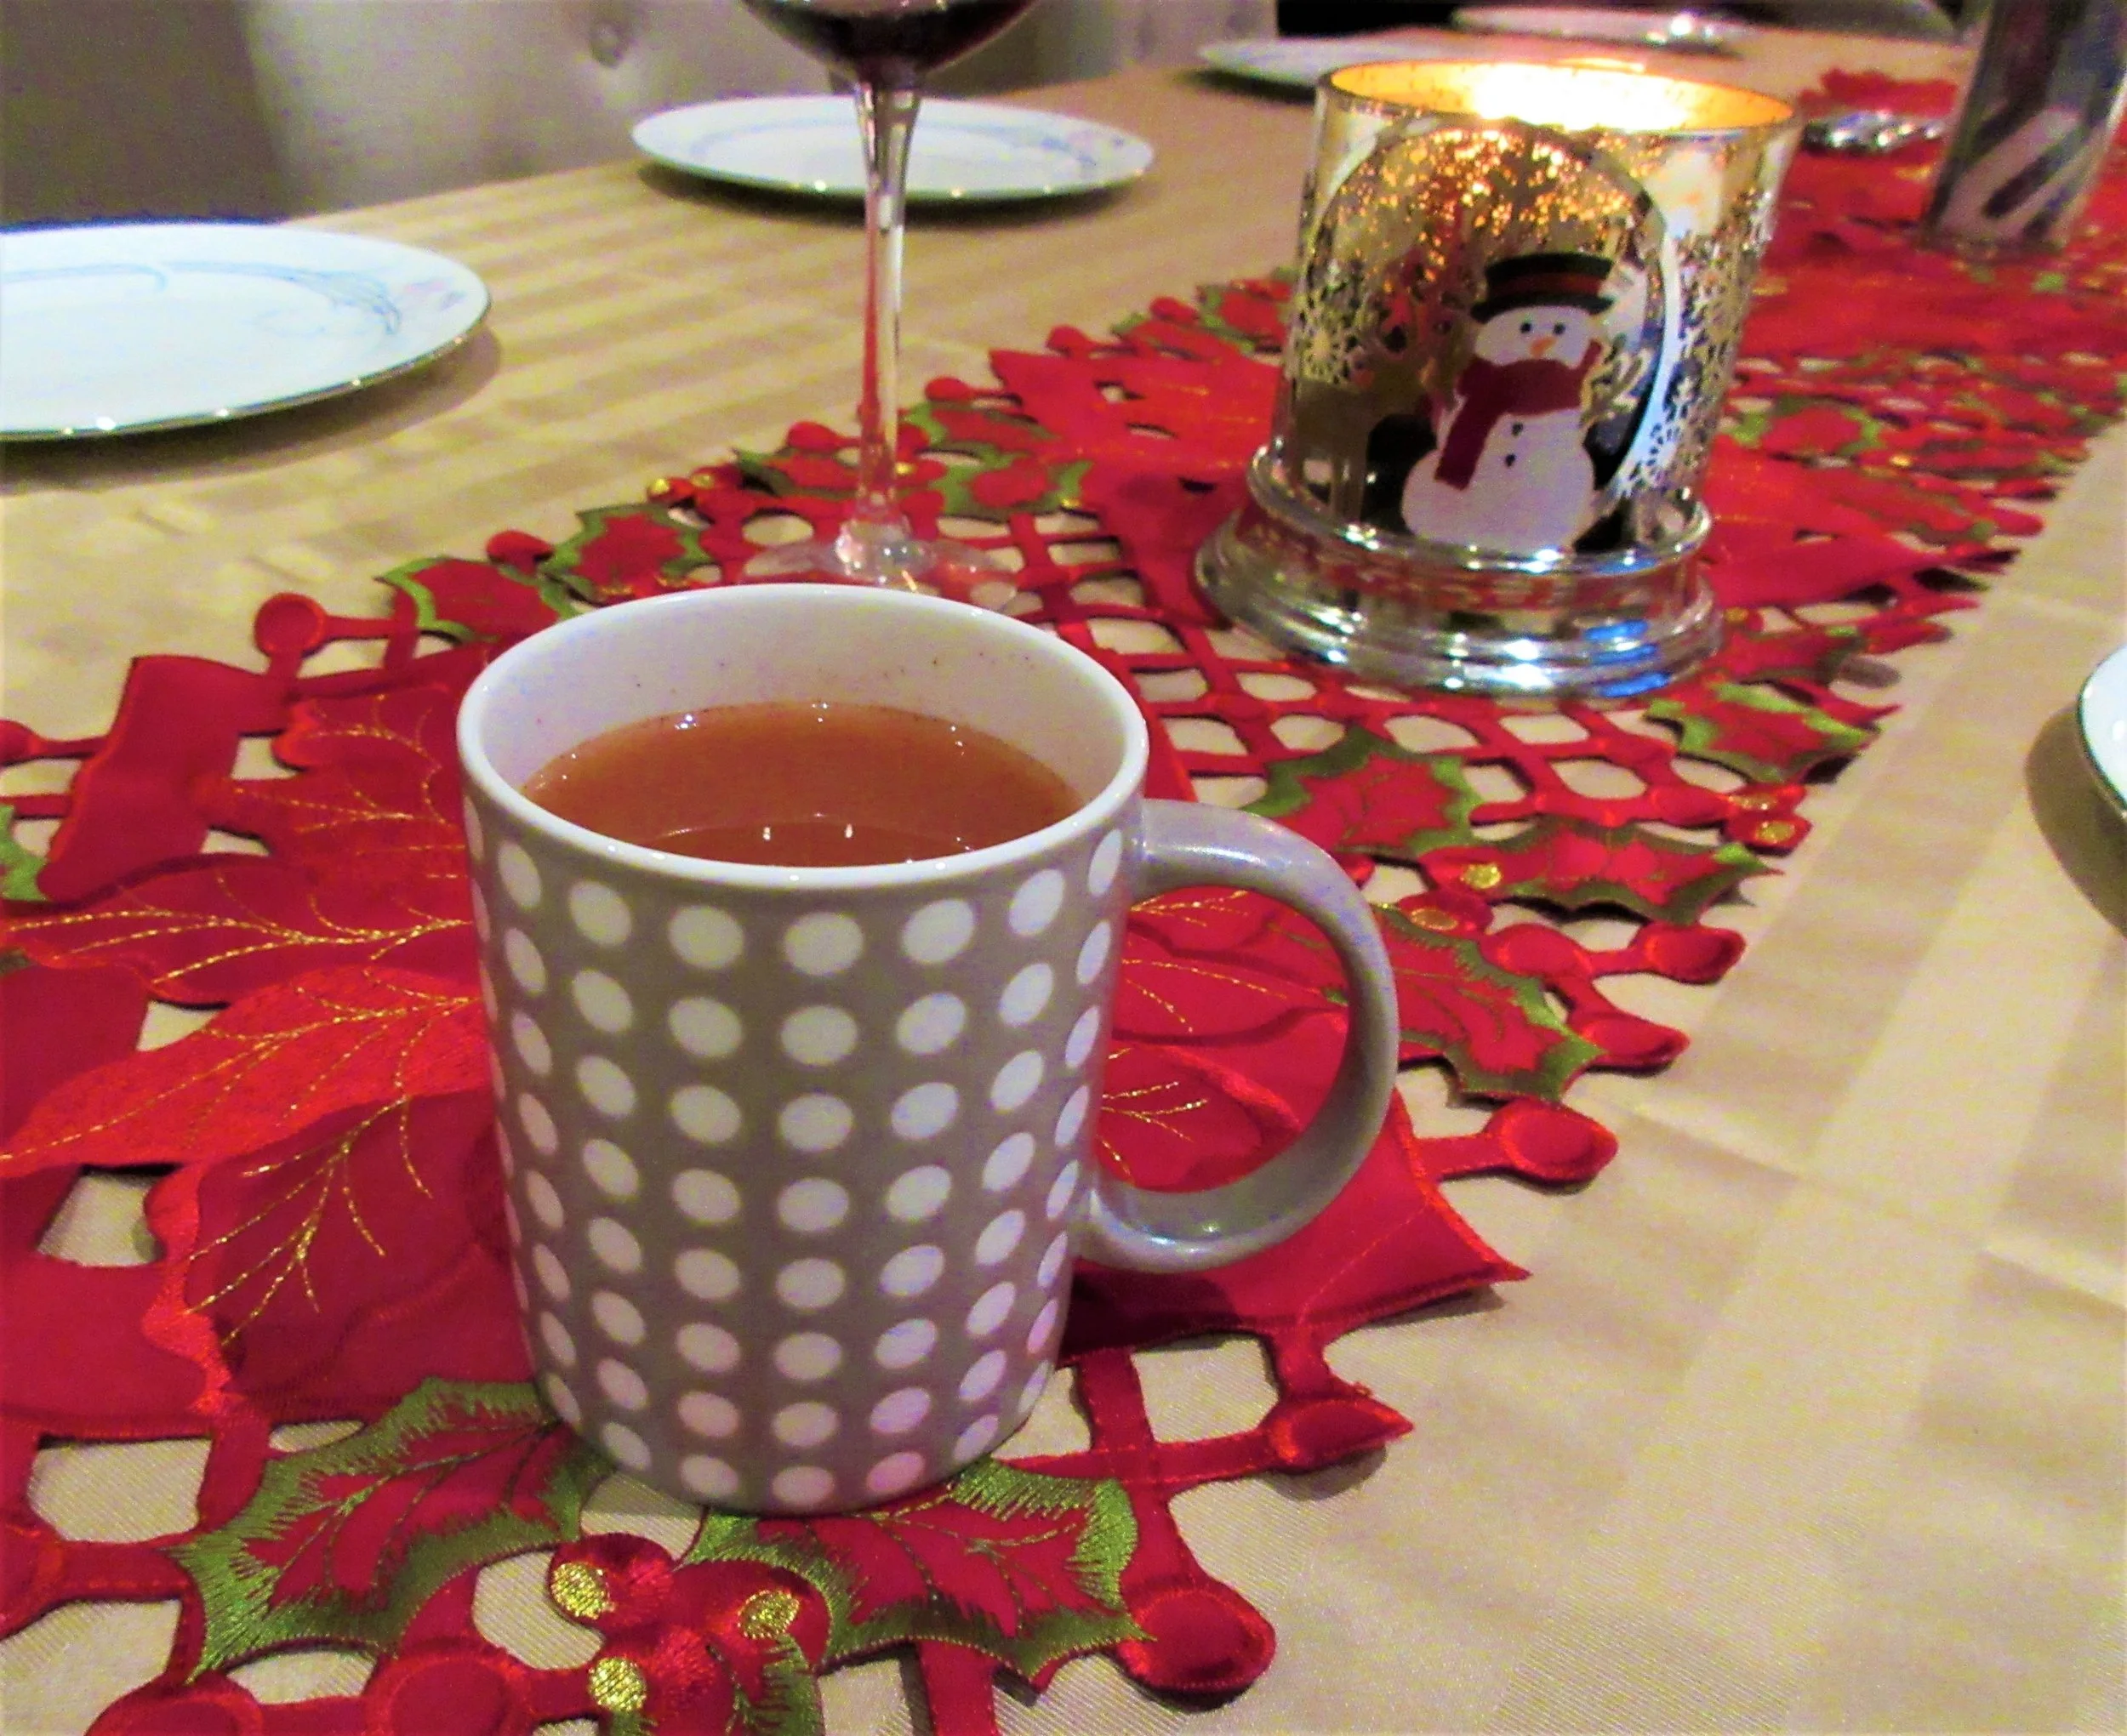
Hot Crabby Punch is a warm mulled apple cider and cranberry juice punch with cinnamon, cloves and allspice. The recipe’s got such a cute name because it’s from the 1977 The ideals Junior Chef Cookbook, which is from the first cookbook I’ve ever owned, given to me by my aunt and uncle on my 7th birthday.
I made Hot Crabby Punch for my family when we celebrated Christmas together at my brother’s house. They seemed to like having Hot Crabby Punch around, so maybe making mulled warm beverages will become a new Christmas tradition. The most sound-bite friendly review was coined by my niece: “Tastes like pie!” I was told “That punch is good, Julie” a few times, “It would be good with vodka” and also “I don’t normally like warm beverages that much, but I liked it”.
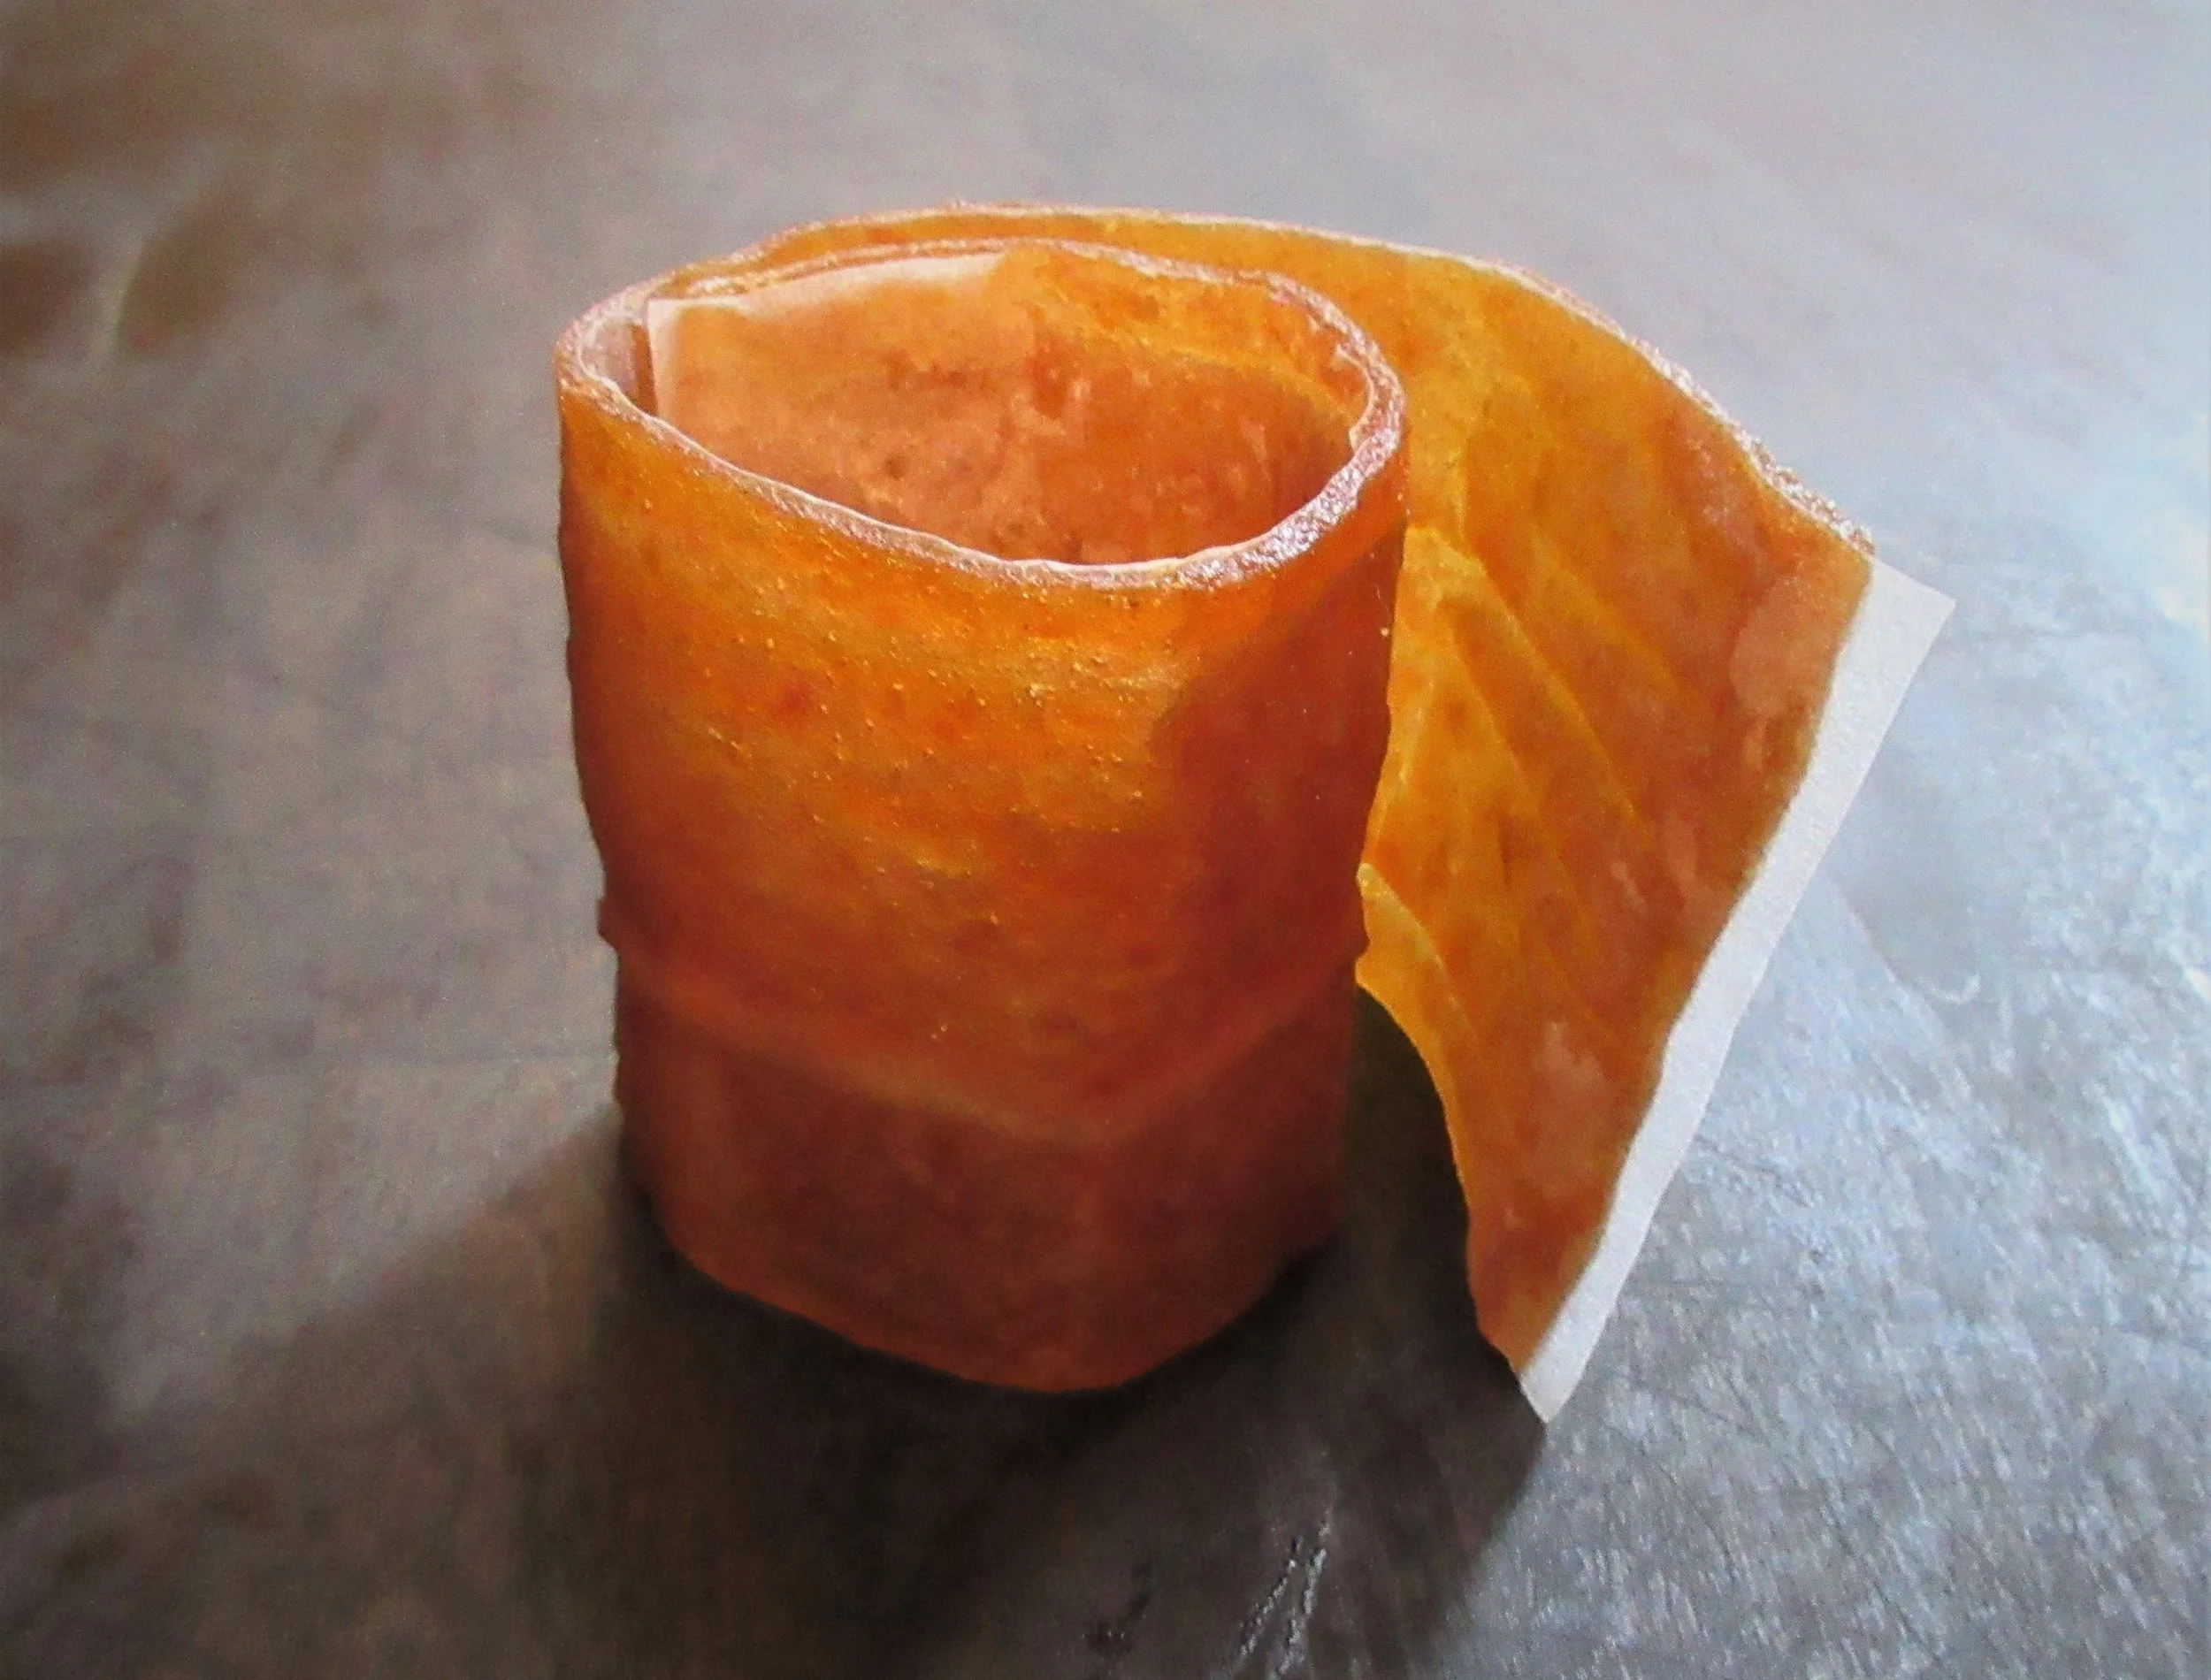
Apple Leather
If you have a look at all the recipes in the “Fruit” category on this blog, you’re going to notice that most of my fruit recipes feature apples. I just did the math, and as of today, we’re talking 62.5% of my fruit recipes. Here’s the reason why: when we moved into our current home in Hamilton, we didn’t realize that the giant tree in our backyard was in fact a very prolific old apple tree!
August is my unofficial Apple Month, when I try to keep as many apples out of the compost bin as possible. Do you want cooking apples next summer? Let me know if you do and they are yours! This Apple Leather recipe is from one of the Victorian cookbooks that I turn to again and again, Miss Leslie's Directions for Cookery from 1851.