
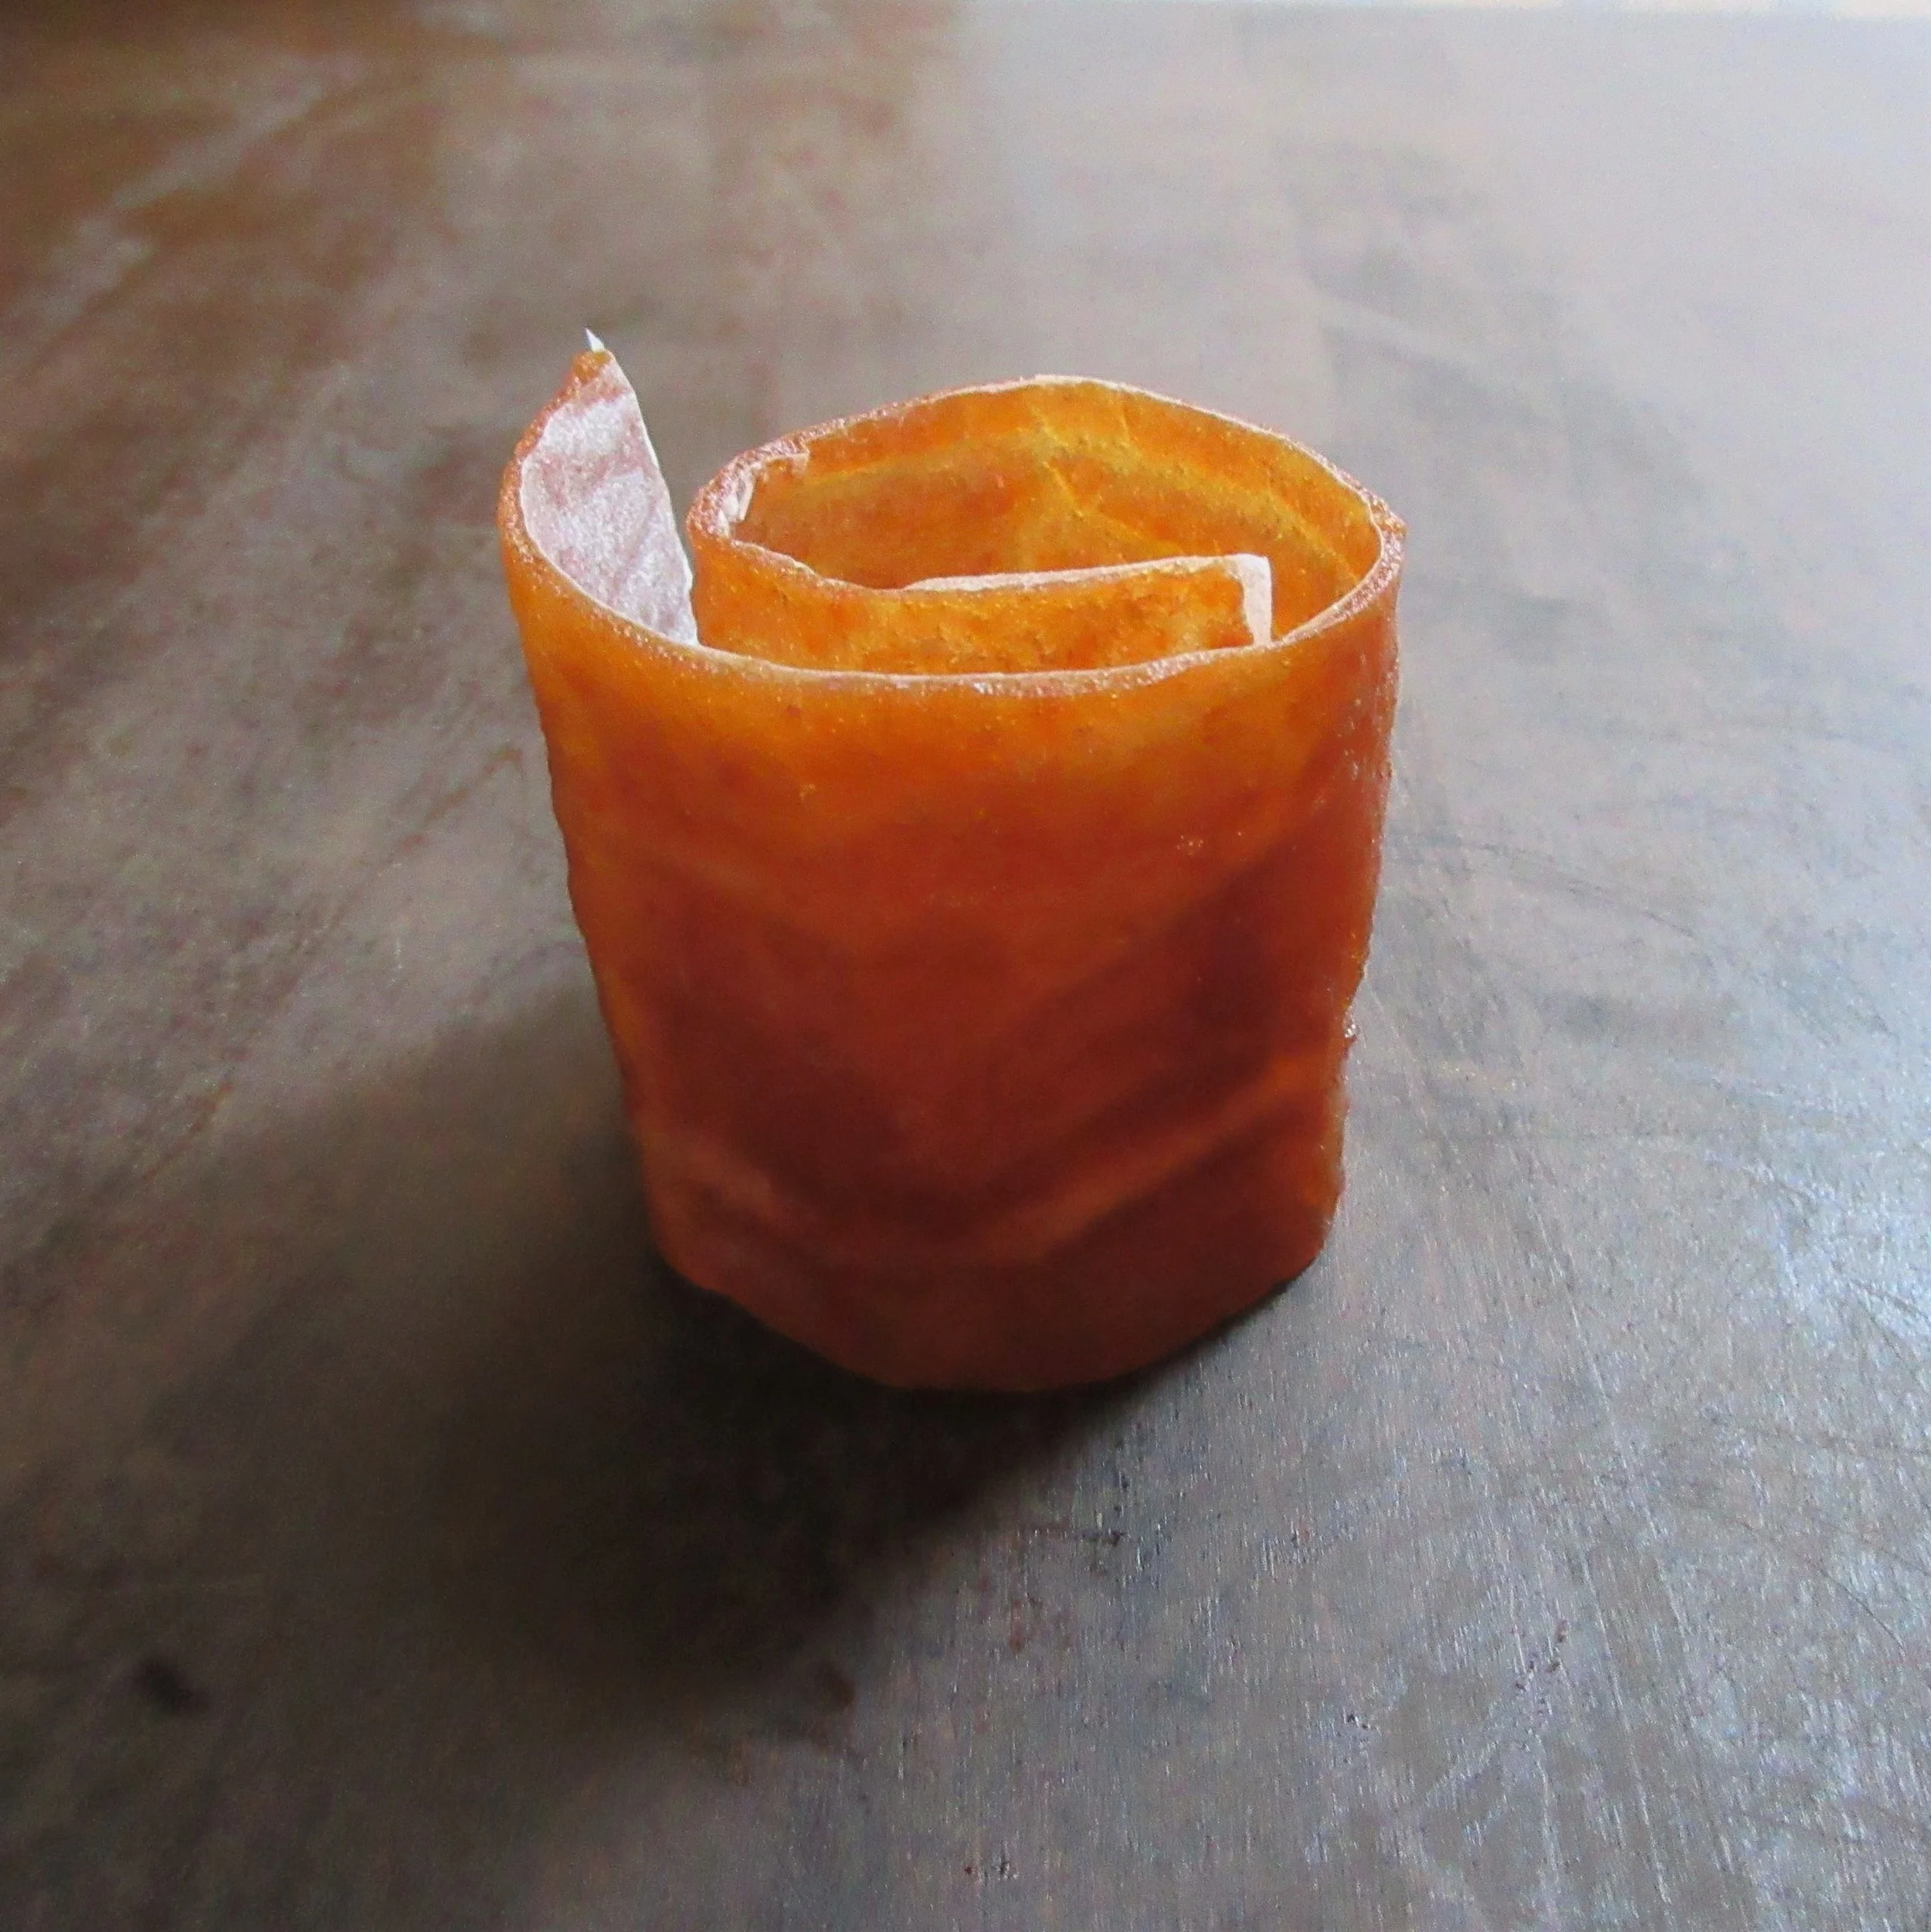
Apple Leather
If you have a look at all the recipes in the “Fruit” category on this blog, you’re going to notice that most of my fruit recipes feature apples. I just did the math, and as of today, we’re talking 62.5% of my fruit recipes. Here’s the reason why: when we moved into our current home in Hamilton, we didn’t realize that the giant tree in our backyard was in fact a very prolific old apple tree!
August is my unofficial Apple Month, when I try to keep as many apples out of the compost bin as possible. Do you want cooking apples next summer? Let me know if you do and they are yours! This Apple Leather recipe is from one of the Victorian cookbooks that I turn to again and again, Miss Leslie's Directions for Cookery from 1851.

You’ll find this recipe in:
Miss Leslie's Directions for Cookery
By: Eliza Leslie
Philadelphia, 1851
Historic Recipe:
PEACH LEATHER. - To six pounds of ripe peaches, (pared and quartered,) allow three pounds of the best brown sugar. Mix them together, and put them into a preserving kettle, with barely water enough to keep them from burning. Pound and mash them a while with a wooden beetle. Then boil and skim them for 3 hours or more, stirring them nearly all the time. When done, spread them thinly on large dishes, and set them in the sun for three or four days. Finish setting them in the oven after the bread is taken out, letting them remain till the oven is cold. Roll up the peach leather and put it away in a box.
Apple leather may be made in the same manner.


My Recipe:
2 cups apple chunks, cored and peeled – 225 g
¾ cup brown sugar – 110 g
½ cup water – 120 mL
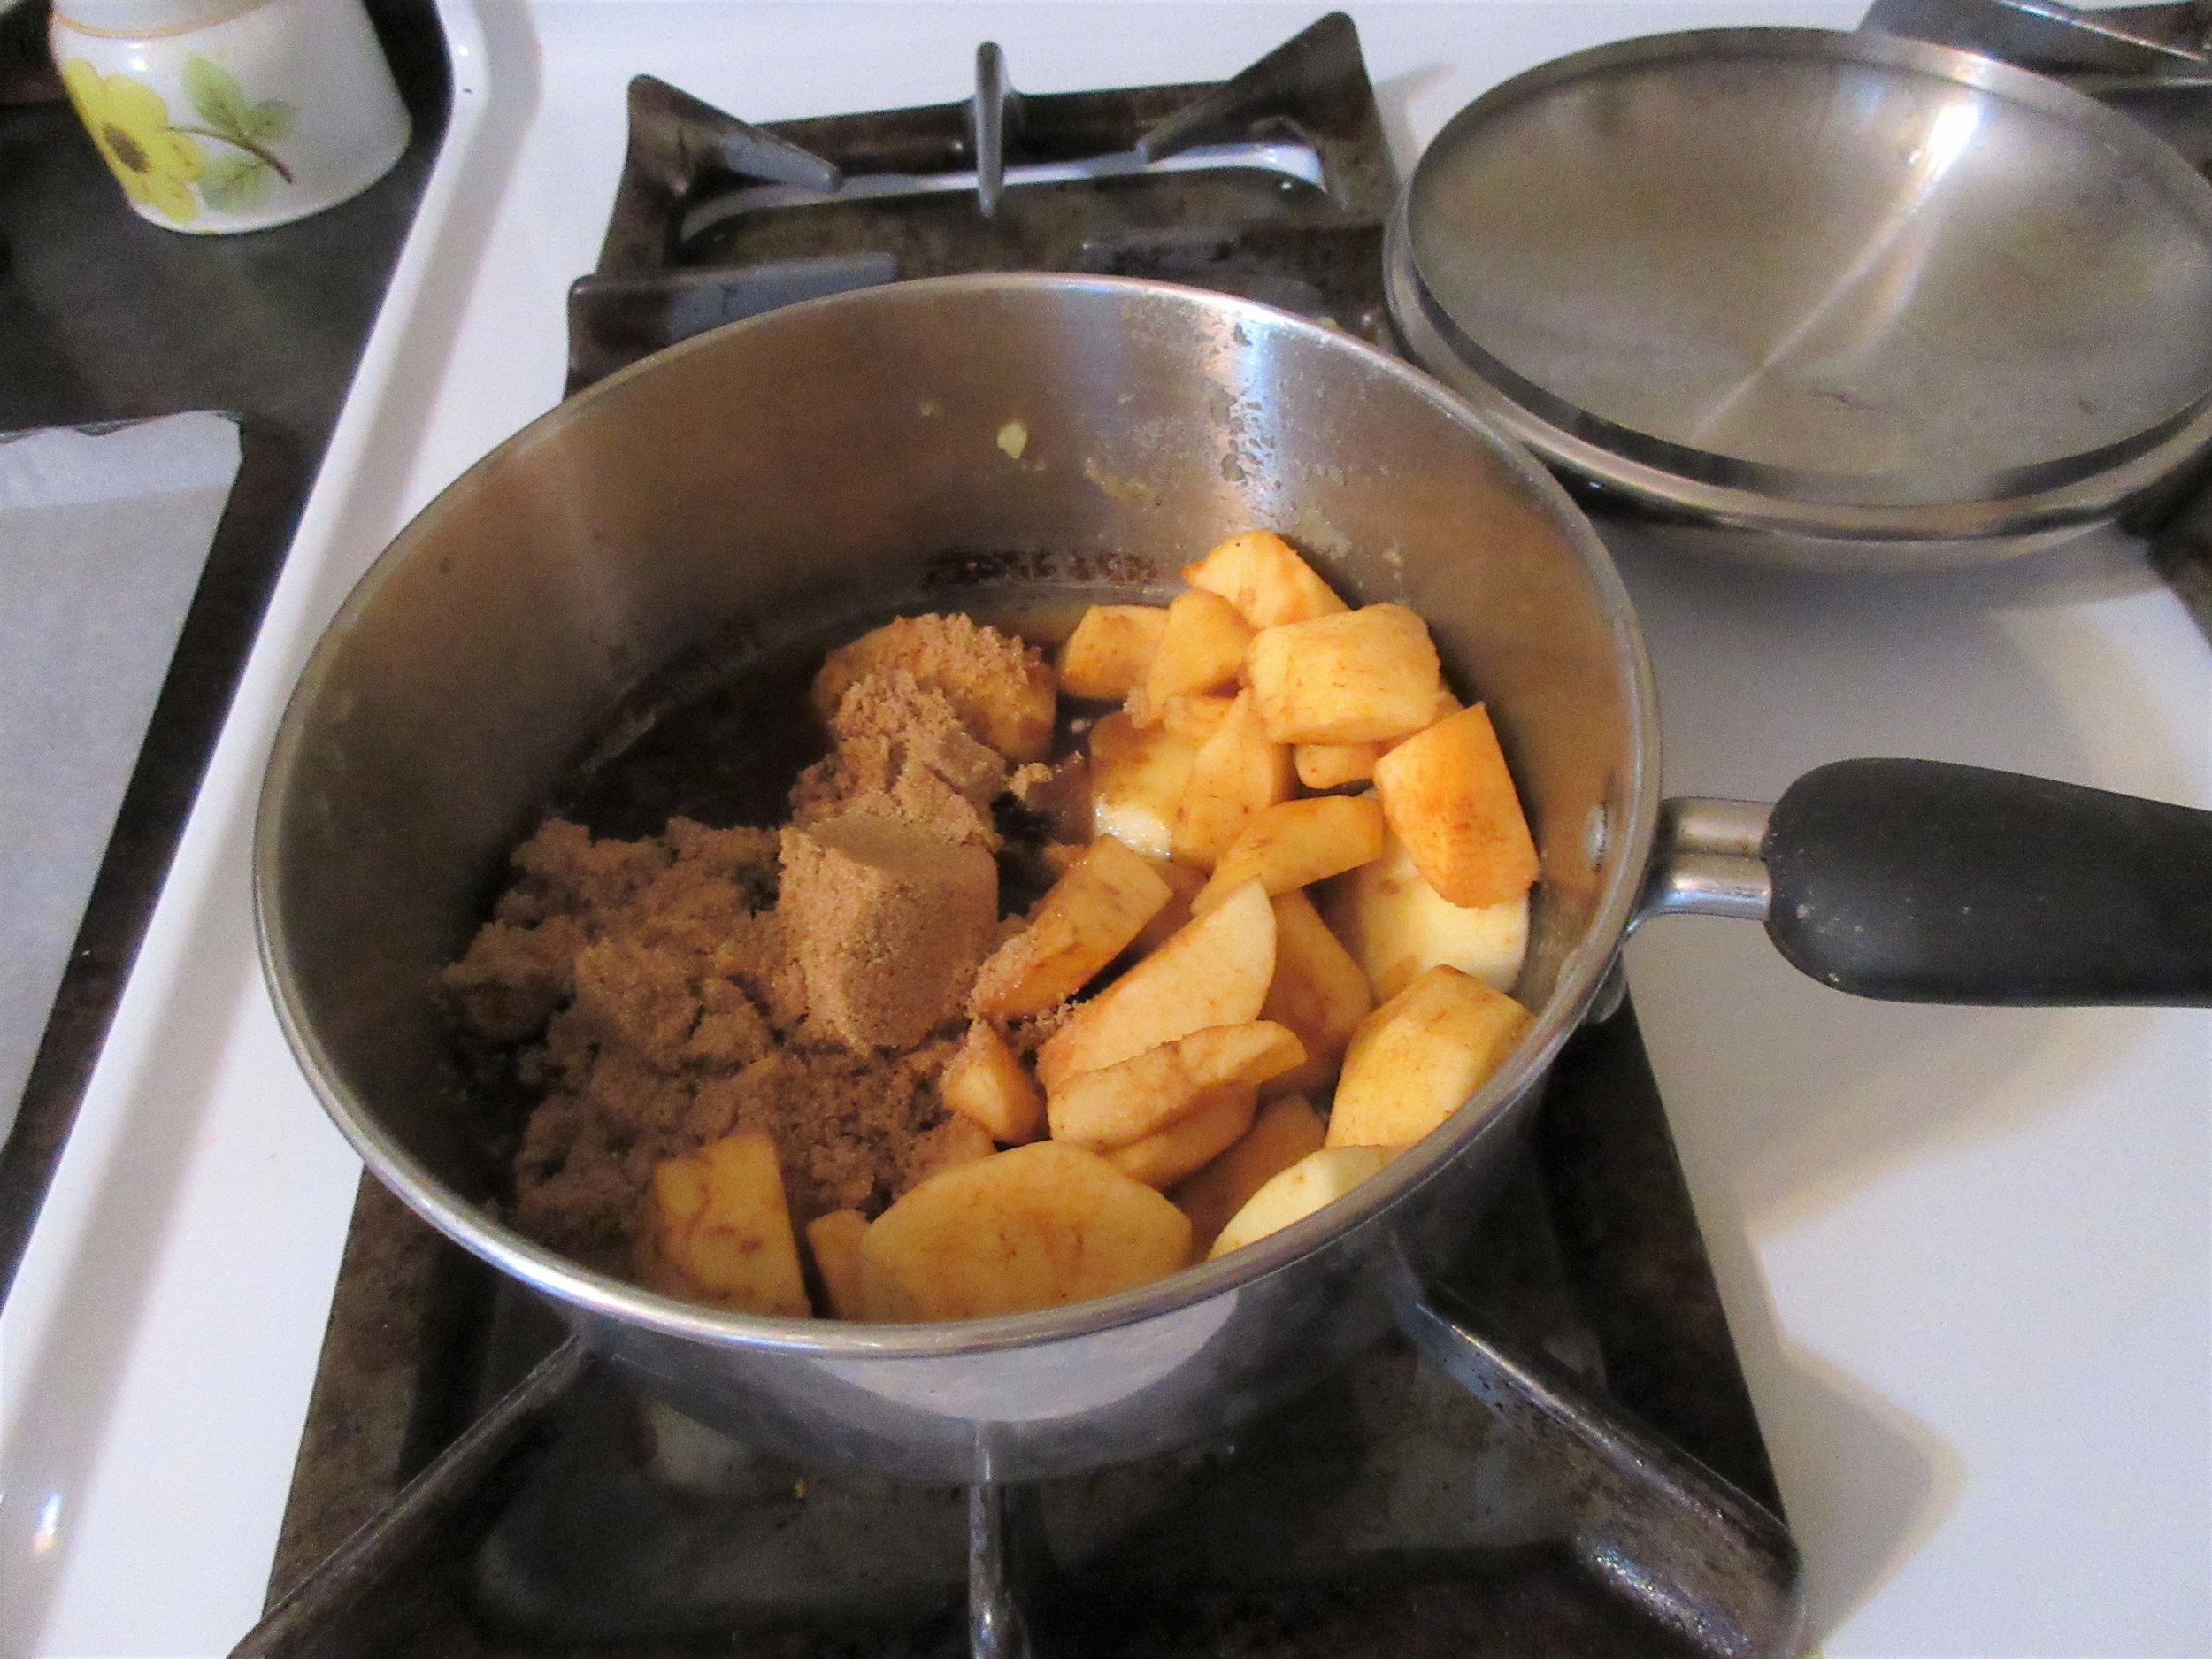
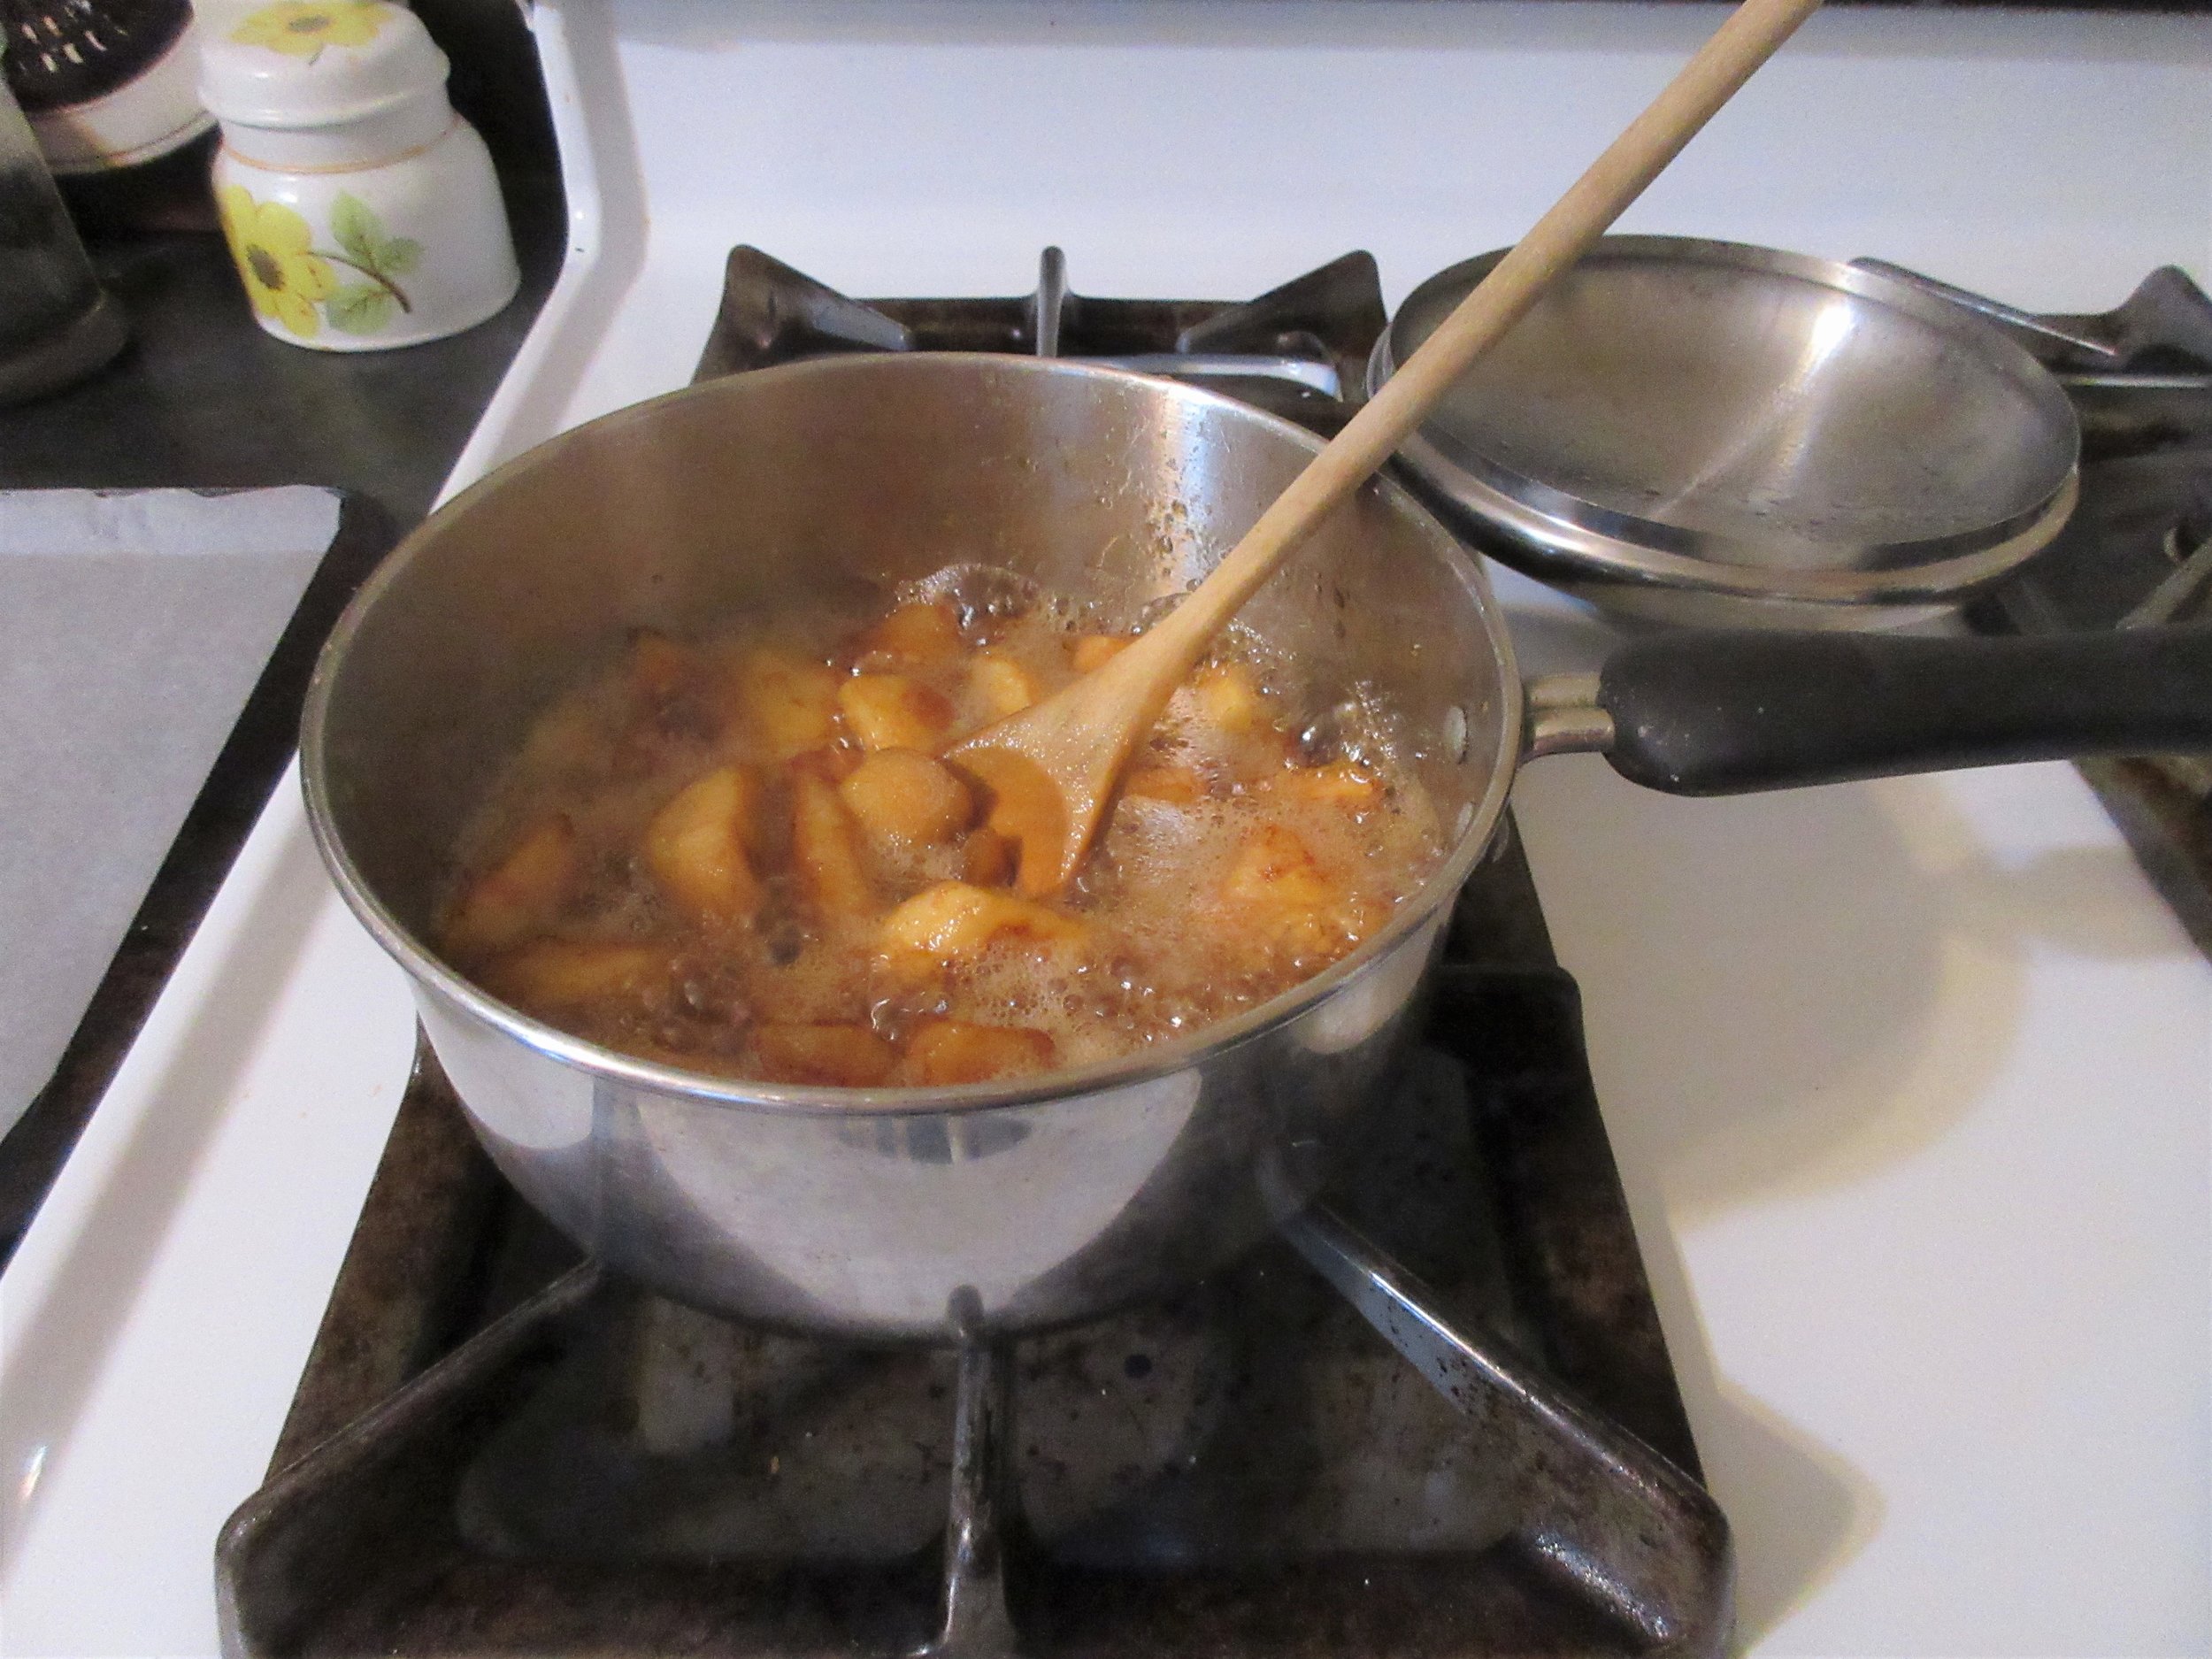
Put the apple chunks, brown sugar and water in a pot and simmer over medium low heat until the apples are mushy. In the meantime, cover a cookie sheet with parchment paper or prepare your dehydrator. Puree in a blender, then spread the mixture evenly (3 or 4 mm/1/8 inch thick) over the parchment paper or dehydrator sheets with a spatula.
Pop the apple leather into your dehydrator or into your oven at a very low temperature. I dehydrated the apple leather in my oven at 220 F (93 C) for about 3 hours. It is finished when it is still slightly tacky when touched, but has structural integrity and doesn’t mush under your fingers.
You may want to make more apple leather than I did when I tested this recipe. I’ve never made a fruit leather before, so I decided to go small! 2 cups of apples mostly filled a small cookie sheet, although I definitely should have left it thicker in some areas. To help you gauge how much to make, contemporary recipes for fruit leather usually ask for 4 cups of apples to fill a large cookie sheet.


Right: a variety of wooden beetles, courtesy of Michigan State Universities Library
If you read the historic recipe and noticed that it instructs “Pound and mash them a while with a wooden beetle”, and you wondered why in the world anyone would mash apples with a wooden insect sculpture, let me show you what a beetle is. Have a look at the image above to see a selection of wooden beetles. A beetle would be used anytime I would grab a potato masher in my kitchen, and it’s just a sturdy wooden kitchen tool with a handle and a flat bottom. It’s perfect for mushing up soft ingredients.


If you have a look at all the recipes in the “Fruit” category on this blog, you’re going to notice that most of my fruit recipes feature apples. I just did the math, and as of today, we’re talking 62.5% of my fruit recipes. Here’s the reason why: when we moved into our current home in Hamilton, we didn’t realize that the giant tree in our backyard was in fact a very prolific old apple tree!
We have no idea what variety of apple we have, but it is by far the tallest apple tree I’ve ever seen. It’s an early apple that begins in late July and tapers off through the month of August. The apples are very sweet, but they are also very very dry so they are mandatory cooking apples. They are mostly green, small in size and as August goes on, some of the apples do develop a slight rosy blush, usually only on one side. Do you have a guess about the type of apple we’ve got? If you do, leave a comment!
August is my unofficial apple month and I’ve made up an Instagram hashtag so that I can see everything I’ve done with my apples over the years: #juliabattlesappletree. This year, I’ve made two huge batches of Apple Butter, To make fine pippen Tarts and this batch of Apple Leather. I’ve made Apple Cinnamon Oatmeal and eaten apples fried in butter with maple syrup drizzled on top. I’ve also “invented” Apple Smoothie Cubes, which is cooked apple puree, frozen in ice cube trays, that I’ll pop in my green smoothies.
The other morning when I was chopping up apples, I snapped a very cute photo of my cat Clementine supervising the proceedings, which of course I posted on Instagram. I honestly had no idea what I was going to do with the apples I was chopping, so I asked what people thought I should make!
There were some fantastic suggestions left in the comments: apple crisp, pickled apples, apple shortbread, apple pie, apple chutney, apple cake, steamed apple pudding, applesauce with peaches or nectarines...and apple leather. The last suggestion really appealed to me because I’ve never made a fruit leather before and also because Steve and I are leaving on a road trip on Wednesday and Apple Leather would make a perfect snack for the car.
I want to give a shoutout to the person who suggested Apple Leather, because I’m a big fan of what she’s up to on Instagram. Jaqu Edge, a.k.a. “Kiwi Nosh” is a food history enthusiast in New Zealand that I’ve been following for a while on Insta. She’s a big fan of anything sweet and usually bakes recipes from New Zealand community cookbooks. I love her cheeky and dry sense of humour, and I found that her pictures of her garden in full bloom were quite therapeutic to me last winter, which I found to be especially depressing! Check her out @kiwinosh.
Read the Cookbook:
To Fry Fish
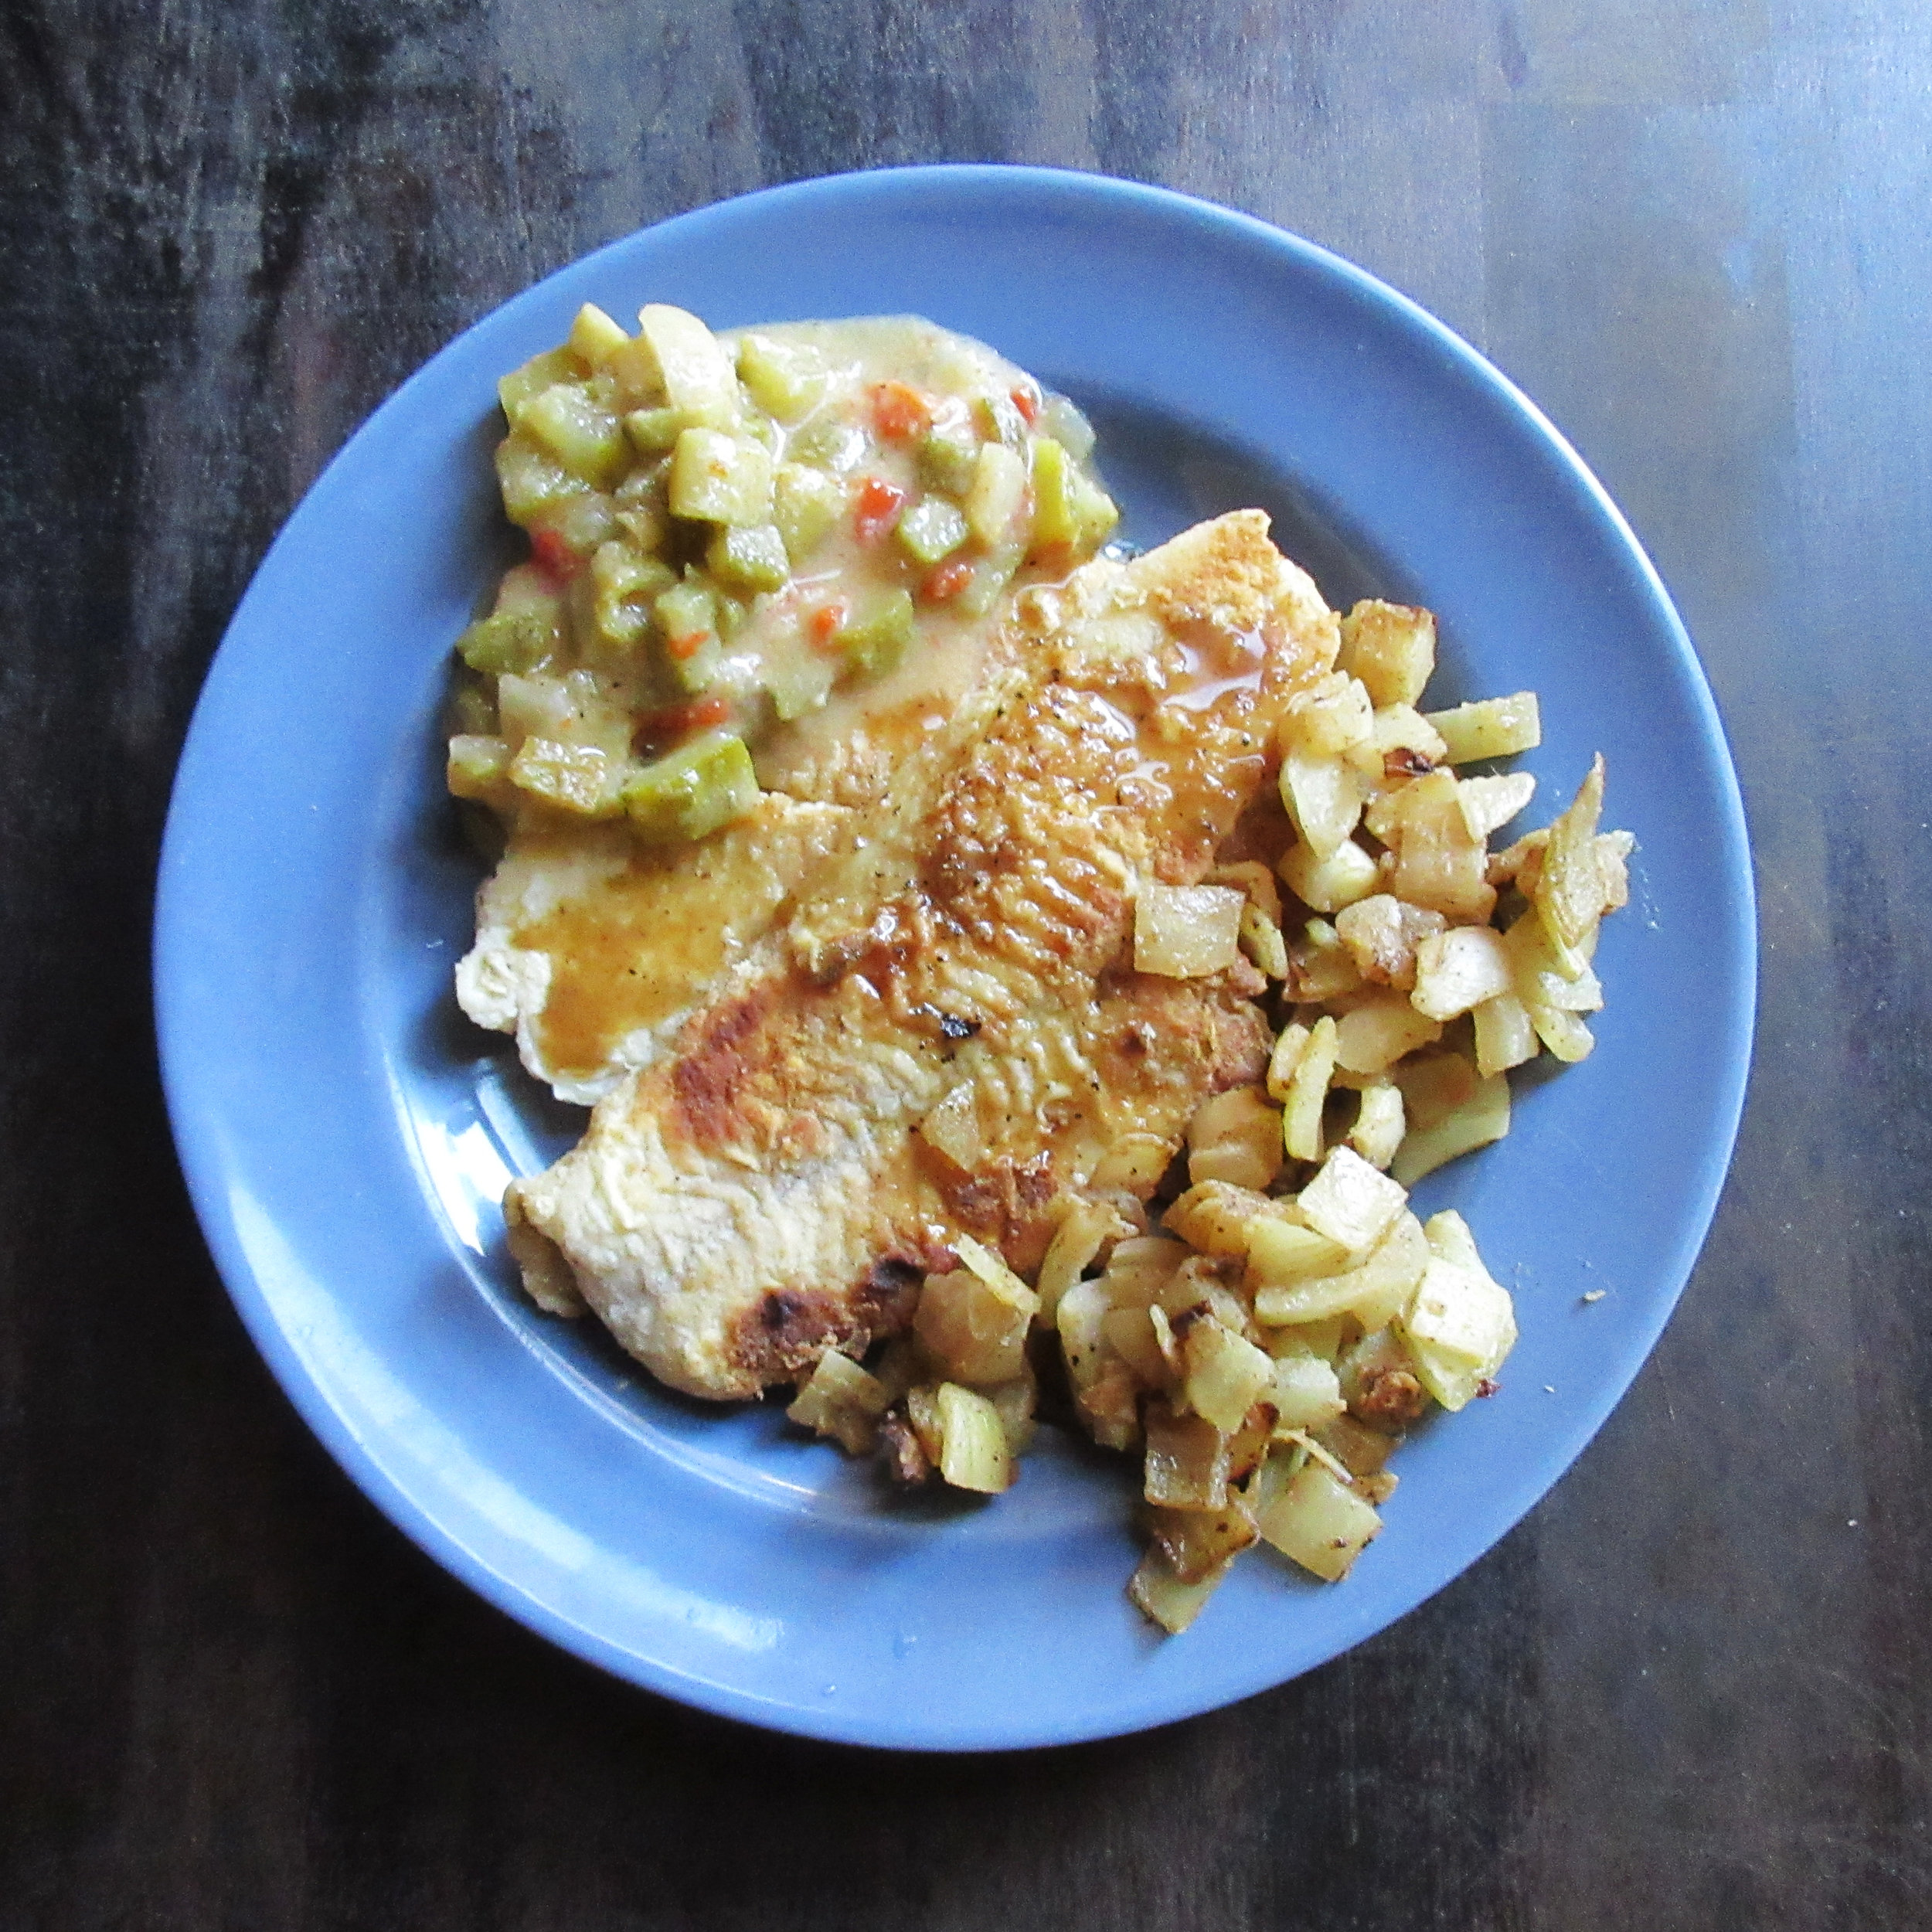
To Fry Fish is found in A Plain Cookery Book for the Working Classes, written by Charles Elmé Francatelli in London in 1852. Fortunately, I had some bacon fat in my fridge, so that's what I used to fry my fish. Let me tell you, fish dredged in flour and fried in bacon fat is scrumptious, and so were the fried onions that we ate on the side. I paired the fish with Sharp Sauce for Broiled Meats from the same cookbook. The main component of this sauce is a variety of pickles and it reminds of relish, albeit without the sweetness. I round out this blog post by delving a little bit into the Fish Slice, a serving utensil for fish.

You'll find this recipe in:
A Plain Cookery Book for the Working Classes
By Charles Elmé Francatelli
”Late Maître d’hôtel and Chief Cook to Her Majesty the Queen Victoria”
London, 1852
The Sauce:
'Sharp Sauce for Broiled Meats' goes very well with the fried fish recipe (which you'll find below). The main component of this sauce is a variety of pickles and it reminds of relish, albeit without the sweetness. I ended up with a double batch of this sauce, so before it was finished, I had eaten it with fish, sausages, chicken and pierogies. It paired well with everything, but it was especially delicious with the sausages.
No. 21. SHARP SAUCE FOR BROILED MEATS
Chop fine an onion and a pennyworth of mixed pickles; put these into a saucepan with a half-a-gill of vinegar, a tea-spoonful of mustard, a small bit of butter, a large table-spoonful of bread-raspings, and pepper and salt to season; boil all together on the fire for at least six minutes; then add a gill of water and allow the sauce to boil again for ten minutes longer. The sauce will give an appetizing relish to the coarsest meats or fish when broiled or fried, and also when you are intending to make any cold meat into hash or stew. In the latter case, the quantity of water and raspings must be doubled.


My Recipe:
1 small onion
1 ¼ cups mixed pickles – 225 g
(I used pickled green beans, cucumbers and red peppers)
⅔ cup apple cider vinegar – 156 mL
1 tsp mustard powder
1 tbsp butter
2 heaping tbsp breadcrumbs (this is double the historic recipe)
Salt and pepper to taste
1 ¼ cups water – 300 mL
Honey to taste (optional – not in the historic recipe)
Finely chop the onion and the pickles. Put in a small saucepan with the vinegar, mustard powder, butter, breadcrumbs, salt and pepper. Simmer over medium for 5-10 minutes, then add the water. Allow to bubble for at least another 10 minutes. Add honey to taste, if desired.
My thoughts:
A big issue with this recipe is the measurement of using "a pennyworth of mixed pickles", which literally means "an amount of pickles worth a penny" and is not very instructive for those of us living today! I just guessed and I think it was a good ratio for pulling an amount out of the air. I did find that I needed to double the breadcrumbs to thicken the liquid enough for a sauce, and maybe I wouldn't have had to if I had put more chopped pickles in the pot.
I'm usually a stickler for historical accuracy, but I HAD to add a bit of honey to this recipe to cut the edge from the extreme vinegariness of this sauce! When I sampled it from a spoon when it was cooking, I would immediately start coughing: not a desirable trait for a sauce. I didn't add enough honey to sweeten the sauce , just enough so I could actually eat it. You may like it without the honey, though.

The Fish
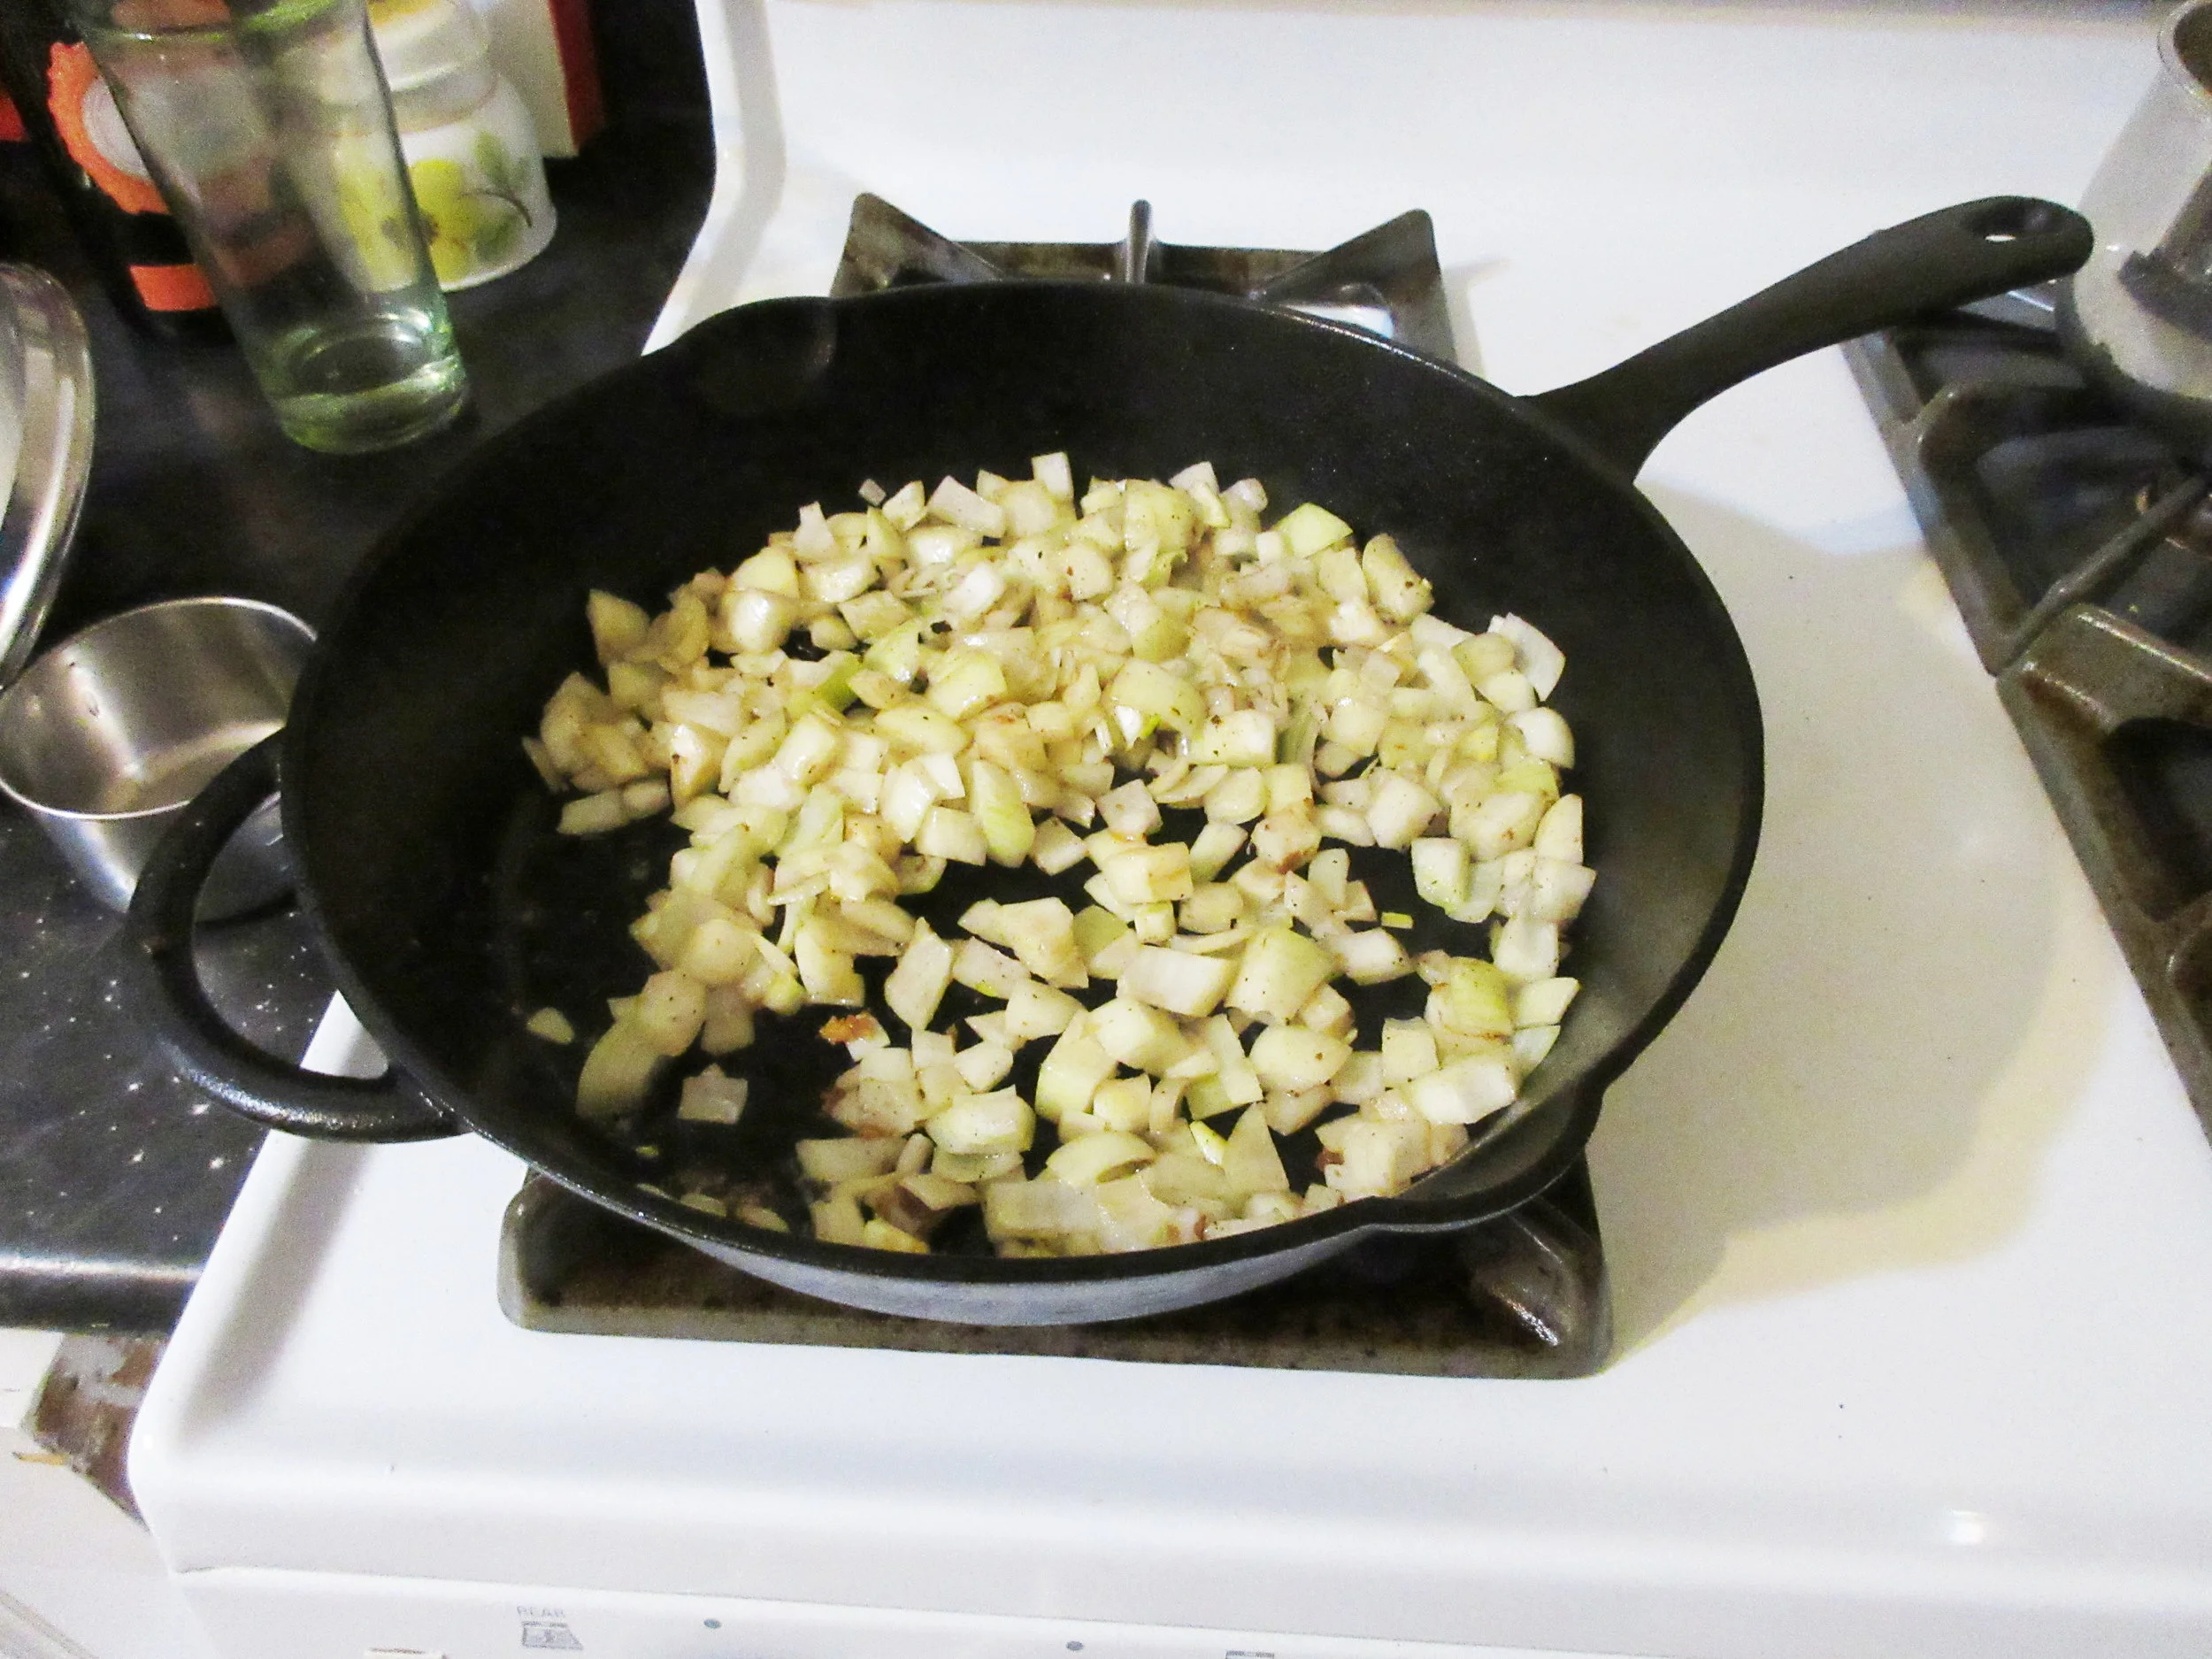
Fortunately, I had some bacon fat from when I made Piquant Beets, so that's what I used for frying my fish. Let me tell you, fish dredged in flour and fried in bacon fat is scrumptious, and so were the fried onions that we ate on the side.
No. 121. TO FRY FISH.
For this purpose you must have some kind of fat. Either lard, butter, or dripping fat, would be excellent; but they must be bought, and cost a little money. True; but then, if you can afford yourselves a bit of meat occasionally, by dint of good thrift you should save the fat from the boiled meat, or the dripping from your baked meats, and thus furnish yourselves with fat for frying your fish twice a-week; and let me tell you that by introducing fish as an occasional part of your daily food, your health, as well as your pockets would feel the benefit of such a symptom of economy. Suppose, then, that you have bought some cheap kind of fish, such as herrings, large flounders, plaice, small soles, or any other small or flat fish. First of all, let the fish be washed and wiped dry, and rubbed all over with a little flour. Next, put about two ounces of fat, free from water, in a frying-pan on the fire, and, as soon as it us hot, put the fish in to fry, one or two at a time, according to their size, as, unless they have room enough in the frying-pan they do not fry well; this must be carefully attended to, and when the fish is a little browned on one side, turn it over with a tin fish-slice, that it may be fried on the other side also; and, as soon as done, place the fried fish on a dish and then fry the others. When all your fish are fried, with what fat remains in the pan fry some onions, and place the round the fish, and, by way of adding an extra relish to your meal, just throw a few table-spoonfuls of vinegar, some pepper and salt, into the frying-pan, give it a boil up, and pour this round the fish.


My Recipe:
Fish fillets – herring, flounder, sole or plaice
Flour
Butter, oil or fat (I used bacon fat)
Onions
Vinegar (I used apple cider vinegar)
Salt and pepper
1) Chop the onions – how much depends on your love of onions and how many people you're serving. I cut up 3 medium & small onions for 6 sole fillets and it was a good amount for us.
2) Rinse the fillets with water and pat dry with a tea towel or paper towels. Lightly coat the fish in flour.
3) Warm up the butter, oil or fat in a frying pan over medium heat, then add the fish. Flip over when slightly browned on the bottom. When nicely browned on both sides, put the fillets on a plate to the side and fry the remaining fillets, adding butter/oil/fat as necessary.
4) When the fish is done, fry the onions in the same pan. Serve the onions on the side of the fish.
5) Remove the frying pan from the heat, then pour in some vinegar into the same pan. Stir, add salt and pepper and pour on top of the fish.

Our historic To Fry Fish recipe instructs us "and when the fish is a little browned on one side, turn it over with a tin fish-slice, that it may be fried on the other side also". I've never encountered anyone calling a fish slice by that name in Canada, but today a fish slice is considered an extra long or wide flipper with drainage holes or slots.

My understanding is that fish slices of this era were usually made of silver, not tin, and were used for serving, not flipping. The Encyclopaedic Dictionary (1887) describes a fish-slice as "A broad-bladed silver knife used for serving fish at table. The trowel-shaped blade enables a portion of fish to be removed from the backbone without breaking it into unsightly fragments".
Cassel's Household Guide (1869) delves even further into fish slices: "A silver or plated slice or knife...is used for this, as for other kinds of fish, because steel spoils the flavour of fish. A knife needs to be broad to divide the flakes without breaking them. A fish-knife has a sharp curved point to disengage the bones, and is perforated with holes to allow any water retained about the fish to run off. A fork is not used in helping fish." There's also very specific instructions for using a fish slice to carve different types of fish, so if learning that skill interests you, have a look at Cassel's Household Guide for some fish-carving tips fit for a Butler.
Nineteenth-century silver fish slices are gorgeous, often featuring the shape of a fish and intricately designed perforations. I had a look at the Royal Ontario Museum's online collections and found four beautiful Canadian examples of Fish Slices created from c.1815-1840 in Montreal and Quebec City, crafted by Nelson Walker, Laurent Amiot, James Ellis and Henri Polonceau; and I'll leave you with this little slice of fish-slice eye candy.


Read the Cookbook:

Apple Butter
Besides the fact that Apple Butter is very delicious, I had an ulterior motive for making this recipe. I made Apple Butter because I wanted to make use of the discarded apples from the historic cooking classes that I taught at Nelles Manor Museum this fall, so you'll find a bonus Apple Water recipe in this blog post.
Our Apple Butter recipe is found in Miss Leslie's Directions for Cookery, published in Philedelphia in 1851. Making Apple Butter is much, much easier in our era because we're able to cook down our apples in a slow cooker, without having to stir the apples " nearly all the time with a stick" in a kettle suspended over a fire!

You'll find this recipe in:
Miss Leslie's Directions for Cookery
By: Eliza Leslie
Philadelphia, 1851
Historic Recipe:
APPLE BUTTER.- This is a compound apples and cider boiled together till of the consistence of soft butter. It is a very good article on the tea-table, or at luncheon. It can only be made of sweet new cider fresh from the press, and not yet fermented.
Fill a very large kettle with cider, and boil it till reduced to one half the original quantity. Then have ready some fine juicy apples, pared, cored, and quartered; and put as many into the kettle as can be kept moist by the cider. Stir it frequently, and when the apples are stewed quite soft, take them out with a skimmer that has holes in it, and put them into a tub. Then add more apples to the cider, and stew them soft in the same manner, stirring them nearly all the time with a stick. Have at hand some more cider ready boiled, to think the apple butter in case you should find it too thick in the kettle.
If you make a large quantity, (and it is not worth while to prepare apple butter on a small scale,) it will take a day to stew the apples. At night leave them to cool in the tubs, (which must be covered with cloths,) and finish next day by boiling the apple and cider again till the consistence is that of soft marmalade, and the colour a very dark brown.
Twenty minutes or half an hour before you finally take it from the fire, add powdered cinnamon, cloves, and nutmeg to your taste. If the spice is boiled too long, it will lose its flavour.
When it is cold, put it into stone jars, and cover it closely. If it has been well made, and sufficiently boiled, it will keep a year or more.
It must not be boiled in a brass or bell-metal kettle, on account of the verdigris which the acid will collect in it, and which will render the apple butter extremely unwholesome, not to say poisonous.

My Recipe:
Apples - sliced, peeled & cored
Apple Cider
Powdered cinnamon, nutmeg & clove – to taste
A 4:1 ratio of apples to apple cider works well – that is, for every 4 cups of sliced apples, add 1 cup of cider.
Add the apples & apple cider to a slow cooker and cook on high, stirring occasionally, until the apples break down and it begins to thicken.
Turn the heat to low and stir more frequently, until, as Miss Leslie instructs, your Apple Butter is "the consistence of soft butter" and "the consistence is that of soft marmalade, and the colour a very dark brown". Cooking the apple butter down in my slow cooker took about 20 hours.
Just before the apple butter is finished, add powdered cinnamon, nutmeg and clove to taste.

My Experience:
Besides the fact that apple butter is very delicious, I had an ulterior motive for making this recipe. We made Apple Water at the historic cooking classes that I taught at Nelles Manor Museum this fall, and at the September classes, it broke my heart to toss the apples that were leftover from making this beverage! When I taught this class again in November, I planned ahead and brought a large container so these apples were not wasted.
What is Apple Water? This recipe is typically found in the Invalid Cookery chapter of nineteenth-century cookbooks. Not that I was suggesting that the class attendees were invalids! I chose this recipe because it was a beverage that we could easily make in the time period of the class. It is sometimes called Apple Tea, and that's a more accurate description of what it is. Here are the two historic recipes that we used for inspiration, one of them from Miss Leslie's Directions for Cookery, the same cookbook as our Apple Butter recipe:
APPLE WATER. - Pare and slice a fine juicy apple; pour boiling water over it, cover it, and let it stand till cold.
Miss Leslie's Directions for Cookery
Eliza Leslie, Philadelphia, 1851
No. 297. Apple Water for sickness.
Cut two large apples in slices, and pour a quart of boiling water on them; or on roasted apples; strain in two or three hours, and sweeten lightly.
The Cook Not Mad
Kingston, 1831
Basically, to make Apple Water or Apple Tea, you slice and core the apples. Leave the skin on, though, because that's where much of the flavour comes from. Place the apples in a container, pour boiling water over them and allow it to steep. The Cook Not Mad suggests a ratio of about 2 cups of water per apple, and if you go the extra step to roast your apples beforehand, you'll get a more flavourful Apple Water. Once you strain the apples from the liquid, taste and decide if you'd like to sweeten with sugar, or leave it as is.
Since my apples were the discarded Apple Water apples, they were softened apples with the skins...so I began making Apple Butter with a step that you will not have to do.
To remove the skins, I decided to cook the apples and cider until mushy on the stove, then push the cooked apples through a sieve with a spatula. This certainly was not easy to do, so please save yourself the headache! Just peel, slice and core your apples and put them in your slow cooker with the apple cider.


After the skins were removed, I finished the cooking process in my slow cooker. Miss Leslie wrote that "If you make a large quantity, (and it is not worth while to prepare apple butter on a small scale,) it will take a day to stew the apples." I started with 25 apples, which amounted to about 17 cups when sliced. The Apple Butter was thick after being in my slow cooker for 20 hours, but I only ended up with between 2 – 3 cups of apple butter!
The nice thing about a slow cooker is that it doesn't require you to stir "nearly all the time with a stick", and you can also cook the apples overnight, instead of "At night leave them to cool in the tubs, (which must be covered with cloths,) and finish next day by boiling the apple and cider again". I started cooking my apples & cider in the evening, so it could cook overnight while I slept. Then when the apples needed to be stirred more frequently as it thickened, I could stir when I was around during the day.
For preserving, Miss Leslie suggests: "When it is cold, put it into stone jars, and cover it closely. If it has been well made, and sufficiently boiled, it will keep a year or more." Our spoiled western digestive systems would probably not appreciate this preservation method, but I didn't have to worry about water bath canning, considering that I had less than 3 cups of Apple Butter.
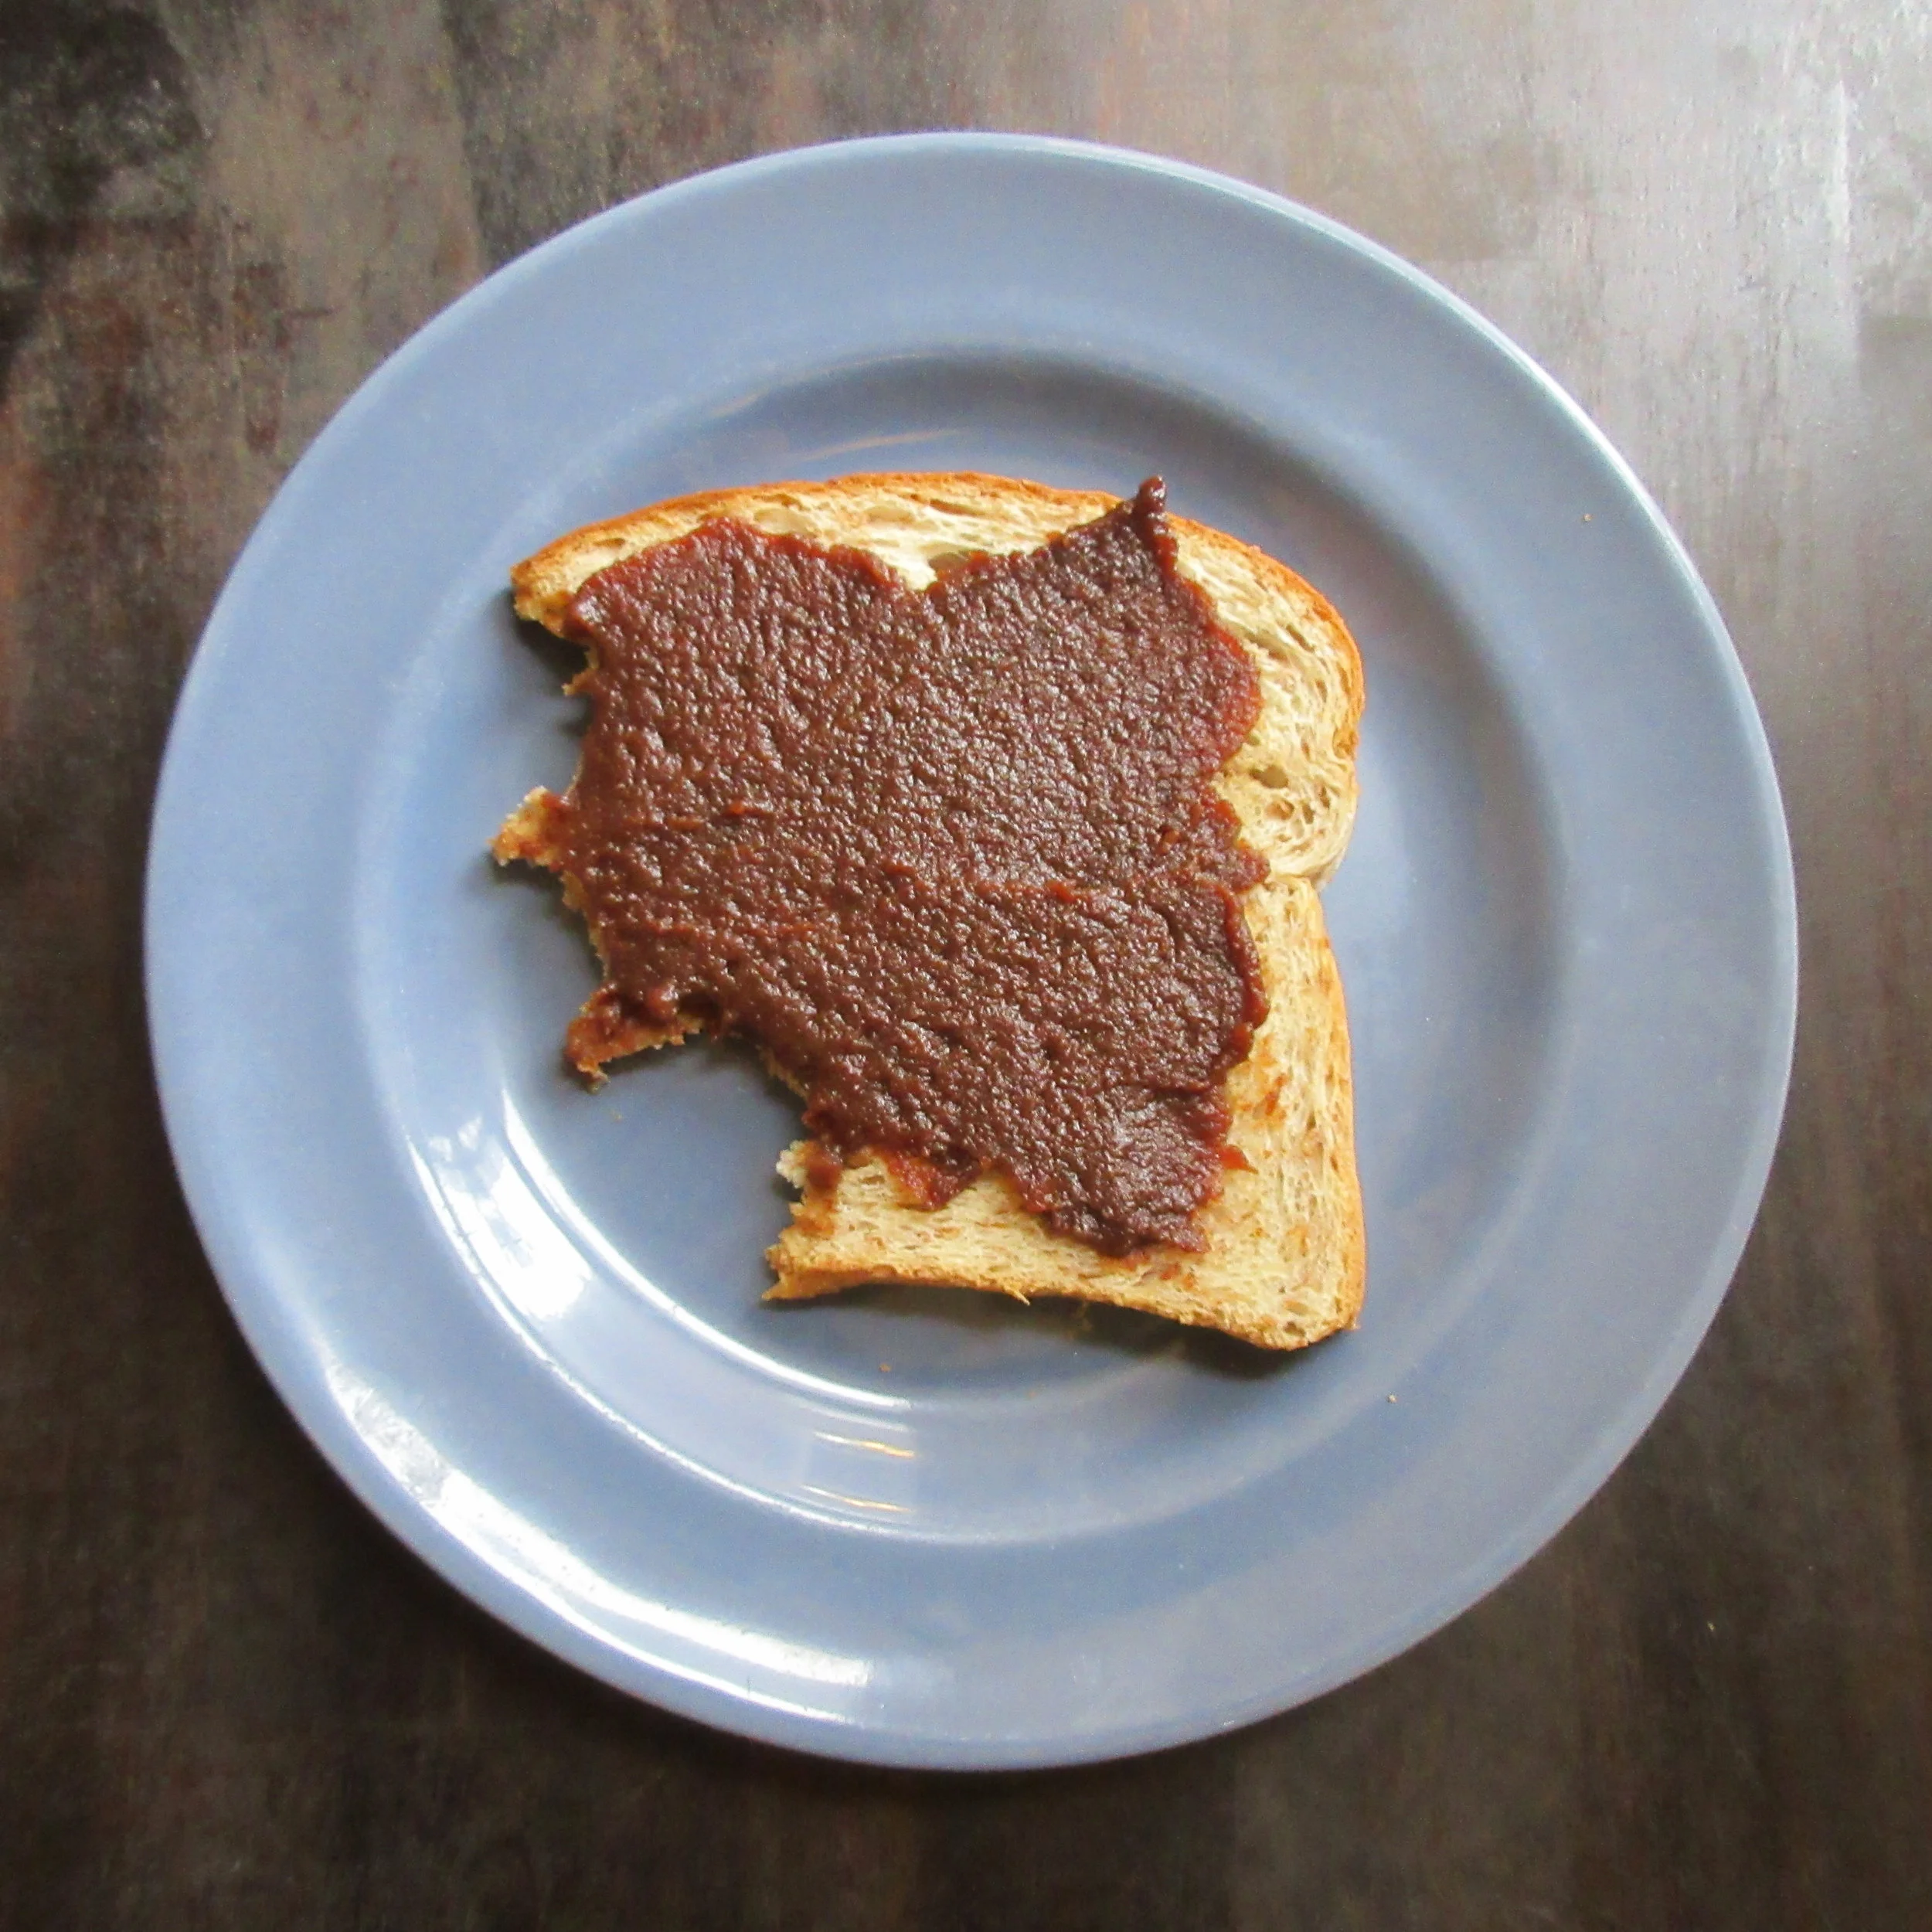
The day my Apple Butter finished, I was actually invited to two birthday parties, so I walked down the street to my neighbourhood bakery, picked up a loaf of French Bread and took bread & a little container of Apple Butter to the parties. I also kept some for myself, and it was so delicious that I certainly didn't have to worry about preserving it for a year, let alone a week!


Read the Cookbook:

To Dress Cucumbers Raw
Miss Leslie would be appalled, and perhaps stupefied, that I made this recipe today. In April. In Canada. She put forth a very strong opinion about cucumbers and their longevity in Miss Leslie's Directions for Cookery, stating that "few vegetables being more unwholesome when long gathered". Who knows when my grocery store cucumber was harvested, but I still found this recipe to be delicious. It's fresh-tasting, subtly flavoured by the salt, pepper & onion.

You'll find this recipe in:
Miss Leslie's Directions for Cookery
By: Eliza Leslie
Philadelphia, 1851
The Original Recipe:
TO DRESS CUCUMBERS RAW.-They should be as fresh from the vine as possible, few vegetables being more unwholesome when long gathered. As soon as they are brought in lay them in cold water. Just before they are to go to the table take them out, pare them and slice them into a pan of fresh cold water. When they are all sliced, transfer them to a deep dish, season them with a little salt and black pepper, and pour over them some of the best vinegar, to which you may add a little salad oil. You may mix them with a small quantity of sliced onion; not to be eaten, but to communicate a slight flavour of onion to the vinegar.


My Experience:
To Dress Cucumbers Raw is a rare recipe from the 1850s that doesn't require a modern adaptation. It's very a simple dish. Peel and slice the cucumbers, put them in a bowl, add vinegar, oil, salt, pepper and a few onion slices. Since I only had half a cucumber to cut, I didn't bother with putting the already-sliced cucumbers into cold water while I continued slicing the rest. Miss Leslie doesn't specify which type of vingegar is the "best", so I chose to use raw apple cider vinegar and complemented it with olive oil.
The onion slices are a very nice touch. I first sampled the cucumbers when they had been marinating in the fridge for about 30 minutes. I was careful not to dish out the onion as advised in the recipe, but a delicate onion taste definitely carried through to the vinaigrette.

Eliza Leslie learned her cookery expertise after her father's death in 1803 in Philedelphia. To make ends meet, her mother opened a boardinghouse and Eliza found herself supervising the servants, including a Cook. She had little experience in the kitchen herself, so she enrolled in a cooking school run by Mrs. Goodfellow in her confectioner's shop and soon the Leslie family's boardinghouse was known for its fine meals.
Miss Leslie didn't aim to be a cookbook author, though. She was an author of children's stories and short fiction, and it was thanks to others encouraging her to share her recipes that her cookbook career was launched. In 1828, Seventy-Five Receipts for Pastry, Cakes, and Sweetmeats was published, followed by Miss Leslie's Directions for Cookery in 1837, followed by many editions and a list of cookbooks & etiquette books.
Miss Leslie would be appalled, and perhaps stupefied, that I made this recipe today. In April. In Canada. She seems to have held a strong opinion about cucumbers and their longevity, stating that "few vegetables being more unwholesome when long gathered". Who knows when my grocery store cucumber was harvested, but I still found this recipe to be delicious. It's fresh-tasting, subtly flavoured by the salt, pepper & onion.
I chose to make this recipe now, instead of when cucumbers are in season, because I'm doing a week-long Cleanse these days and I thought I'd set myself the challenge of finding a historic recipe or two that I can eat. It wasn't easy to find a nineteenth-century recipe that doesn't include meat, dairy, wheat or sugar, but here's one that I would happily make again – Cleanse or not.
If you're curious to read more about Eliza Leslie's life, read this Manuscript Cookbooks Survey article, which also delves into this question: how many of Miss Leslie's published recipes came from Mrs. Goodfellow, who taught her how to cook?

Read the Cookbook:
A scanned copy of the 1851 edition from the New York Public Library on the Internet Archive (this recipe's on pages 194-195)