

Soda Bread
Baking Soda Bread is a shortcut to eating fresh baked bread when you’re short on time. You’ll be spreading butter on a warm bread slice in about an hour and a half! This Soda Bread recipe, from the 1861 Mrs. Beeton’s Book of Household Management, is a favourite of mine because it produces a more moist and less dense soda bread than most recipes that I’ve tried. Soda bread doesn’t have the longevity of risen breads, so it will be toast (literally) sooner than later.

You'll find this recipe in:
Mrs. Beeton's Book of Household Management
by Isabella Beeton
London, England – 1861
Original Recipe:
SODA BREAD.
1722. INGREDIENTS. - To every 2 lbs. of flour allow 1 teaspoonful of tartaric acid, 1 teaspoonful of salt, 1 teaspoonful of carbonate of soda, 2 breakfast-cupfuls of cold milk.
Mode. - Let the tartaric acid and salt be reduced to the finest possible powder; then mix them well with the flour. Dissolve the soda in the milk, and pour it several times from one basin to another, before adding it to the flour. Work the whole quickly into a light dough, divide it into 2 loaves, and put them into a well-heated oven immediately, and bake for an hour. Sour milk or buttermilk may be used, but then a little less acid will
be needed.
Time. - 1 hour.


My Recipe:
Makes one loaf – half of the historic recipe
2 ½ cups white flour – 454 g
½ tsp cream of tartar
½ tsp salt
½ tsp baking soda
2 cups milk – 500 mL
butter or oil for greasing the loaf pan
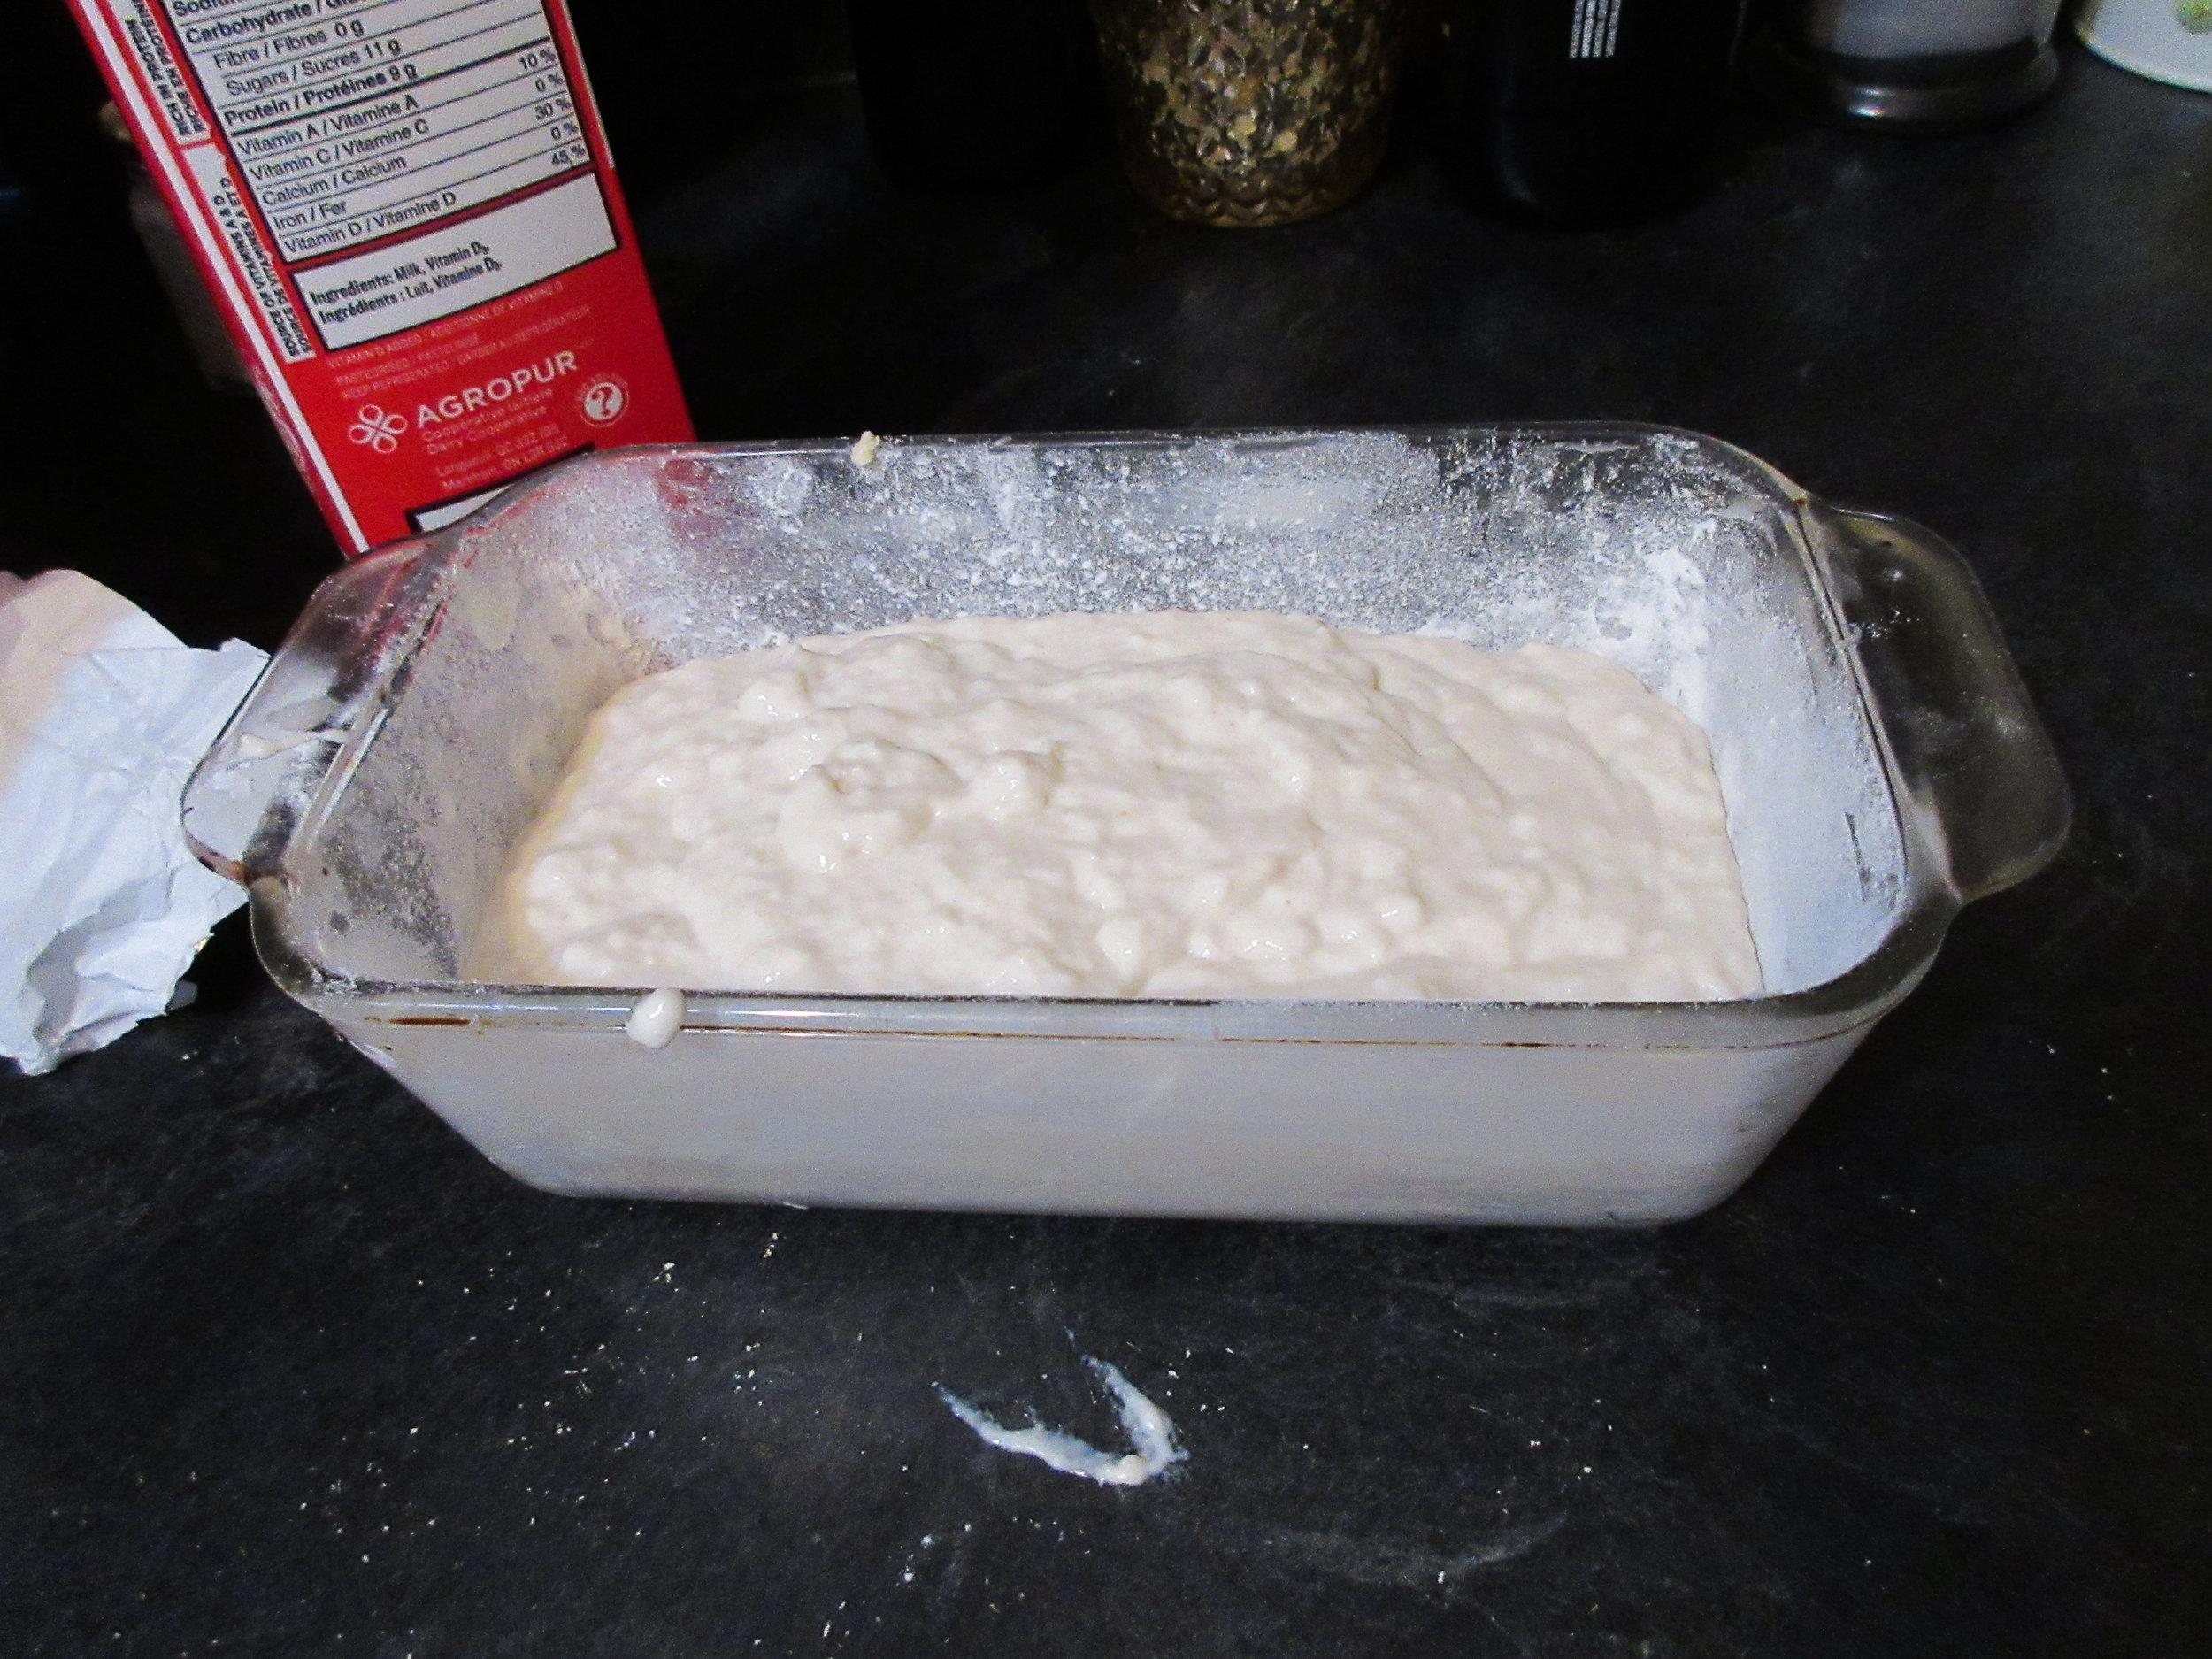
1) Preheat the oven to 375 F (190 C). Rub your loaf pan with butter or oil, then sprinkle in a spoonful of flour. Tap the pan with your hand, rotating the pan to distribute the flour evenly in a thin coat over the entire surface. Add more flour if needed and discard the excess. Adding flour makes a crustier bread, so you may skip this step and only butter the pan if you’d like.
2) Add the flour, cream of tartar and salt to a mixing bowl and stir to combine. Measure out the milk, and stir in the baking soda to dissolve before adding the milk to the flour mixture. Stir with a wooden spoon or spatula until the flour is completely integrated. This is a wet dough, so don't be concerned if it looks mushier than most bread dough.
3) Bake in the oven for 45 – 60 minutes. You'll know that your soda bread is baked all the way through when the centre of the bread sounds hollow when tapped – it should sound like you’re knocking on a door.

Baking Soda Bread is a shortcut to eating fresh baked bread when you’re short on time. You’ll be spreading butter on a warm bread slice in about an hour and a half! This Soda Bread recipe, from the 1861 Mrs. Beeton’s Book of Household Management, is a favourite of mine because it produces a more moist and less dense soda bread than most recipes that I’ve tried. Soda bread doesn’t have the longevity of risen breads, so it will be toast (literally) sooner than later.
This is one of the recipes we made when I taught Open Hearth Cooking Classes at Nelles Manor Museum last autumn. We also made our own butter, so you can imagine how good this bread tasted! We used the museum’s dutch oven to bake the Soda Bread, so I’ve included some pictures that I took at Nelles Manor on a recipe testing day when I used the museum’s dutch oven for the first time.


Read the Cookbook
Mrs. Beeton's Book of Household Management has its own website:
http://www.mrsbeeton.com/
Or peruse an original scanned copy on the Internet Archive:

Pumpkin Soup
This Pumpkin Soup recipe comes from The Canadian Housewife's Manual of Cookery, which was compiled & published in my hometown of Hamilton, Ontario in 1861. It is hearty & flavourful, and I think the reason for this can be found in a one-word answer: butter. Expect a creamy robust soup with small chunks of pumpkin (or squash, if you can't find pumpkin). This soup is so rich that it might make a better side dish rather than the main component of your meal, but if you do try this recipe out, I highly recommend the historic recipe's suggestion of adding croutons made of fried bread to your bowl!

You'll find this recipe in:
The Canadian Housewife's Manual of Cookery
Henry & Elizabeth Richards
Hamilton, 1861
Historic Recipe:
Pumpkin Soup.
16. Is a favourite dish in many parts of France, especially with the juveniles; and when, in season, there is not a school, college, hospital, convent or monastery, where it is not made; a proof that it must be very wholesome. The Vegetable Marrow, the American Butter Squash, and the Mammoth Gourd, are good substitutes.
Cut about two pounds of the flesh of the pumpkin into large dice, put it into your pan, with three ounces of butter or fat; add two teaspoonfuls of salt, the same of sugar, a little pepper, and half a pint of water; set on the fire, and stew gently for twenty minutes. When in pulp, add two table-spoonfuls of flour, stir round, and moisten three pints of either milk, skim-milk, or water, boil ten minutes longer, and serve with fried or toasted bread, cut in dice.
☞This soup is on the list of meagre soups, and freely partaken by Catholics during Lent, the word meagre meaning, want of strength. But this soup, and many others in the same category, are well worth the attention of the middle class of this country, it only being meagre in name, and not in fact, as it possesses a large quantity of farnaceous matter; bread also being served with it.
My Recipe
2 lbs (907 g) pumpkin or squash – 8 cups when chopped
1/3 cup butter, oil or fat – 3 oz
2 tsp salt
2 tsp sugar
Dash of black pepper
1 cup water – 236 mL
2 tbsp flour
6 cups milk and water – 1.4L
(I like 3 cups milk & 3 cups water)
Optional:
Bread
Butter
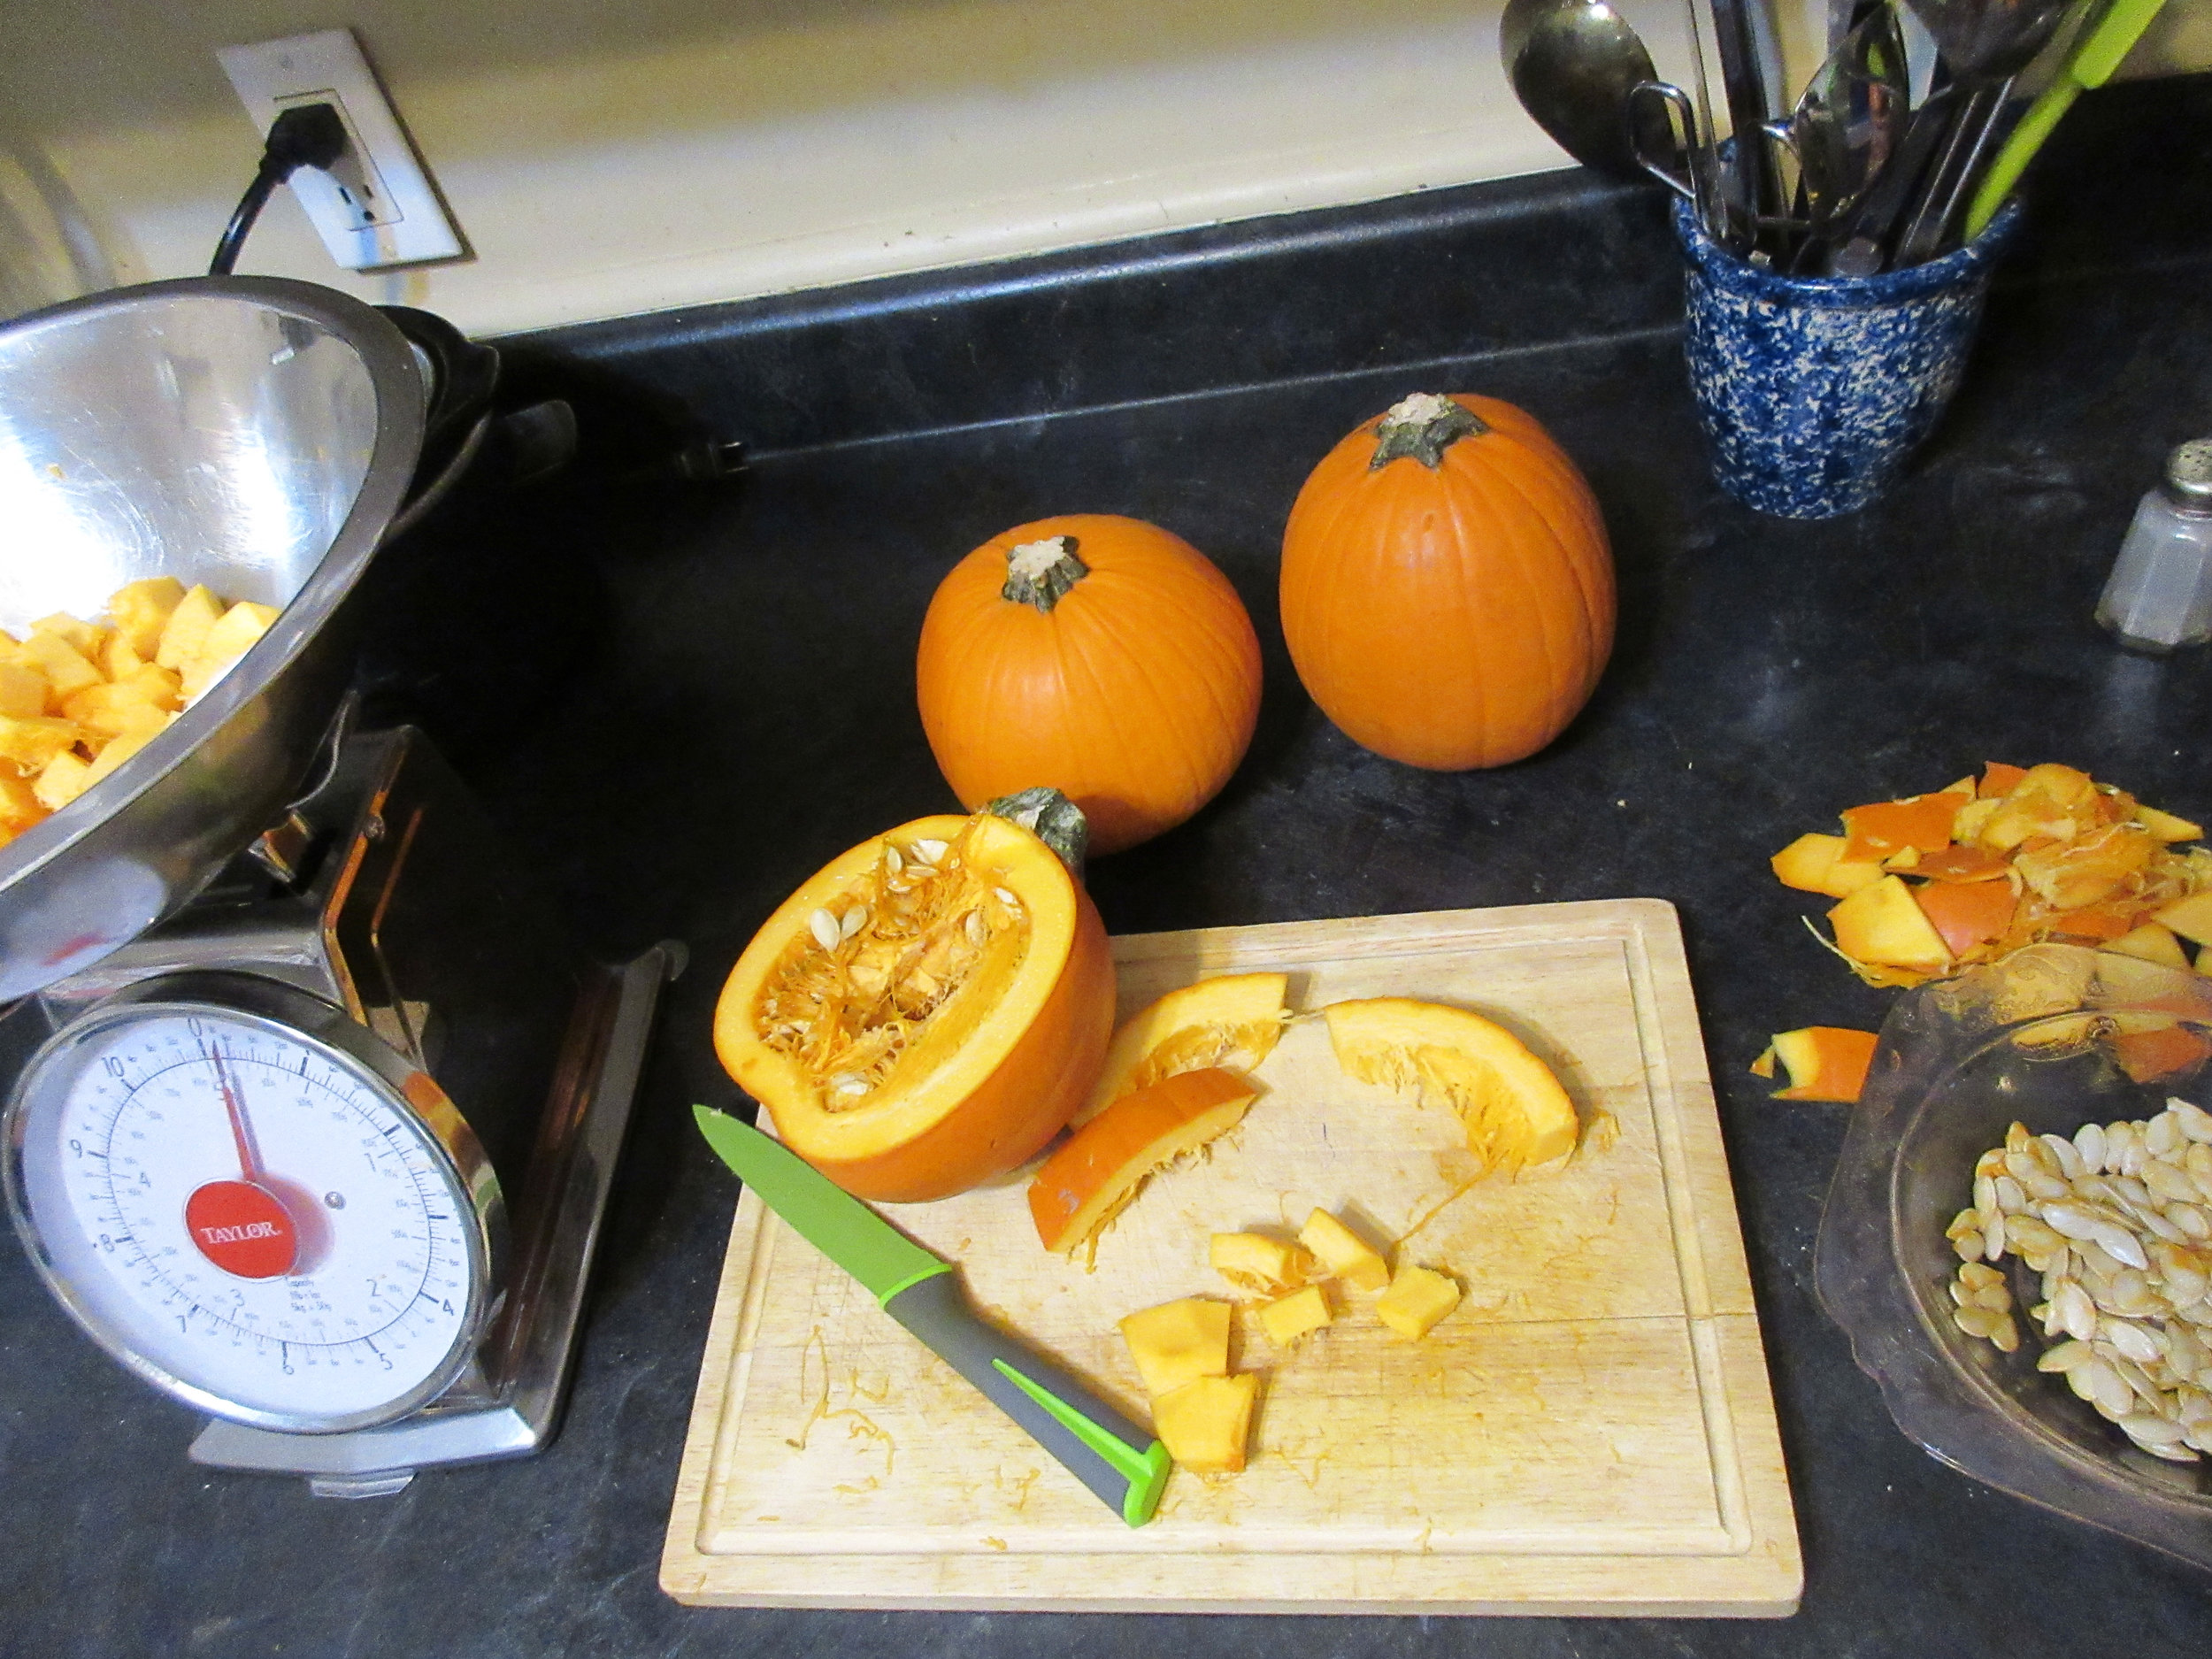
1) Peel, seed and chop the pumpkin or squash into small pieces. I've made this recipe with both pumpkin and butternut squash and both are delicious.
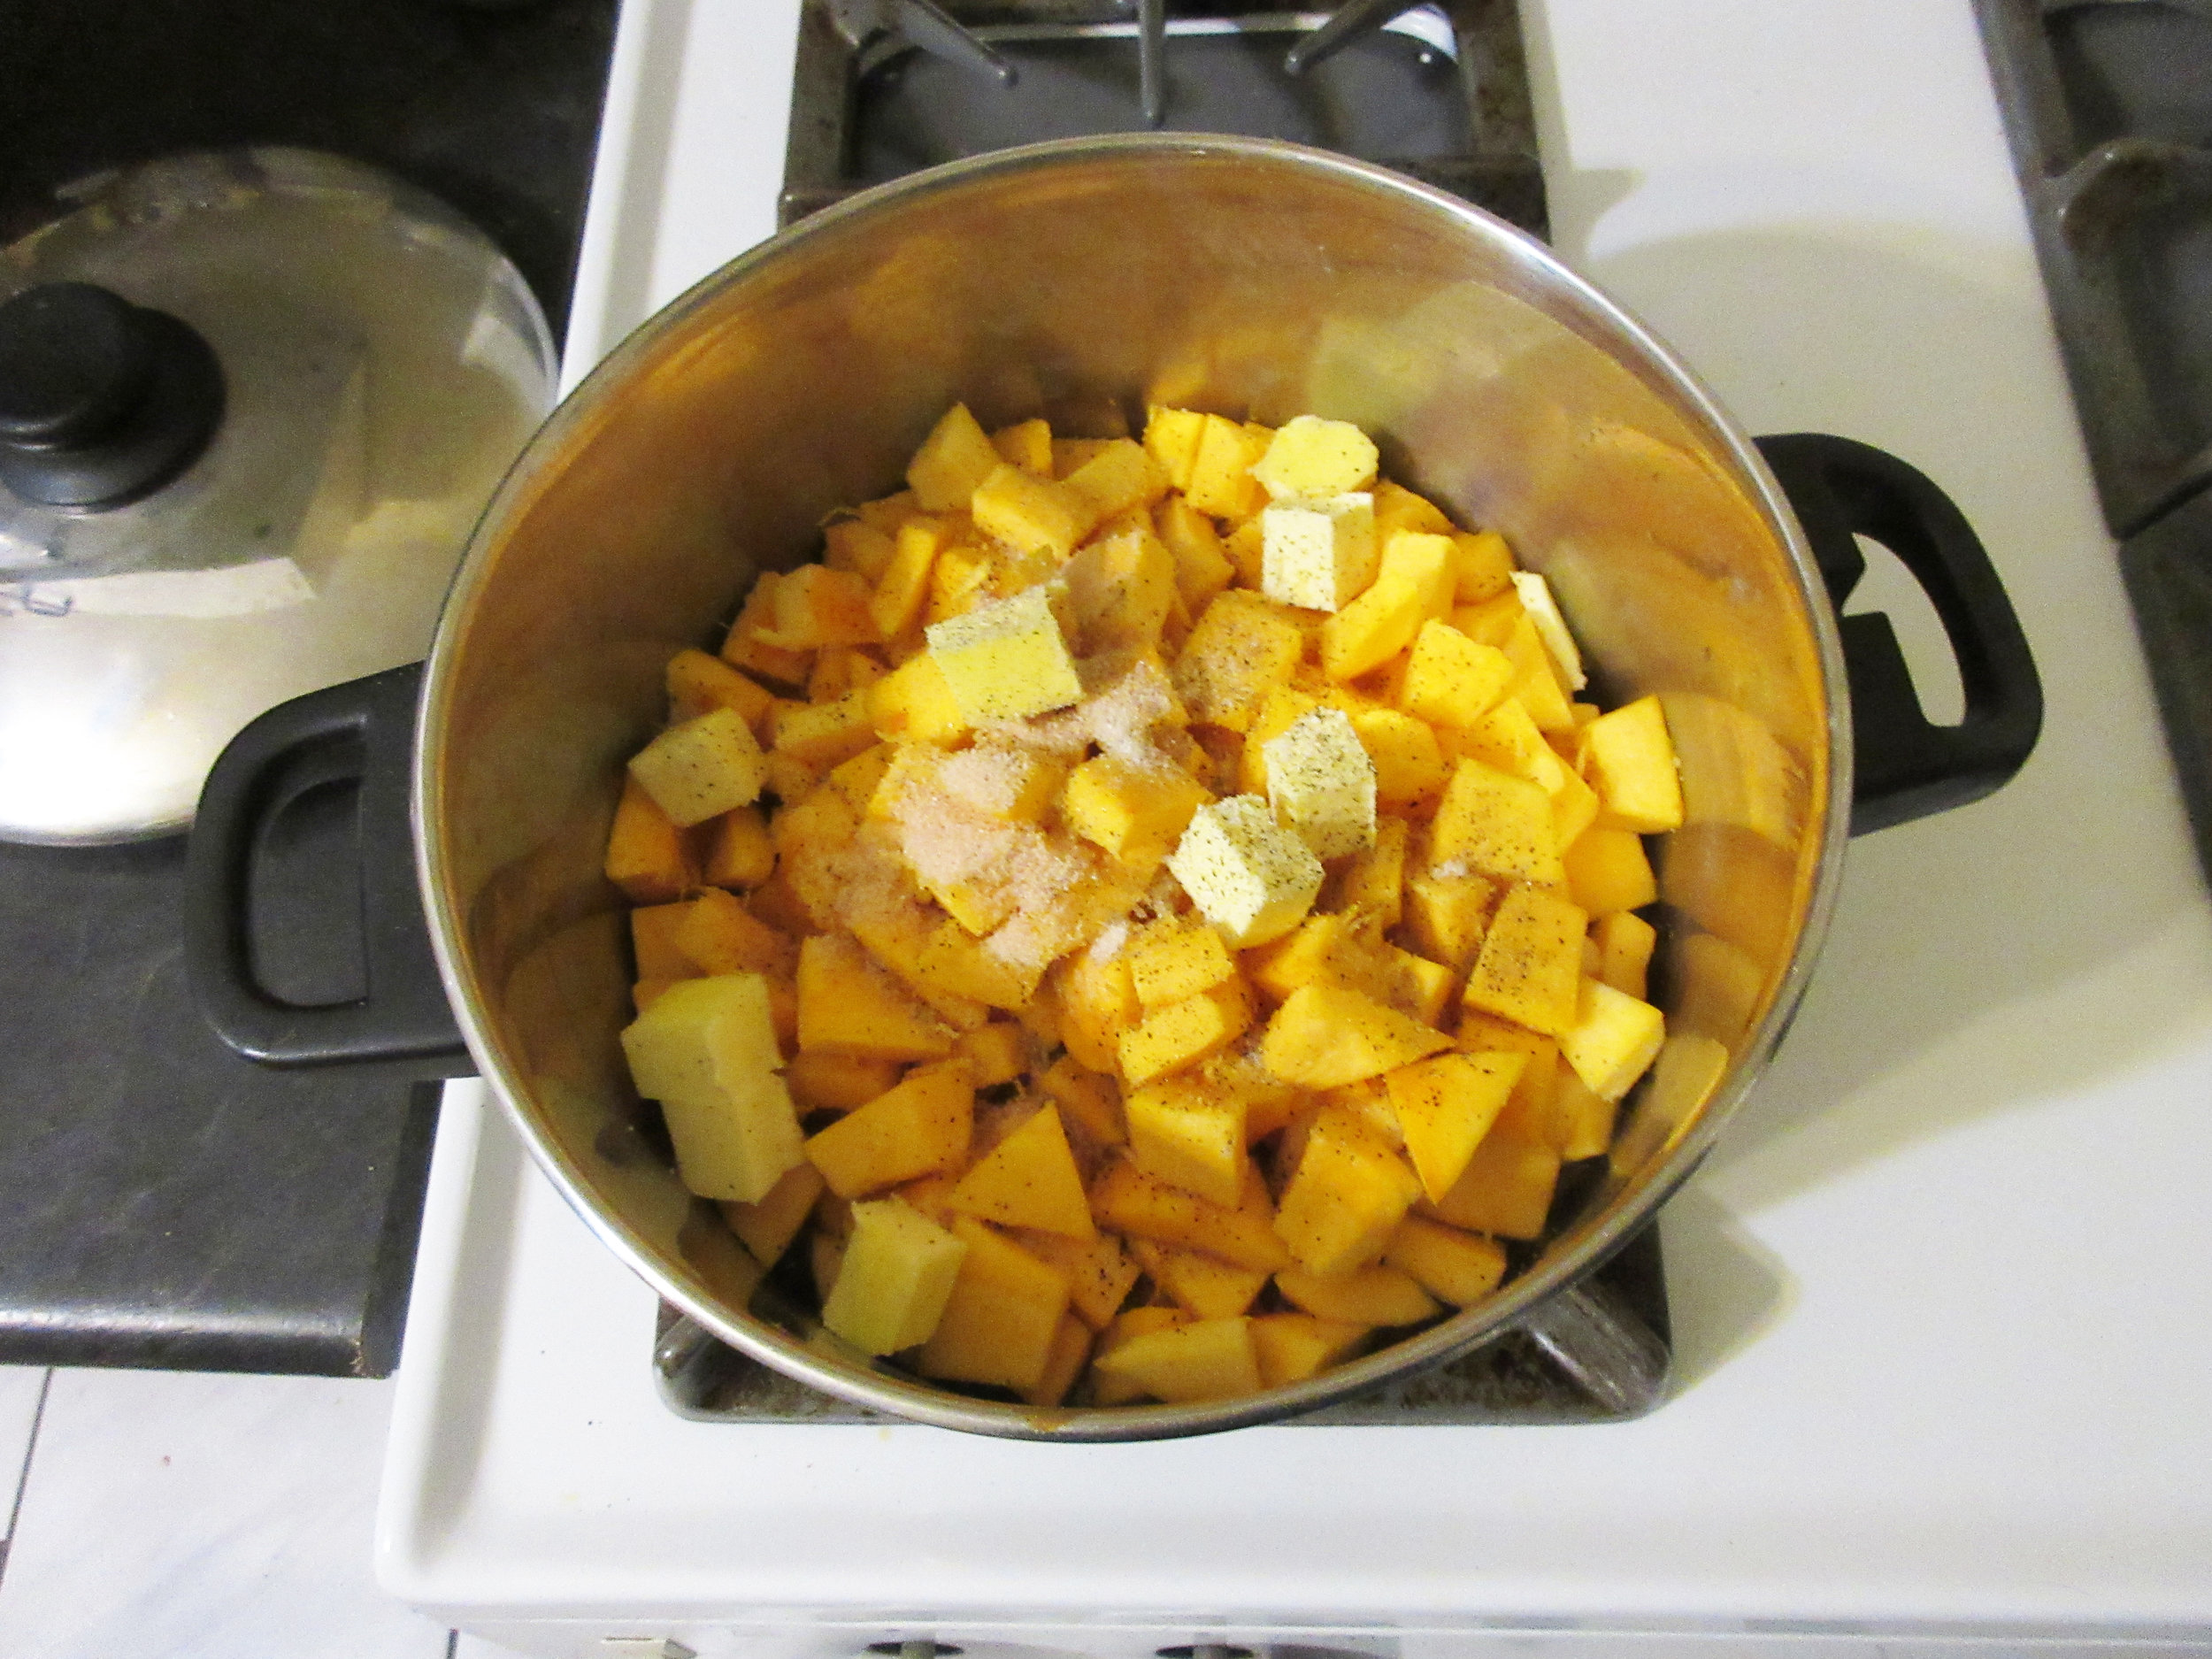
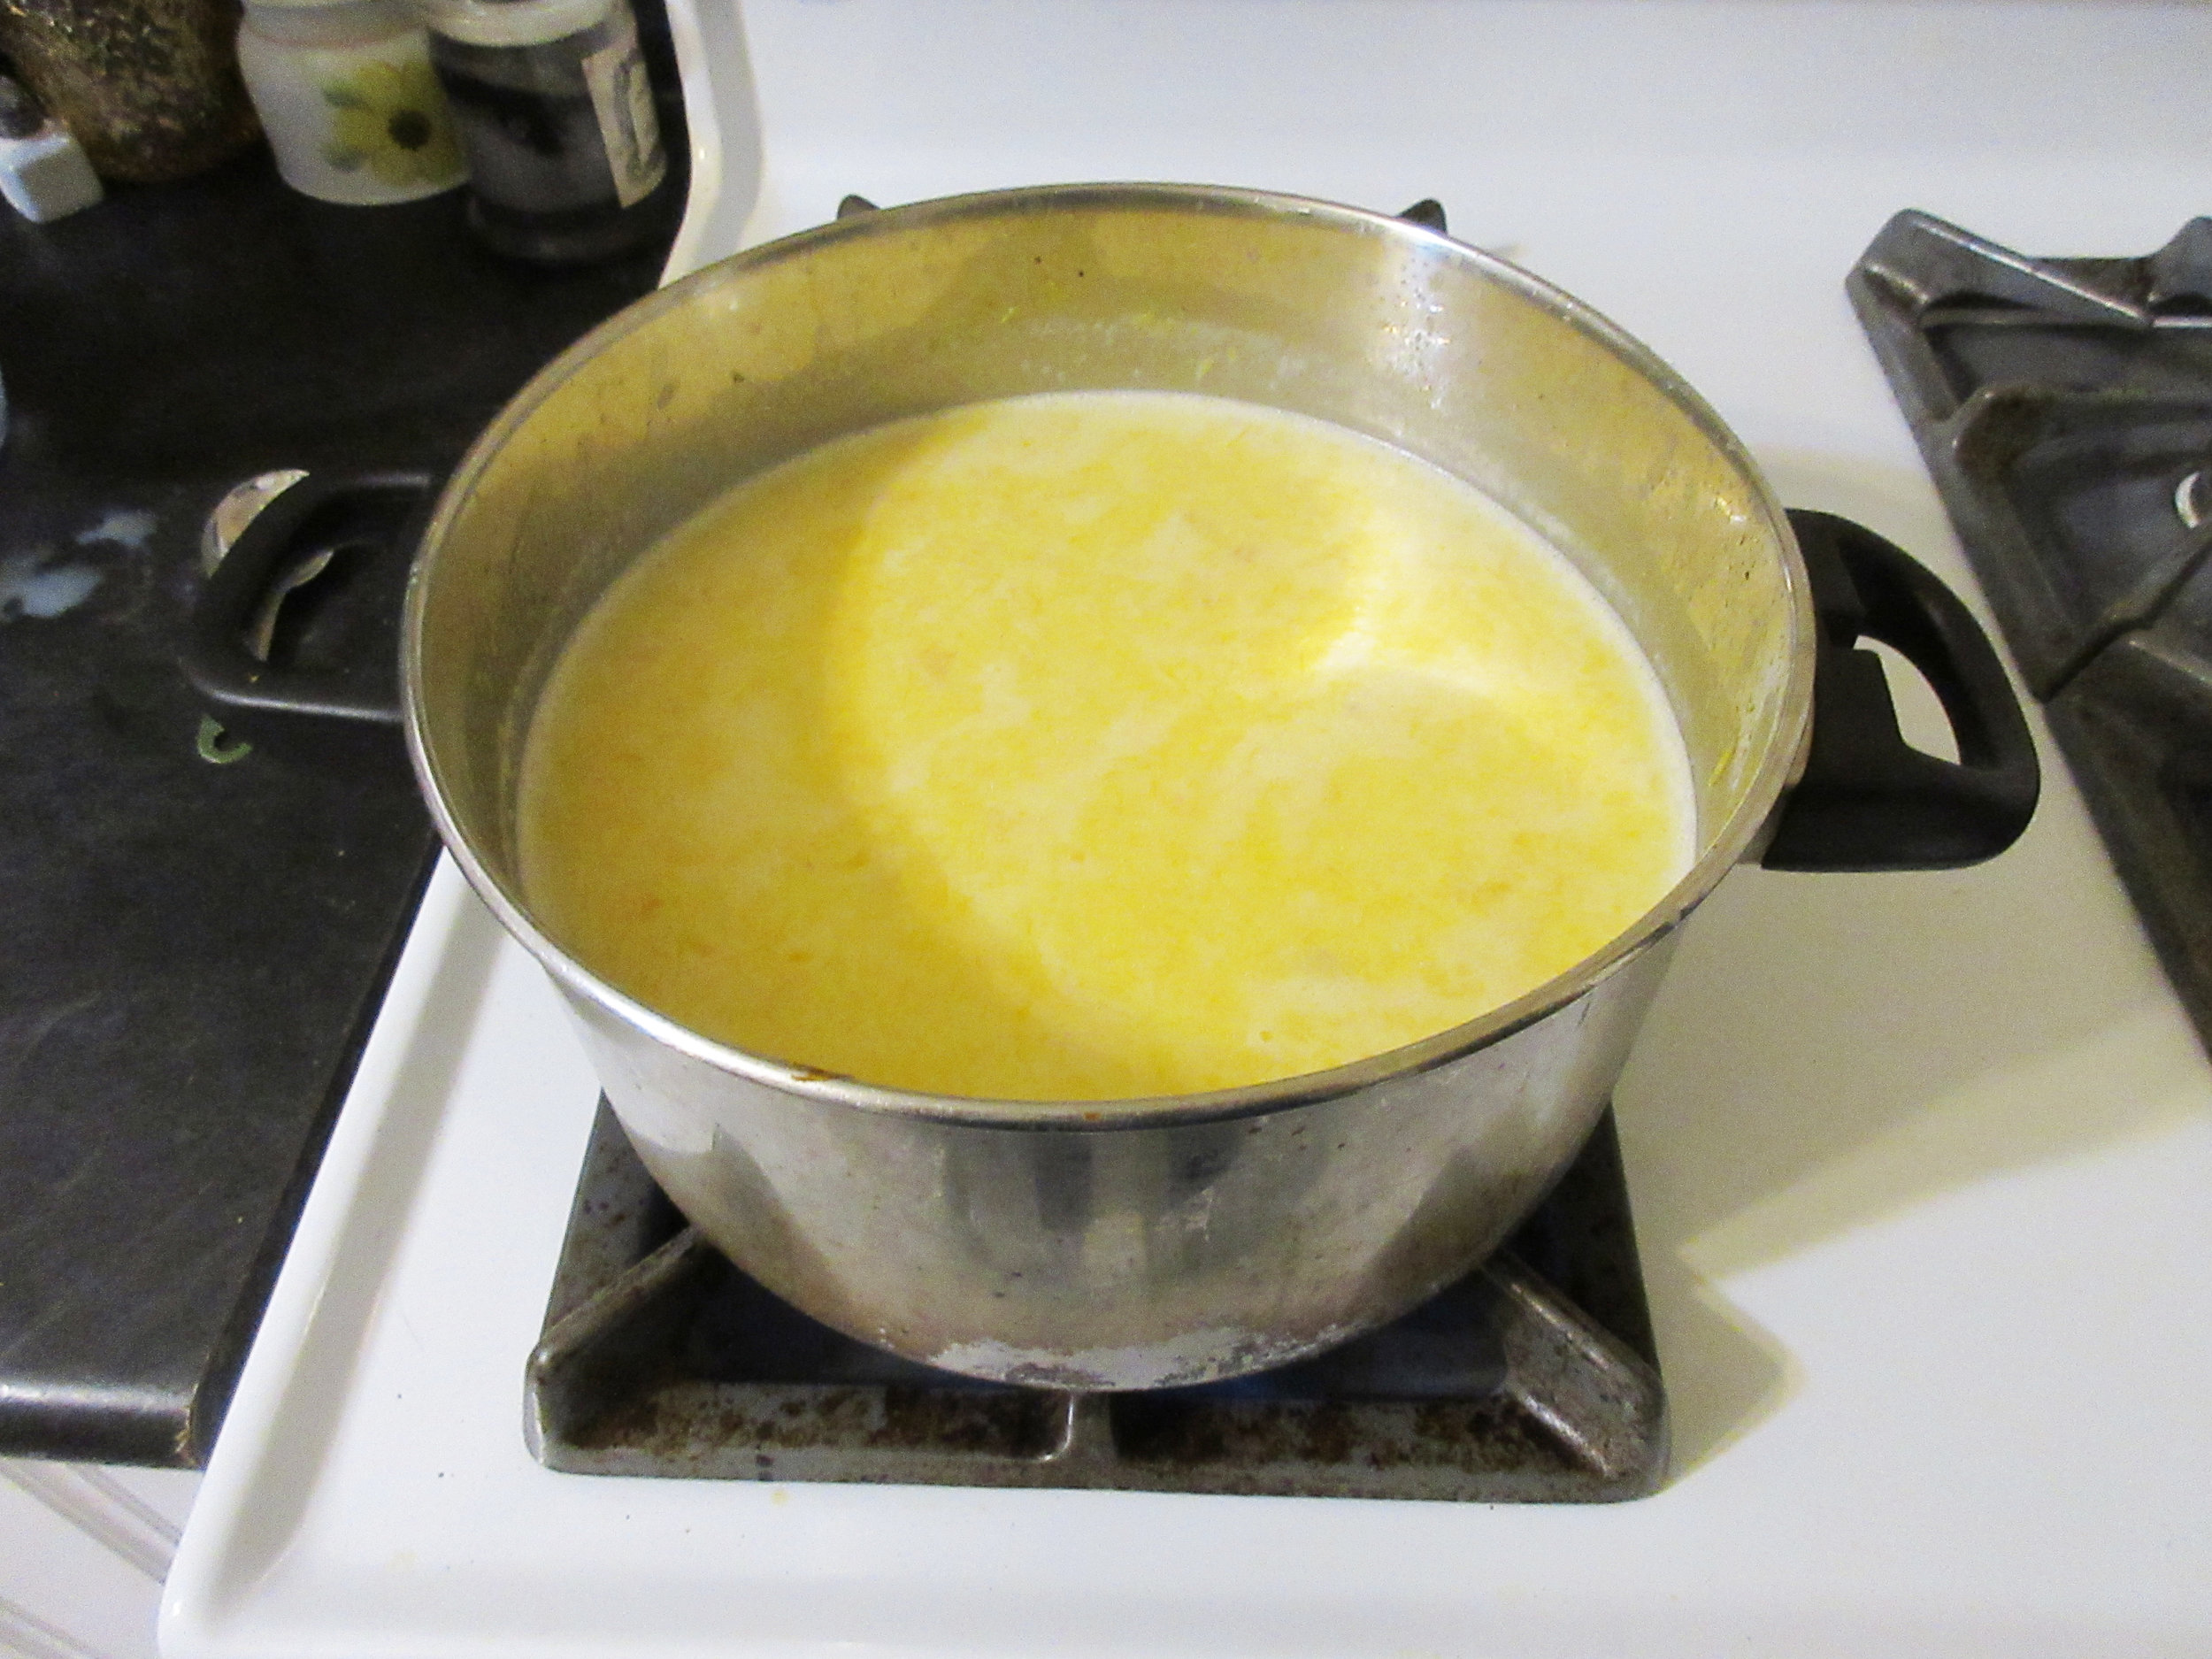
2) Put the chopped squash in a large soup pot with the butter, salt, sugar, pepper and 1 cup water. Put on the lid and simmer until soft and mushy, stirring often. 1 cup probably won't seem like enough water to you, at least it didn't to me, but I've made this recipe 5 times (once at my house and 4 times at cooking classes) and it's just the right amount.
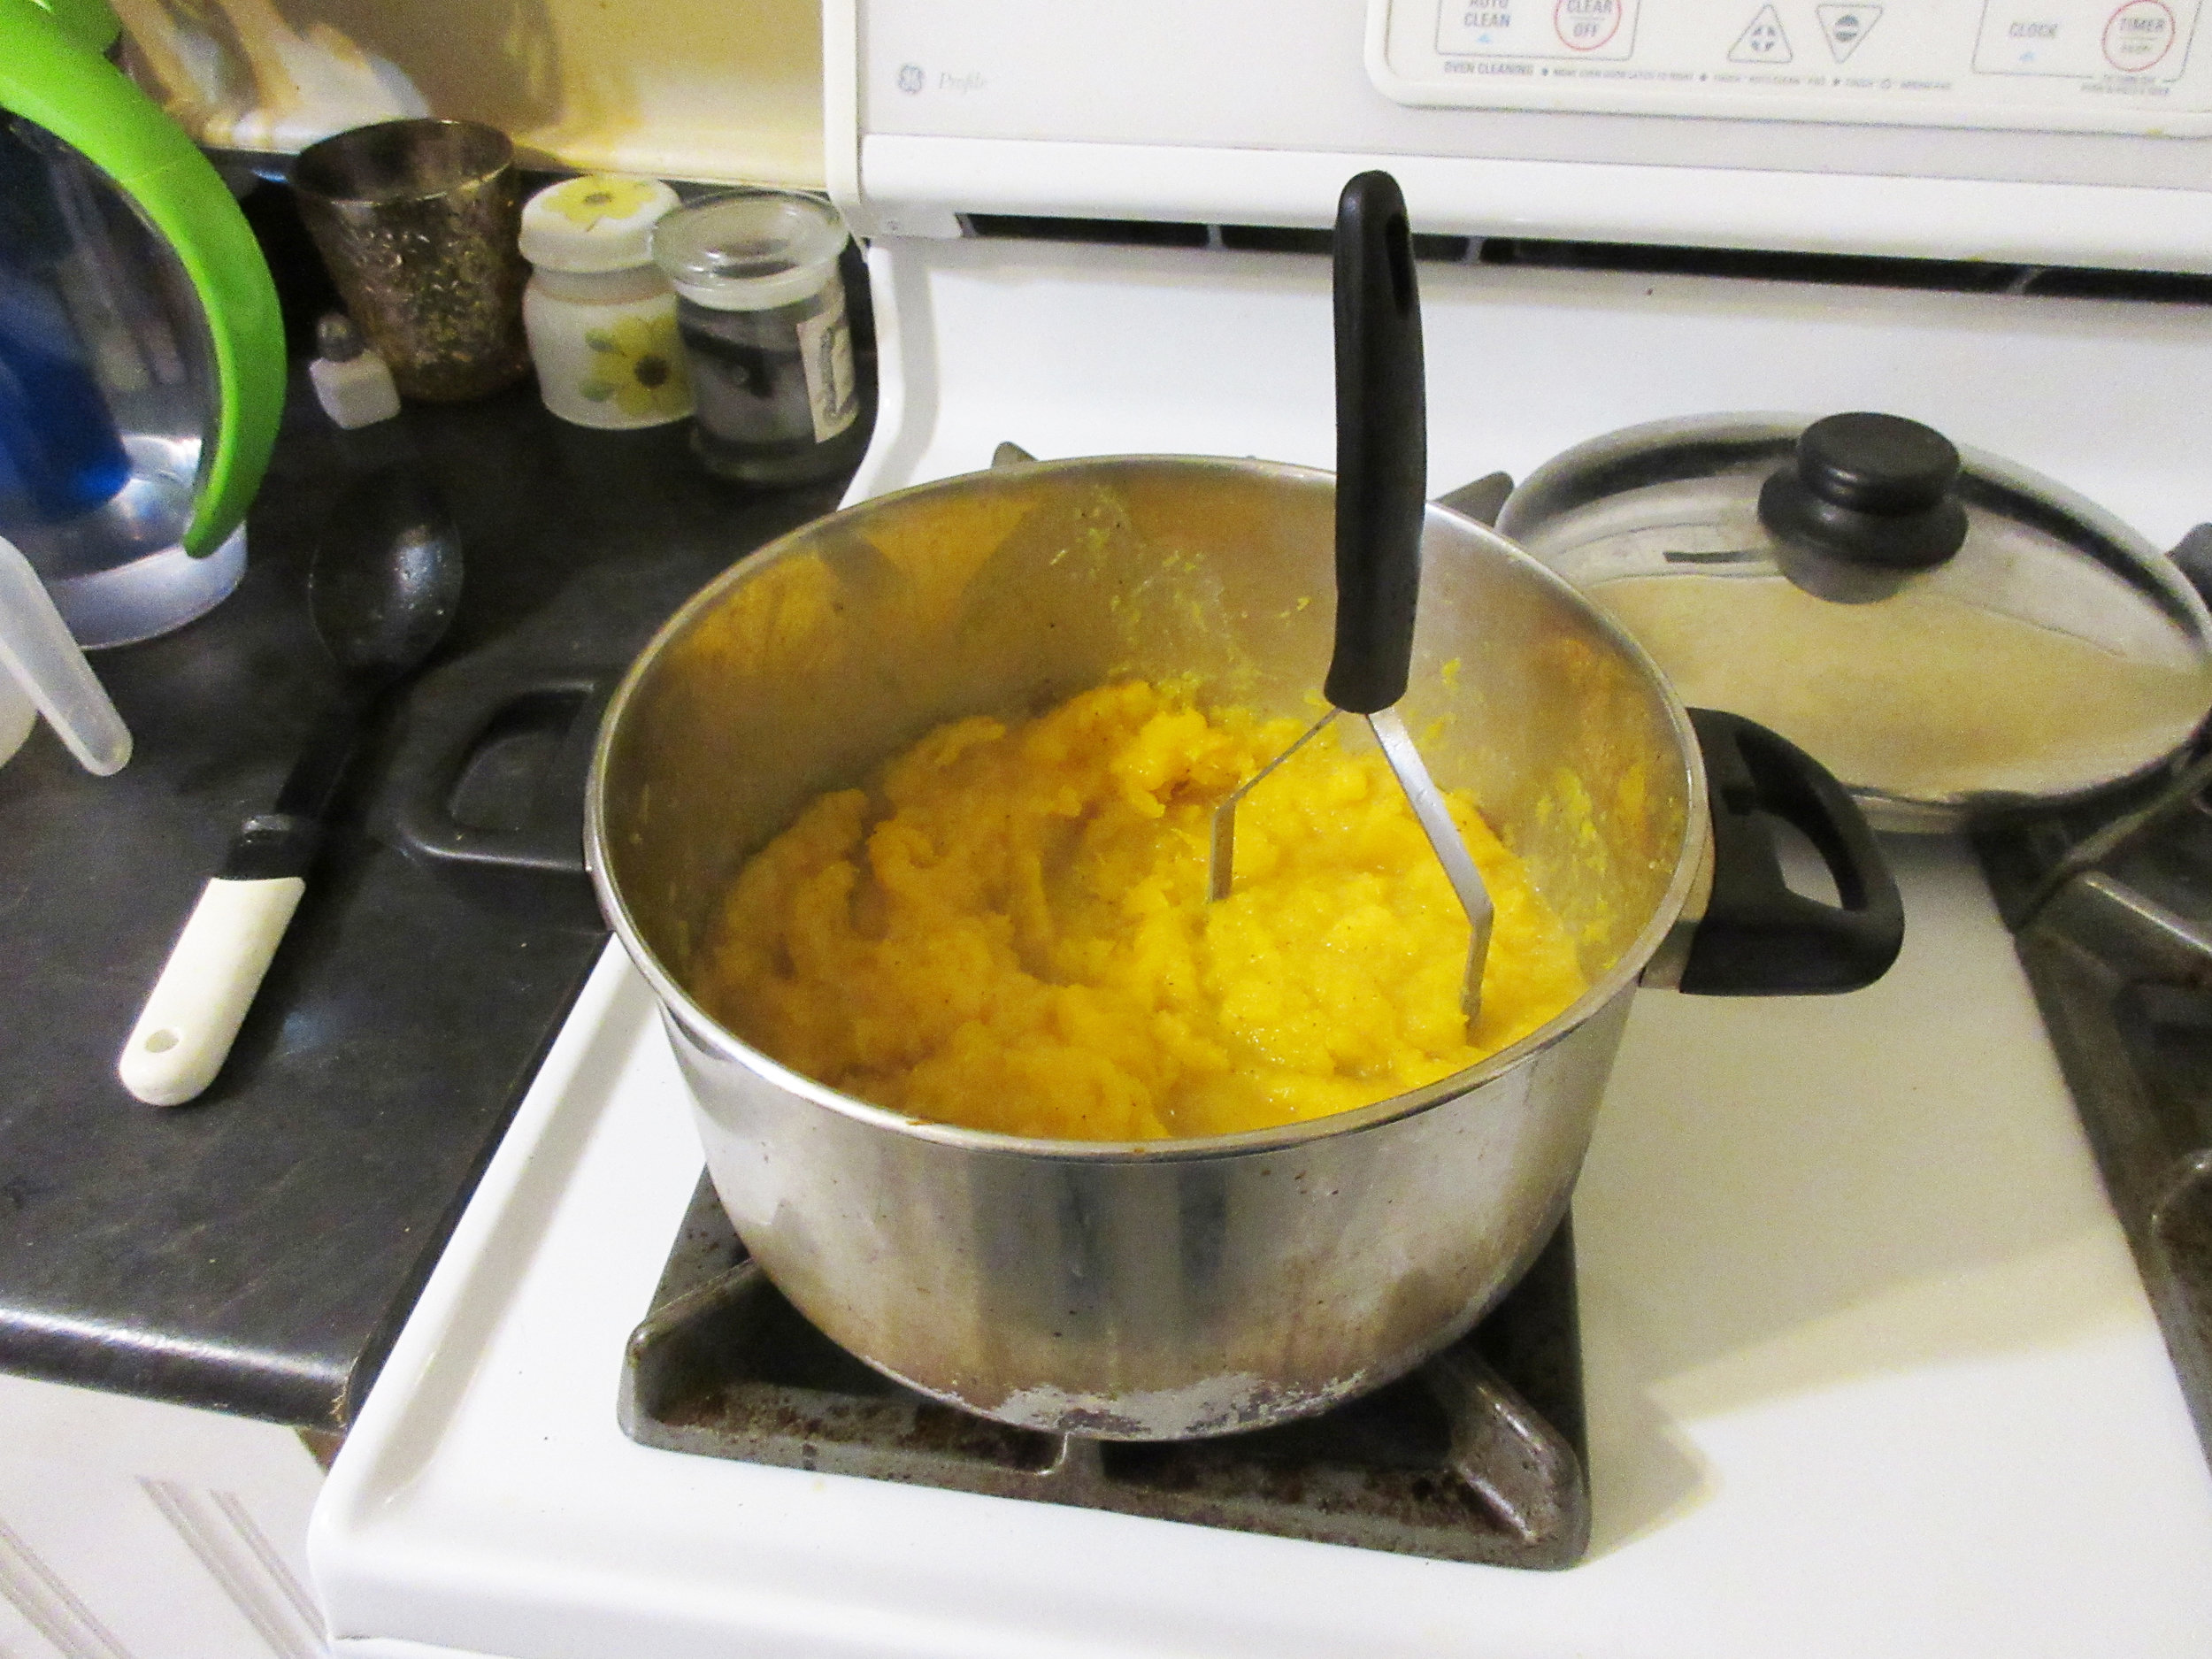
3) Once the squash is mushy, mash with a potato masher, then stir in the flour. Add the milk & water, mix well and reheat.
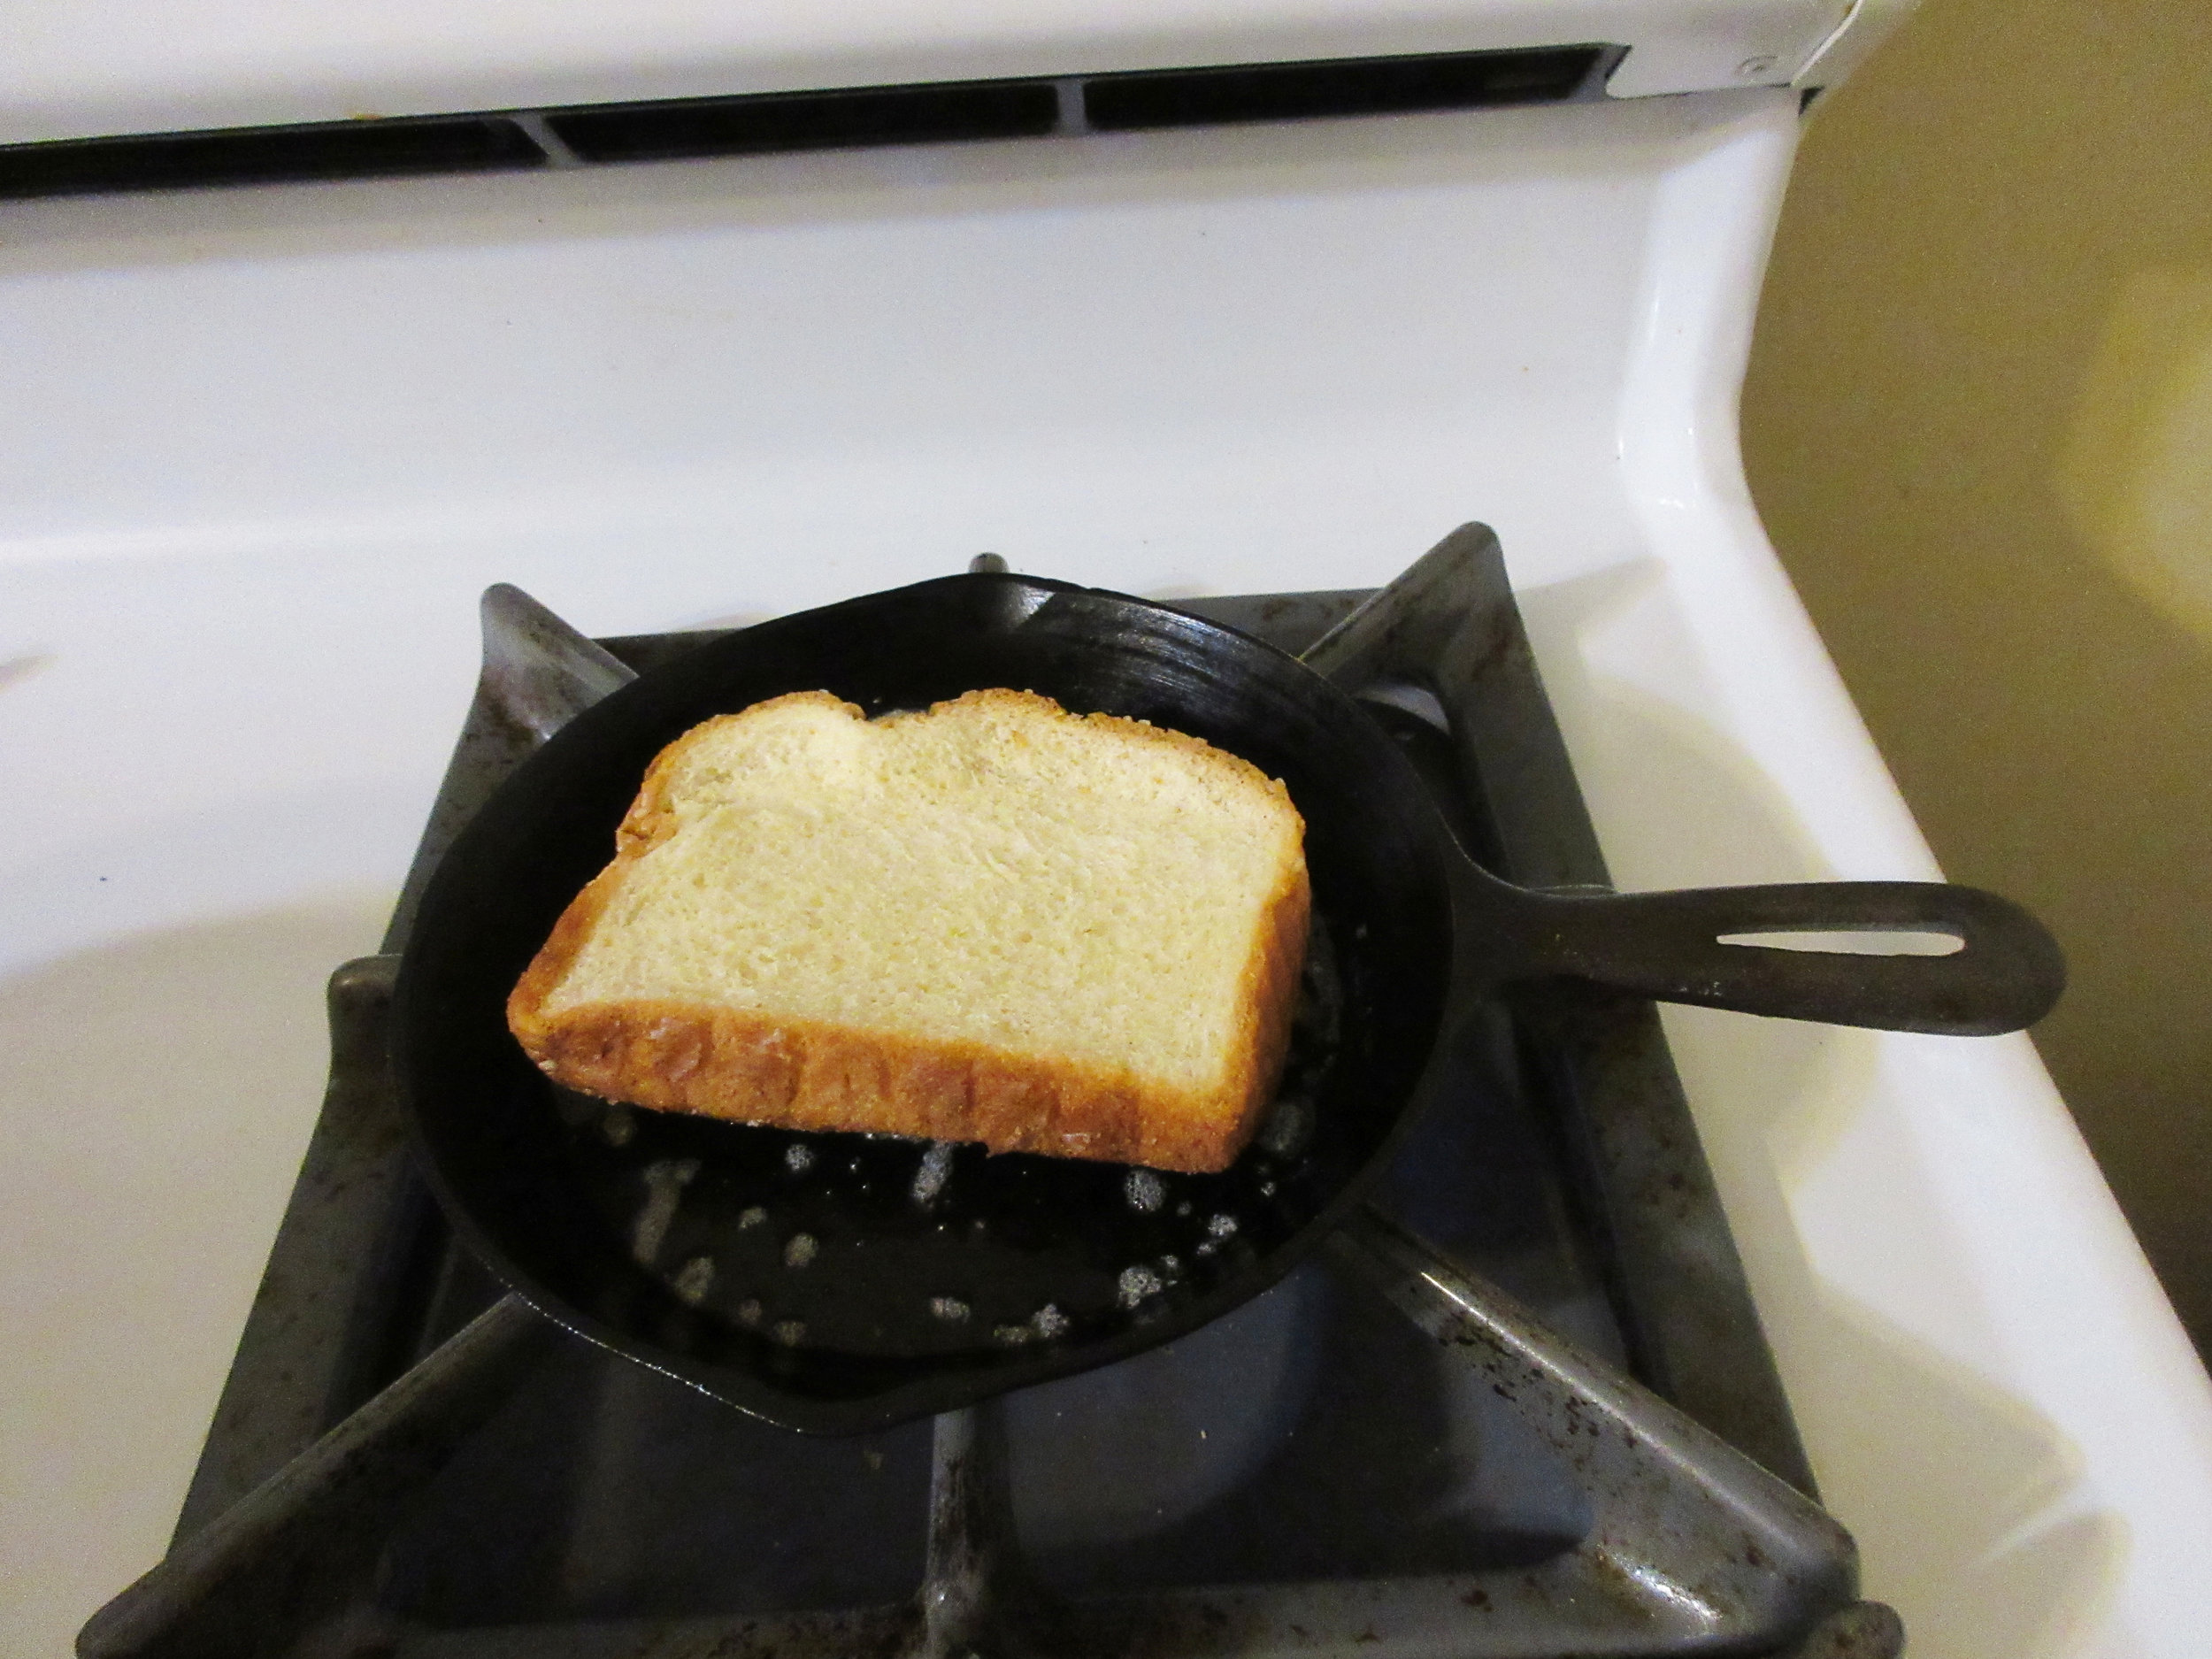
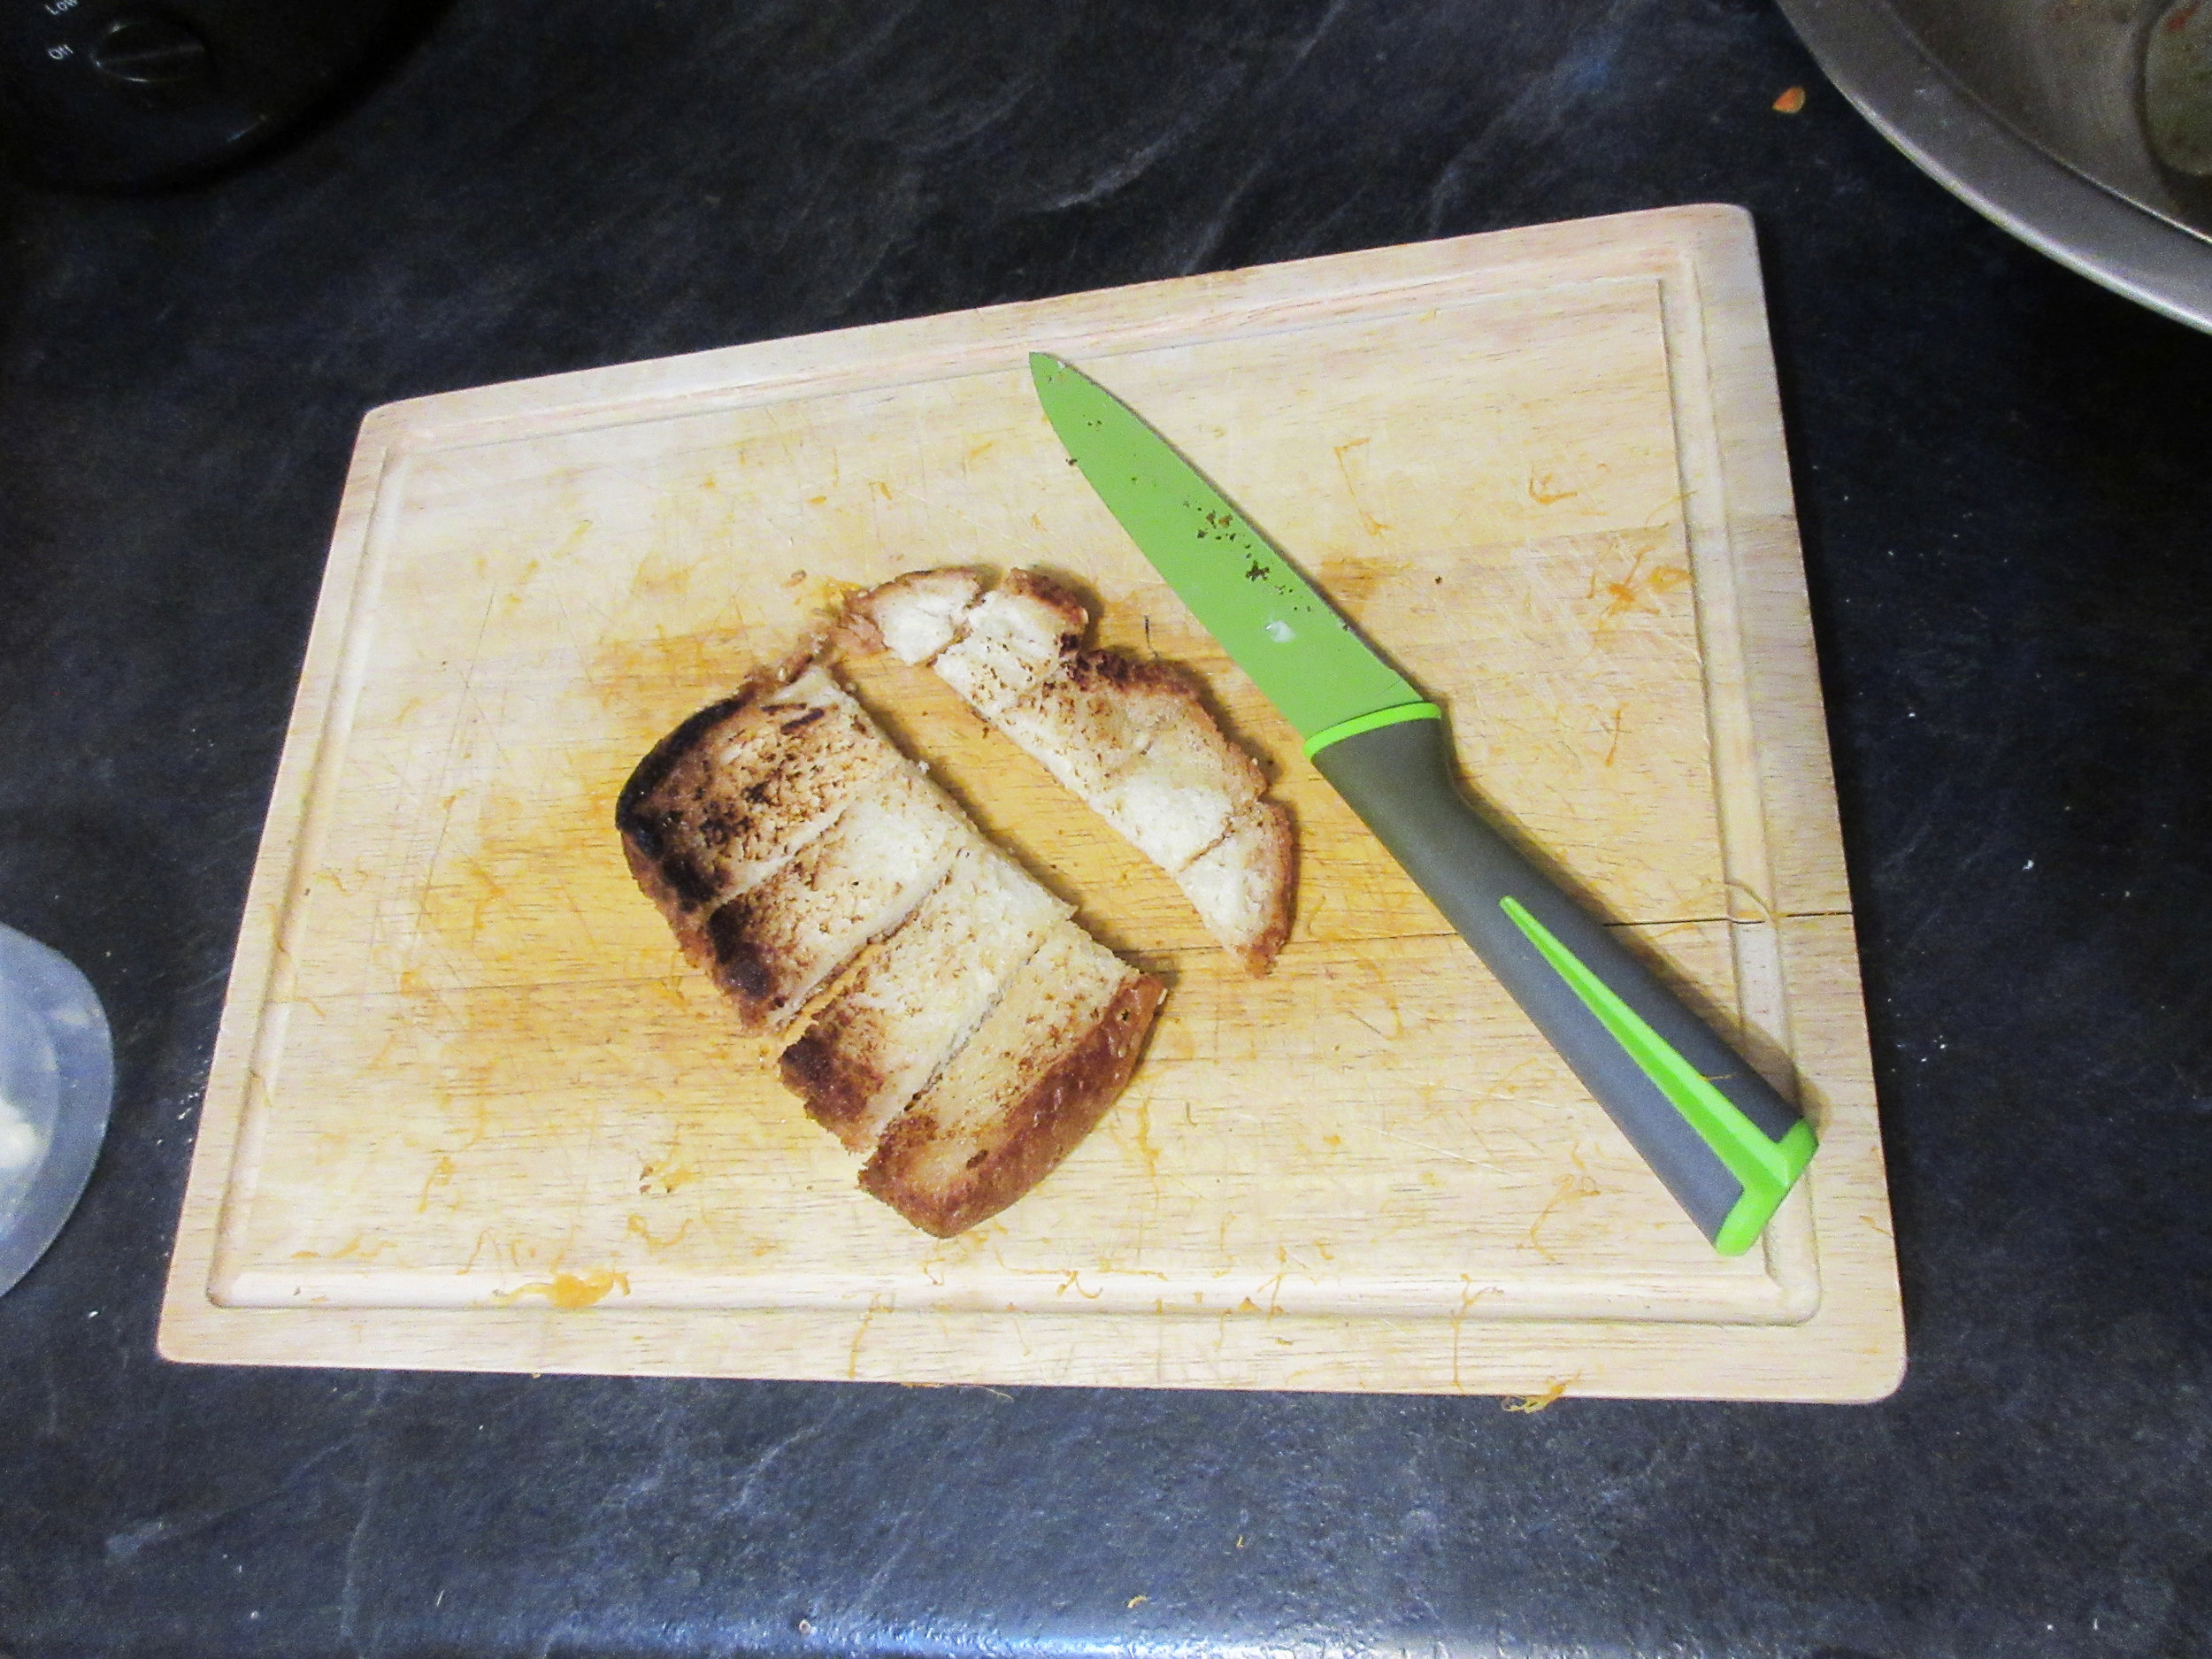
Optional: the historic recipe suggests "serve with fried or toasted bread, cut in dice". Instead of popping my bread in the toaster, I fried it in a pan of butter before I diced the bread. Recommended!

This Pumpkin Soup is hearty & flavourful, and I think the reason for this can be found in a one-word answer: butter. Expect a creamy robust soup with small chunks of pumpkin (or squash, if you can't find pumpkin). This soup is so rich that it might make a better side dish rather than the main component of your meal, but if you do try this recipe out, I highly recommend the historic recipe's suggestion of adding croutons made of fried bread to your bowl!
We made Pumpkin Soup at the open hearth cooking classes I taught at Nelles Manor Museum in Grimsby this fall. I really wanted to make some recipes with a local connection at these classes, so I perused a scan of The Canadian Housewife's Manual of Cookery online to find a seasonable autumn recipe and Pumpkin Soup is what I found.
The Canadian Housewife's Manual of Cookery was compiled by Henry & Elizabeth Richards and published in my hometown of Hamilton, Ontario in 1861, which is about a 30 minute drive to Grimsby these days (unless the highway is jammed with traffic going to Niagara Falls). Henry Richards was was a printer and was employed at the time of The Canadian Housewife's Manual of Cookery's publication at the Hamilton Spectator, which is still Hamilton's local newspaper today.
In his Preface, Richards writes that "the compiler has been somewhat indebted to a late work by M. SOYER's, the celebrated French Cook, as well as to some of the latest English, French, and American works on the same subject; and having thus carefully culled and collated from these sources all that was valuable and applicable to this country, he most respectfully admits the same for the approval and patronage of the Canadian Housewife".
Considering Canada's social identity as a quilt assembled from many cultures, I find it fitting that Henry and Elizabeth Richards turned to recipes from other countries and put them together to create a cookbook for Canadians. The Canadian Housewife's Manual of Cookery features some ingredients native to Canada, such as pumpkin, but also has an unusual number of tomato recipes for that era, sections on cooking wild fowl, rabbit & hare and a chapter on "Ale, Beer, Wines and Summer Drinks".
Read the Cookbook:

French Beans as a Salad
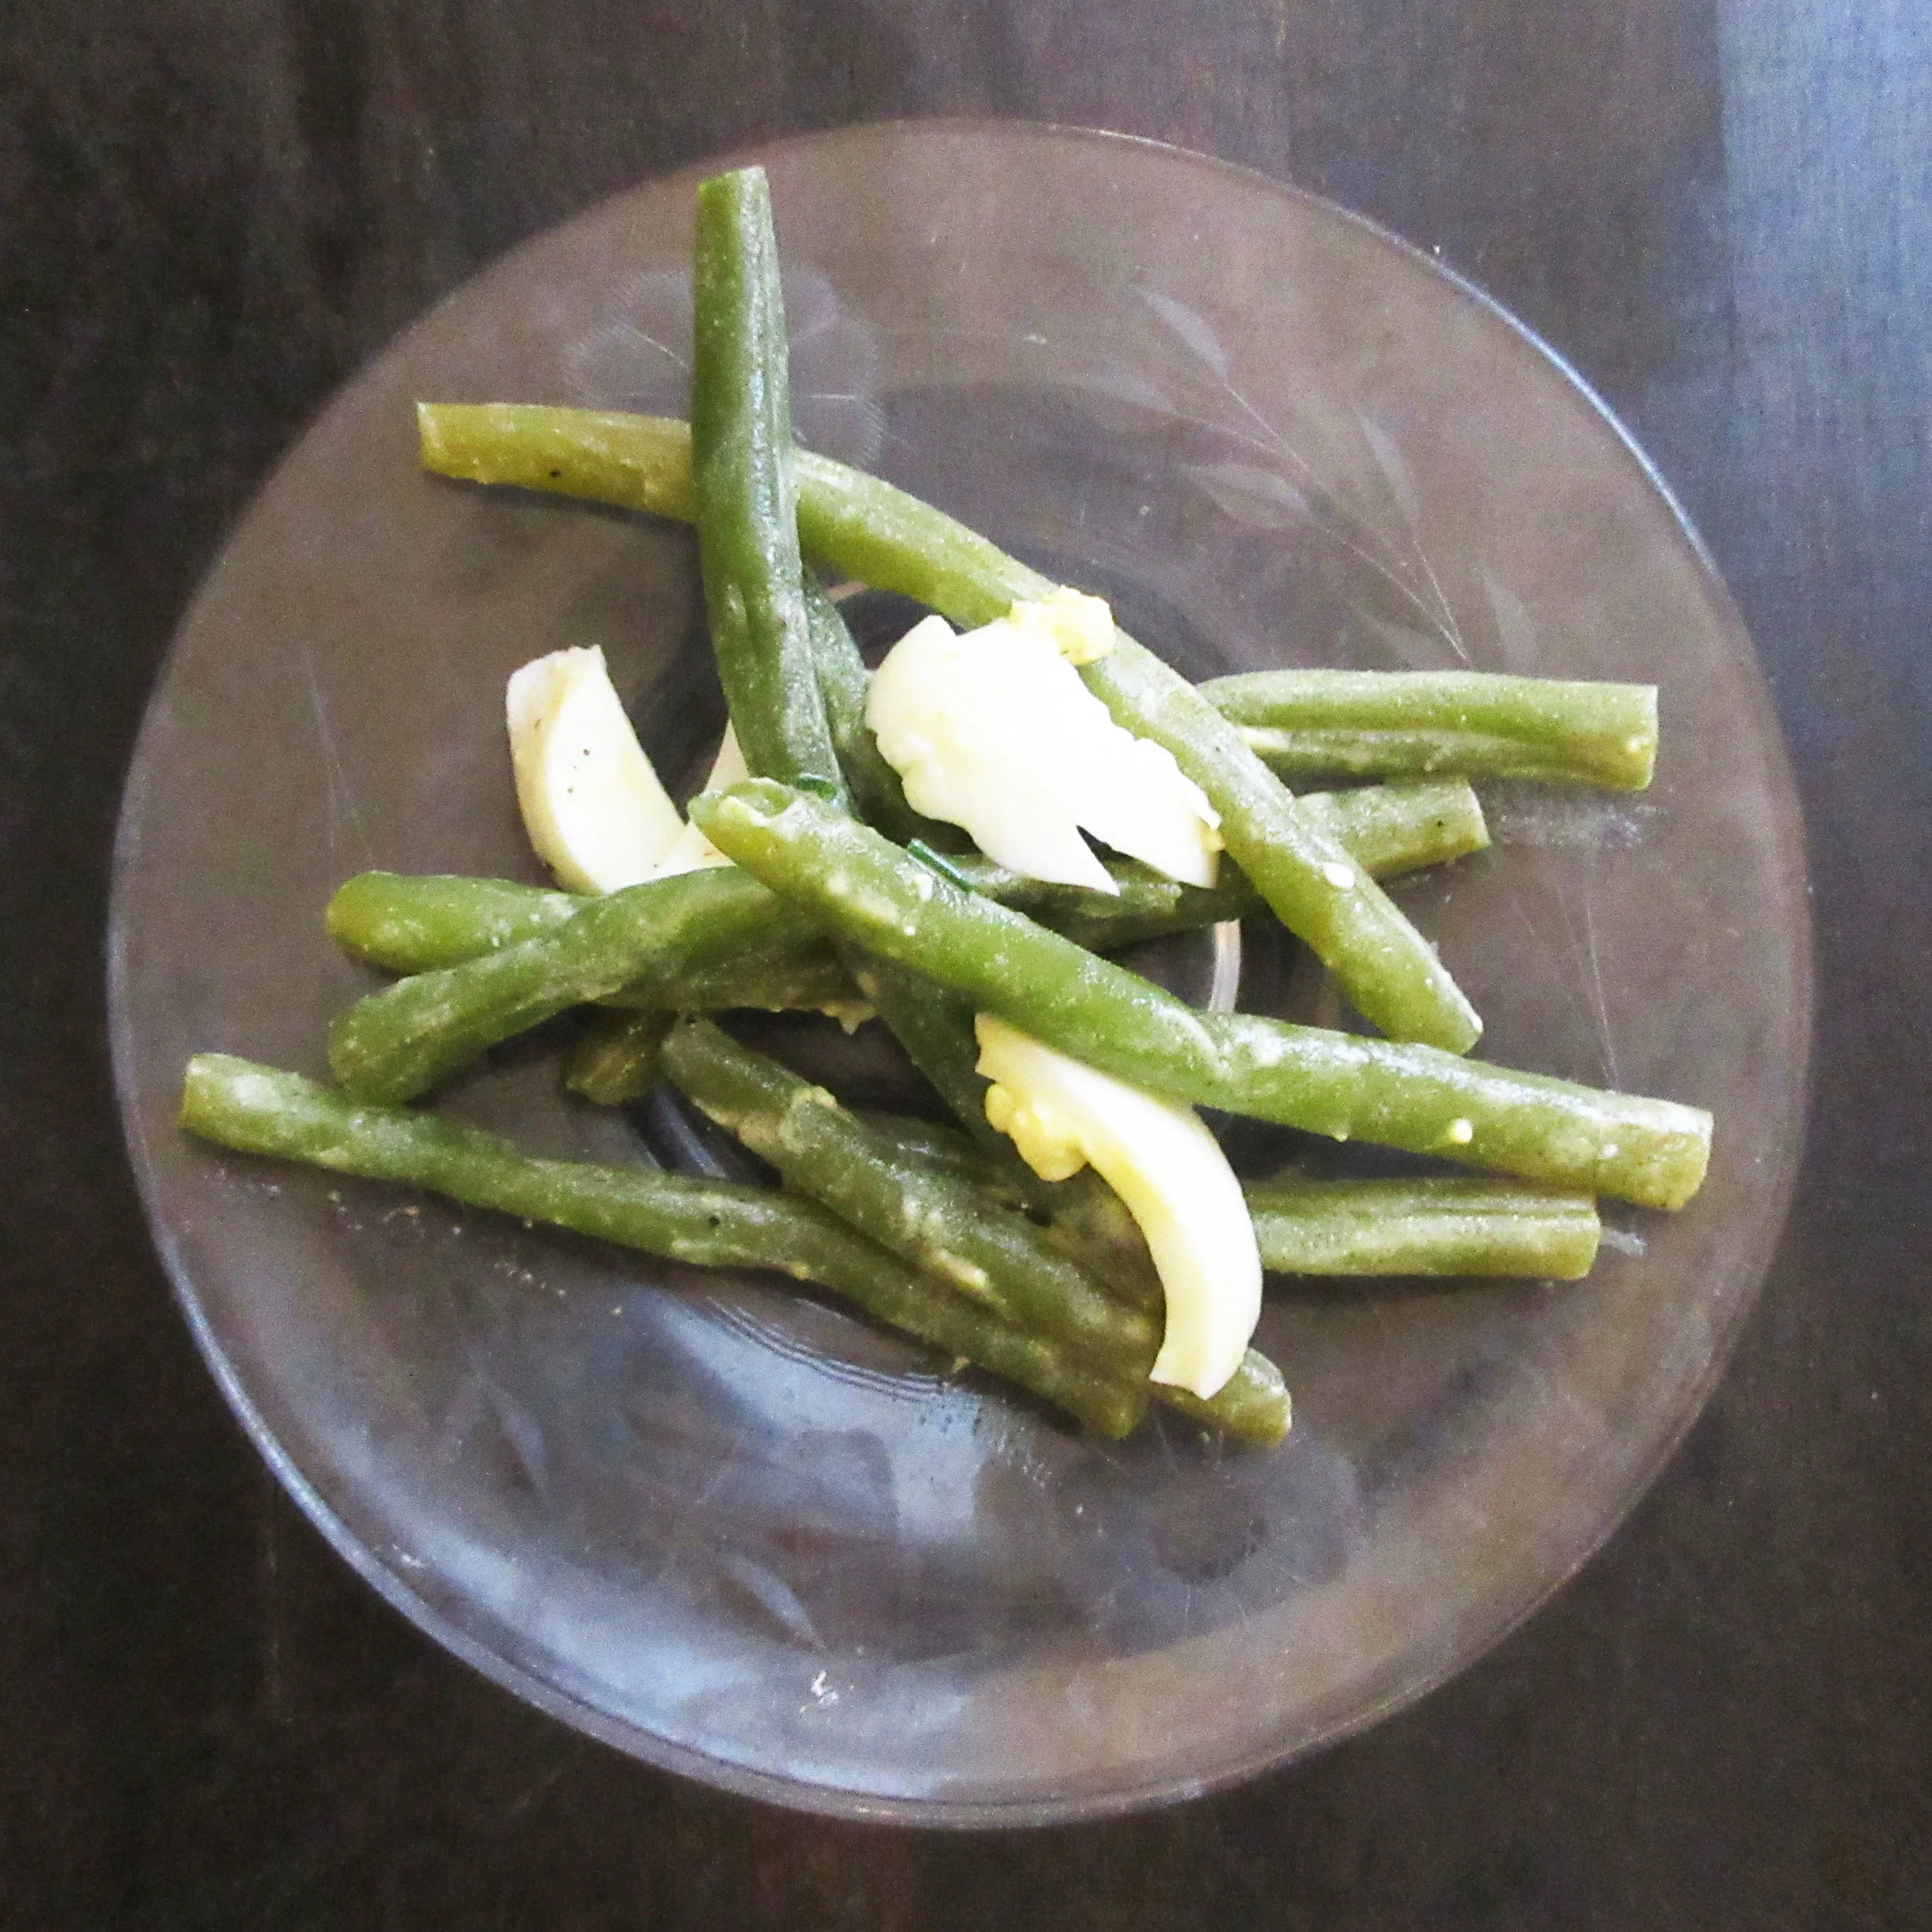
This tasty green bean salad is found in John Smith's The Principles and Practices of Vegetarian Cookery, published in 1860 in London. The Salad Sauce that accompanies the green bean salad is made of hard boiled egg yolks, oil, vinegar, mustard and herbs, and would taste amazing on salads of all varieties. Steve said that he didn't hate green beans when eating this salad, which is a glowing review of the Salad Sauce!

You'll find this recipe in:
The Principles and Practices of Vegetarian Cookery
By: John Smith
London, 1860
The Original Recipes:
French Beans as a Salad.
255. Cook them in water as above, drain them and let them cool. Season them, some hours before using them, with pepper, salt and vinegar; then cover them well. At the time of serving, drain off the water which they will have yielded, and add salad sauce.
French Beans (Haricorts verts).
254. Remove the fibres and wash the beans; put them in boiling water with a little salt; when cooked put them in cold water to preserve their colour...The better to preserve their colour, put a double linen cloth on a sieve, and on this cloth a good spoonful of wood ashes. Pass the water, in which the beans are to be cooked, over the ashes and through the sieve. This method may also be adopted when cooking artichokes. (There's more to this recipe, but this is the info we need for our purposes)
Salad Sauce.
505. Eggs two; water or cream one table-spoonful; oil or dissolved butter two table-spoonfuls; salt or powdered lump sugar one tea-spoonful; mustard one tea-spoonful; vinegar three table-spoonfuls; to these may be added a tea-spoonful of tarragon vinegar; or basil vinegar, etc; or a table-spoonful of chopped leaves. Boil the eggs twelve minutes, then put them in cold water for a few minutes; rub the yolks, which must be cold and hard, through a sieve with a wooden spoon, or pound them in a mortar, then mix them with the water or cream; add the oil, sugar, salt and mustard; and, when these are very well mixed, add very gradually the vinegars, and rub the whole until blended. Garnish the salad with the whites of eggs cut in pieces.


My Recipes:
French Beans as a Salad
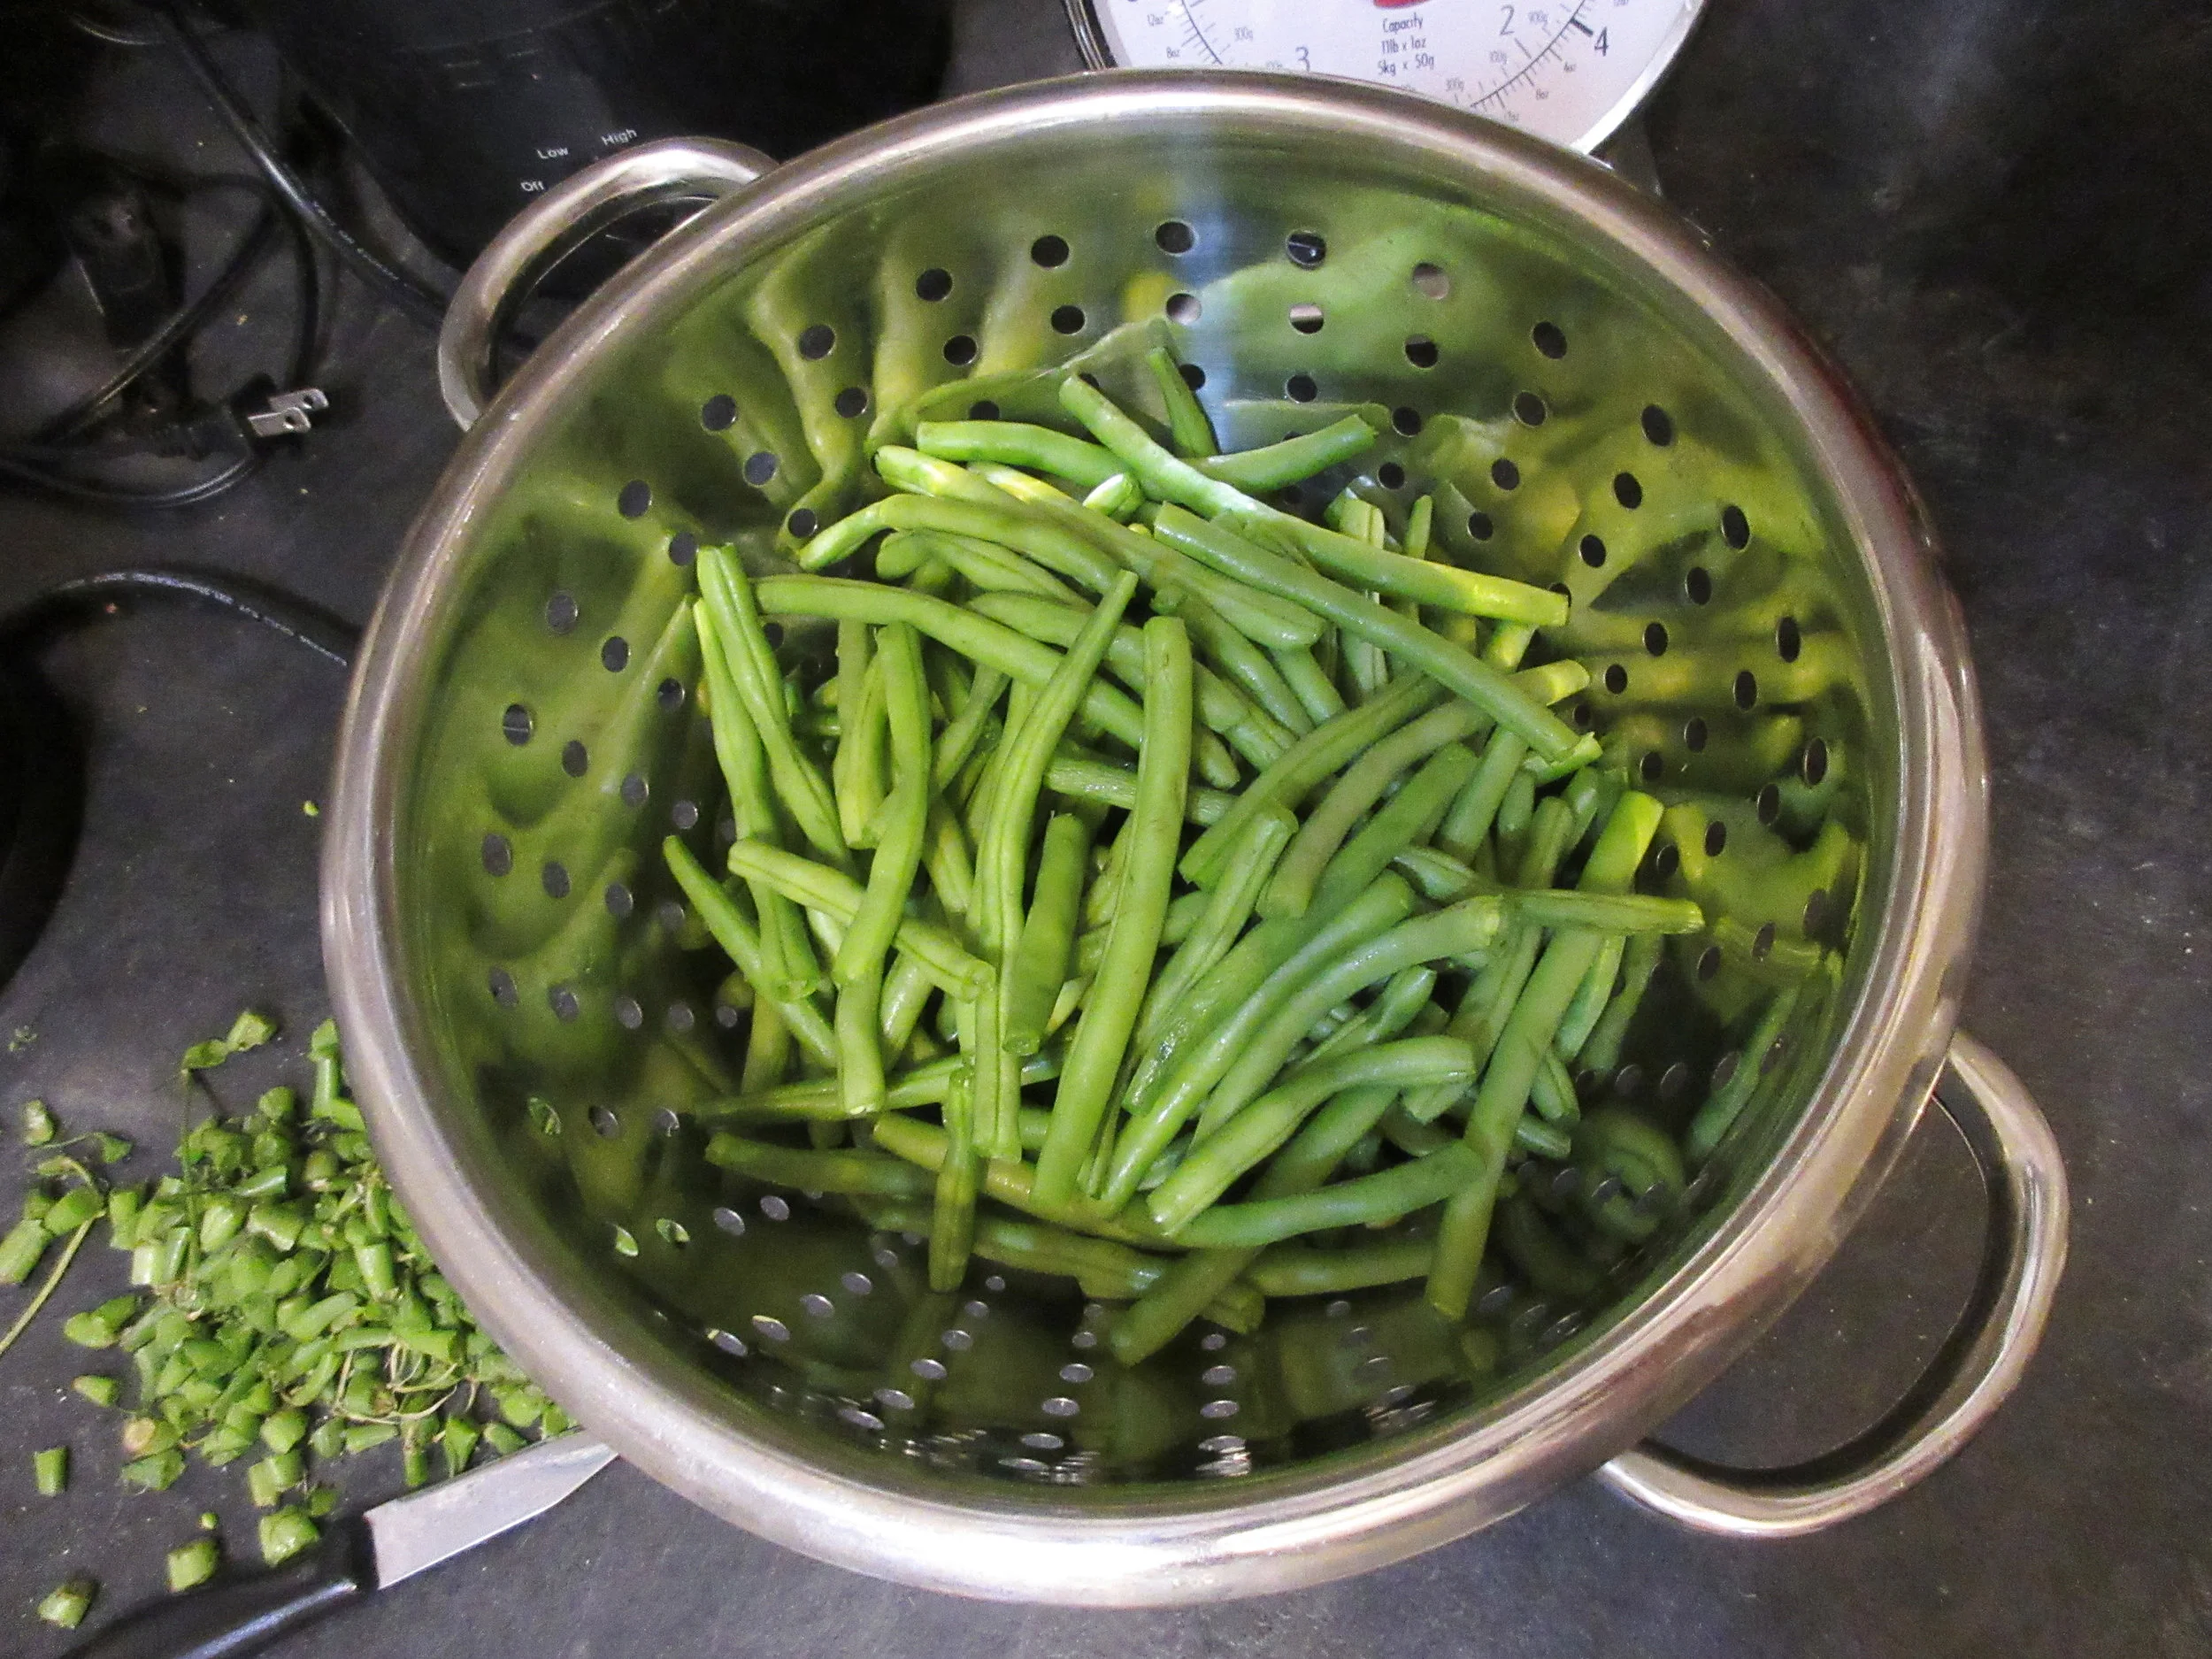
Green Beans
Salt
Pepper
Vinegar (I used apple cider vinegar)
1) Wash the green beans, then trim the tops & tails. Bring a pot of salted water to a boil and add the green beans. Once cooked, drain and submerge the beans into cold water.
2) Drain the green beans again after they've cooled and put them into a bowl or container. Add some salt, pepper and a little vinegar. Stir, then store in the refrigerator. Strain off any liquid, add the Salad Sauce and stir. Garnish with the sliced egg whites.
Salad Sauce
2 hard boiled eggs
1 tbsp water or cream
2 tbsp oil or melted butter
½ tsp salt
½ tsp sugar
1 tsp mustard powder
3 tbsp vinegar (I used apple cider)
1 tsp herbal vinegar or 1 tbsp chopped fresh herbs (I added chives)
1) Slice the hard boiled eggs in half, separate the yolks and cut the egg whites into pieces. Put the yolks into a bowl and mush with the back of a spoon.
2) Add all the other ingredients to the bowl and mix well with a fork. Add the Salad Sauce to your salad, then garnish with egg white.

In my regular life, I am weirdly enough not a follower of recipes. For this reason, The Principles and Practices of Vegetarian Cookery is one of my favourite historic cookbooks because John Smith wrote his recipes in the same spirit of how I normally cook. He offers a lot of options, substitutions and variations, so you're able to easily use the same recipe when you're craving some variety or you've got different ingredients in the house.
Not having wood ash handy at home, and also since I didn't plan ahead to bring a small container of ashes home from work, I unfortunately couldn't try Smith's suggestion of passing the cooking water through a sieve filled with ashes before bringing it to a boil. This method is supposed to keep the beans' bright green colour. If you end up trying it, please let me know how it turned out! I'm especially curious how the ashes affect the taste of the beans.
If any of you are marveling over the fact that this recipe comes from a vegetarian cookbook published in 1860, The Principles and Practices of Vegetarian Cookery is not the only vegetarian cookbook to be published in this time period. Vegetarianism wasn't a part of mainstream culinary culture, but it was an important aspect of the health movement that was gaining a lot of momentum at this time. I think a blog post just looking at early vegetarian cookbooks is a must, so keep an eye out for it.
Until then, I'll share my favourite article about mid-19th century vegetarians from Slate: The Exquisite Wistfulness of 19th-Century Vegetarian Personal Ads. These lonely Vegetarians were searching for a spouse who shared their commitments to Vegetarianism, Hydrotherapy, Temperance, Phrenology or Dress Reform. I feel for these people, considering how small a segment of the general population would have shared their viewpoints. I also would love to know if any of these advertisements produced a love match and a long & happy marriage, wouldn't you?
Read the Cookbook:

Cayenne Cheeses
When I decided to start my own food history blog, I knew right away that my first blog post would be about Cayenne Cheeses. Why? Cayenne Cheeses were the first historic food that I fell in love with when I started working as a Historical Interpreter, and I'm not alone. If my coworkers don't have dietary restrictions against dairy and wheat, it's a pretty safe bet that they're also mad about Cayenne Cheeses.

You'll find this recipe in:
Mrs. Beeton's Book of Household Management
by Isabella Beeton
London, England – 1861
The Original Recipe:
CAYENNE CHEESES.
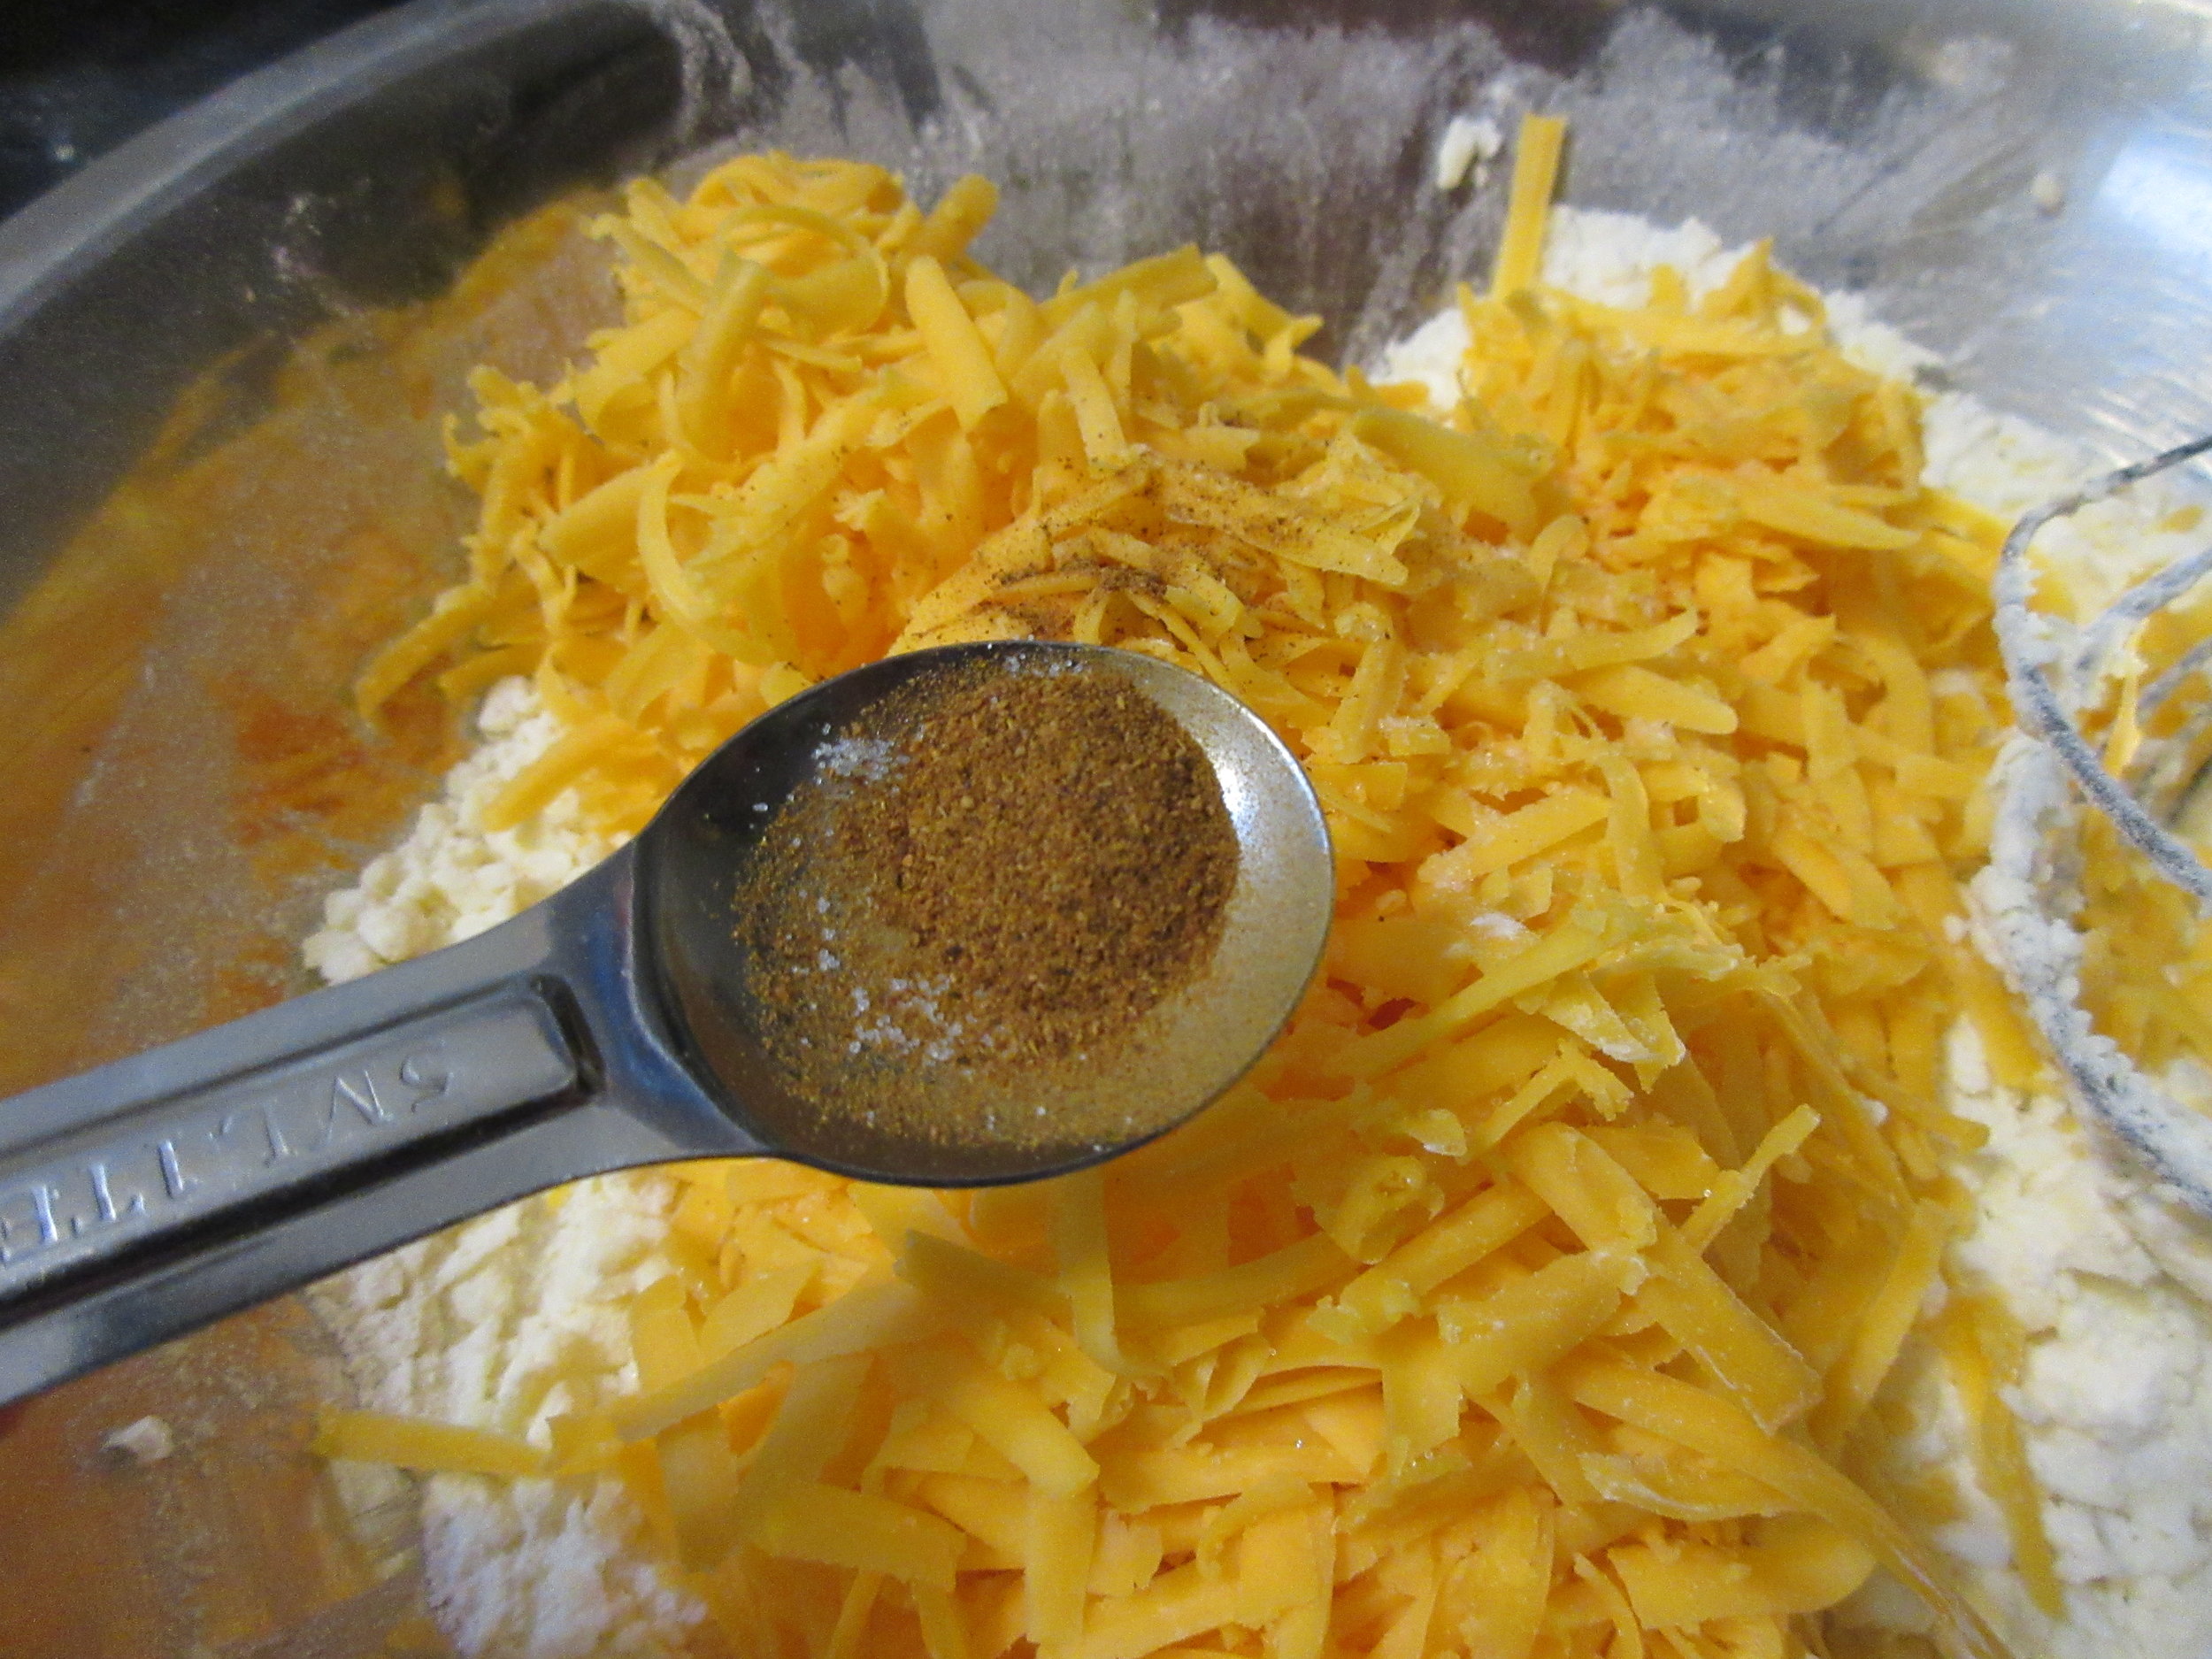
1642. INGREDIENTS. - 1/2 lb. of butter, 1/2 lb. of flour, 1/2 lb. of grated cheese, 1/2 teaspoonful of cayenne, 1/3 teaspoonful of salt; water.
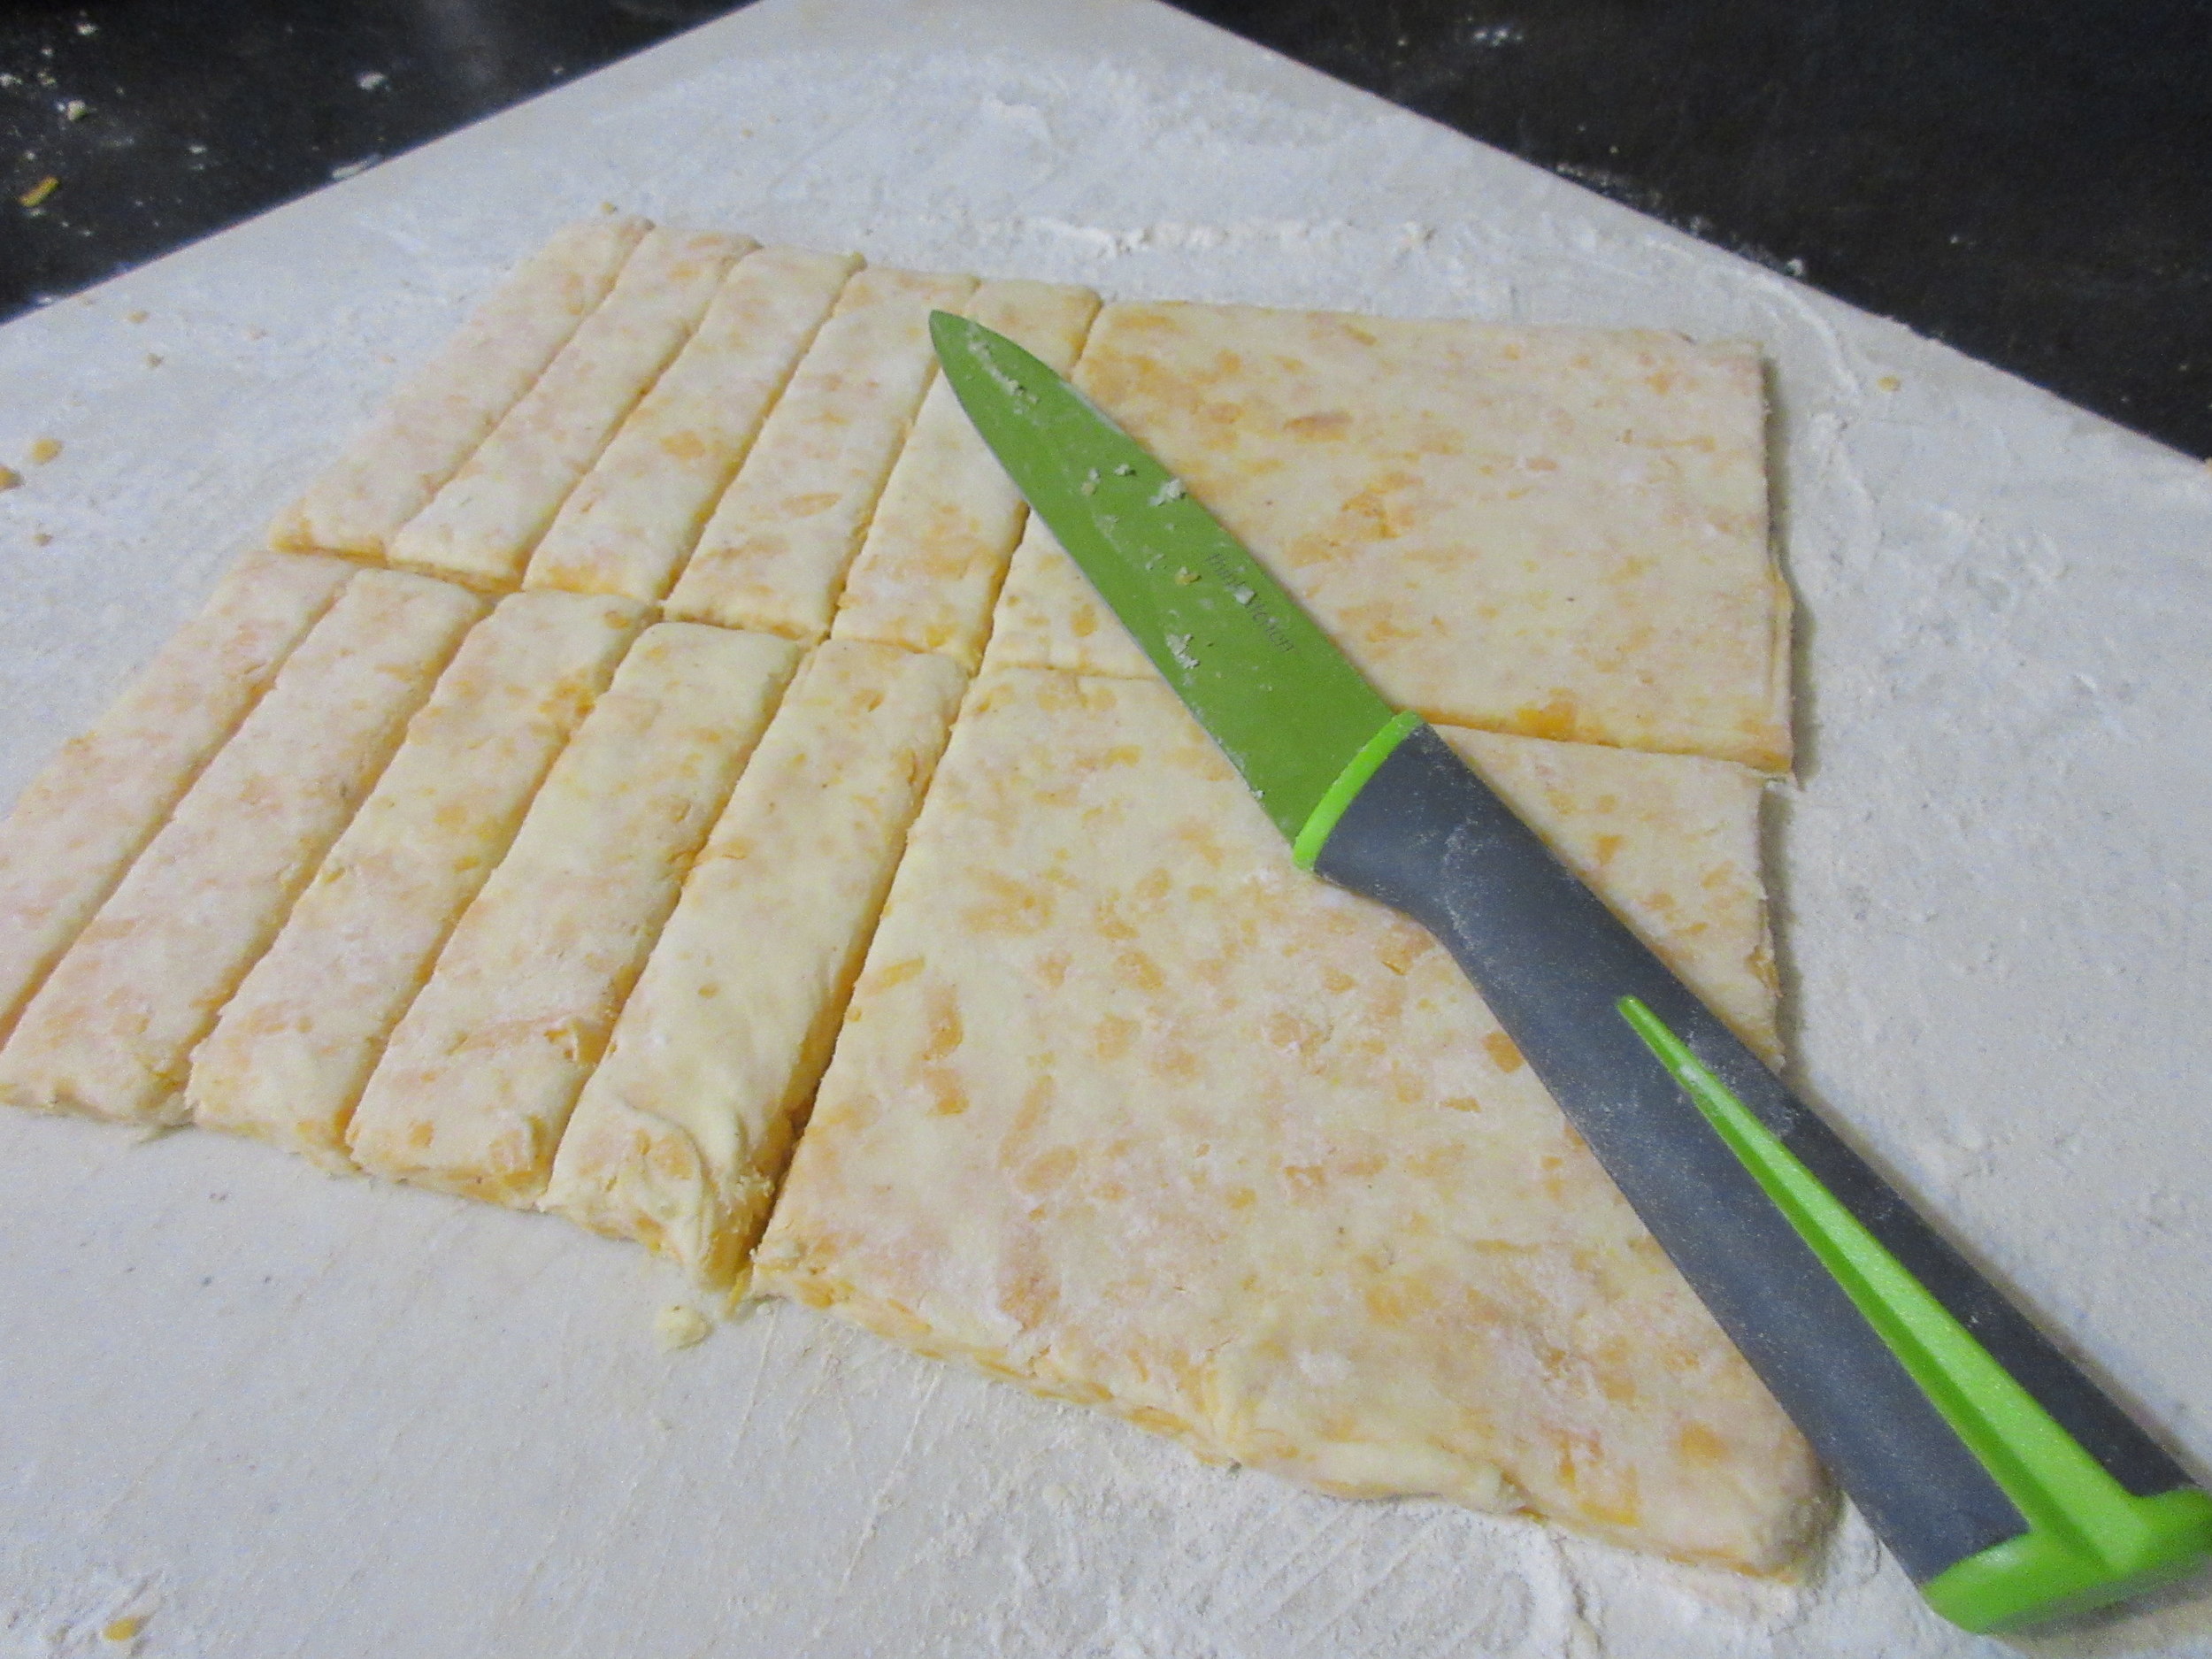
Mode. - Rub the butter in the flour; add the grated cheese, cayenne and salt; and mix these ingredients well together. Moisten with sufficient water to make the whole into a paste; roll out, and cut into fingers about 4 inches in length. Bake them in a moderate oven a very light colour, and serve very hot.
Time. - 15 to 20 minutes. Average cost, 1 s. 4 d.
Sufficient for 6 or 7 persons. Seasonable at any time.

My Recipe:
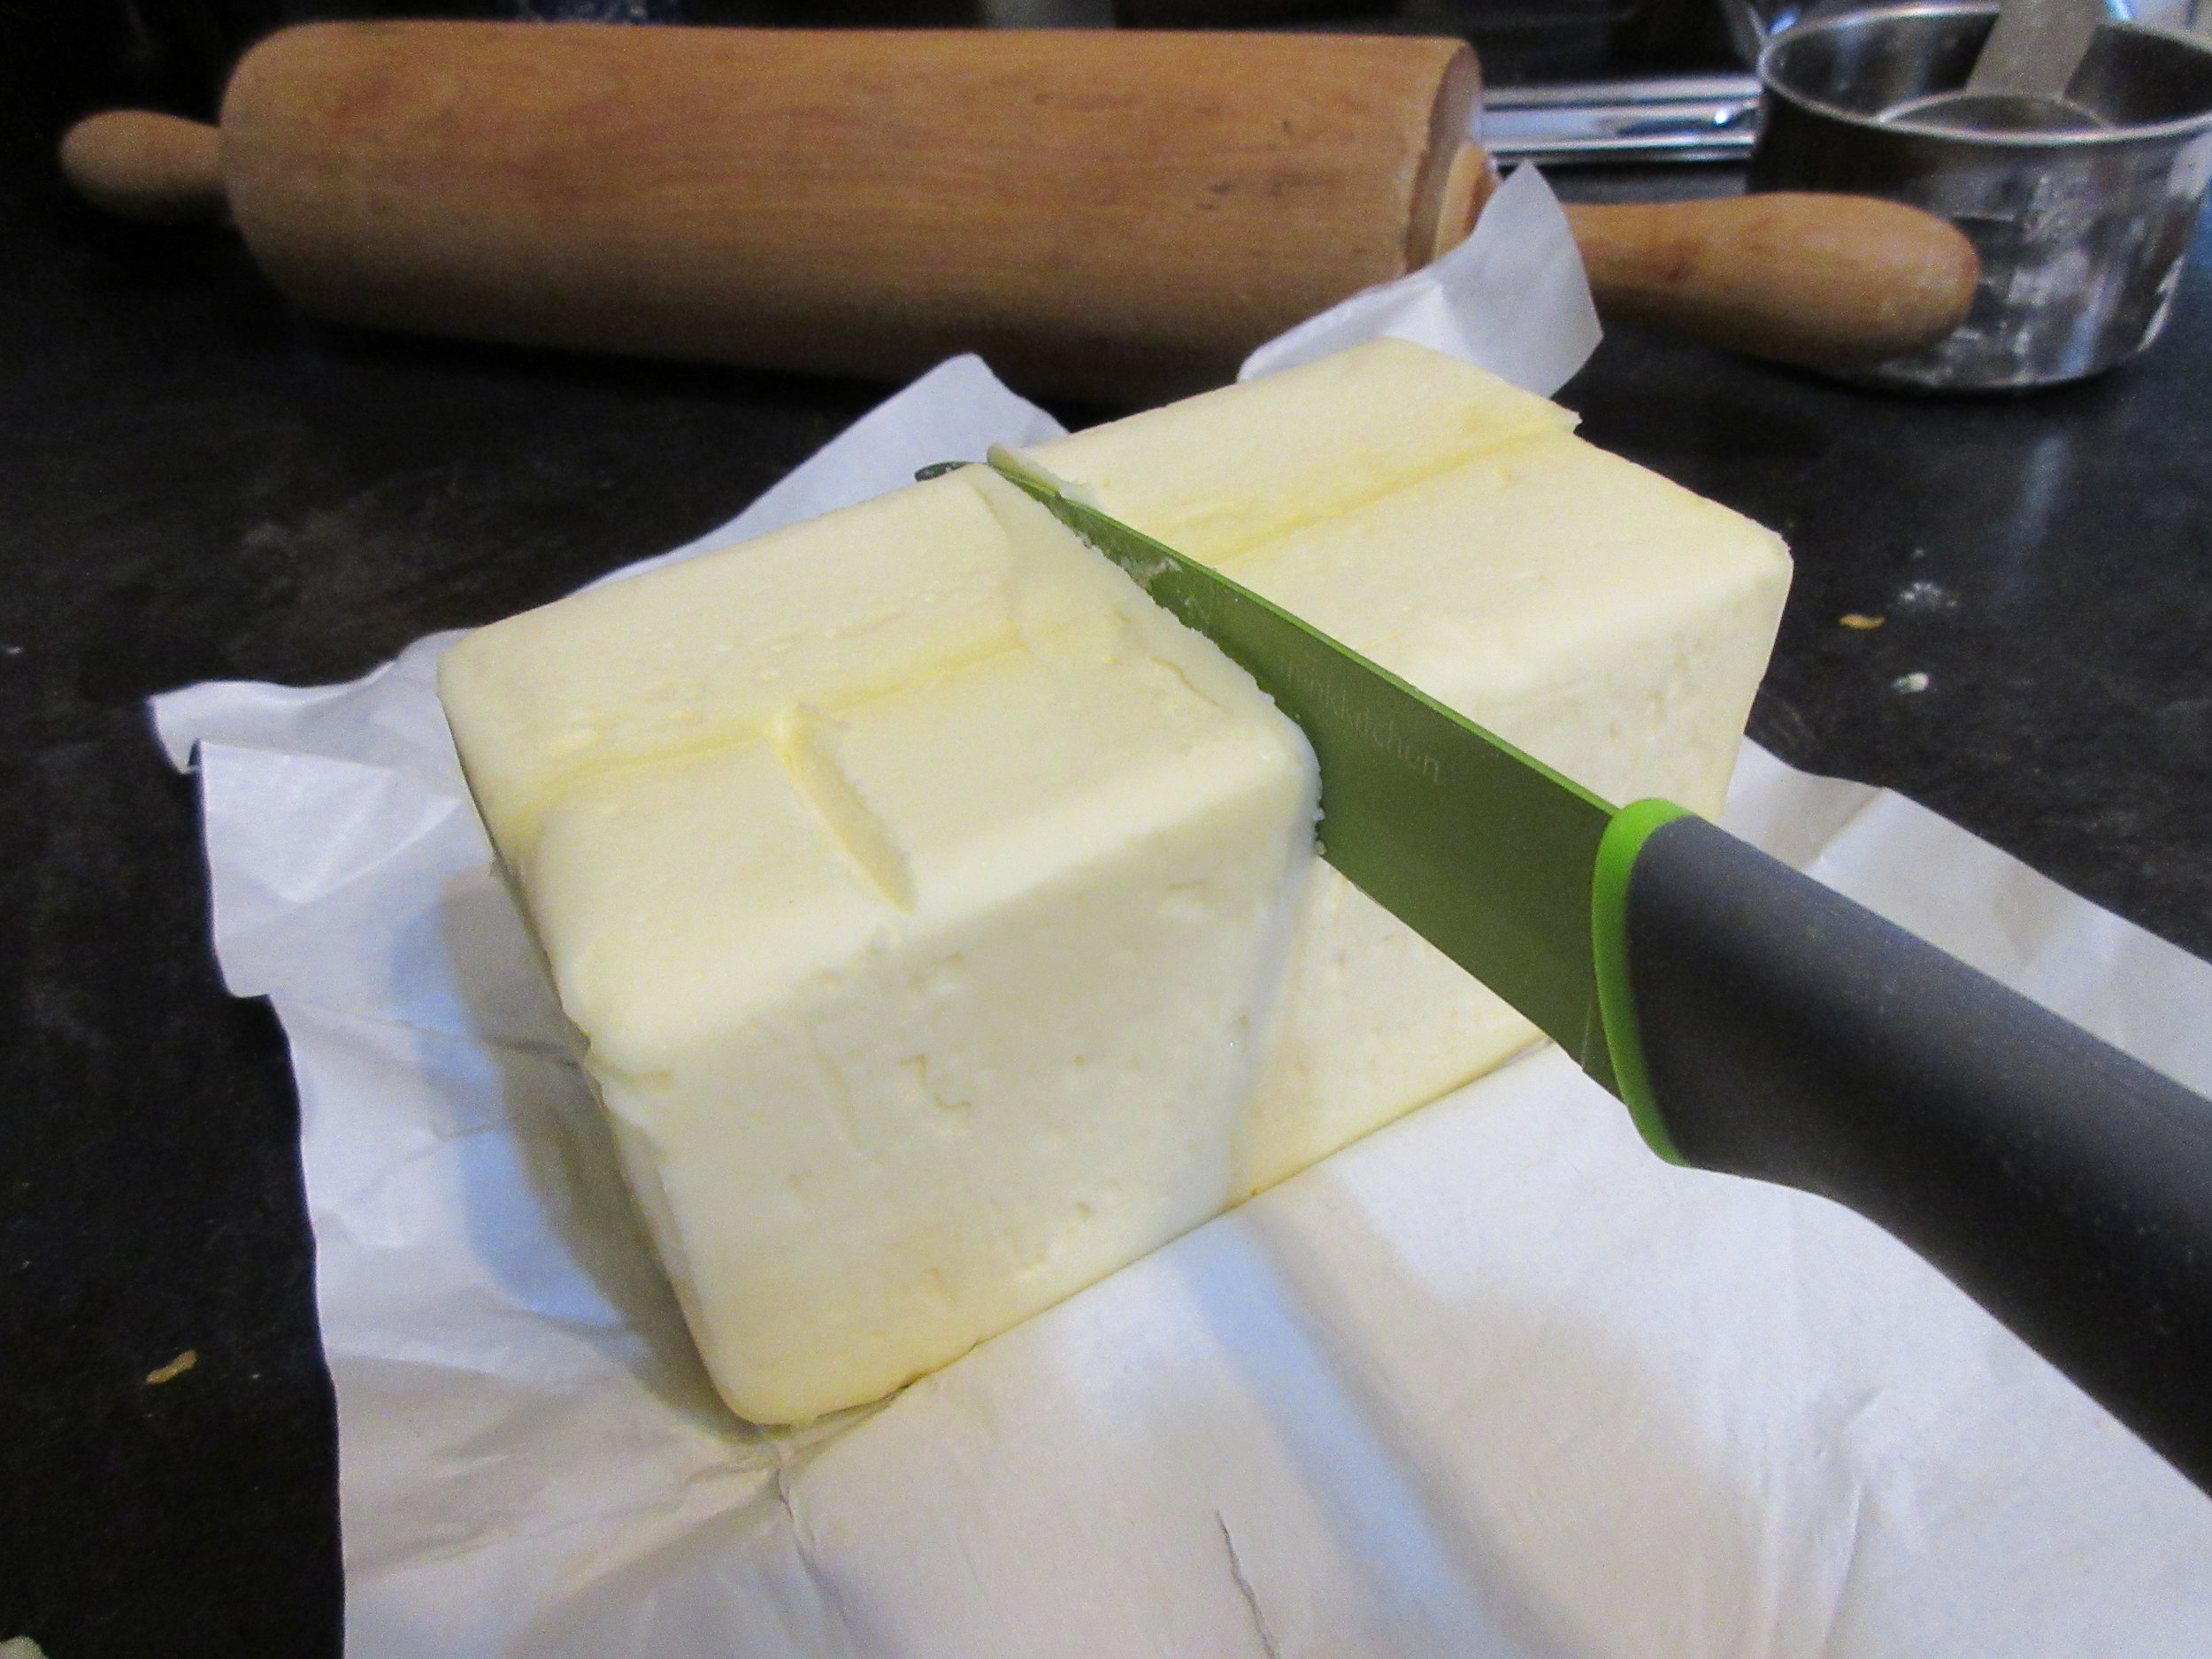
1/2 lb butter
1 1/4 cups flour – 225 g
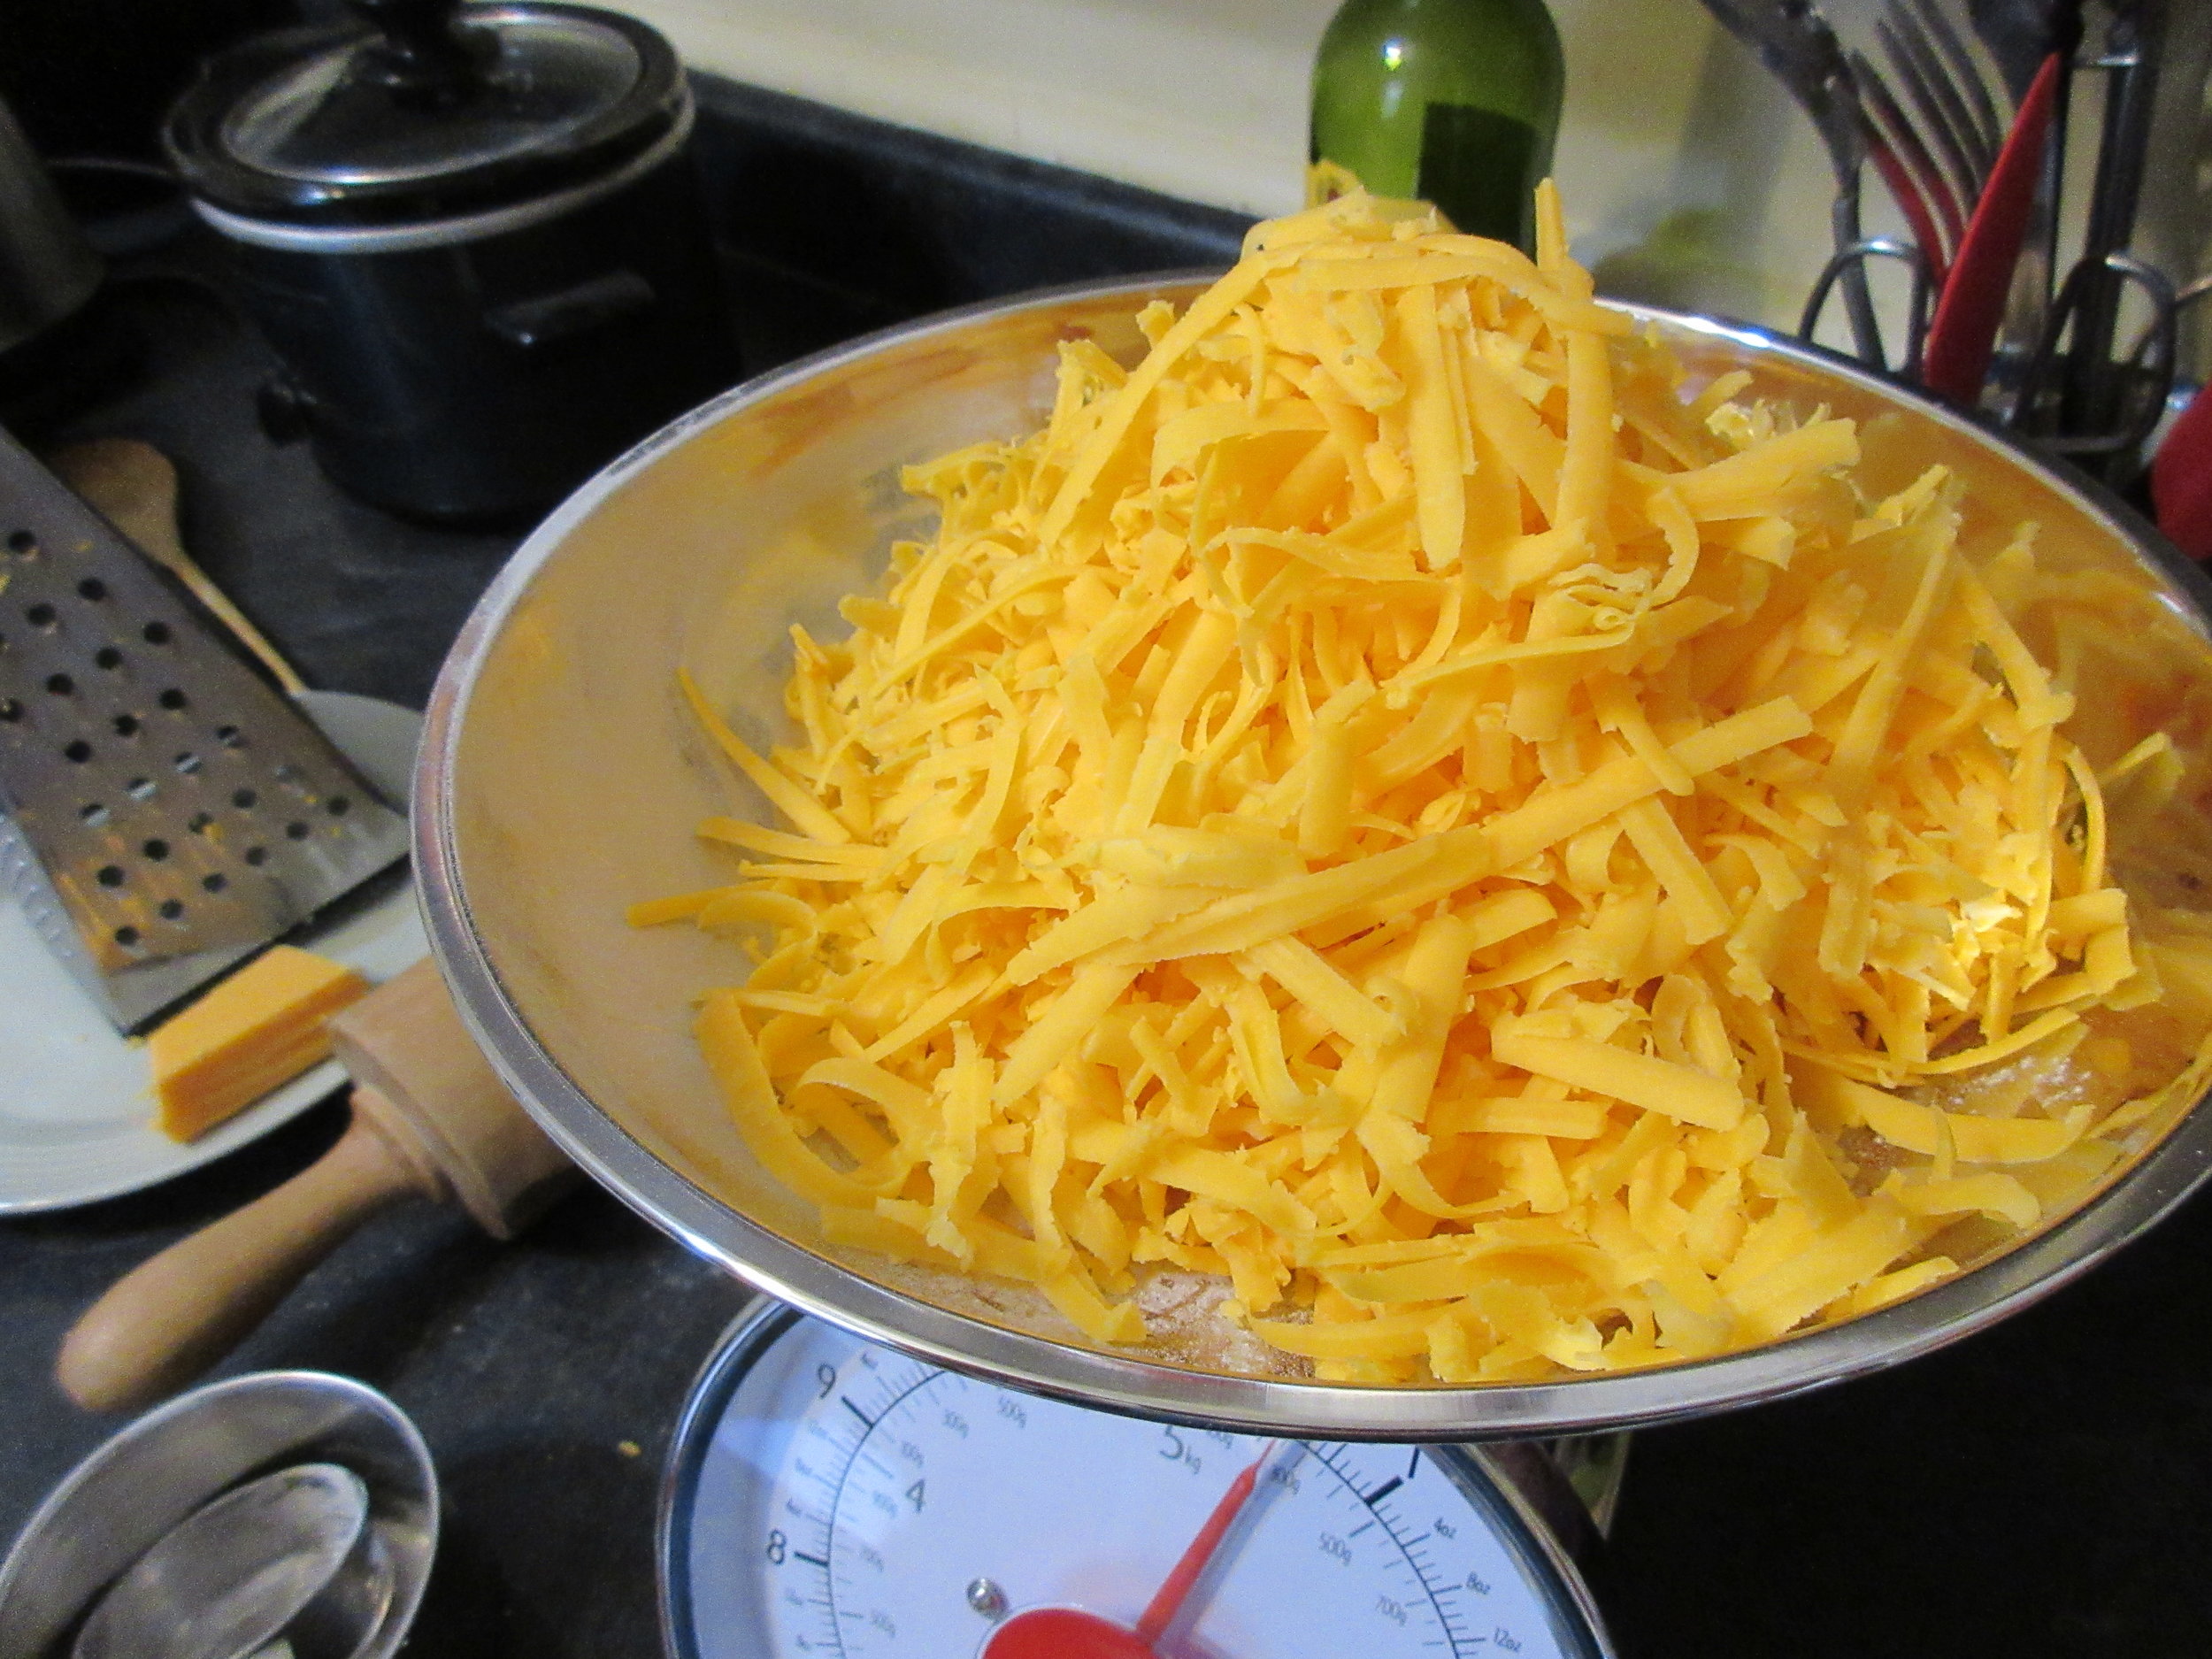
2 1/4 cups grated cheese – 225 g (I used cheddar)
1/3 teaspoon salt
1/3 teaspoon ground cayenne pepper (or to taste)
Water – I used about 3/4 cup/175mL
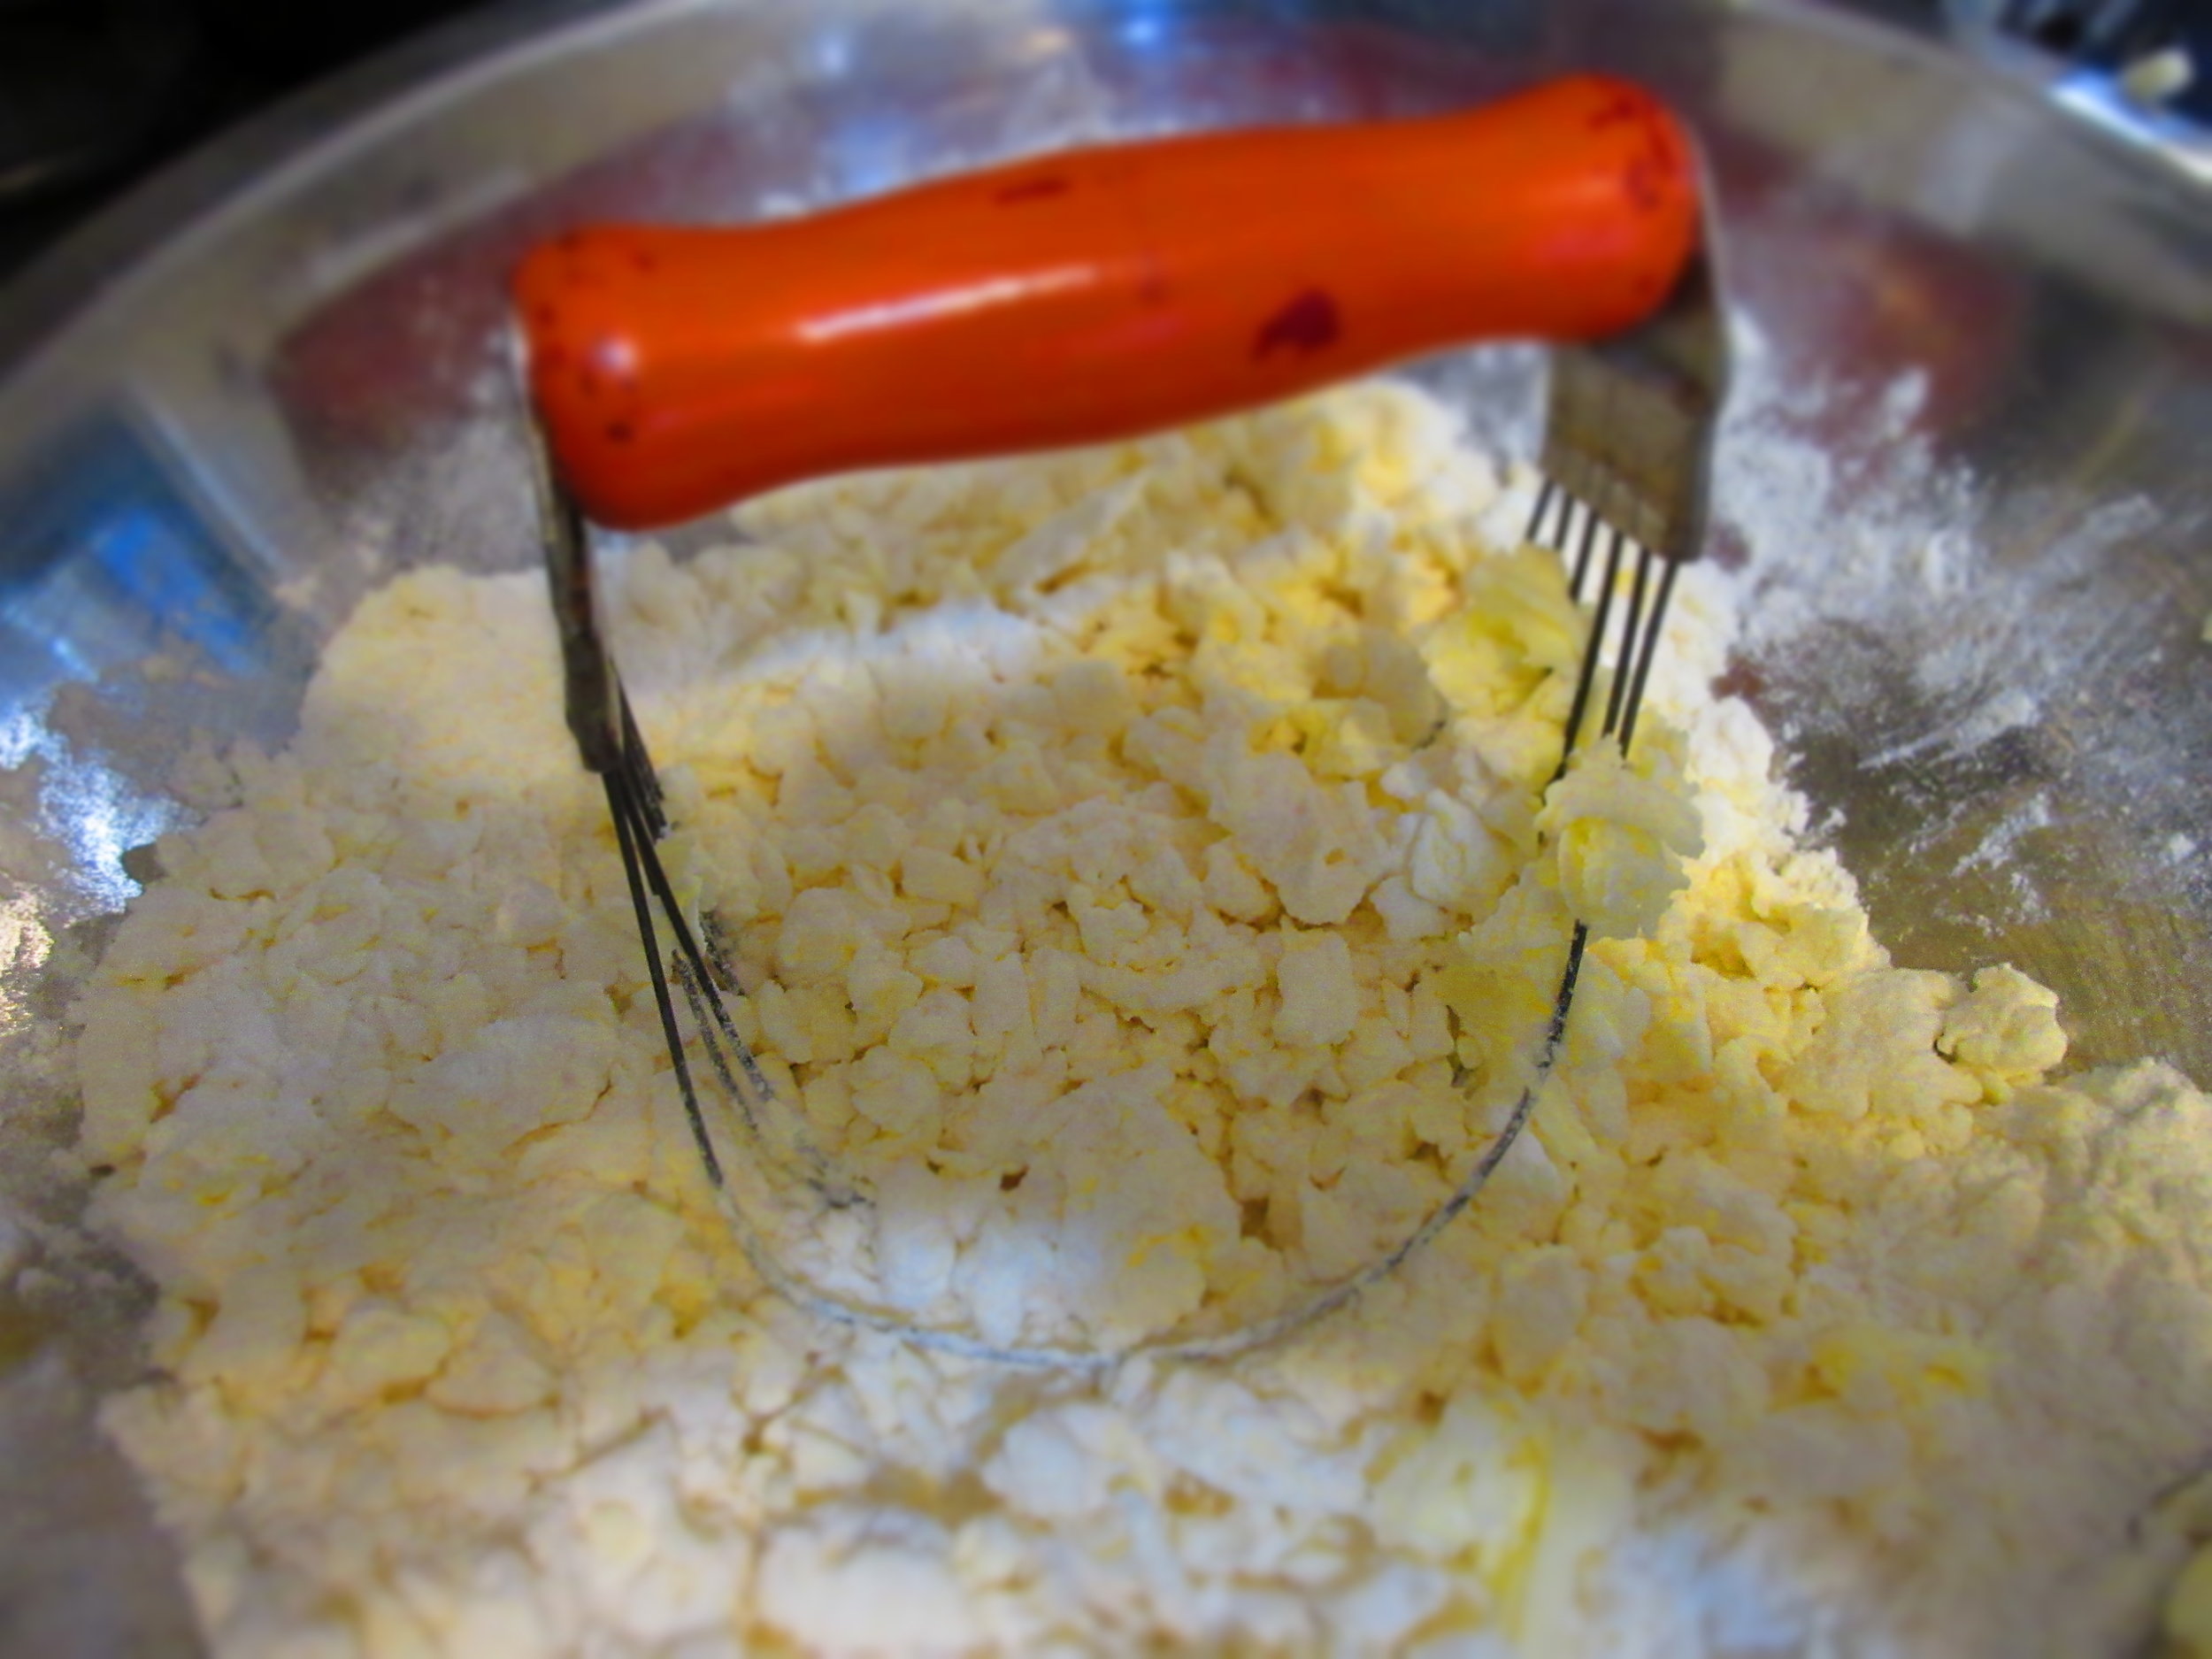
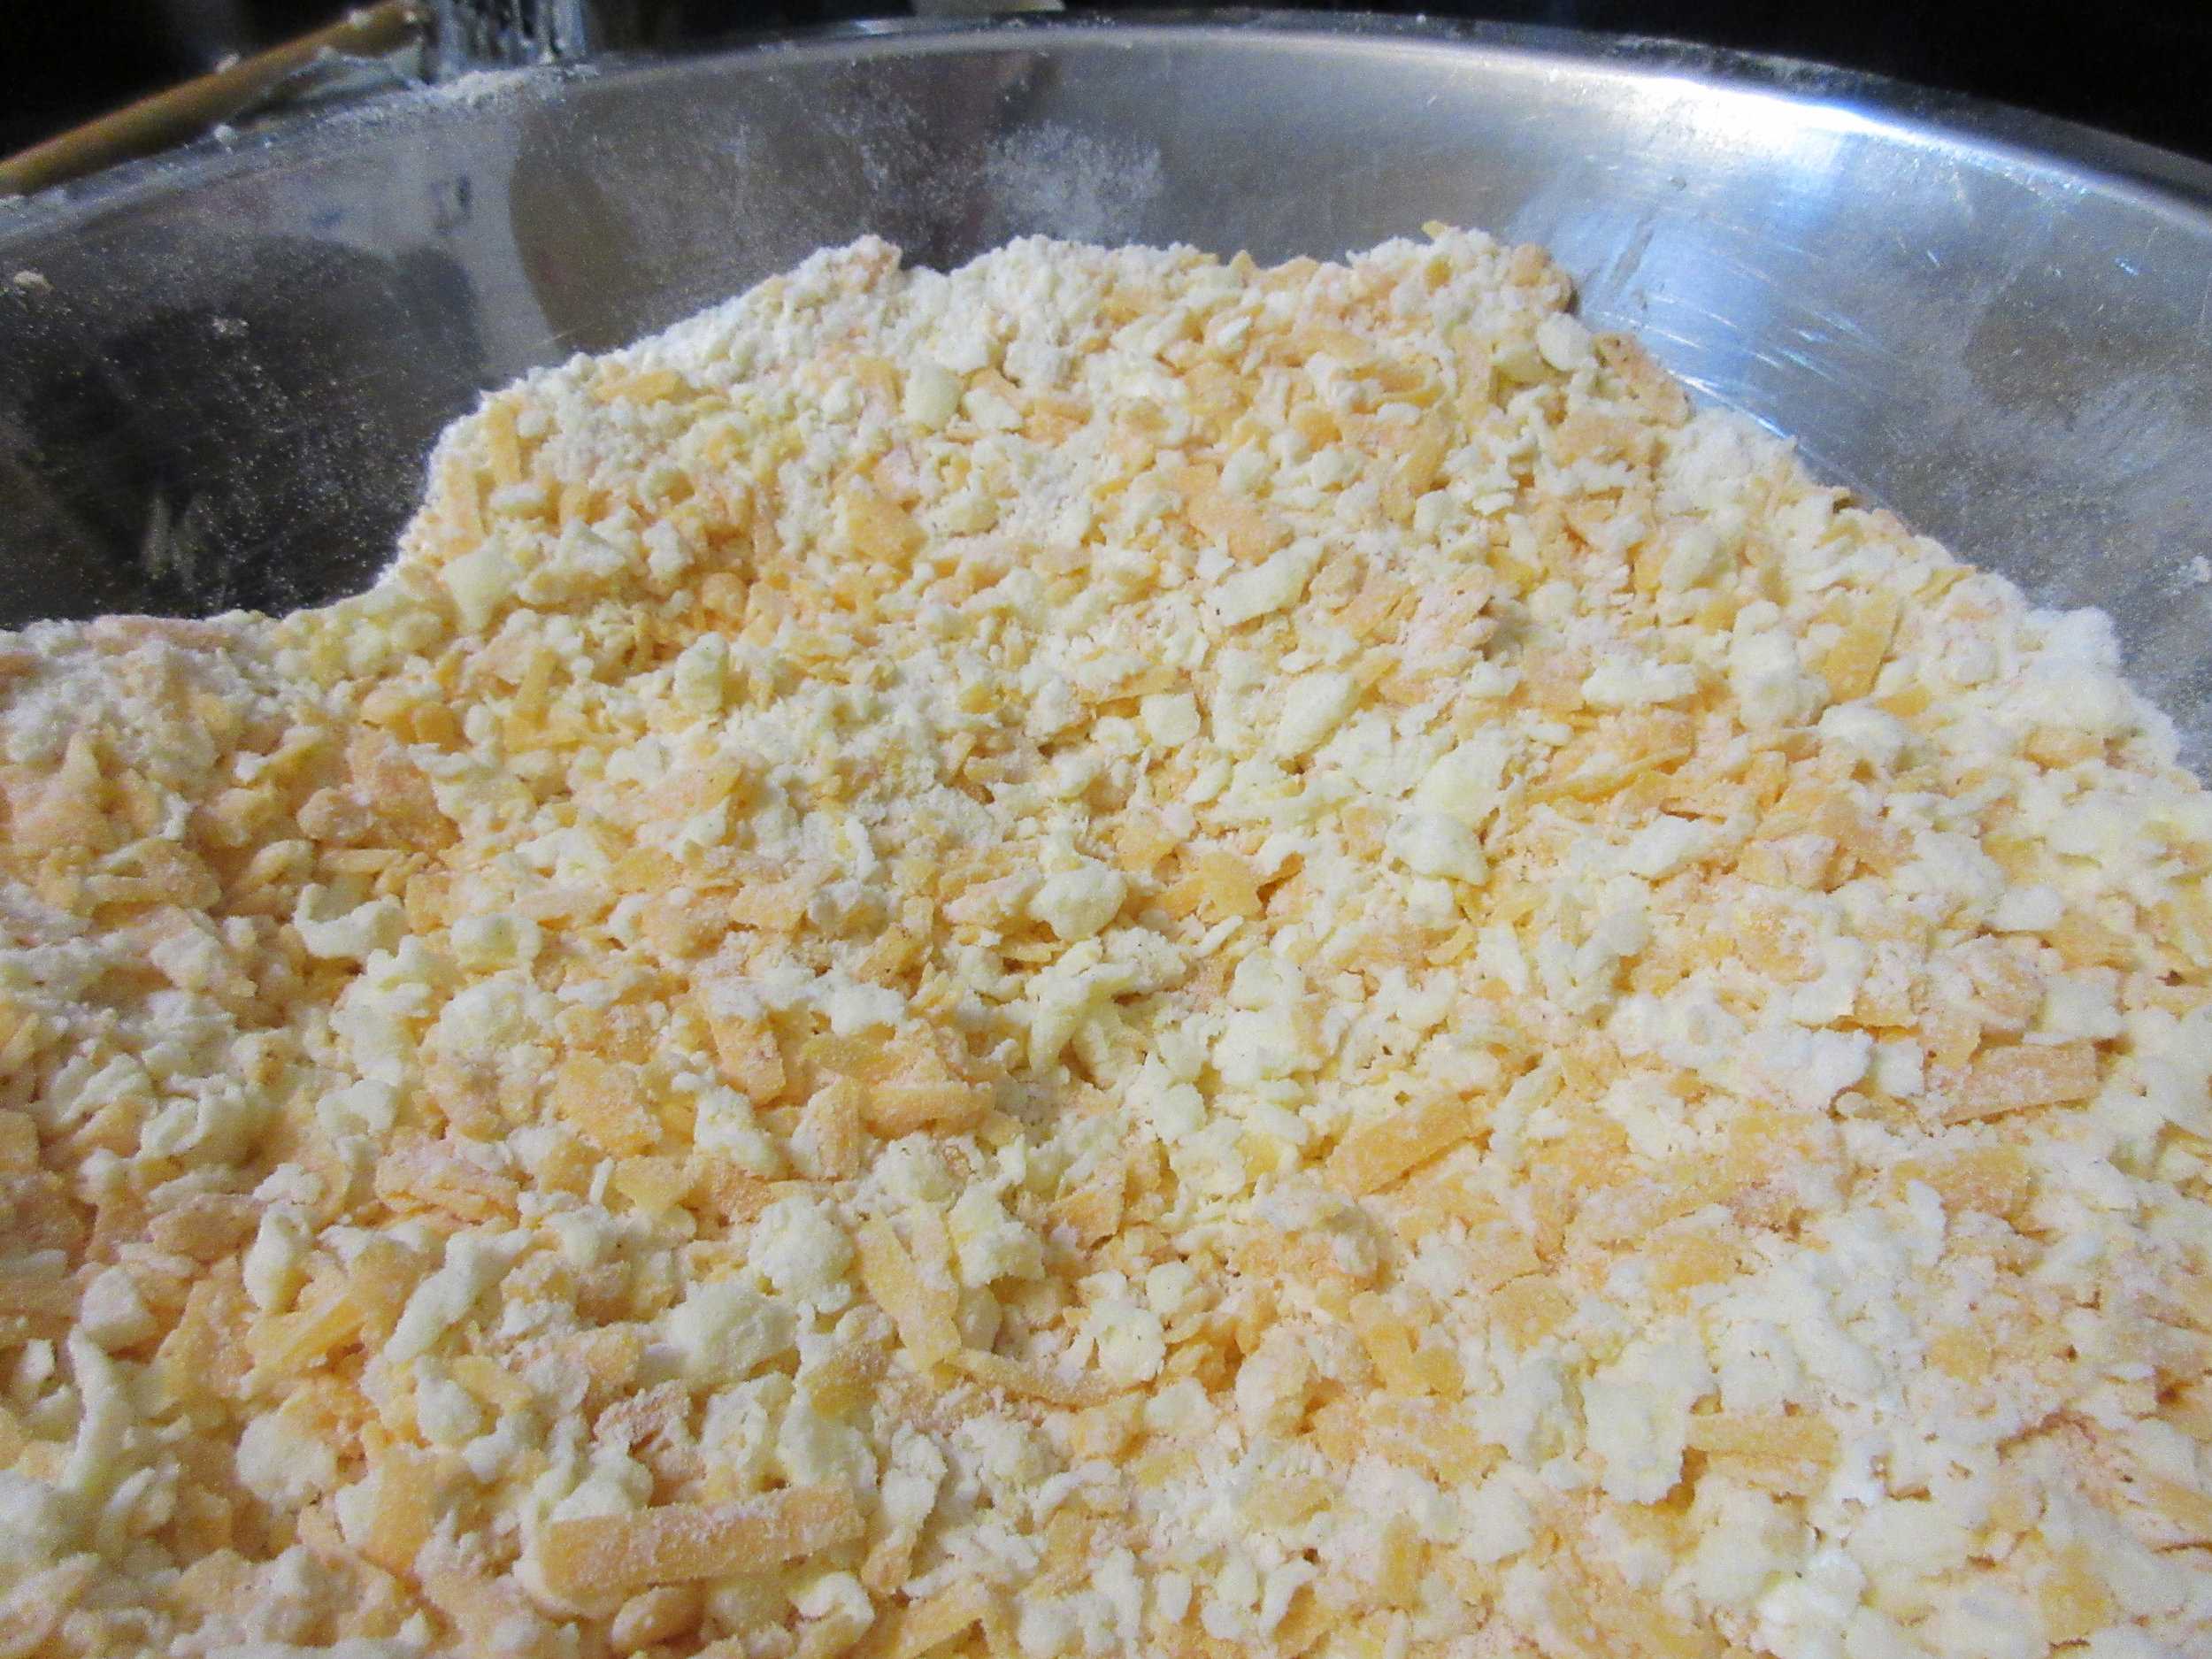
Preheat oven to 350F/175C. Measure the flour into a large mixing bowl. Cut the butter into small pieces (make your life easier & grate the butter on a cheese grater!) and add to the flour. Incorporate the butter and flour using a dough cutter or two knives or rub it into the flour with your hands.
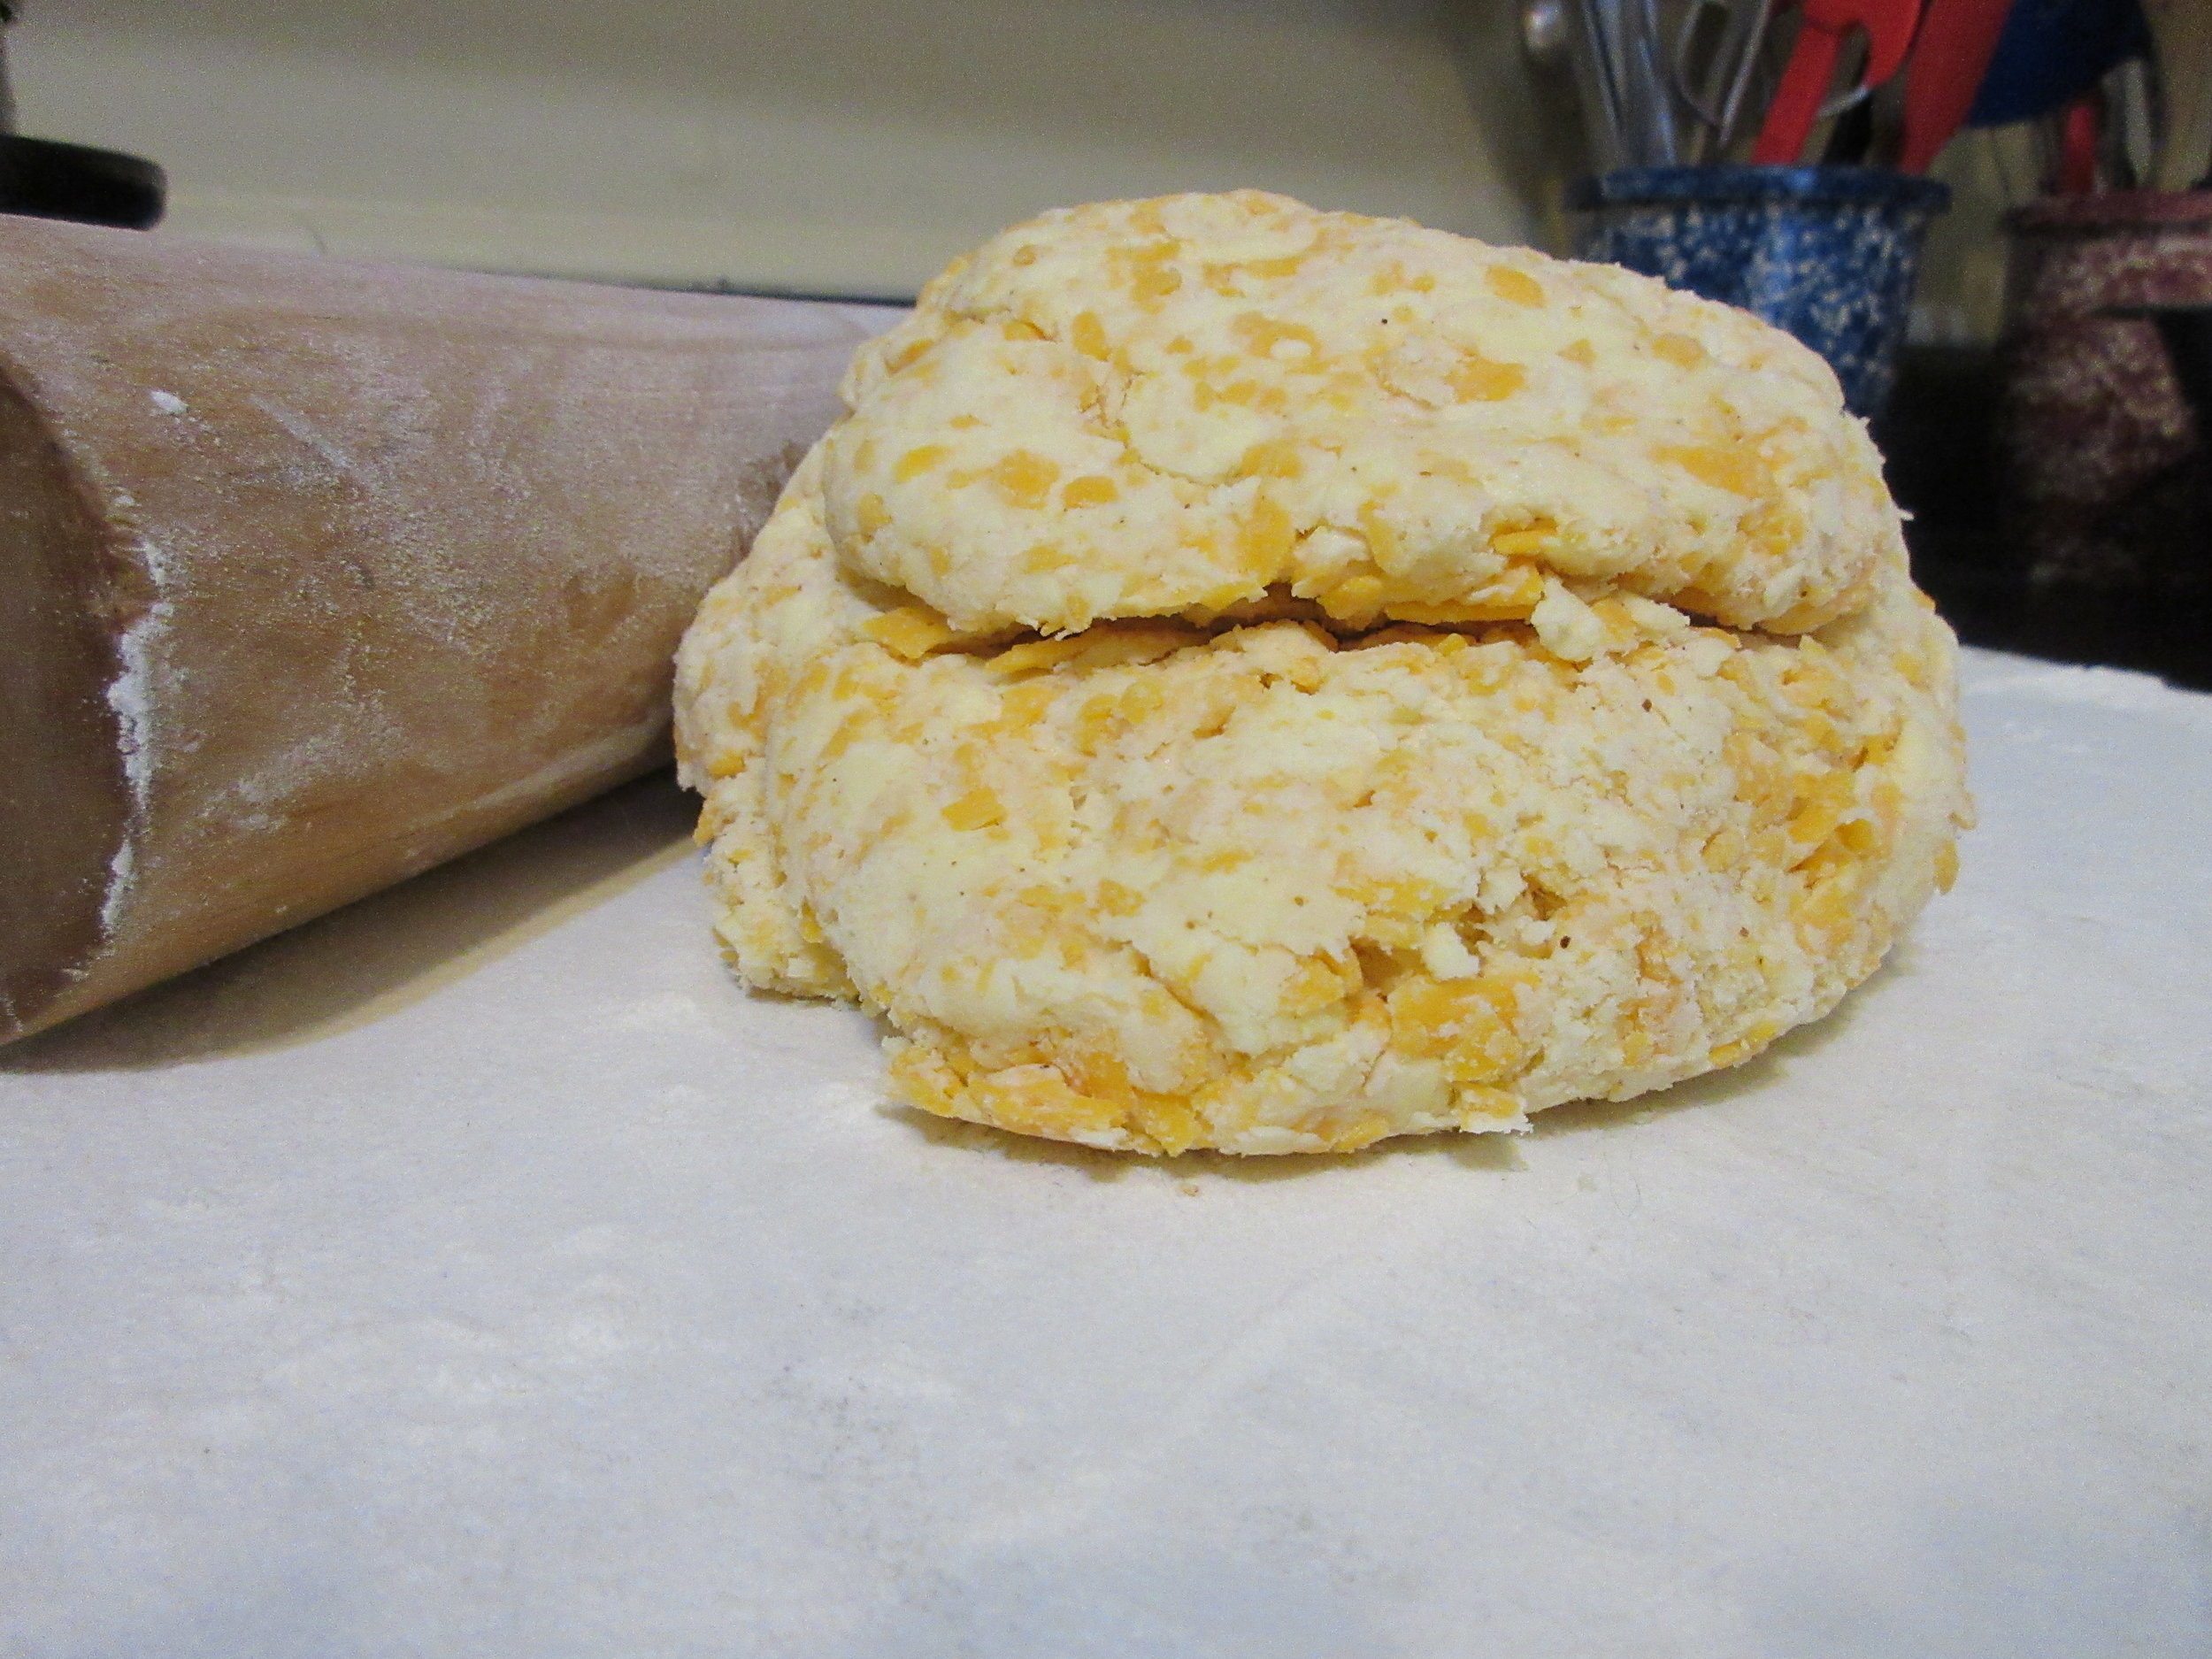
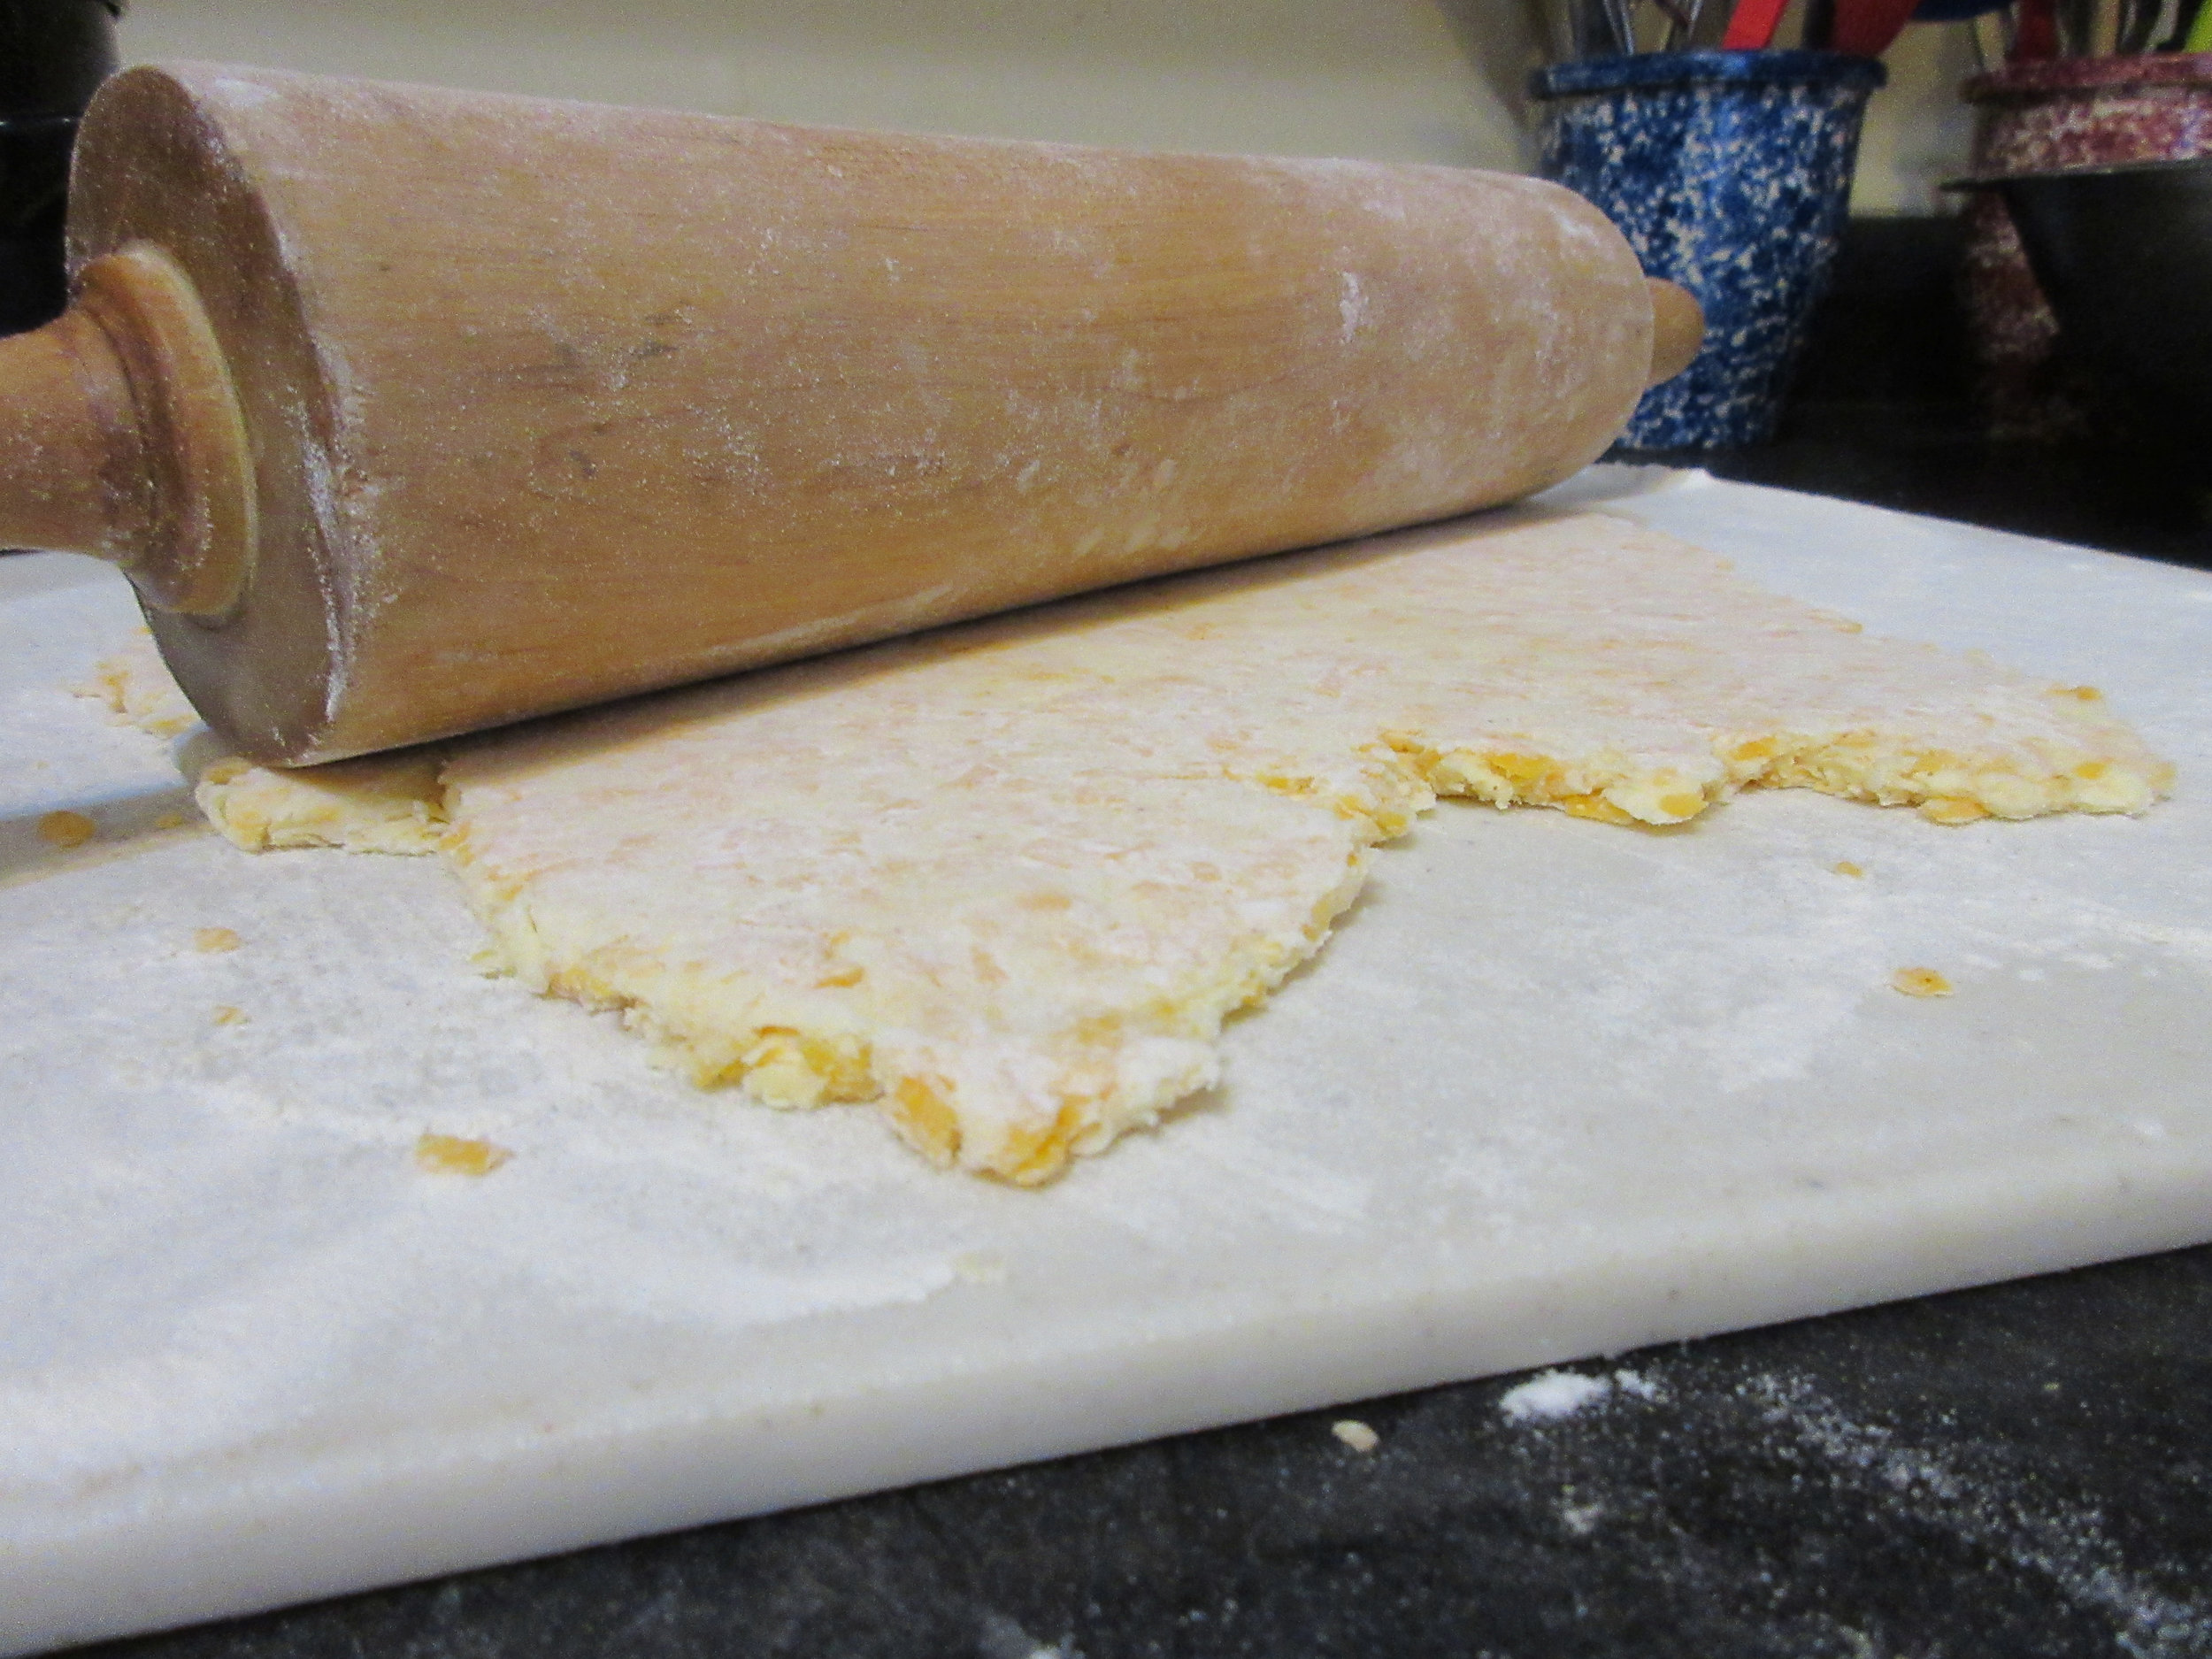
Add in the grated cheese, salt & cayenne pepper and mix together. Add just enough water so it holds together as a dough. Flour your rolling pin & rolling surface, and roll out until it's roughly 1/2 cm or 1/4 inch thick. Cut out with cookie cutters if you'd like, or if you'd like to stick with Mrs. Beeton's suggestion of fingers, trim the sides of the dough and use a knife to cut the dough into long, thin rectangular shapes.
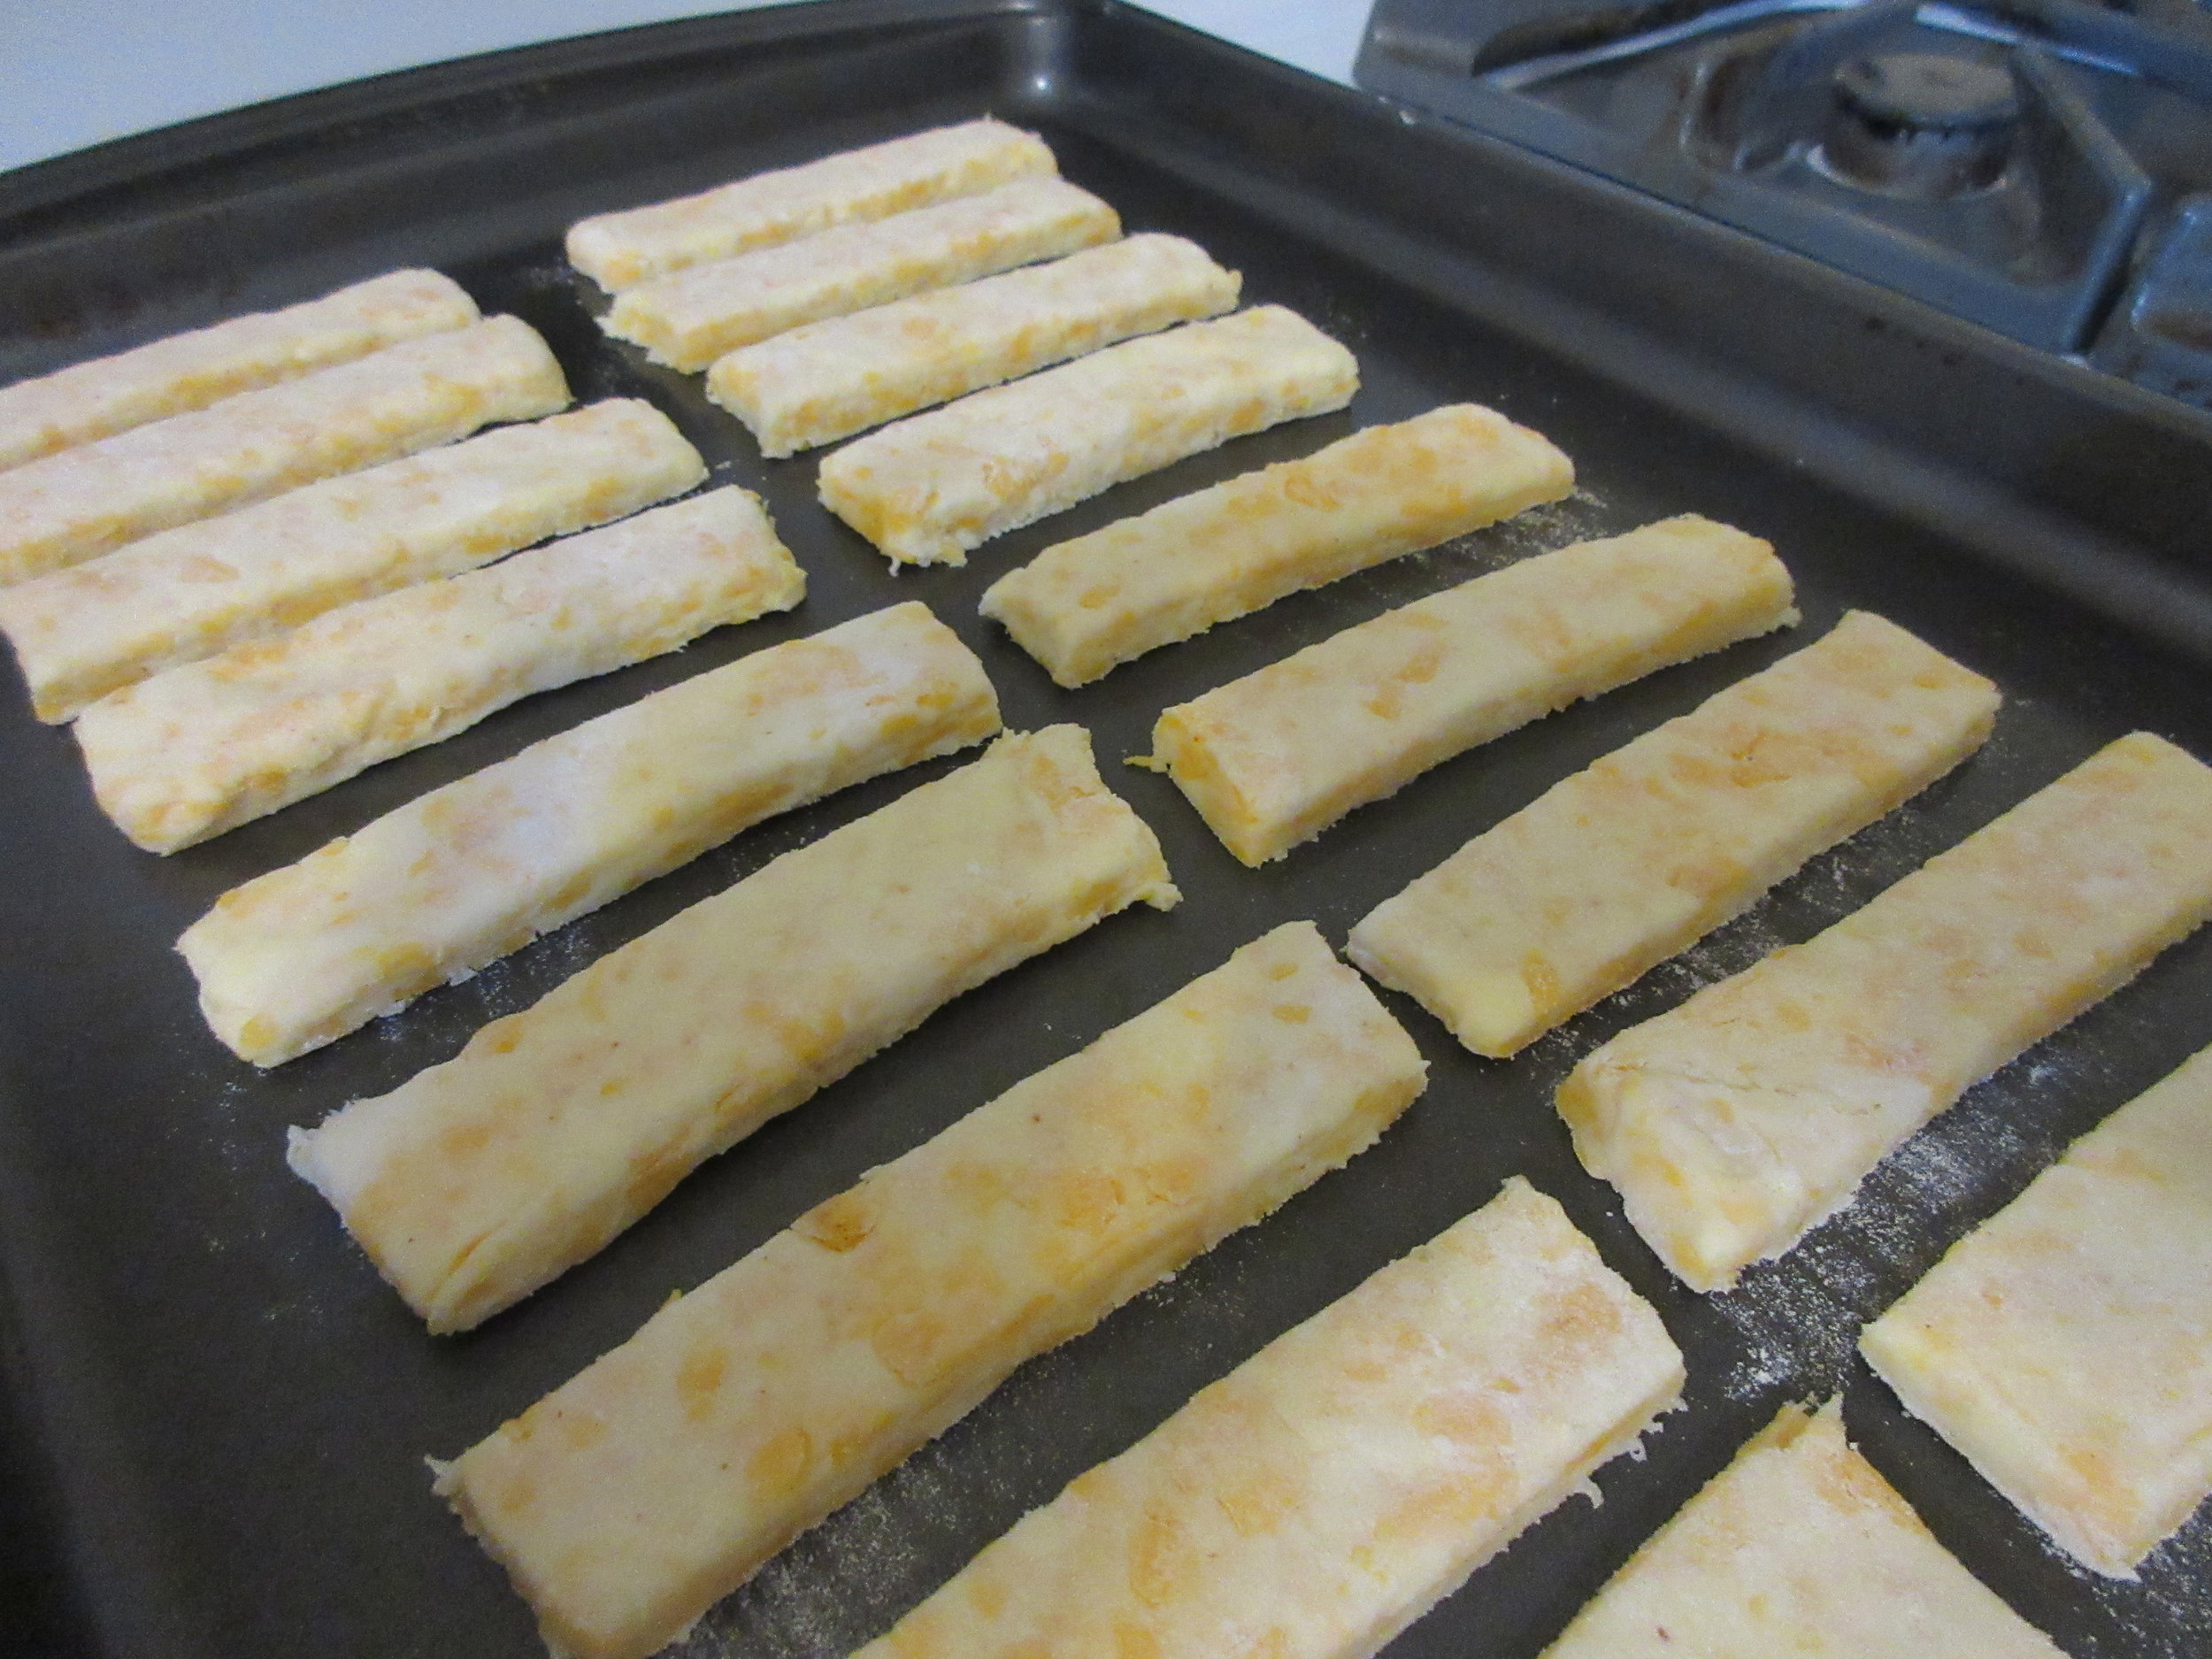
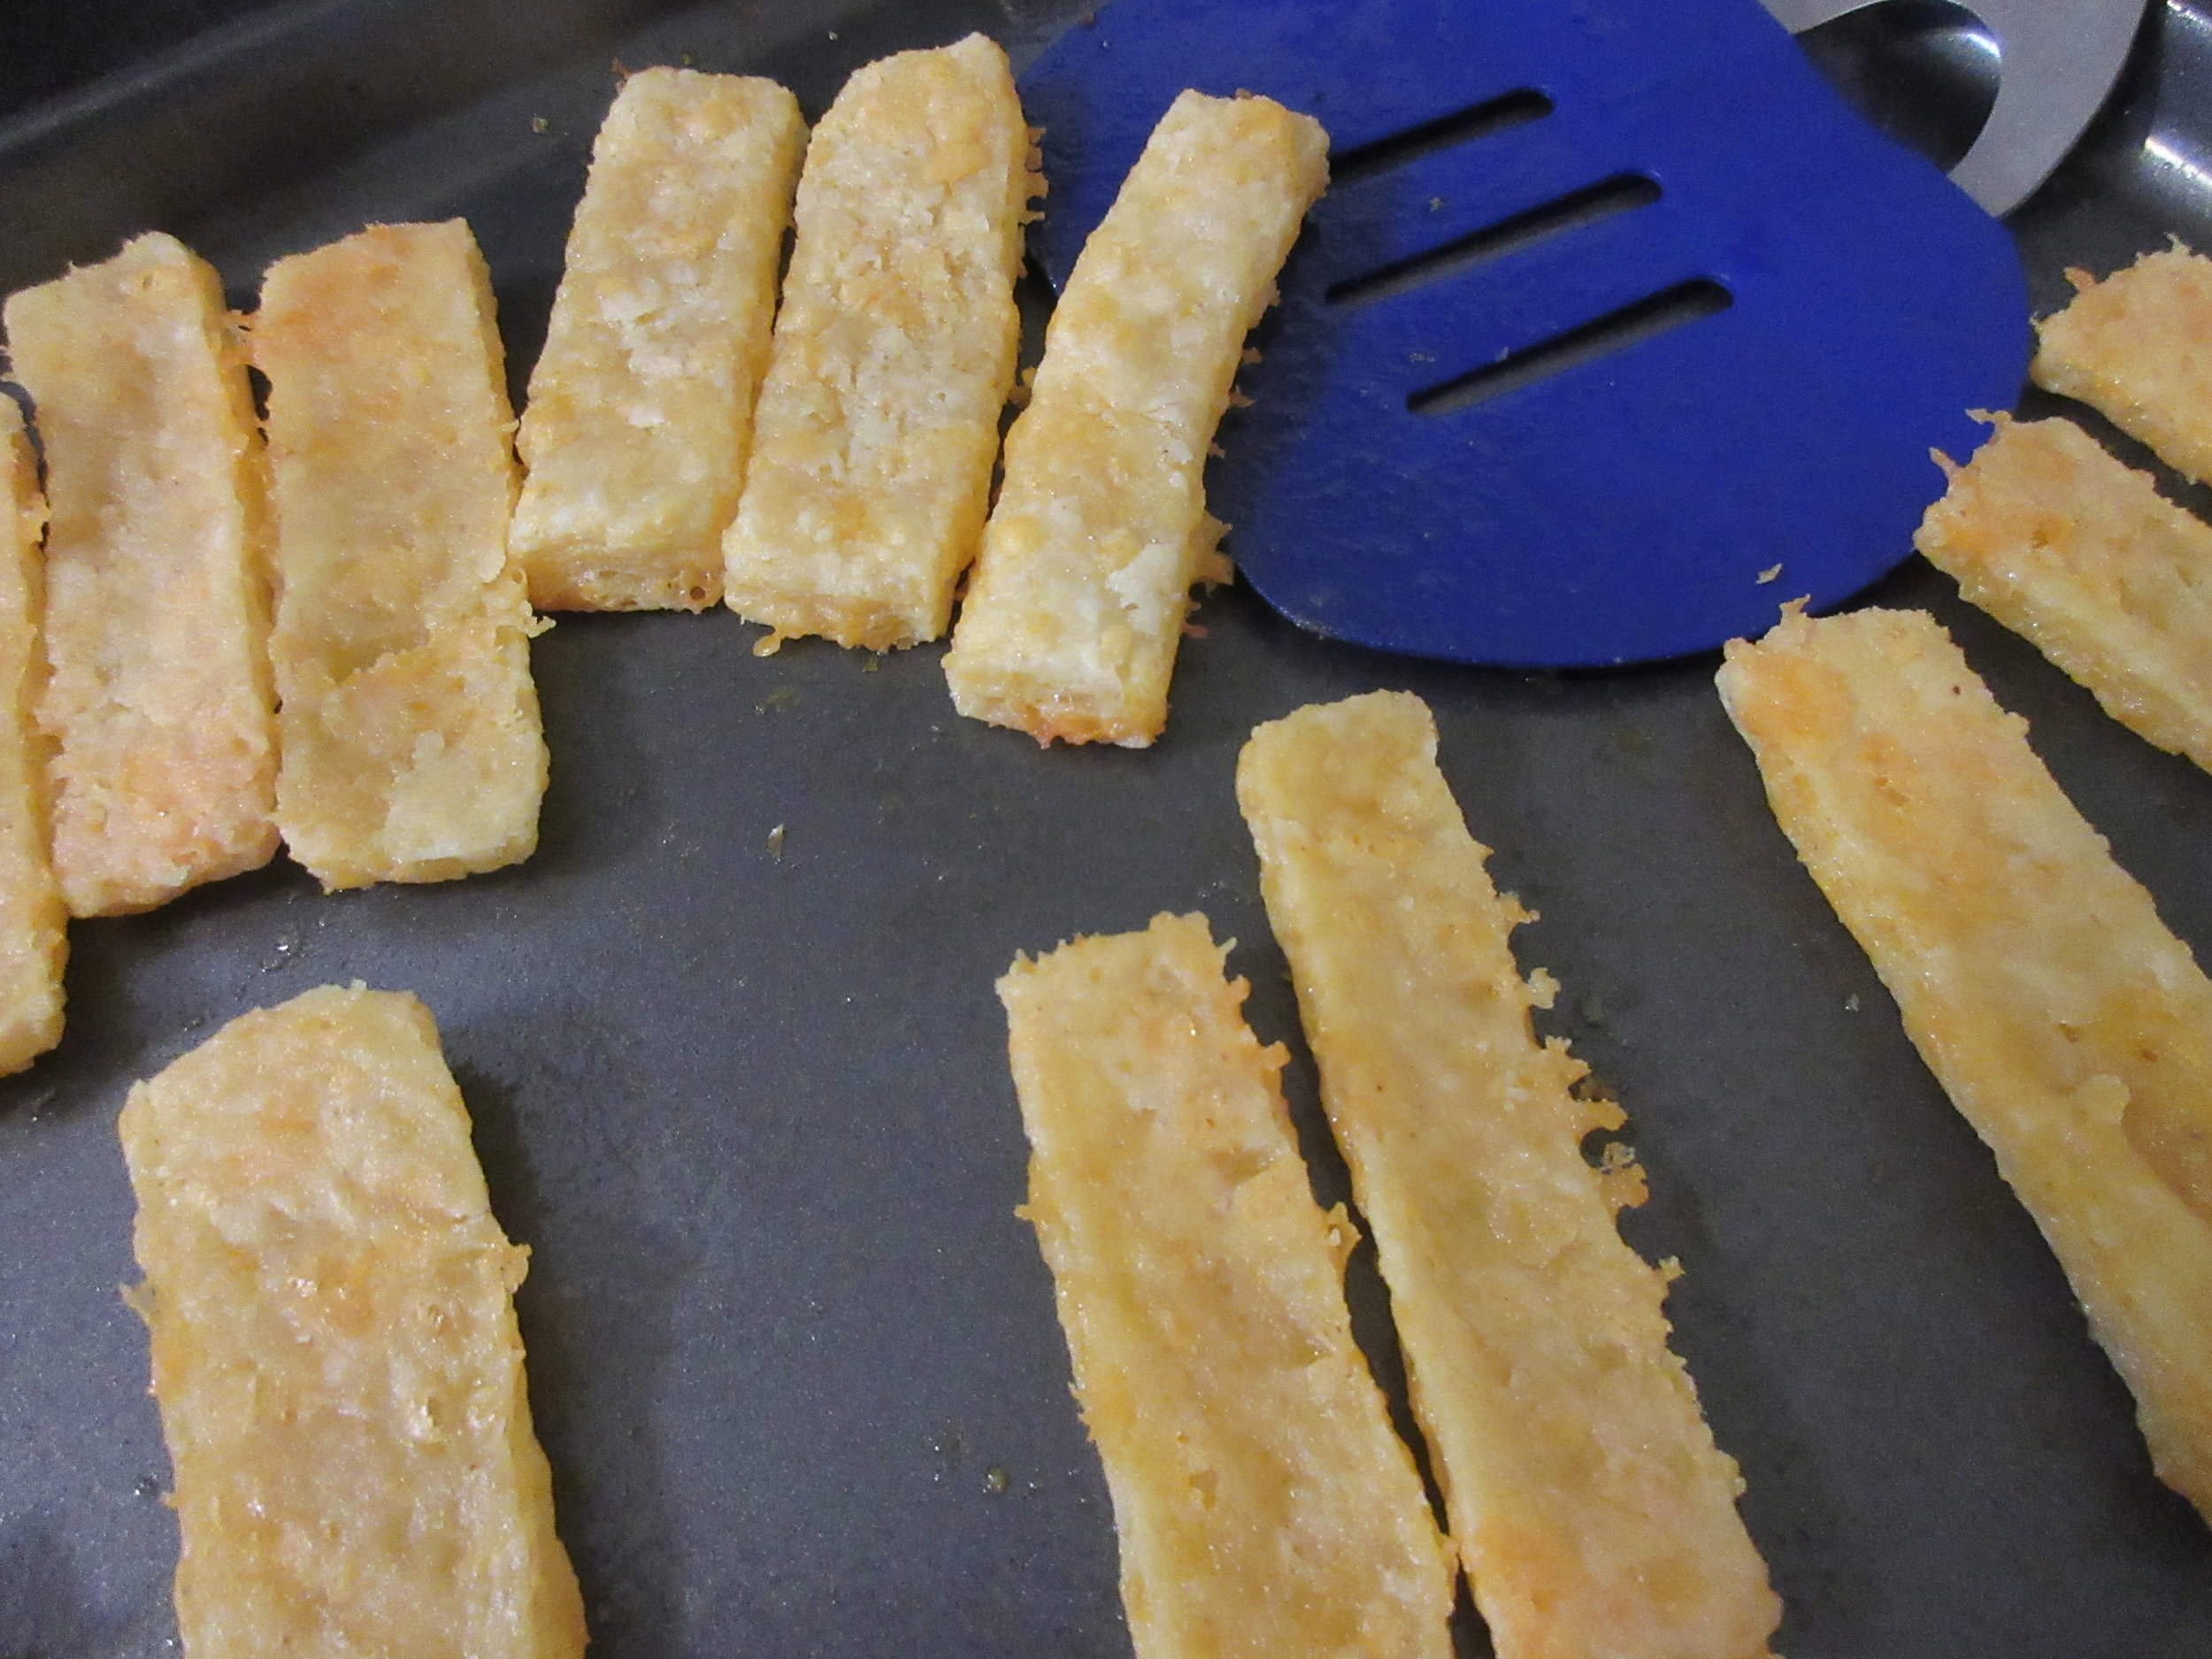
Place on cookie sheets, and put in the oven. You'll know it's time to flip the Cayenne Cheeses when they're slightly golden on the bottom and will move around on the sheet when pushed. Flip them over, put the tray back in the oven and watch them carefully – they're almost done. Take out of the oven when both sides are a golden brown. You'll end up with about 3 cookie sheets full of Cayenne Cheeses, and at 350F/175C, they should be baked in roughly 30-40 minutes.
Cayenne Cheeses always taste the best when baked over an open hearth, so this would be a fantastic campfire recipe! For this reason, I think it would be tasty to switch out the Cayenne Pepper for Chipotle.

When I decided to start my own food history blog over 4 years ago, I knew right away that my first blog post would be about Cayenne Cheeses.
Why? Cayenne Cheeses were the first historic food that I fell in love with when I started working as a Historical Interpreter, and I'm not alone. If my coworkers don't have dietary restrictions against dairy and wheat, it's a pretty safe bet that they're also mad about Cayenne Cheeses. My first historic house Curator, who had a strict personal rule to never eat food touched by visitors, would gladly pop Cayenne Cheeses made by snotty 8 year olds into her mouth on the rare occasion when there were leftovers after their school program!
I decided to start my own food history blog over 4 years ago, so what took me so long to write this first blog post? A concussion, then cancer. And then another concussion. Well into my recovery from my first concussion, I thought that if I wasn't able to start a blog at the time, at the very least I could start a food history twitter account, @Cloud9Cookery, which I've been passionate about when I could and ignored when I didn't have the energy.
You can imagine that this first blog post is a rather significant life event for me. It's the fruition of years of fighting to stay alive and to regain being myself again. When I finish writing & arranging this post and finally hit that "Publish" button, a gate will have opened to a future filled with possibilities, joy, wrinkles & grey hairs.

Read the Cookbook
Mrs. Beeton's Book of Household Management has its own website:
http://www.mrsbeeton.com/
Peruse an original scanned copy of Mrs. Beeton's 1861 book on the Internet Archive:
Mrs. Beeton's is about 1100 pages long, so if you get yourself a copy of the book, I recommend investing in a hardcover copy for the longevity of your book spine!