
Strawberry-fritters
Strawberry-fritters is one of the recipes that we made at an open hearth cooking class that I taught at Nelles Manor Museum last summer. This class featured scrumptious seasonal recipes made with garden produce and recipes from the late 1700s, when the home was newly built by the Nelles family.
I learned when I made Apple Frazes that adding a bit of alcohol to your batter is a good idea, so I made a batch for a socially distanced outdoor Canada Day gathering. They taste like fried strawberries and white wine and I liked them so much that I wanted to make the recipe again here on this blog and share it with all of you!
You’ll find this recipe in:
The Practice of Modern Cookery
By George Dalrymple
Edinburgh, 1781
Historic Recipe
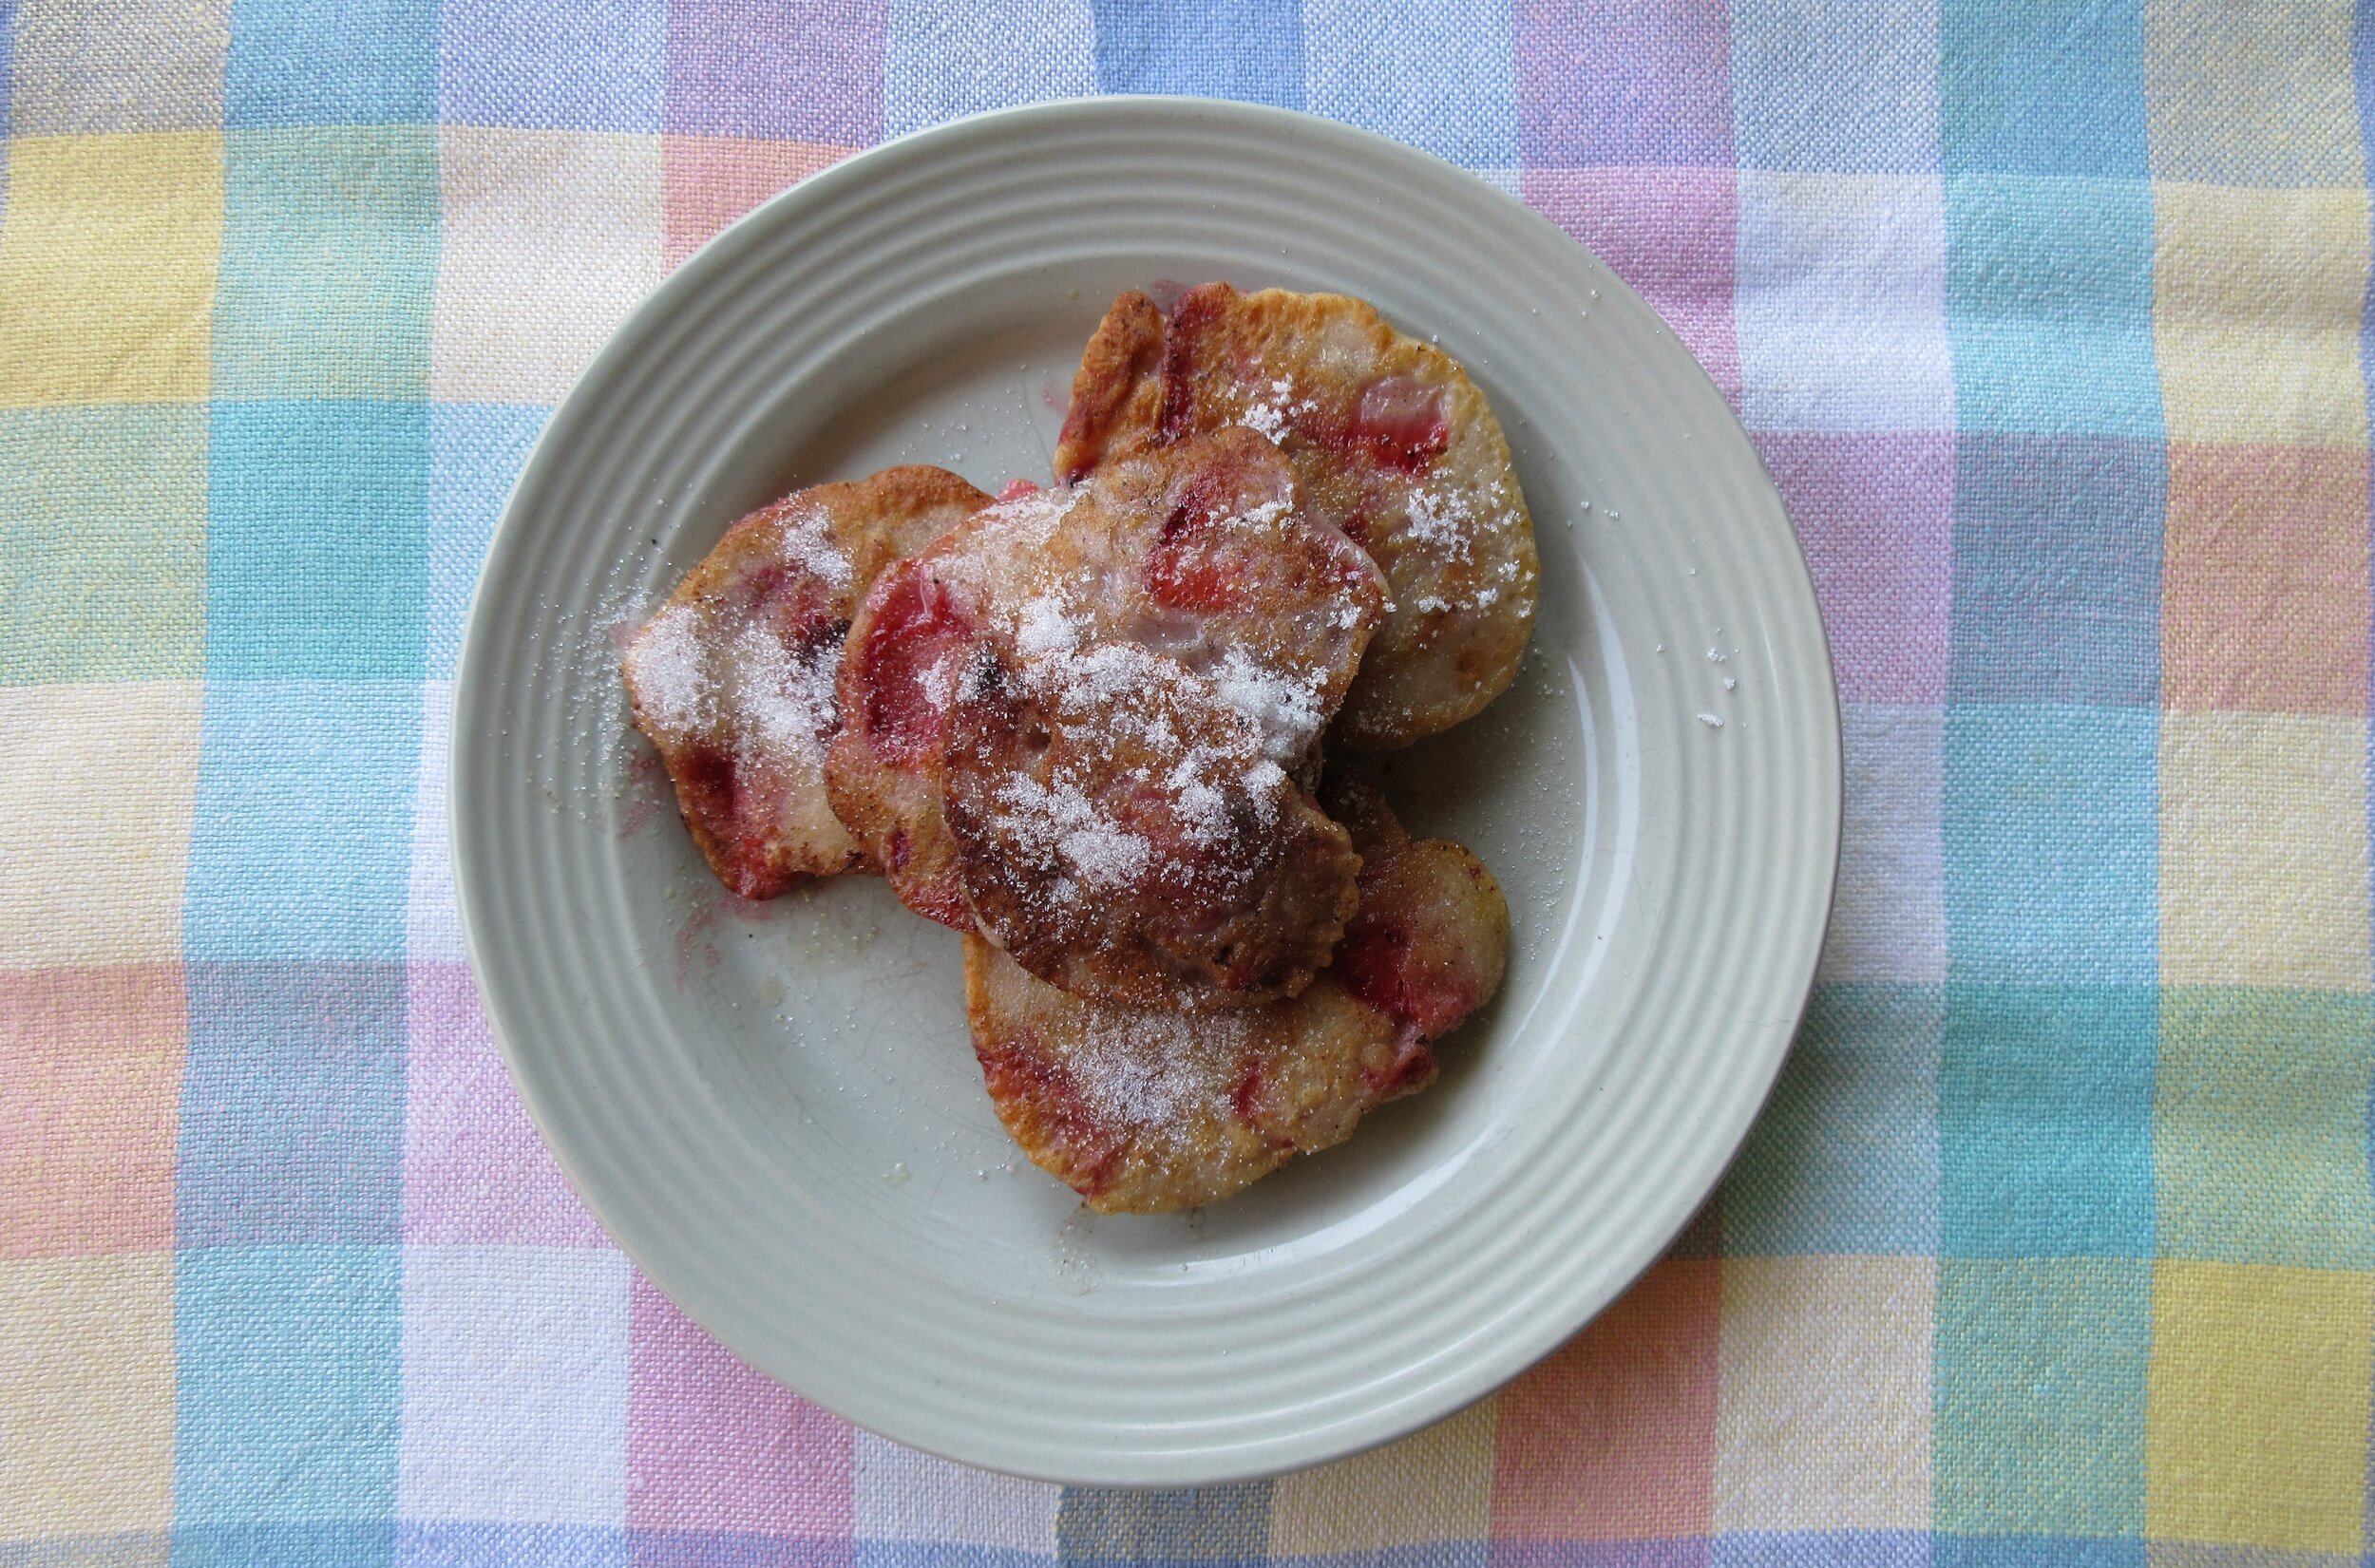
Baignets des Fraiſes. Strawberry-fritters.
MAKE a batter with flour, a ſpoonful of oil, white-wine, a little raſped lemon-peel, the whites of two or three eggs; make it pretty ſoft, juſt fit to drop with a ſpoon; mix ſome large ſtrawberries with it, and drop them from a ſpoon, the bigneſs of a nutmeg, into the hot fritter; when a good colour, take them out and drain them on a ſieve; when ready to ſerve, ſtrew ſugar over, or glaze them.

My Recipe
2 ½ cups sliced strawberries – 375 g
3 egg whites
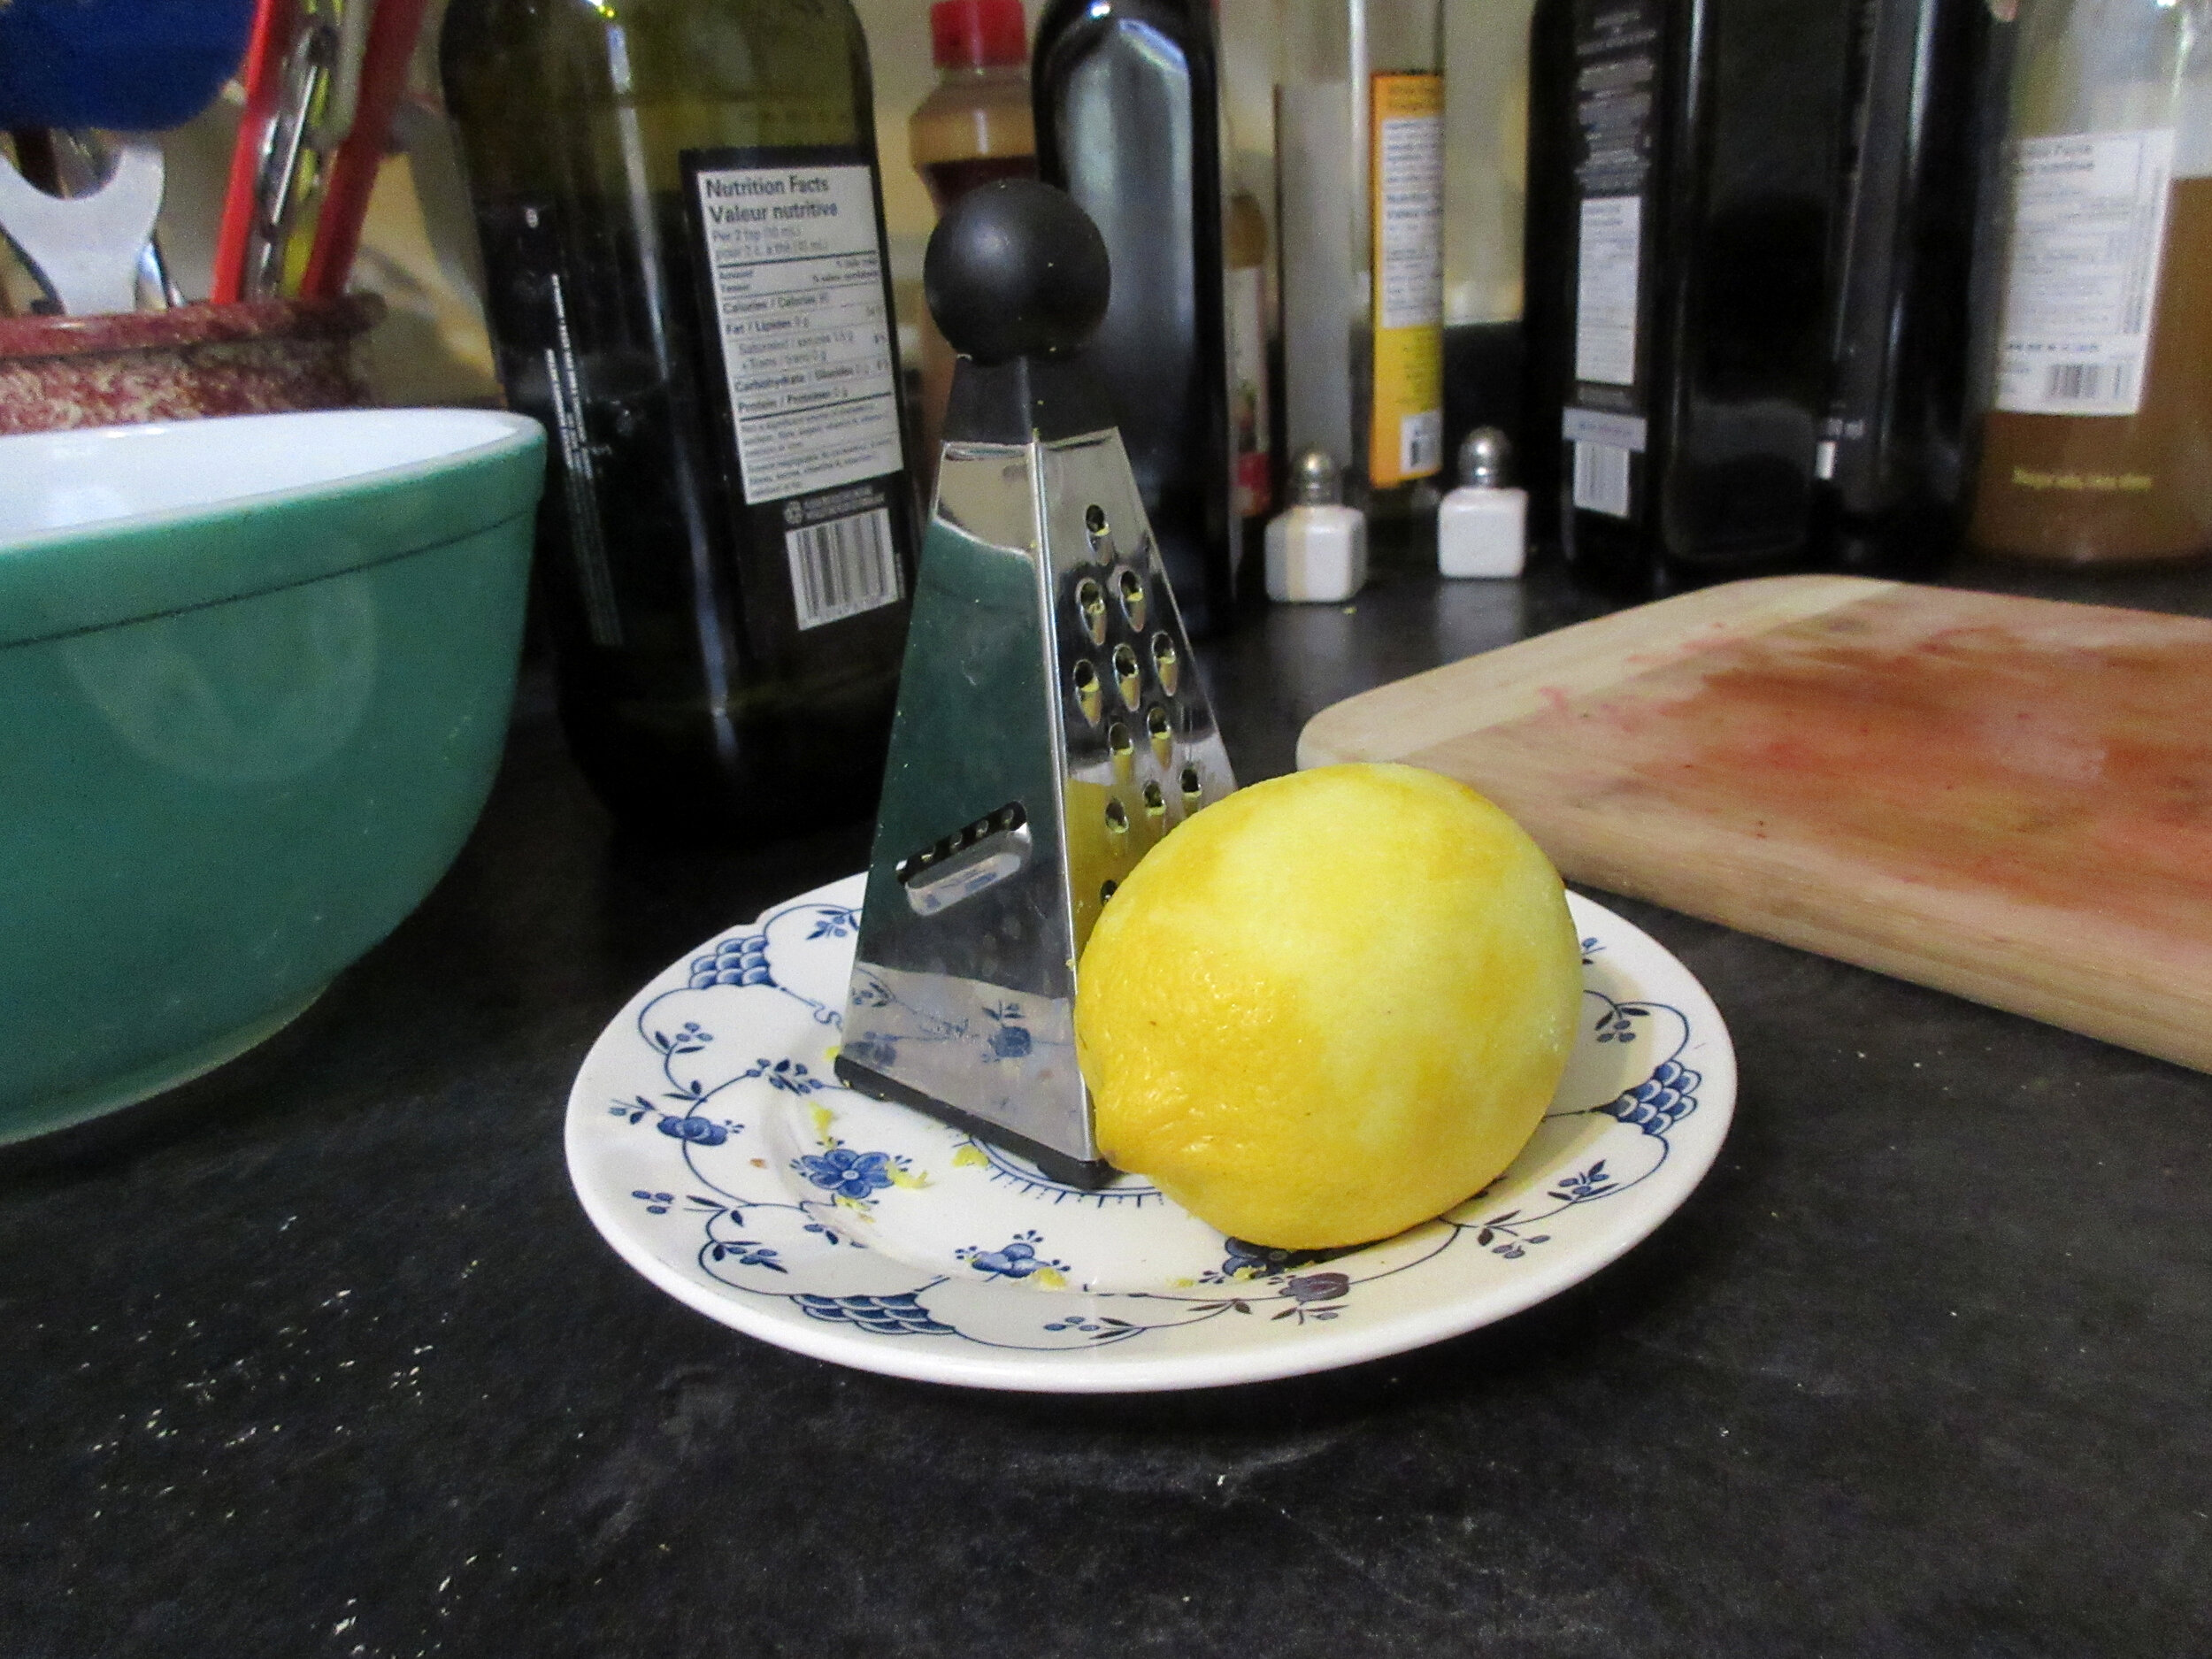
Grated rind of 1 lemon
1 tbsp oil
¾ cup white wine – 180 mL
1 cup flour – 100 g
Butter or oil for frying
White sugar to sprinkle on top or make a glaze with lemon juice and white sugar
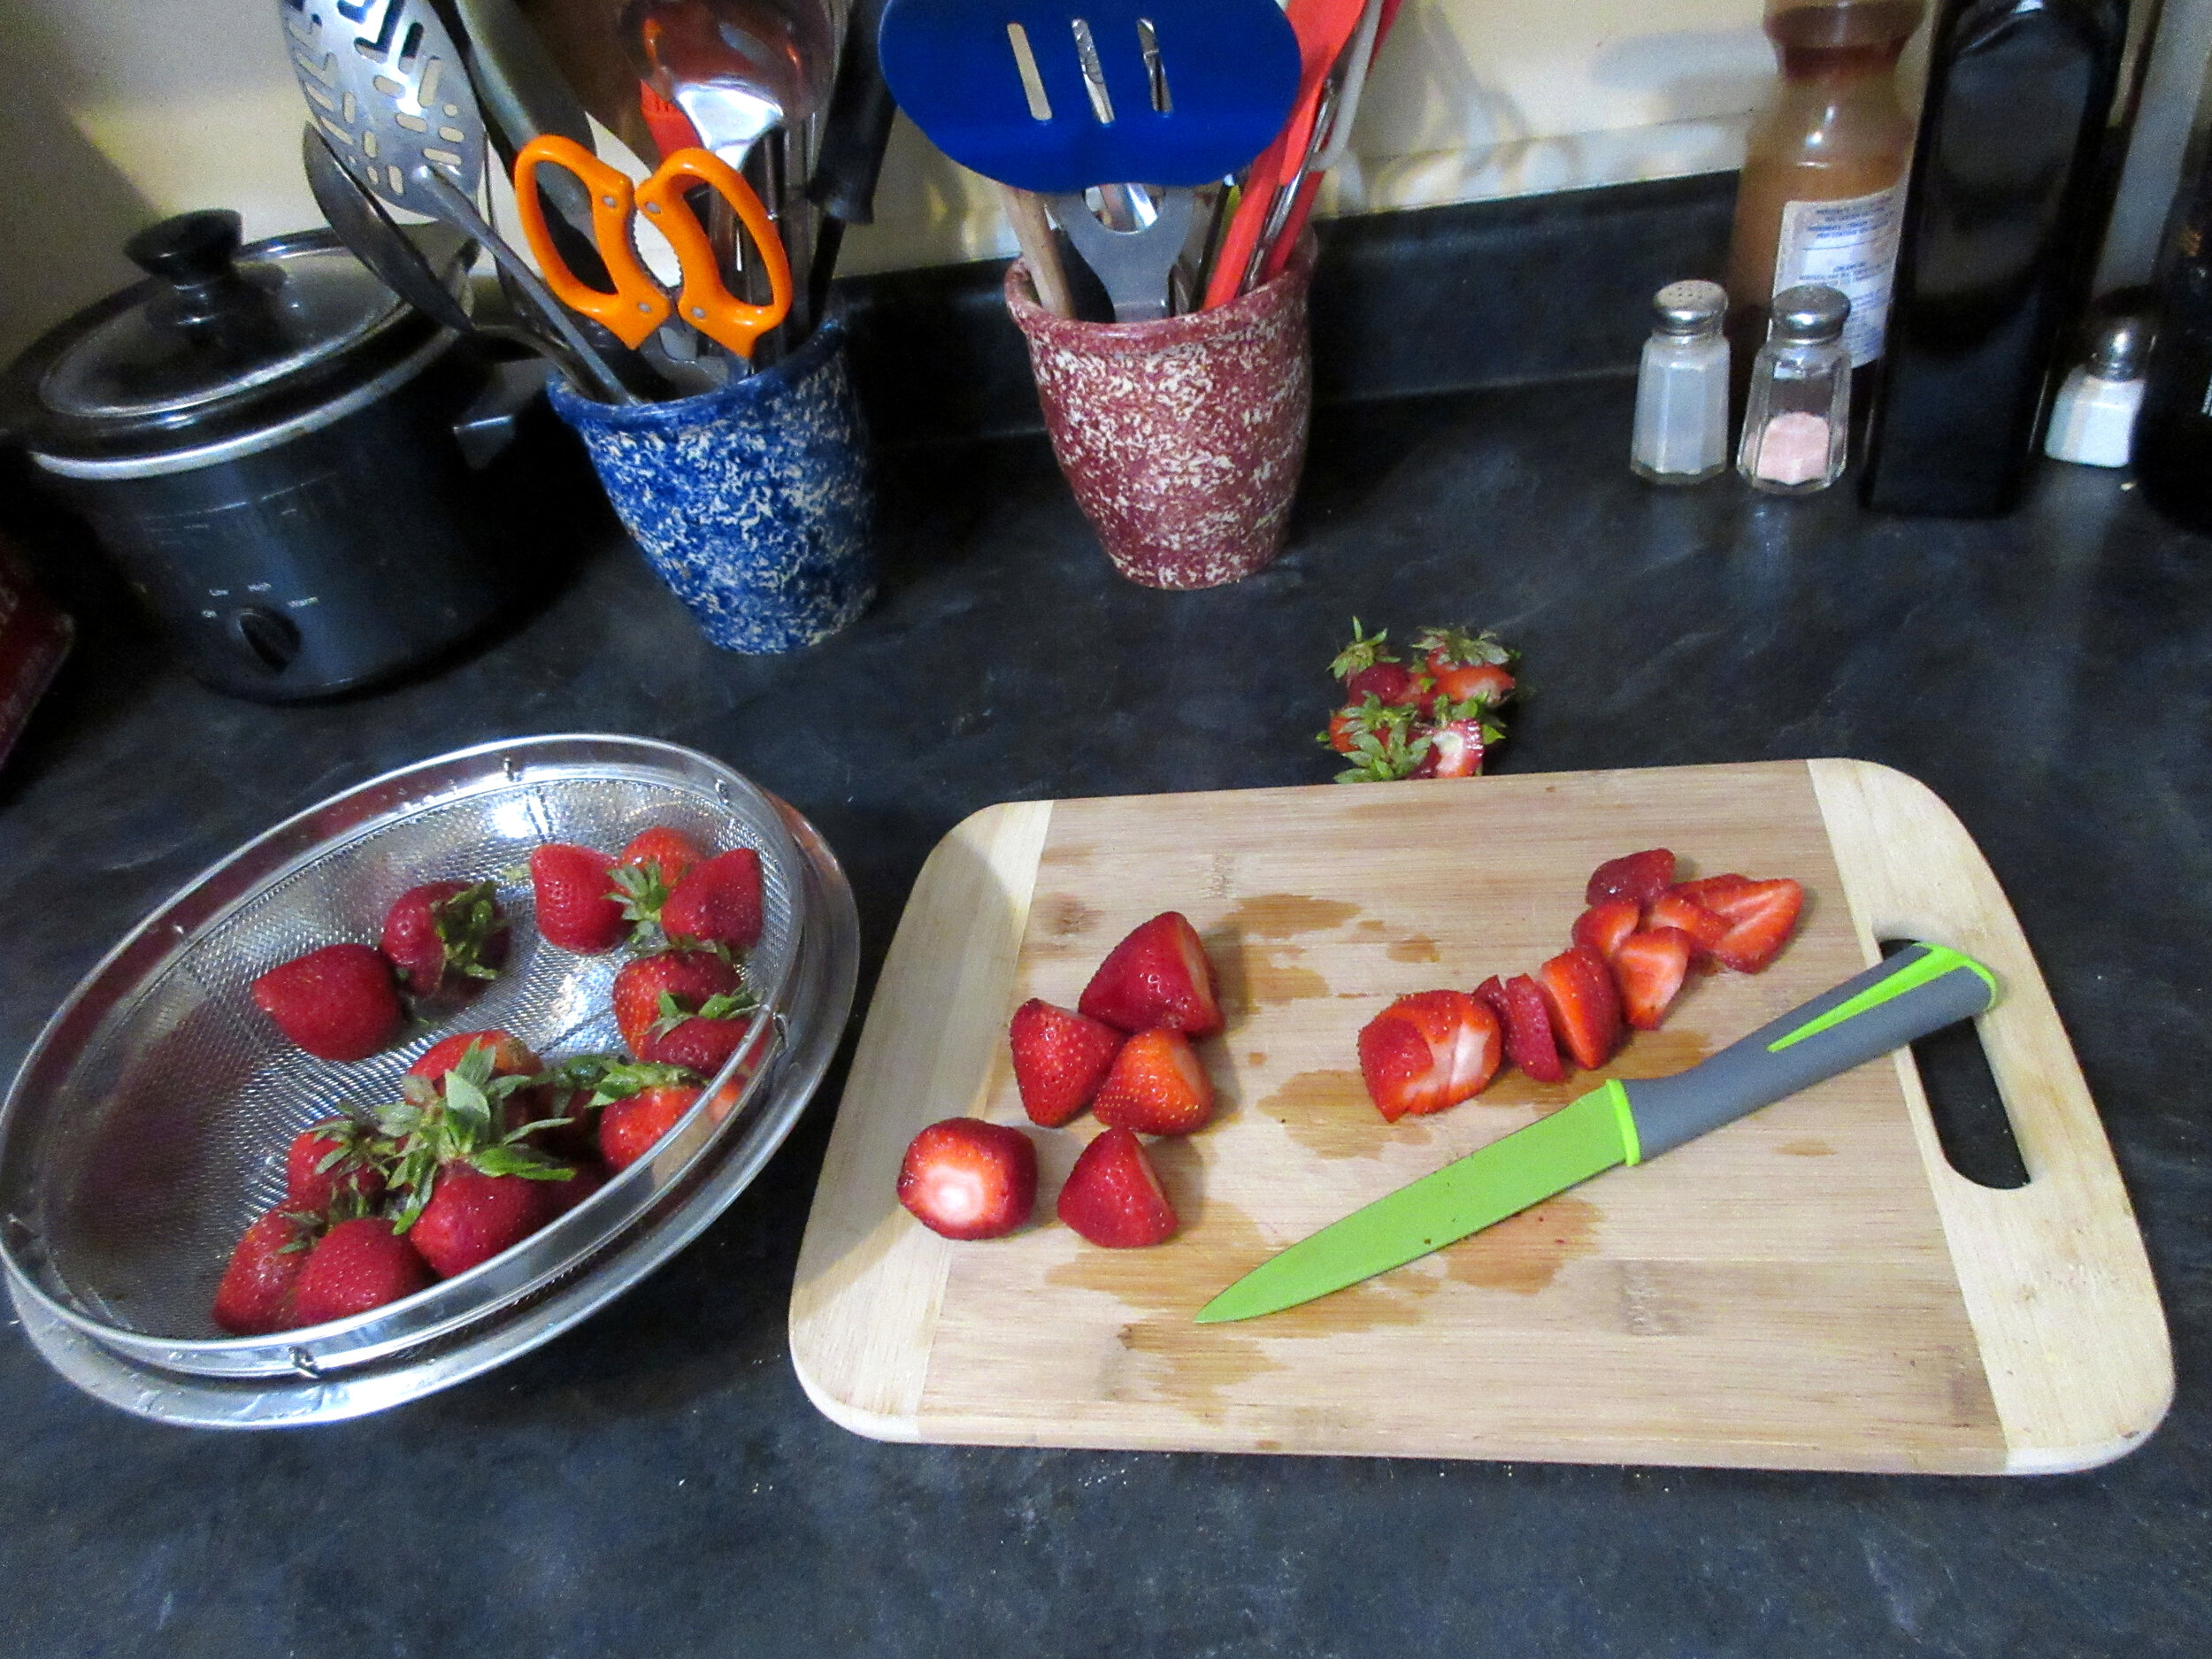
1. Wash your strawberries and remove the leaves. Slice the strawberries if they are large, but feel free to keep small strawberries whole.
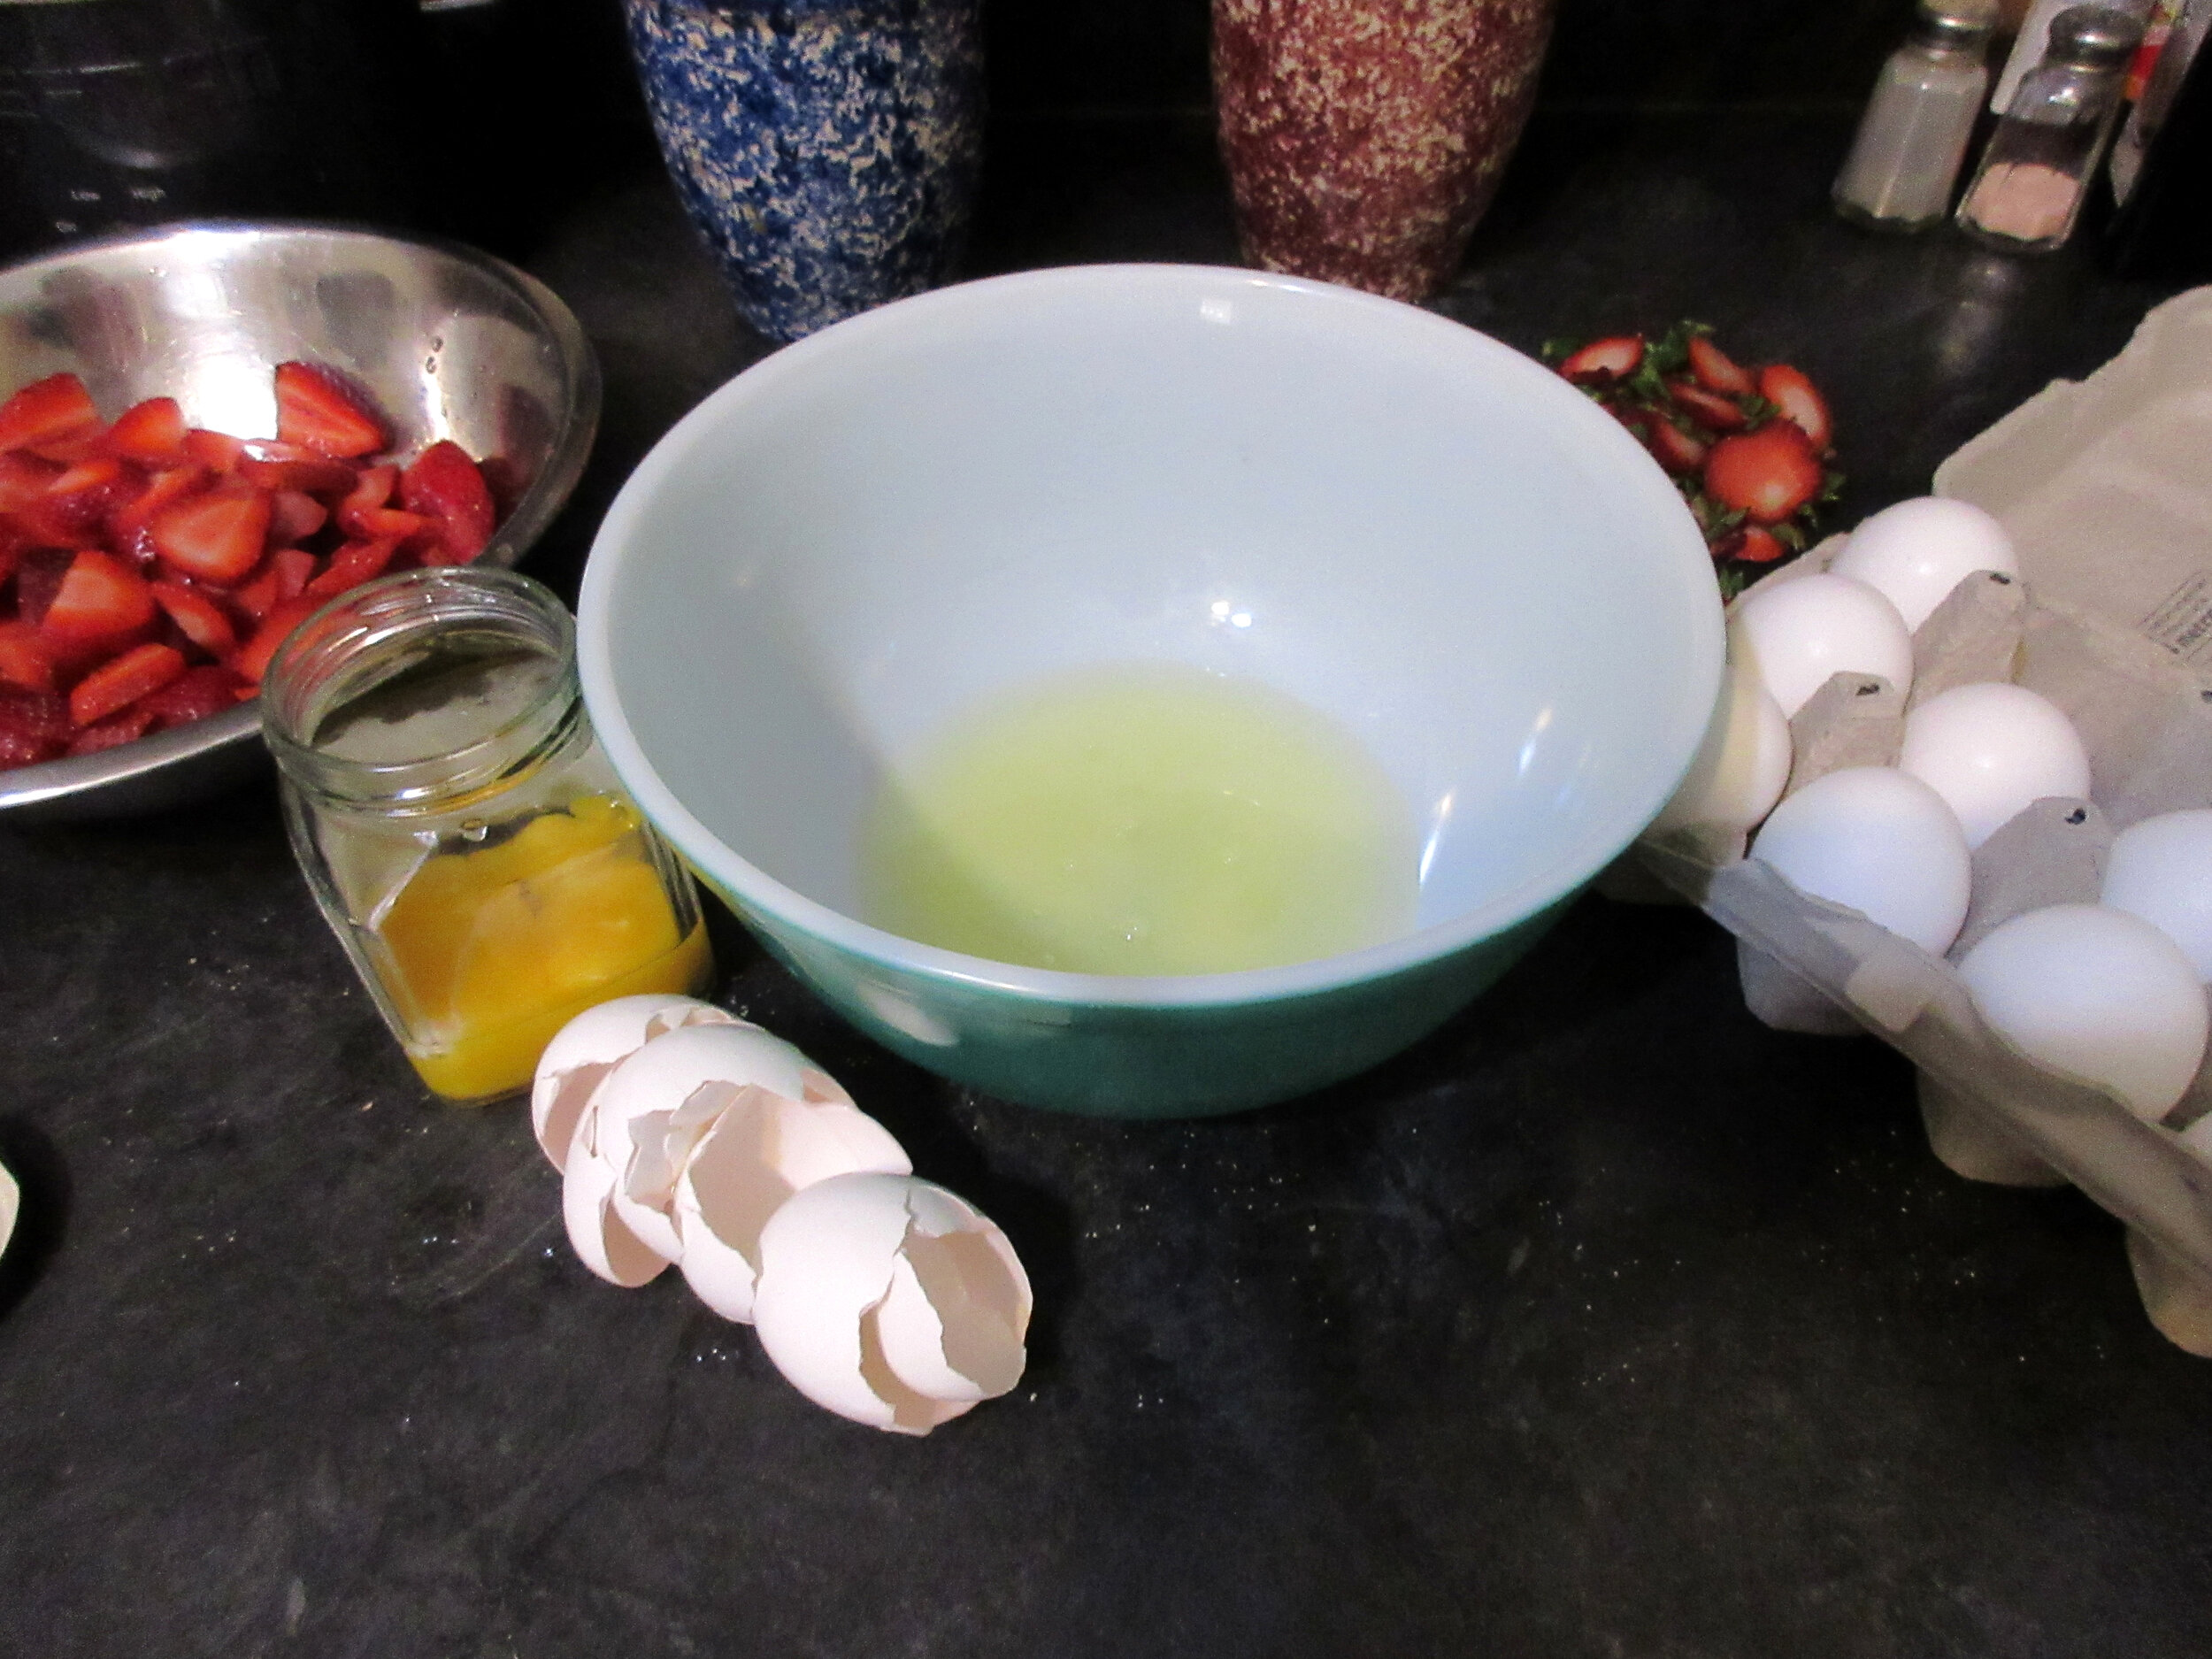
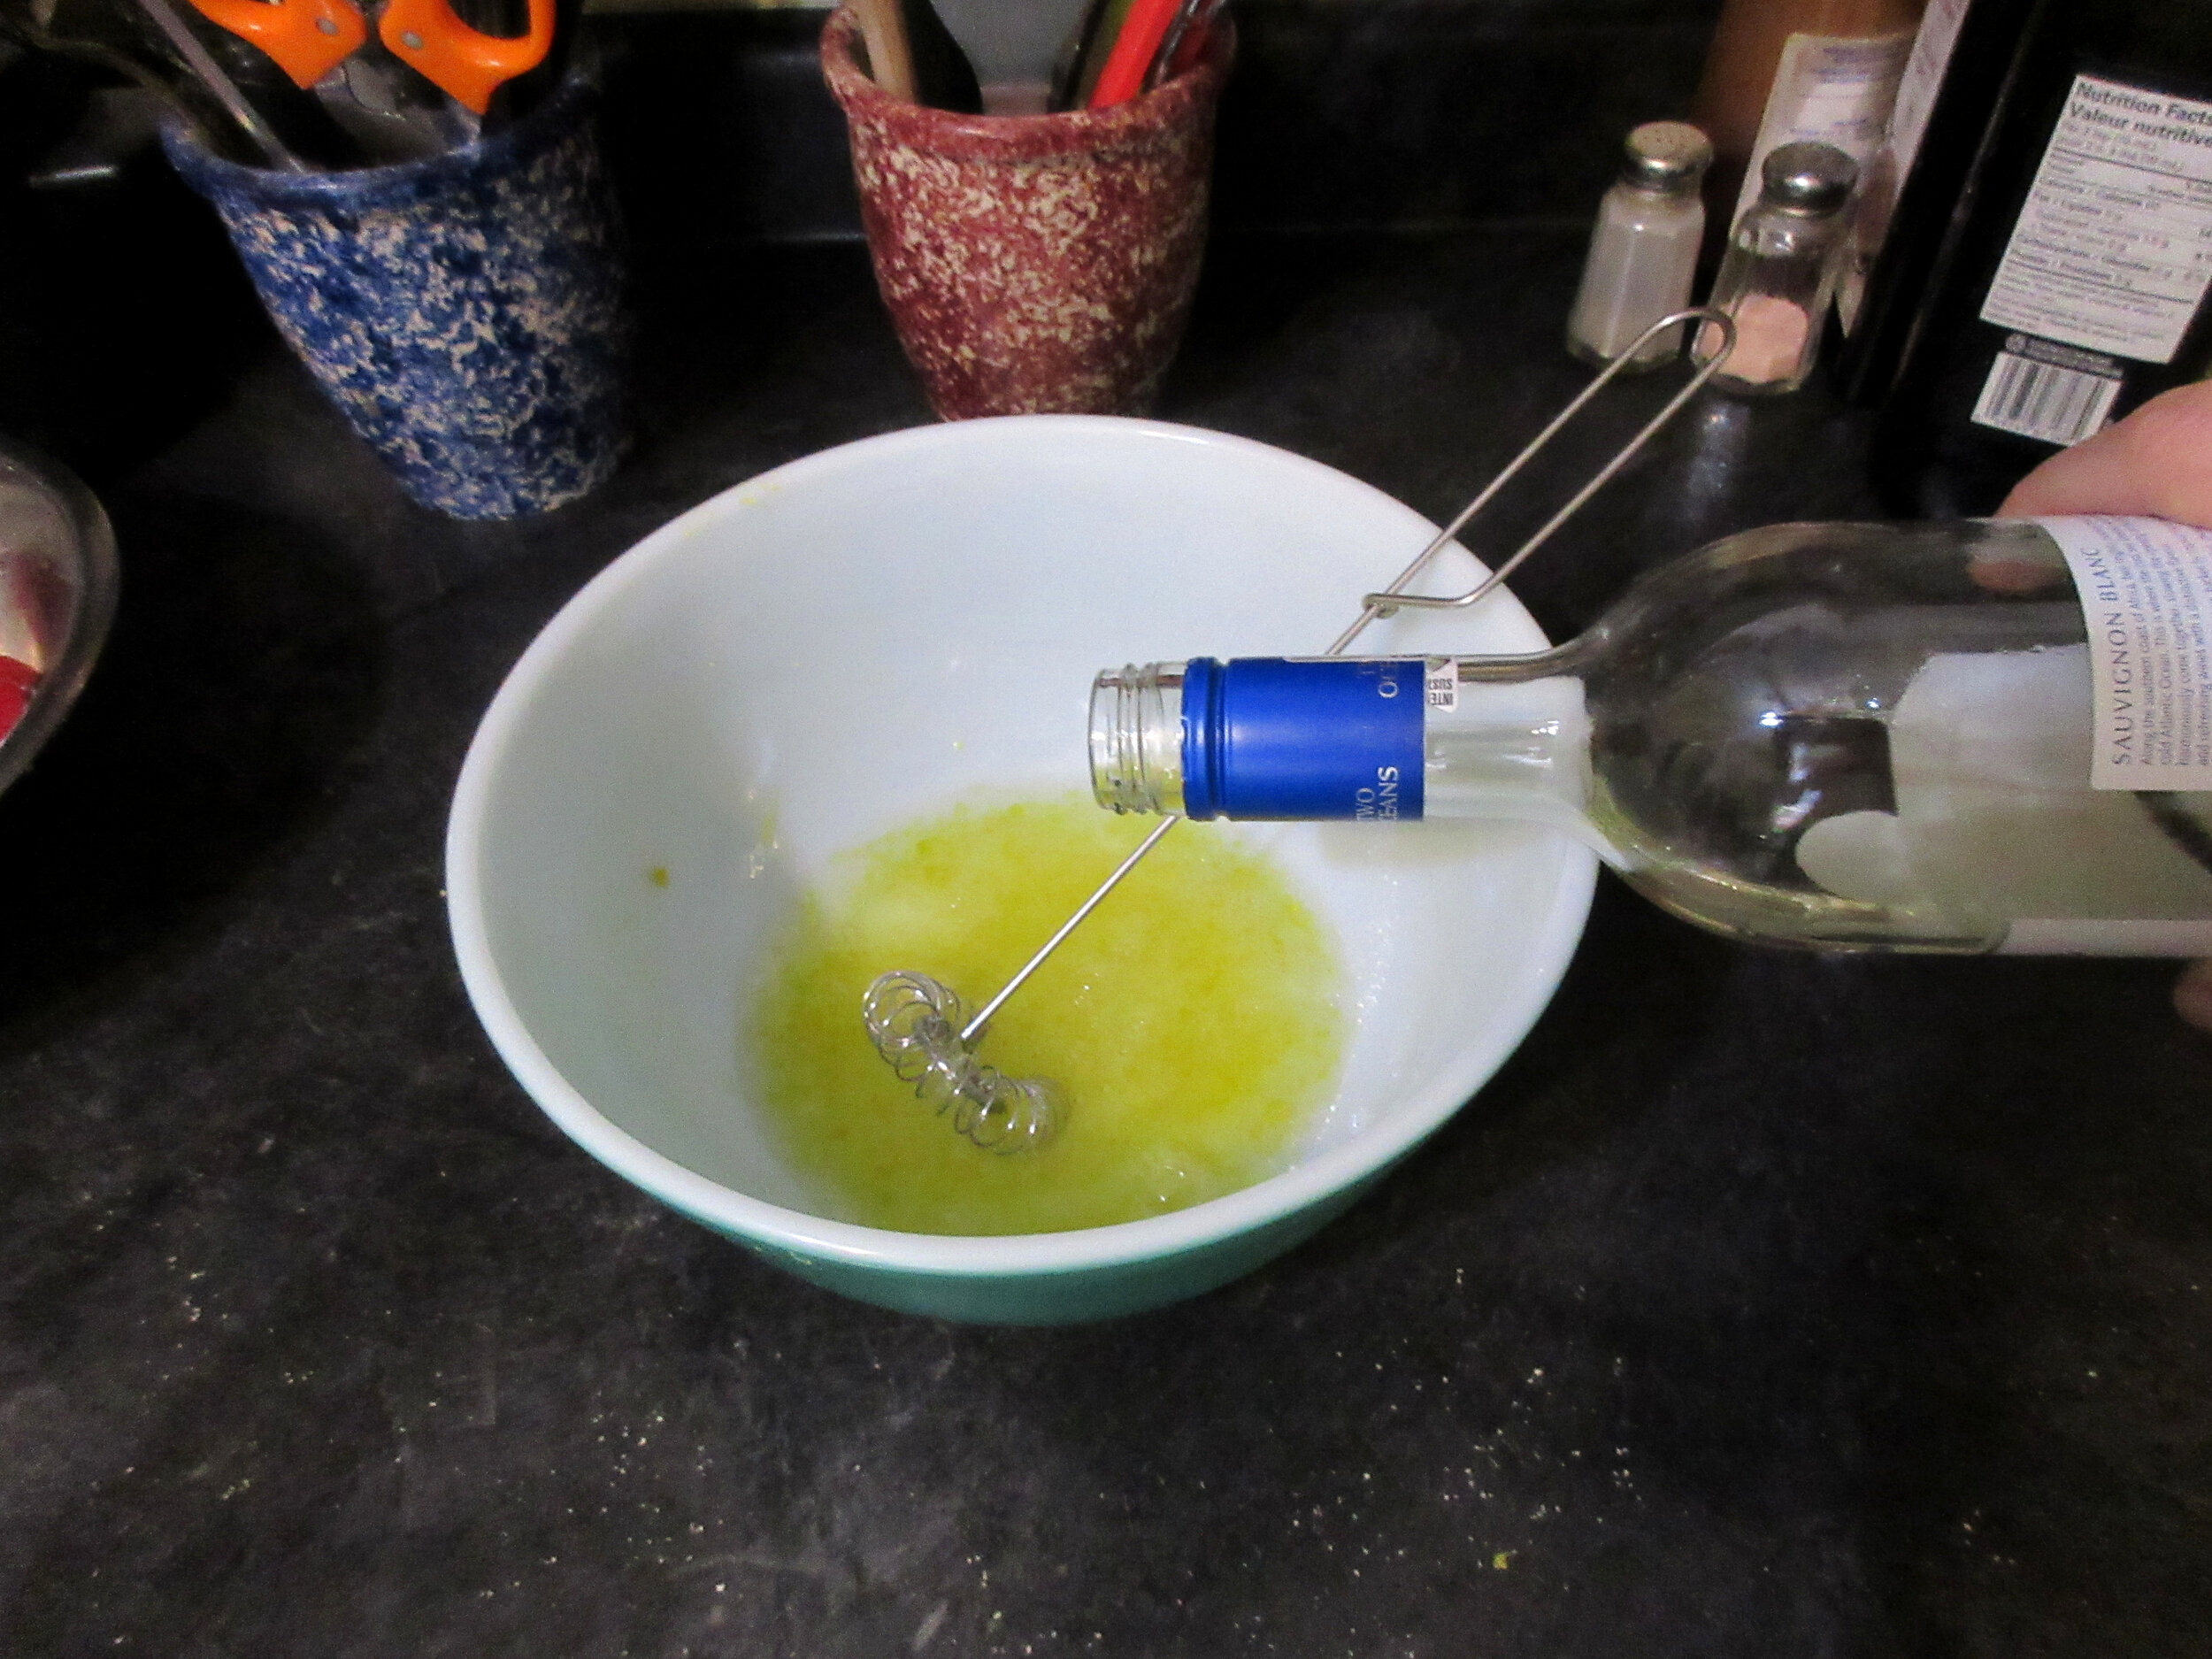
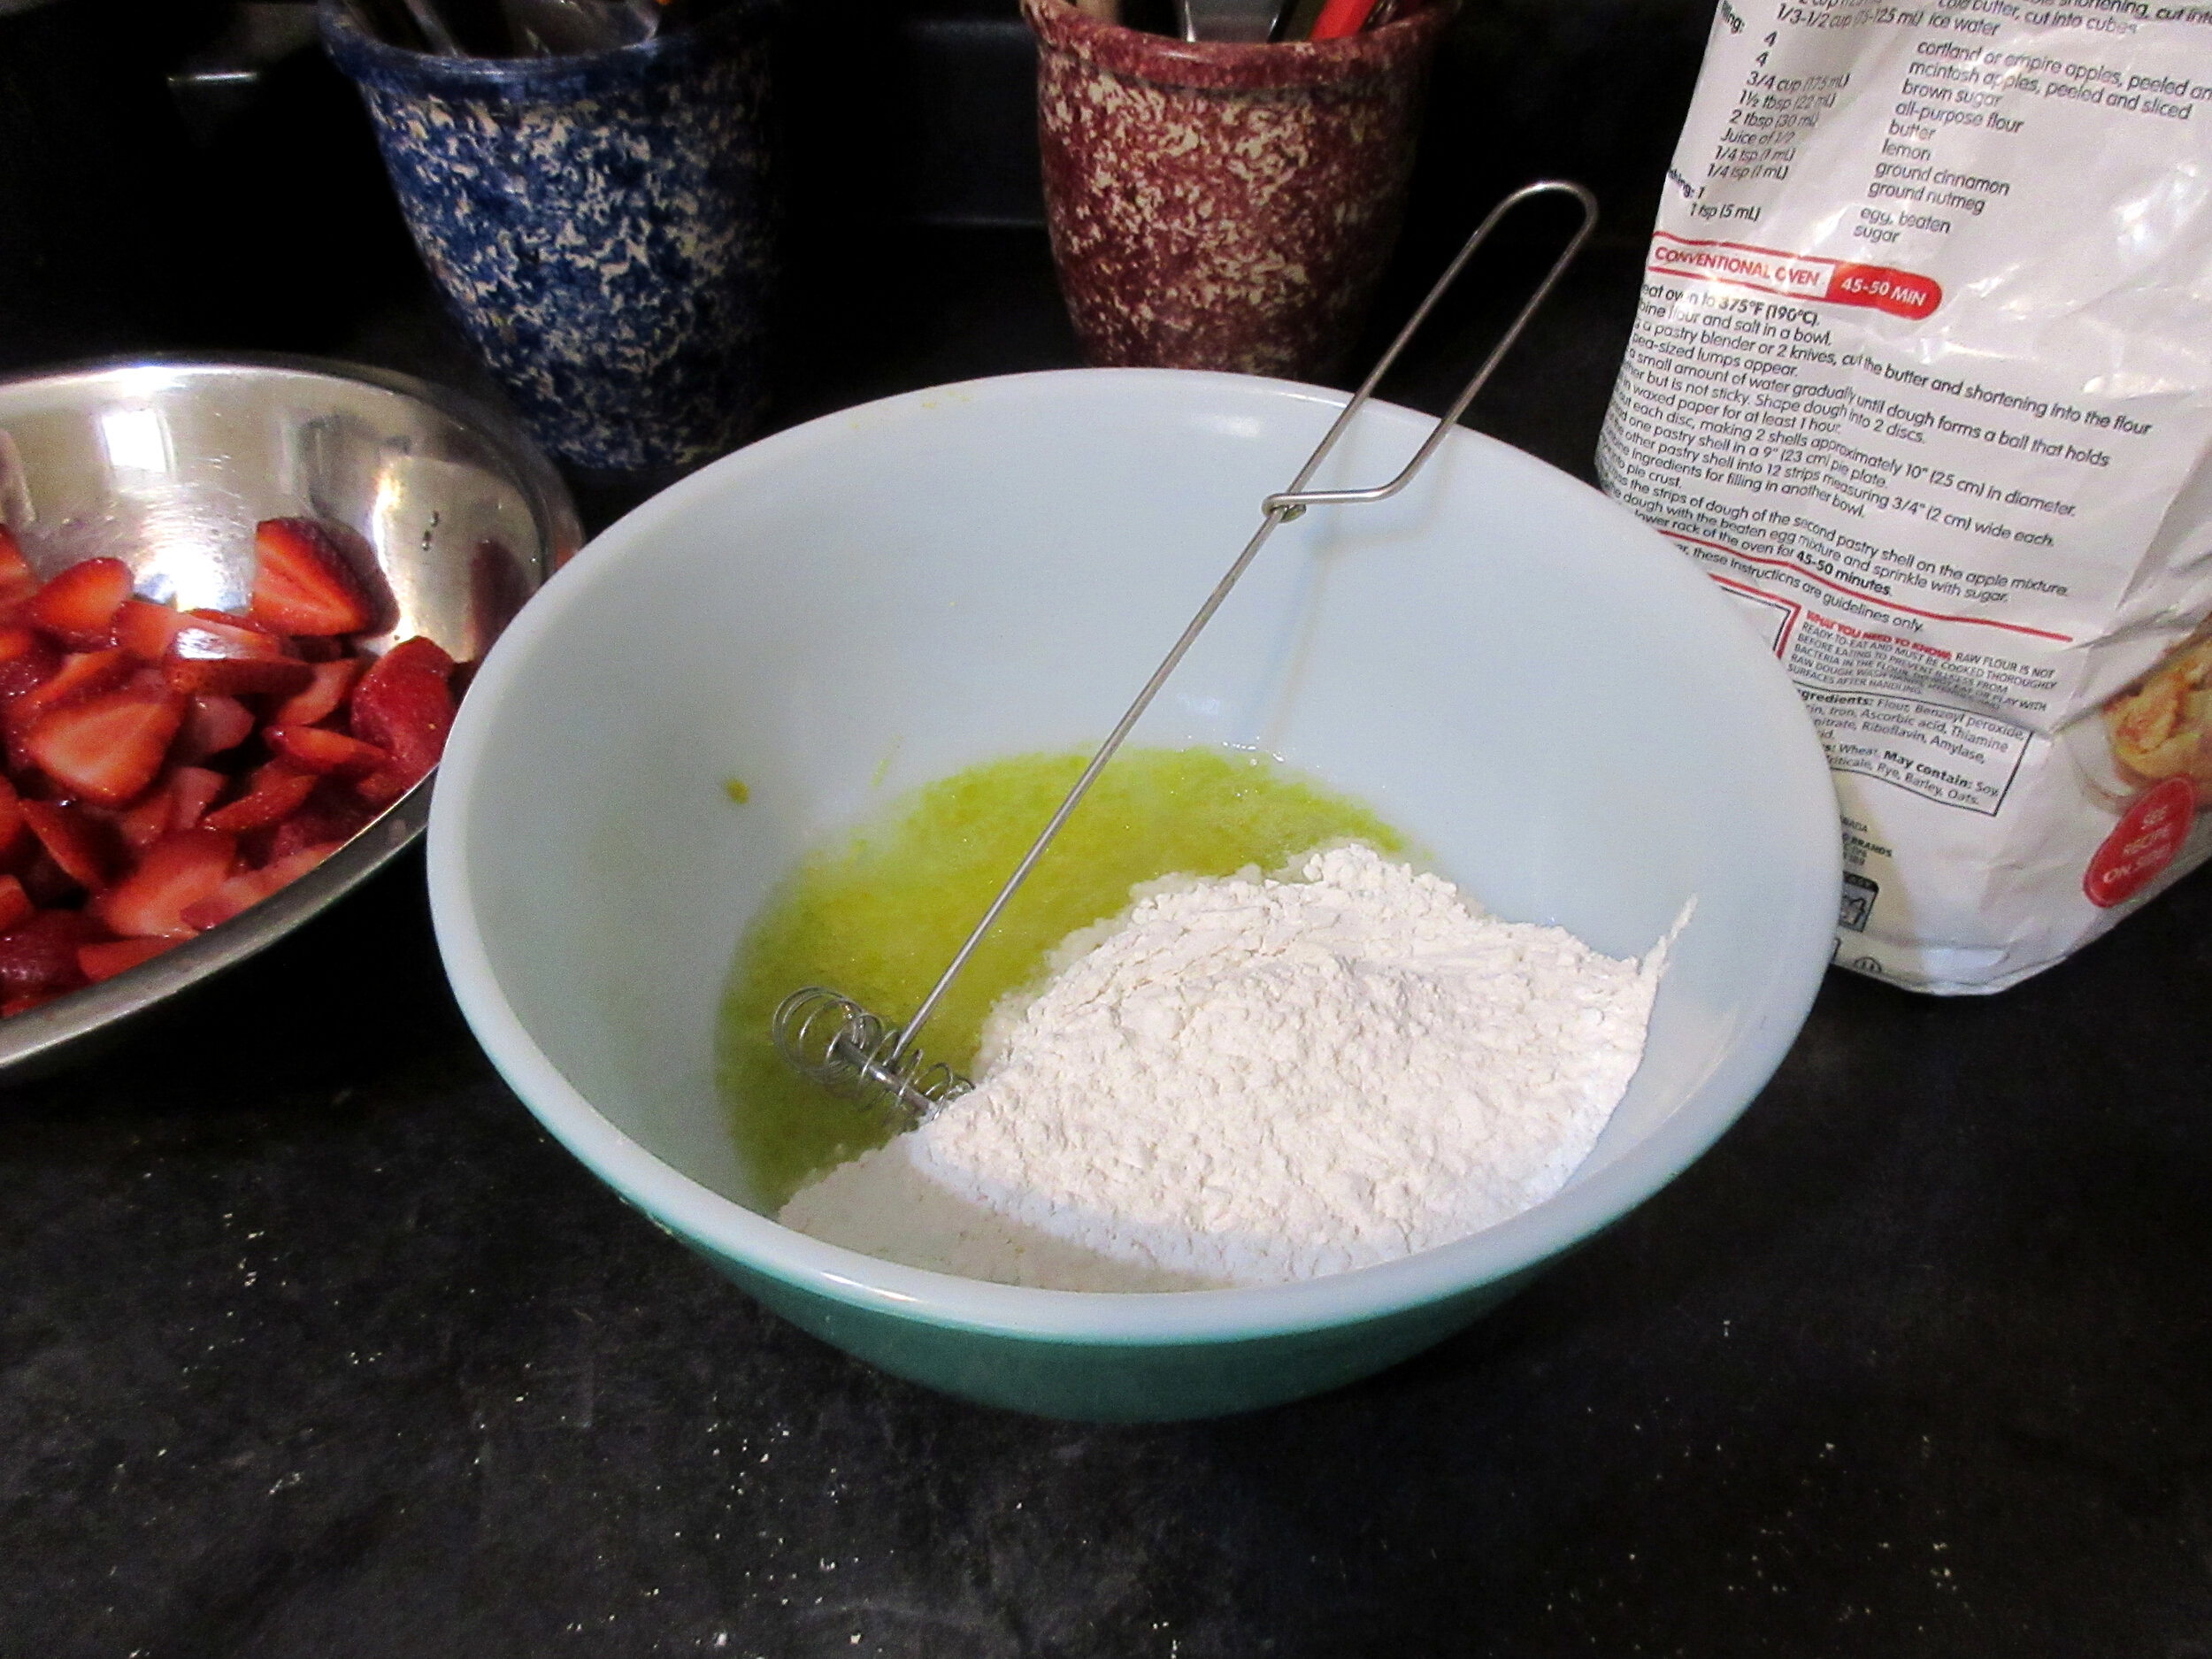
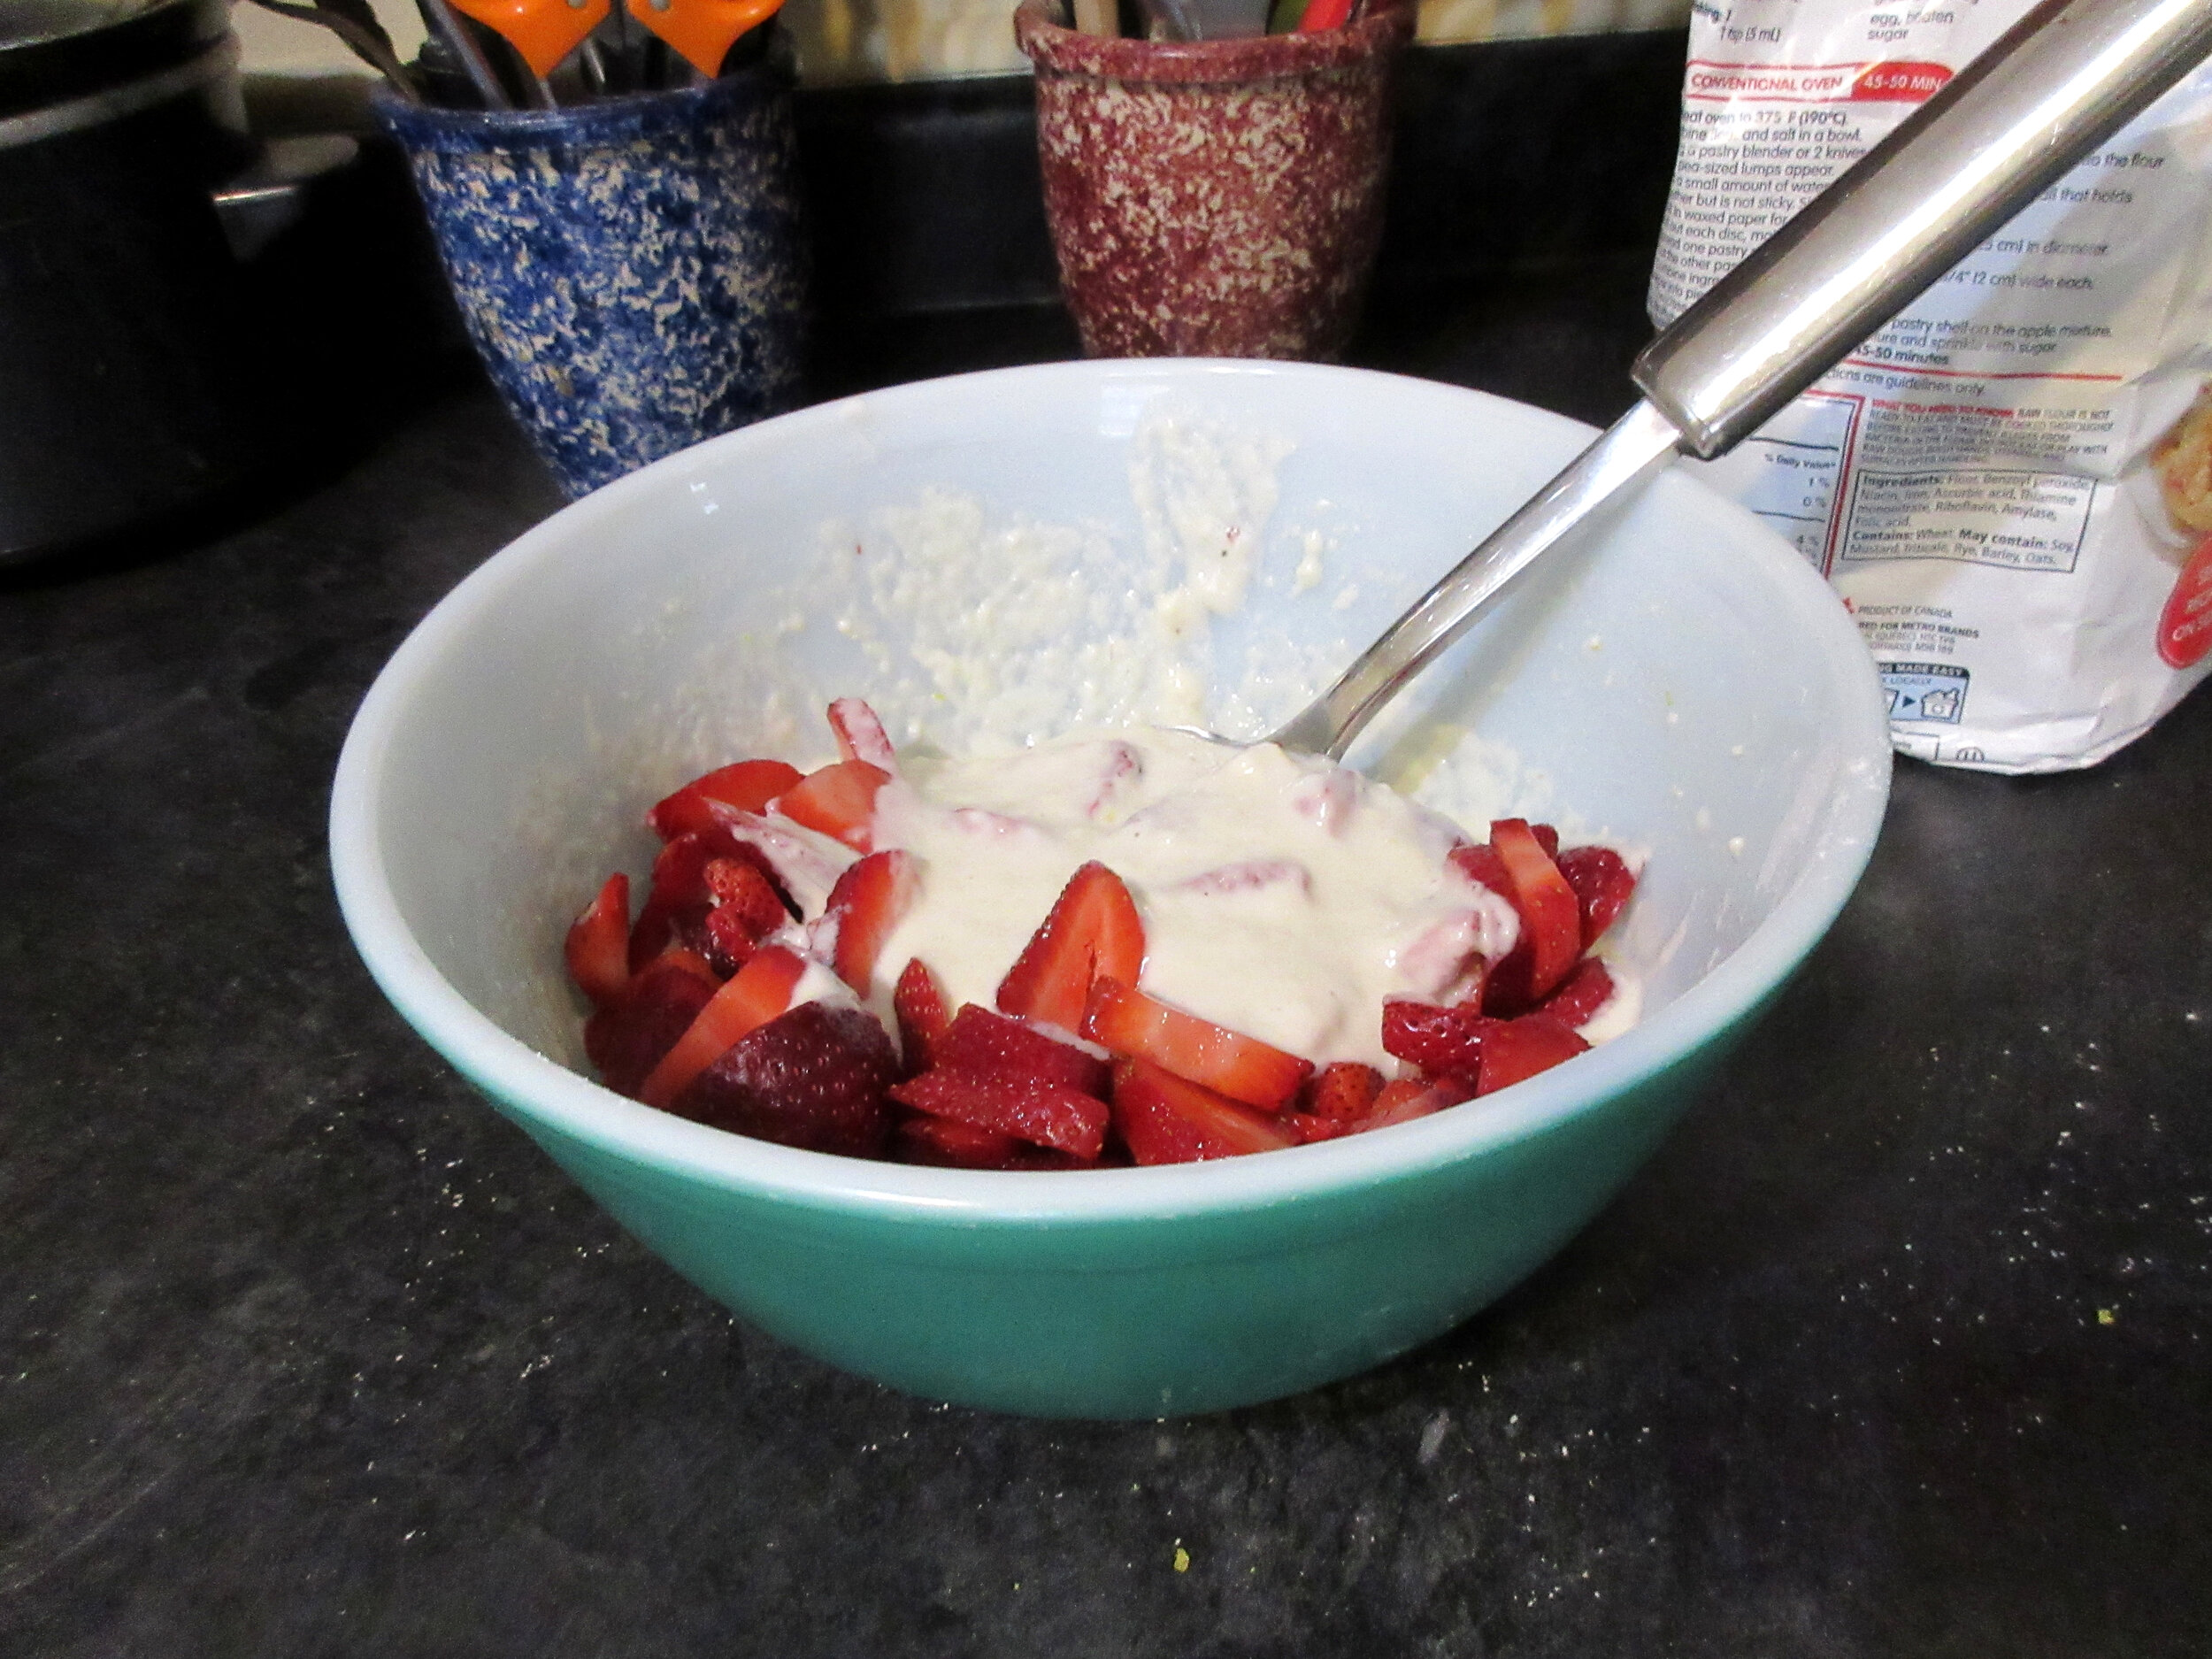
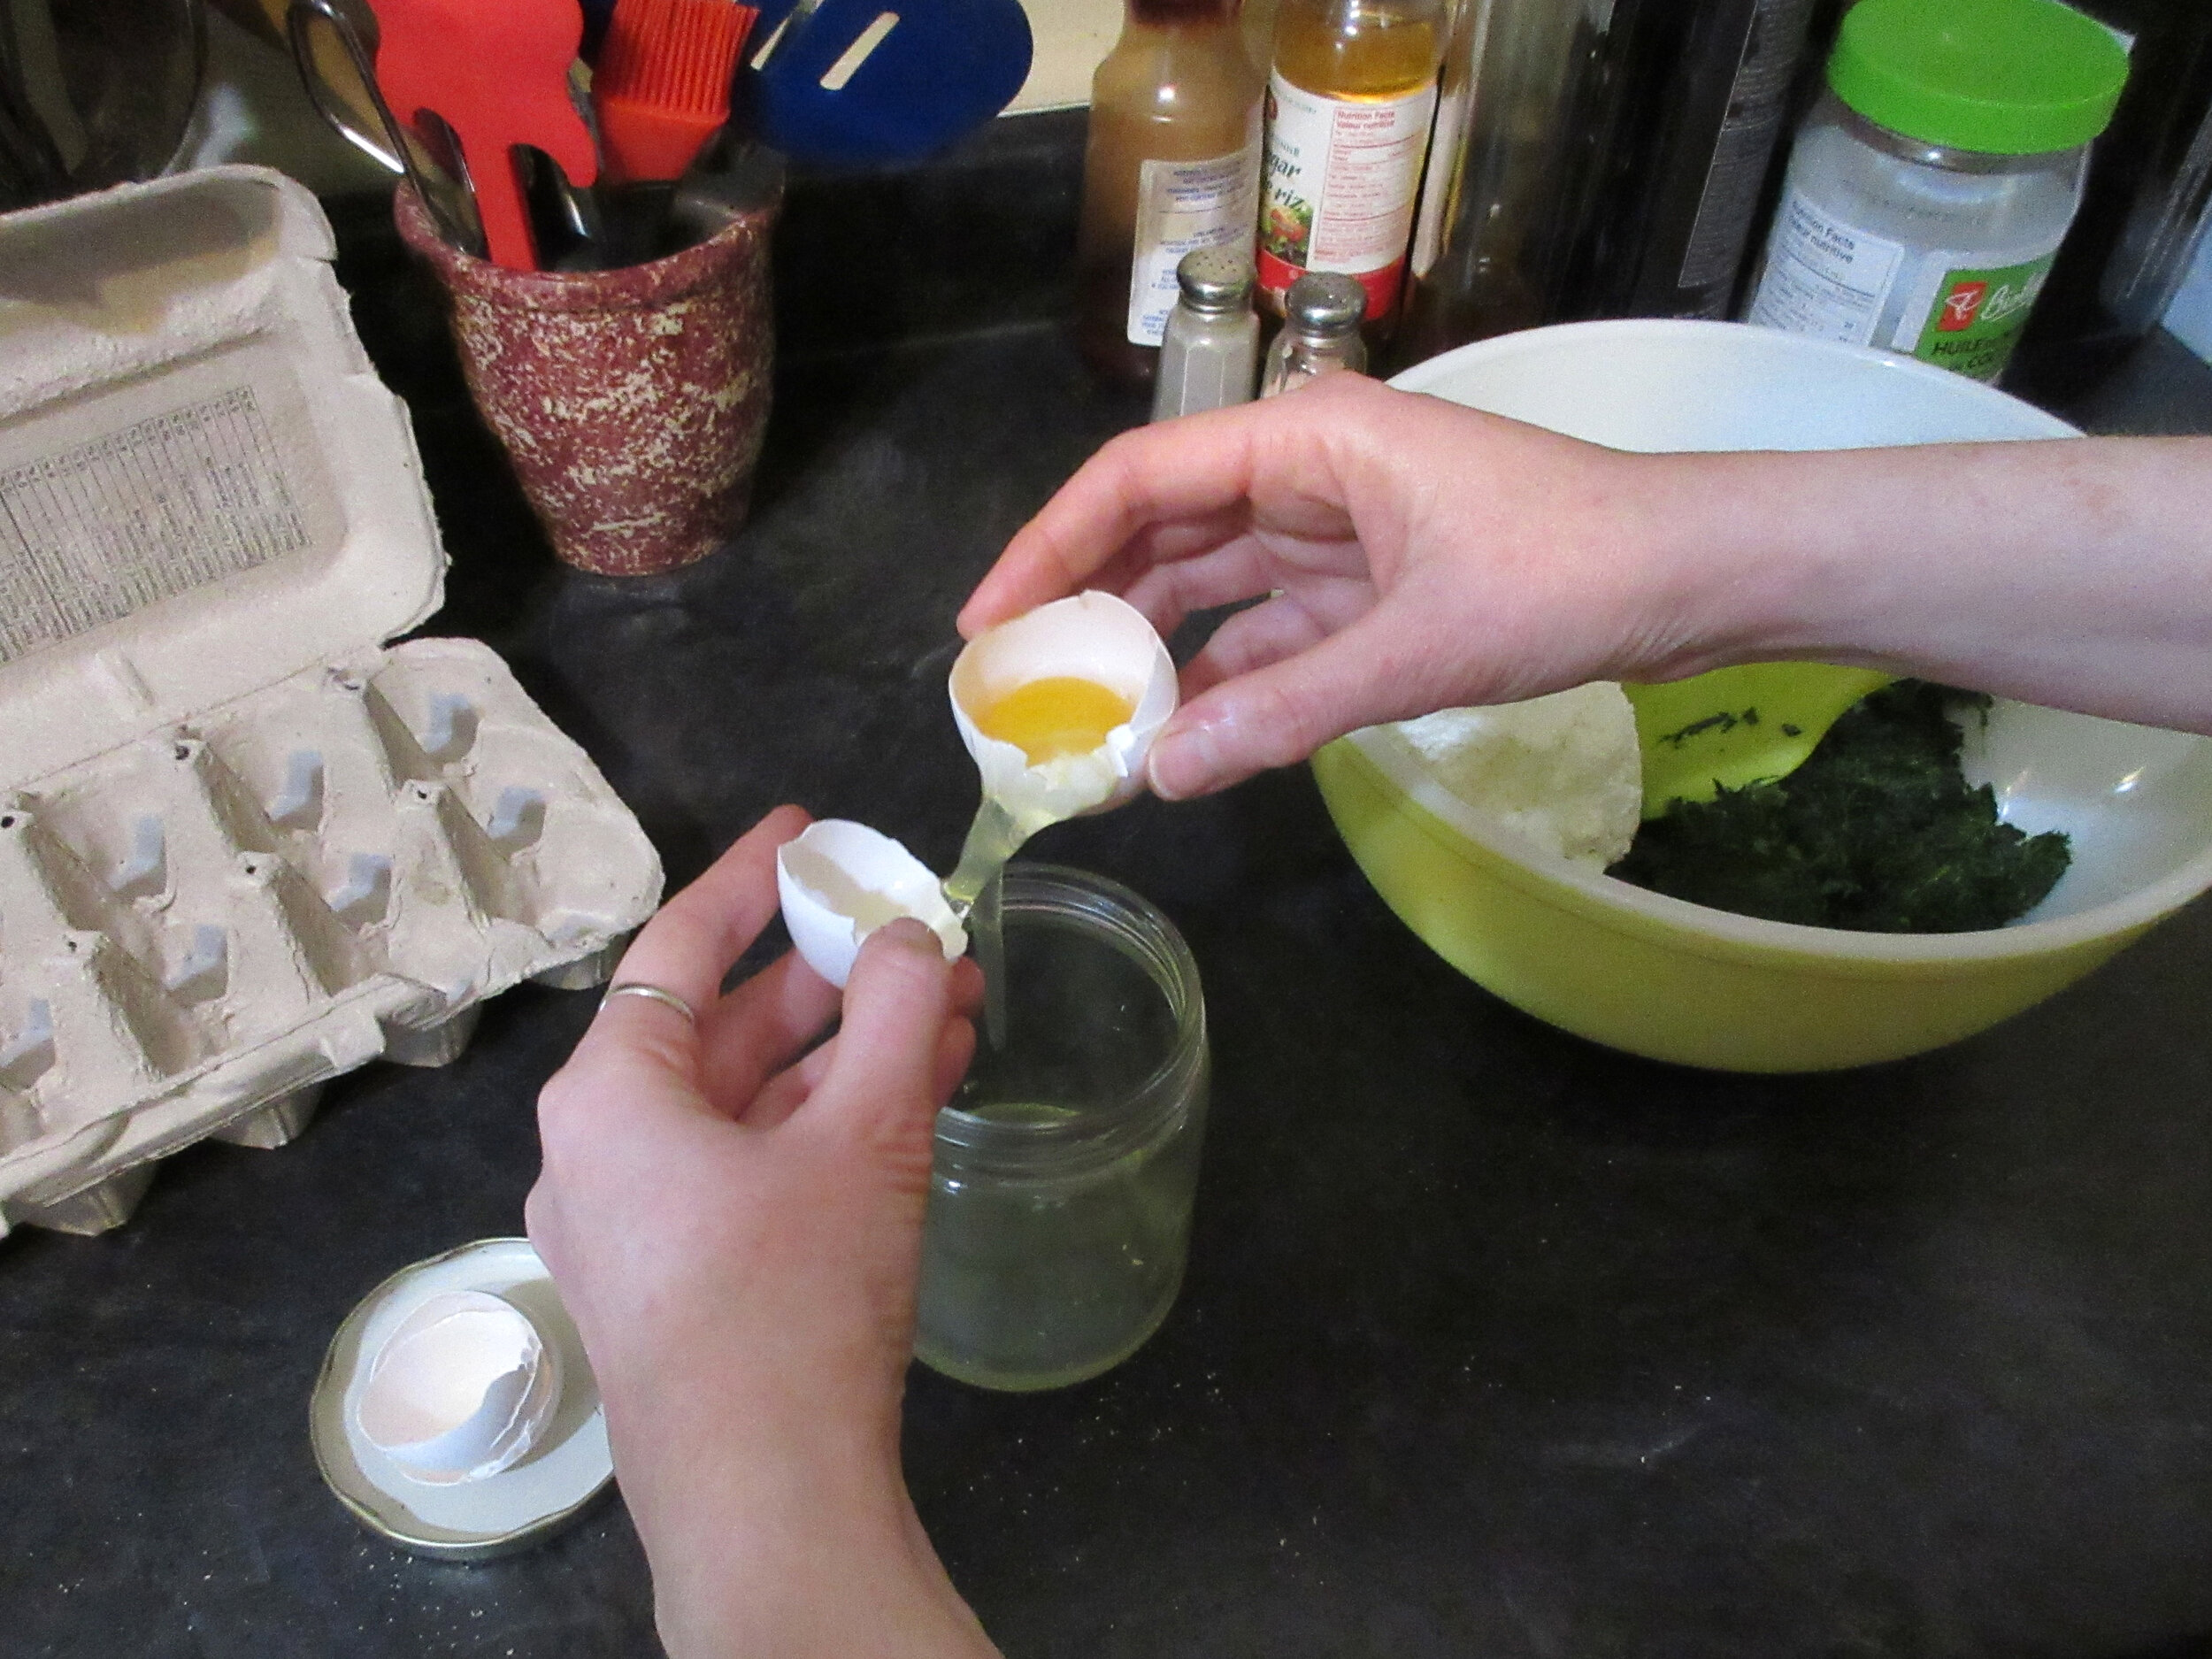
2. Separate the egg whites & yolks and grate the lemon zest. In a mixing bowl, whisk together the egg whites, lemon zest, oil and white wine. Gradually whisk in the flour until you have a stiff batter (you may not need to add the full cup/100 g). Stir the strawberries into the batter.
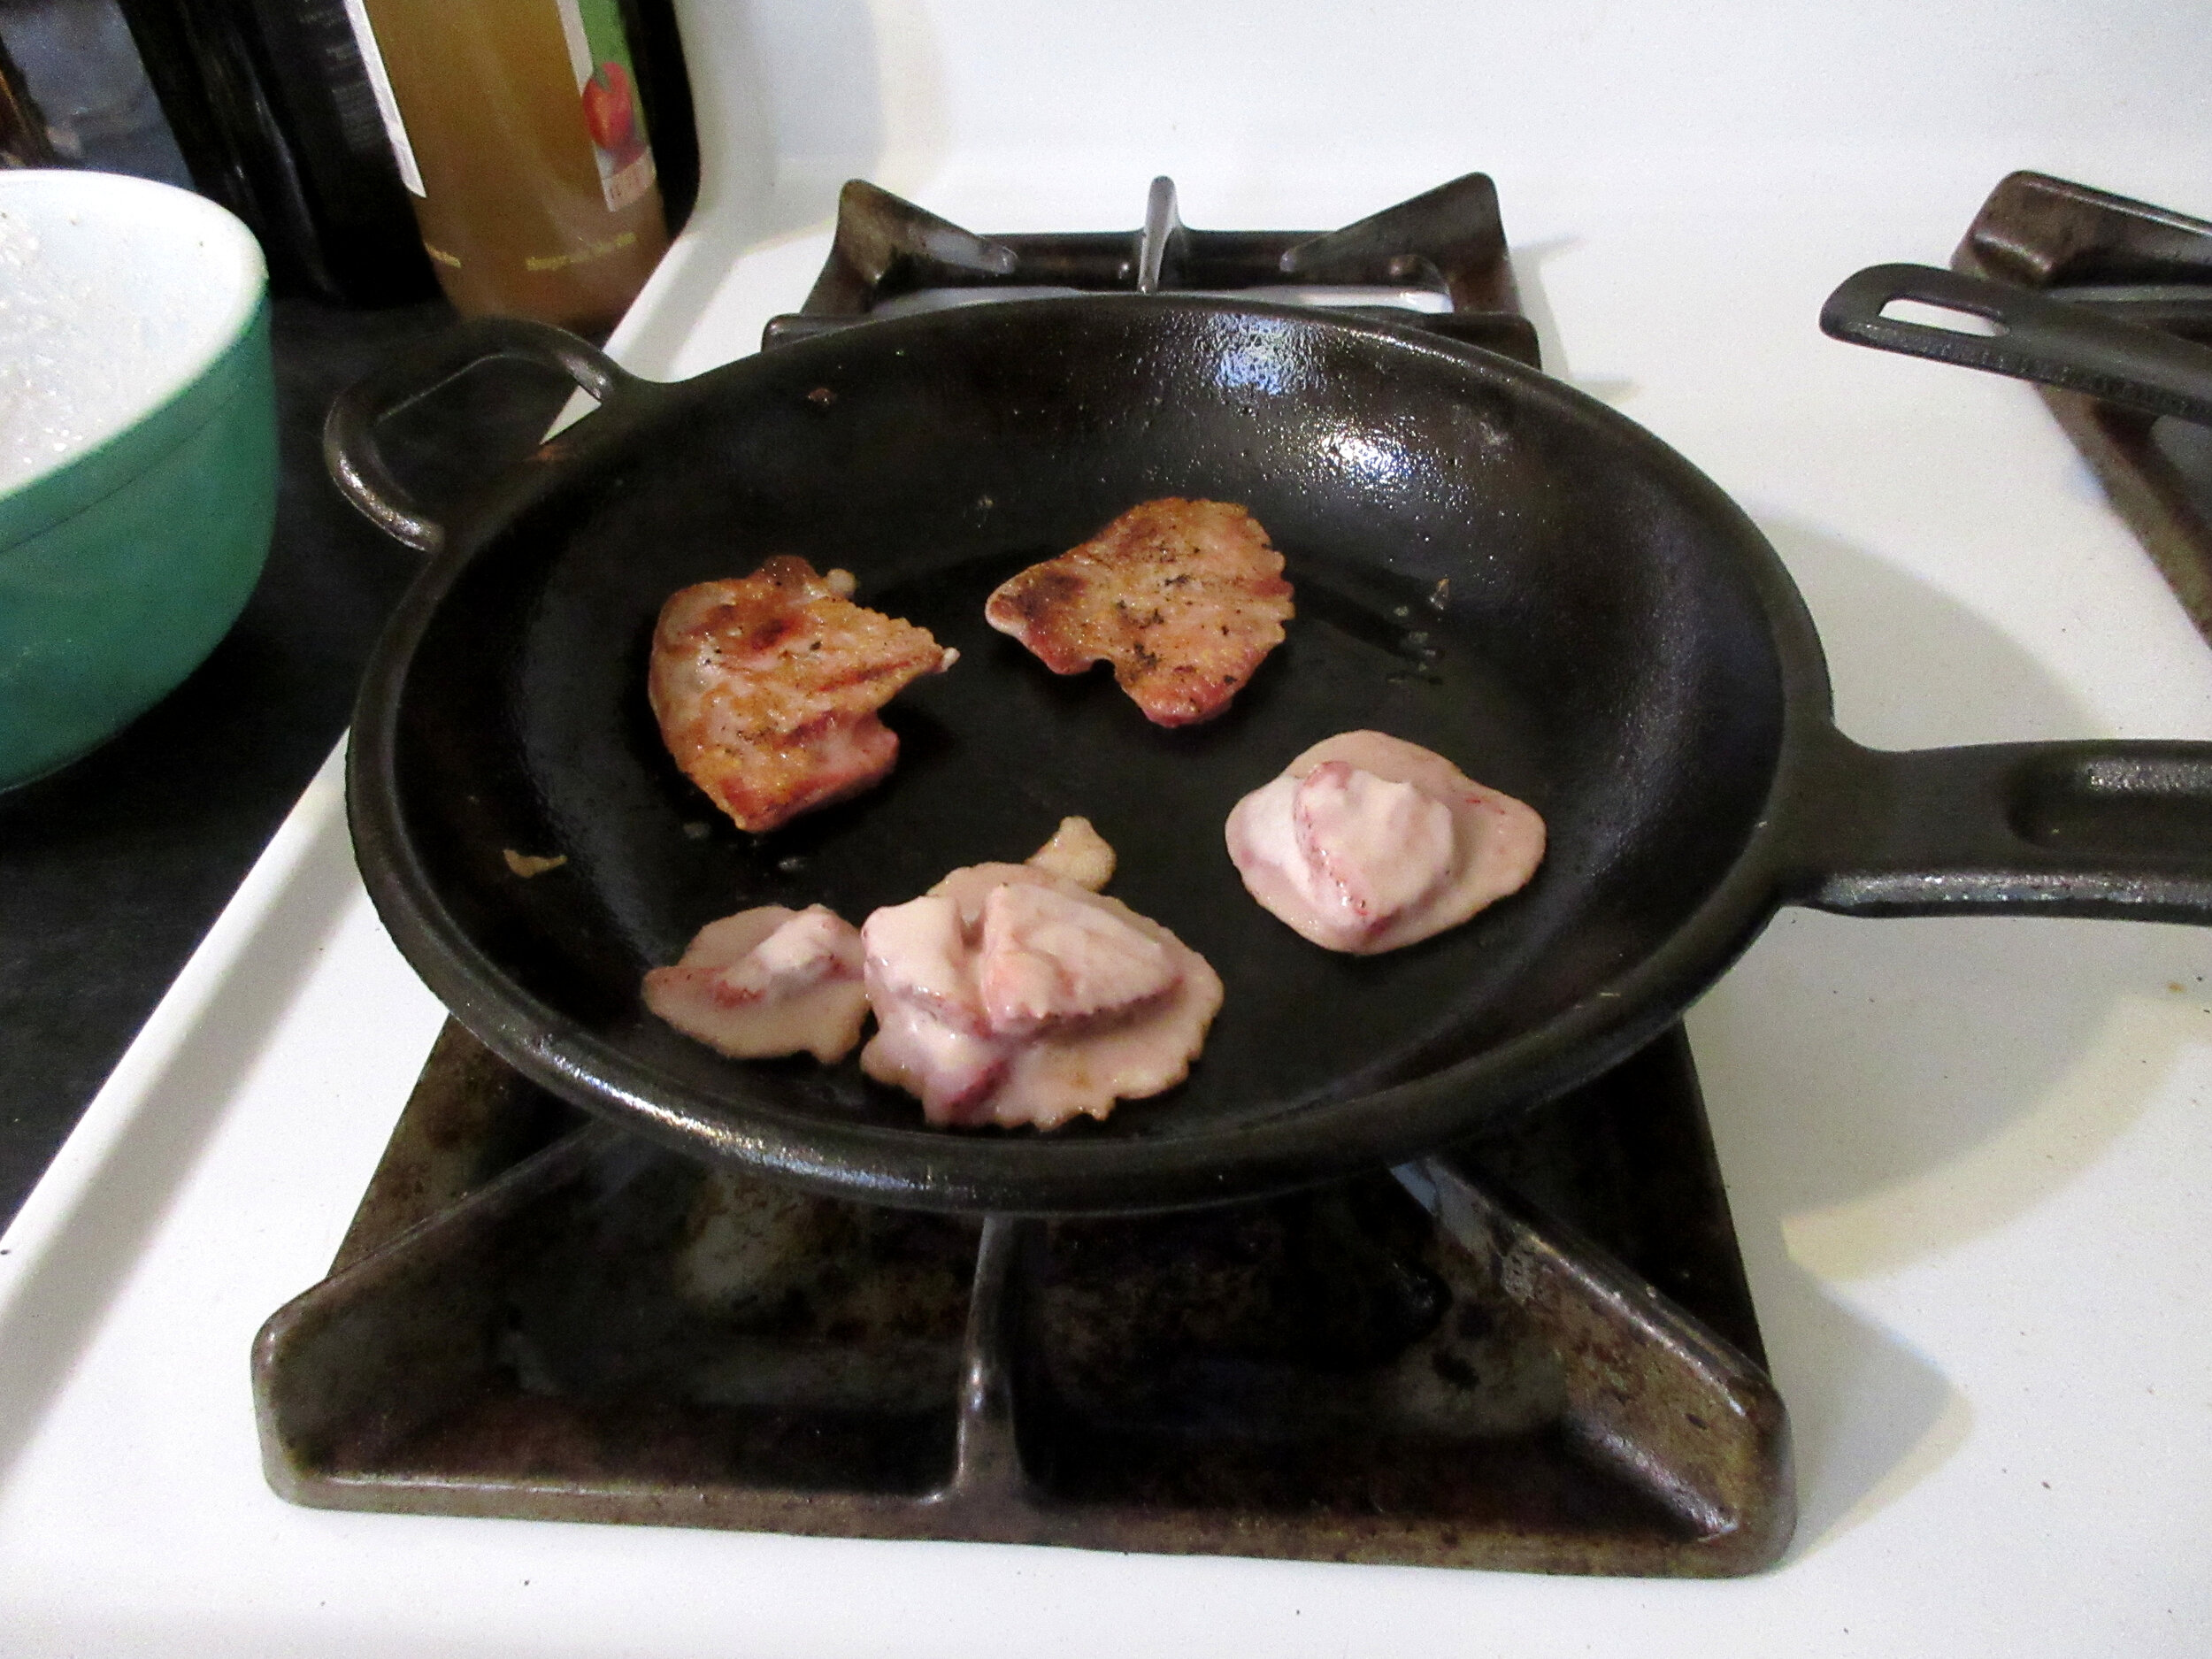
3. Heat butter or oil in a frying pan. Drop the batter & strawberries from a tablespoon to form small fritters and flip when browned on the bottom. Strew with white sugar before serving, or mix together lemon juice & white sugar together to taste and drizzle the glaze on top of the fritters.

Strawberry-fritters is one of the recipes that we made at an open hearth cooking class that I taught at Nelles Manor Museum last summer. This class featured scrumptious seasonal recipes made with garden produce and recipes from the late 1700s, when the home was newly built by the Nelles family.
I learned when I made Apple Frazes that adding a bit of alcohol to your batter is a good idea, so I made a batch for a socially distanced outdoor Canada Day gathering. They taste like fried strawberries and white wine and I liked them so much that I wanted to make the recipe again here on this blog and share it with all of you!
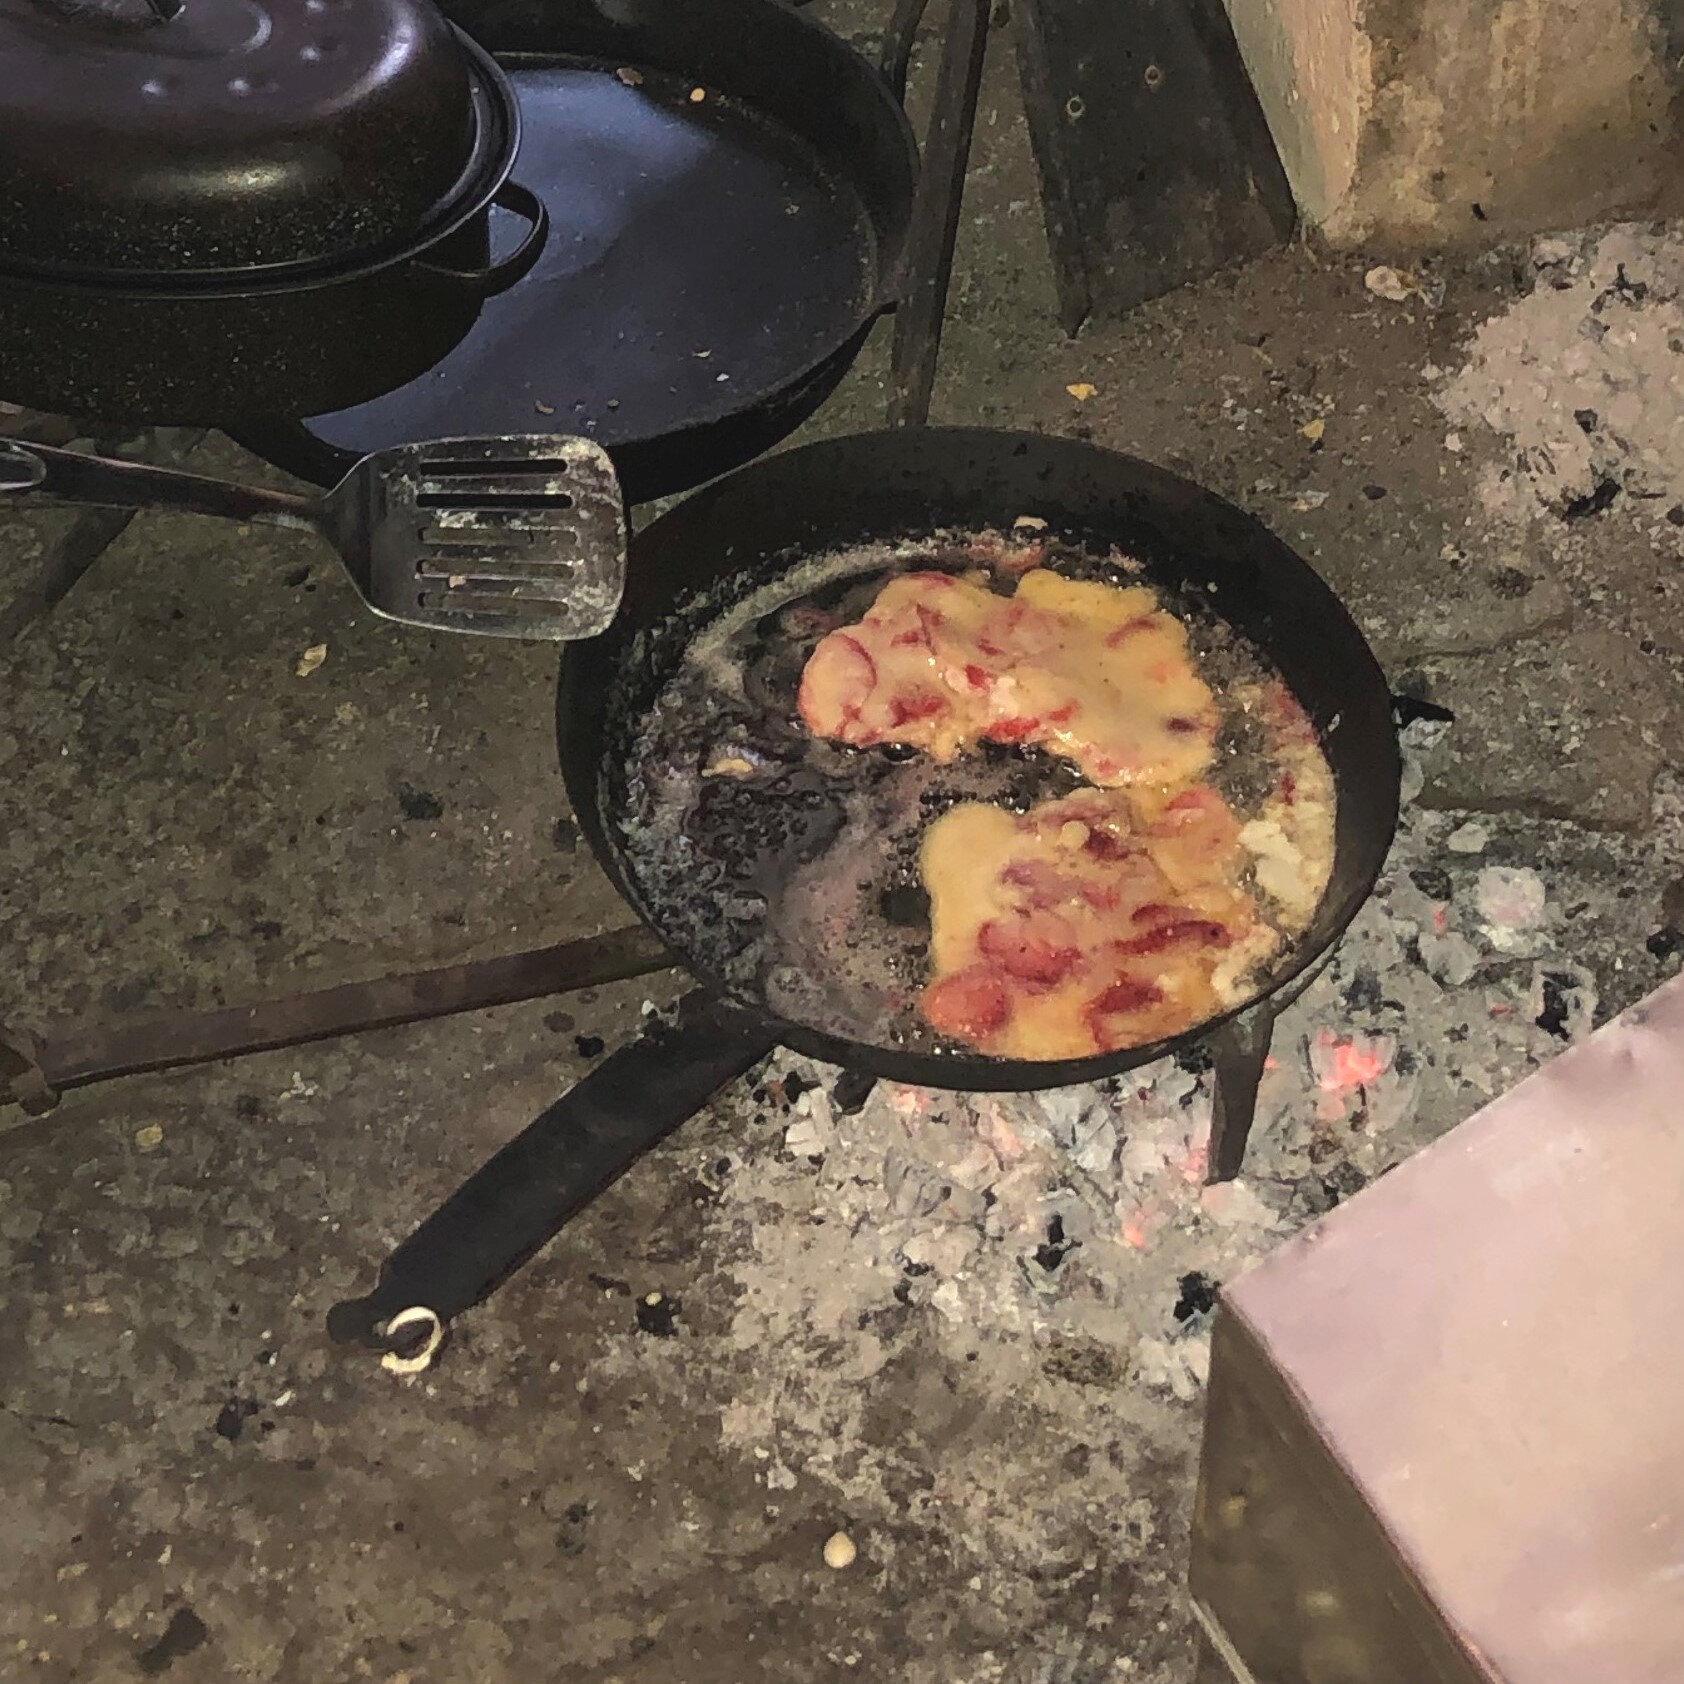
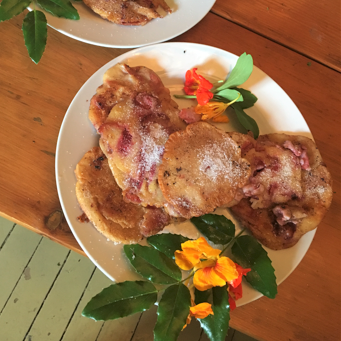
When I made the Strawberry-fritters at home, of course I fried them in a pan on my stove, but at the open hearth class, we fried them in a pan set upon a trivet over a bed of hot coals. Have a look at the pictures below to see how we fried them, and also the finished platters of fritters made by the class attendees.
If you’re curious to know more about this process, have a look at my Carrot Fritters post, where I write about a variety of frying techniques in open hearth cookery.
As well, if you had a look at the 1781 Strawberry-fritters recipe and are wondering about the letter that looks a bit like an F, but is placed where an S should be, head over to To Boil Green Peas, where I cover the use of the Long S in the English language and when & why that letter fell out of use.
Nelles Manor Museum has reopened for tours, with COVID-19 precautions in place. Have a look at the Nelles Manor website to find out their latest hours and approaches.
Read The Practice of Modern Cookery:

Spinach and Ricotta Dumplings
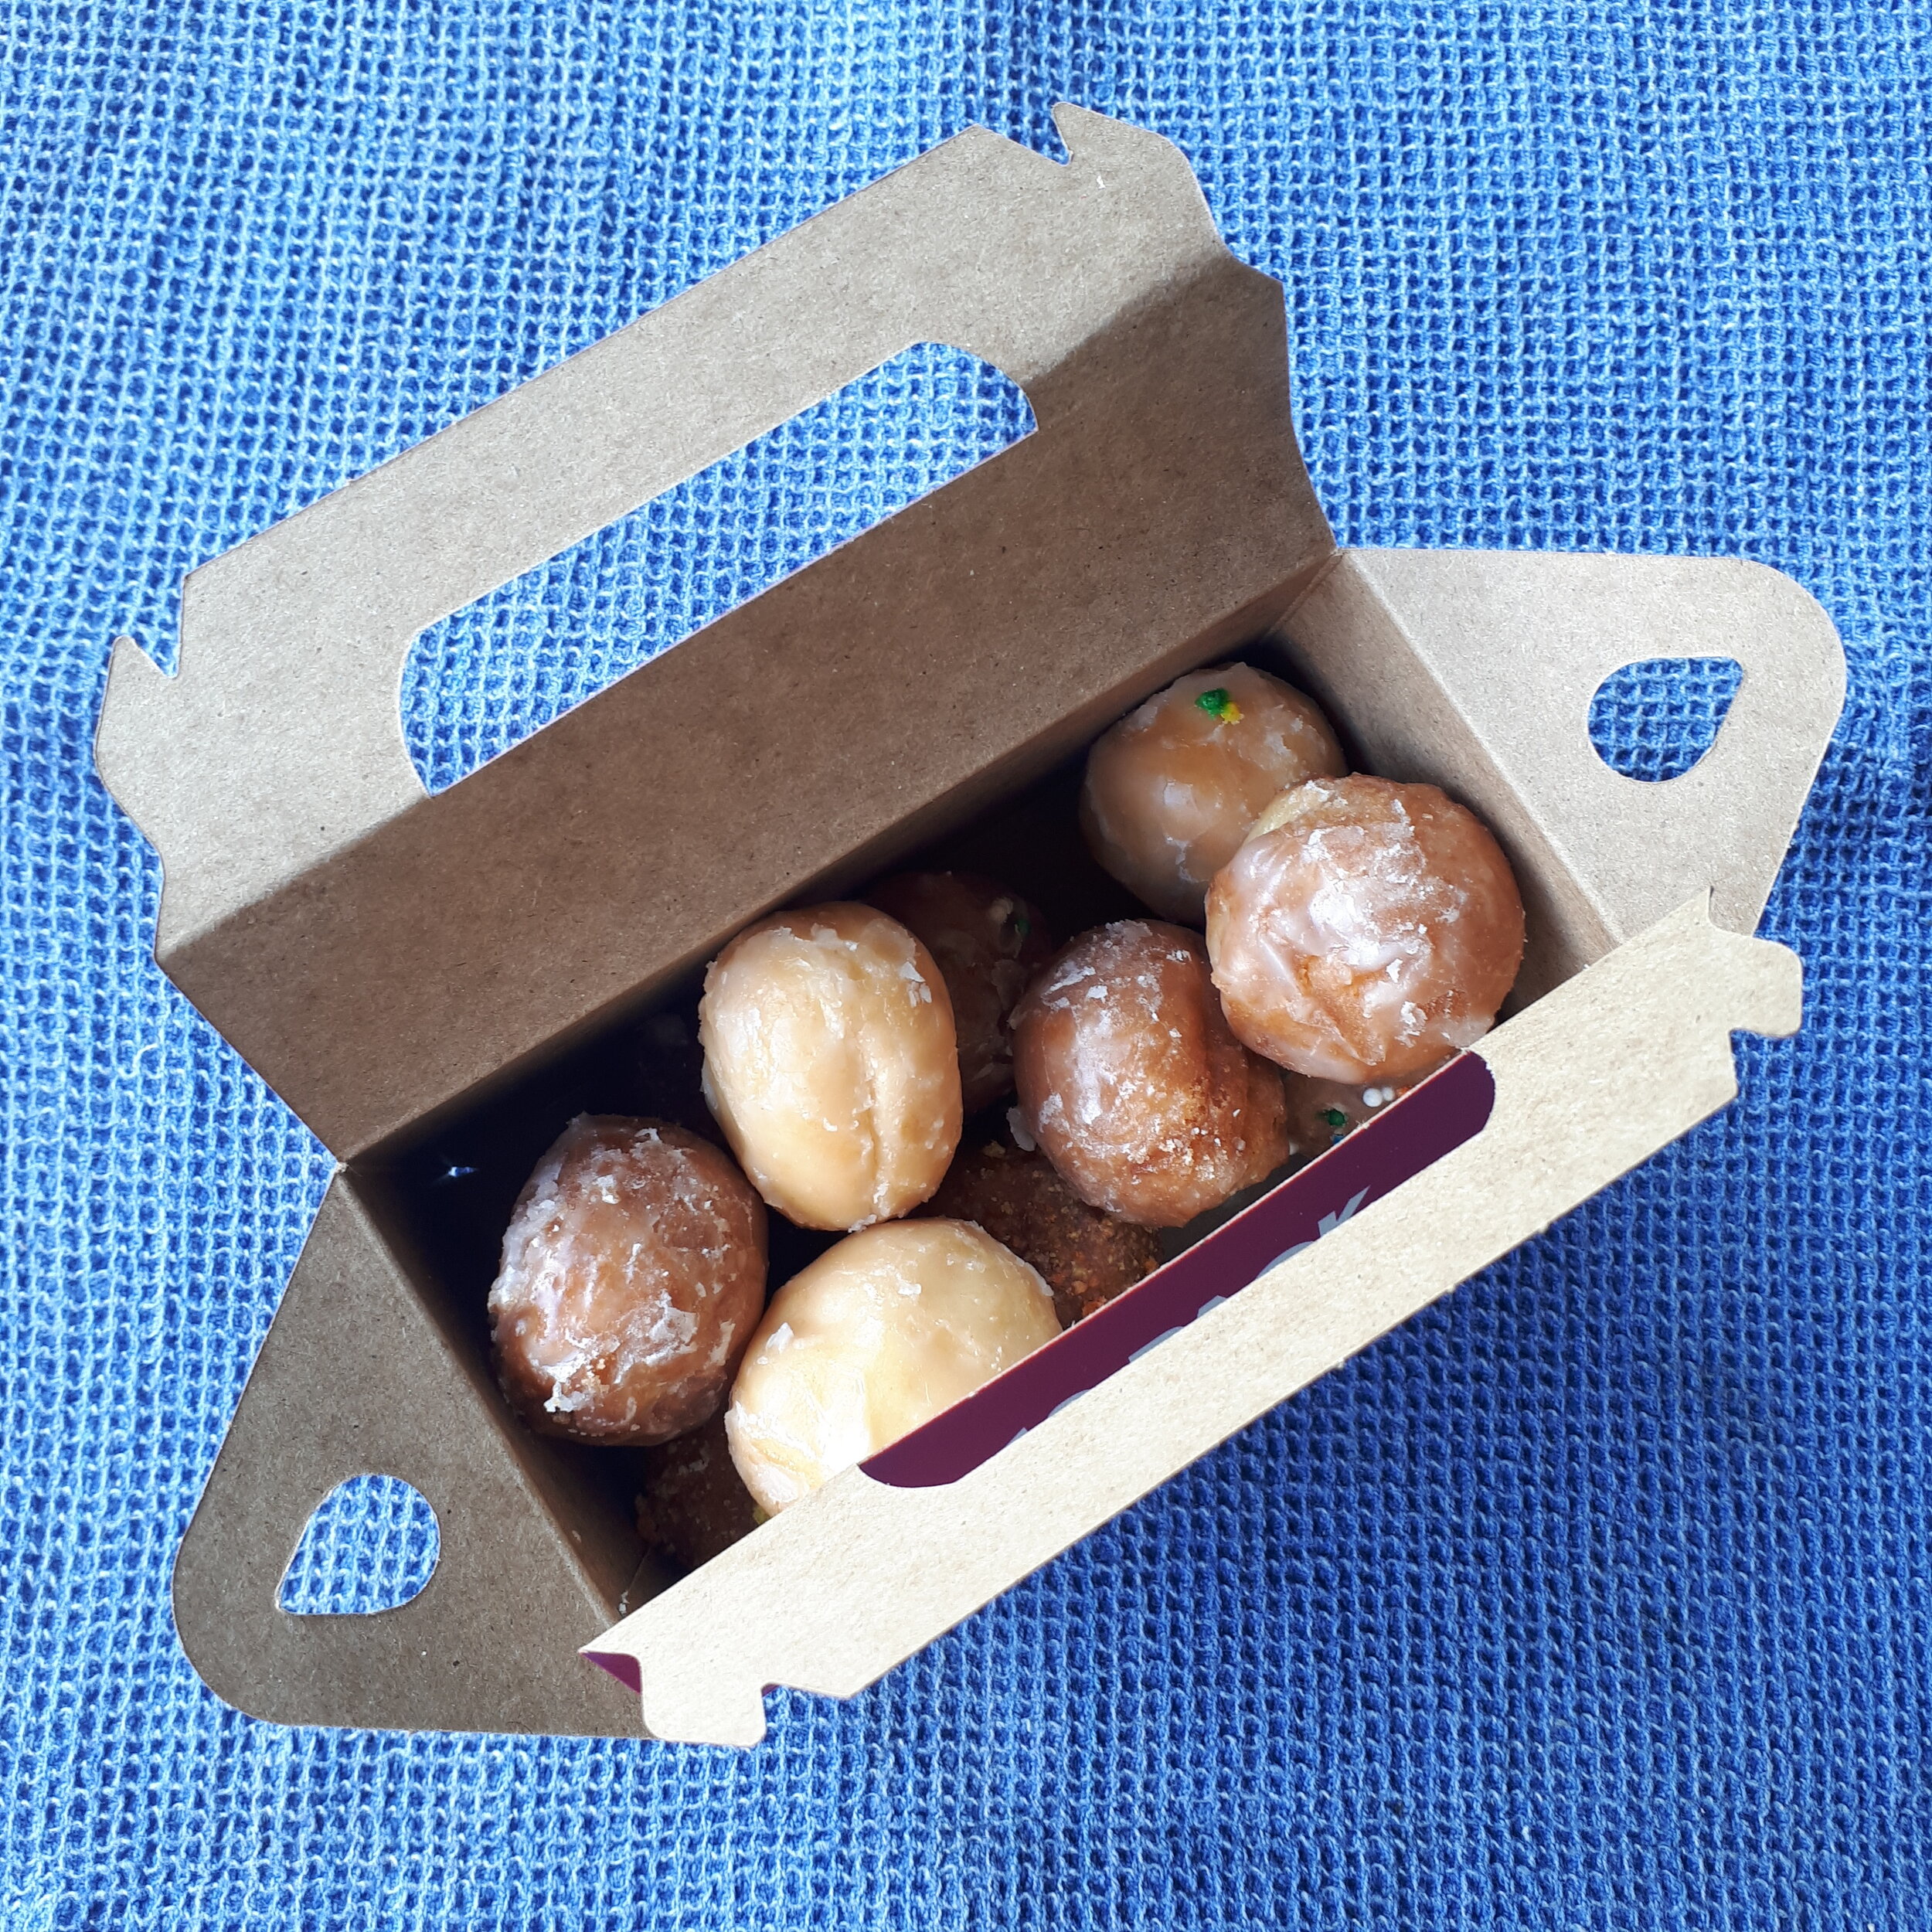
Spinach and Ricotta Dumplings is found in The New York Times Cook Book from 1961 and it’s a recipe that I had to make twice to end up with something edible. I had to veer from the original cooking method and I recommend adding some additional ingredients to amp up the flavour. The recipe gives the instruction to “shape into small balls” and since small could mean many sizes, I decided to make my dumplings the size of a Timbit.
That’s where the rambling nature of this blog post begins. I realized that most people who read my blog don’t live in Canada and might not know what a Timbit is. I started there, which led to explaining what Tim Hortons is, which led to writing about the first Tim Horton’s restaurant ever in my hometown of Hamilton, Ontario. And then...since measuring something in Timbits is a very Canadian measurement, at the end I have a look at some very Canadian measurements on COVID-19 social distancing signs in Hamilton and Toronto. I’d love to hear what the COVID-19 signs are like in your part of the world, so please leave a comment!

You’ll find this recipe in:
The New York Times Cook Book
By Craig Clariborne
New York, 1961
Original Recipe
SPINACH AND RICOTTA DUMPLINGS
4 servings
1 pound spinach, chopped
¾ pound ricotta or cottage cheese
½ teaspoon salt
2 egg yolks
5 tablespoons grated Parmesan cheese
Flour
¼ cup butter, melted
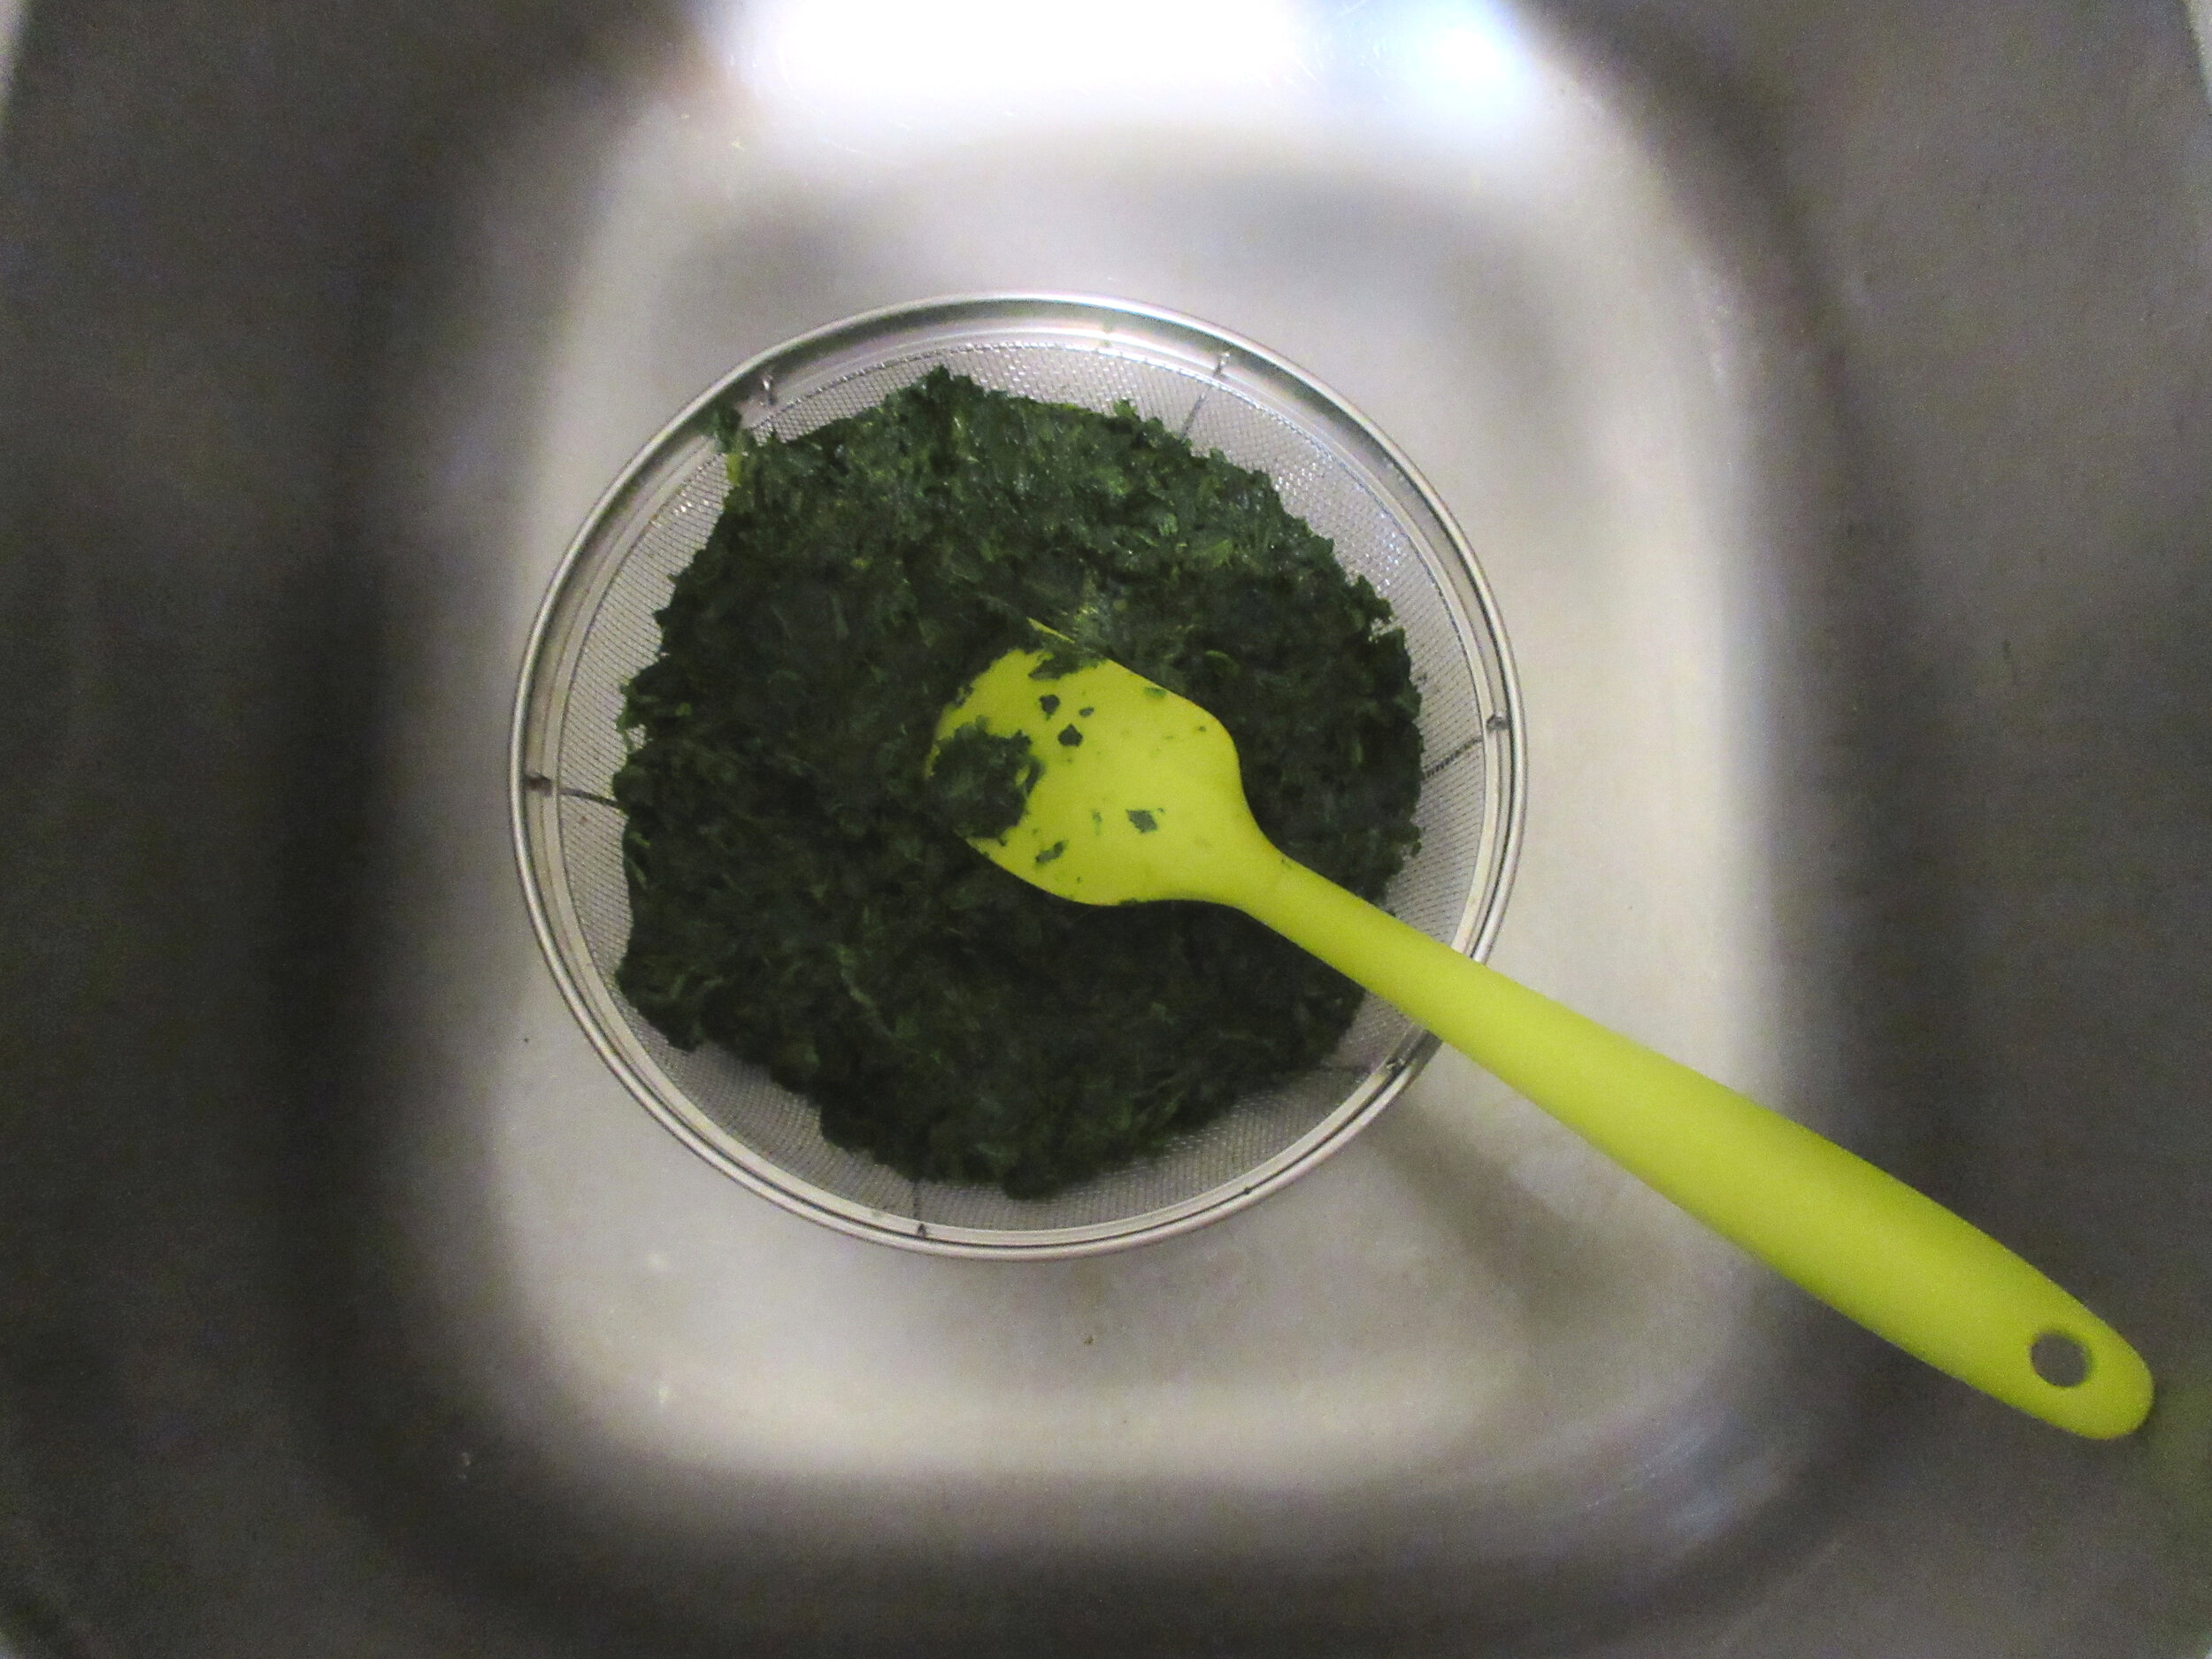
1. Cook the spinach until just tender. Drain well and press through a sieve.
2. Mix the spinach, ricotta cheese, salt, egg yolks and three tablespoons of the Parmesan cheese.
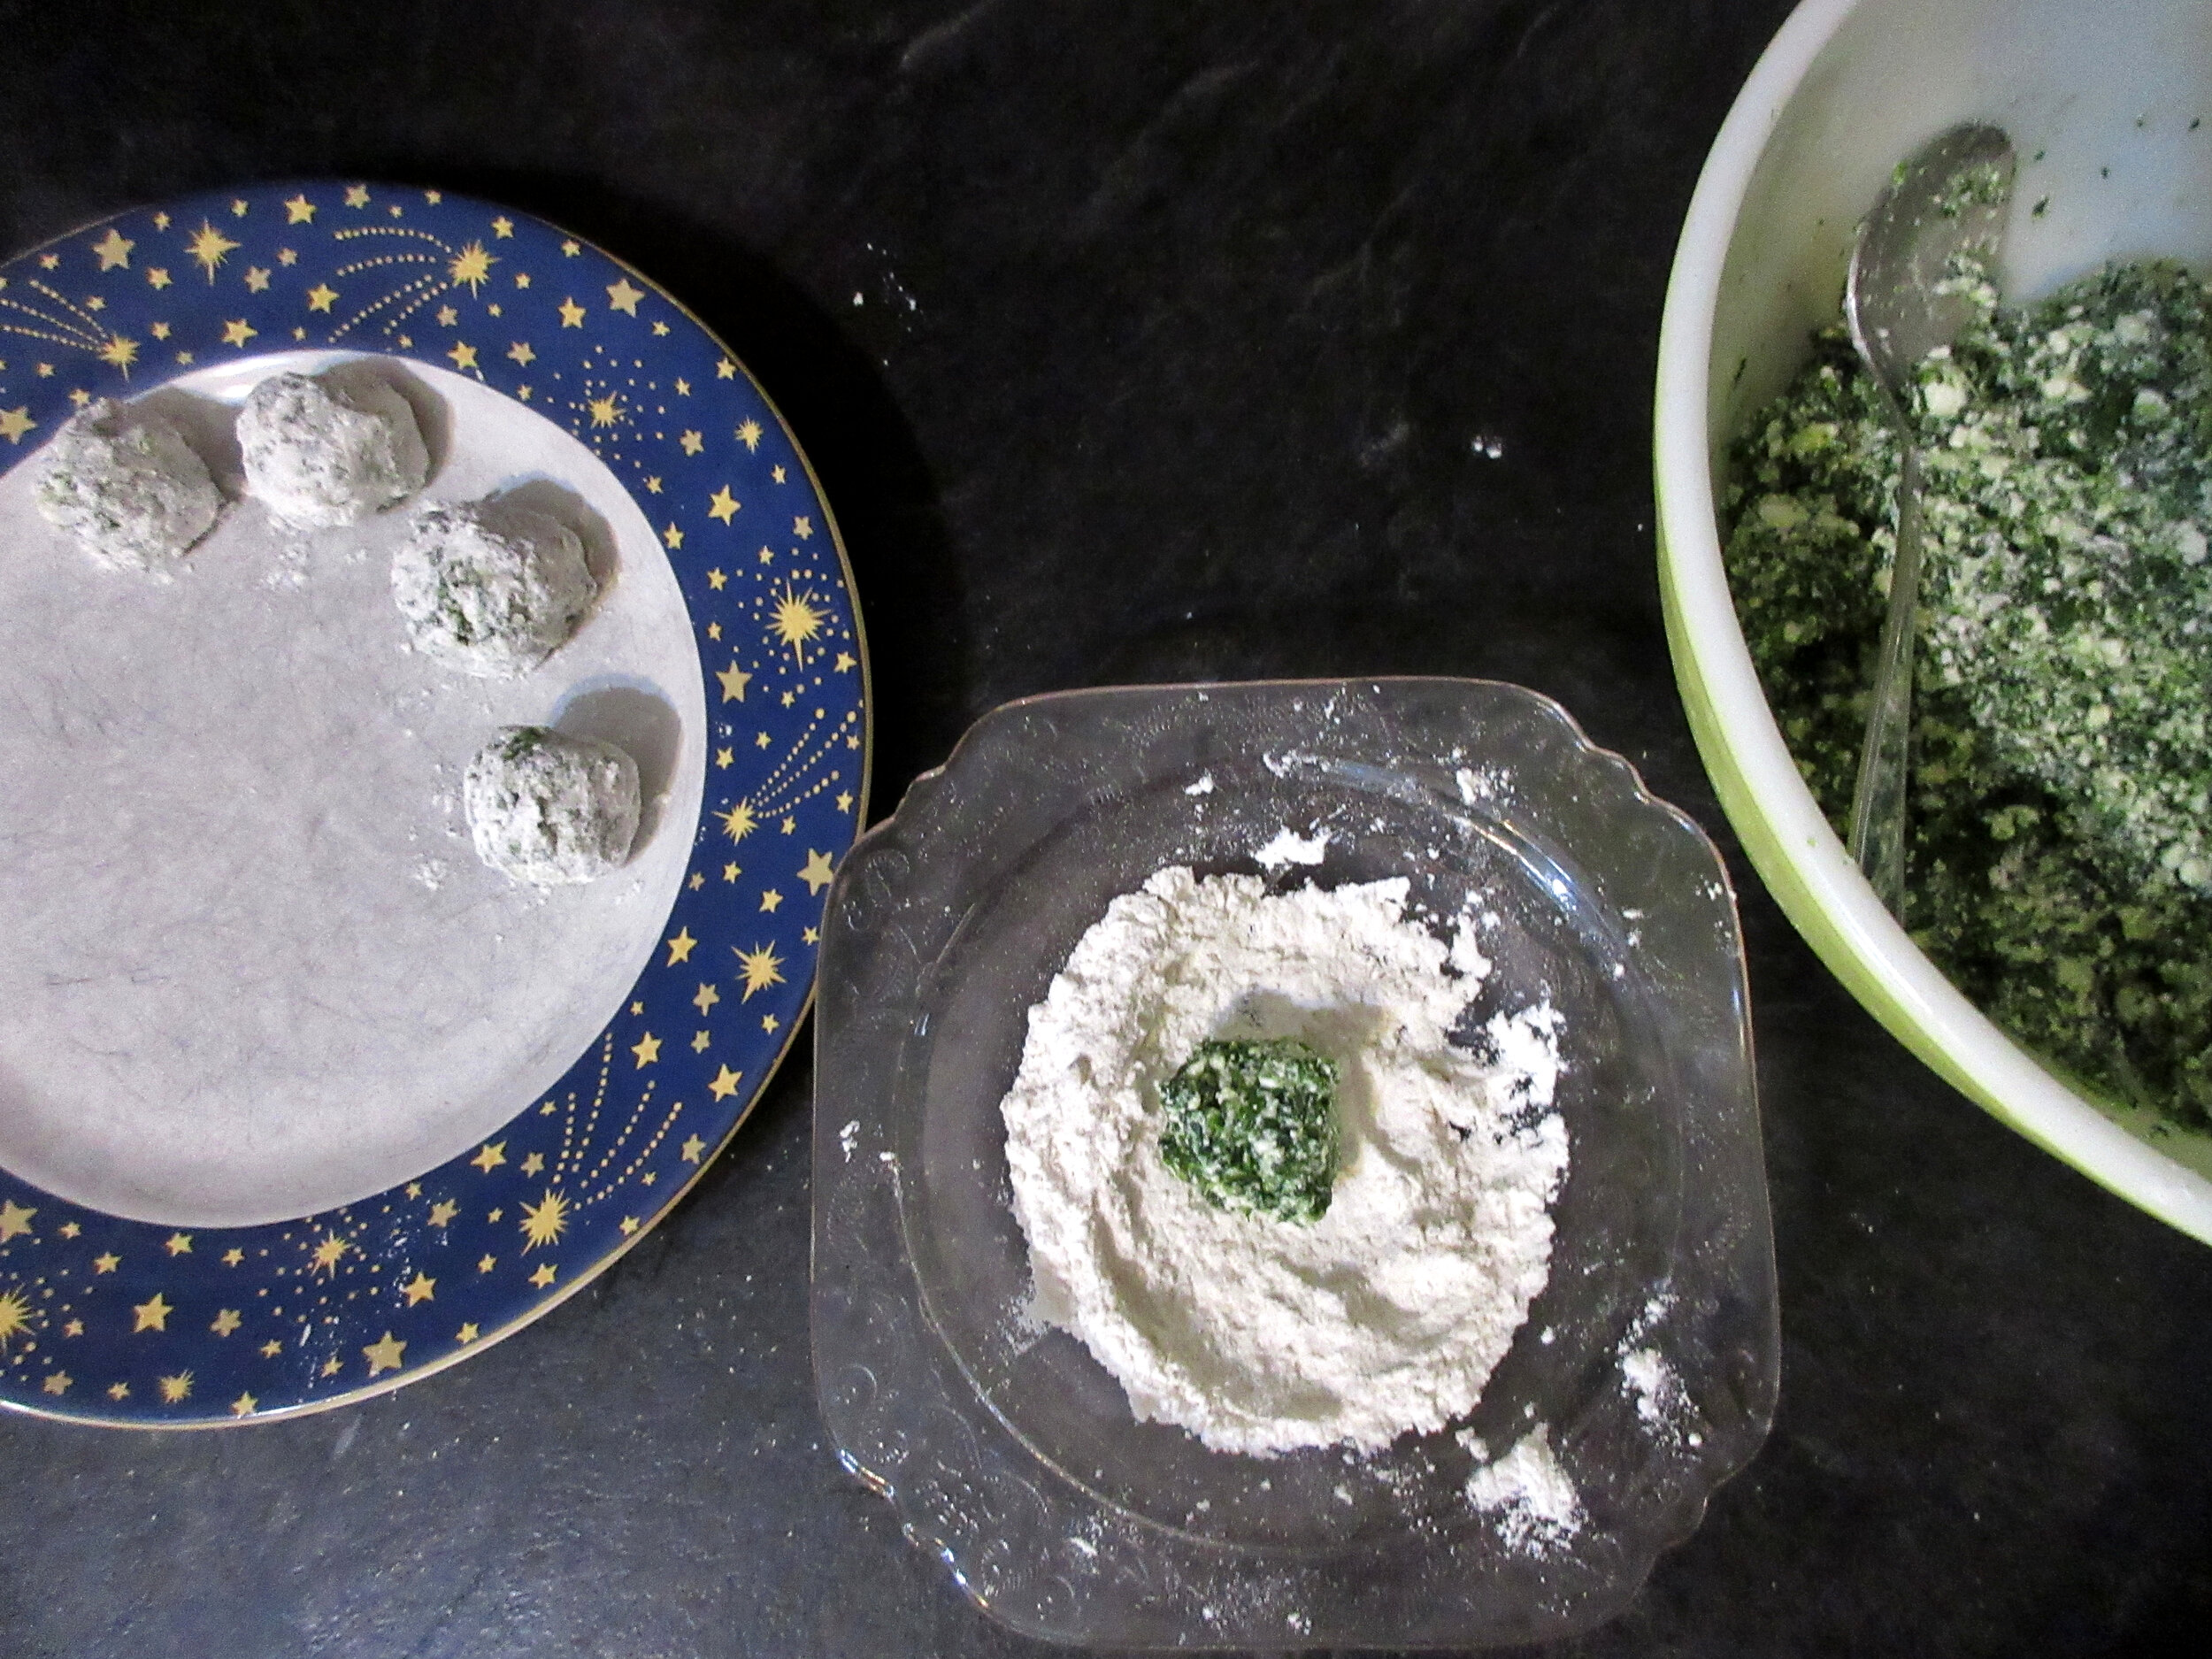
3. Drop the mixture from a spoon into flour and shape into small balls. Cook in a deep kettle of simmering water about five minutes. Remove with a perforated spoon to a hot platter. (Julia’s warning – this cooking method didn’t turn out well for me! See my recipe below.)
4. Sprinkle the dumplings with butter and the remaining Parmesan cheese.
My recipe:
1 lb spinach, chopped – 454 g
1 ½ cups ricotta cheese – 340 g
½ teaspoon salt
2 egg yolks
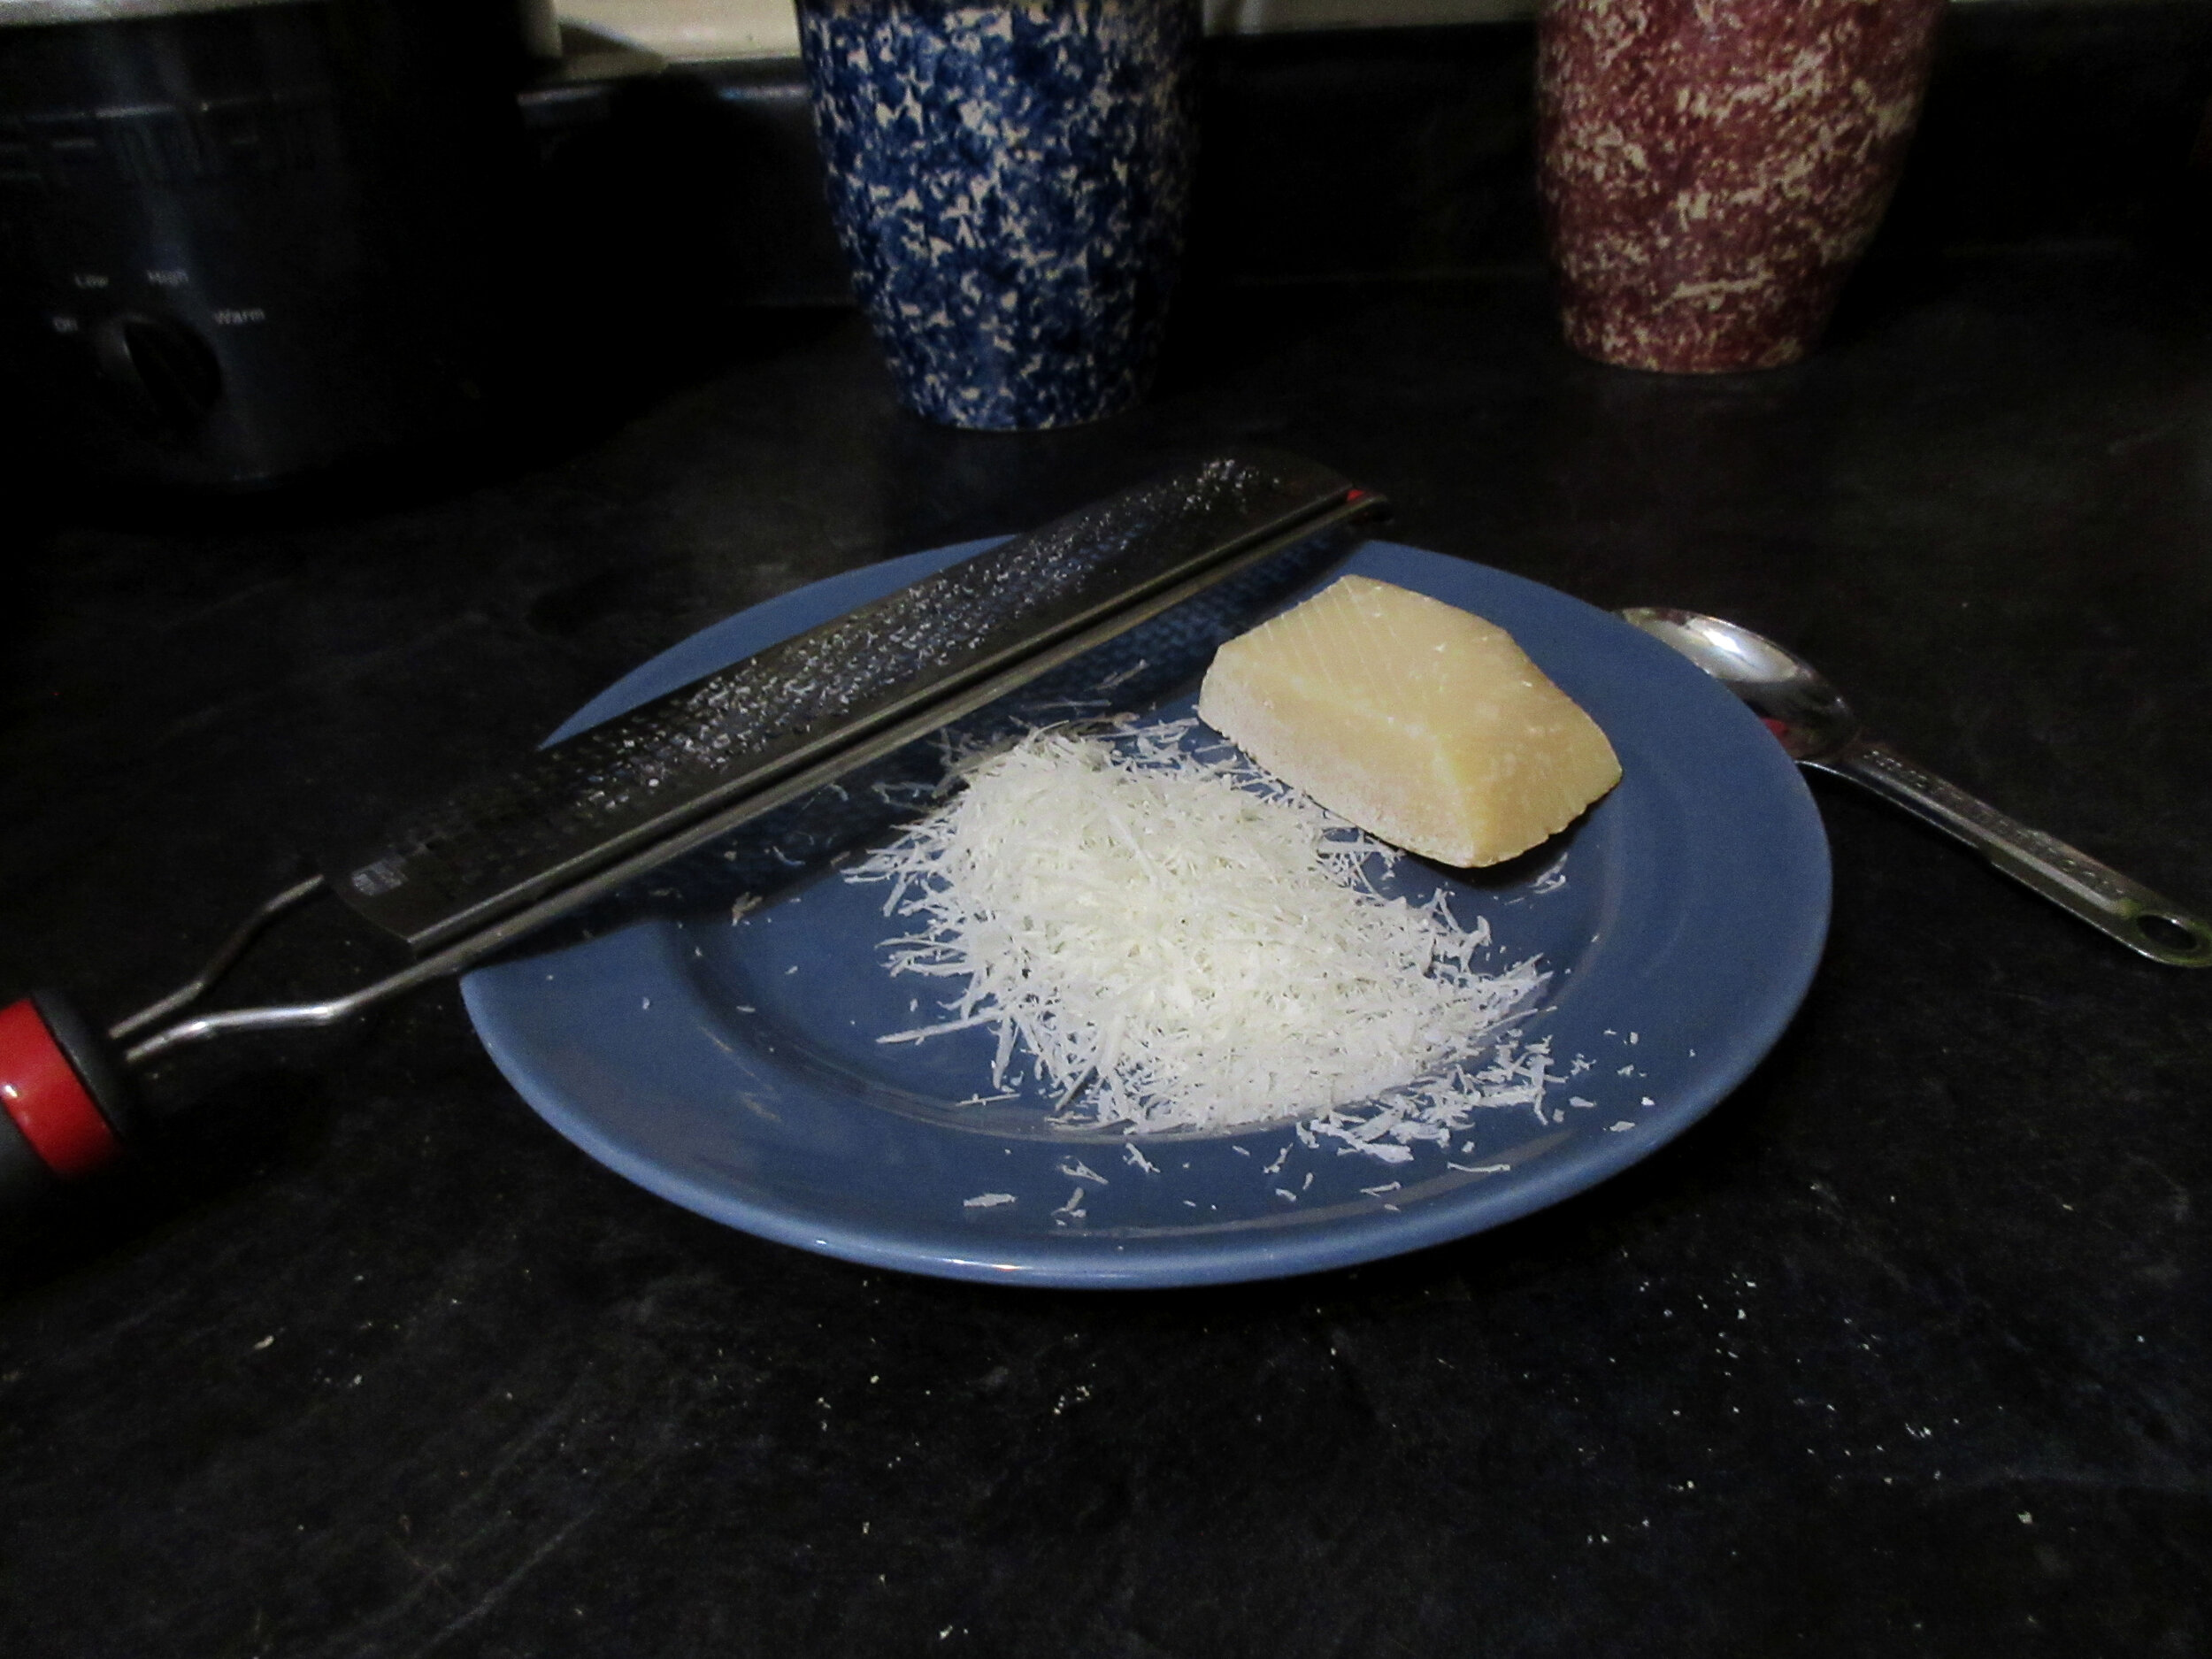
3 tbsp grated Parmesan cheese, and more for serving
Flour (about ¼ cup)
Butter for frying
Optional suggestion: add finely chopped onions, garlic or black pepper for more flavour
1. Steam the spinach in water until just tender, or open a package of chopped frozen spinach (I used a 500g package). Press the spinach through a sieve with a spatula or wooden spoon until you’ve removed all the water.
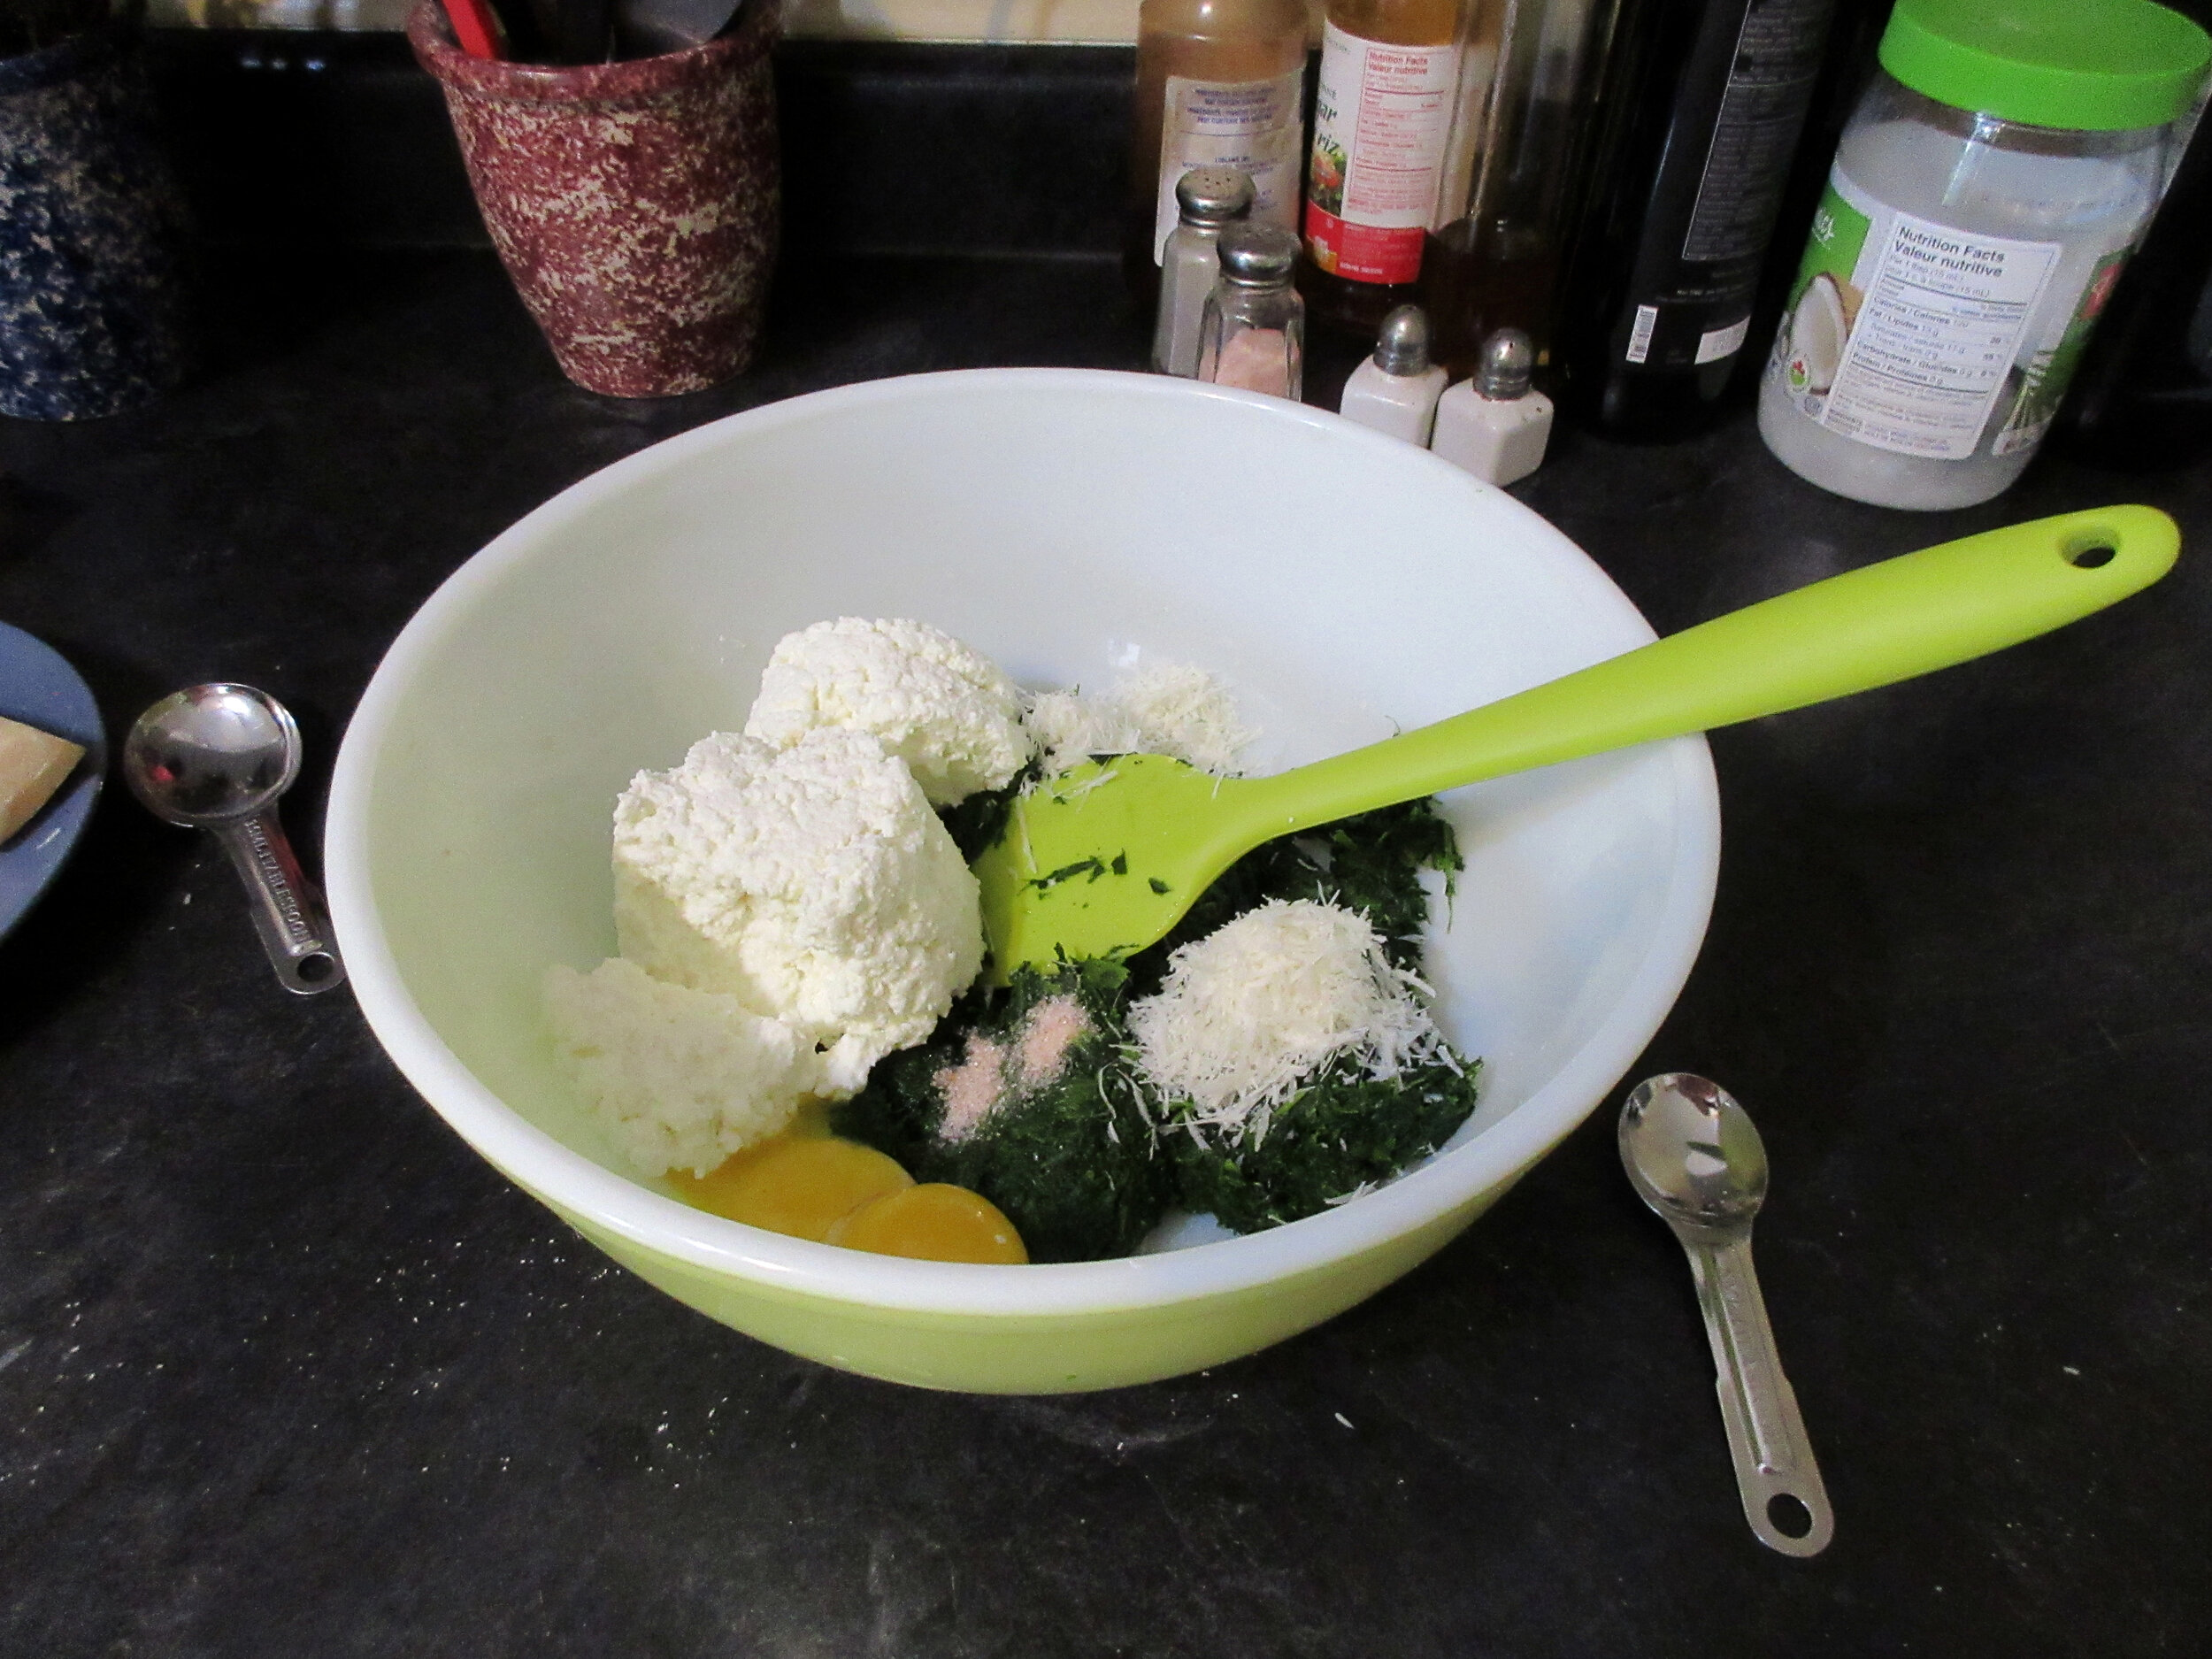
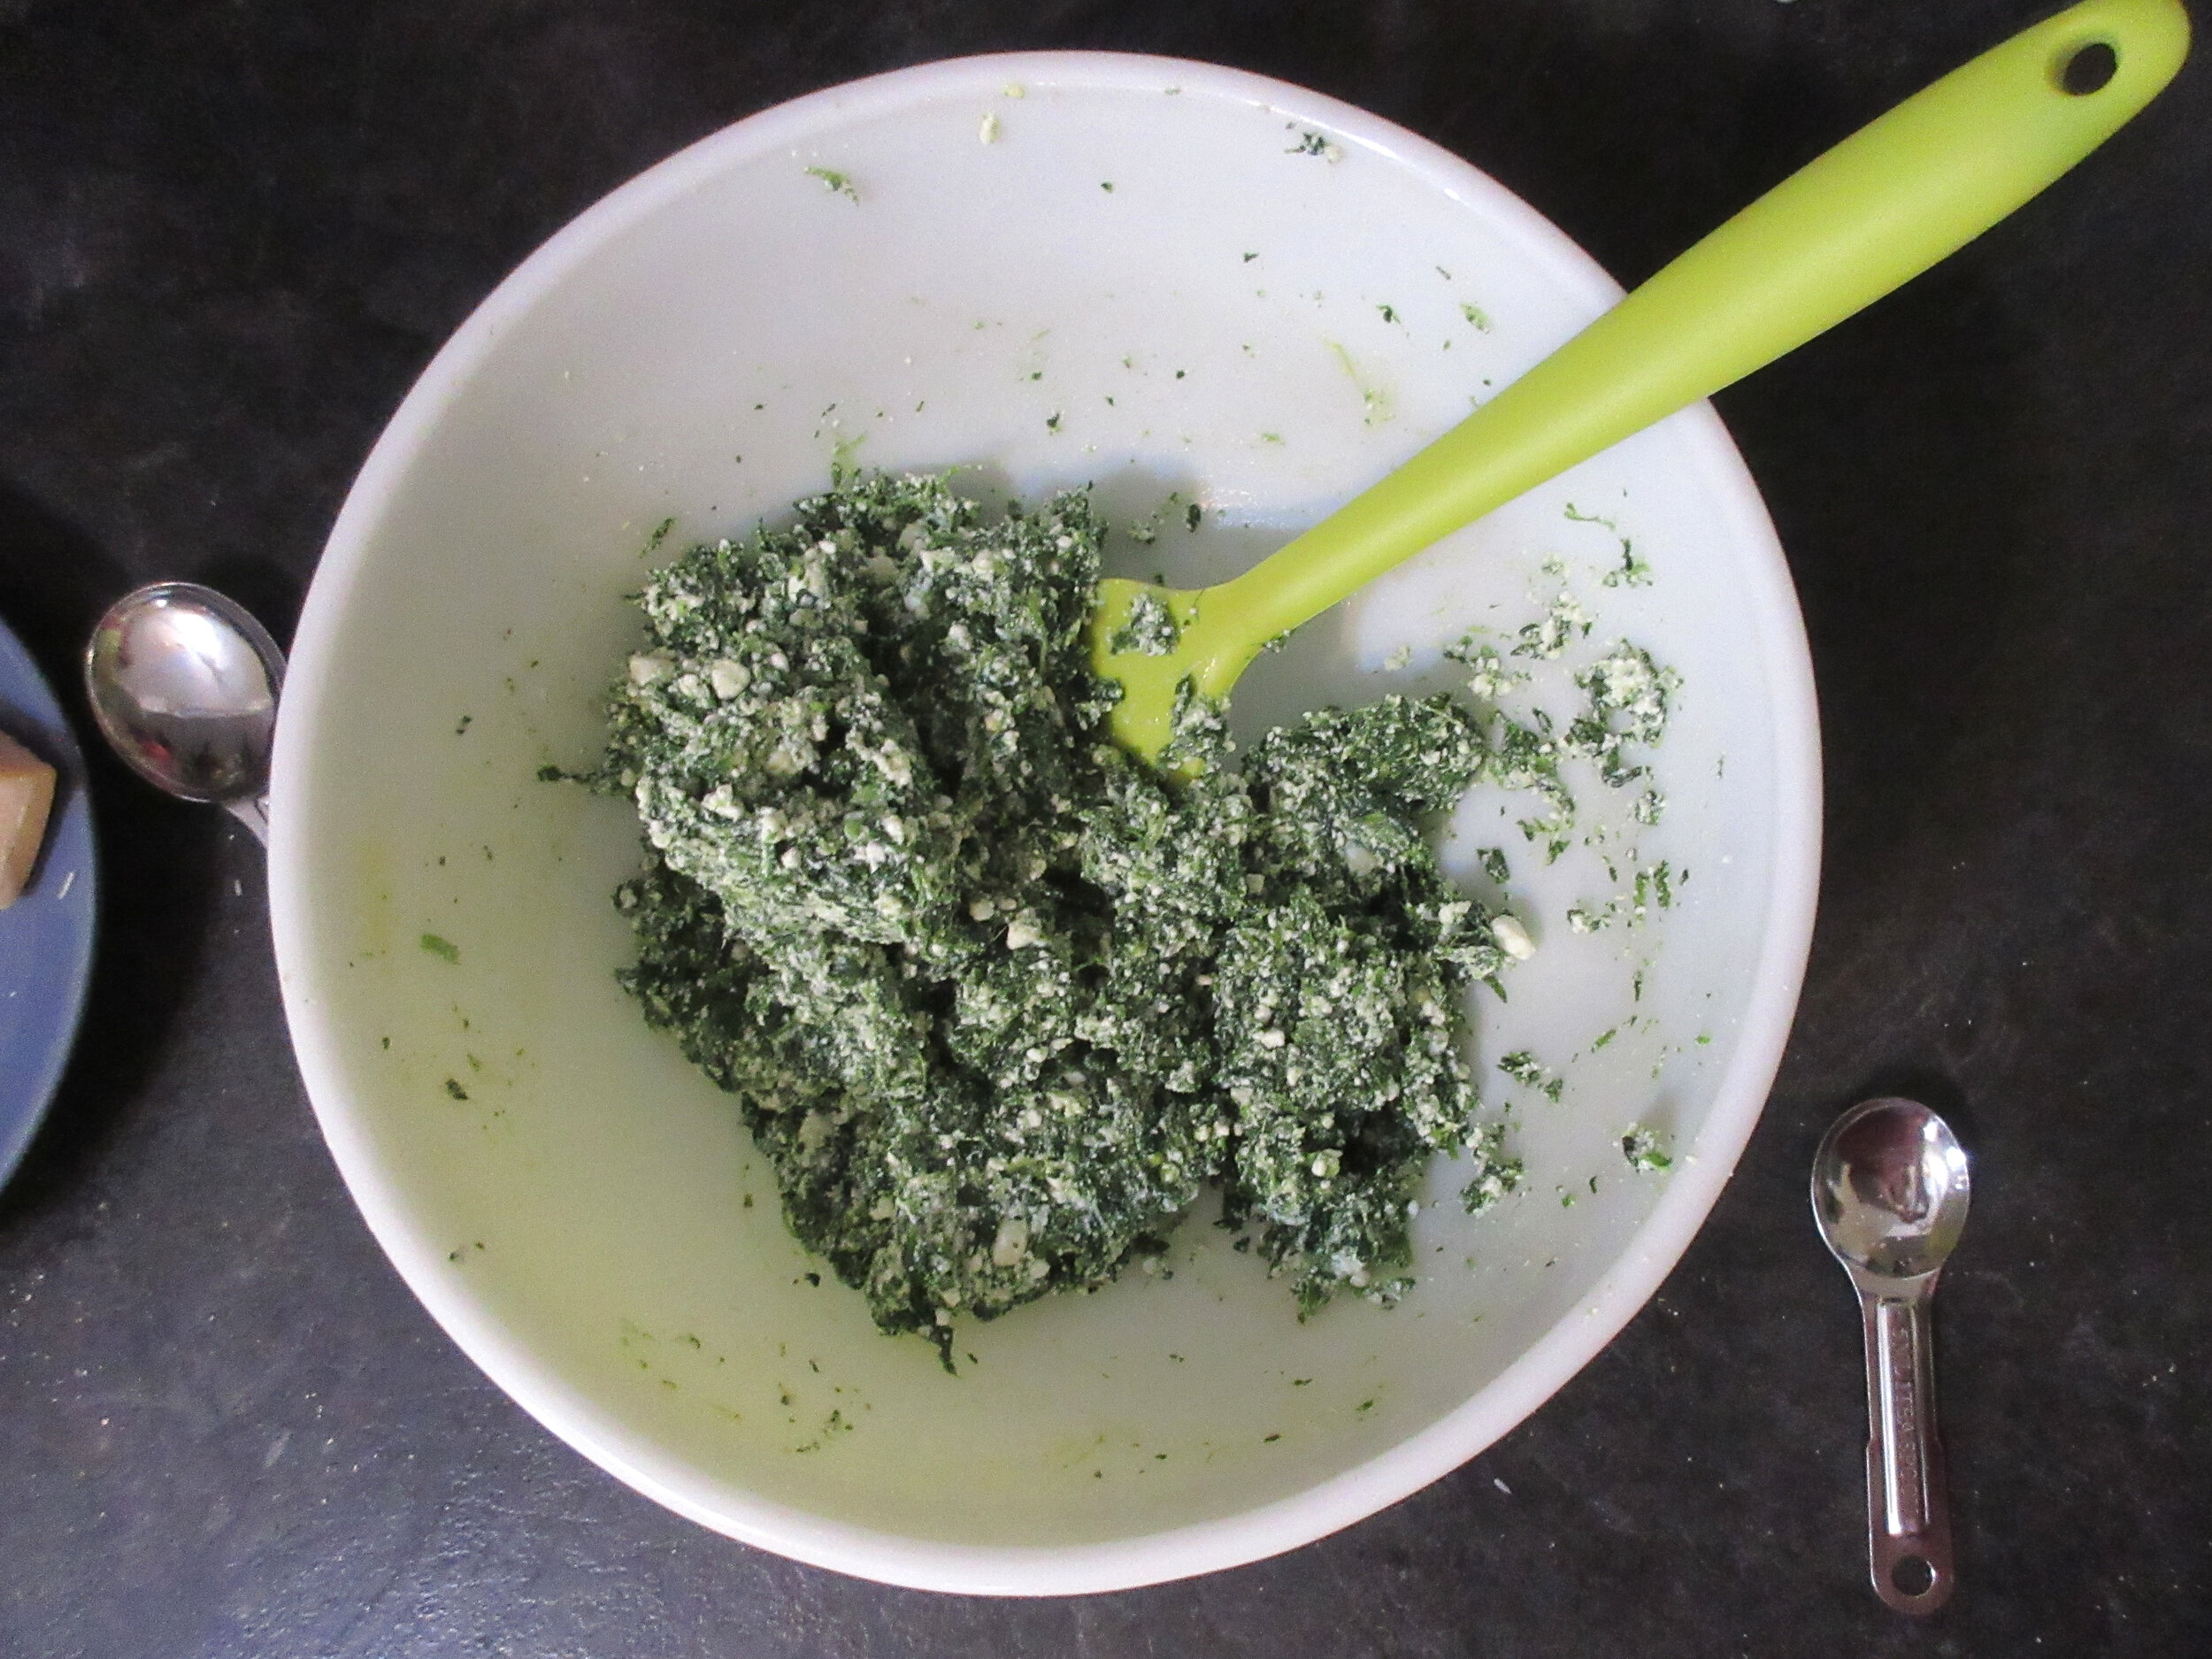
2. Mix the spinach, ricotta cheese, salt, egg yolks and the Parmesan cheese. You may also choose to add onions, garlic and/or black pepper.
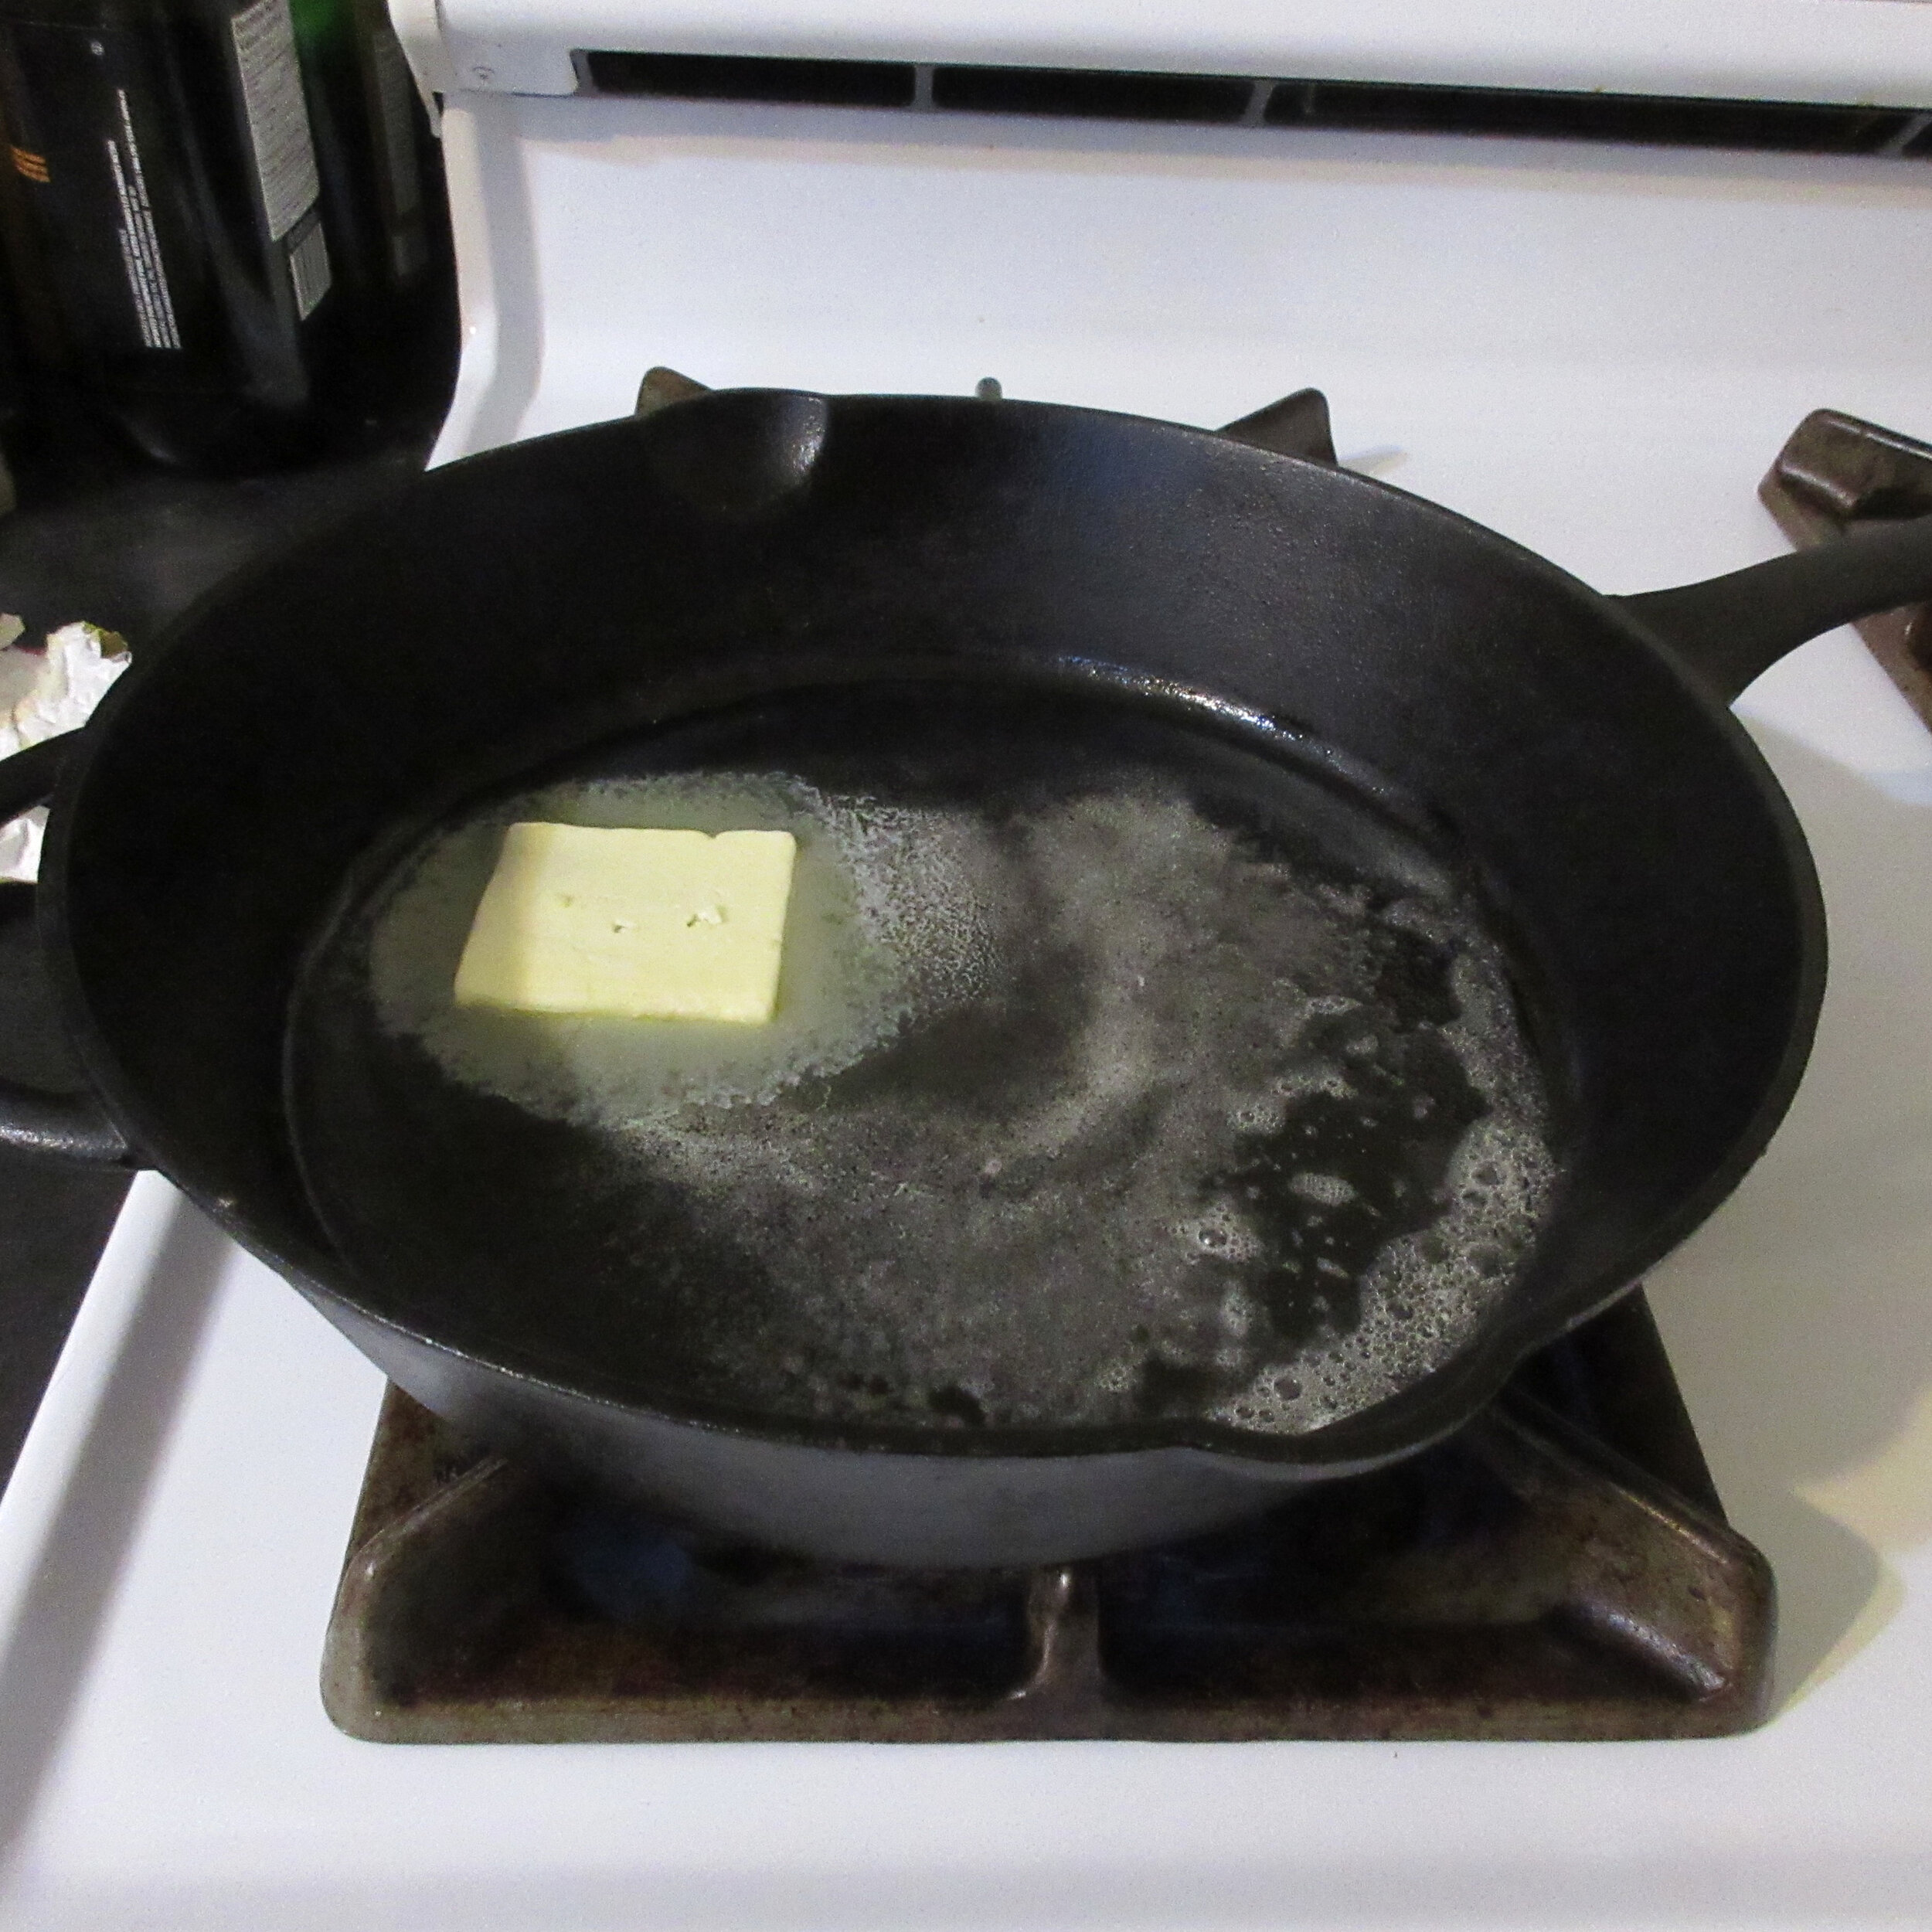
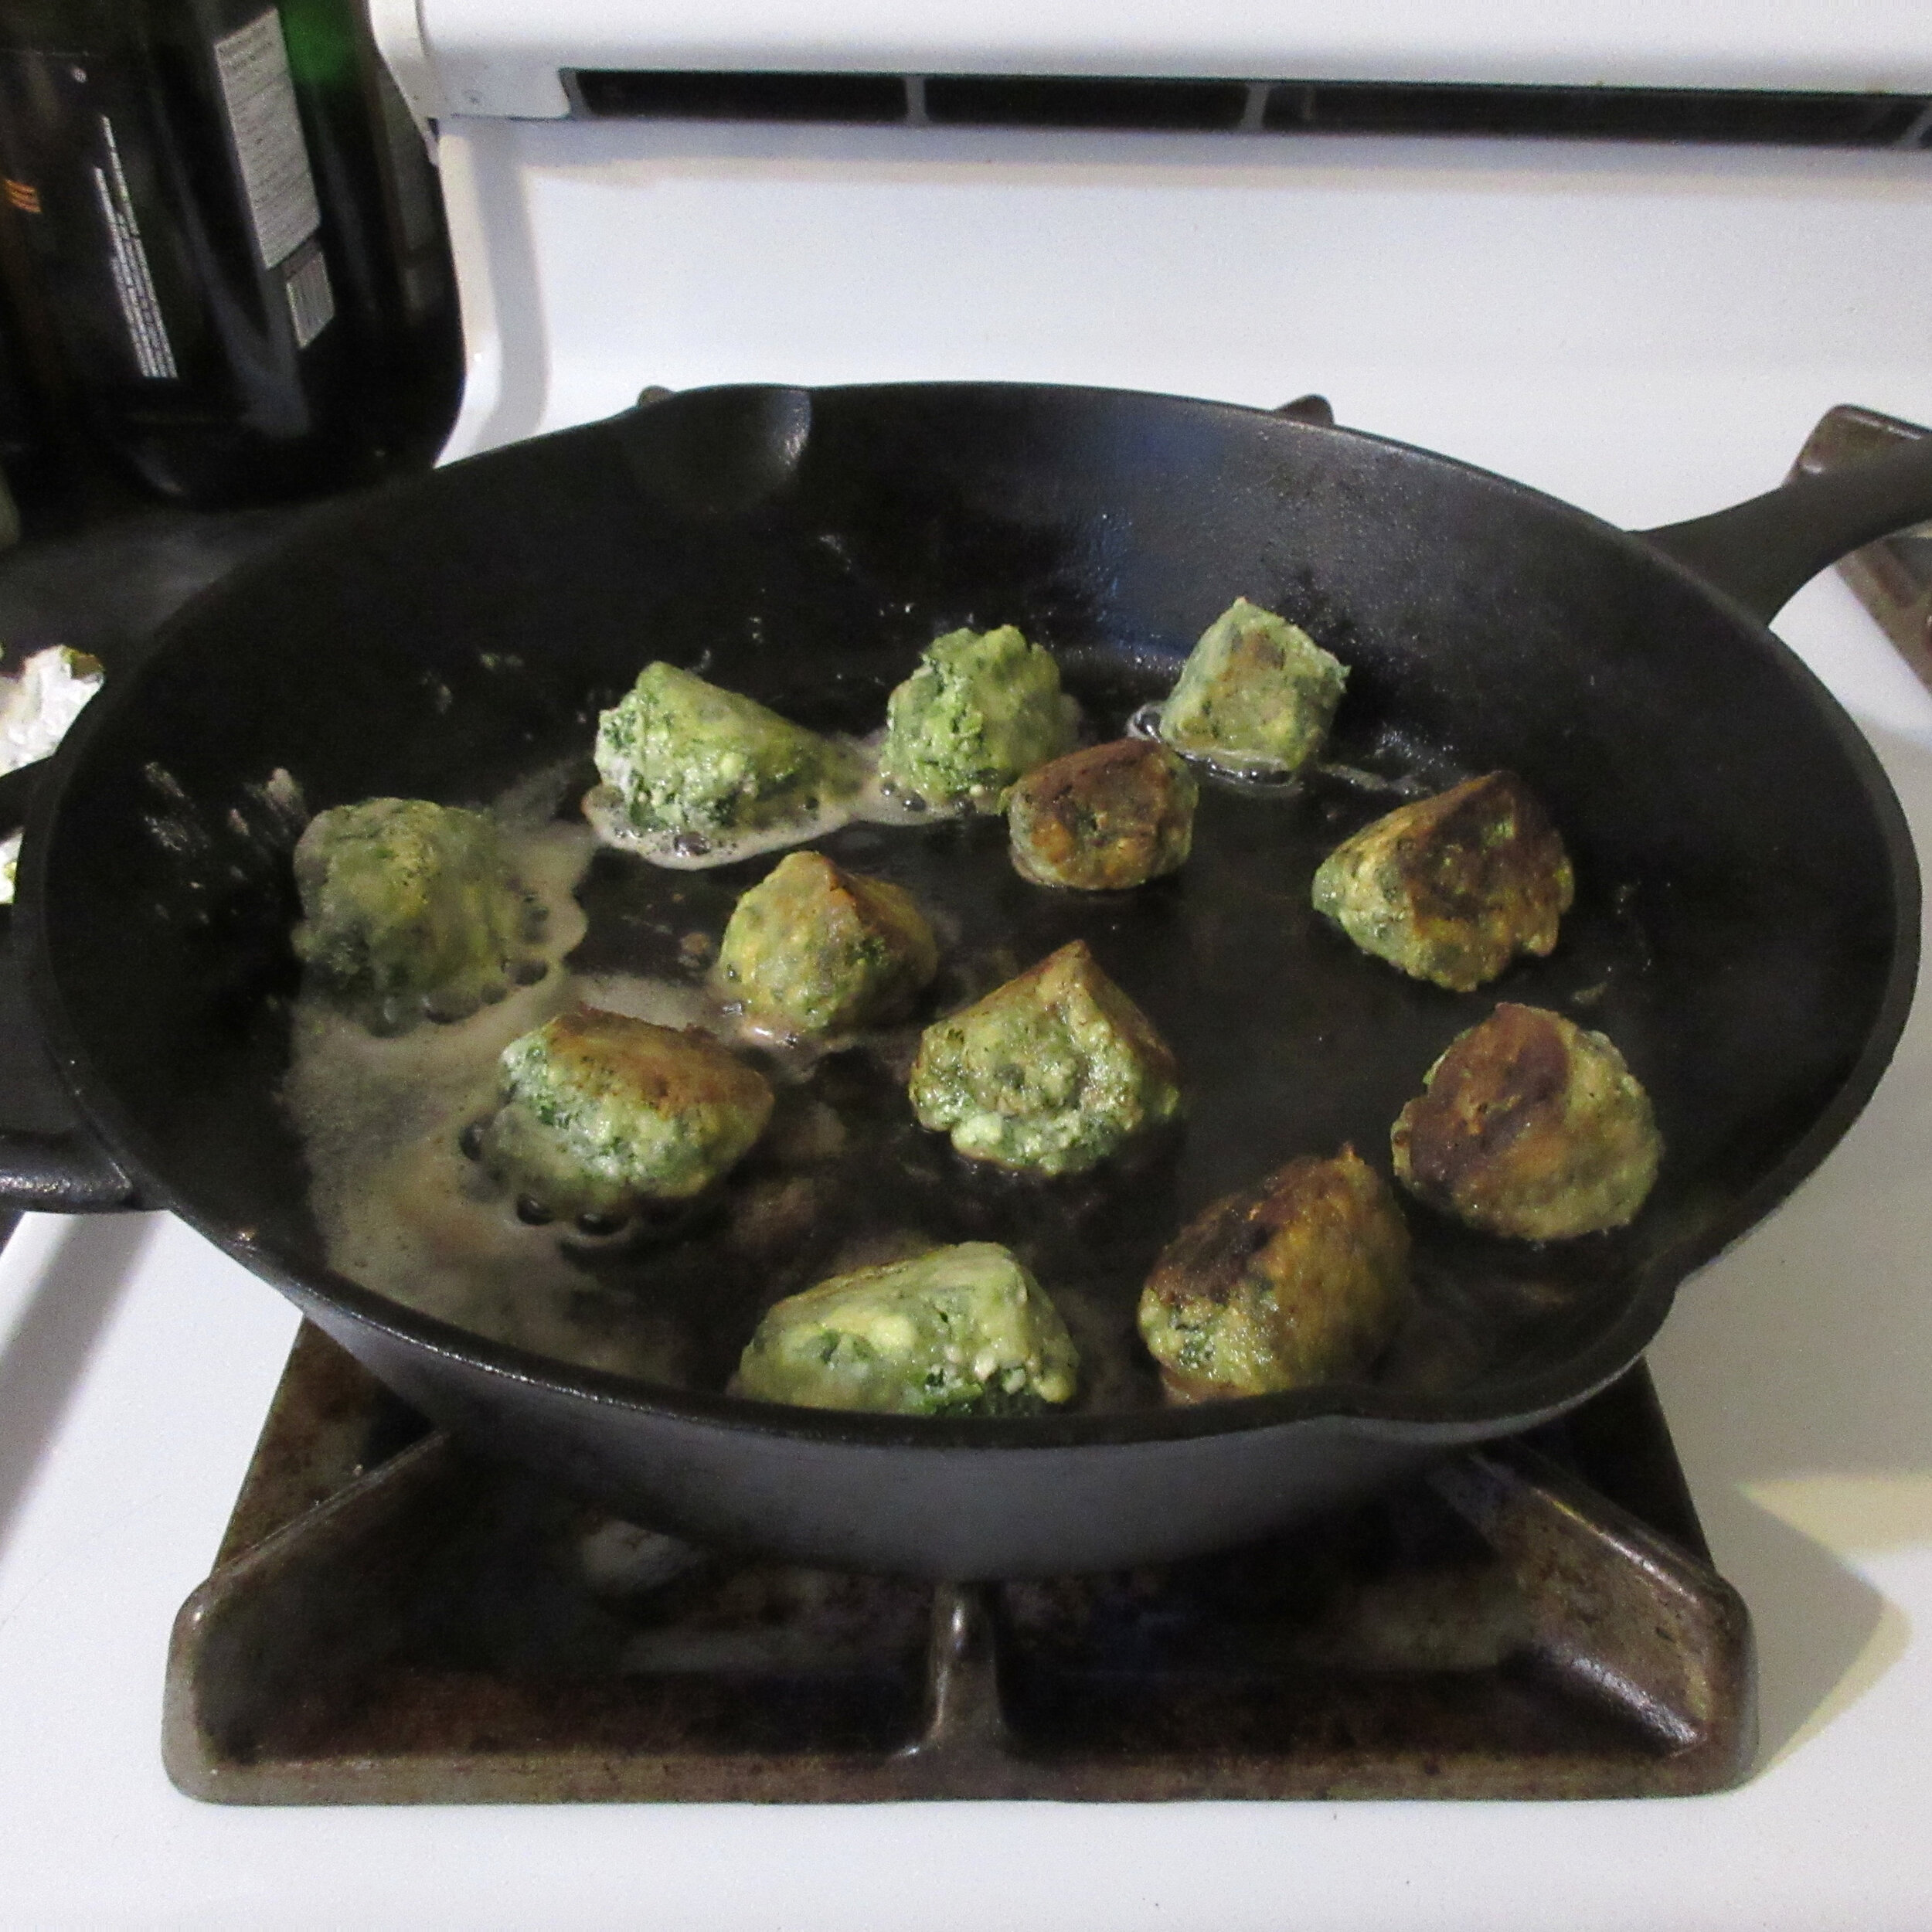
3. Form the mixture into small balls and roll in flour. Melt butter in a frying pan and fry the dumplings until browned on all sides. Sprinkle with Parmesan cheese before serving.
This recipe makes a bit more than 30 Timbit-sized dumplings (3-4 cm or 1¼ – 1½ inches in diameter)
My Review
I made this recipe twice before creating this blog post and my first experience can be summed up by my friend Charlene’s reaction when she popped by for a backyard socially-distanced visit later the same day. I regaled her with the process of making Spinach and Ricotta Dumplings and when I got to point where I told her that I put the dumplings in a pot of boiling water to cook, she exclaimed, “OH NO! What is holding them together?!?”
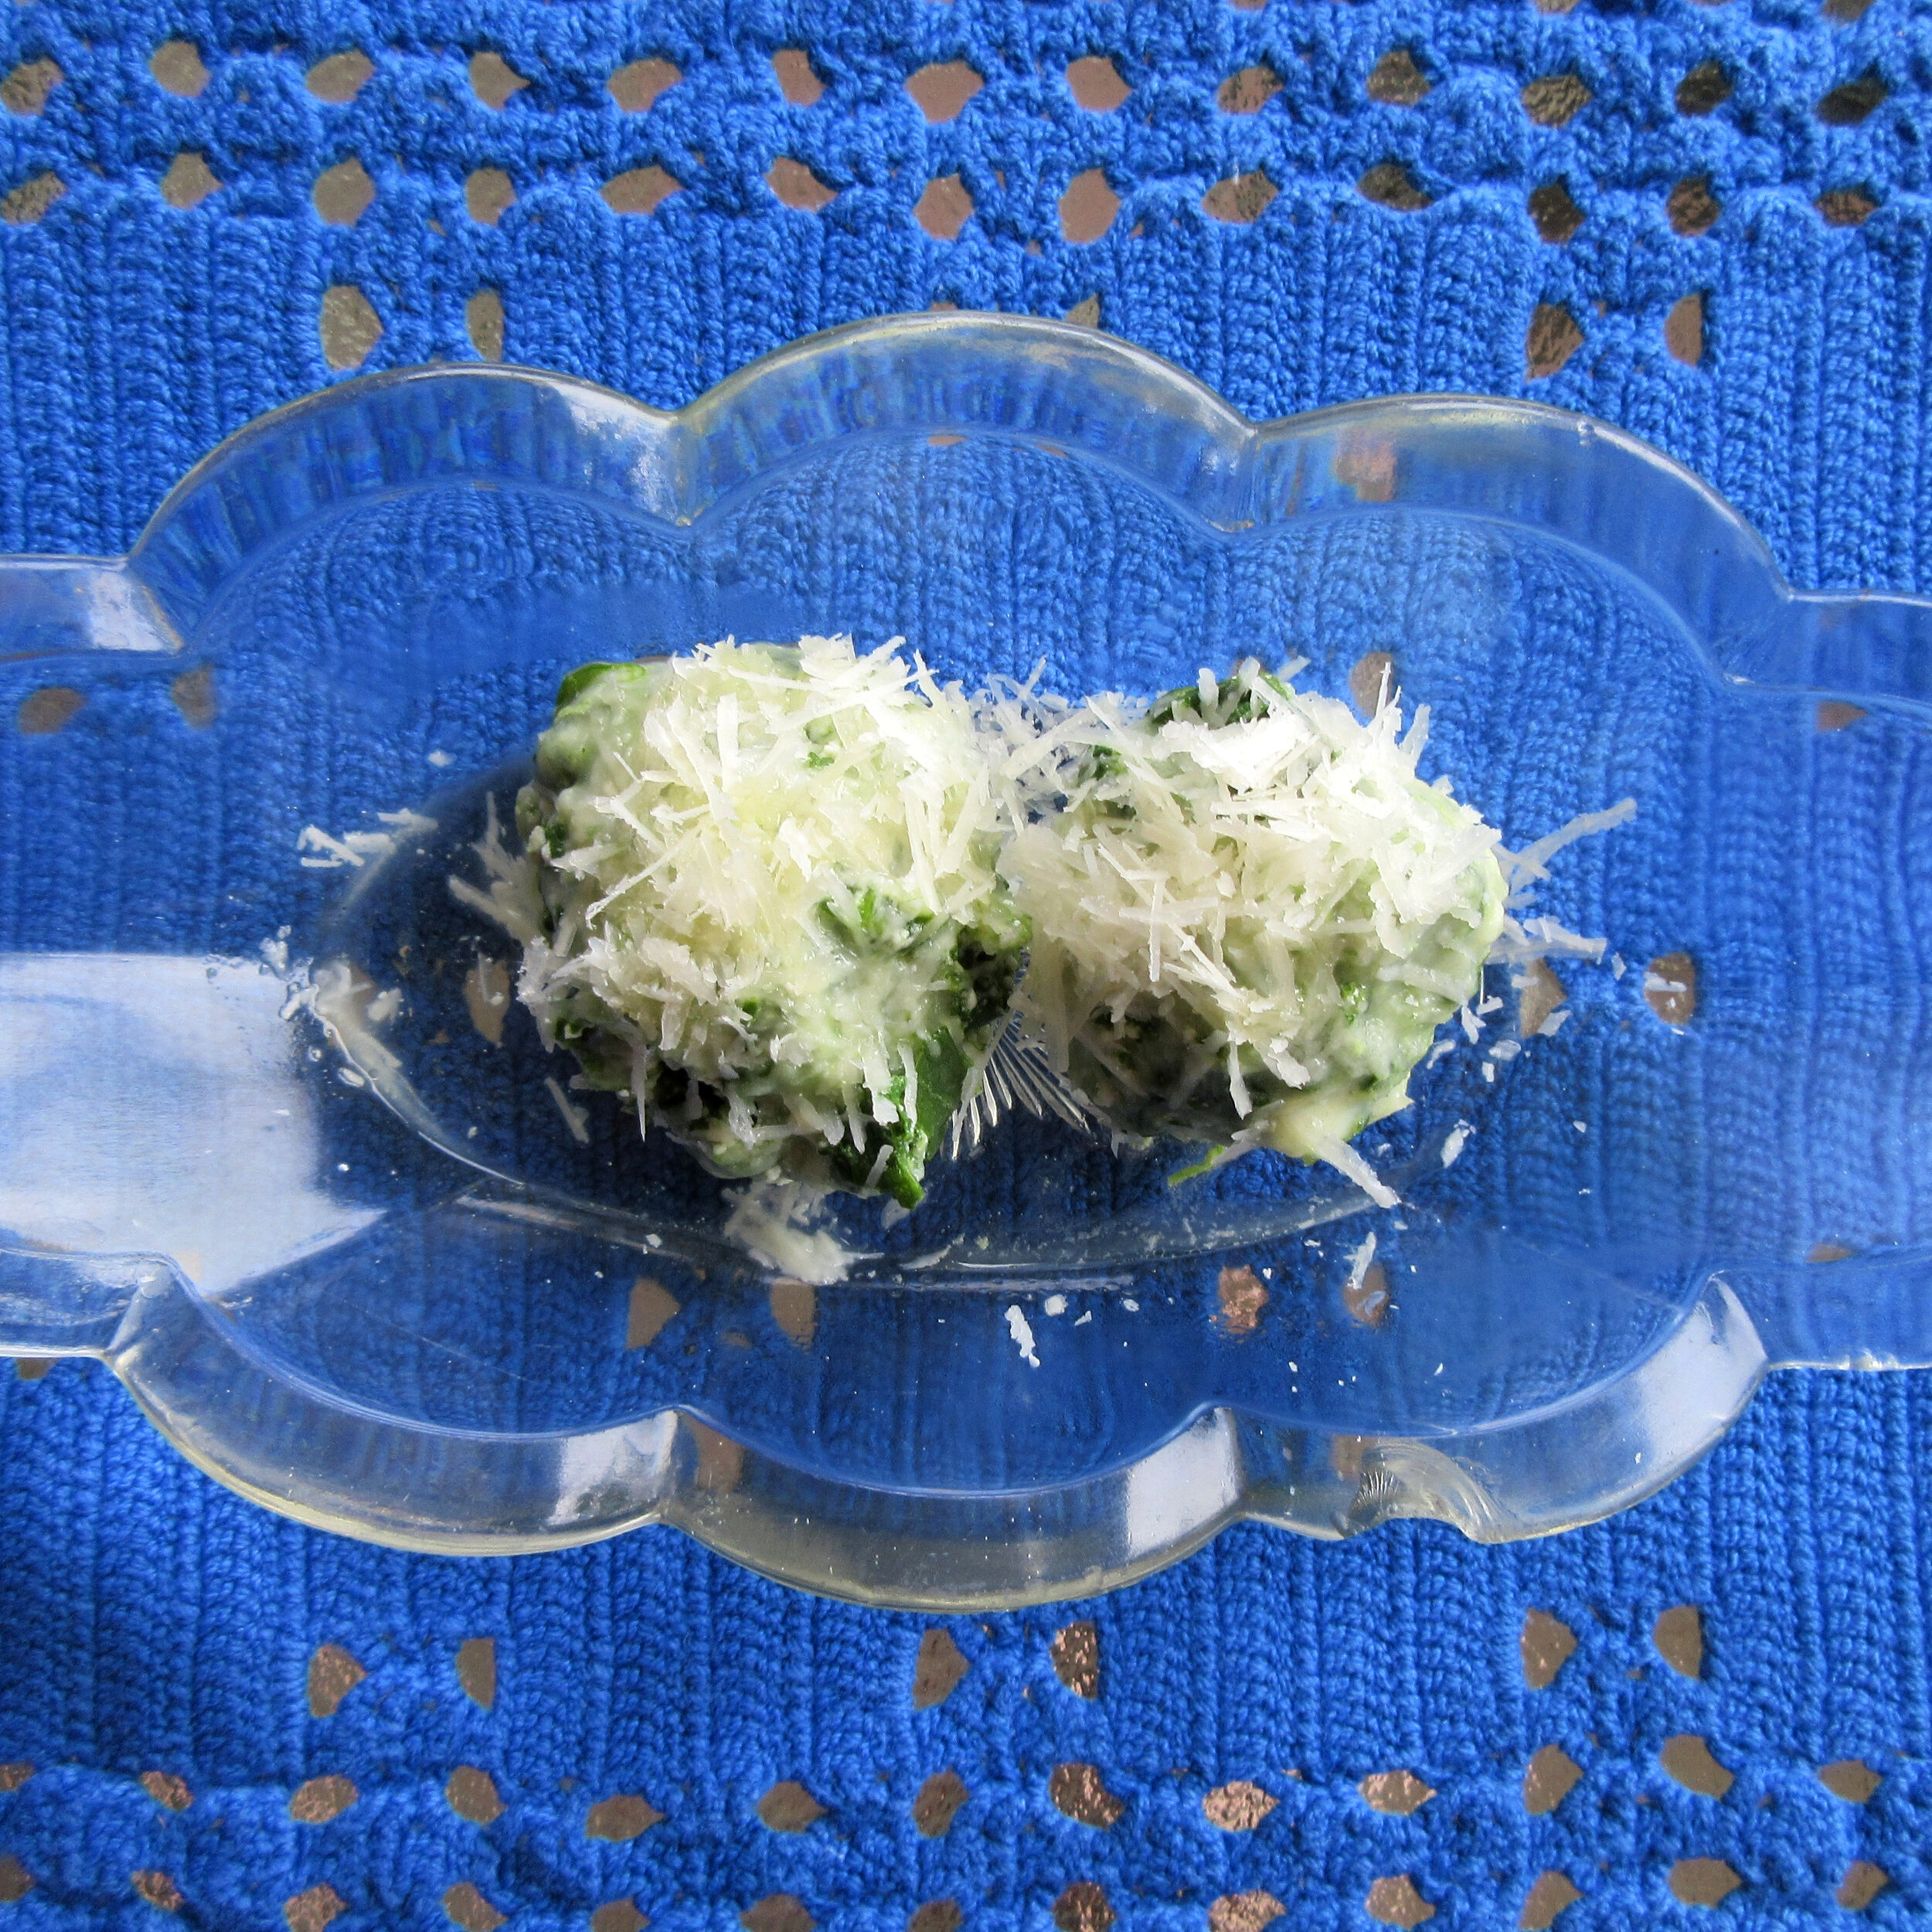
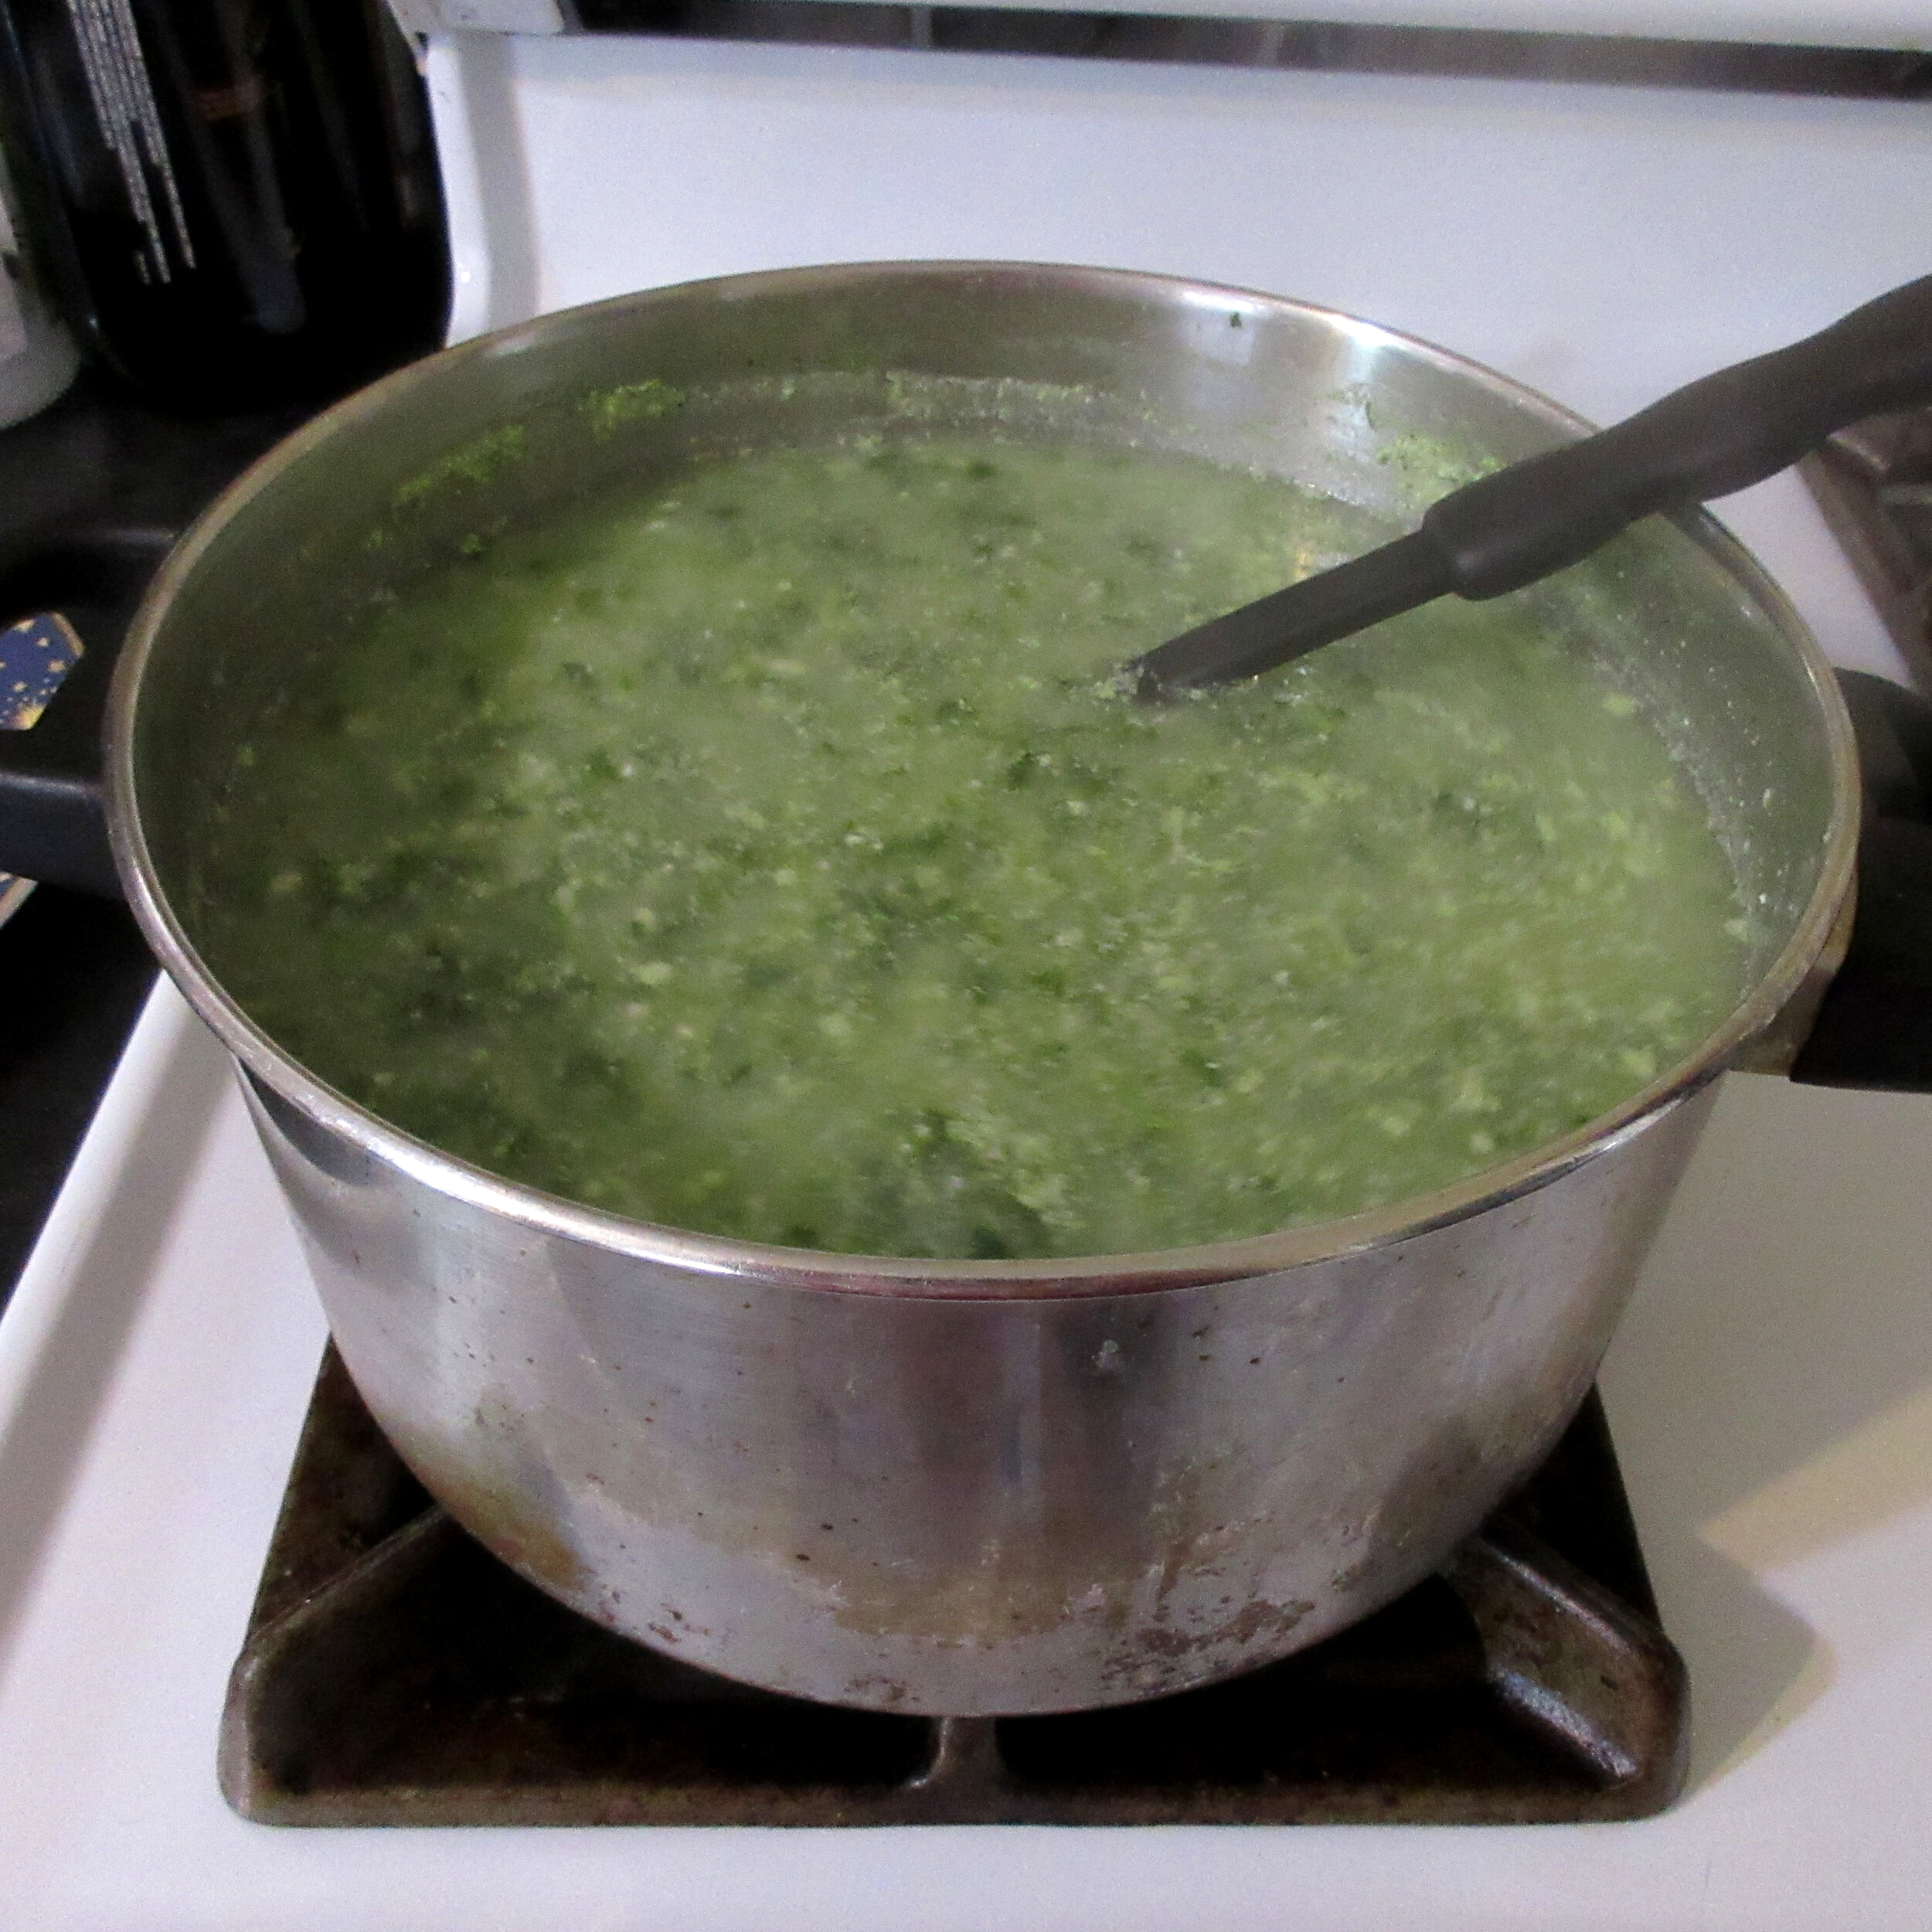
The answer: not much! Two out of 34 dumplings made it through the boiling process and I was also left with Spinach and Ricotta Soup (don’t worry, I ended up draining it and I used the spinach and ricotta to make a delicious pasta sauce later). Have a look at my pictures below to see the 2 miracle dumplings and the pot of soup.
Steve and I both ate one of the surviving dumplings and neither of us were a fan. The flour on the outside created a congealed glutinous layer after being boiled that just tasted like flour paste. Flour paste and spinach were the dominant flavours. You couldn’t really taste the cheese at all.
There are many things that could have gone wrong. Is there a secret tactic not mentioned in the recipe that will make all the difference? Should I have used fresh spinach instead of frozen? The recipe instructs us to “shape into small balls” and I decided to use the very Canadian measurement of making them Timbit-sized (keep reading for more on Timbits), which is roughly 3-4 cm or 1¼ – 1½ inches in diameter. Maybe if I had made them smaller, they would have survived being boiled?
Instead of dancing with the devil and trying to boil my second batch of dumplings, I decided to go with frying them. The original recipe suggests pouring melted butter on them before serving, so I figured that I could just include the butter by frying the dumplings in it. The dumplings were delicate and I had to turn them very gently, but they all survived being fried!
Steve and I both agreed that the fried Spinach and Ricotta Dumplings could use something else for more flavour, so I suggest adding some finely chopped onion, garlic or black pepper. I found that they had more flavour as leftovers than when they were freshly fried, but a little something extra would have made them much tastier.
Let’s get into some Canadiana…
As I’ve already mentioned, when the dumpling recipe instructed us to “shape into small balls”, my first instinct was to make the balls Timbit-sized (how Canadian of me). Afterwards, I took a moment to think about my readers and realized that most of you don’t live in Canada and might not have any idea what I’m talking about!
You might call Timbits “Donut Holes” where you live, but I can tell you that not one Canadian will call them that. They are Timbits. However, what they actually are...is doughnut holes: a bite-sized doughnut fashioned out of the center piece cut out of the doughnut ring. The size varies a bit, but Timbits are roughly 3-4 cm or 1¼ – 1½ inches in diameter.
Timbits are called Timbits because they are served at Tim Hortons, which is THE most prevalent coffee and doughnut shop in Canada. Tim Hortons restaurants are everywhere, especially in Ontario. I know of several instances where there are two Tim Hortons directly across the street from one another, but both restaurants are busy. In Hamilton, Ontario, I could walk to 15 different Tim Hortons restaurants that are located 2 km (1 ¼ miles) or less from my house.
I took the opportunity to grab a 10 Pack of Timbits to photograph for you, and I decided to venture a little bit farther than 2 km from my house to get them. That’s because about 4 km (2 ½ miles) away from where I live is the location of the very first Tim Hortons restaurant!


The First Tim Horton’s restaurant is here in my hometown of Hamilton, Ontario at 65 Ottawa Street North and it was opened on May 17, 1964 by Tim Horton and his business partner Jim Charade. Tim Horton was a professional hockey player in the National Hockey League, who played for the Toronto Maple Leafs from 1952 – 1970. At the end of his career, he played for the New York Rangers, Pittsburgh Penguins and Buffalo Sabres before his untimely death from a car accident in 1974.
During Tim Horton’s career, compensation for hockey players in the NHL was not nearly as lucrative as it is today, so the coffee & doughnut shop was opened to supplement his income in the off-season. He had launched less-successful business ventures (a burger restaurant and a car dealership) before this restaurant, but he struck gold with this concept! This photograph shows what the first Tim Horton’s restaurant on Ottawa Street in Hamilton looked like in its early years (photo courtesy of Hamilton Public Library - Local History & Archives).

When I went there to buy the Timbits, I snapped some photos of what the First Tim Horton’s restaurant looks like today. Out front, there’s a statue of Tim Horton shooting a hockey puck in his Toronto Maple Leafs jersey. Tim was into current events and wore a face mask to protect patrons visiting his restaurant in case he was an asymptomatic carrier of COVID-19.
If you ever visit the Tim Hortons on Ottawa Street North in Hamilton, you can order yourself some food and also check out a small museum on the second floor. BUT If you’re reading this when COVID-19 is still a concern, you may not be able to go up to the second floor to see the museum displays (that part of the restaurant was closed when I was there).


Since I can’t get up to the museum on the top floor these days, here’s a couple of previously-taken pictures of the replica 1960s Tim Horton’s counter you’ll find up there. I had one picture of it that I took of it when my nephew was visiting. I asked around and Mark Osbaldeston had a photo of the other end of the counter that he so nicely shared with all of us. If you have a look at the menu, you’ll notice that a dozen doughnuts cost $1.25, but there’s no Timbits on the menu. That’s because Timbits were introduced in 1976.
The counter is not all you’ll see if you visit the museum space. There is also a display wall with uniforms, packaging, marketing materials and other artifacts & ephemera. Fun fact: you may have noticed that I’ve been writing both Tim Horton’s and Tim Hortons, depending on the time period. The apostrophe was dropped from the restaurant name in the 1990s. Although Tim Horton’s is grammatically correct in English, the apostrophe was deemed to violate Quebec’s French language laws for signs and the restaurant name is Tim Hortons for everyone now.


Since I used the very Canadian measurement of a Timbit in this recipe, I thought I’d end off with some other very Canadian measurements used in this time of COVID-19. Let’s have a look at some public social distancing signs.


Officially, Canadians use the metric system, but in actuality, we use a very strange mixture of metric & imperial. I took the first picture last night when I went for a walk last night here in Hamilton (along with my shadow self-portrait). The City of Hamilton described the recommended space between you and a stranger as both 2m or 6 feet. Considering how people measure distance here, it really is necessary to list both metric and imperial.
The City of Toronto took the opportunity to get creative with their social distancing signs and two of the signs that I’ve seen are on par with Timbits on the Canadiana-measurement scale! Picture #2 below was taken by Genevieve earlier in the year when all parks were closed and social distancing was measured on this sign as 2m or about the length of a hockey stick. Canadian.
I took the 3rd picture at one of Toronto’s beaches, which have just been opened. This social distancing sign measures the correct space as 6 feet, 2m or the length of 3 Canada Geese. Canada Geese are very very commonly found in my part of Canada in the area of the Great Lakes and using Canada Geese to describe staying away from someone is quite apt. When they are mating and are rearing their young, it isn’t unexpected for a Canada Goose to aggressively charge a person while hissing. Likely, the worst that will happen is that they’ll pinch you with their bill, but wise people keep their distance from Canada Geese when they are in family mode. Canadian.
Maggie sent me the 4th picture from the City of Toronto. These are the signs that have been posted at Toronto’s off-leash dog parks and the distance between people is described as 6 feet, 2m or “the length of three happy dogs”. This is by far the cutest social distancing measurement that I’ve come across, but also the least accurate!
Are there interesting COVID-19 social distancing signs in your part of the world? Leave a comment and describe what’s happening in your neck of the woods - I’d love to hear about it.

ReadThe New York Times Cook Book:

Queen of Puddings
Queen of Puddings comes to us all they way from Toronto in 1877. The Home Cook Book is Canada’s first community cookbook with recipes contributed by women as a fundraiser for The Hospital for Sick Children. Queen of Puddings must have been popular in Toronto in the late 1870s because this recipe (with various names) was submitted by 5 different women to the Puddings chapter of the book!
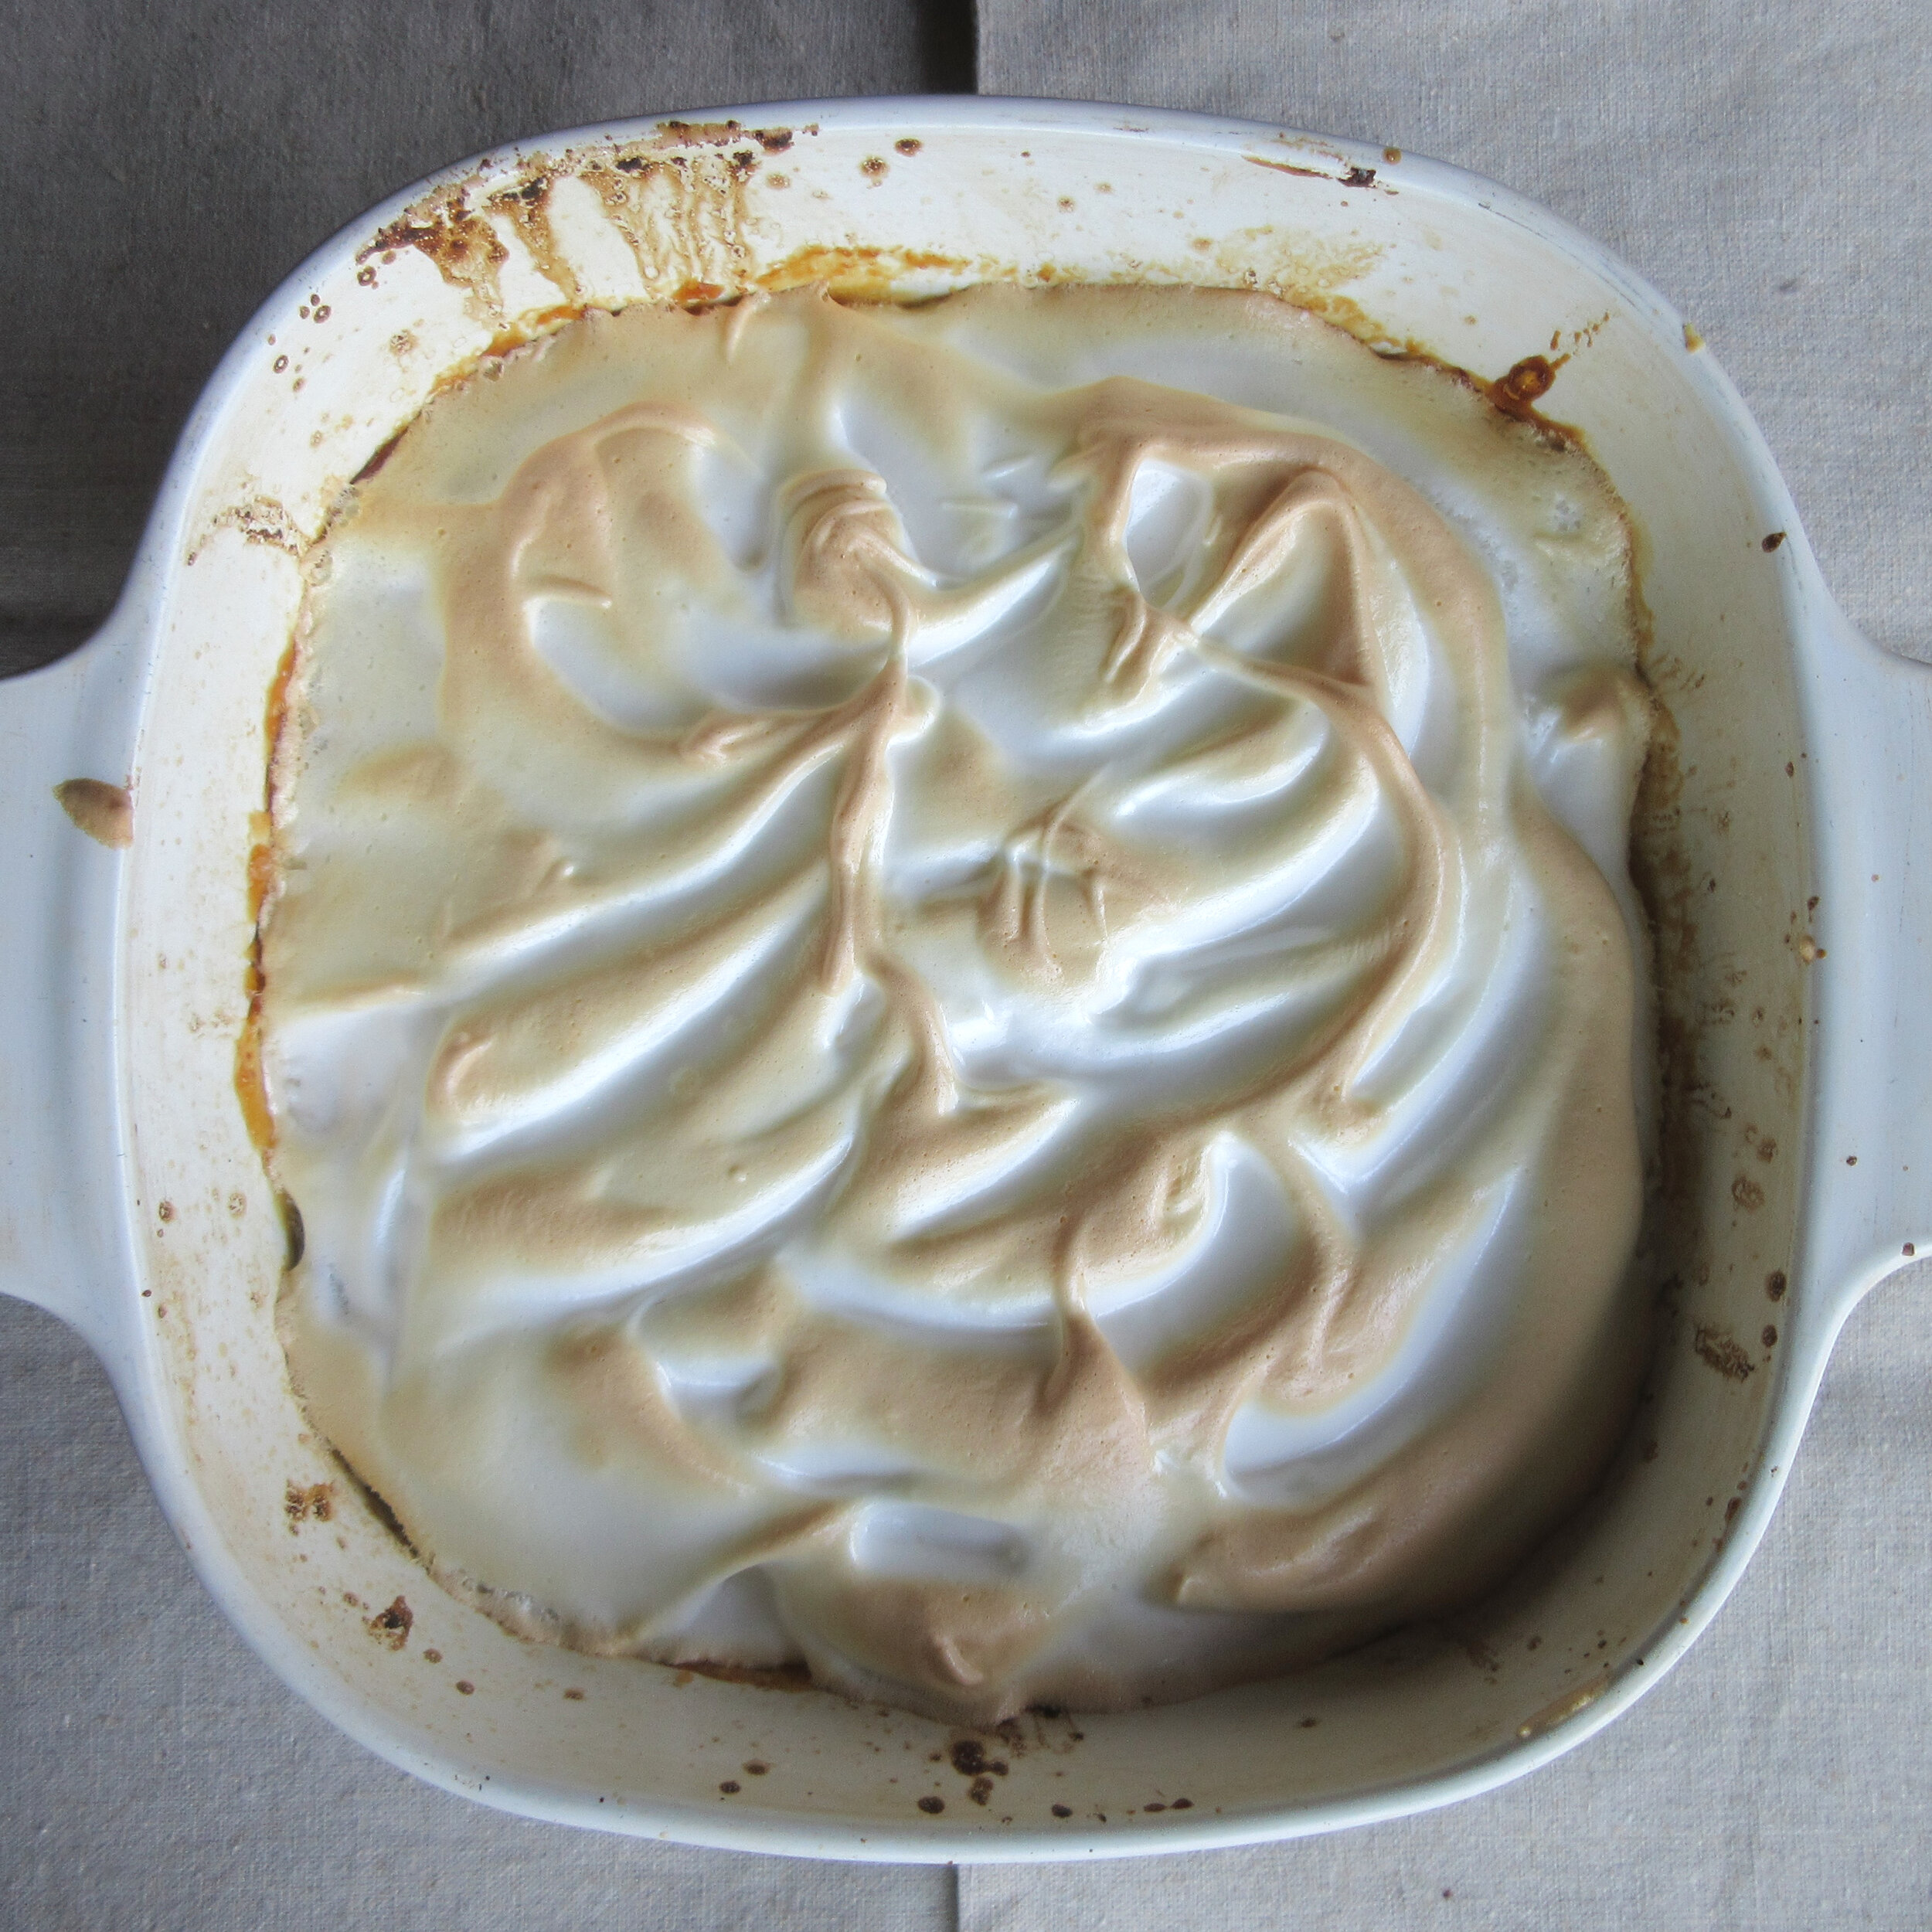
I had plenty to share with friends & family and I described it to the people I gave it to as a lemony soufflé bottom with a jam layer and meringue on top. The reviews I received were: no response, that it was delightful, “it was very good and had a unique texture”, and it was weird to eat with mint ice cream.

You’ll find this recipe in:
The Home Cook Book
Toronto, 1877
Historic Recipes:
The Home Cook Book is Canada’s first community cookbook. Queen of Puddings must have been popular in Toronto in the late 1870s because this recipe (with various names) was submitted by 5 different women to the Puddings chapter of the book! Keep reading for my recipe, which was inspired by all five.
PRESERVES PUDDING.
Mrs. R. Beaty.
One pint of bread crumbs, one quart of milk, eight tablespoons of sugar, yolks of four eggs; beat yolks and sugar together, then stir in the crumbs with the boiling milk and the rind of one lemon. When pudding is done, beat the whites to a stiff froth with two tablespoonfuls white sugar. Spread the pudding with jam or jelly over the top, then put on the whites of egg and bake to a light brown.
QUEEN OF PUDDINGS.
One pint of bread crumbs, one quart milk, four eggs, (the yolks), piece of butter the size of an egg, sugar to sweeten, flavour with lemon. When baked, spread with jelly, then the whites of the eggs beaten to a stiff froth, with a little sugar and lemon spread of top; brown slightly in a hot oven. To be eaten with sugar and cream.
THE QUEEN OF PUDDINGS.
Mrs. John Morse.
One pint of bread crumbs, one pint of milk, the yolks of three eggs; bake in the oven a short time, until it become stiff; then place preserves over this, and beat the whites of the three eggs to a froth and lay all over this again; sprinkle white sugar on the top, and allow it to brown in the oven for a few minutes.
JELLY PUDDING.
Mrs. C. H. Wheeler.
One quart milk, one pint of bread crumbs, yolks of four beaten eggs, one-half cup of sugar; bake about half an hour; when cool, spread jelly over the pudding, beat the whites with a little sugar, and spread on top for frosting; set back in the oven a few minutes after the whites have been spread on the pudding; excellent for Sunday dinners, as it may be eaten cold.
MERINGUE PUDDING.
Mrs. C. A. Rogers.
One pint of stale bread crumbs, one quart of milk, the yolks of four eggs, butter the size of an egg, a small cup of sugar, salt, the grated rind of one lemon; bake three-quarters of an hour. When cool, spread the top with preserves or jelly; beat the whites of the eggs with five tablespoons of pulverized sugar; spread on the pudding, and brown in a quick oven; eat with cream.

My Recipe:
4 cups milk – 946 mL
2 cups breadcrumbs – 170 g
(I used roughly half cut-up bread, half store-bought breadcrumbs)
4 eggs, separated into yolks and whites
Zest of one lemon
1/2 cup white sugar – 115 g
1/4 cup butter – 57 g
Jam or jelly
1/4 cup + 1 tbsp white sugar – 70 g (for the meringue)
Cream for serving (optional)
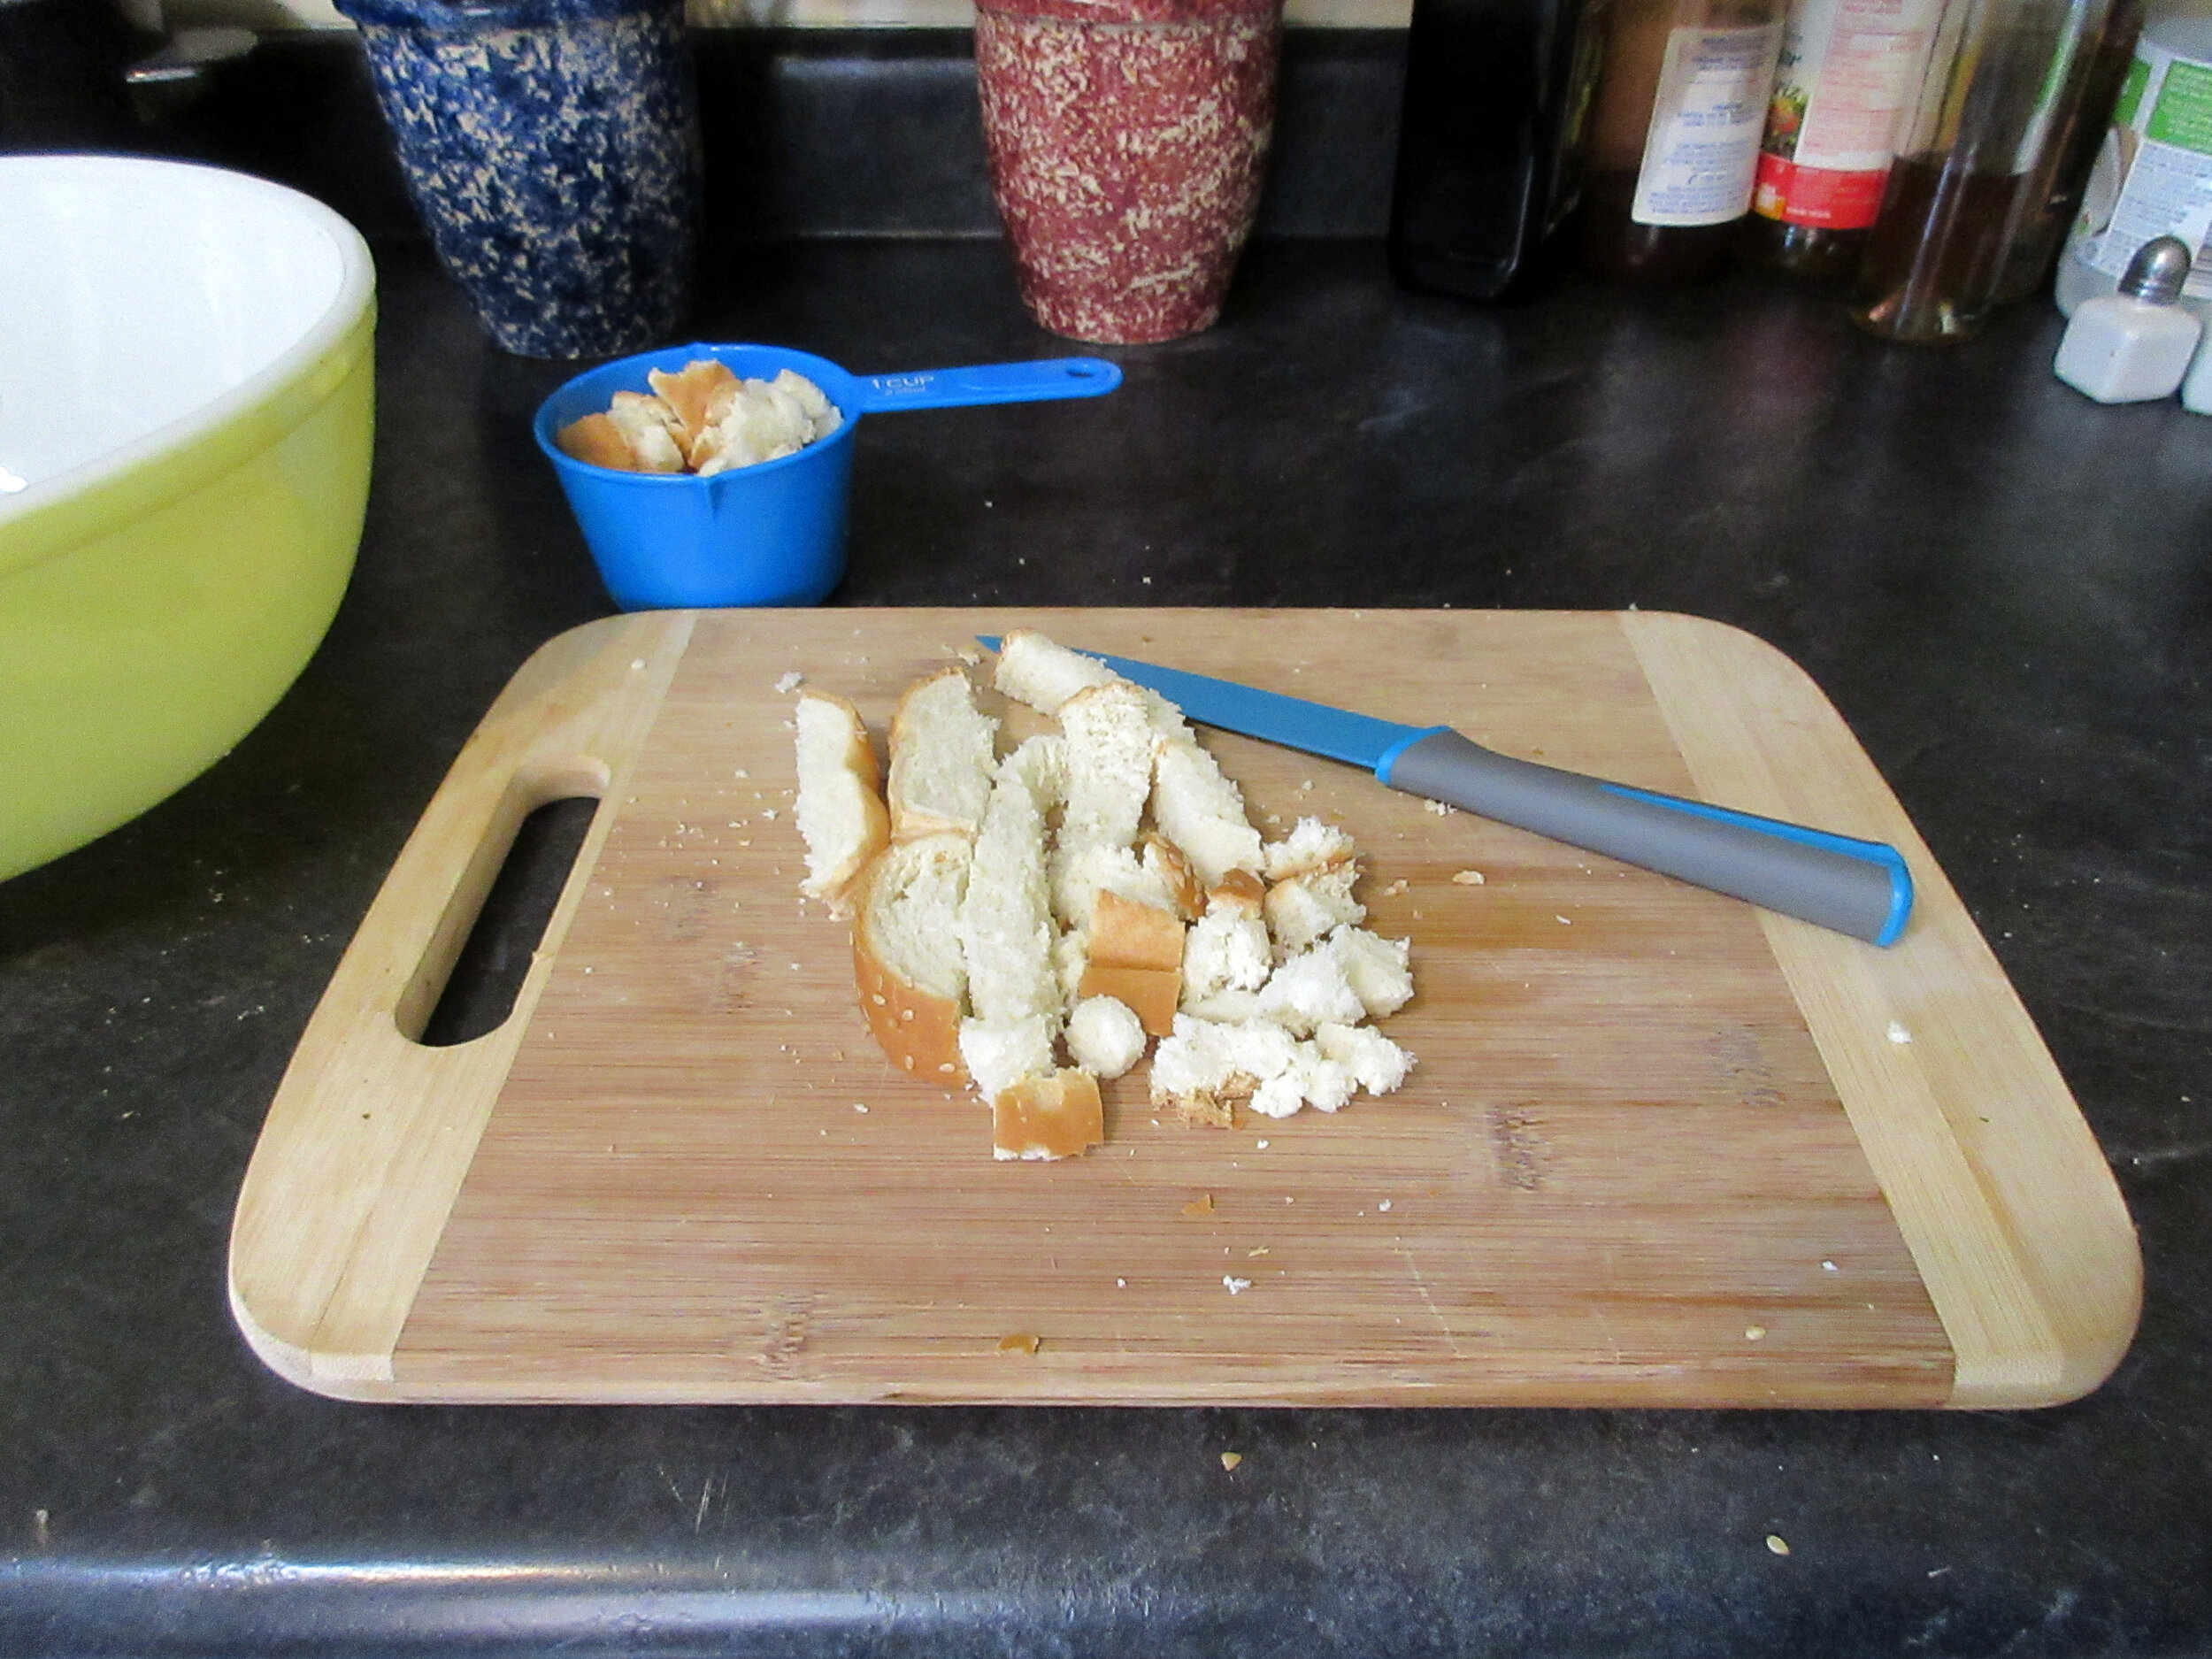
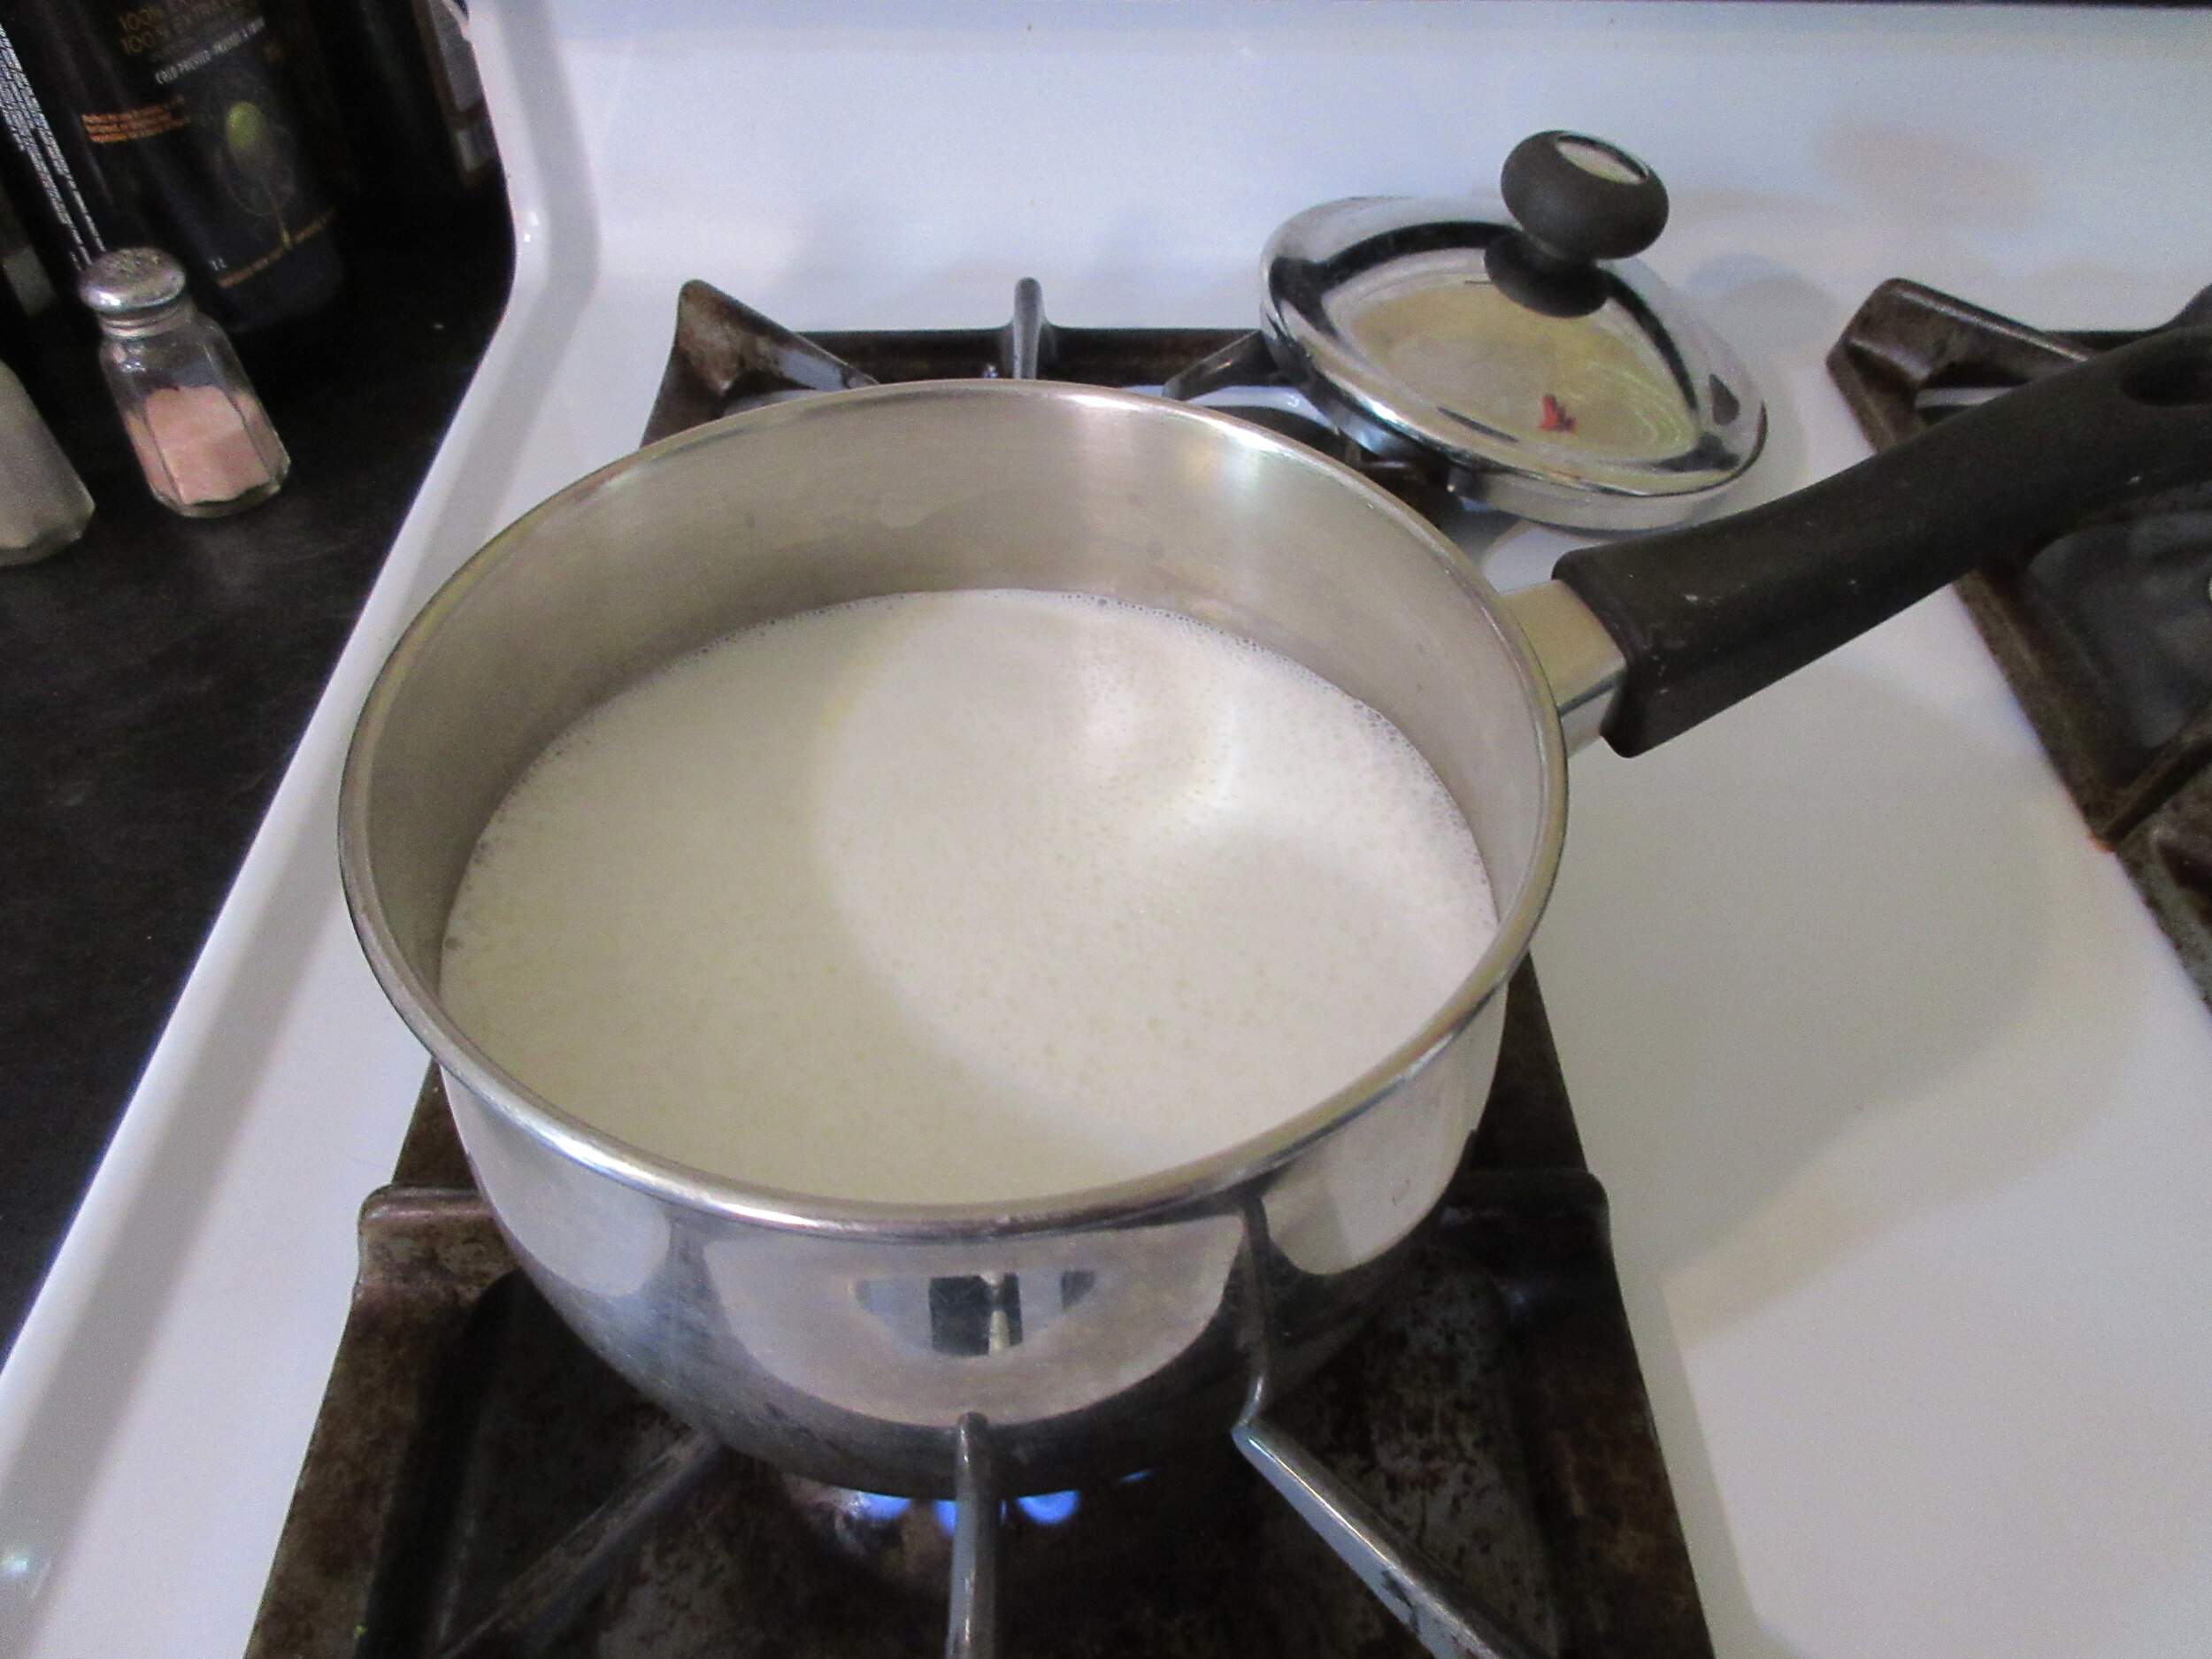
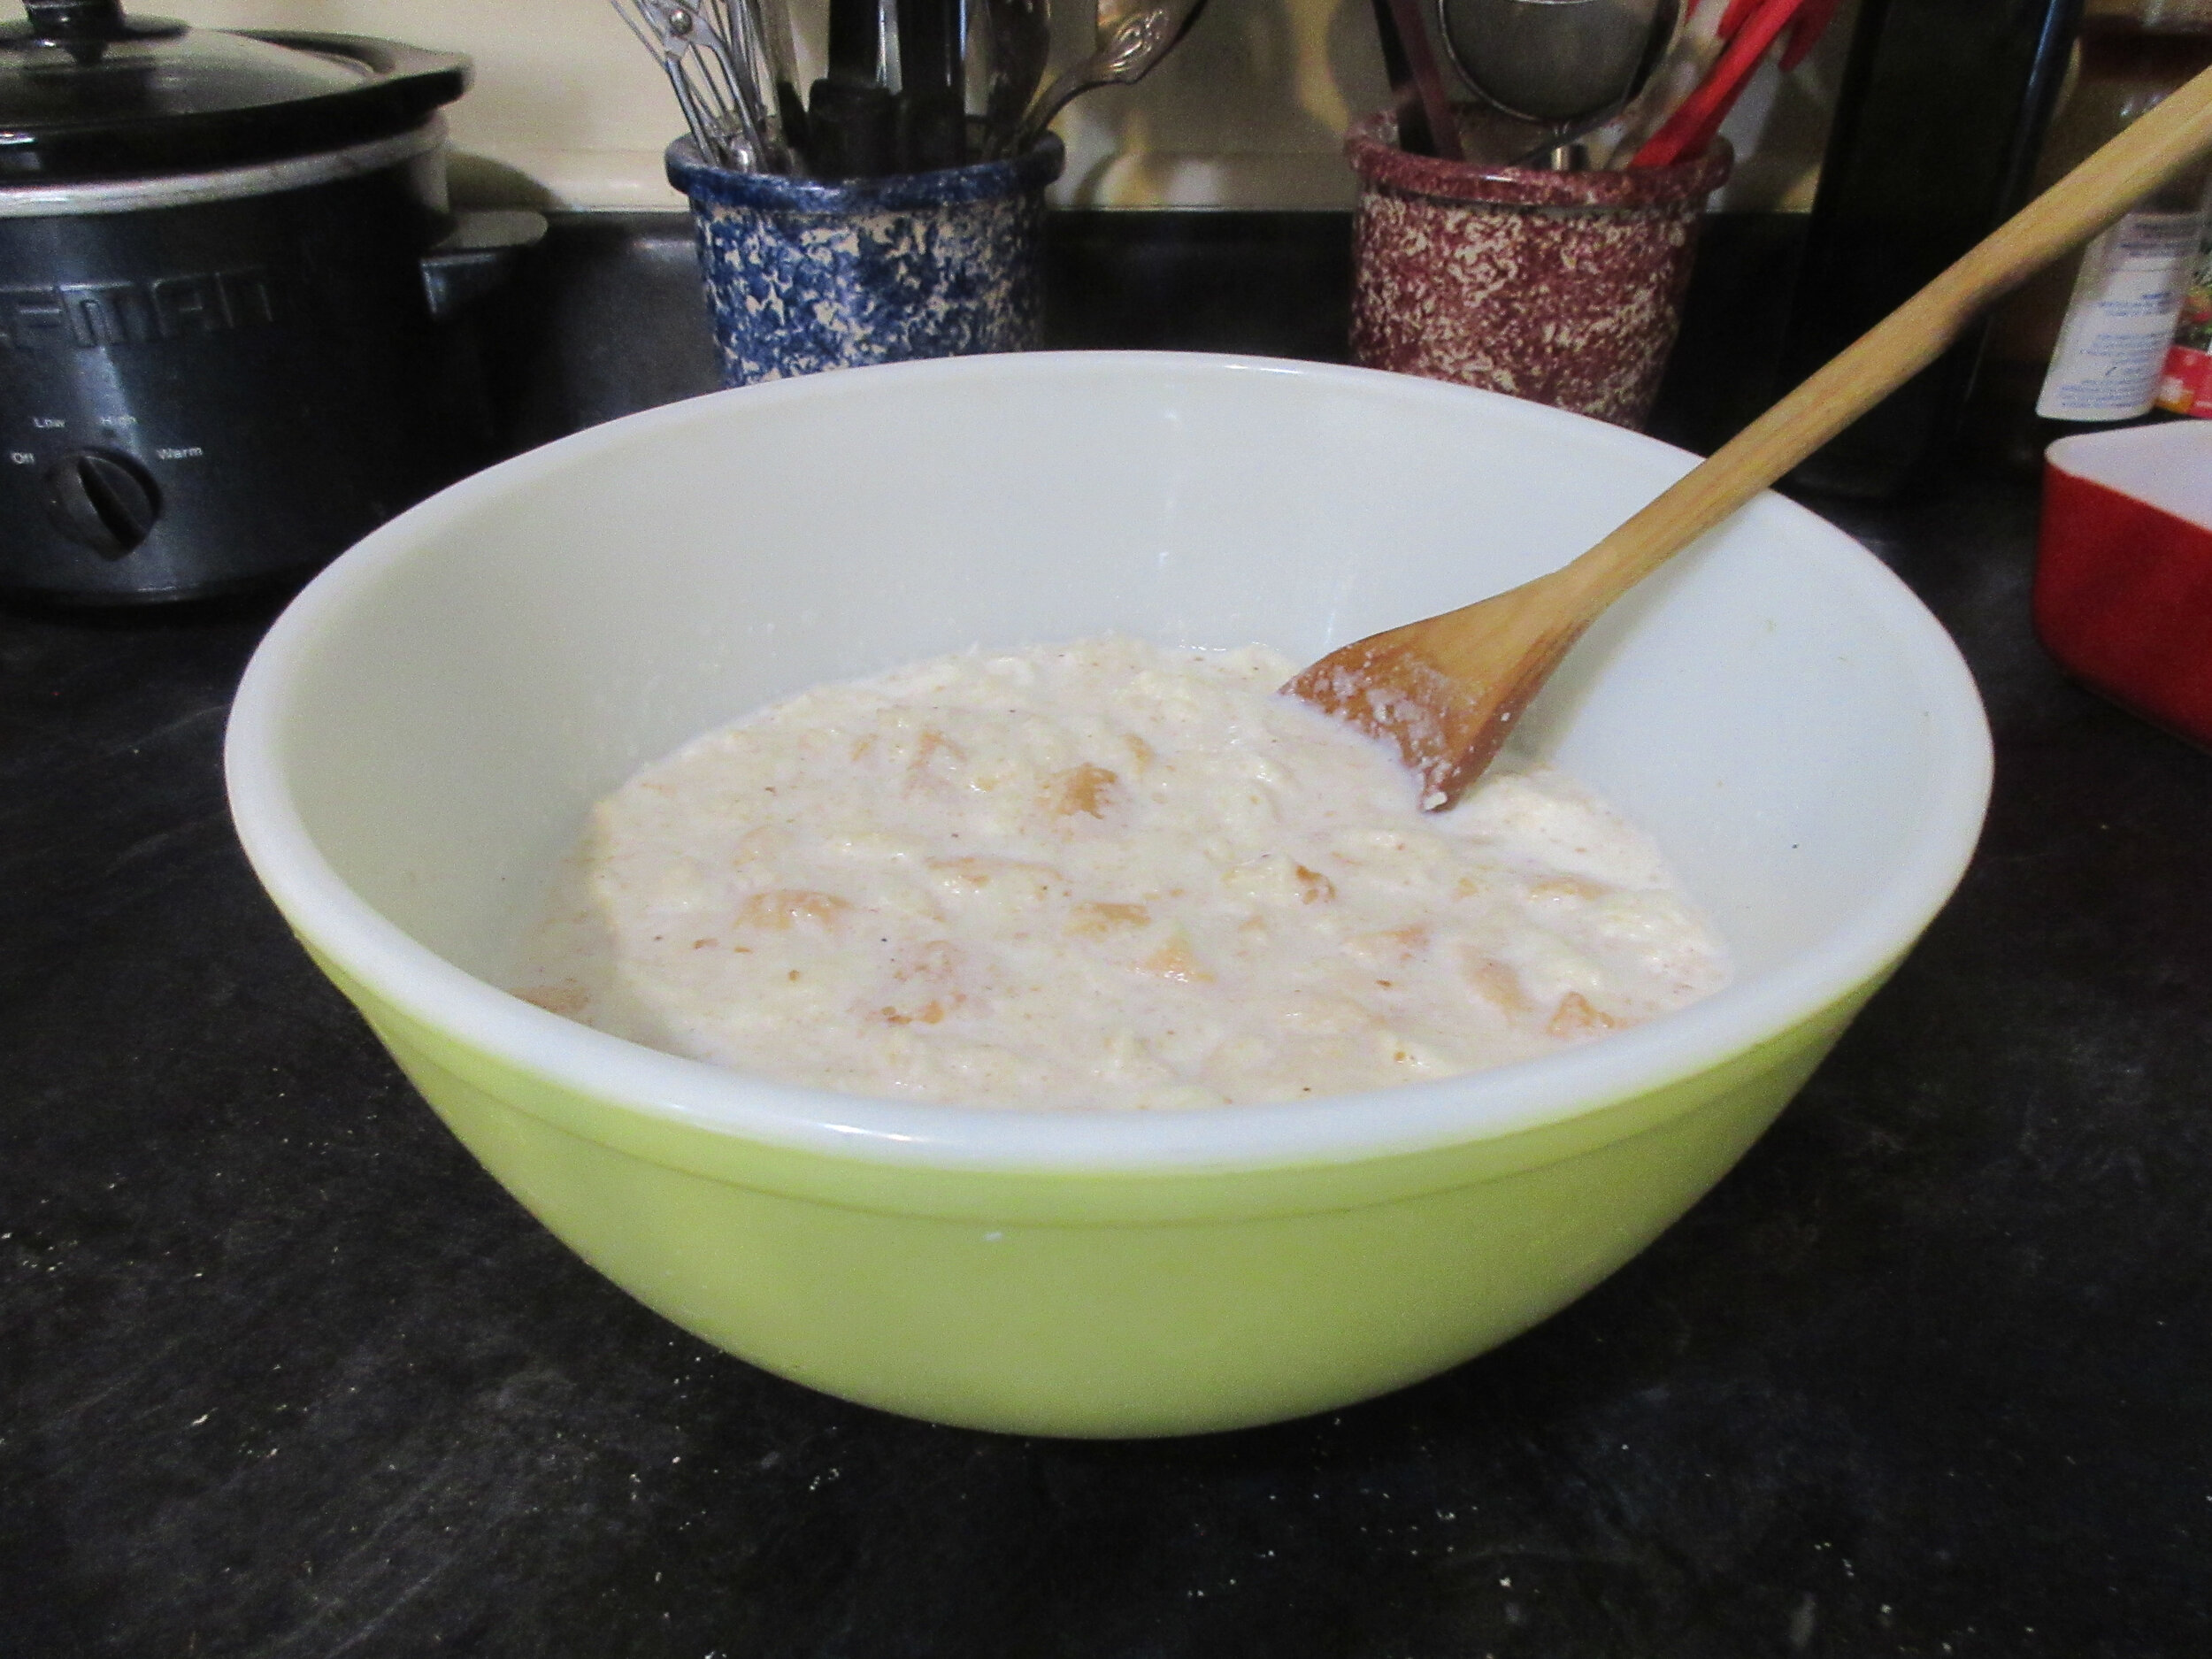
Heat the milk on the stove until boiling and add to the breadcrumbs in a large bowl. Allow the milk and breadcrumb mixture to sit for at least 20 minutes, until the bread has absorbed the milk.
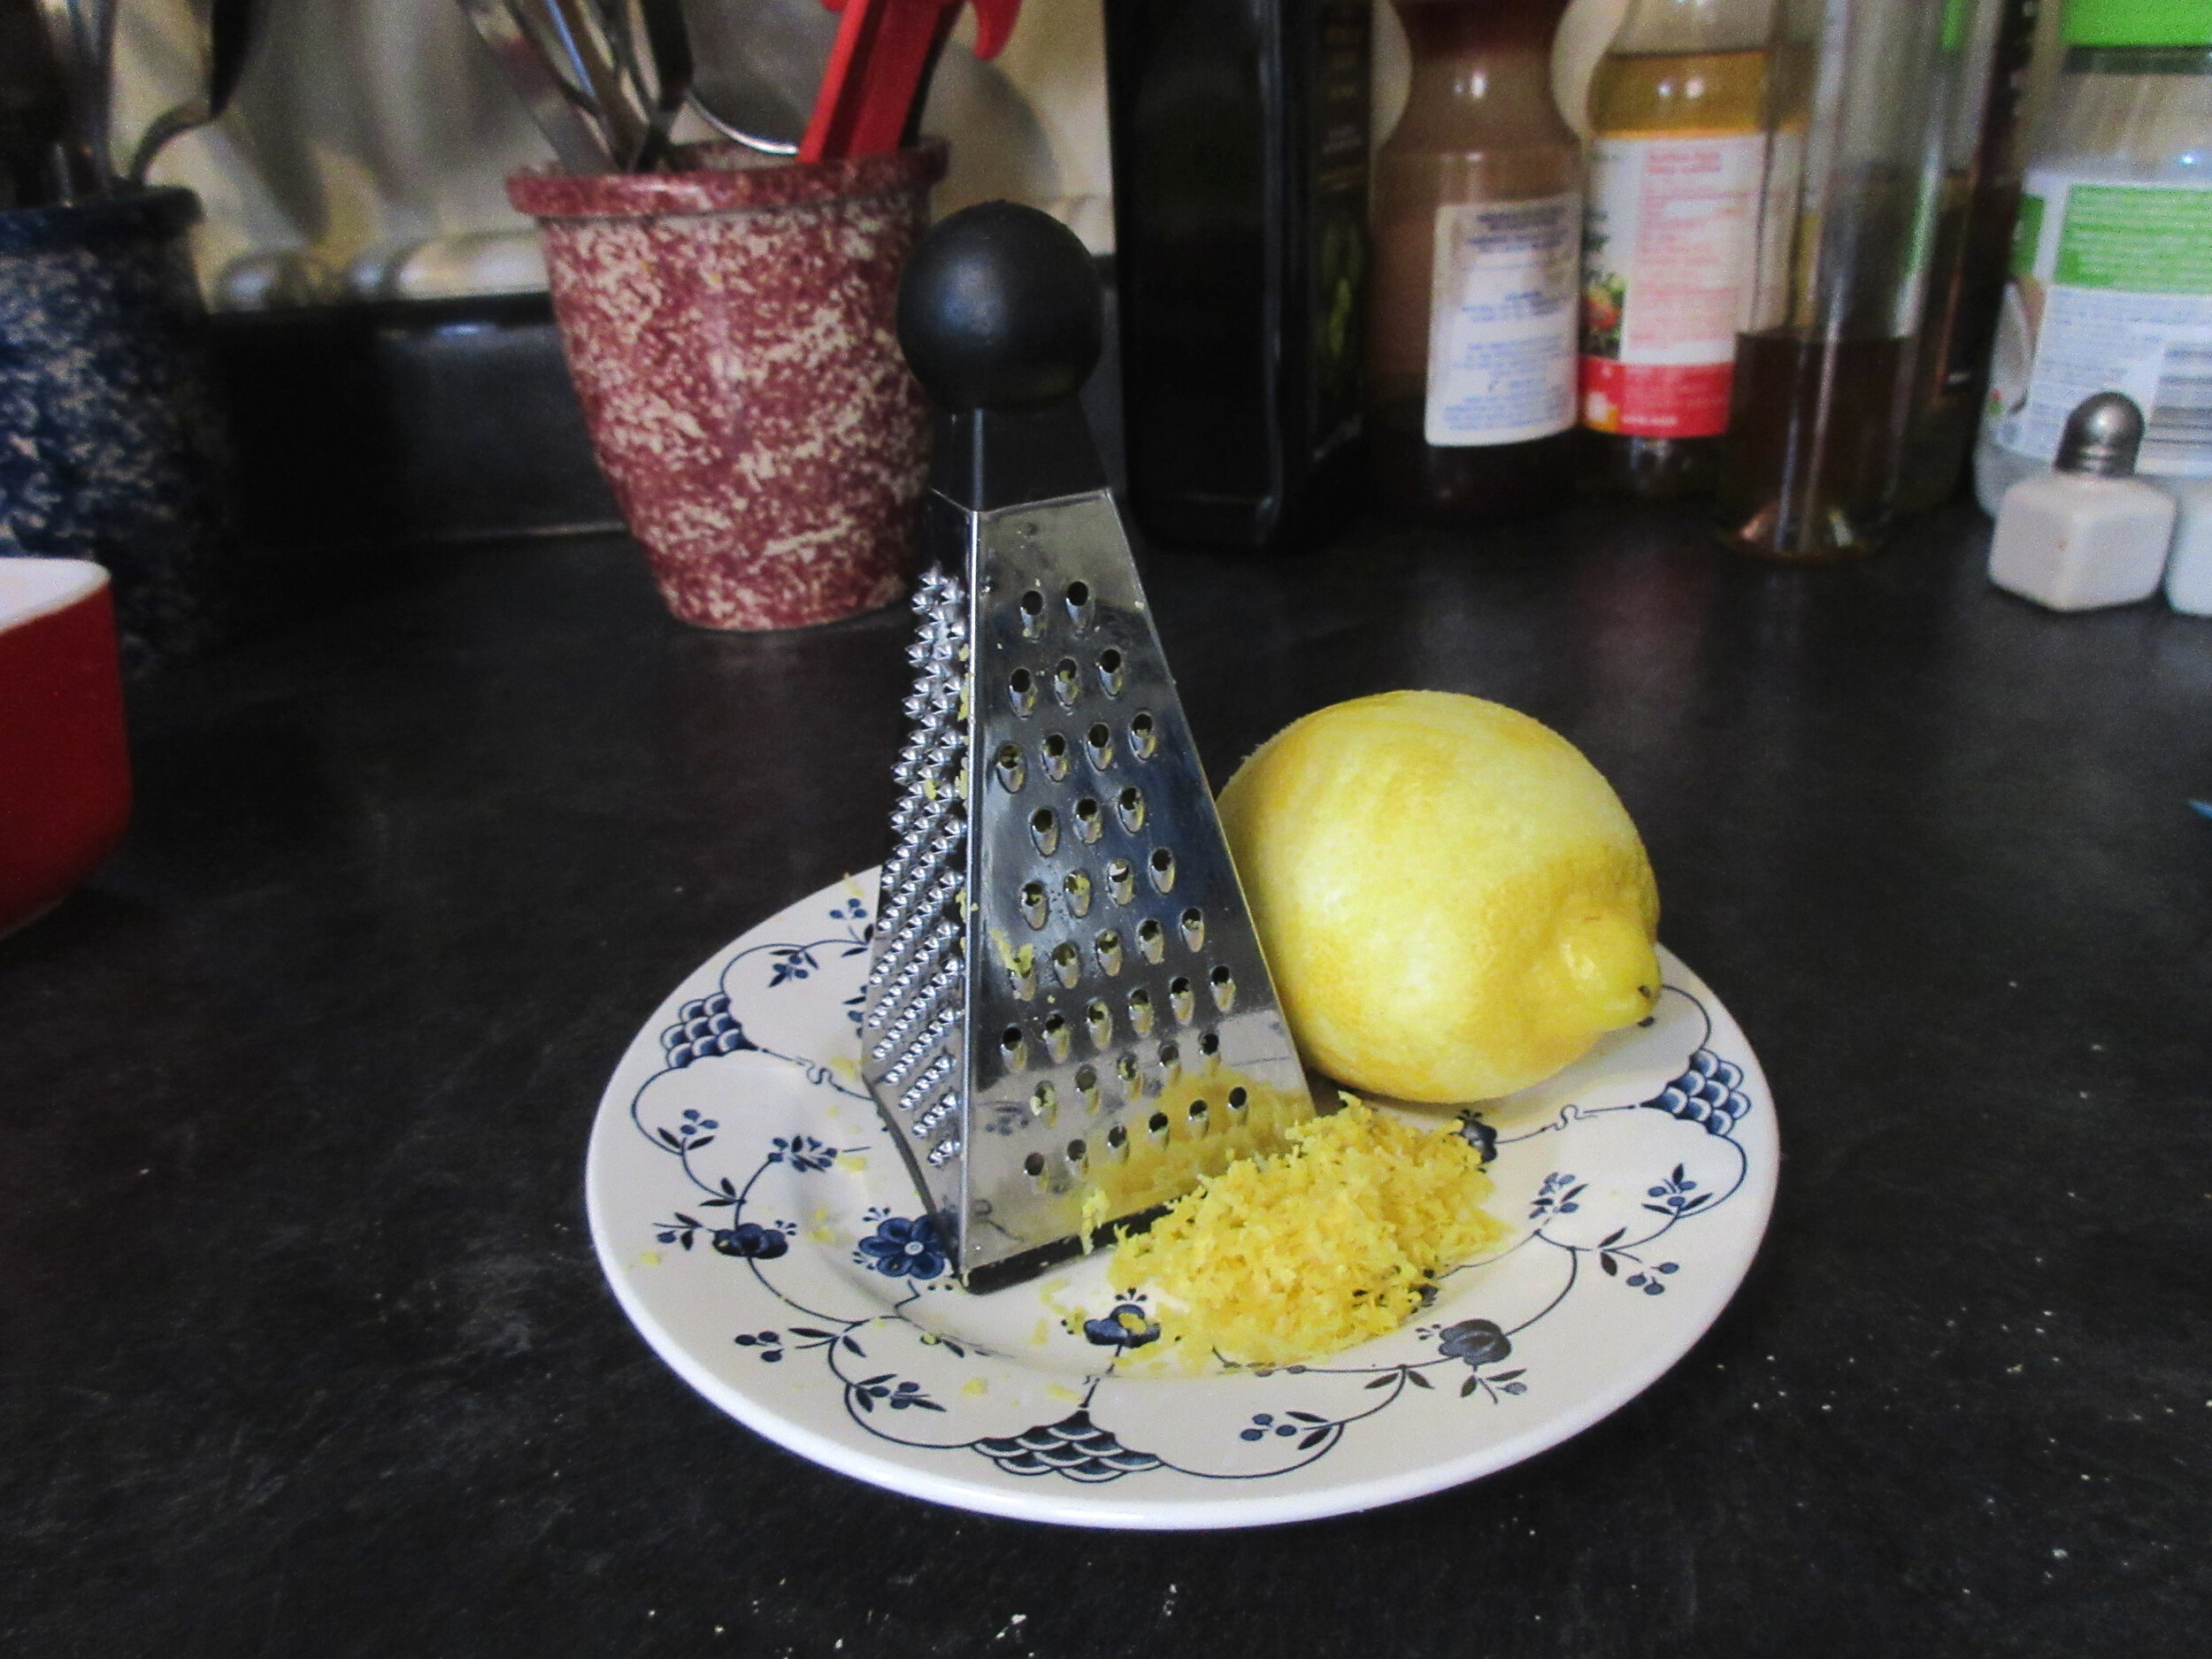
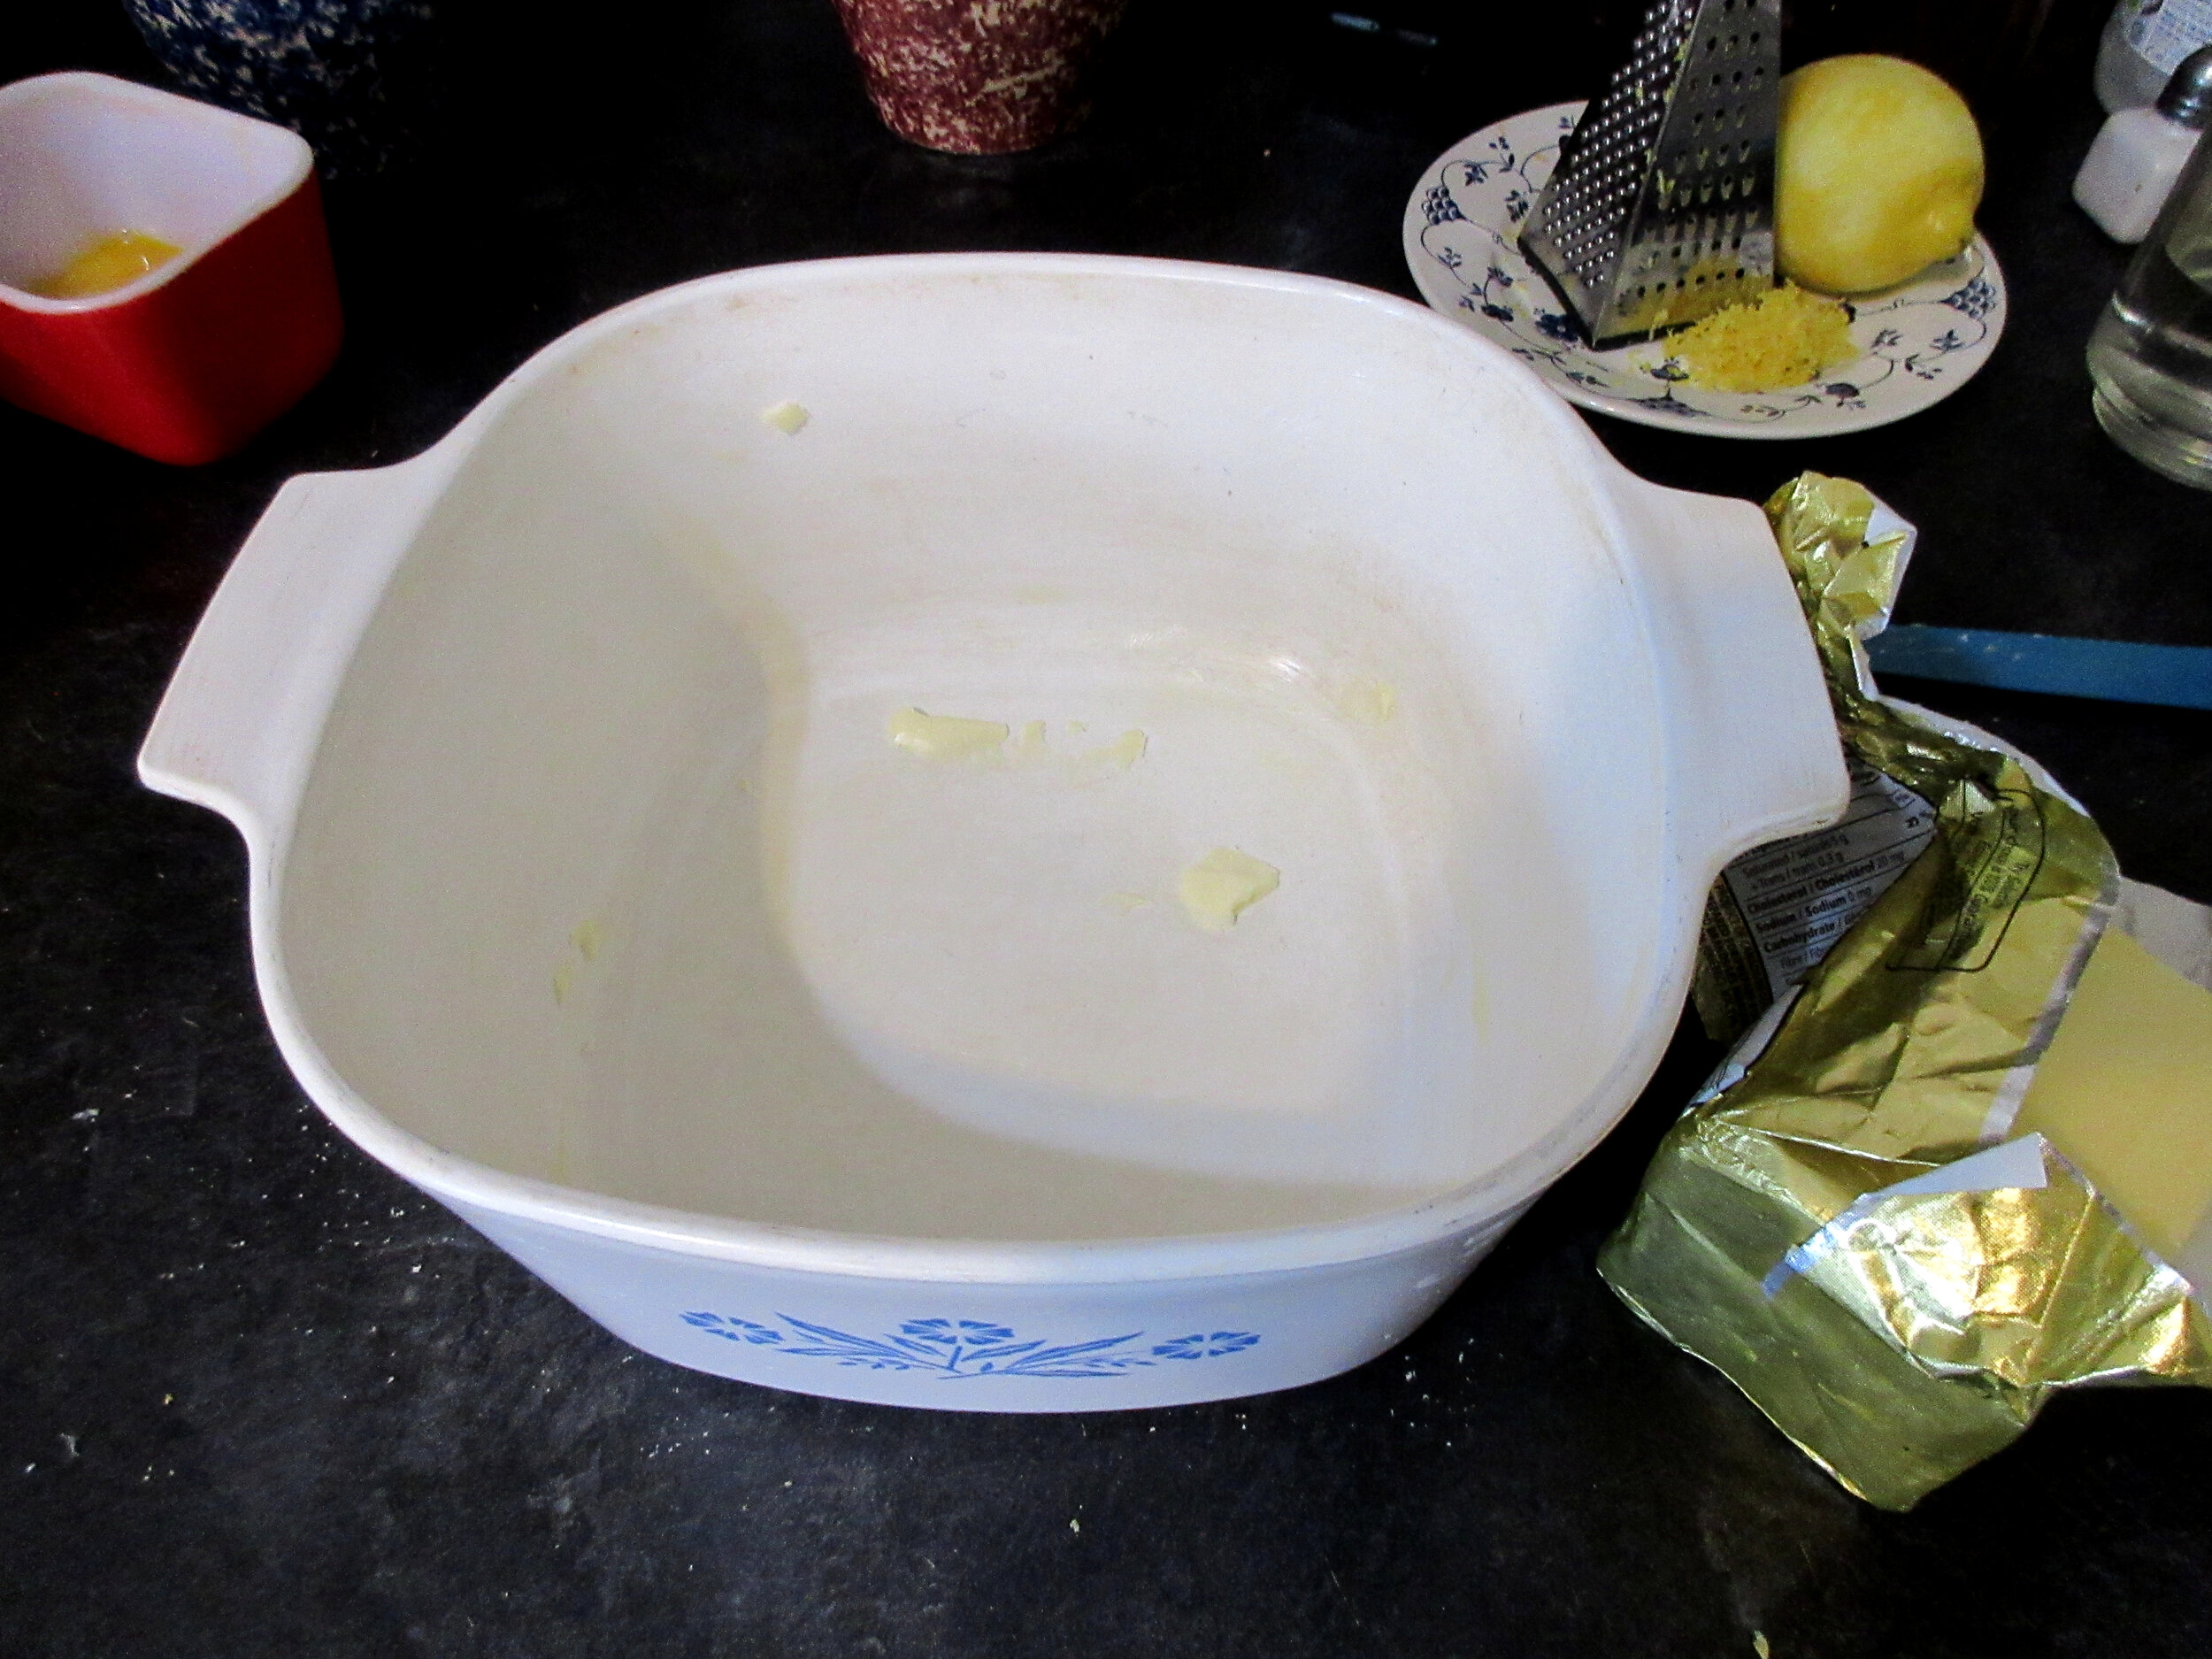
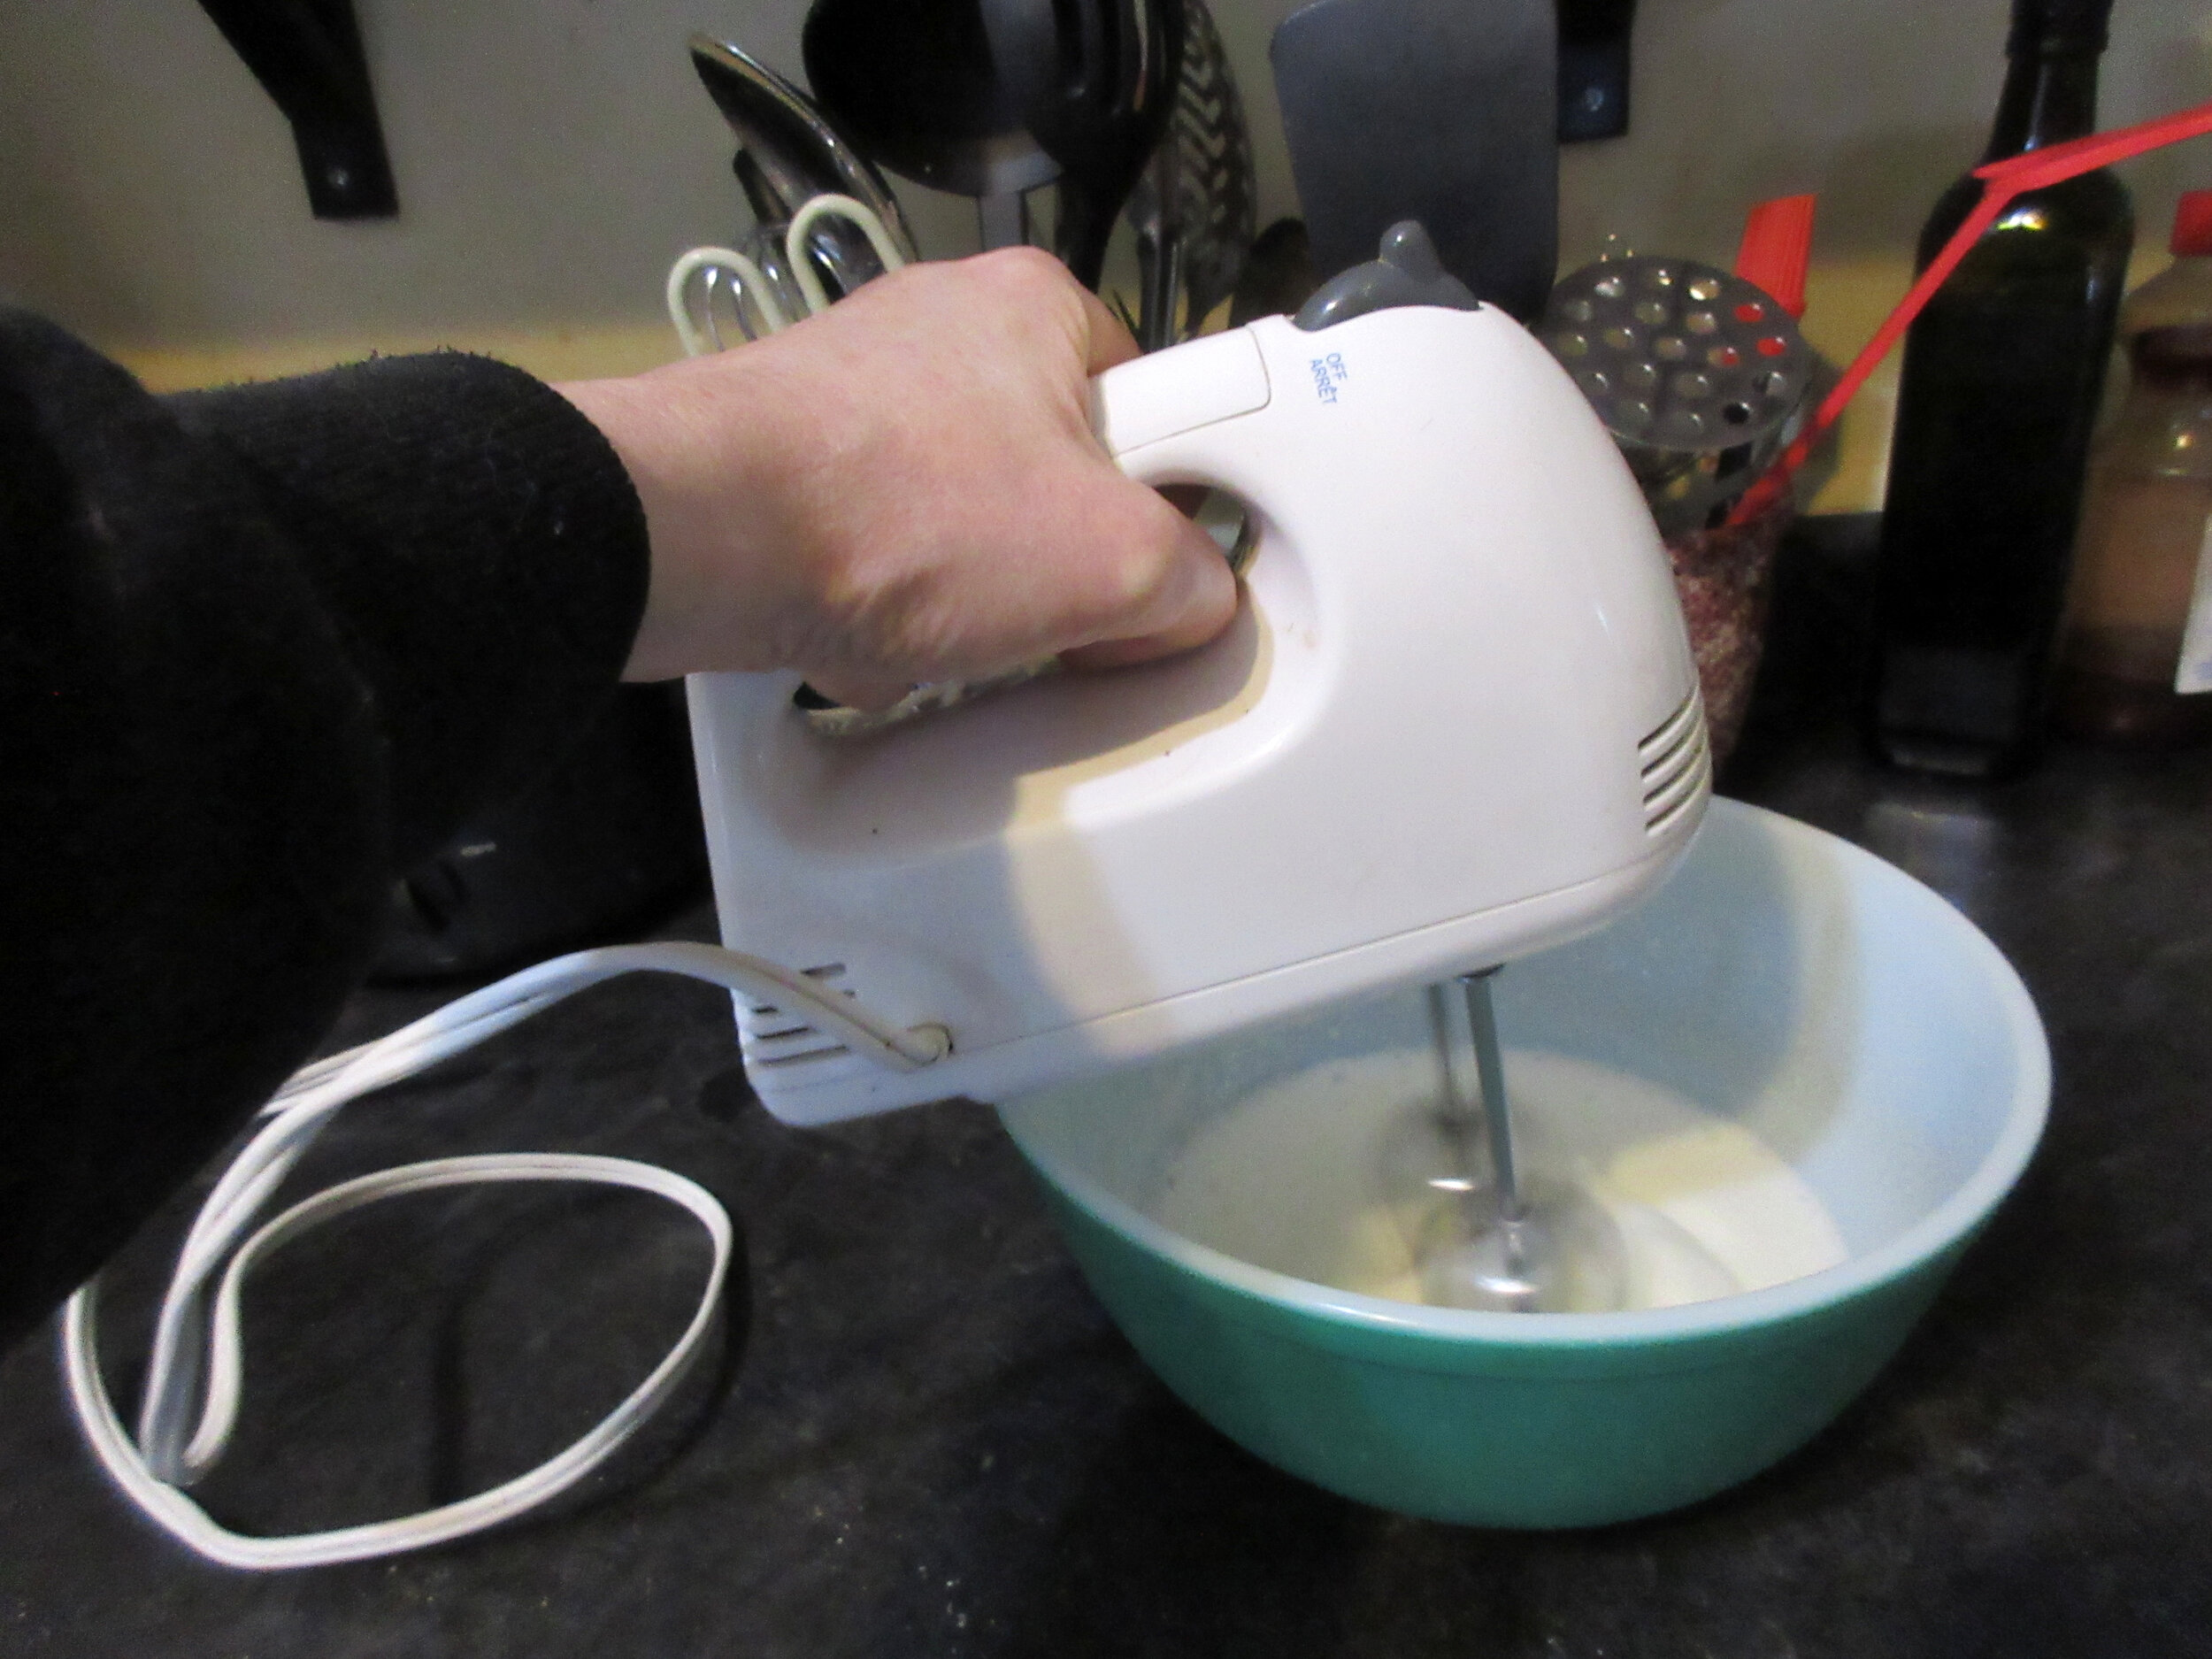
Preheat your oven to 350 F or 175 C. While you wait for the breadcrumbs to soak up the milk, separate the yolks and whites of the eggs. Beat the egg yolks and set aside the egg whites in a mixing bowl at room-temperature for making the meringue later. Grate the zest of one lemon, butter your baking dish and melt 1/4 cup (57 g) butter.
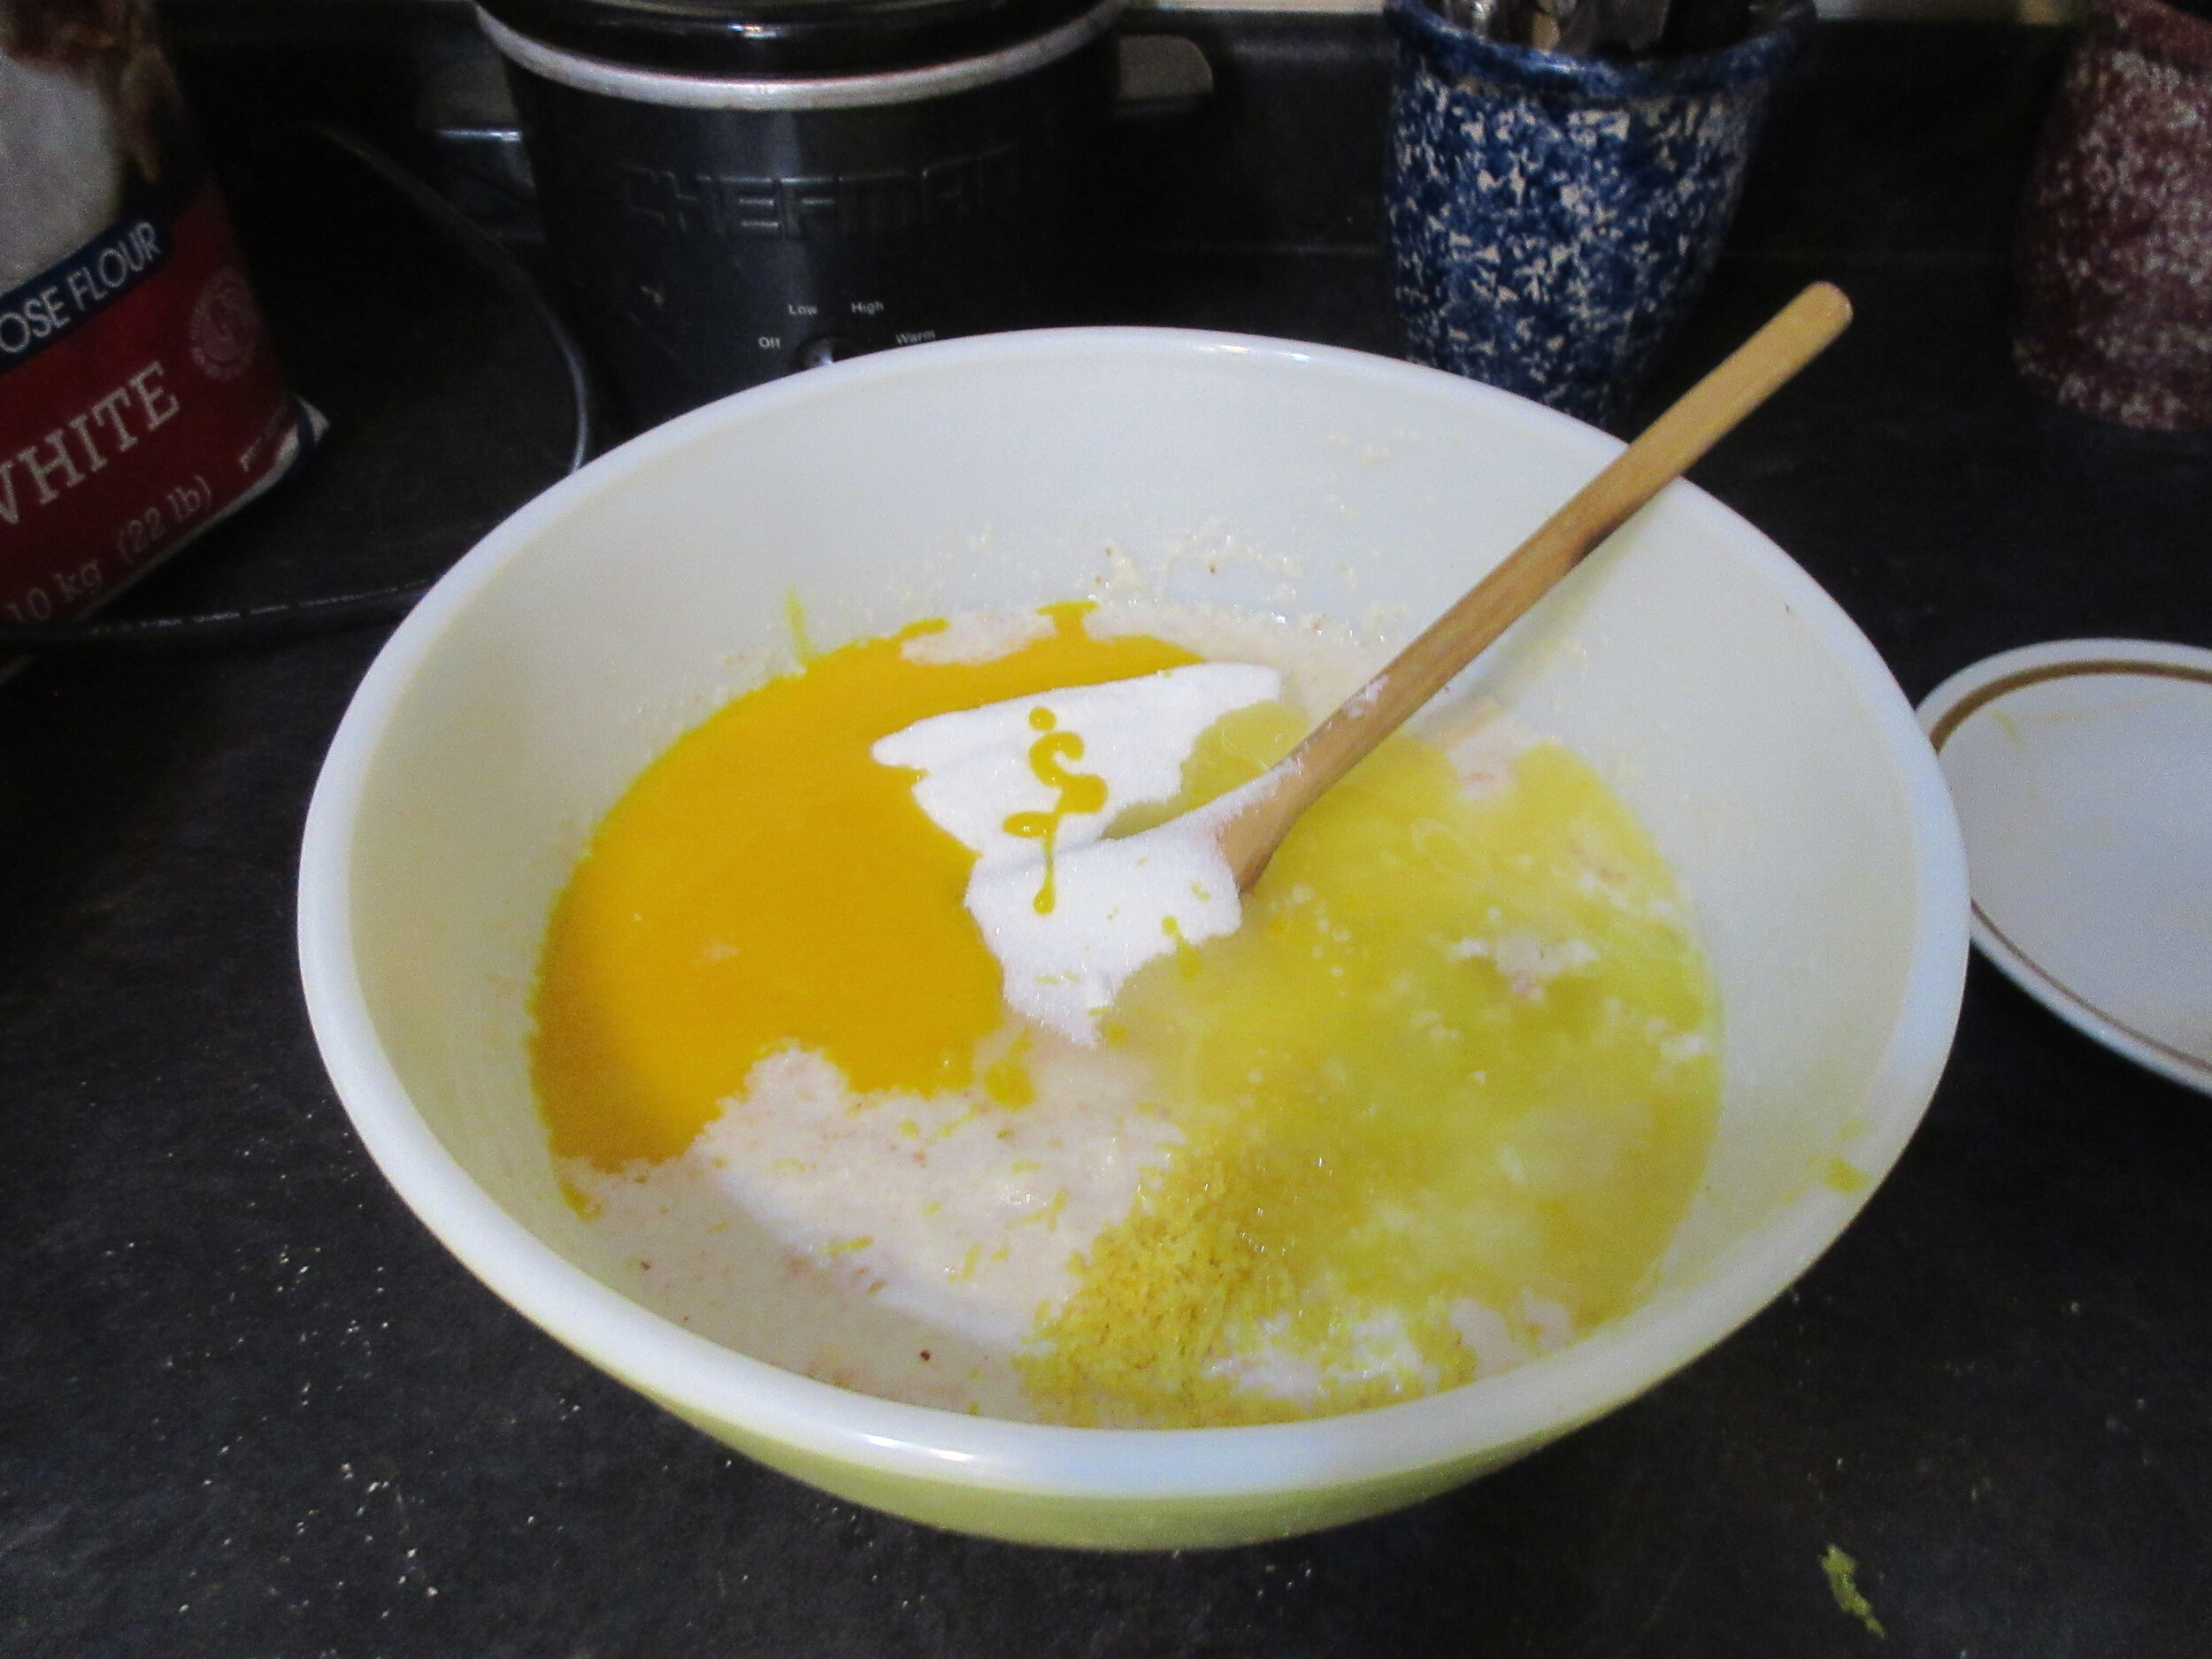
Add the melted butter, egg yolks, lemon zest and 1/2 cup (115 g) white sugar to the milk & breadcrumbs. Pour into your baking dish. I used a 12 cup or 2.8 L casserole dish and it was slightly larger than was needed.
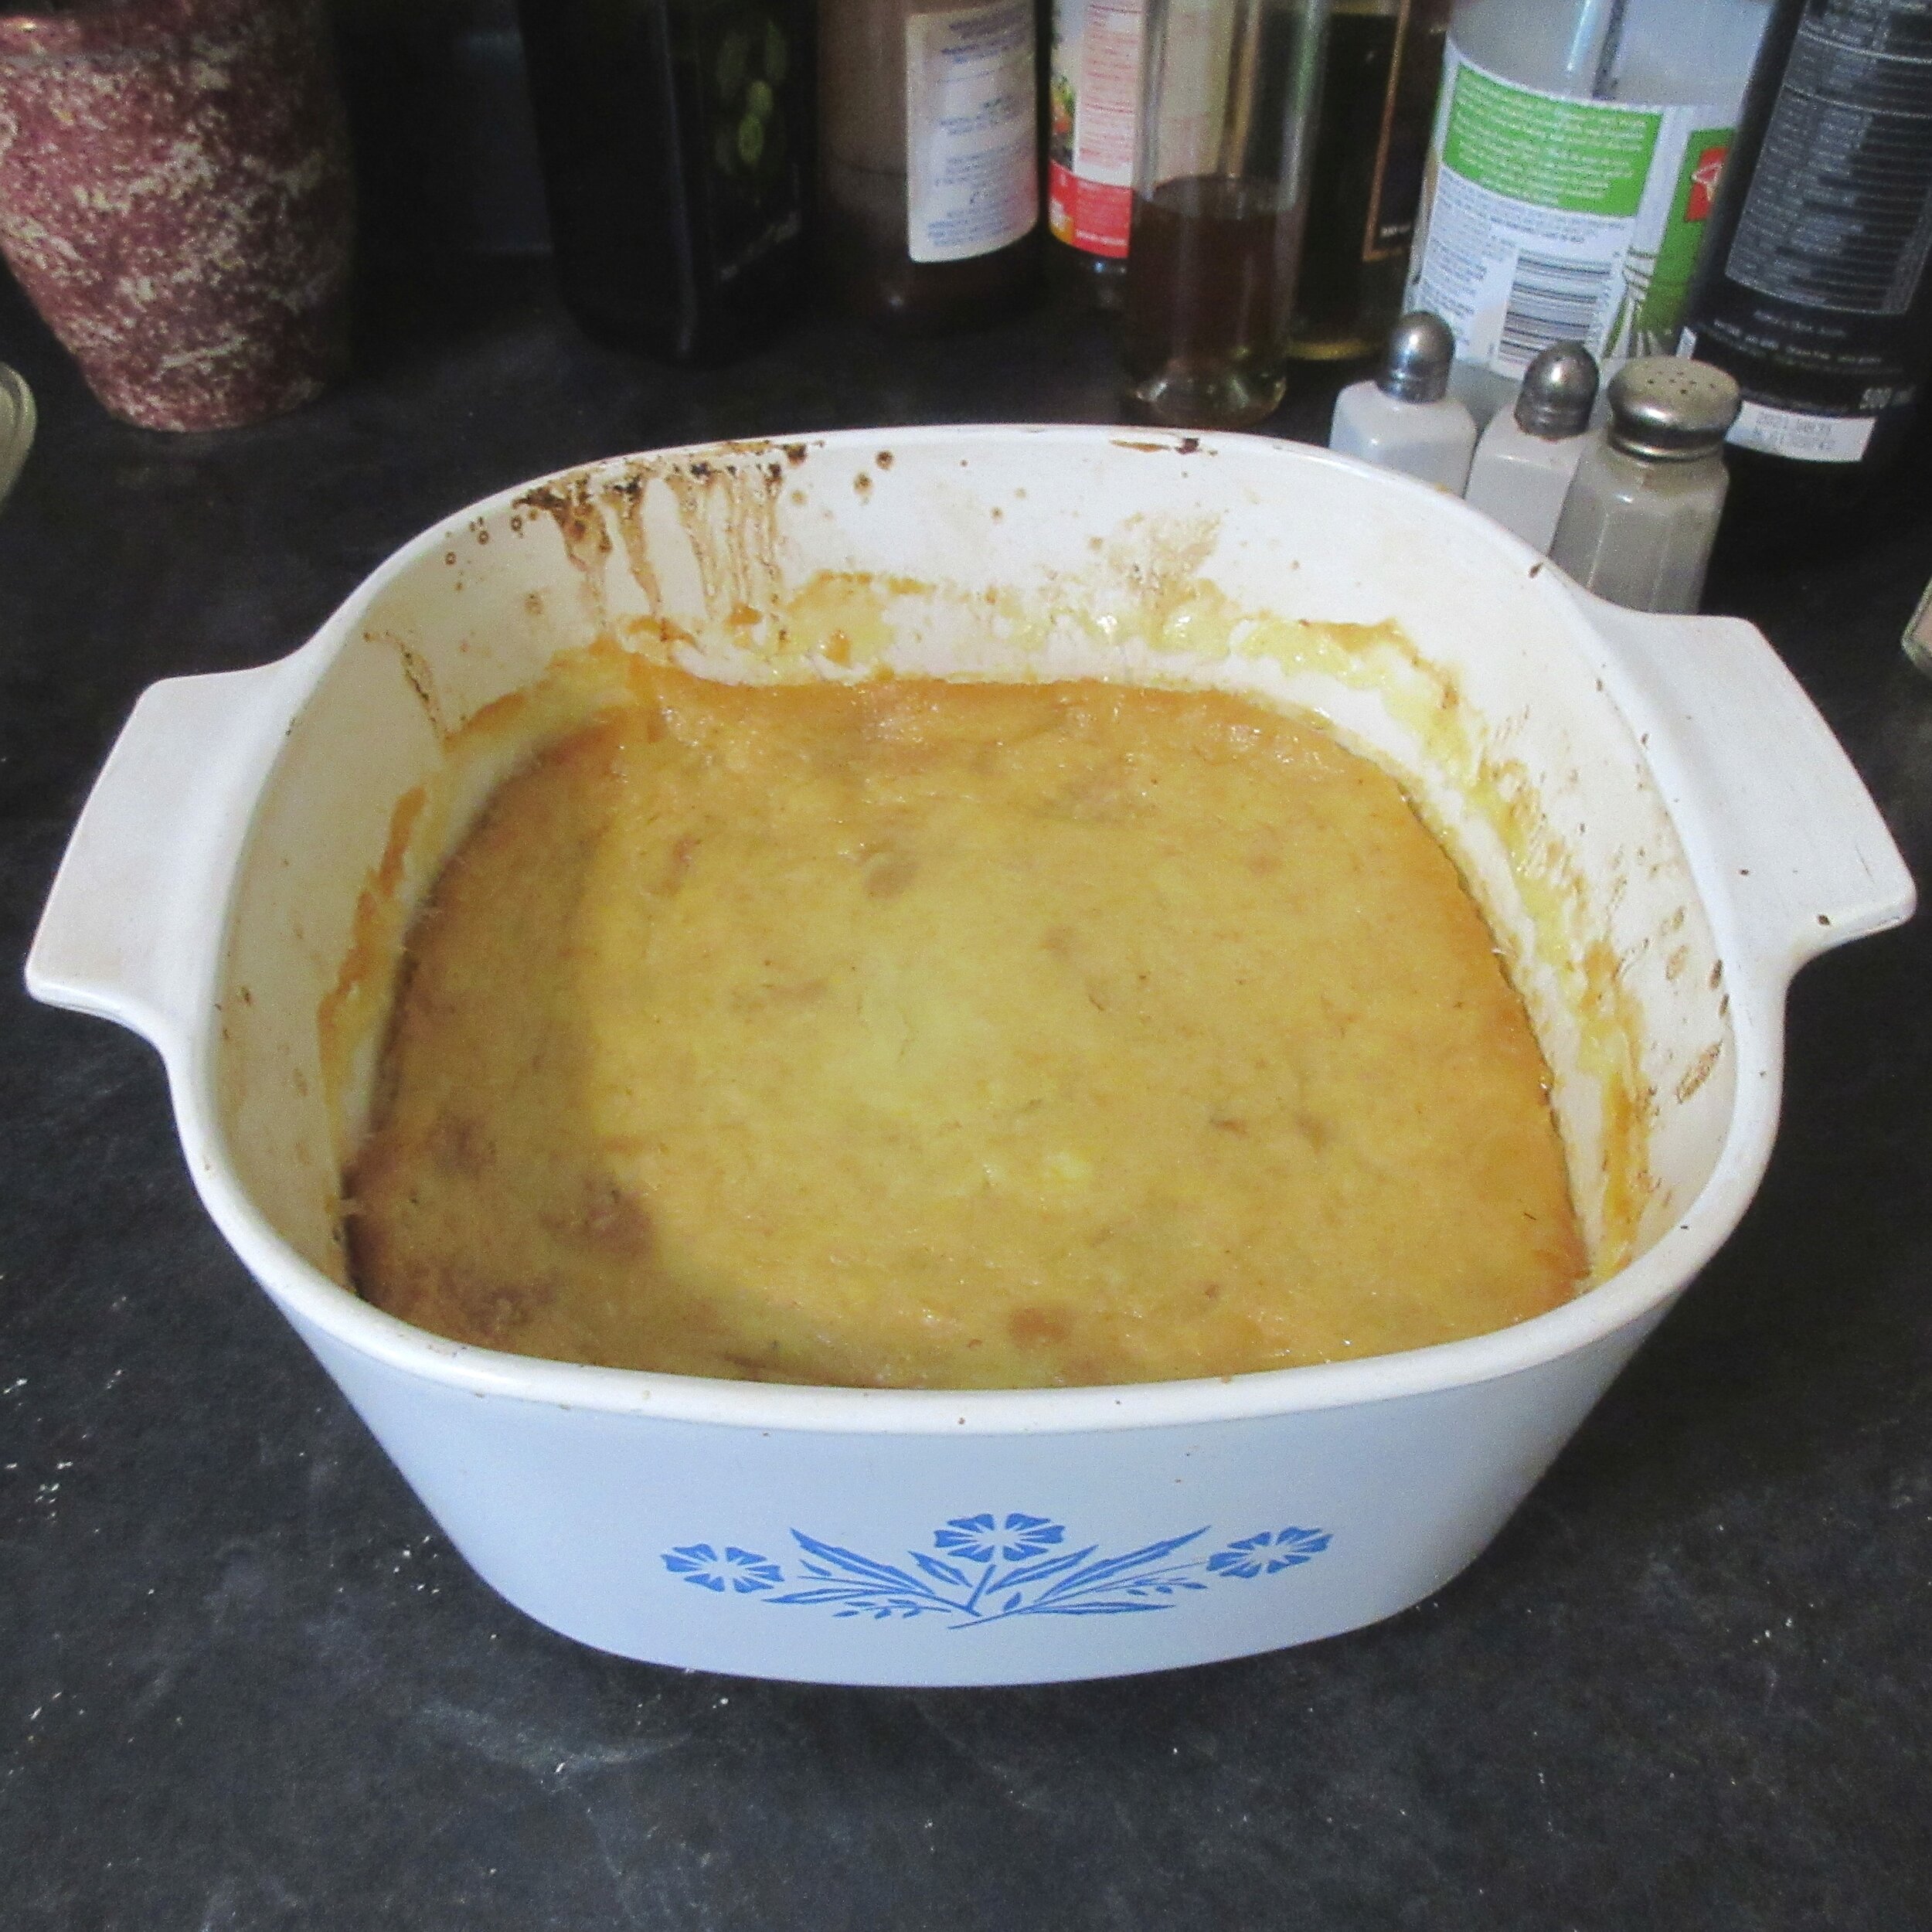
Bake, uncovered, until it is firm in the middle (about an hour).

When the pudding is very close to being fully baked, beat the egg whites into a meringue, until stiff. A spoonful at a time, add 1/4 cup + 1 tbsp (70 g) white sugar to the meringue while beating. The meringue is done when you lift your (non-moving!) beater up and stiff peaks form.
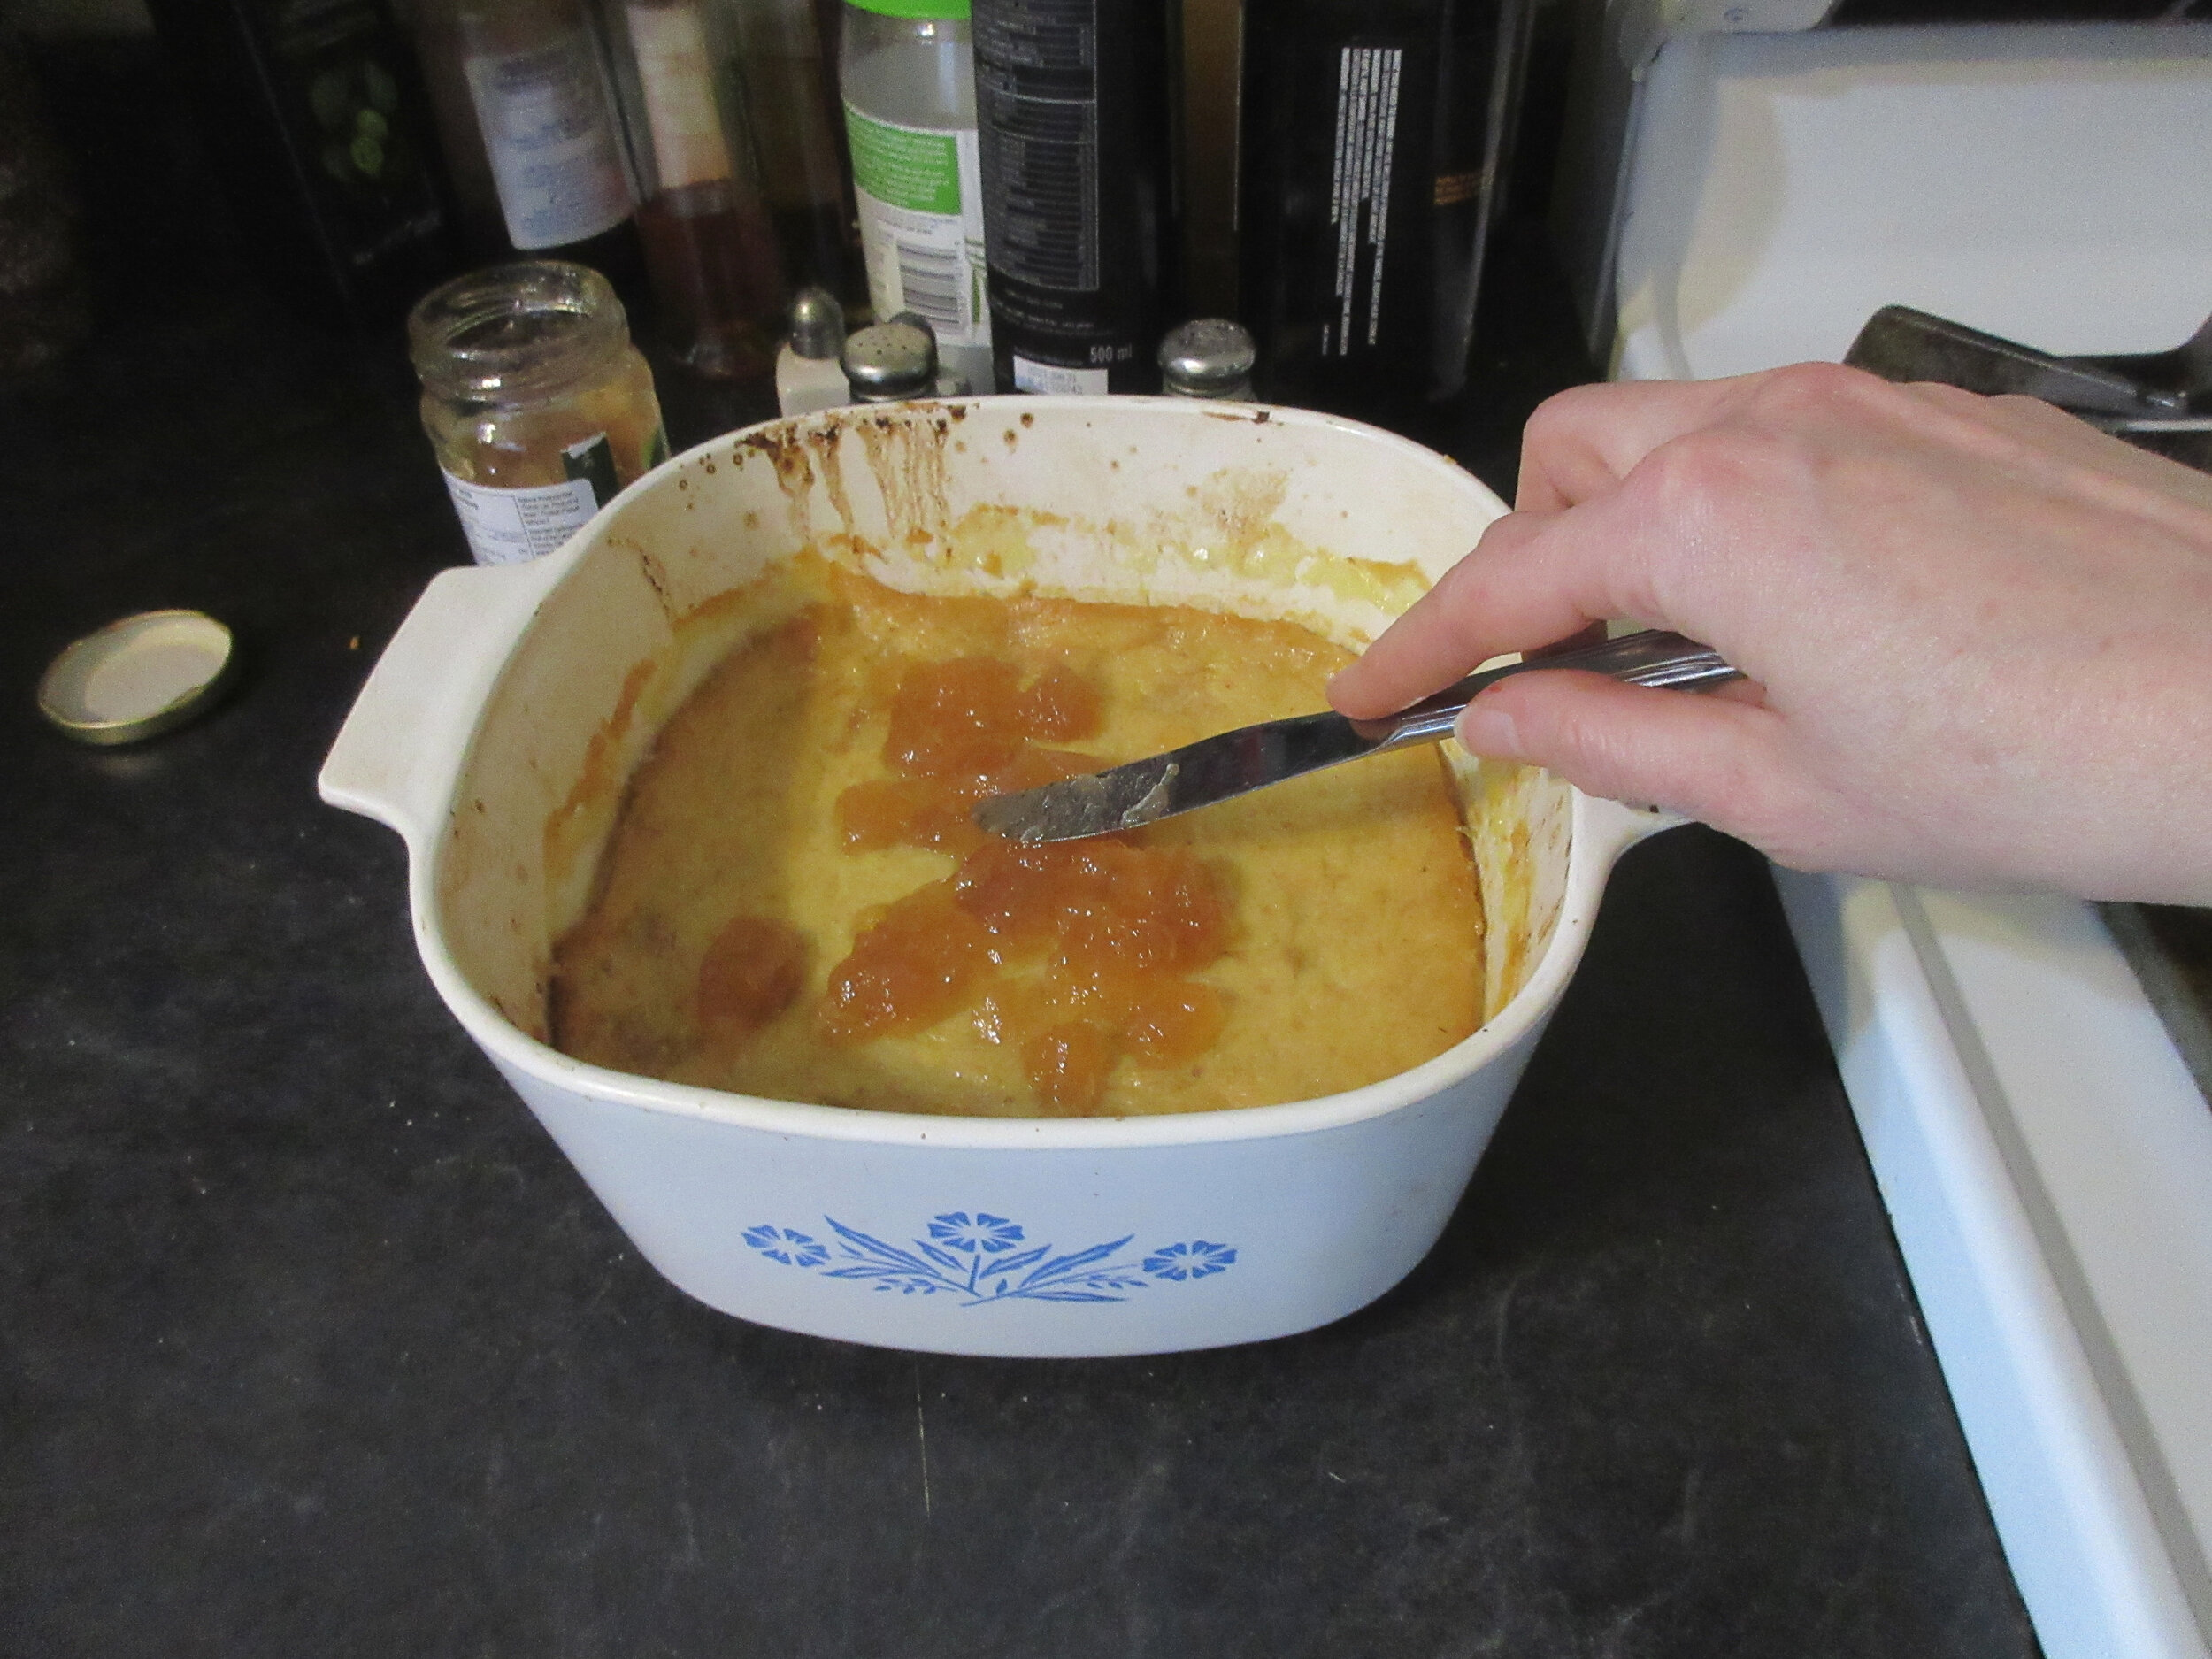
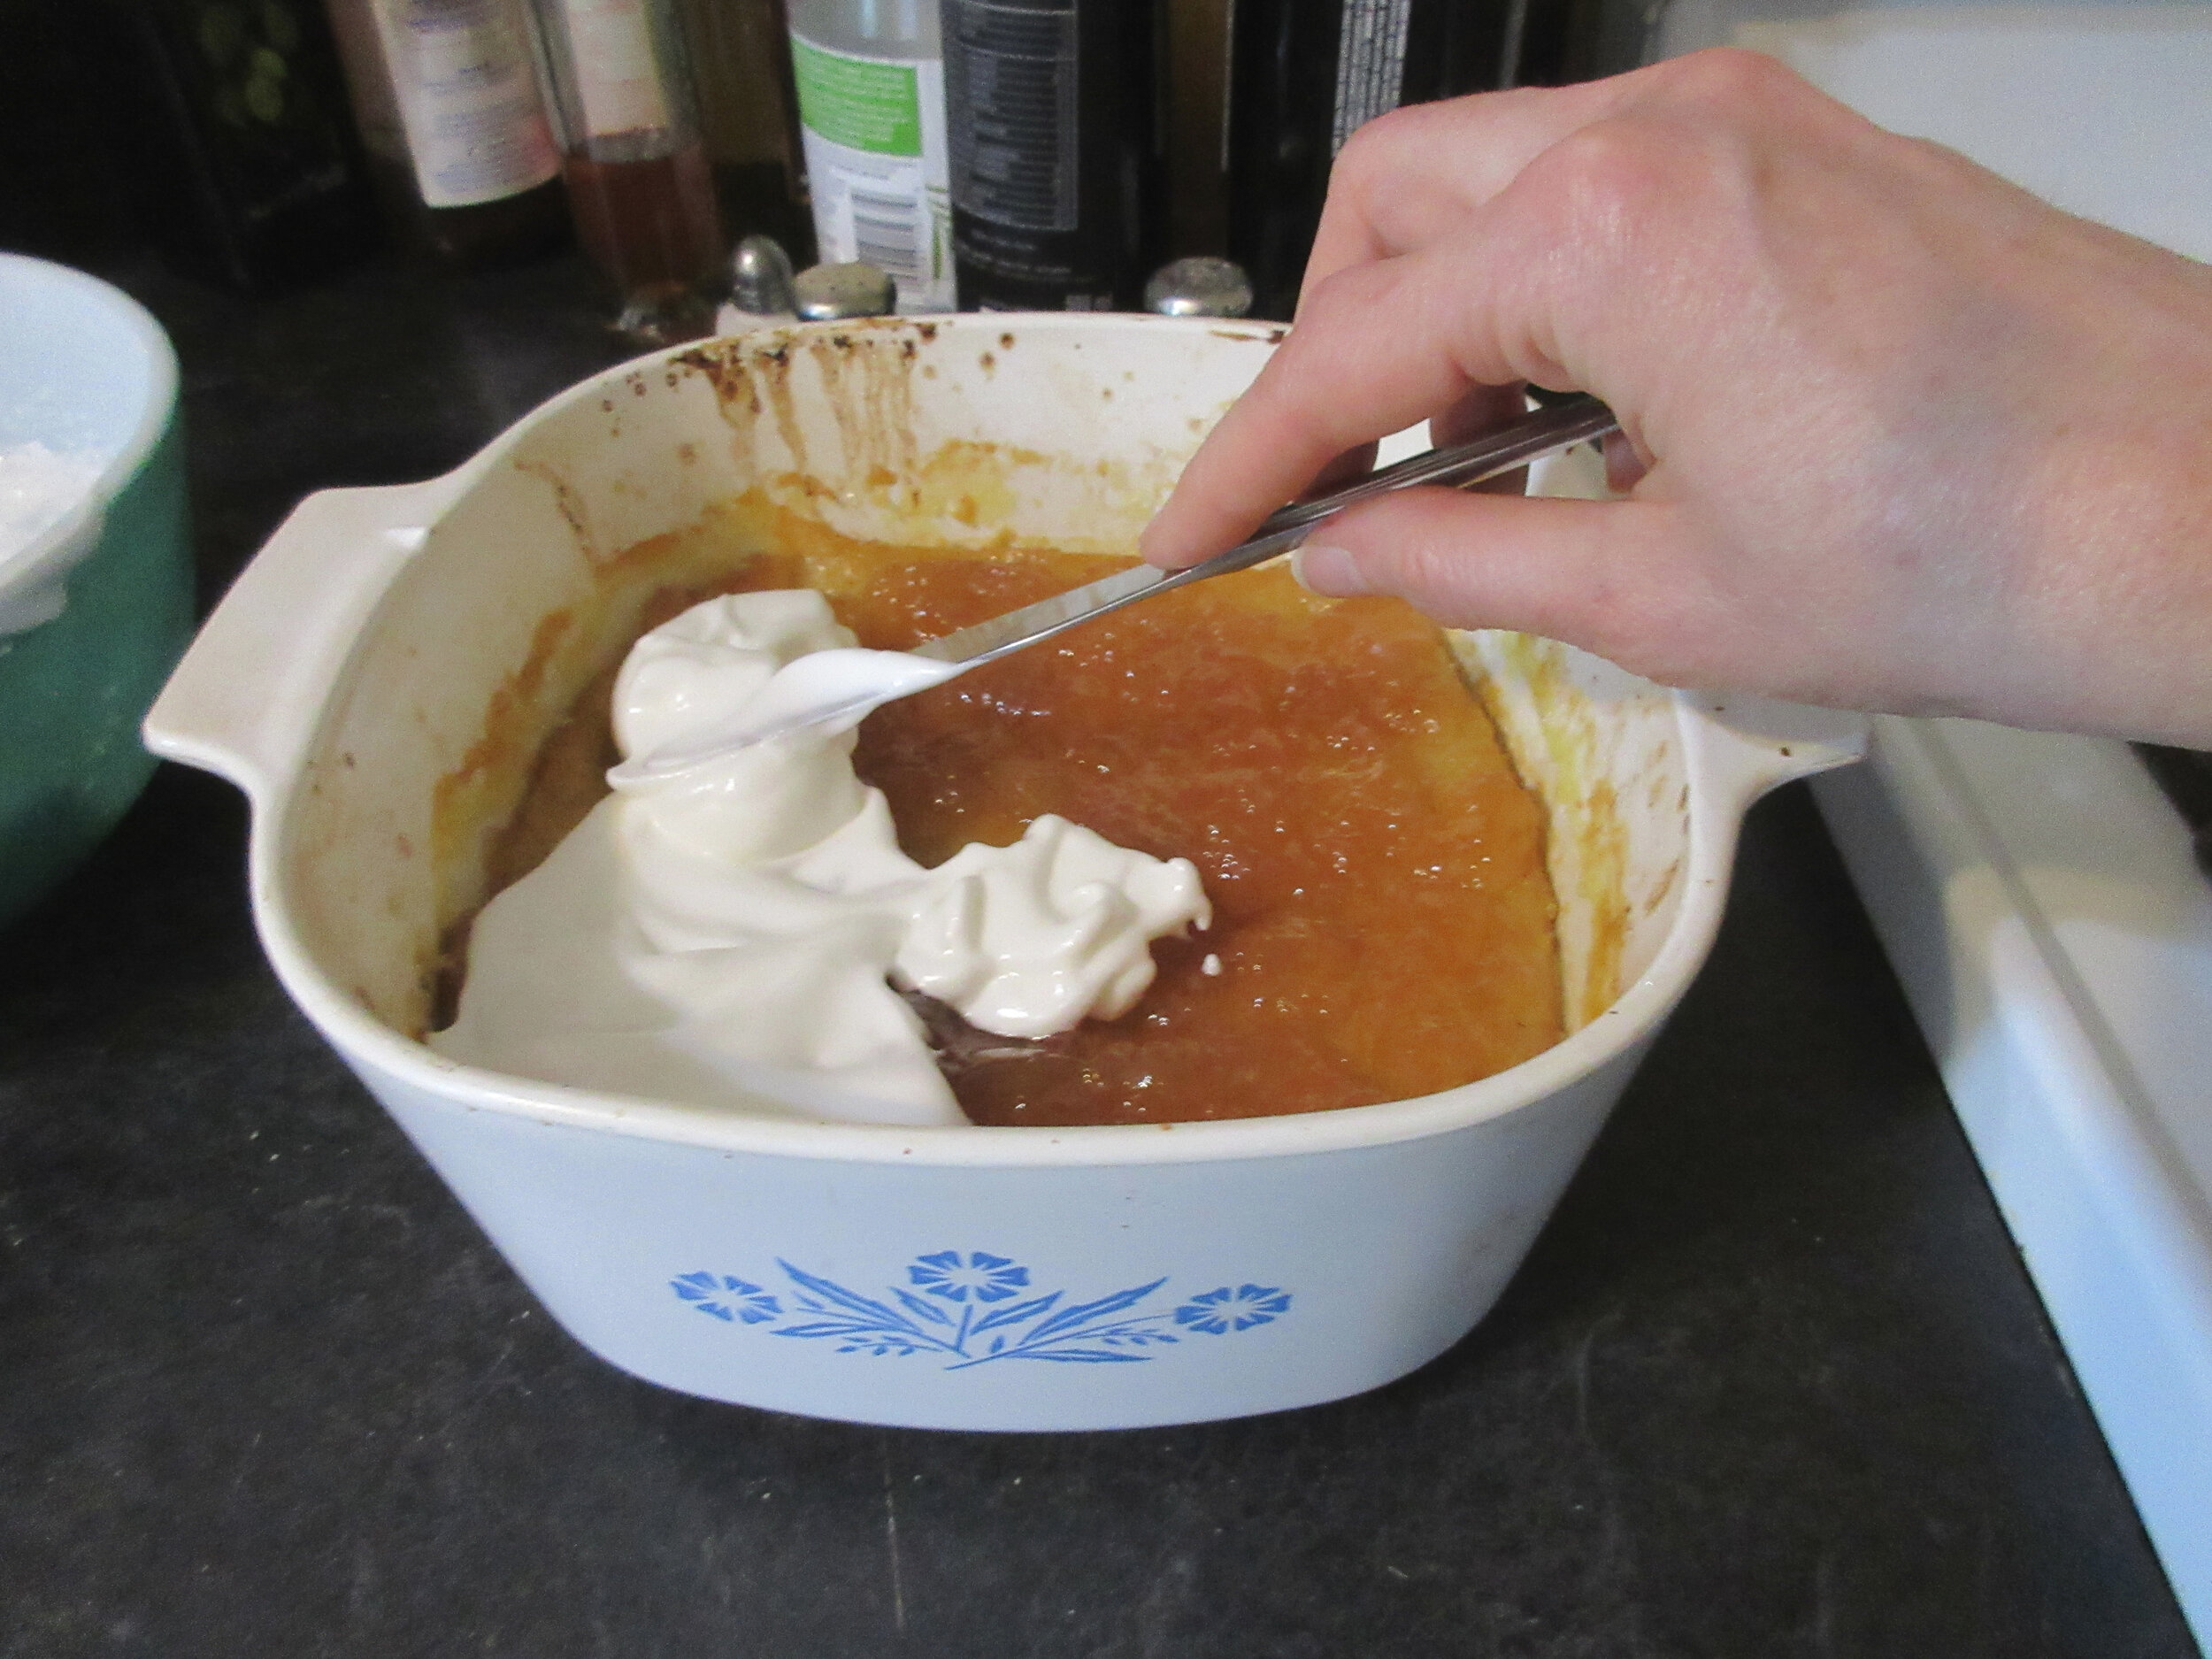
Spread a layer of jam or jelly on top of the pudding. Gently spread the meringue on top of the pudding & jam or jelly layer, then put back into the oven for about 20 minutes or until it is slightly golden on top.
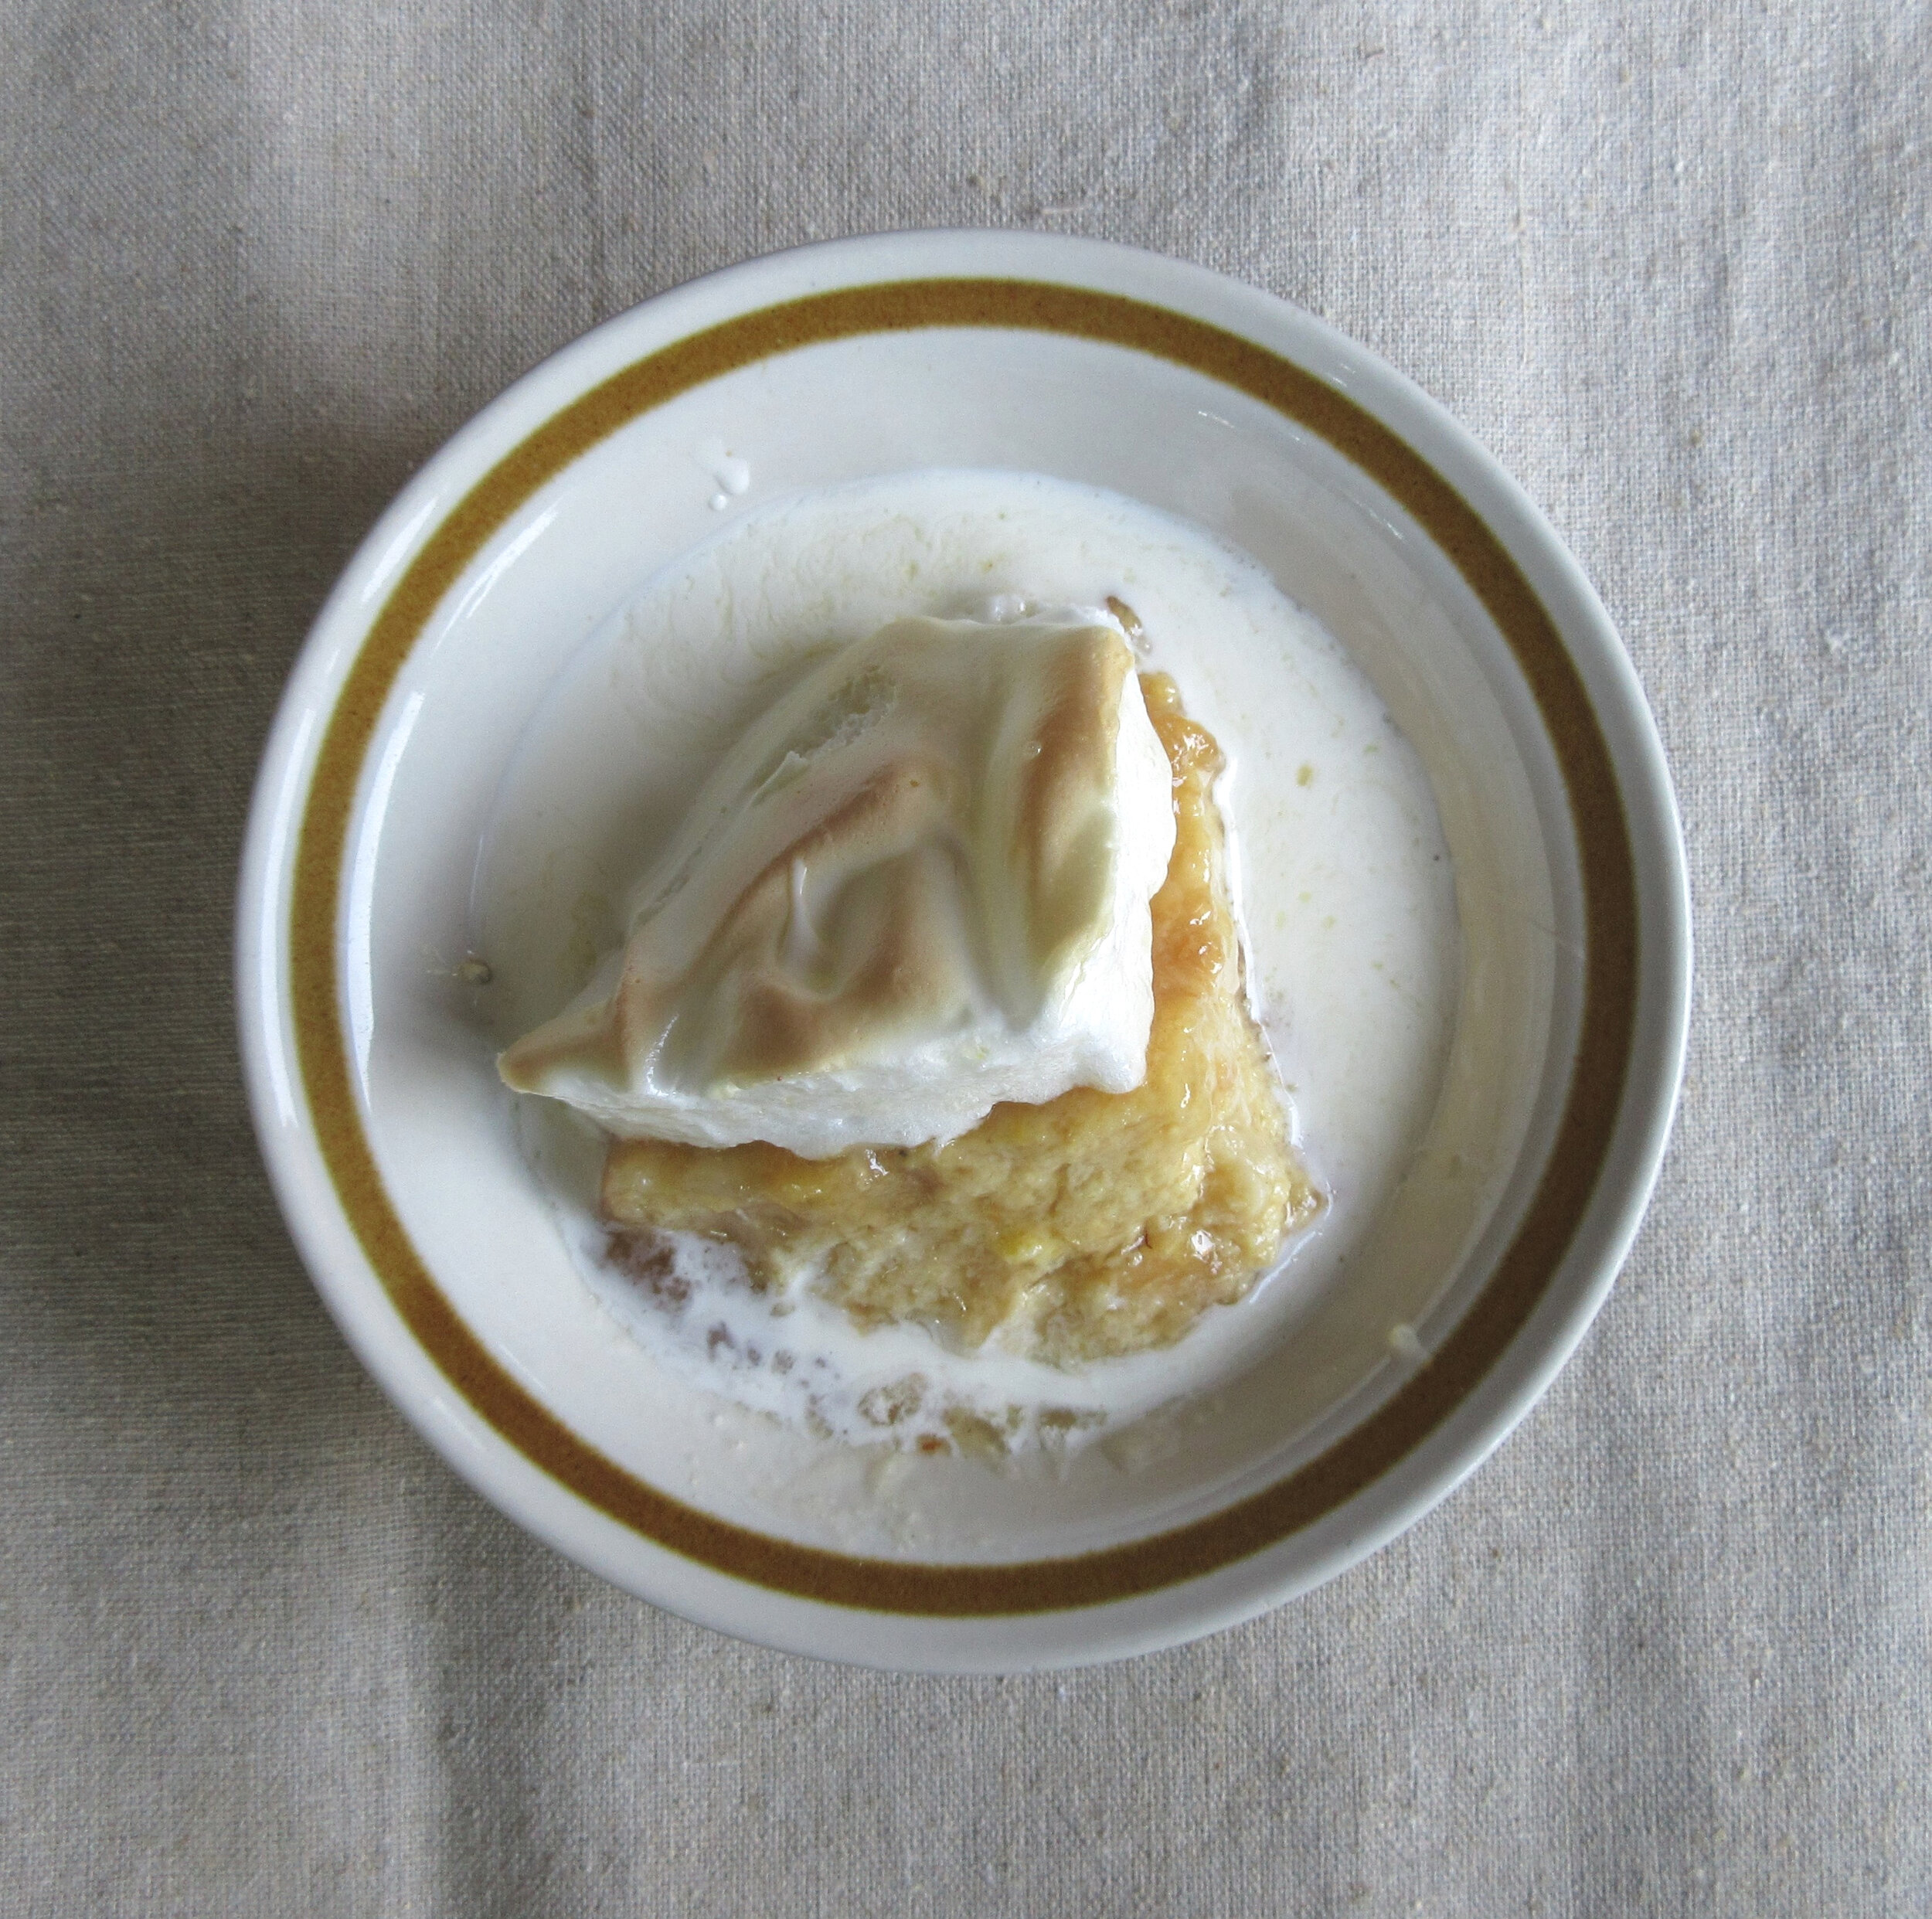
Serve warm or cold with cream on top, if desired.
This Queen of Puddings recipe makes a lot. In fact, I’d make a half batch if you’re making it for 2 or 3 people. I had plenty to share with friends & family and I described it to the people I gave it to as a lemony soufflé bottom with a jam layer and meringue on top. The reviews I received were: no response, that it was delightful, “it was very good and had a unique texture”, and it was weird to eat with mint ice cream.
My inspiration for deciding to make Queen of Puddings was the mound of breadcrumbs taking up space in my freezer that I had saved when I made Mushroom Rolls. In fact, I had so many crusts in my freezer that I also made Pineapple Nut Stuffing at the same time and still had some crusts left over. Afterwards, the ultimate way to clear out my freezer was forced upon me. My freezer stopped working. Problem solved, no more frozen bread crusts!
These pictures and this recipe aren’t from the first time I tried making Queen of Puddings, though. For my first attempt, I decided to base my recipe on only one of the five Queen of Puddings recipes...and...it did not turn out well. I used the amounts listed in the recipe - two times the milk as breadcrumbs - but the milk didn’t absorb into the bread and I was left with a bread soup! There was no way that the bread & milk mixture was going to become firm in the oven. I ended up doubling the breadcrumbs, so that there was 4 cups of each in the pudding, but I ended up with a very firm and bready pudding at the bottom.
I had a look at all five Queen of Puddings recipes in The Home Cook Book and they all list double the milk as breadcrumbs, except for one recipe, which lists equal amounts. Could 4 out of 5 recipes have the measurements wrong?
Often historic recipes don’t quite list all the necessary instructions or all the ingredient measurements, because it is assumed that you’ll know how much flour to add or you’ll know all the steps from experience. To make problems worse, likely all these recipes were submitted by people jotting them down on a piece of paper. In these instances, when I have a recipe mystery on my hands and I can’t find the answer in another historic source, I turn to the recipes of today.
All the contemporary Queen of Pudding recipes called for more milk than breadcrumbs, so I knew it likely wasn’t the ratio that was off. But there was one step that was mentioned in only one of the five historic recipes that was in every single contemporary recipe: “then stir in the crumbs with the boiling milk”. So that was the problem! When the milk is boiling, the breadcrumbs absorb much much more of the milk than if it is cold.
For my second try at making Queen of Puddings, I decided to take bits and pieces of all five recipes. I knew from the first time that I really liked the grated lemon zest, so I made sure to include it, even though it’s not in all five recipes. I used pear jelly the second time, but I actually prefer the flavours of the blackberry jelly that I used in batch #1. The final pudding is much more light and soufflé-like and I prefer it to the breadier and firmer texture that I ended up with my first botched attempt.
Read the Cookbook:

Pineapple Nut Stuffing
Pineapple Nut Stuffing will probably be the recipe I select the next time I make a Christmas or Thanksgiving turkey. The earthiness of the walnuts and the sharpness of the celery would complement the additional flavour of the turkey juices and the pineapple in the recipe is only perceptible by a slight sweetness.
This recipe is found in the 1950 The American Woman’s Cook Book and the introduction to the chapter on Stuffings for Fish, Meat, Poultry and Game lists alternative ways to prepare stuffing. Instead of cooking my stuffing inside of a fowl, I decided to try three of the methods listed in this paragraph: baked, steamed and fried in croquettes.
You’ll find this recipe in:
The American Woman’s Cook Book
Edited by: Ruth Berolzheimer
Chicago, 1950
Original Recipe:
PINEAPPLE NUT STUFFING
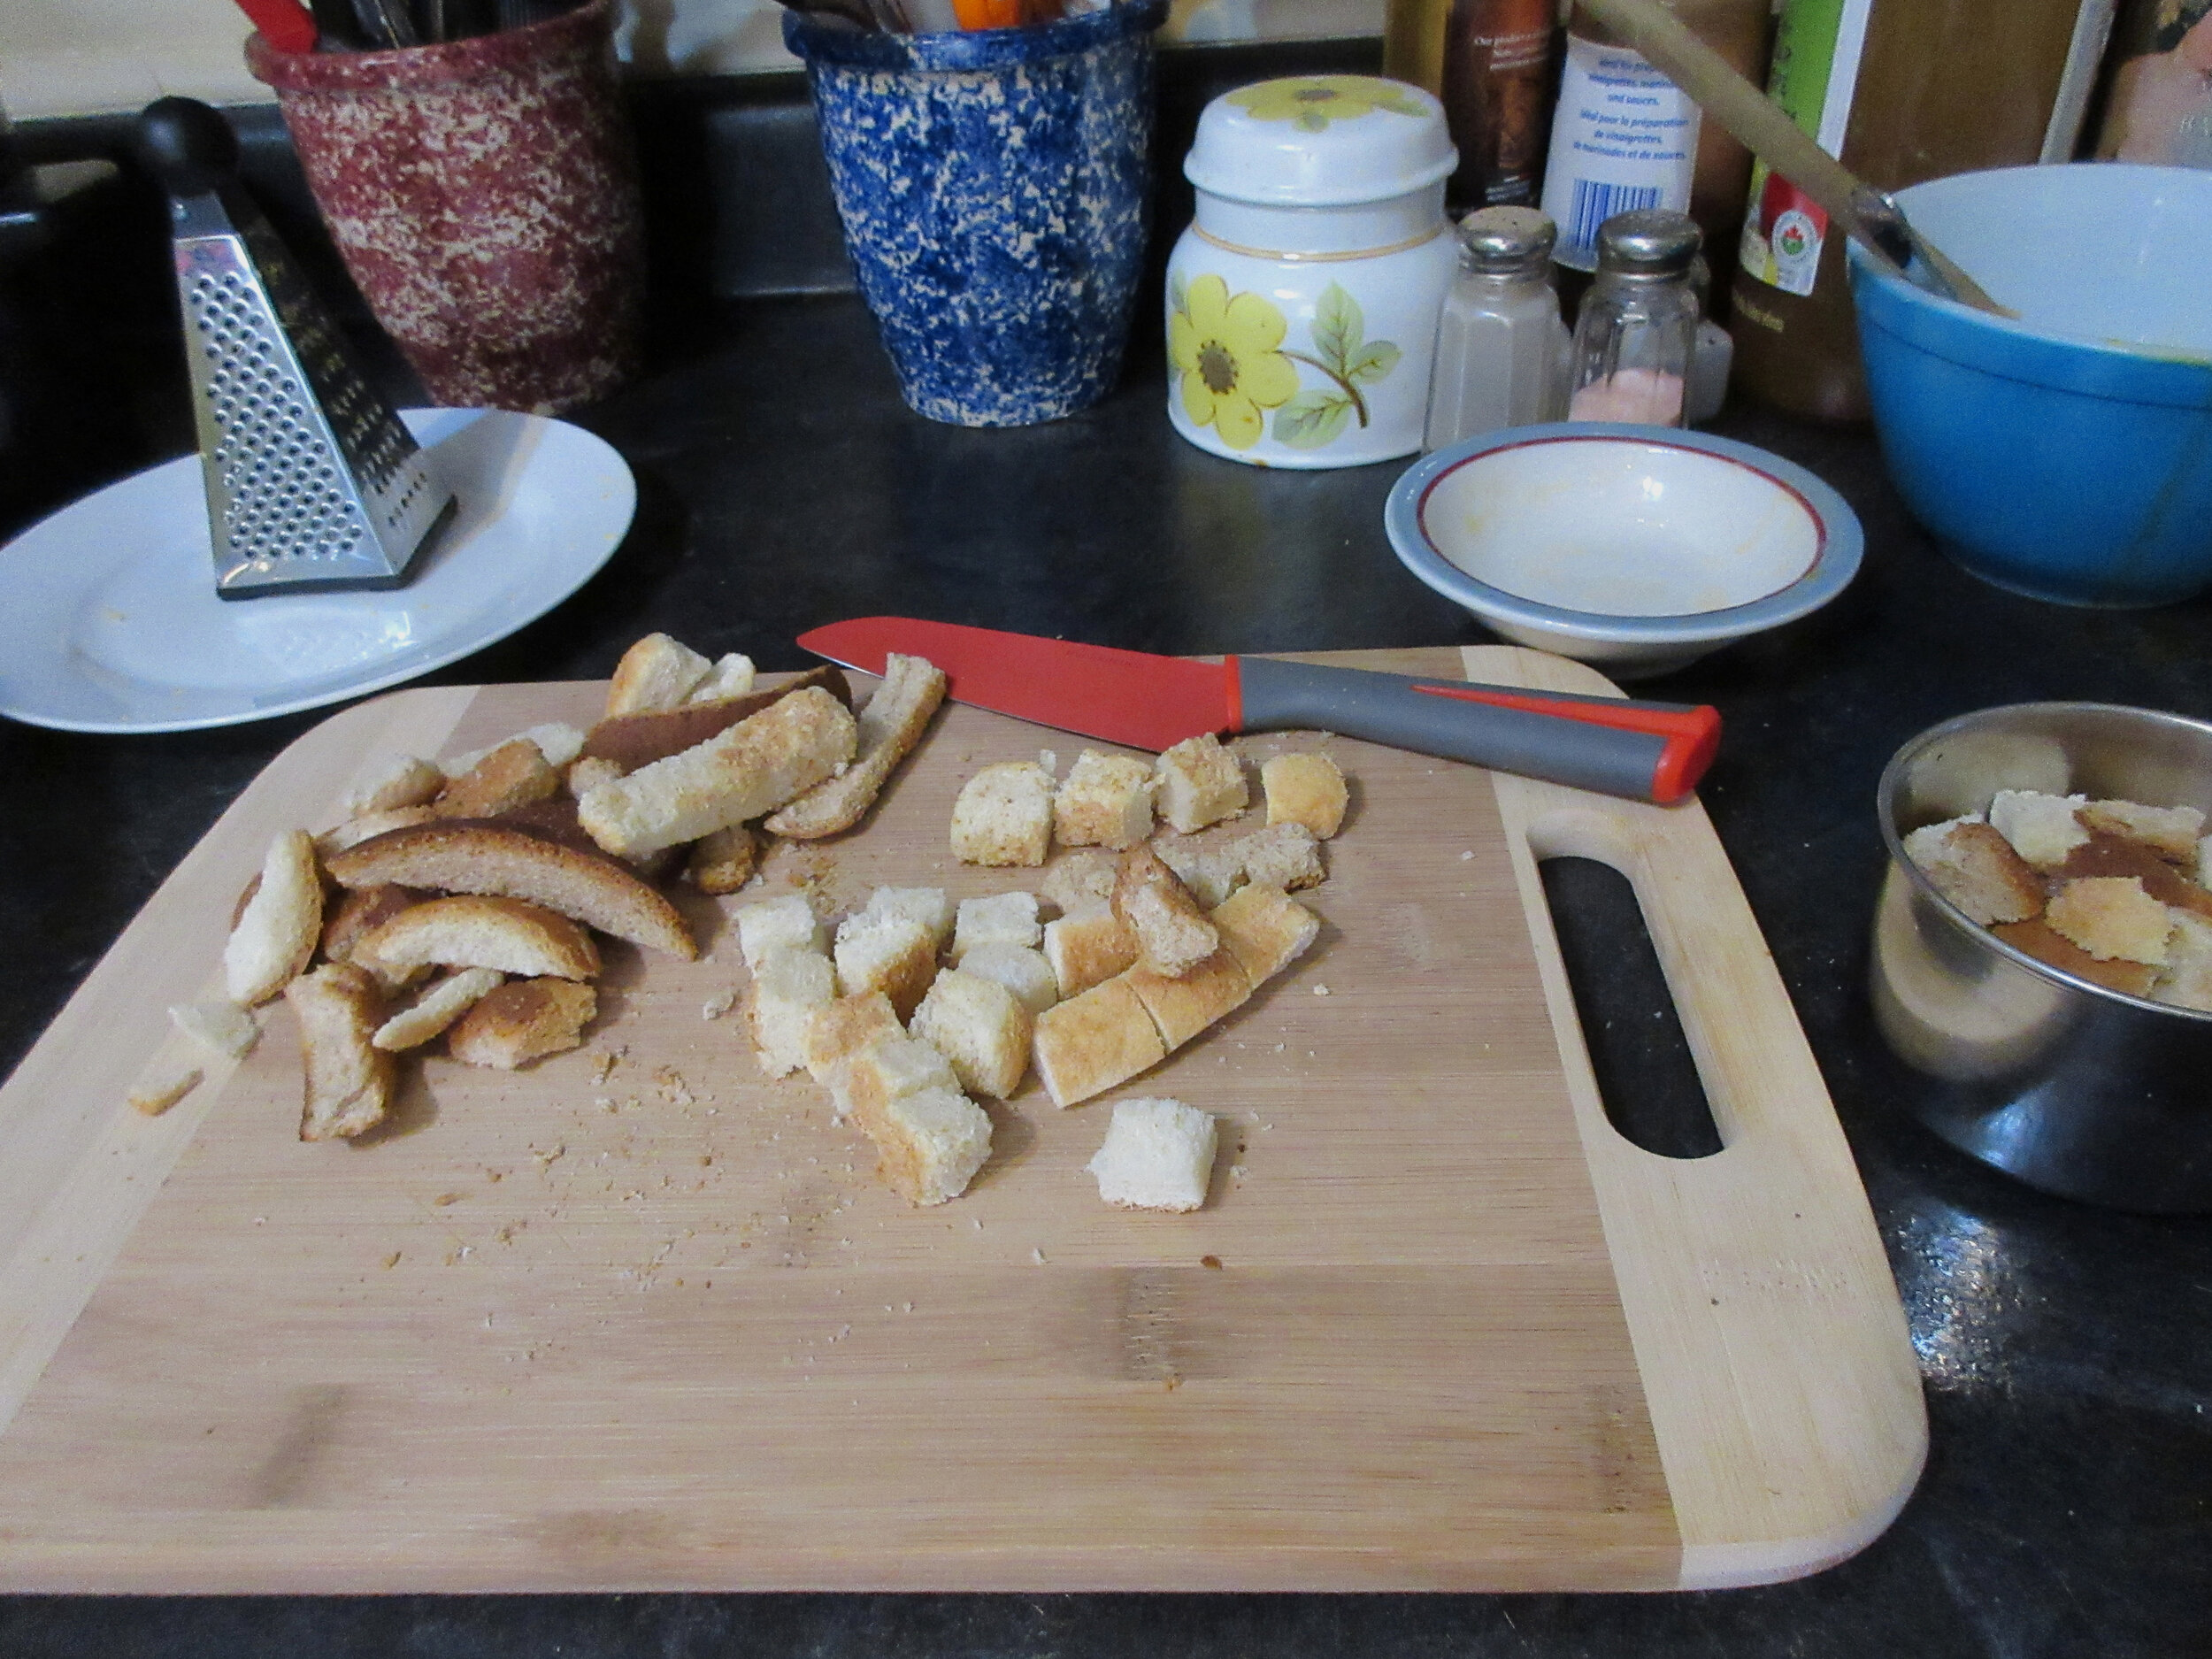
4 cups dry bread, ½ inch cubes
¾ cup finely chopped celery
½ cup chopped walnuts
¾ cup diced pineapple
1 pimiento, diced
1 teaspoon paprika
Dash cayenne
1 ½ teaspoons salt
¼ cup butter
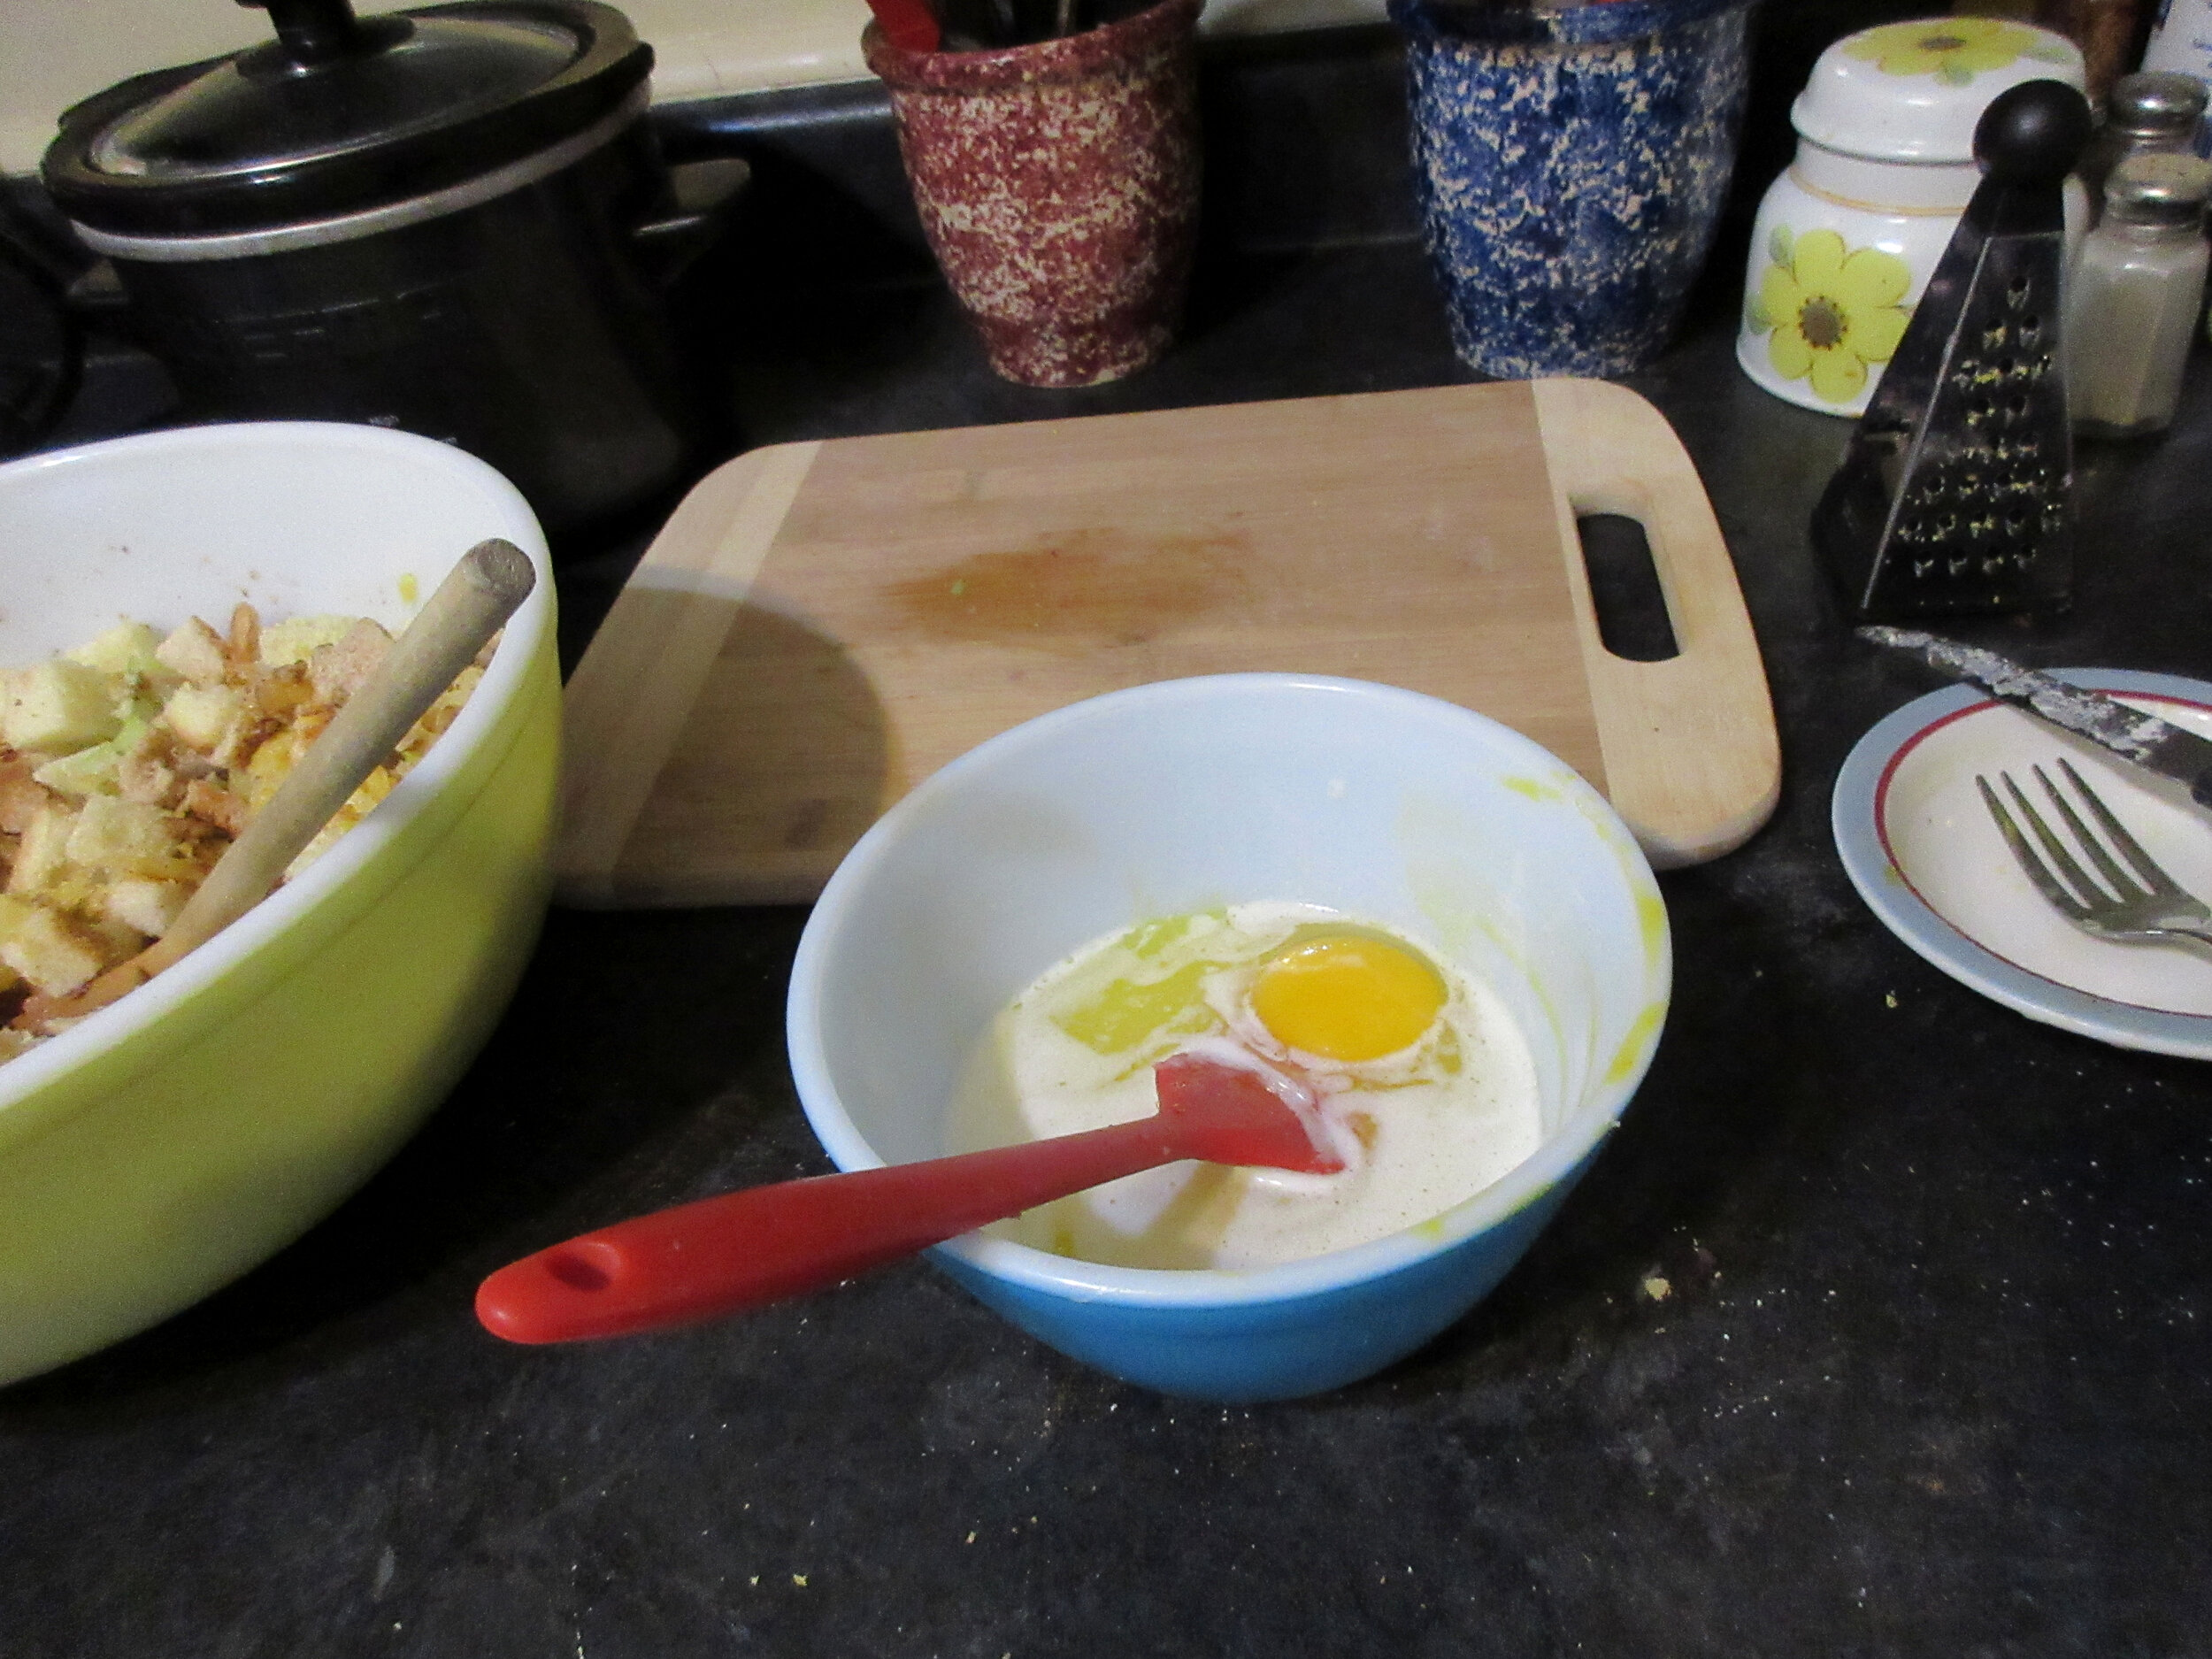
2 eggs
Combine bread, celery, walnuts, pineapple, pimiento and seasoning. Melt butter, remove from heat, stir in unbeaten eggs and add the bread mixture. Toss lightly. Use as stuffing for turkey, chicken, duck, veal roll, lamb chops or pork chops. Use crisp bacon cut into small pieces instead of nuts, reduce salt one-third and add grated onion, or use red or green bell peppers instead of pimiento. Makes 6 cups.


My recipe:
My version of the Pineapple Nut Stuffing recipe is simply the 1950 recipe slightly altered for clarity and with measurements in metric and grams added for those of you not in North America.
4 cups (945 mL) Dry Bread, ½ inch cubes – 200 g
¾ cup (175 mL) Celery, finely chopped – 100 g
½ cup (120 mL) Walnuts, chopped – 50 g
¾ cup (175 mL) Pineapple, diced – 226 g
1 Pimiento, diced
1 teaspoon (5 mL) Paprika
Dash of Cayenne
1 ½ teaspoons (7 ½ mL) Salt
¼ cup (60 mL) Butter – 57 g
2 Eggs
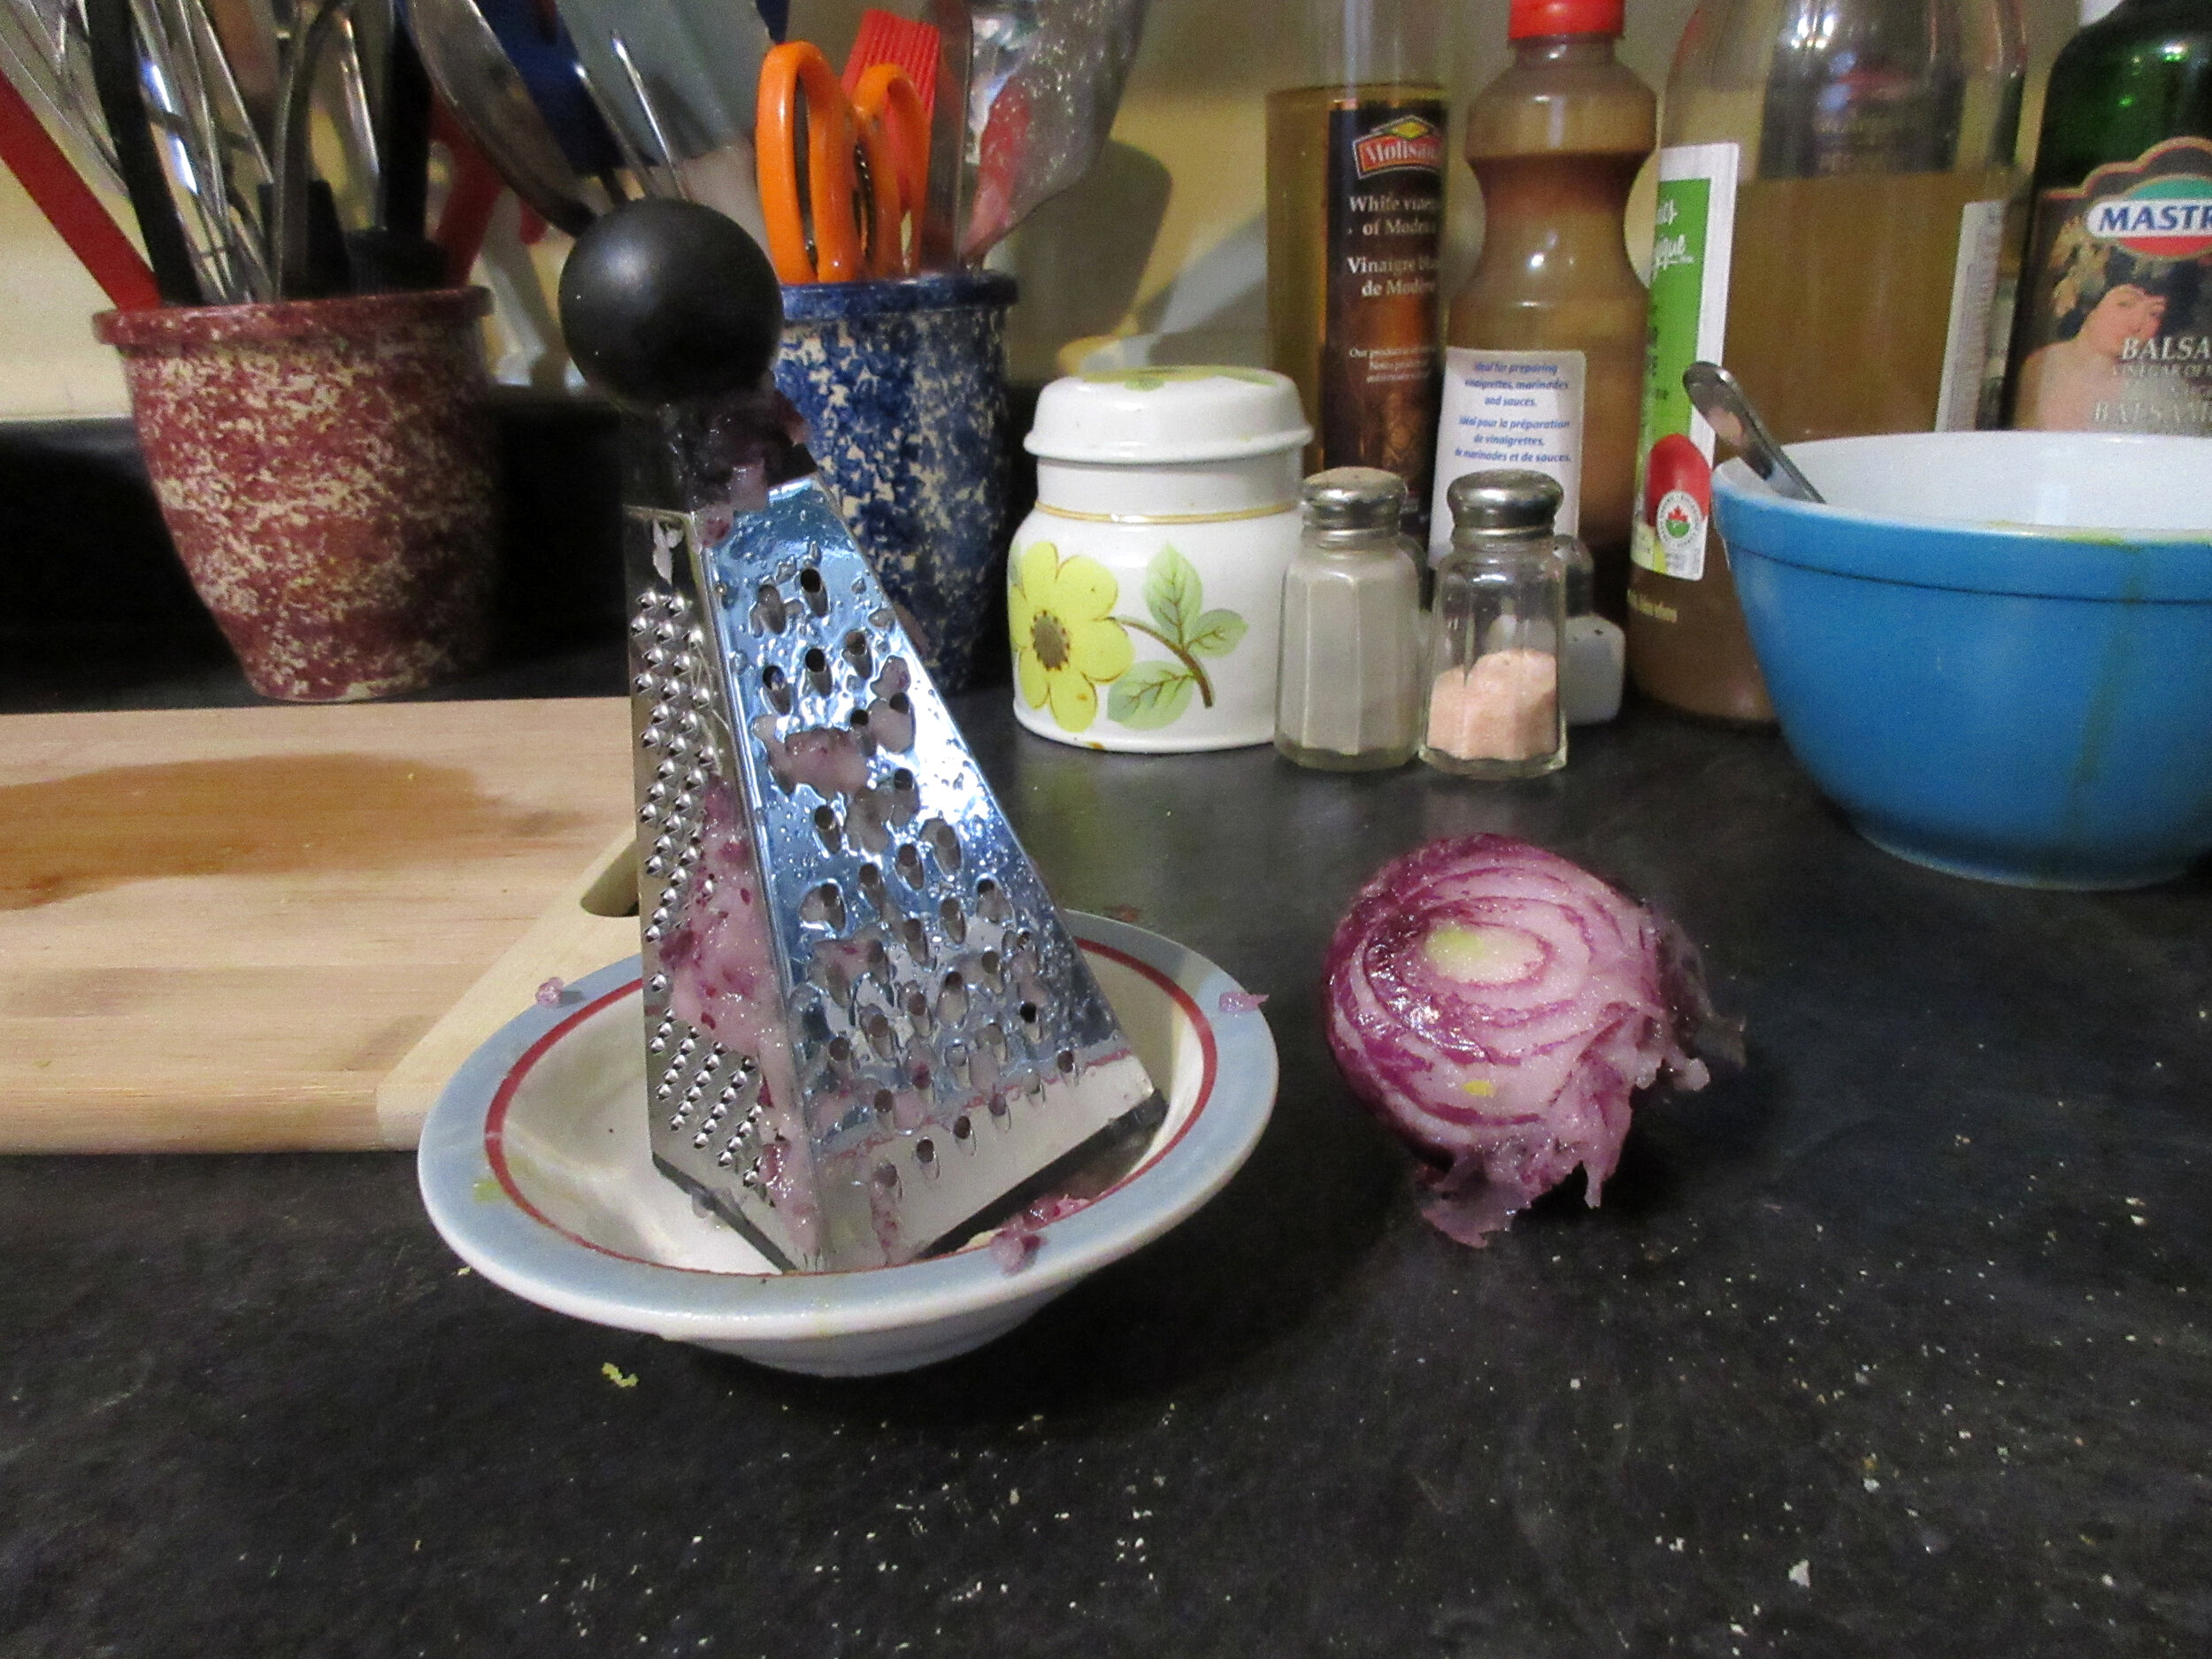
Options: Use crisp bacon cut into small pieces instead of nuts, reduce salt one-third and add grated onion, or use red or green bell peppers instead of pimiento. (I used walnuts, but no bacon, omitted the pimiento & green bell peppers and added 1 tbsp/15 mL grated onion along with only 1 tsp/5mL salt).
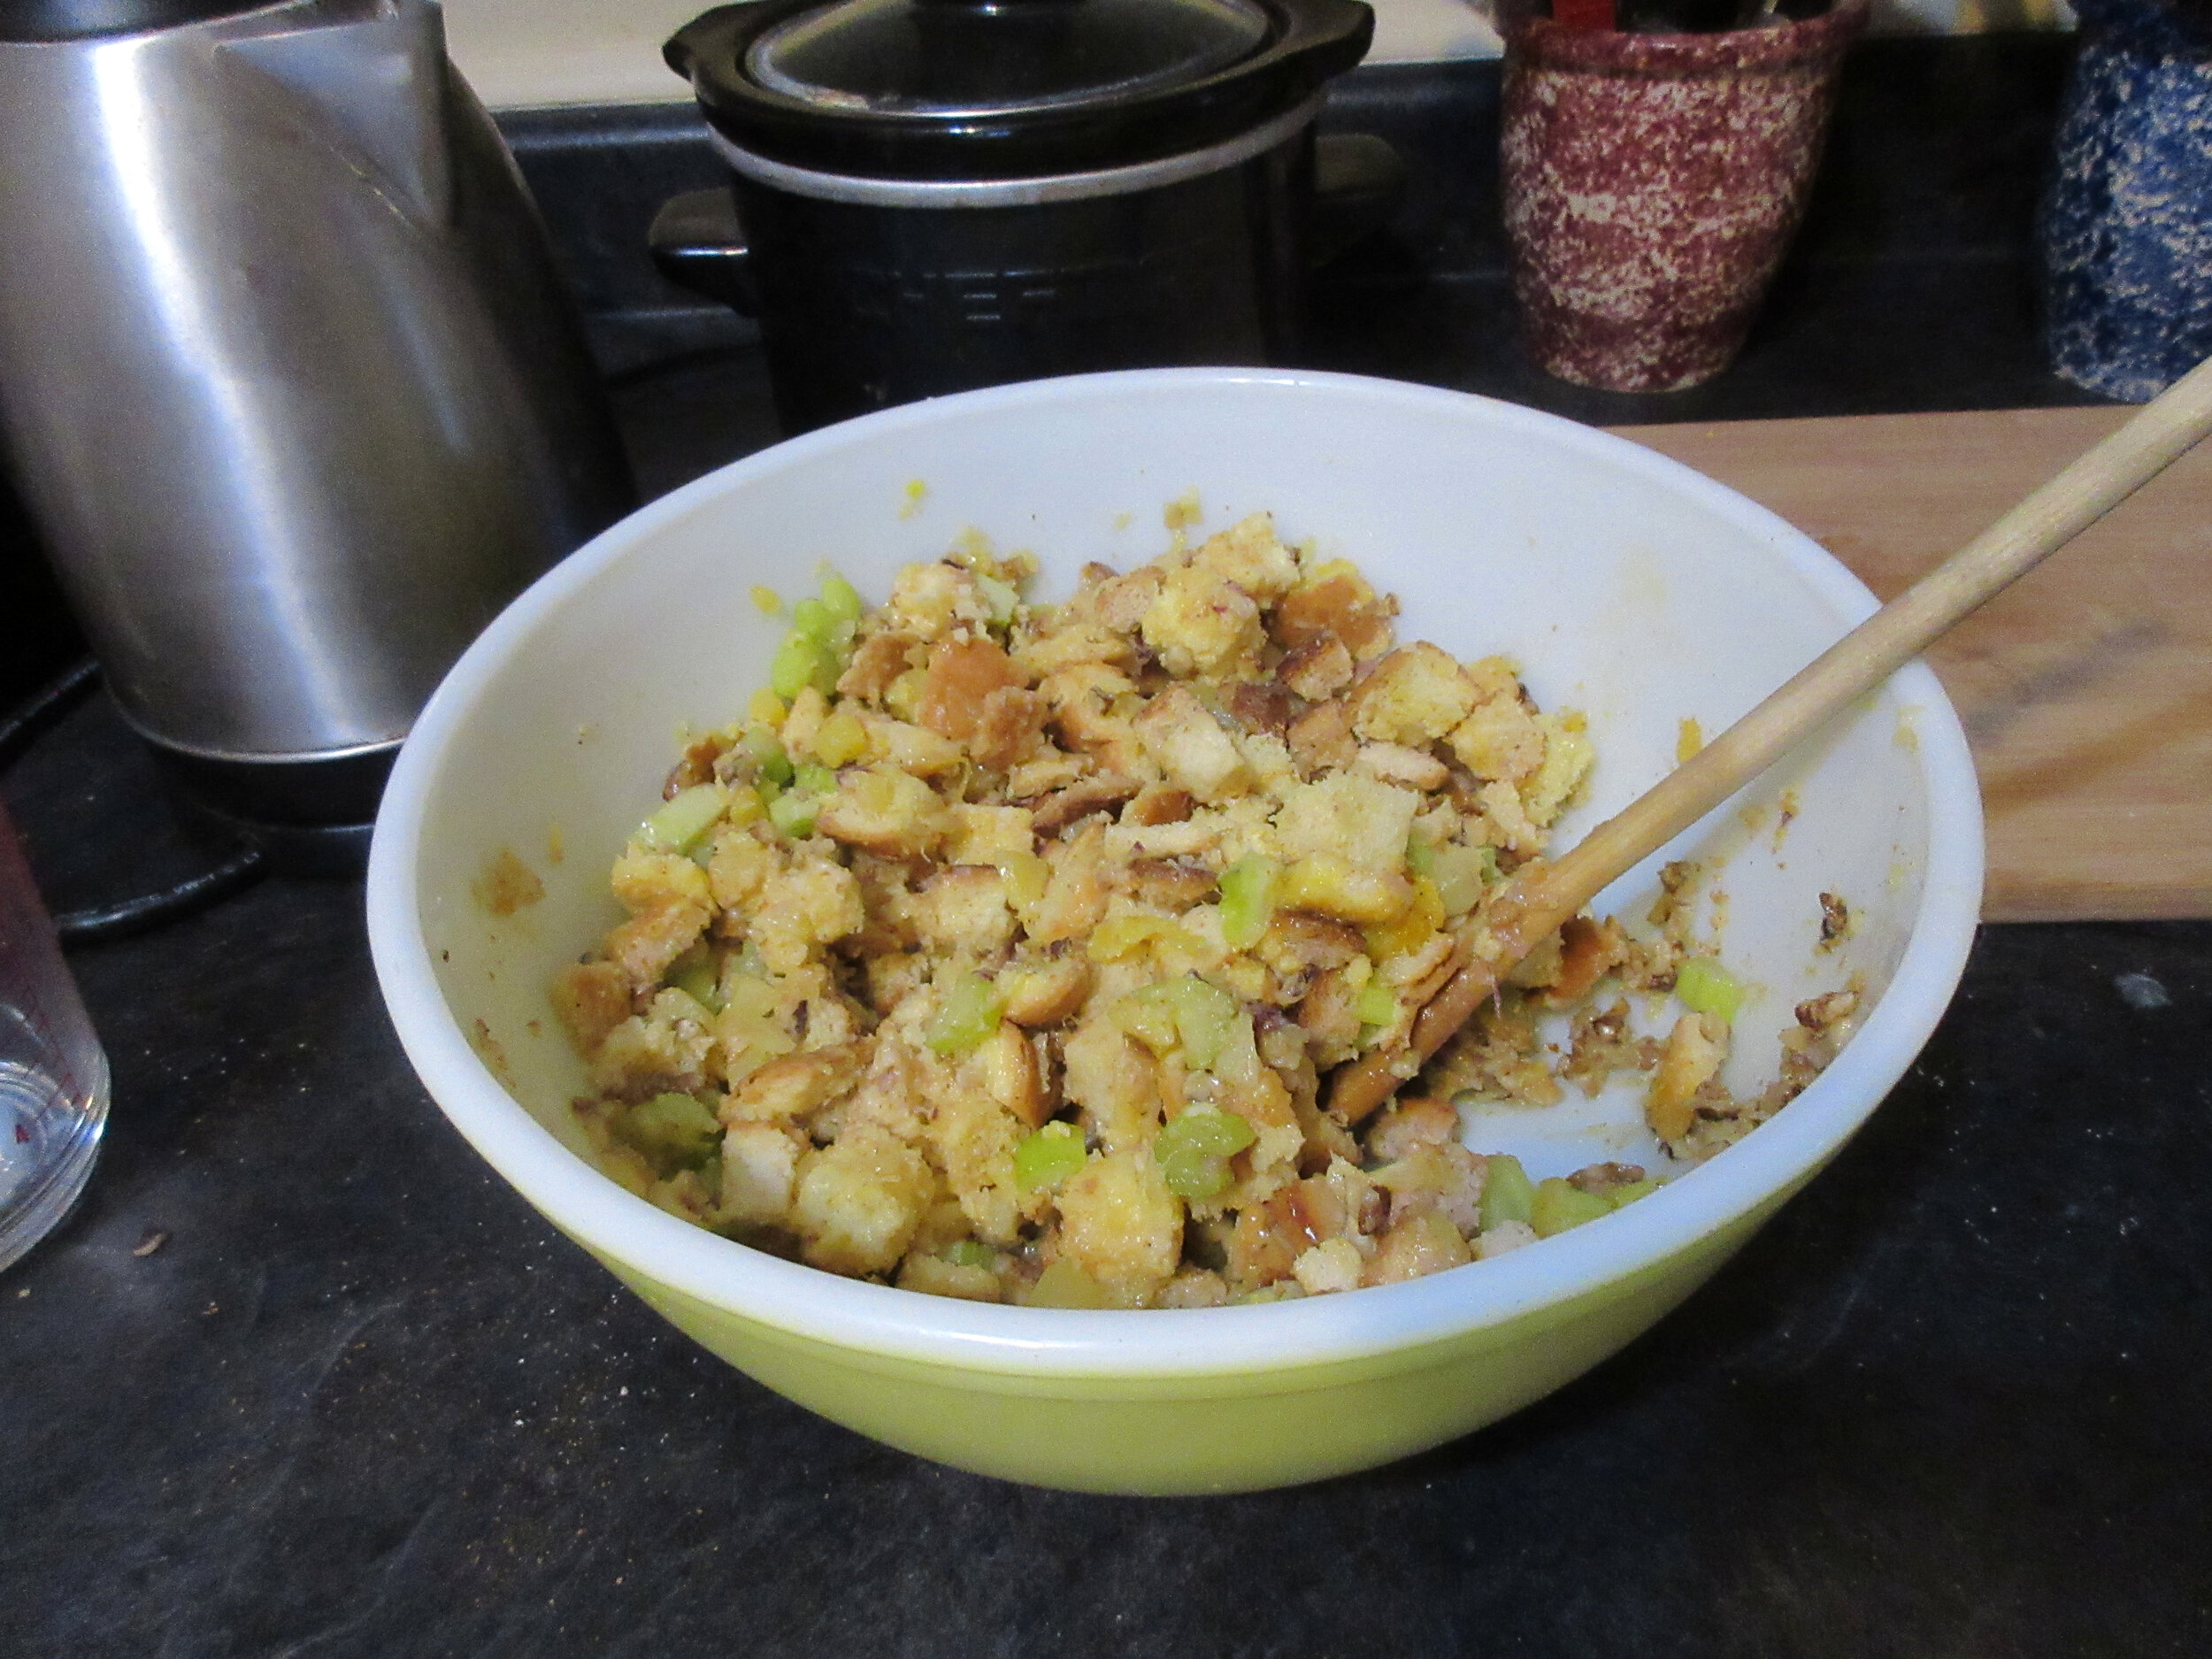
Combine bread, celery, walnuts, pineapple, pimiento and seasoning. Melt butter, remove from heat, stir in unbeaten eggs and add the bread mixture. Toss lightly. Makes 6 cups.
Use as stuffing for turkey, chicken, duck, veal roll, lamb chops or pork chops. Or bake, steam or fry the stuffing in croquettes (keep reading for instructions below).
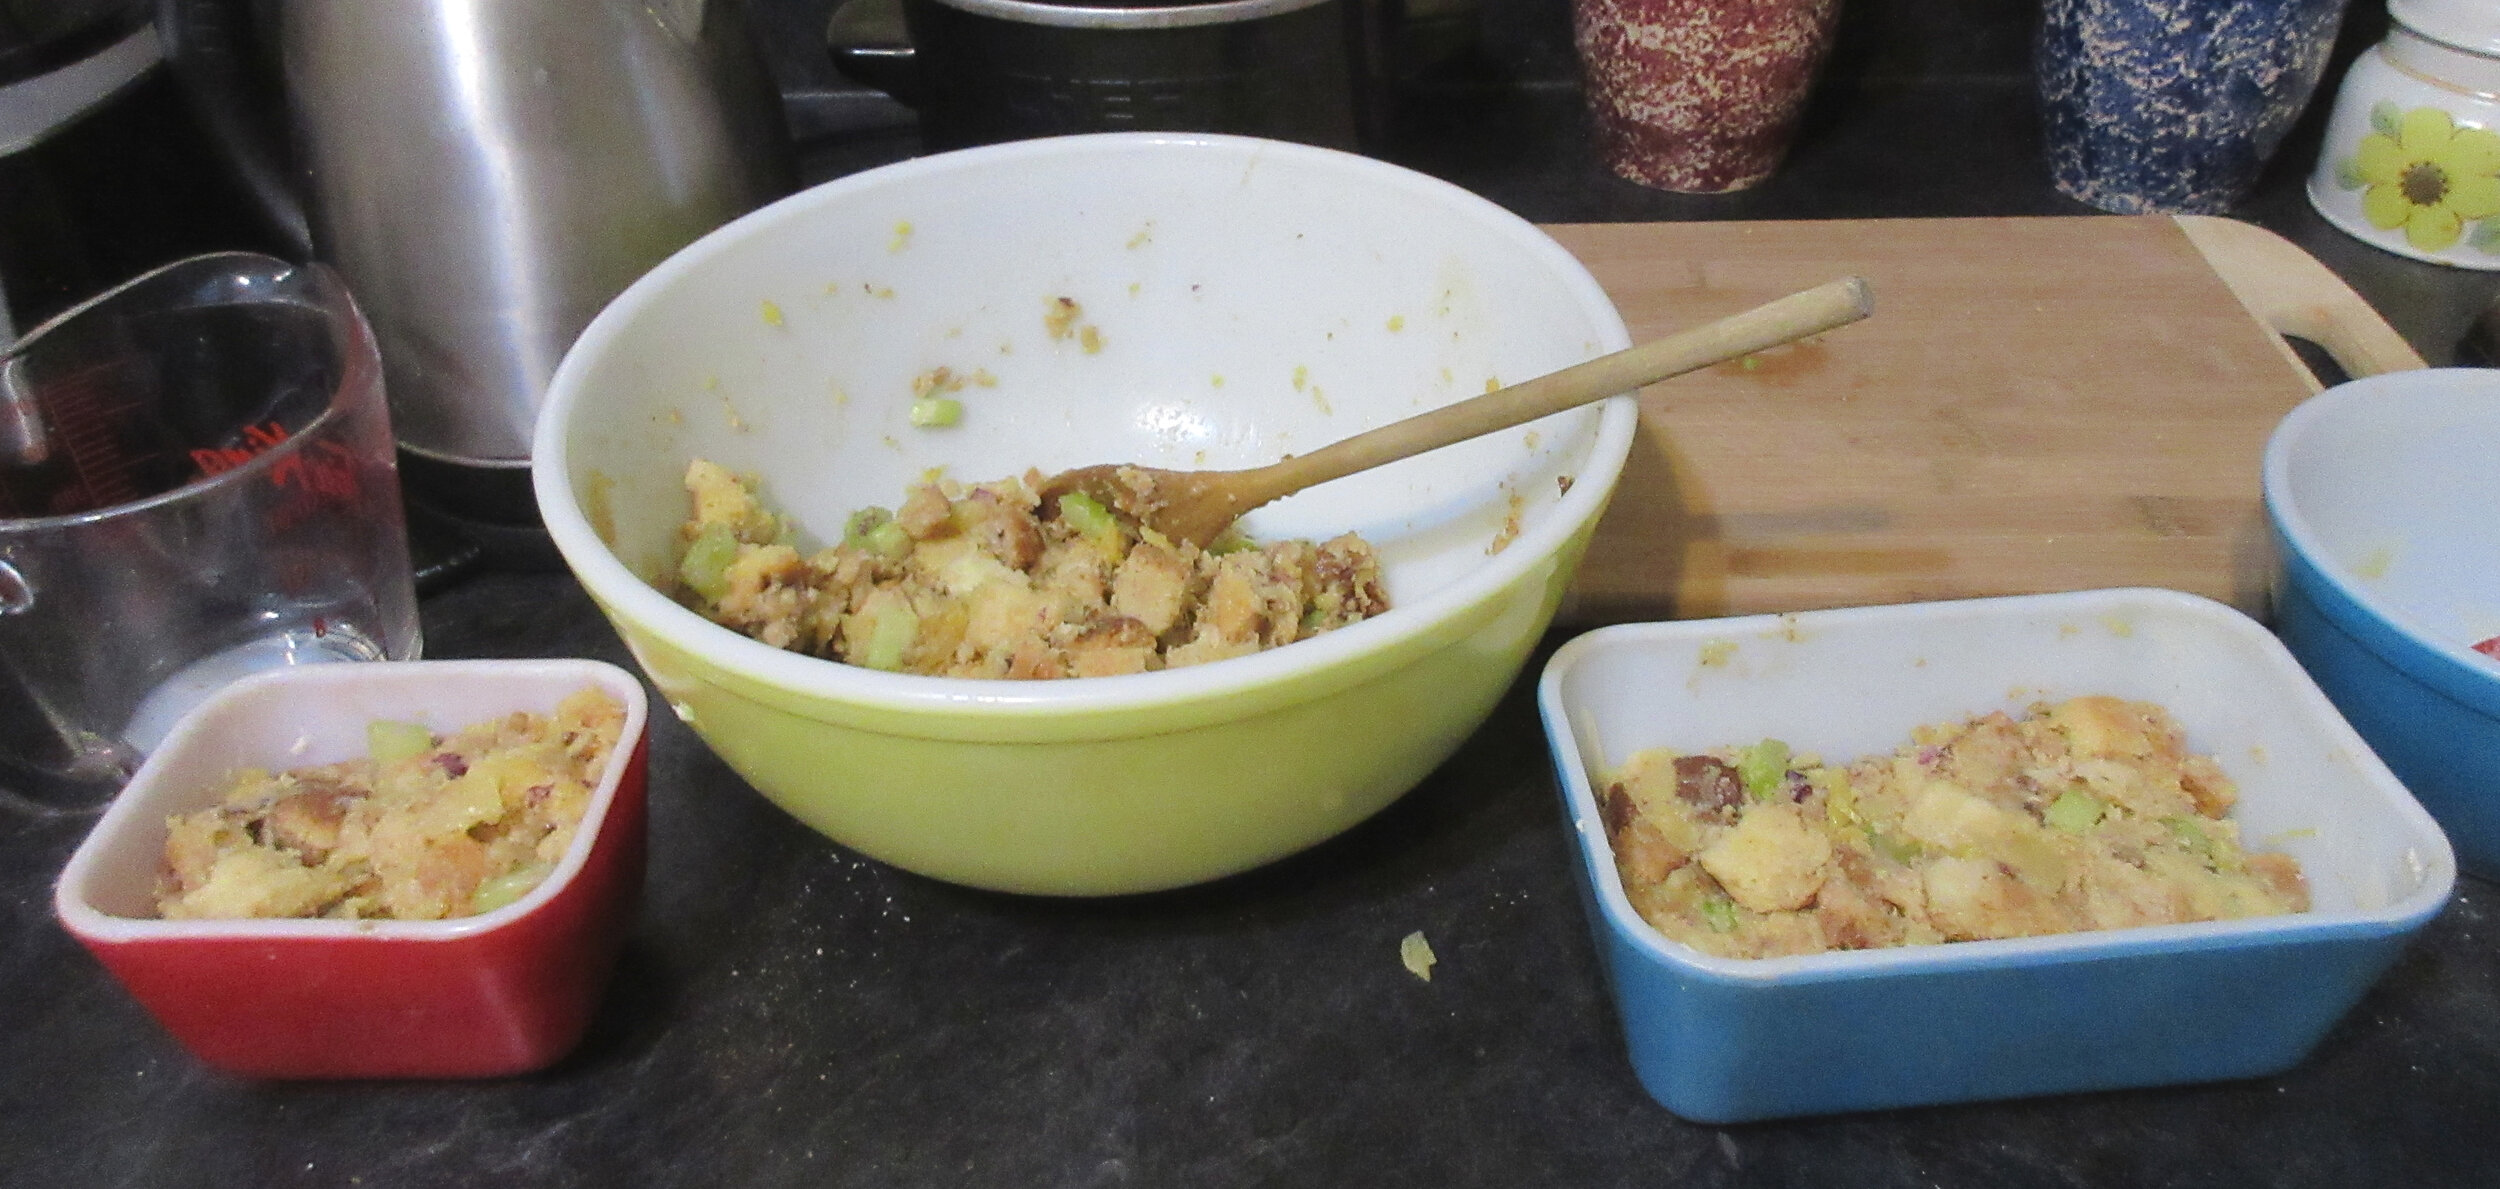
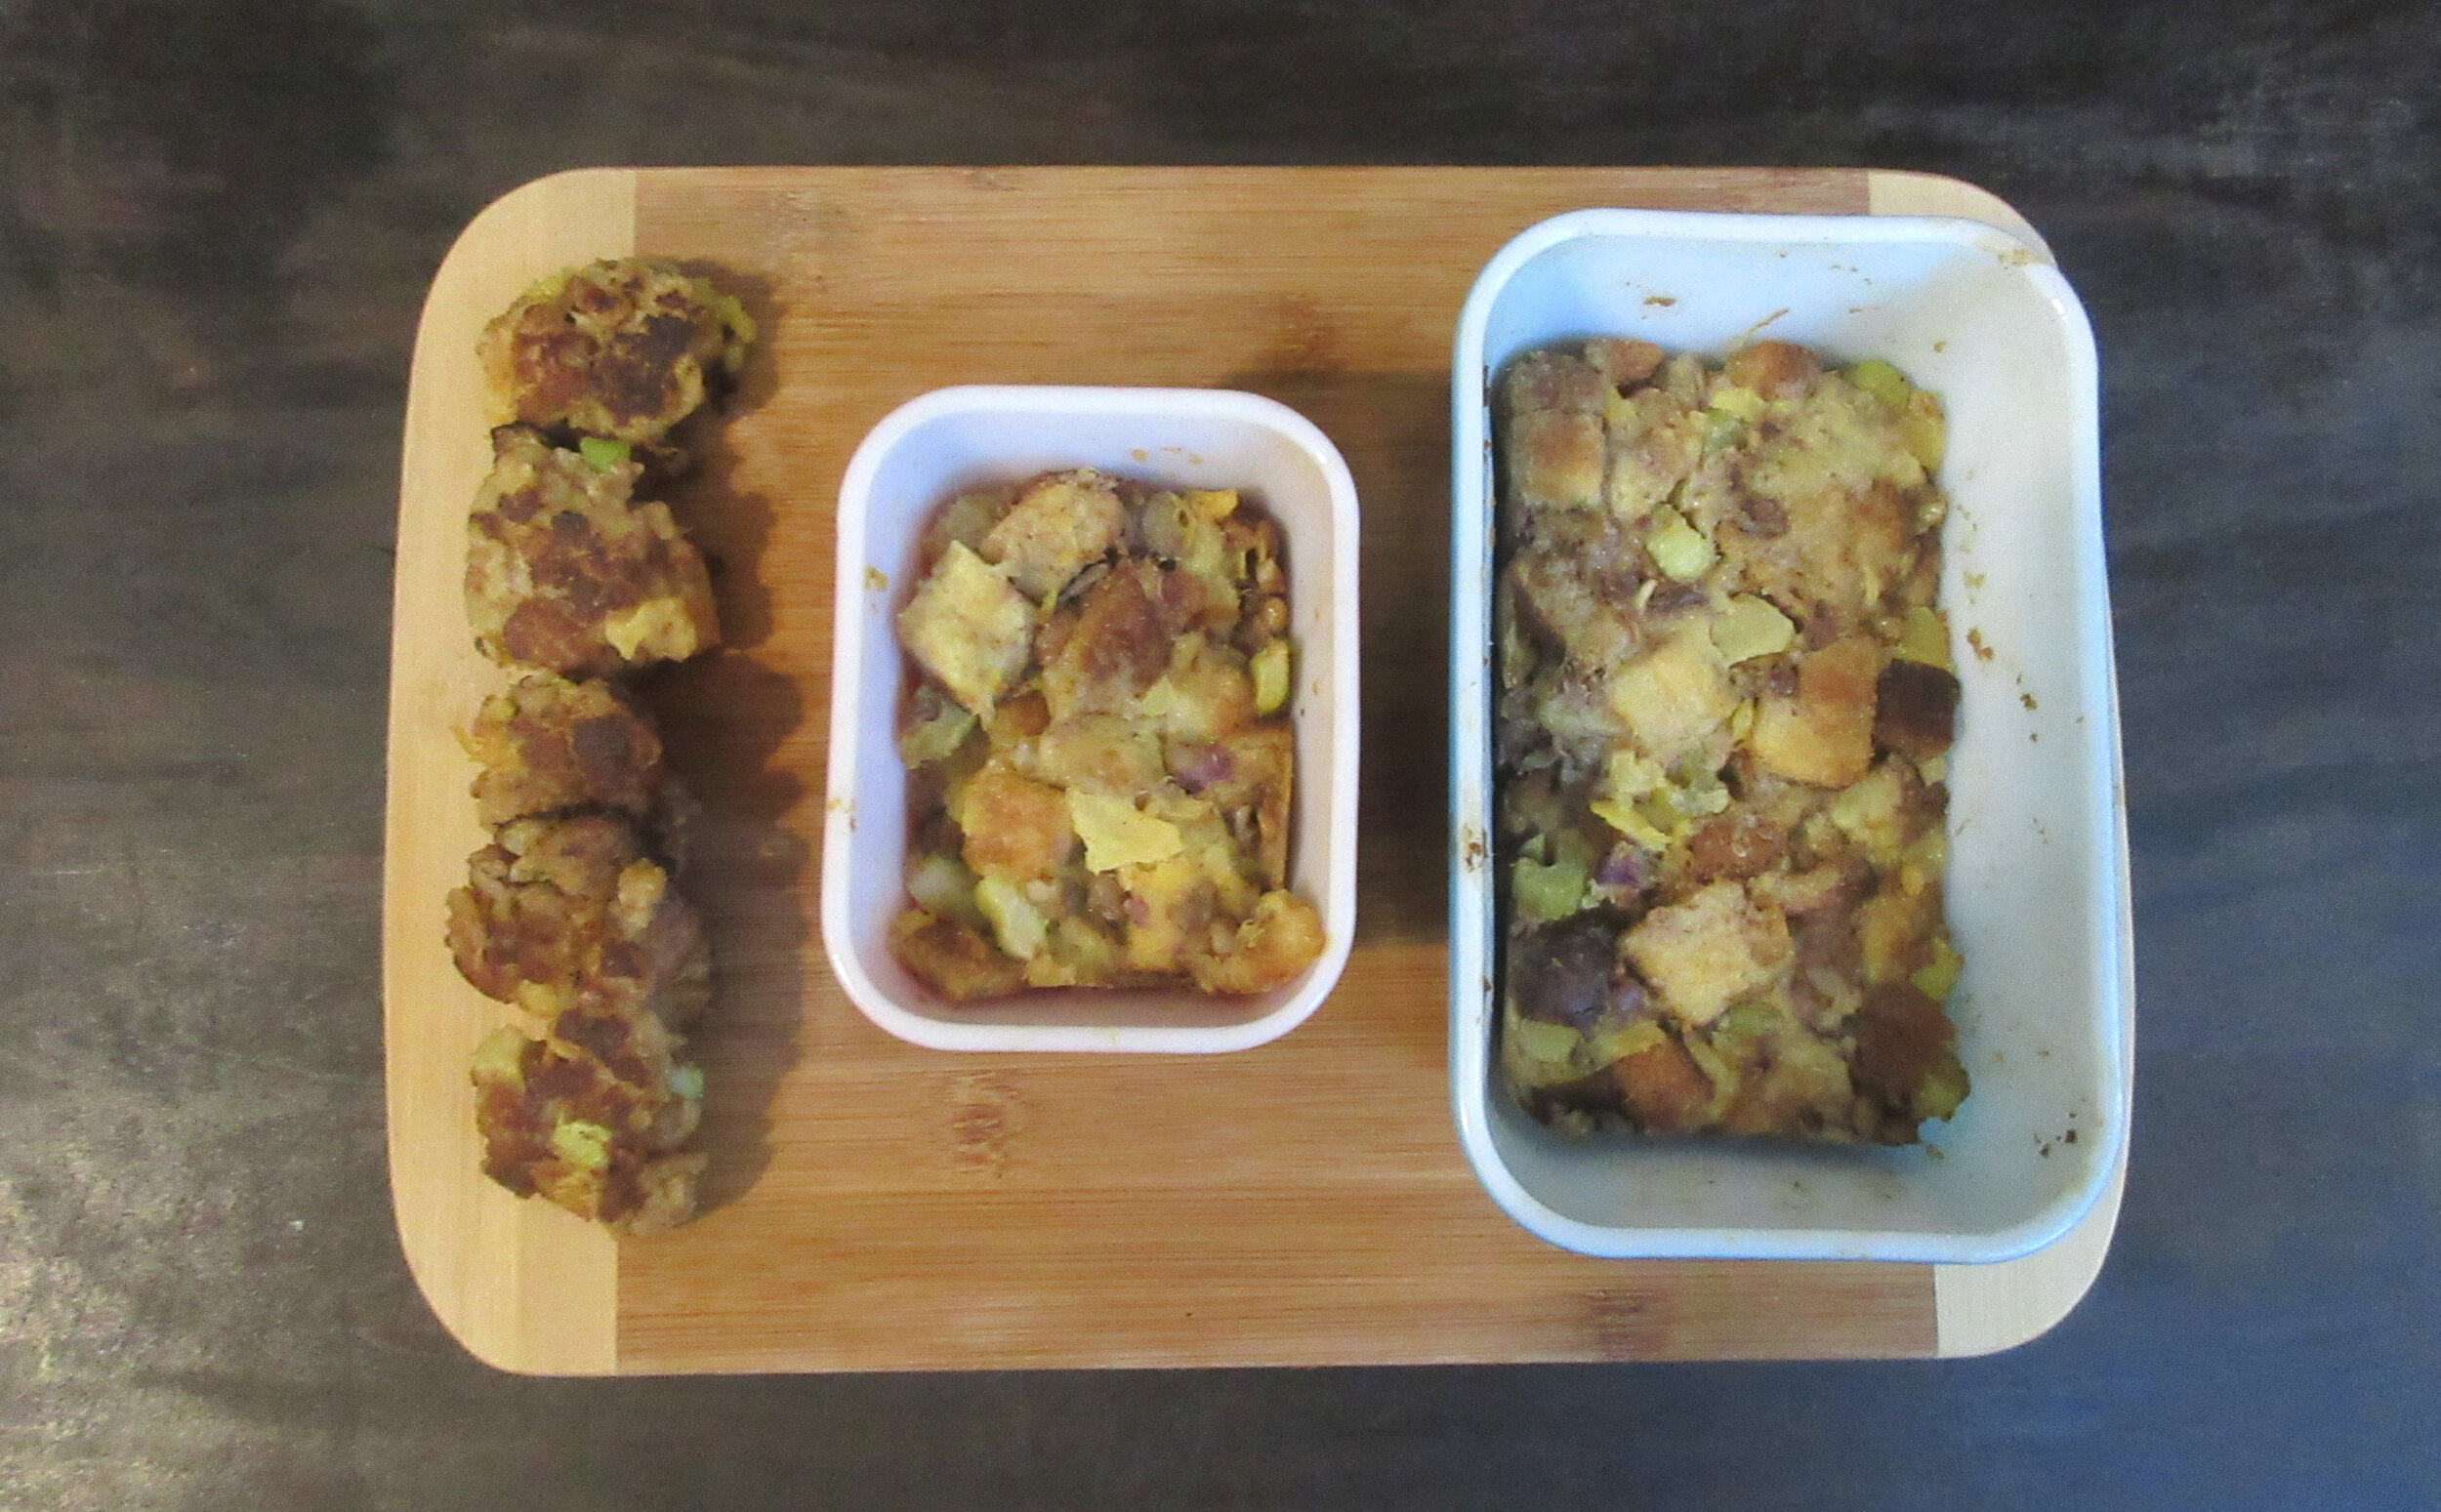
Red: Baked —- Yellow: Ready to be formed into Croquettes & Fried —- Blue: Steamed
Bake, Steam or Fry your Pineapple Nut Stuffing
The introduction to the chapter on Stuffings for Fish, Meat, Poultry and Game lists alternative ways to prepare stuffing, so I decided to try three of the methods listed in this paragraph instead of cooking my stuffing inside of a fowl:
STUFFING does not necessarily have to be baked in the fowl or meat. If the bird is small or there is some stuffing left over, it may be baked or steamed in a well-greased ring mold, loaf pan or individual molds. Fill center of ring with vegetables. Croquettes of stuffing, made by the usual method, are served in a circle around the bird.
As you can see above, I divided my stuffing between two small loaf pans for baking and steaming and left the rest to be formed into croquettes and fried. I don’t have a metal ring mould or a collection of individual moulds, but I definitely would have tried those suggestions if I did. If you prepare this recipe using a mould, send your pictures my way. I’d love to see them!
Croquettes
If you’re short on time, frying the stuffing in croquettes is the fastest of the three preparation methods. Use your hands or spoons to form small croquettes, then fry them in butter until browned on both sides.
Baked
If you choose to bake your Pineapple Nut Stuffing, simply put your pan or mould in the oven. I put roughly 1 cup/235mL in my little loaf pan and I baked it for 30 minutes at 350 F or 175 C.
Steamed
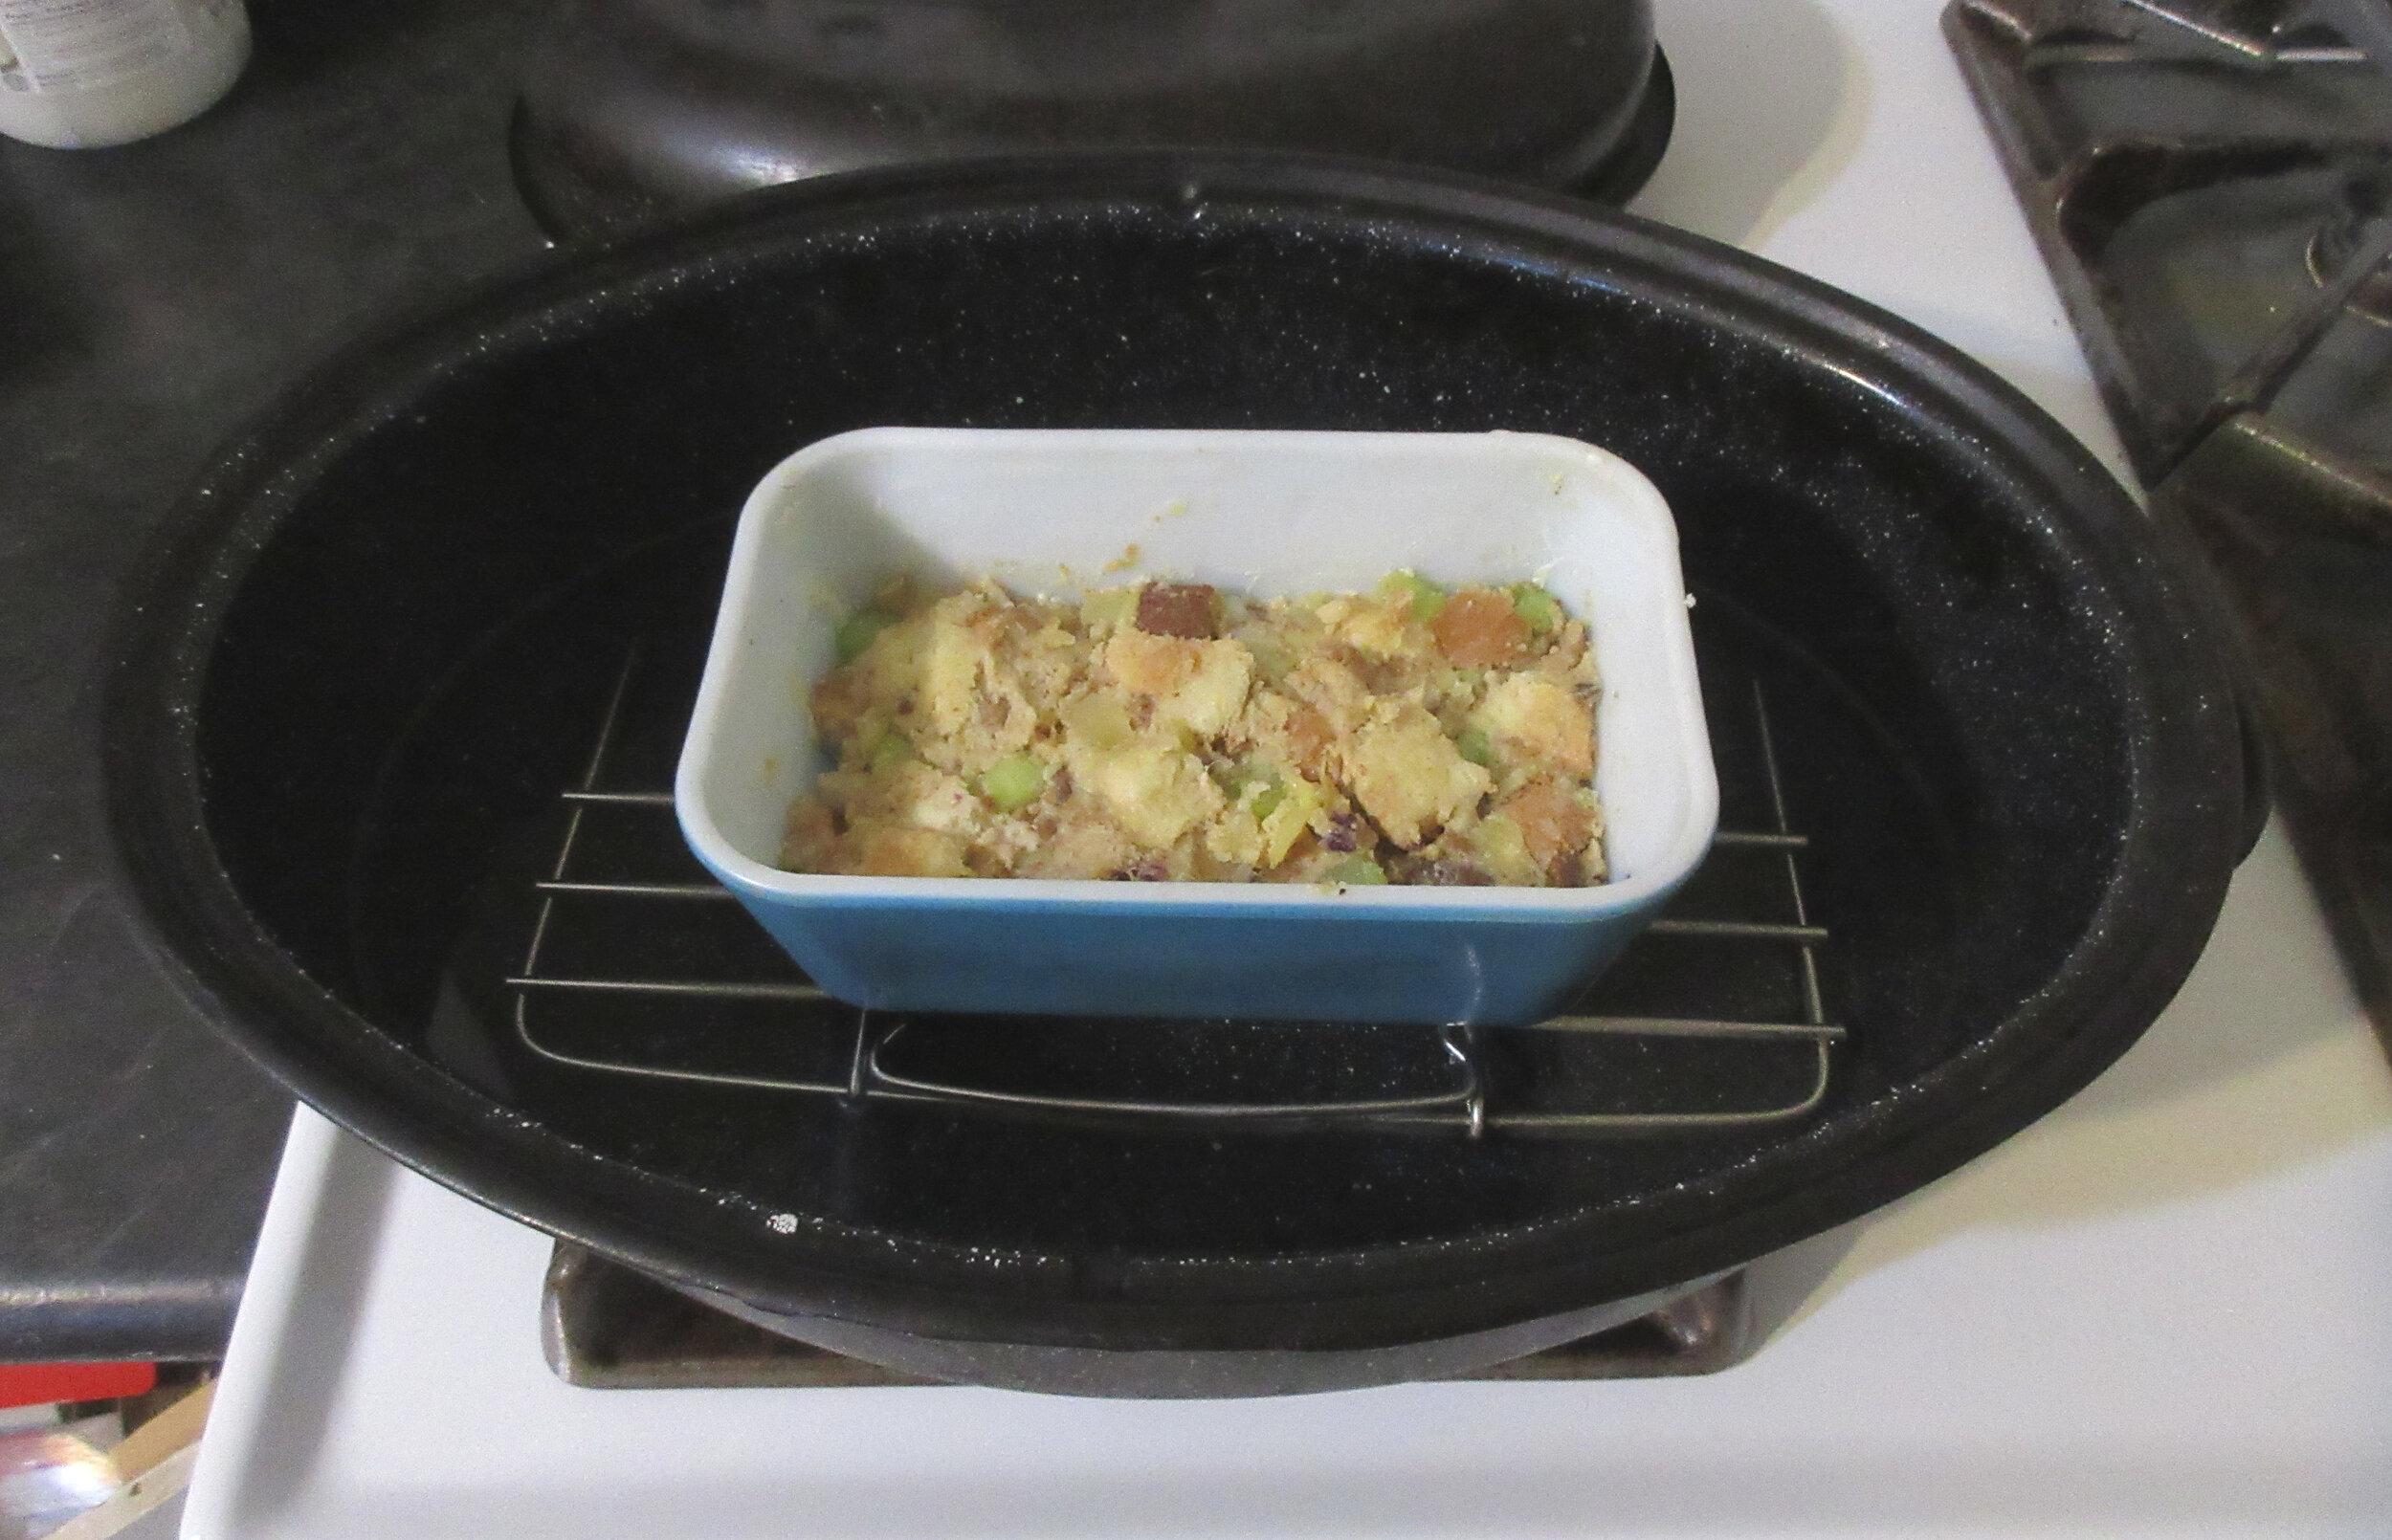
Steamed stuffing will end up with a more moist consistency than baked, similar to if you had cooked the stuffing inside a bird. Your goal is to create a steamy sauna-like environment to cook your stuffing and you can either steam in your oven or on your stove. Since I had my oven on already to bake the other loaf pan of stuffing, that’s how I steamed mine, but I’ll go over the stovetop method as well.
For steaming the pudding in an oven, you’ll need a lidded baking pan. I used a roasting pan and I put a rack underneath my loaf pan. I filled the bottom of the roasting pan with about 1 cm or ½ inch water, put on the lid and popped it in the oven. There was about 2 cups or 470mL of stuffing in my loaf pan, and I steamed it in the oven at 350F/175C for an hour.
You can also steam stuffing in a large lidded pot on your stove. The setup is exactly the same as the oven method: place a rack and about 1 cm or ½ inch of water in the bottom of your pot, set your pan or mould on the rack and put on the lid. Simmer at a low boil.
The end result will probably be more moist than a pudding steamed in the oven and it will probably be done sooner as well. That’s because you’ll have more control over the process on your stove because you’ll be able to check in and make fine adjustments to the temperature. You’ll also want to check in every so often to make sure that the water doesn’t entirely evaporate and top up if needed.

Pineapple Nut Stuffing will probably be the recipe I select the next time I make a Christmas or Thanksgiving turkey. The earthiness of the walnuts and the sharpness of the celery would complement the additional flavour of the turkey juices and the pineapple in the recipe is only perceptible by a slight sweetness. I agree with the suggested variation that bacon would be delicious, either replacing or in addition to the walnuts.
In the pictures below, the croquettes are obviously on the left, but the smaller slice on the blue plate is the baked stuffing and the larger slice was steamed.
It’s not a surprise that croquettes were the tastiest, since they were fried in butter. The baked stuffing was drier than the steamed stuffing, but not in a negative way. It was just different. Depending on how much liquid each bread cube absorbed, it was either or moist or a bit crunchy. The variety of textures was nice. The steamed stuffing had a more universal texture that was similar to stuffing cooked inside of a bird. Had I chosen to steam on the stovetop instead of in the oven, the end result would probably have been more moist and the differences between baked and steamed would probably have been more dramatic.


A big thank you goes to the Plattsville & District Heritage Society that works to preserve the history of the community where I lived for the first 20-odd years of my life. I’ve spent a good portion of my free time since November emptying out the home that belonged to my parents since 1958, which is the main reason why I haven’t made many recipes lately. My Mom constantly saved clippings from newspapers and magazines and was an avid keeper of scrapbooks. Since many of these scrapbooks documented life in her community, many of her scrapbooks have ended up at archives of the Plattsville & District Heritage Society, where my Mom acted as secretary.
I walked into our first donation meeting with a car load of documents, and I walked out with a vintage cookbook in my hand that had been donated, but didn’t match their local focus. I may have eventually made a recipe from The American Woman’s Cook Book from a scanned copy on an online archive, but having a physical copy that I was given on my bookshelf is a big part of why I picked this recipe at this time.
The Plattsville & District Heritage Society is housed in the former Chesterfield United Church, which is the church that I attended as a child. The Society meets regularly and puts on annual exhibits in the summertime in the church’s sanctuary & events throughout the year.

Another thank you goes to “Past Julia” and all the bread that I had stockpiled in my freezer. I had stockpiled frozen bread crusts that I cut off when I made Mushroom Rolls, thinking that I’d make stuffing or bread pudding some day for my blog. I wanted to clear out some space in my freezer and I had so many bread crusts in there that my next recipe also features this frozen bread. However since I made these recipes, I’ve discovered the most effective way to clear out your freezer: just arrange for your freezer to stop working and it will be entirely cleared out!


Read the Cookbook:
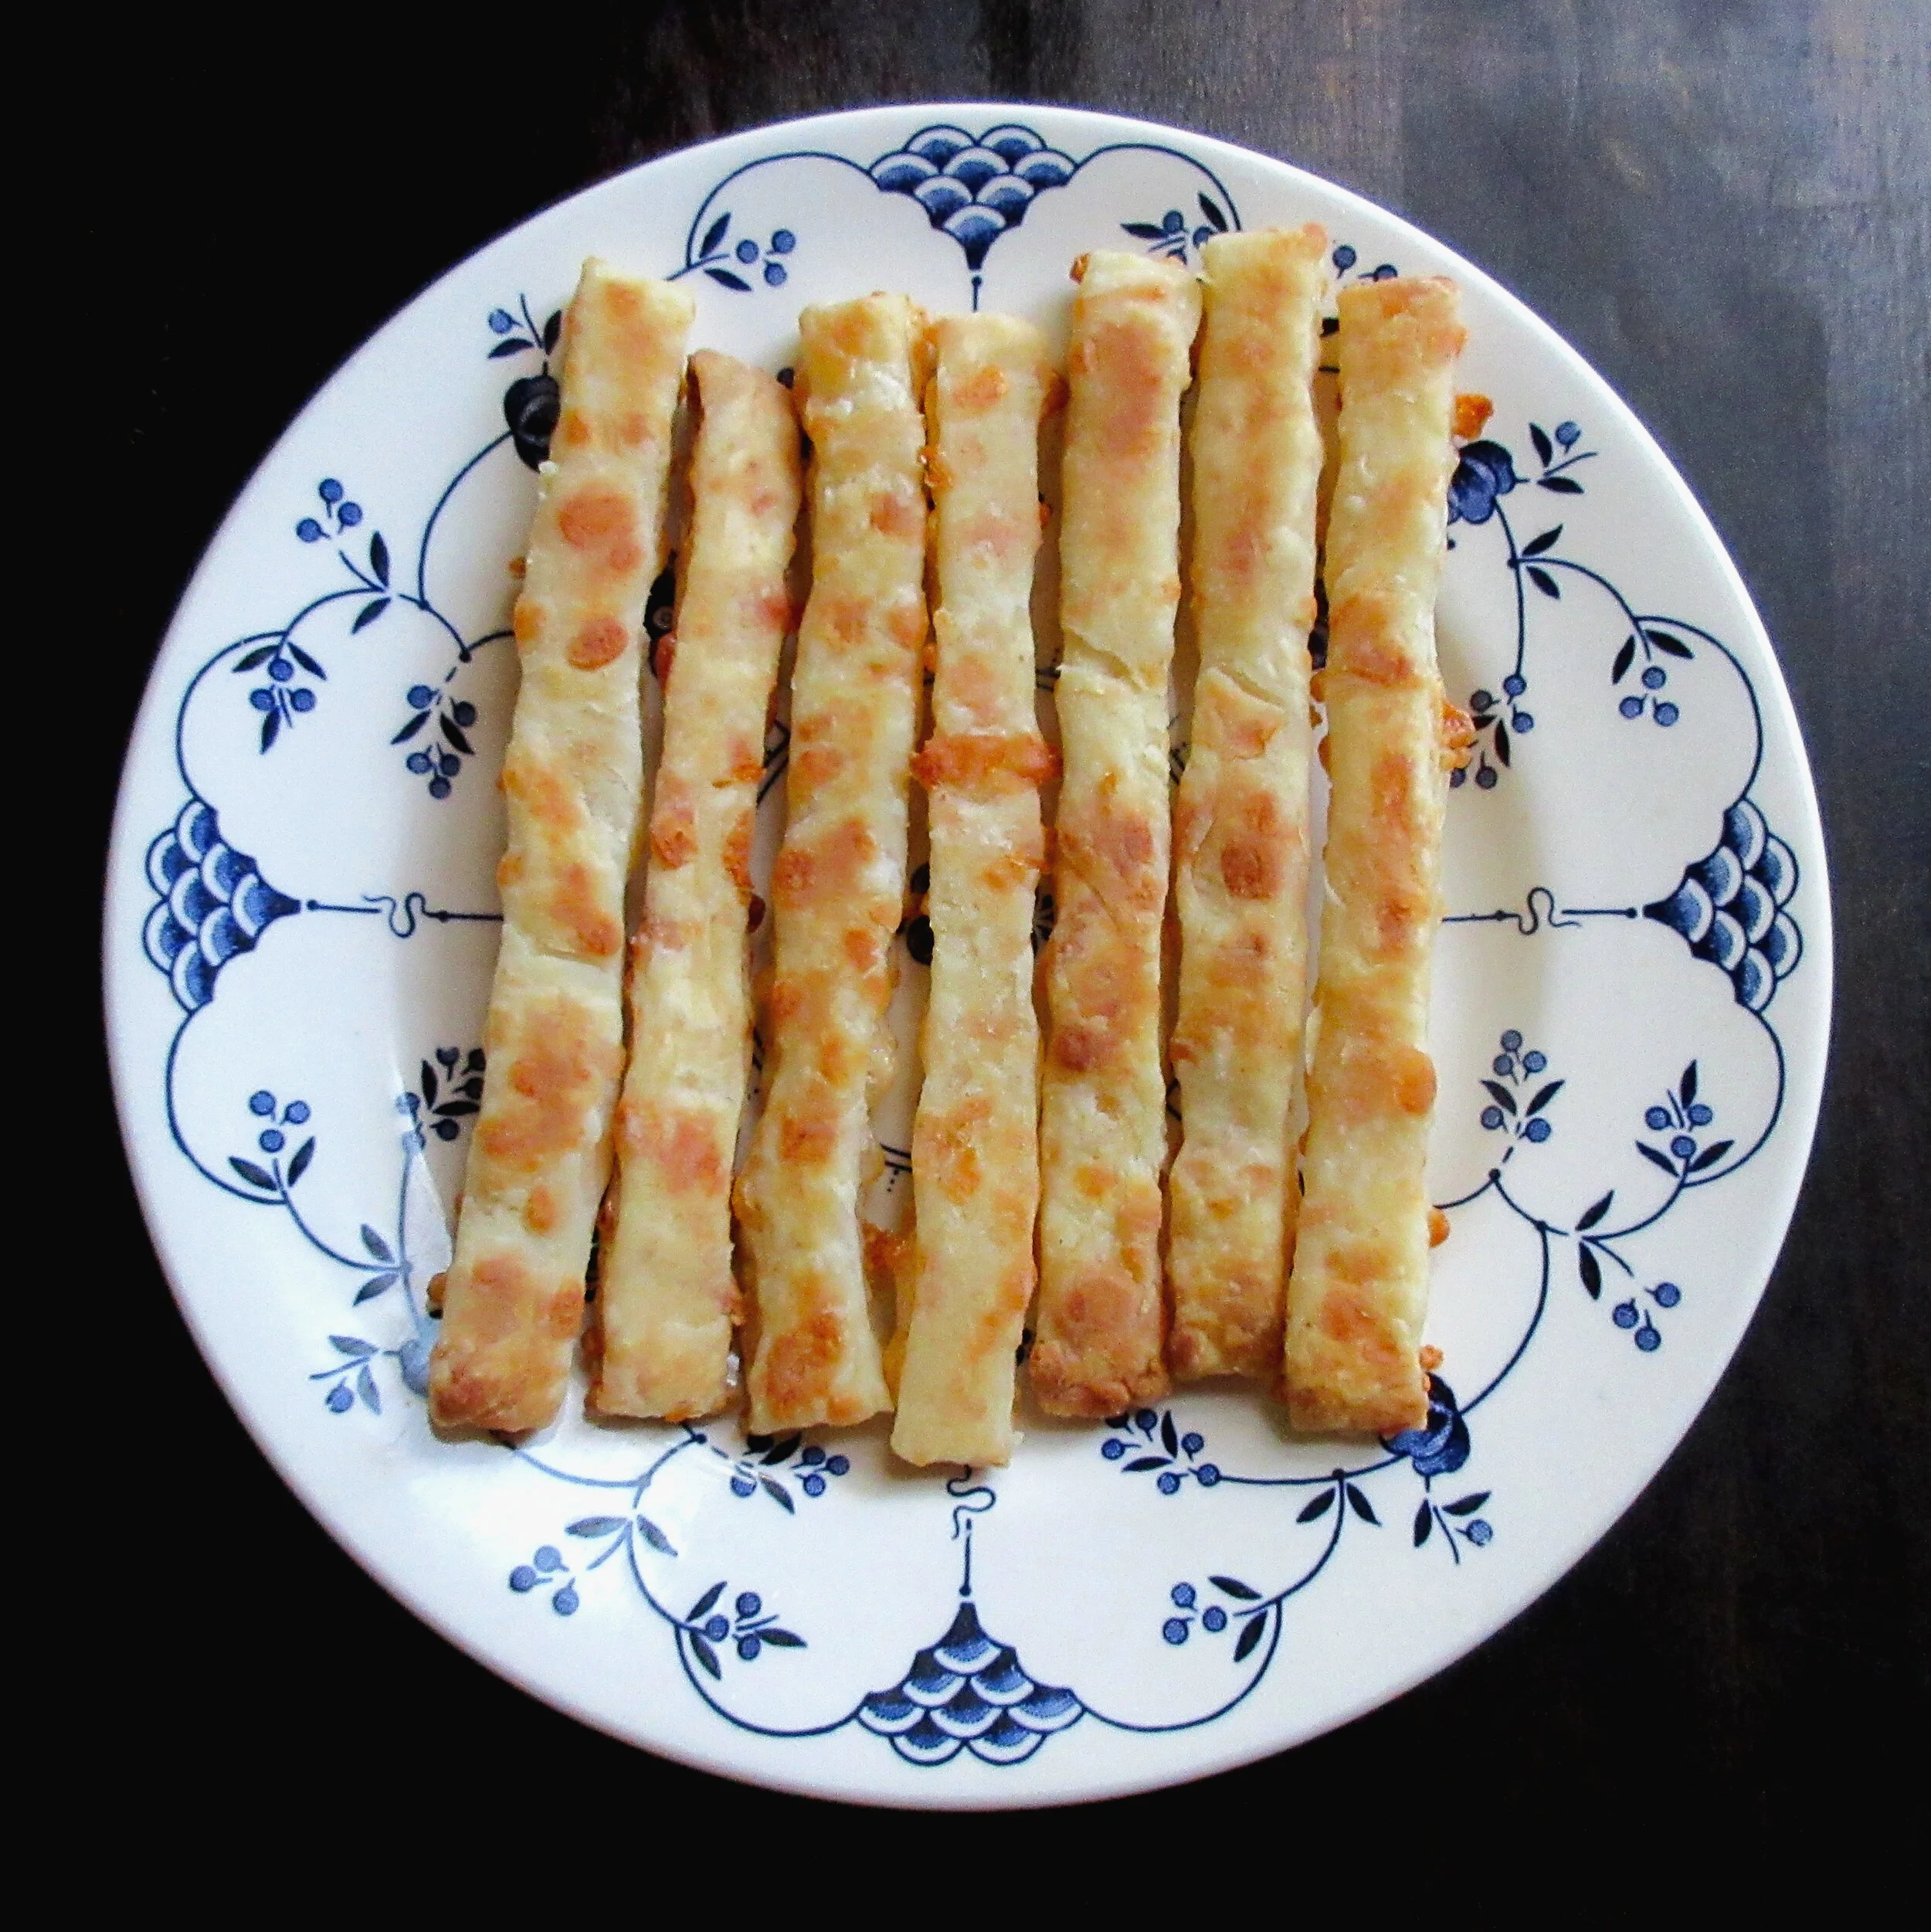
Cheese Straws
Today’s my 2nd Blogaversary! 2 years ago today, I nervously and excitedly hit “publish” on my very first recipe post, which was Cayenne Cheeses from the 1861 cookbook Mrs. Beeton’s Book of Household Management. I selected Cayenne Cheeses because it was – and it still is – my favourite historic recipe that I’ve ever made and eaten.
A year later, I started the tradition of posting a similar recipe each year on March 31st to celebrate my blogging milestone. Last year’s recipe was Cheese Hooies from the 1965 Stillmeadow Cookbook by Gladys Taber, and 2020’s twist on baking flour, butter, cheese, salt and cayenne pepper together is Cheese Straws. This recipe come to us all the way from the 1891 Tried and True Cookbook, a community cookbook compiled by the “Ladies Aid Society and Friends of the First Methodist Episcopal Church of Deadwood, South Dakota”.

You’ll find this recipe in:
Tried and True Cook Book
By the Ladies Aid Society and Friends of the First Methodist Episcopal Church
Deadwood, South Dakota – 1891
Original Recipe:
CHEESE STRAWS.
Half a cup of sifted flour, same of grated cheese, one tablespoon of butter, salt and cayenne pepper to taste. Mix well, roll thin, cut in narrow strips four inches long, bake 15 minutes in a slow oven.
Mrs. E. W. Martin.
My recipe:
1 ½ cups (355 mL) flour – 225 g
1 ½ cups (355 mL) grated cheese – 125 g
3 tbsp (45 mL) butter – 25 g
½ tsp (2.5 mL) salt
¼ tsp (1.25 mL) cayenne pepper
½ cup (118 mL) water
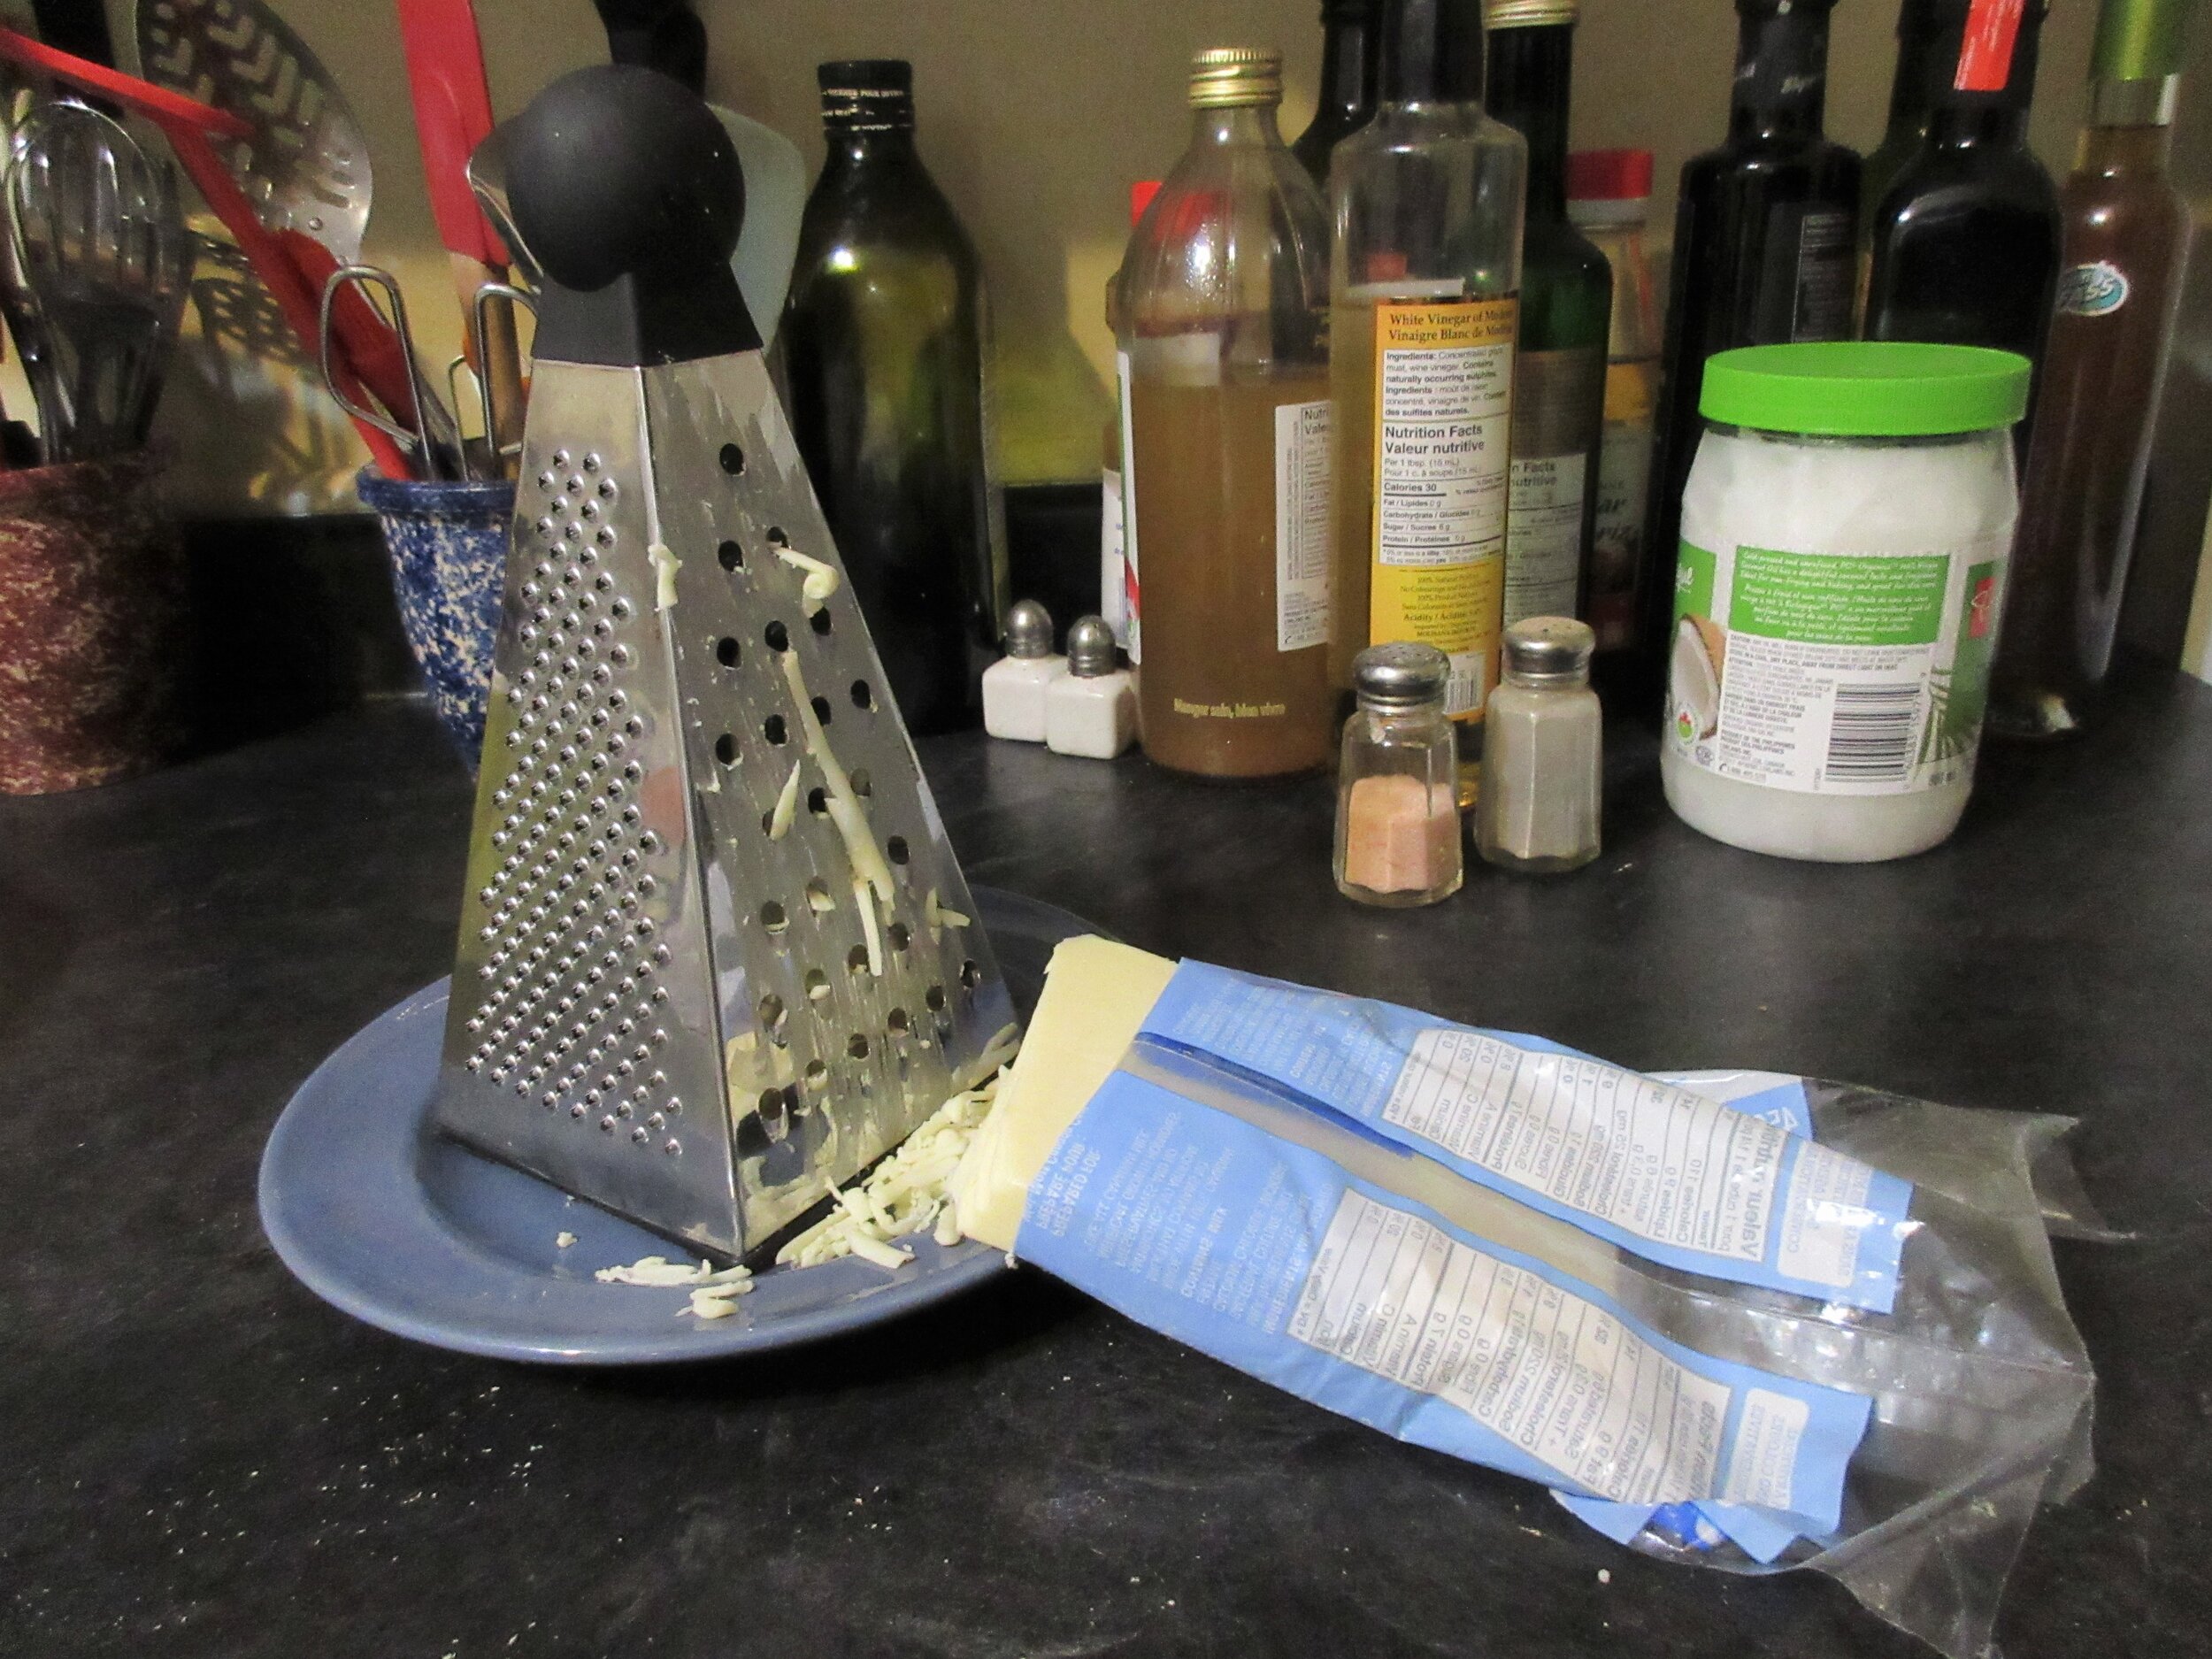
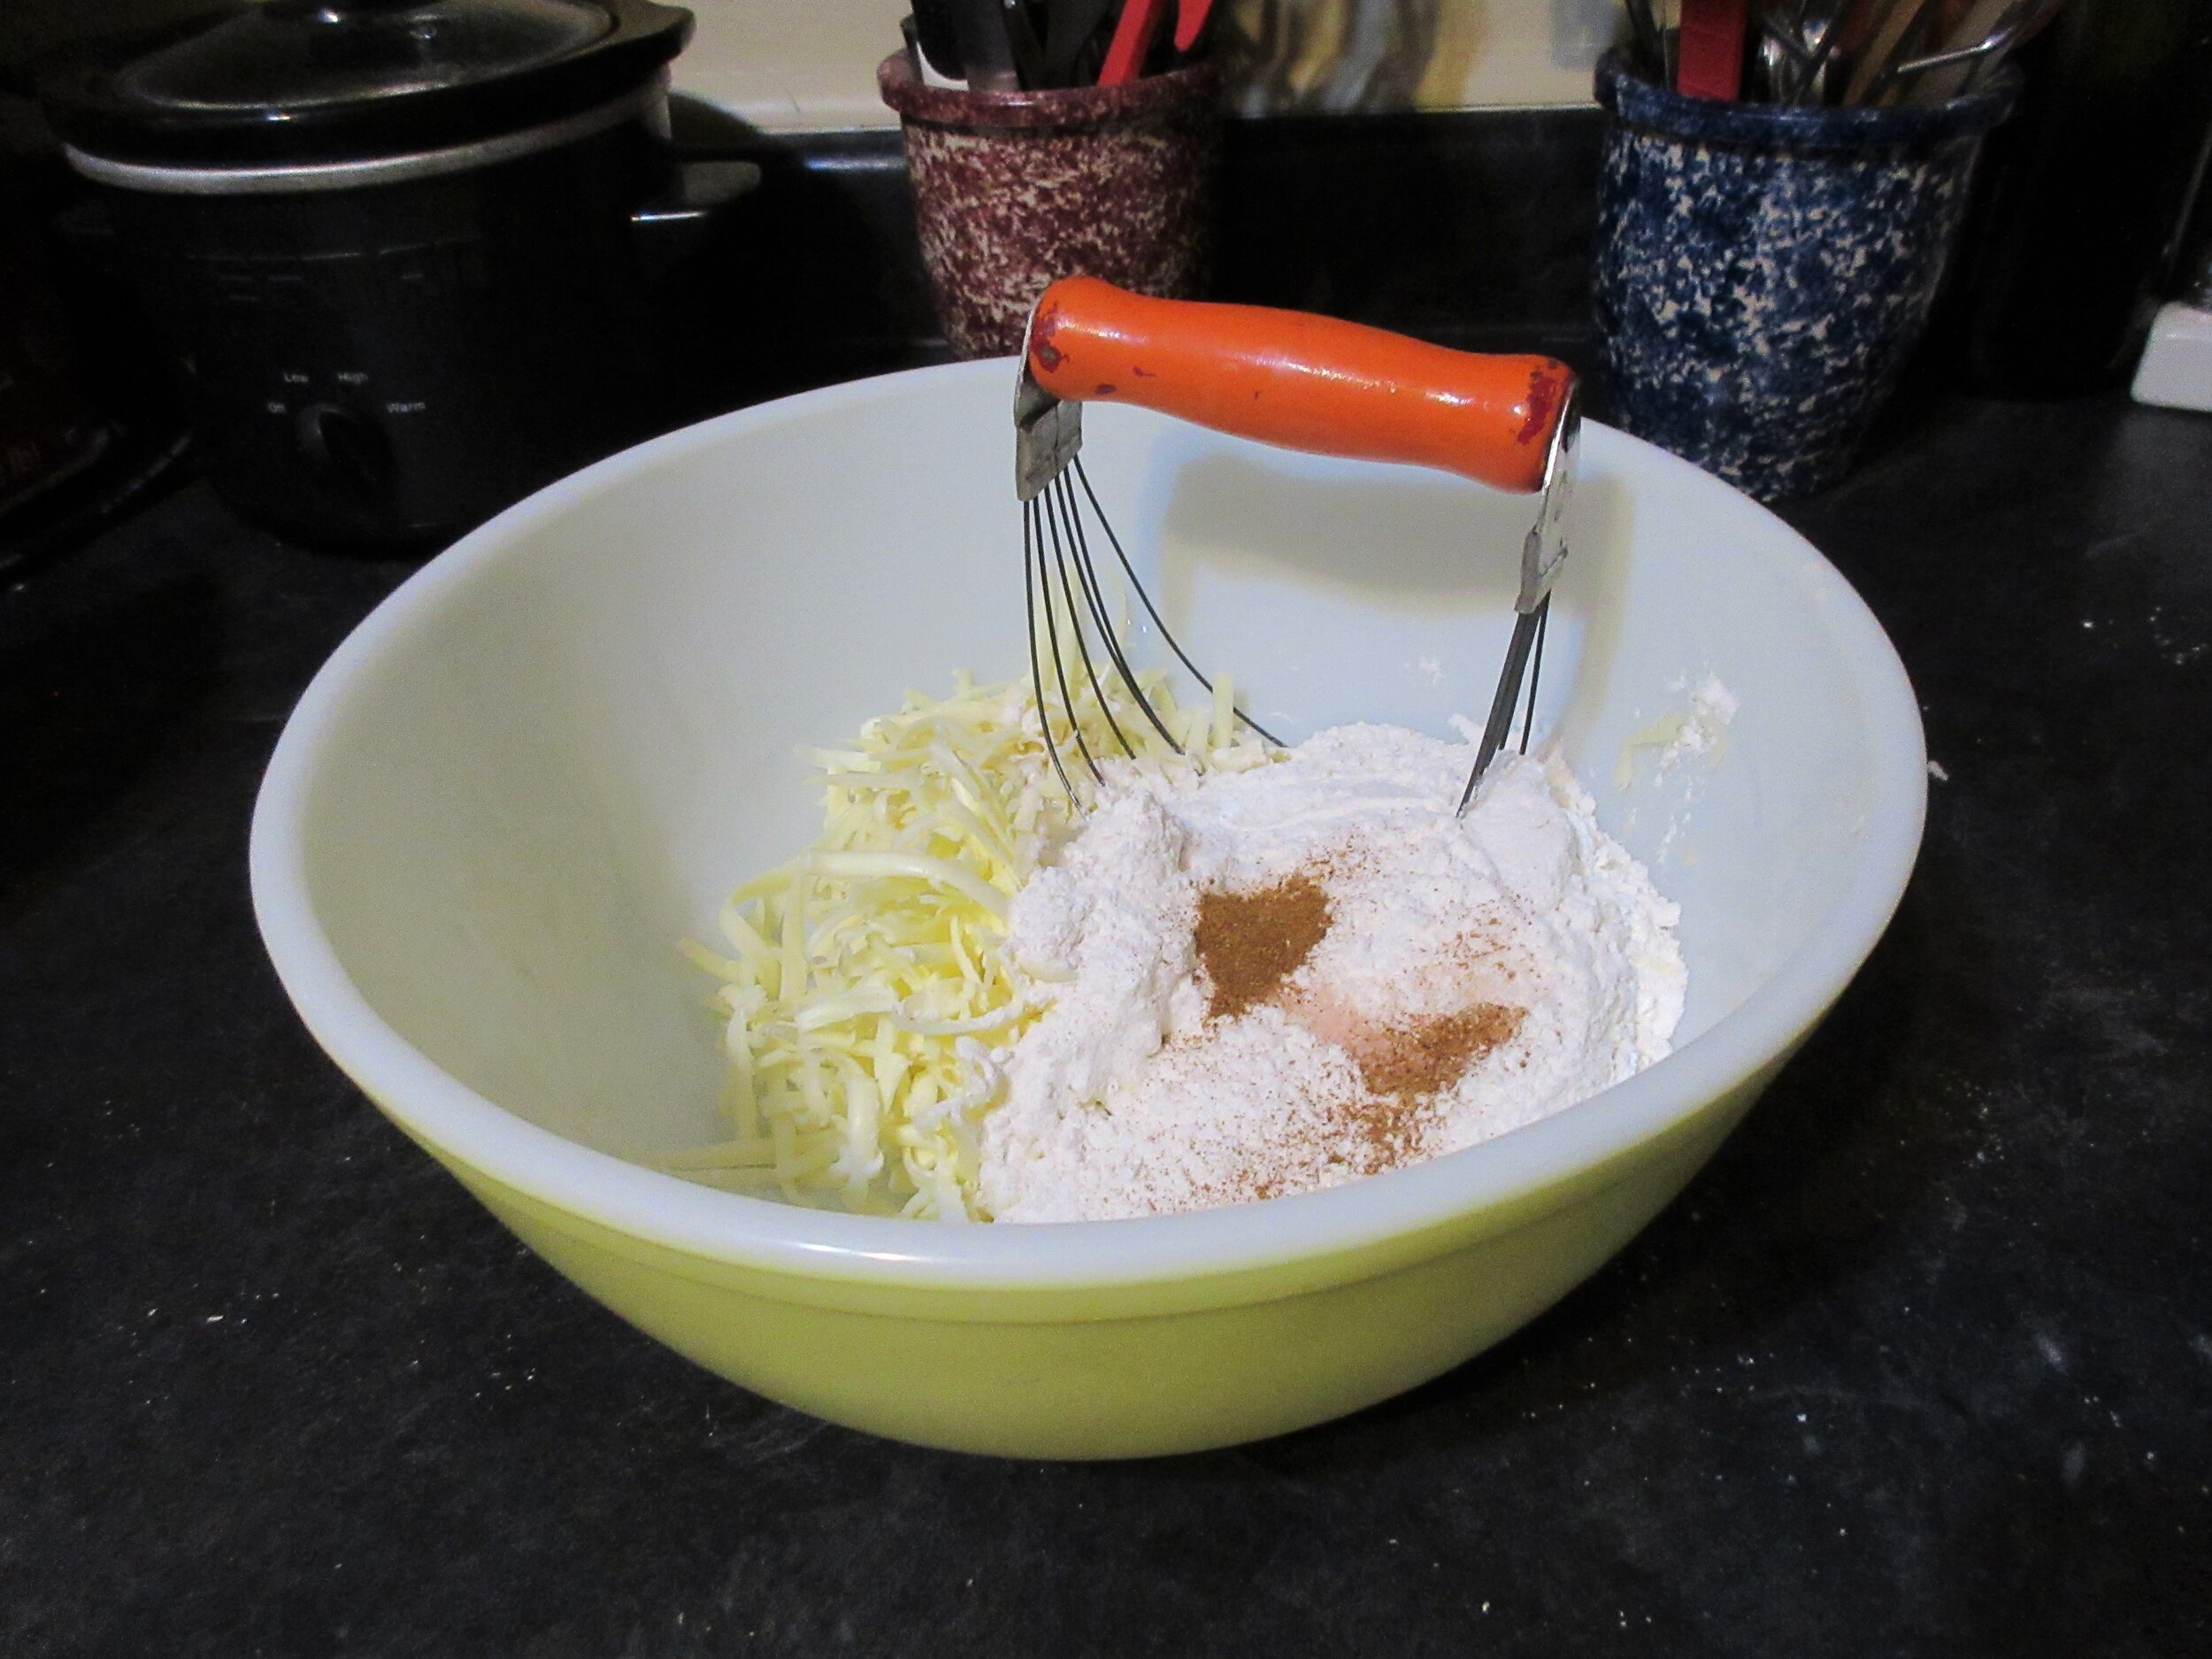
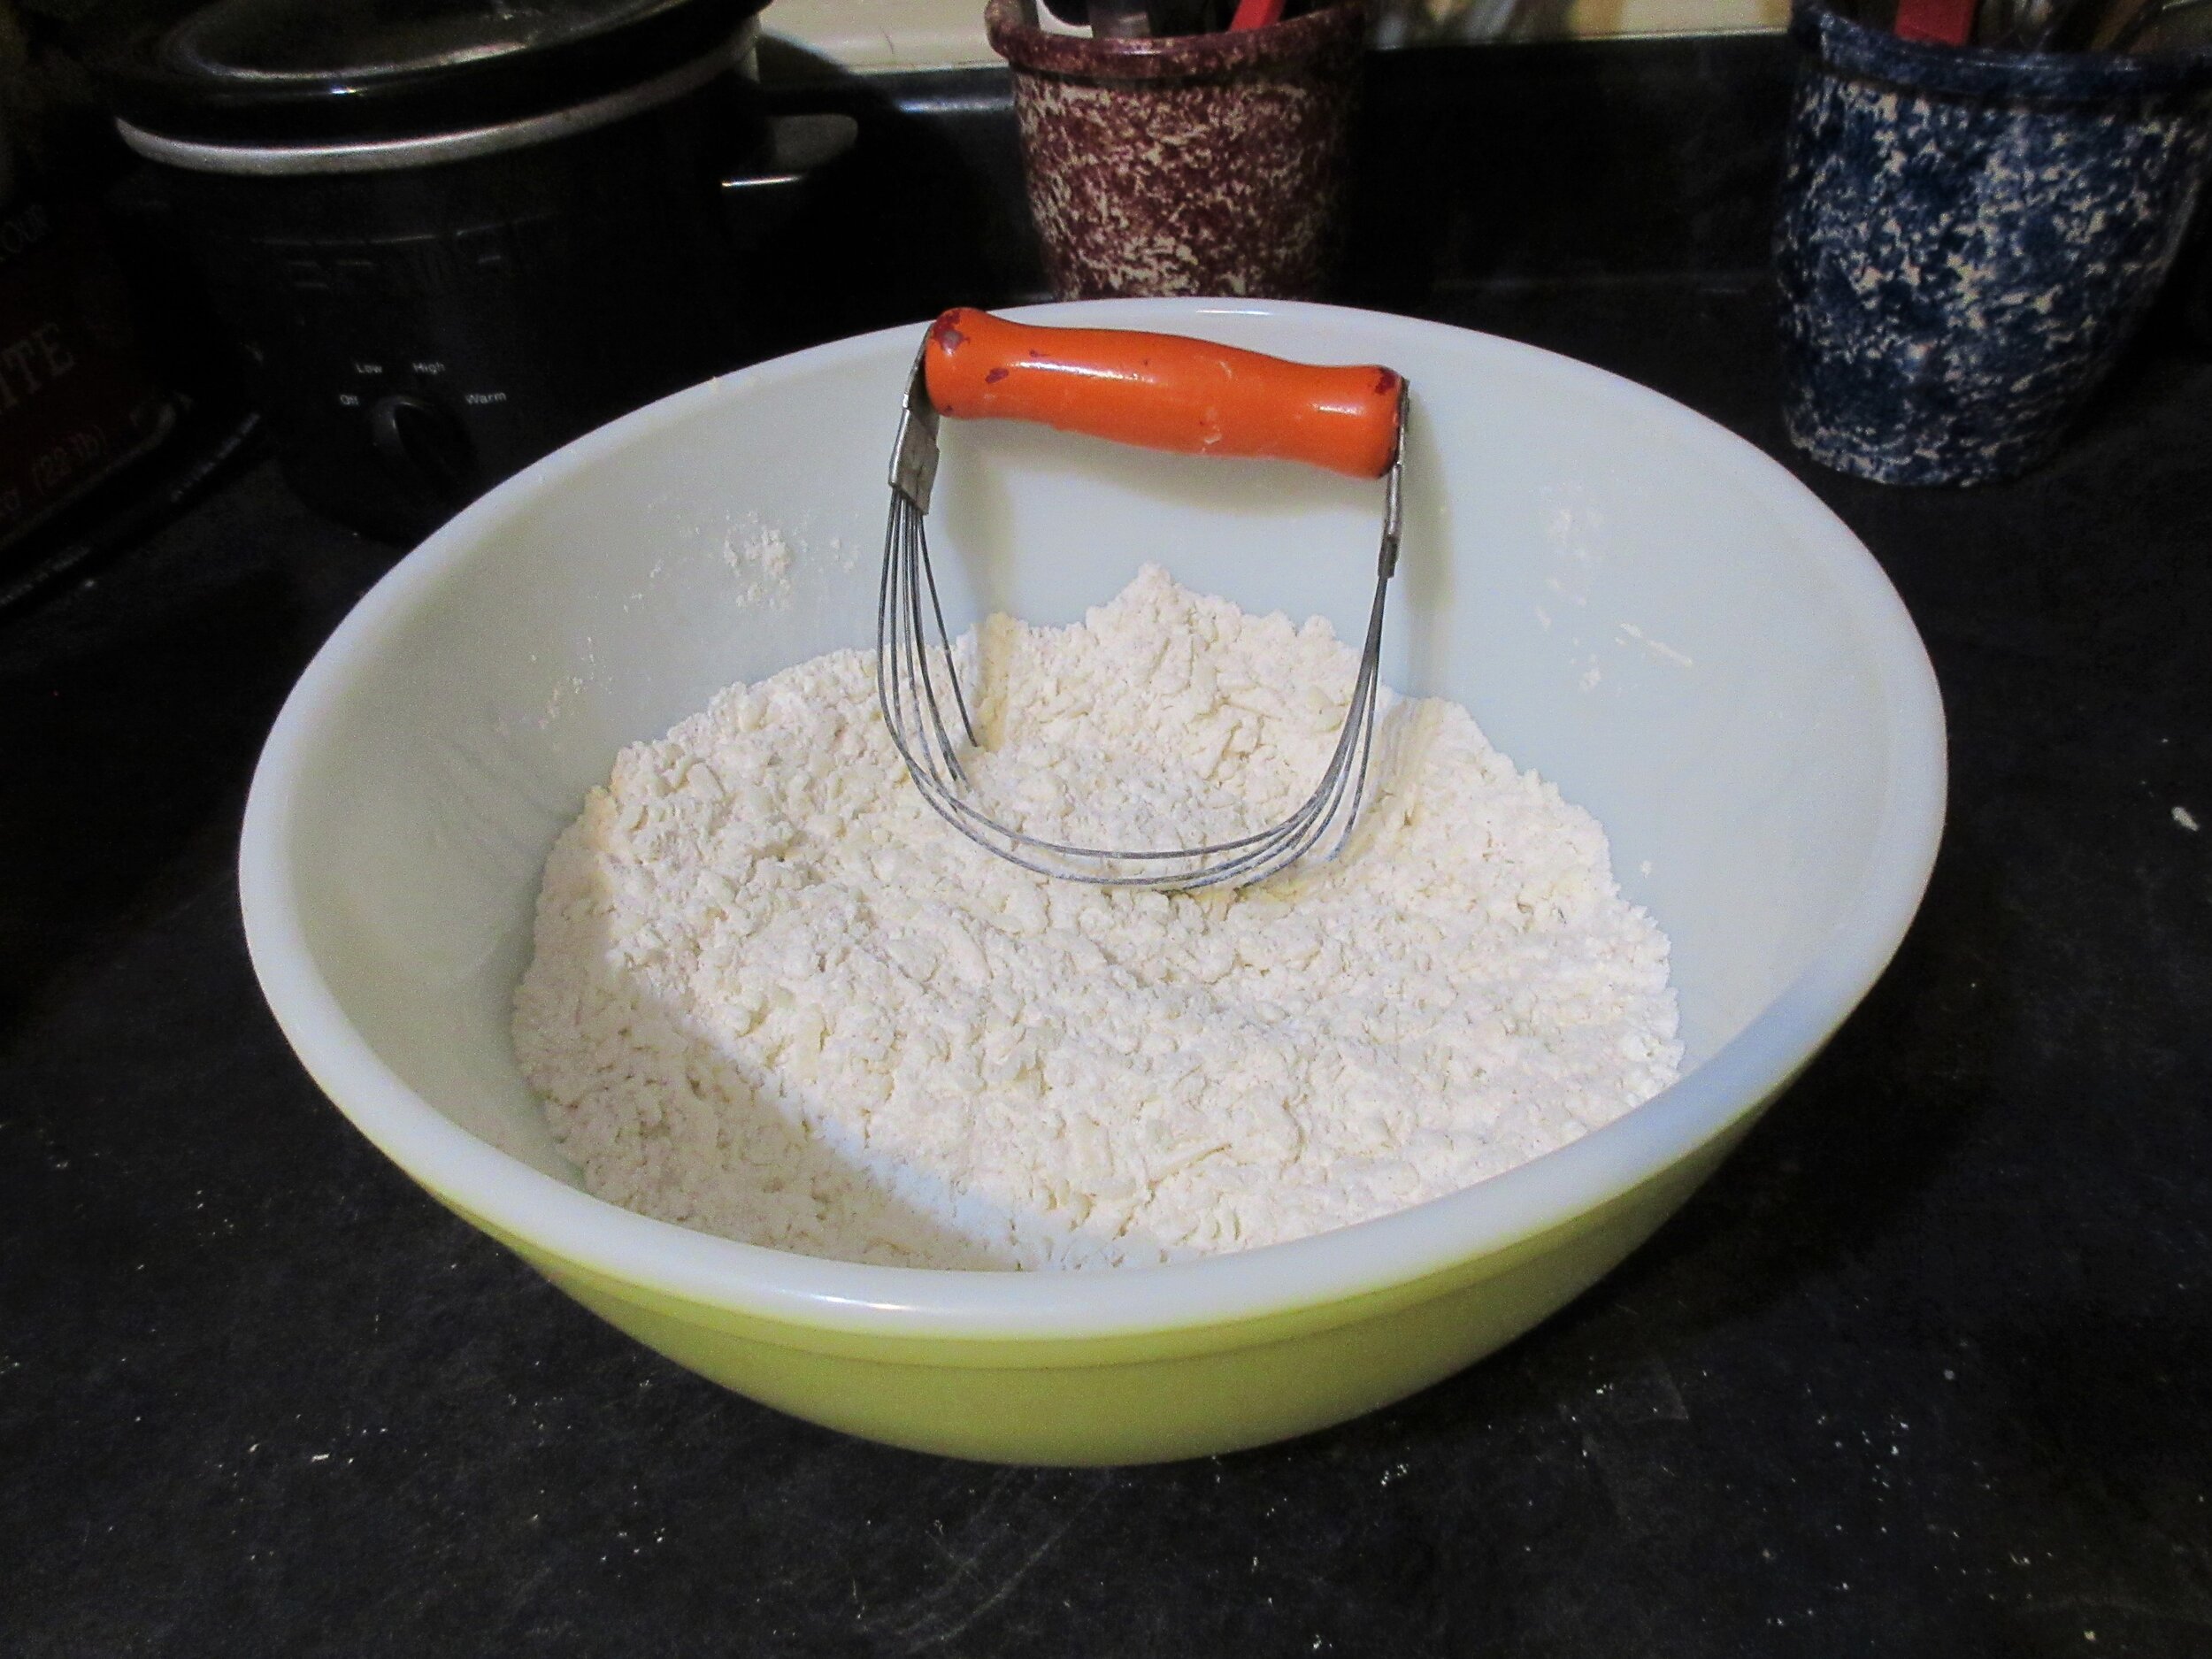
Preheat oven to 325 F (165 C). Grate the cheese and add it to a bowl along with the butter. I find it’s much easier to incorporate cold butter into a recipe if I grate it on a cheese grater as well. Measure out the flour, salt and cayenne pepper into the bowl with the cheese and butter. Mix with a pastry cutter or forks until the chunks of cheese and butter are quite small. Add water a little bit at a time until it forms into a dough.
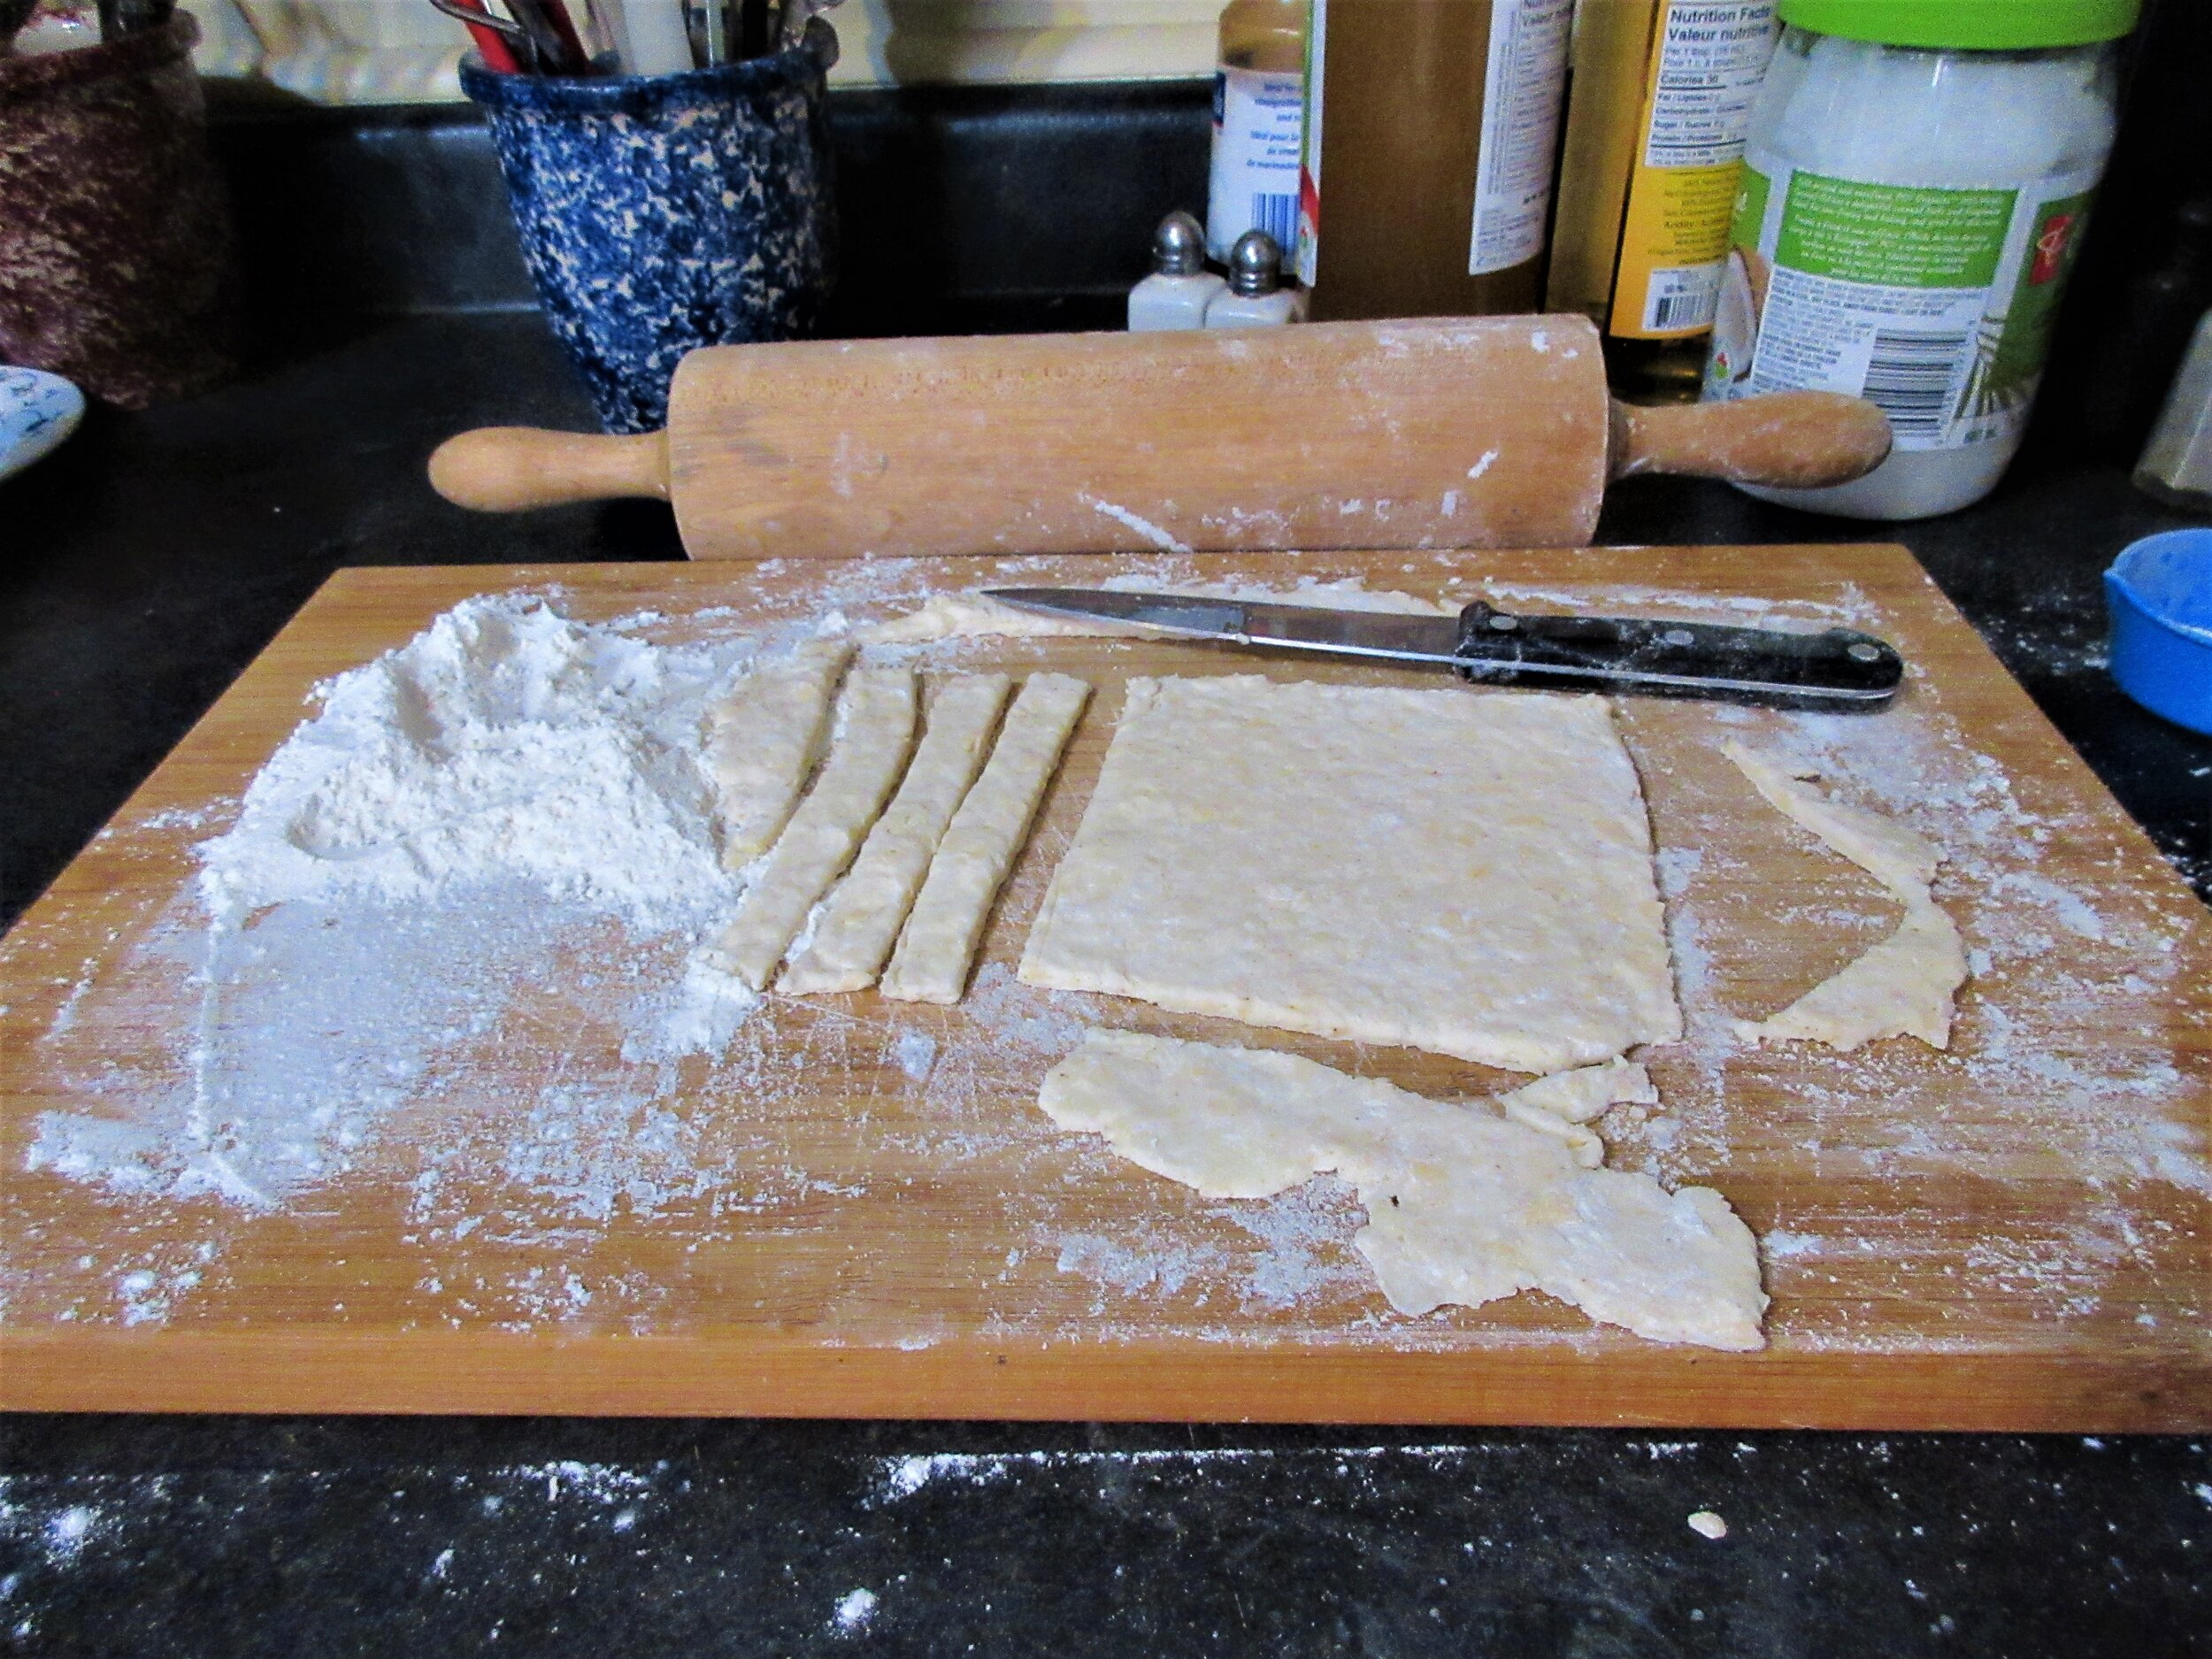
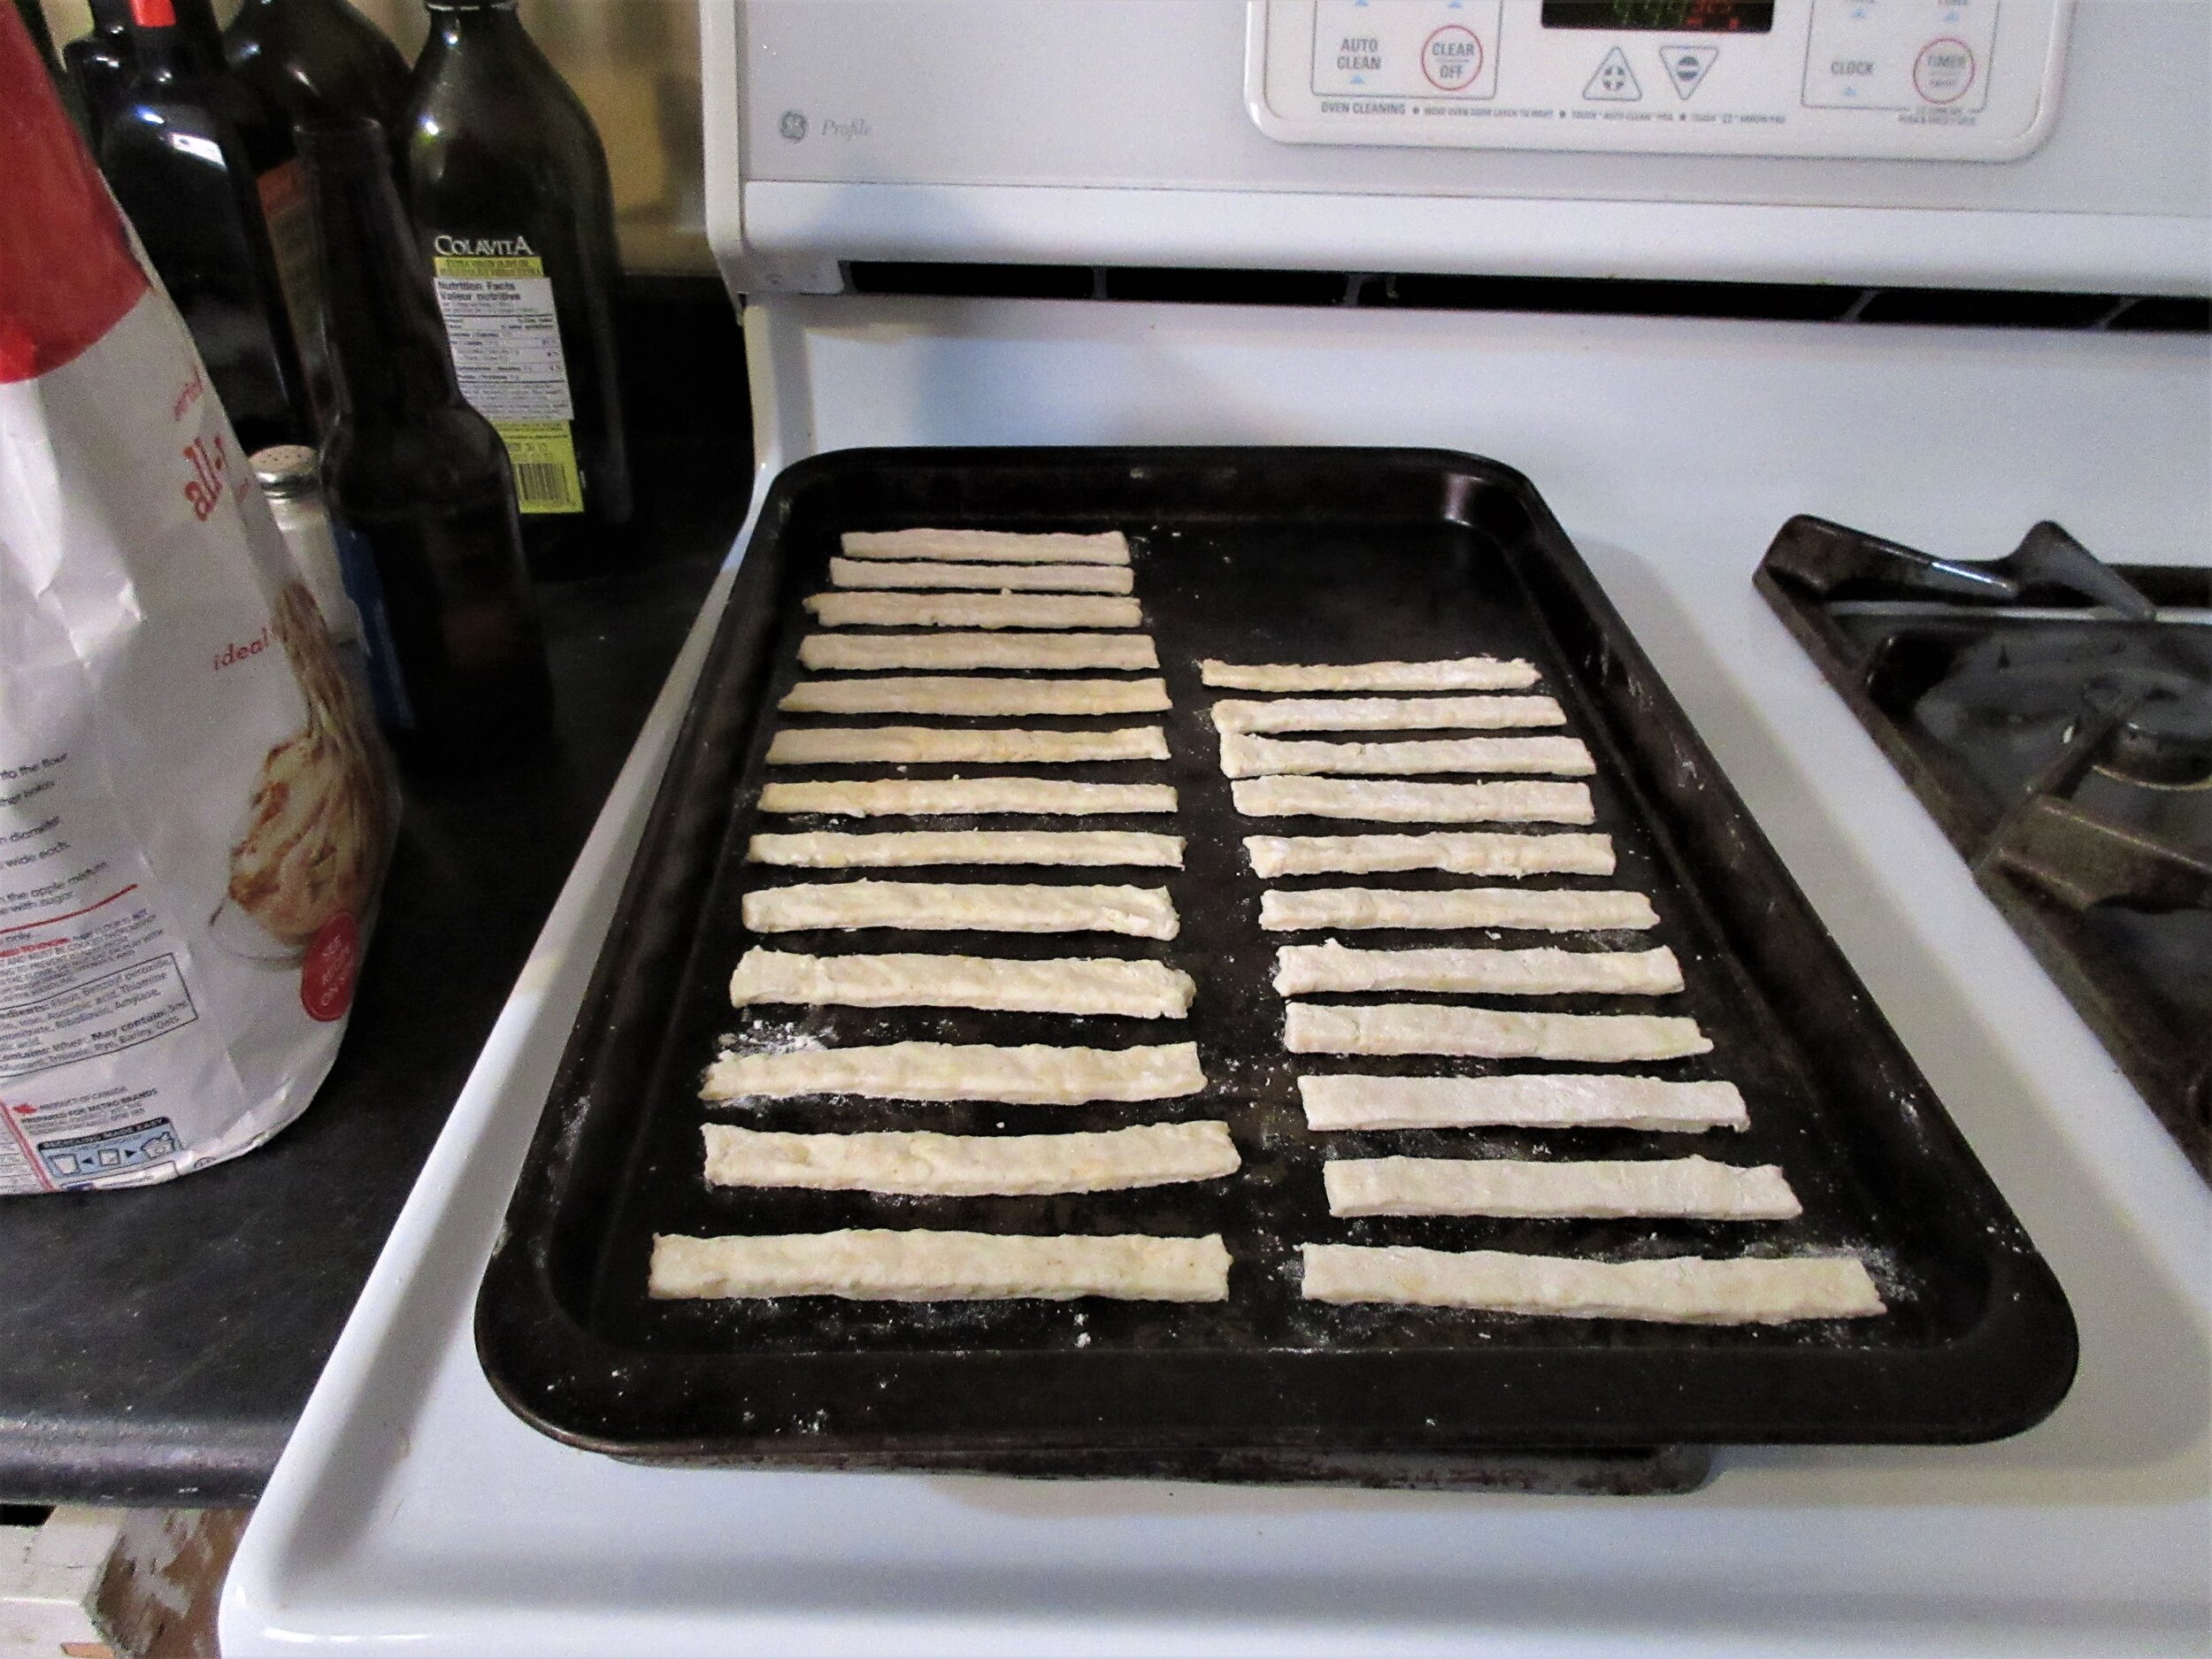
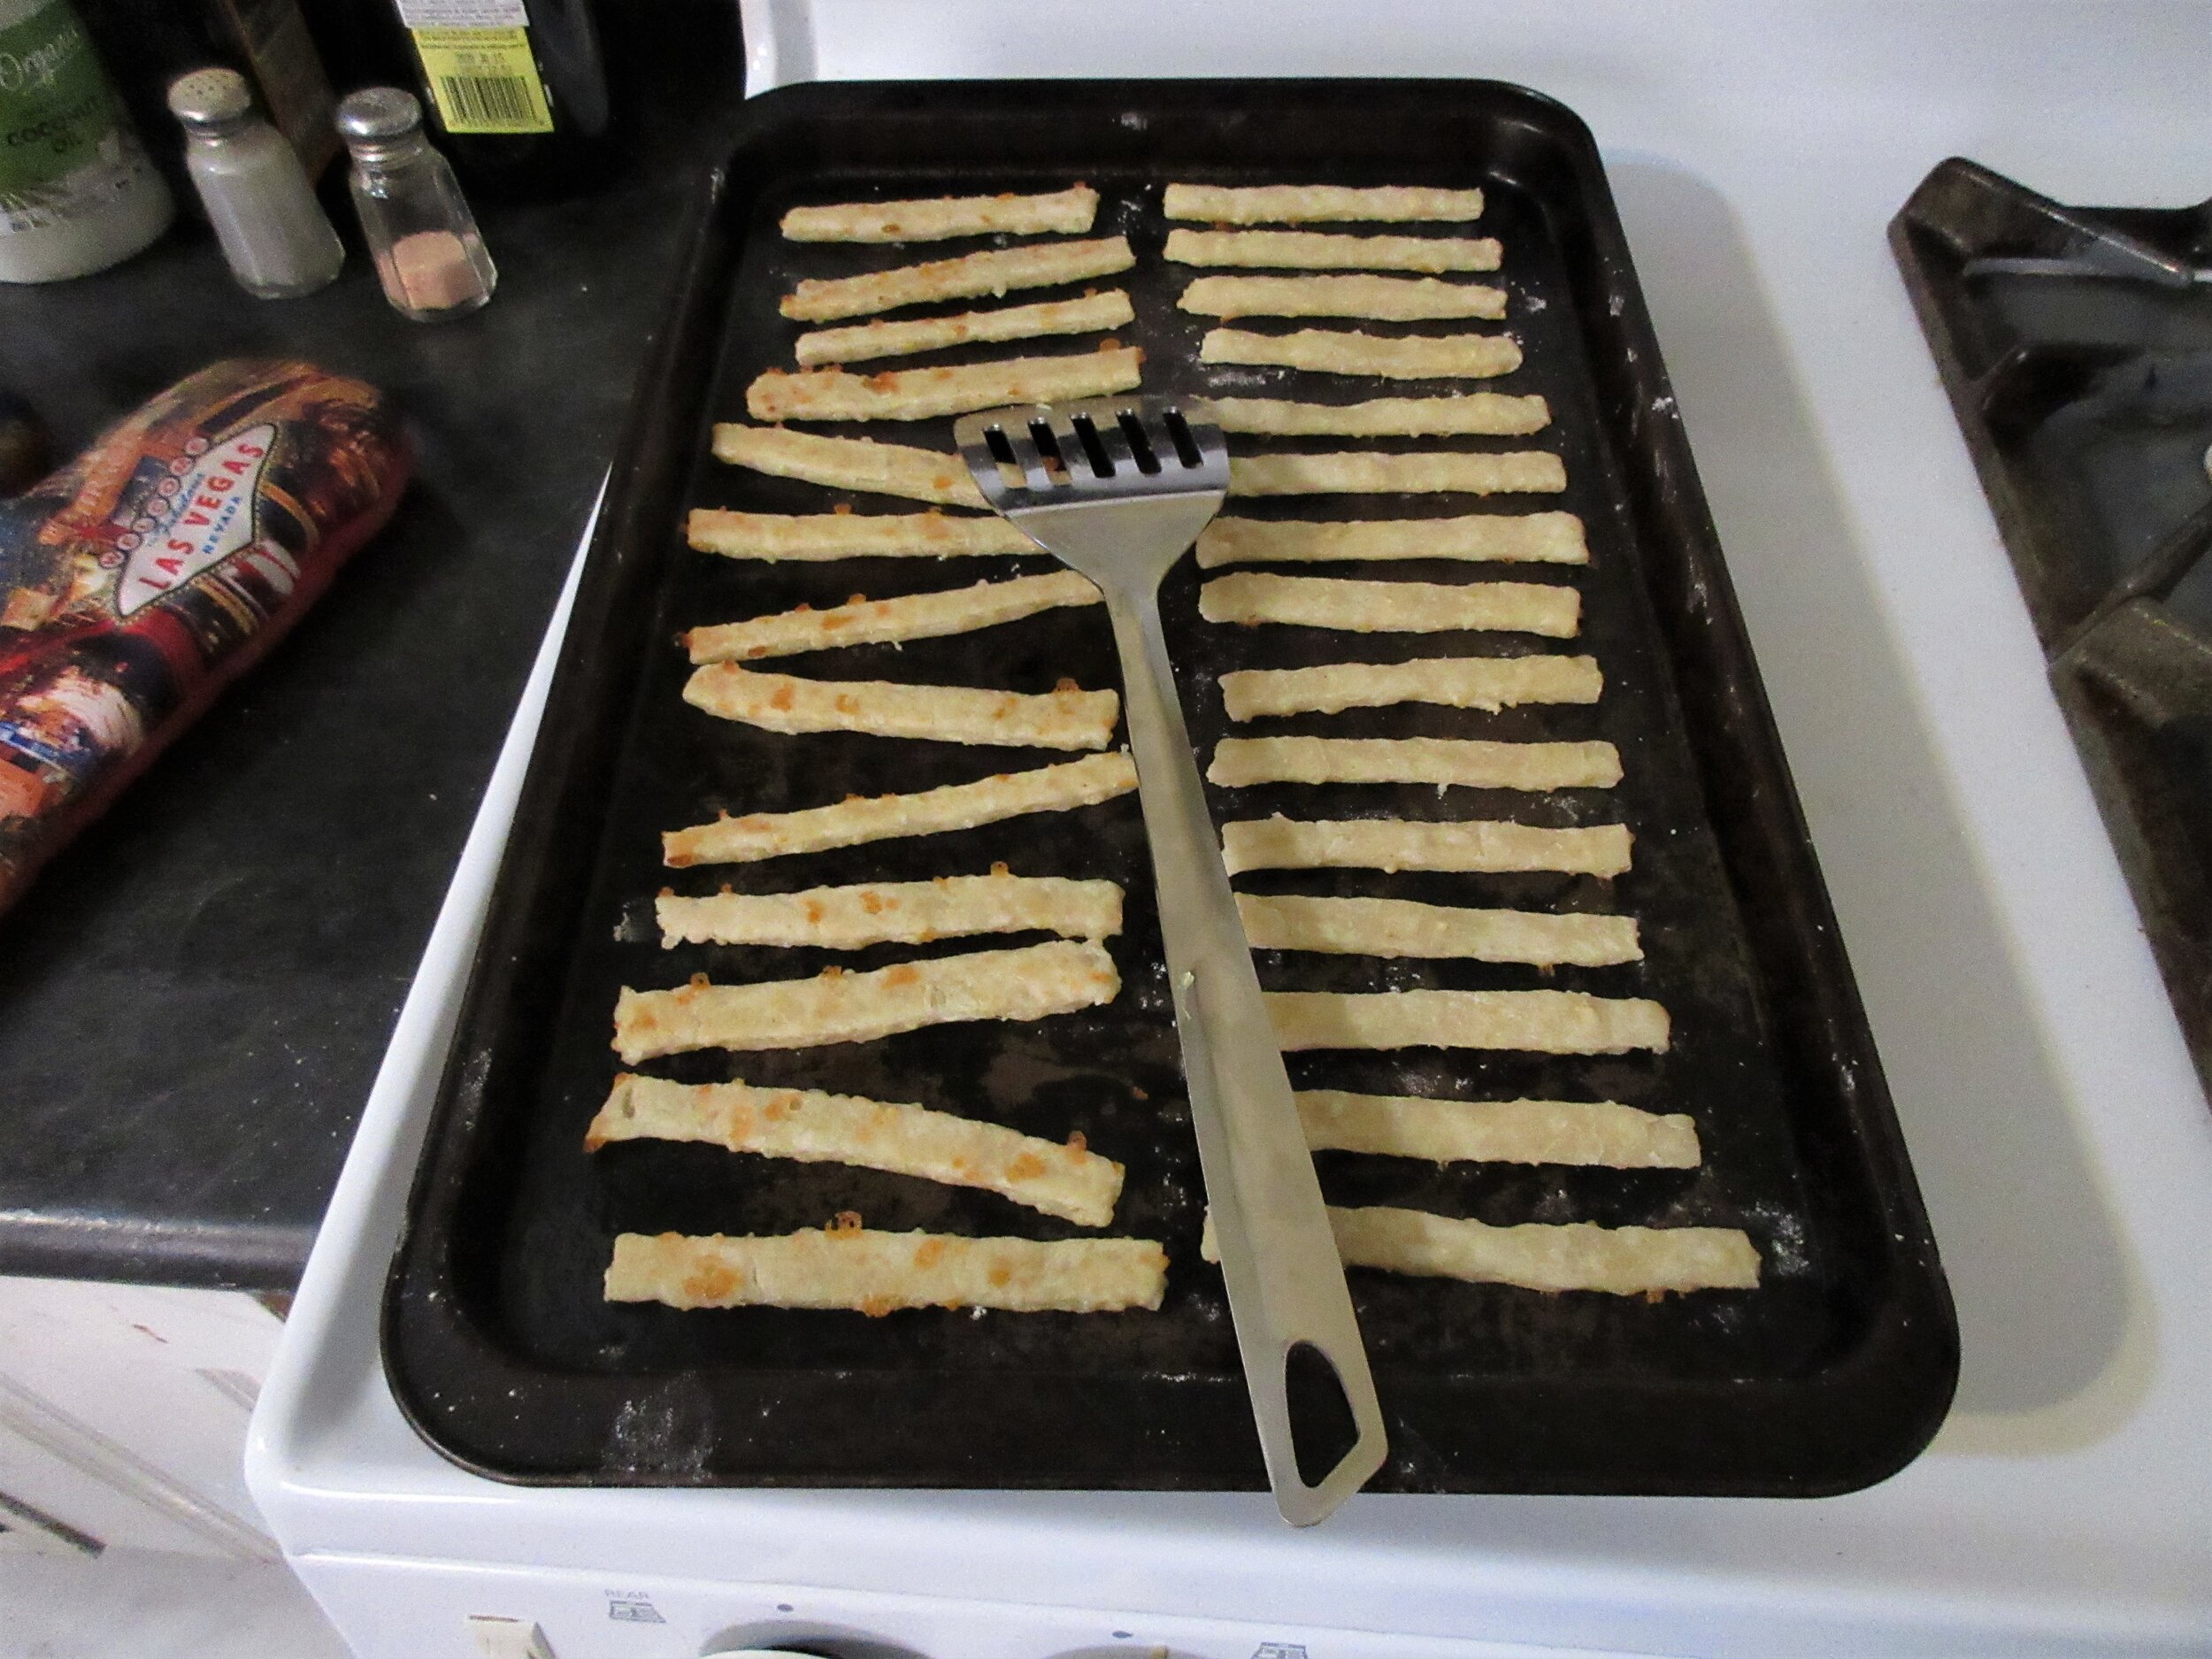
Roll out thinly and use a knife to cut into narrow 4 inch (10 cm) long strips, about 1 cm or ½ inch thick, and place the straws on a cookie sheet and put in the oven. After about 10-15 minutes, the bottoms will start to brown. Remove from the oven and flip. They are done when crisp and golden on both sides. This recipe makes about 60 Cheese Straws.

My 2 cents: My first thought when I had a good read of the 1890s recipe was “Well, that’s not going to make very much at all!”, so my recipe is actually tripled from the original. Another way that I strayed from the original is that there was no way that the butter, cheese and flour would form into a dough, so I ended up adding about ½ cup of water that isn’t listed in the historic recipe.
I ended up using mozzarella cheese, and that’s not because I’m suggesting that people ate mozzarella in Deadwood, South Dakota in the 1890s. I’m writing this blog post about 2 weeks into social distancing in Ontario due to the COVID-19 virus. Mozzarella was just what I had in the house and I didn’t want to venture out to the grocery store just to buy a more appropriate cheese!


March 31, 2018: Cayenne Cheeses (1861) - March 31, 2019: Cheese Hooies (1965) - March 31, 2020: Cheese Straws (1891)
I almost missed marking my special occasion today – today is my 2 year blogaversary! 2 years ago today, I nervously and excitedly hit “publish” on my very first recipe post. The inaugural recipe that I picked was Cayenne Cheeses from the 1861 cookbook Mrs. Beeton’s Book of Household Management, selected because it was – and it still is – my favourite historic recipe that I’ve ever made and eaten. I definitely recommend that you give it a try.
At some point, I noticed that there was a very similar recipe in another old cookbook of mine, Stillmeadow Cookbook by Gladys Taber. Cheese Hooies contain basically the same ingredients as Cayenne Cheeses: butter, flour, cheese, salt and cayenne pepper, but this cookbook was written about 100 years later in 1965.
So I decided to make Cheese Hooies to celebrate my one-year anniversary of blogging. The ratio of ingredients was different than Cayenne Cheeses and this recipe made use of a refrigerator. Hooies were much saltier, more floury and the recipe also suggested sprinkling sugar on top, which was honestly a bit strange.
Fast forward to this past September, when we were road-tripping in the United States. On our way to Yellowstone, we made a stop in Rapid City, South Dakota for dinner and to stretch our legs for a bit. When we saw a used bookstore, Again Books & Bazaar, of course Steve and I popped in! We both love second-hand bookstores.
I was very happy to find a reprint of Tried and True Cookbook, a community cookbook compiled by the “Ladies Aid Society and Friends of the First Methodist Episcopal Church of Deadwood, South Dakota” in 1891. First of all, this book is unique because I wouldn’t be very likely to happen upon a copy in Ontario, but what sealed the deal was that it contained a Cheese Straw recipe for me to make on March 31st.
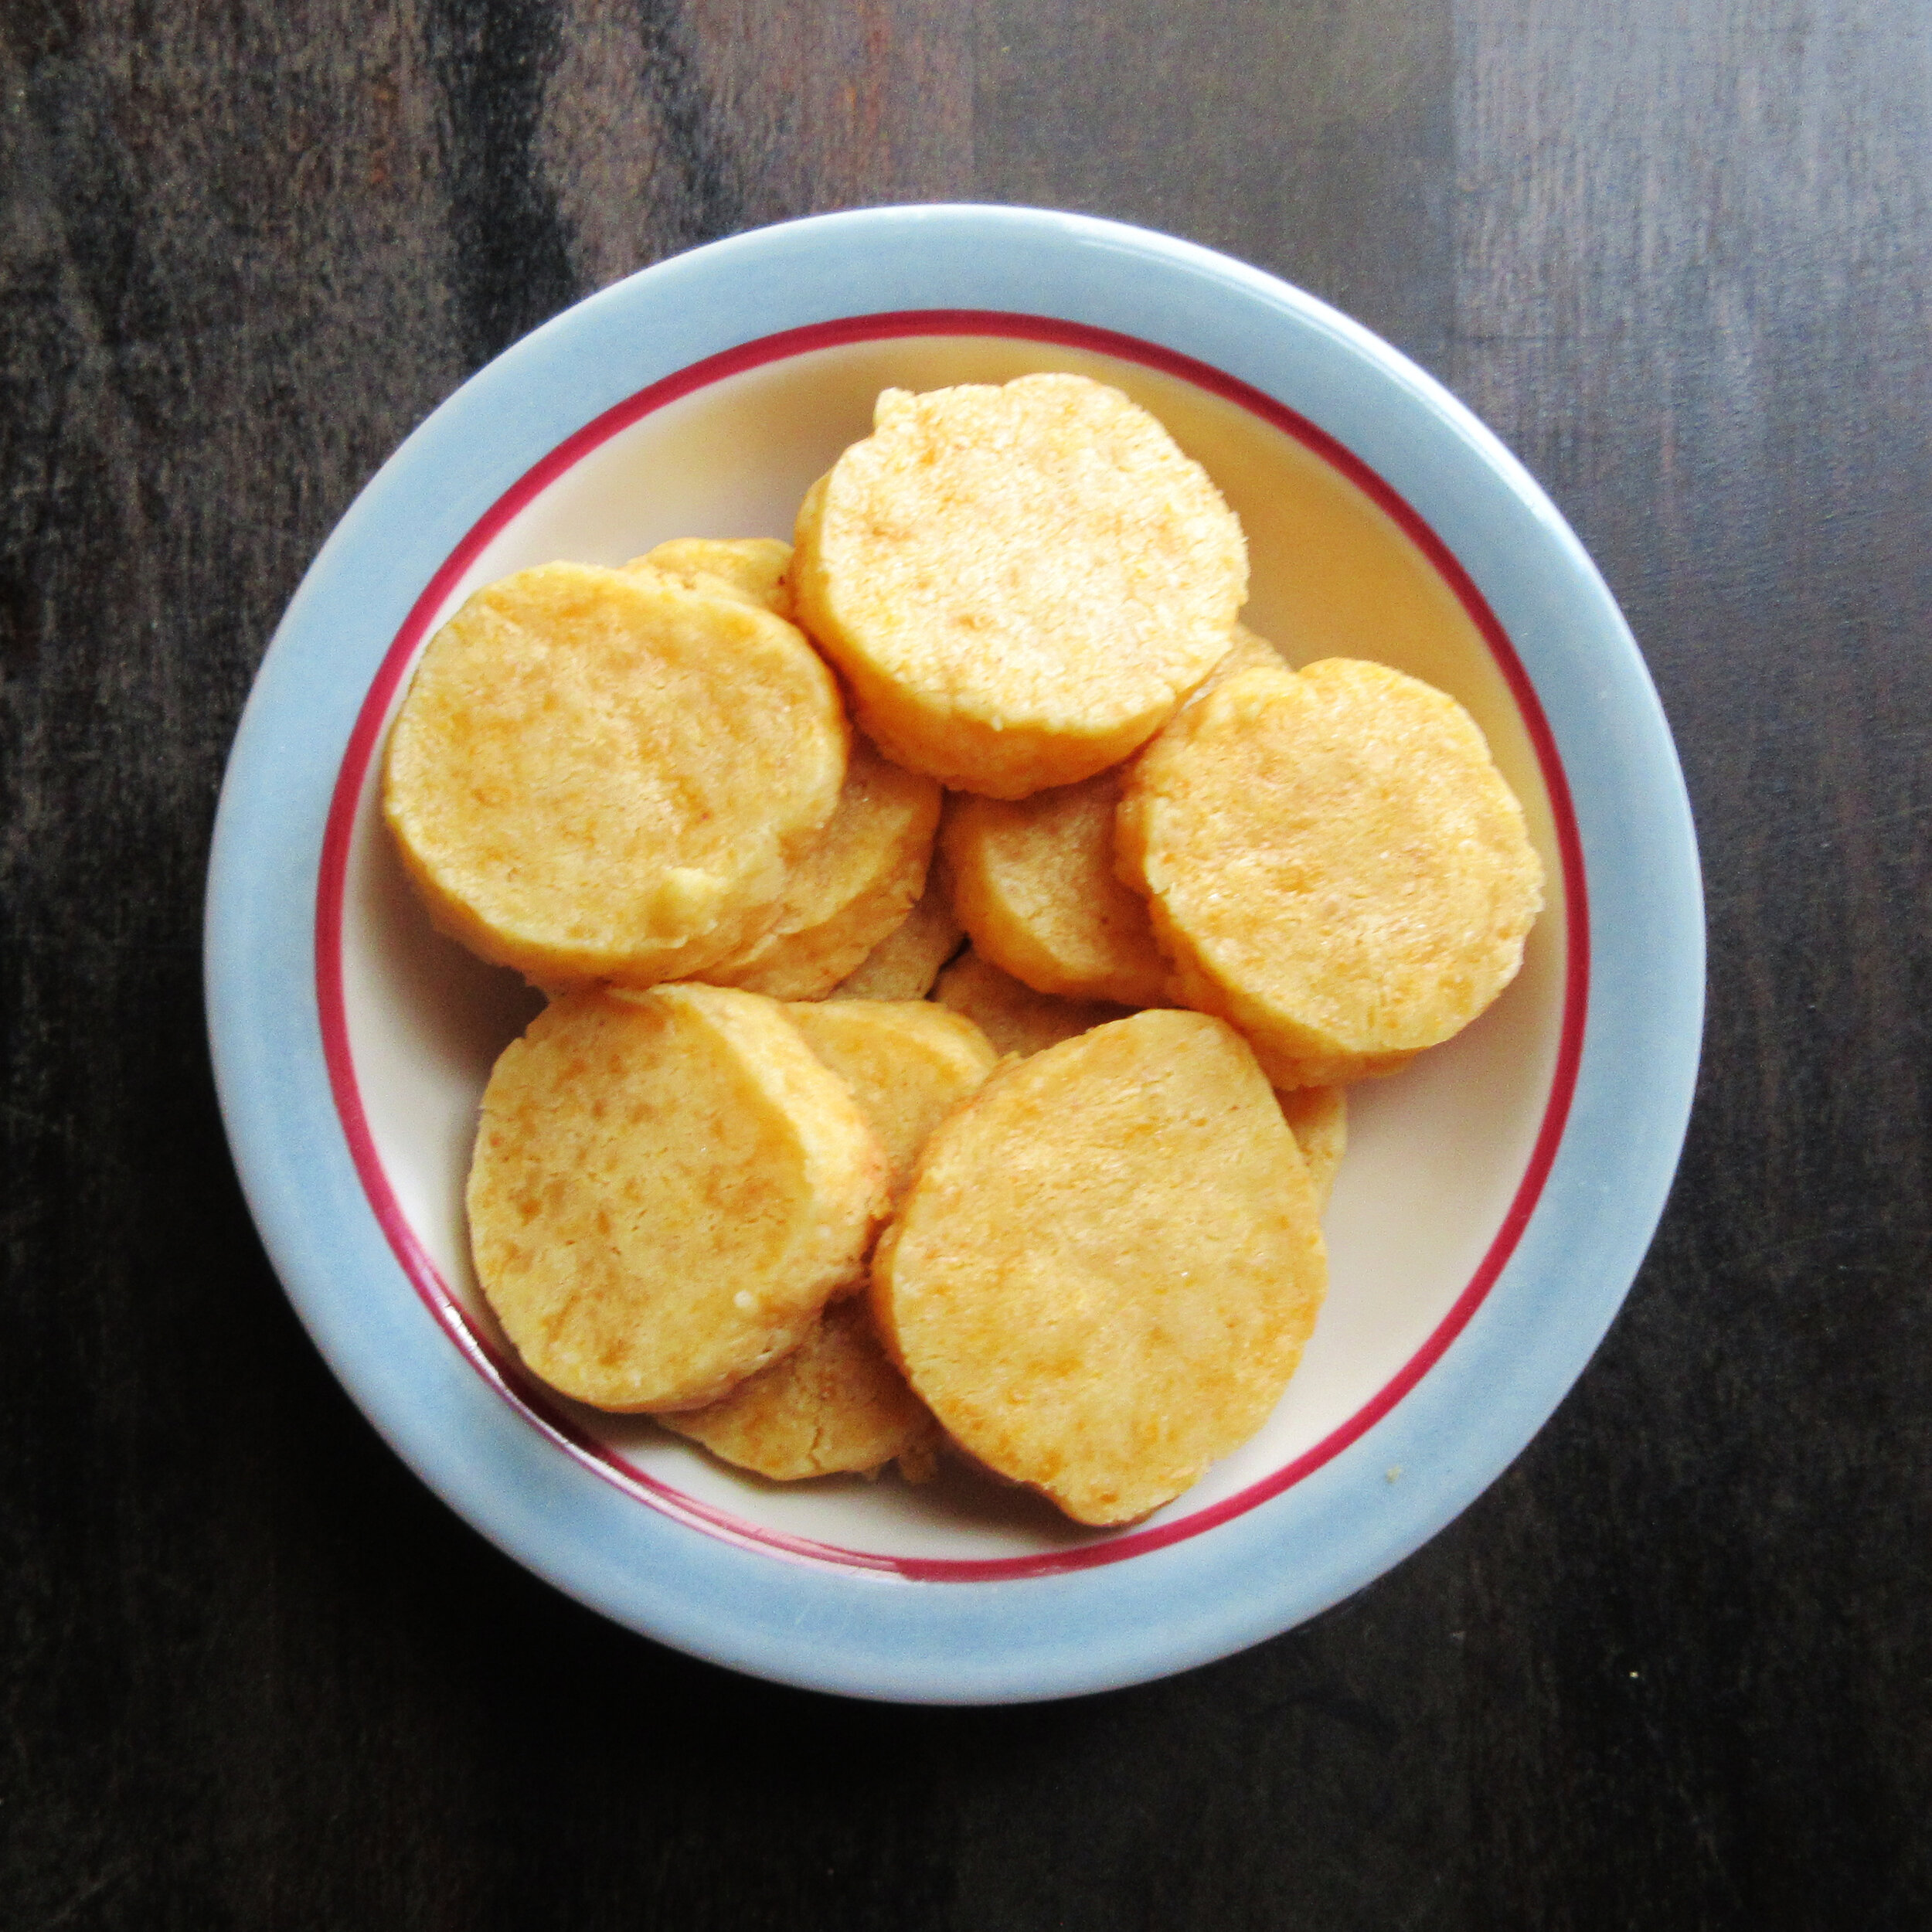
So how do the Cheese Straws compare to Cayenne Cheeses and Cheese Hooies? Cheese Hooies sit down in the bronze medal ranking, for sure. I’d say Cheese Straws get the silver medal, but they contain much less butter and have a more floury texture and are less crispy. Cayenne Cheeses are still the champion, and it is all because of the butter.
For 2021, I know of an early 1900s Cheese Straw recipe in my cookbook collection that takes a different approach than the other recipes, but I’d love to hear suggestions from you if you know of a historic or vintage Cheese Straw or Cheese Biscuit recipe.

Hot Crabby Punch
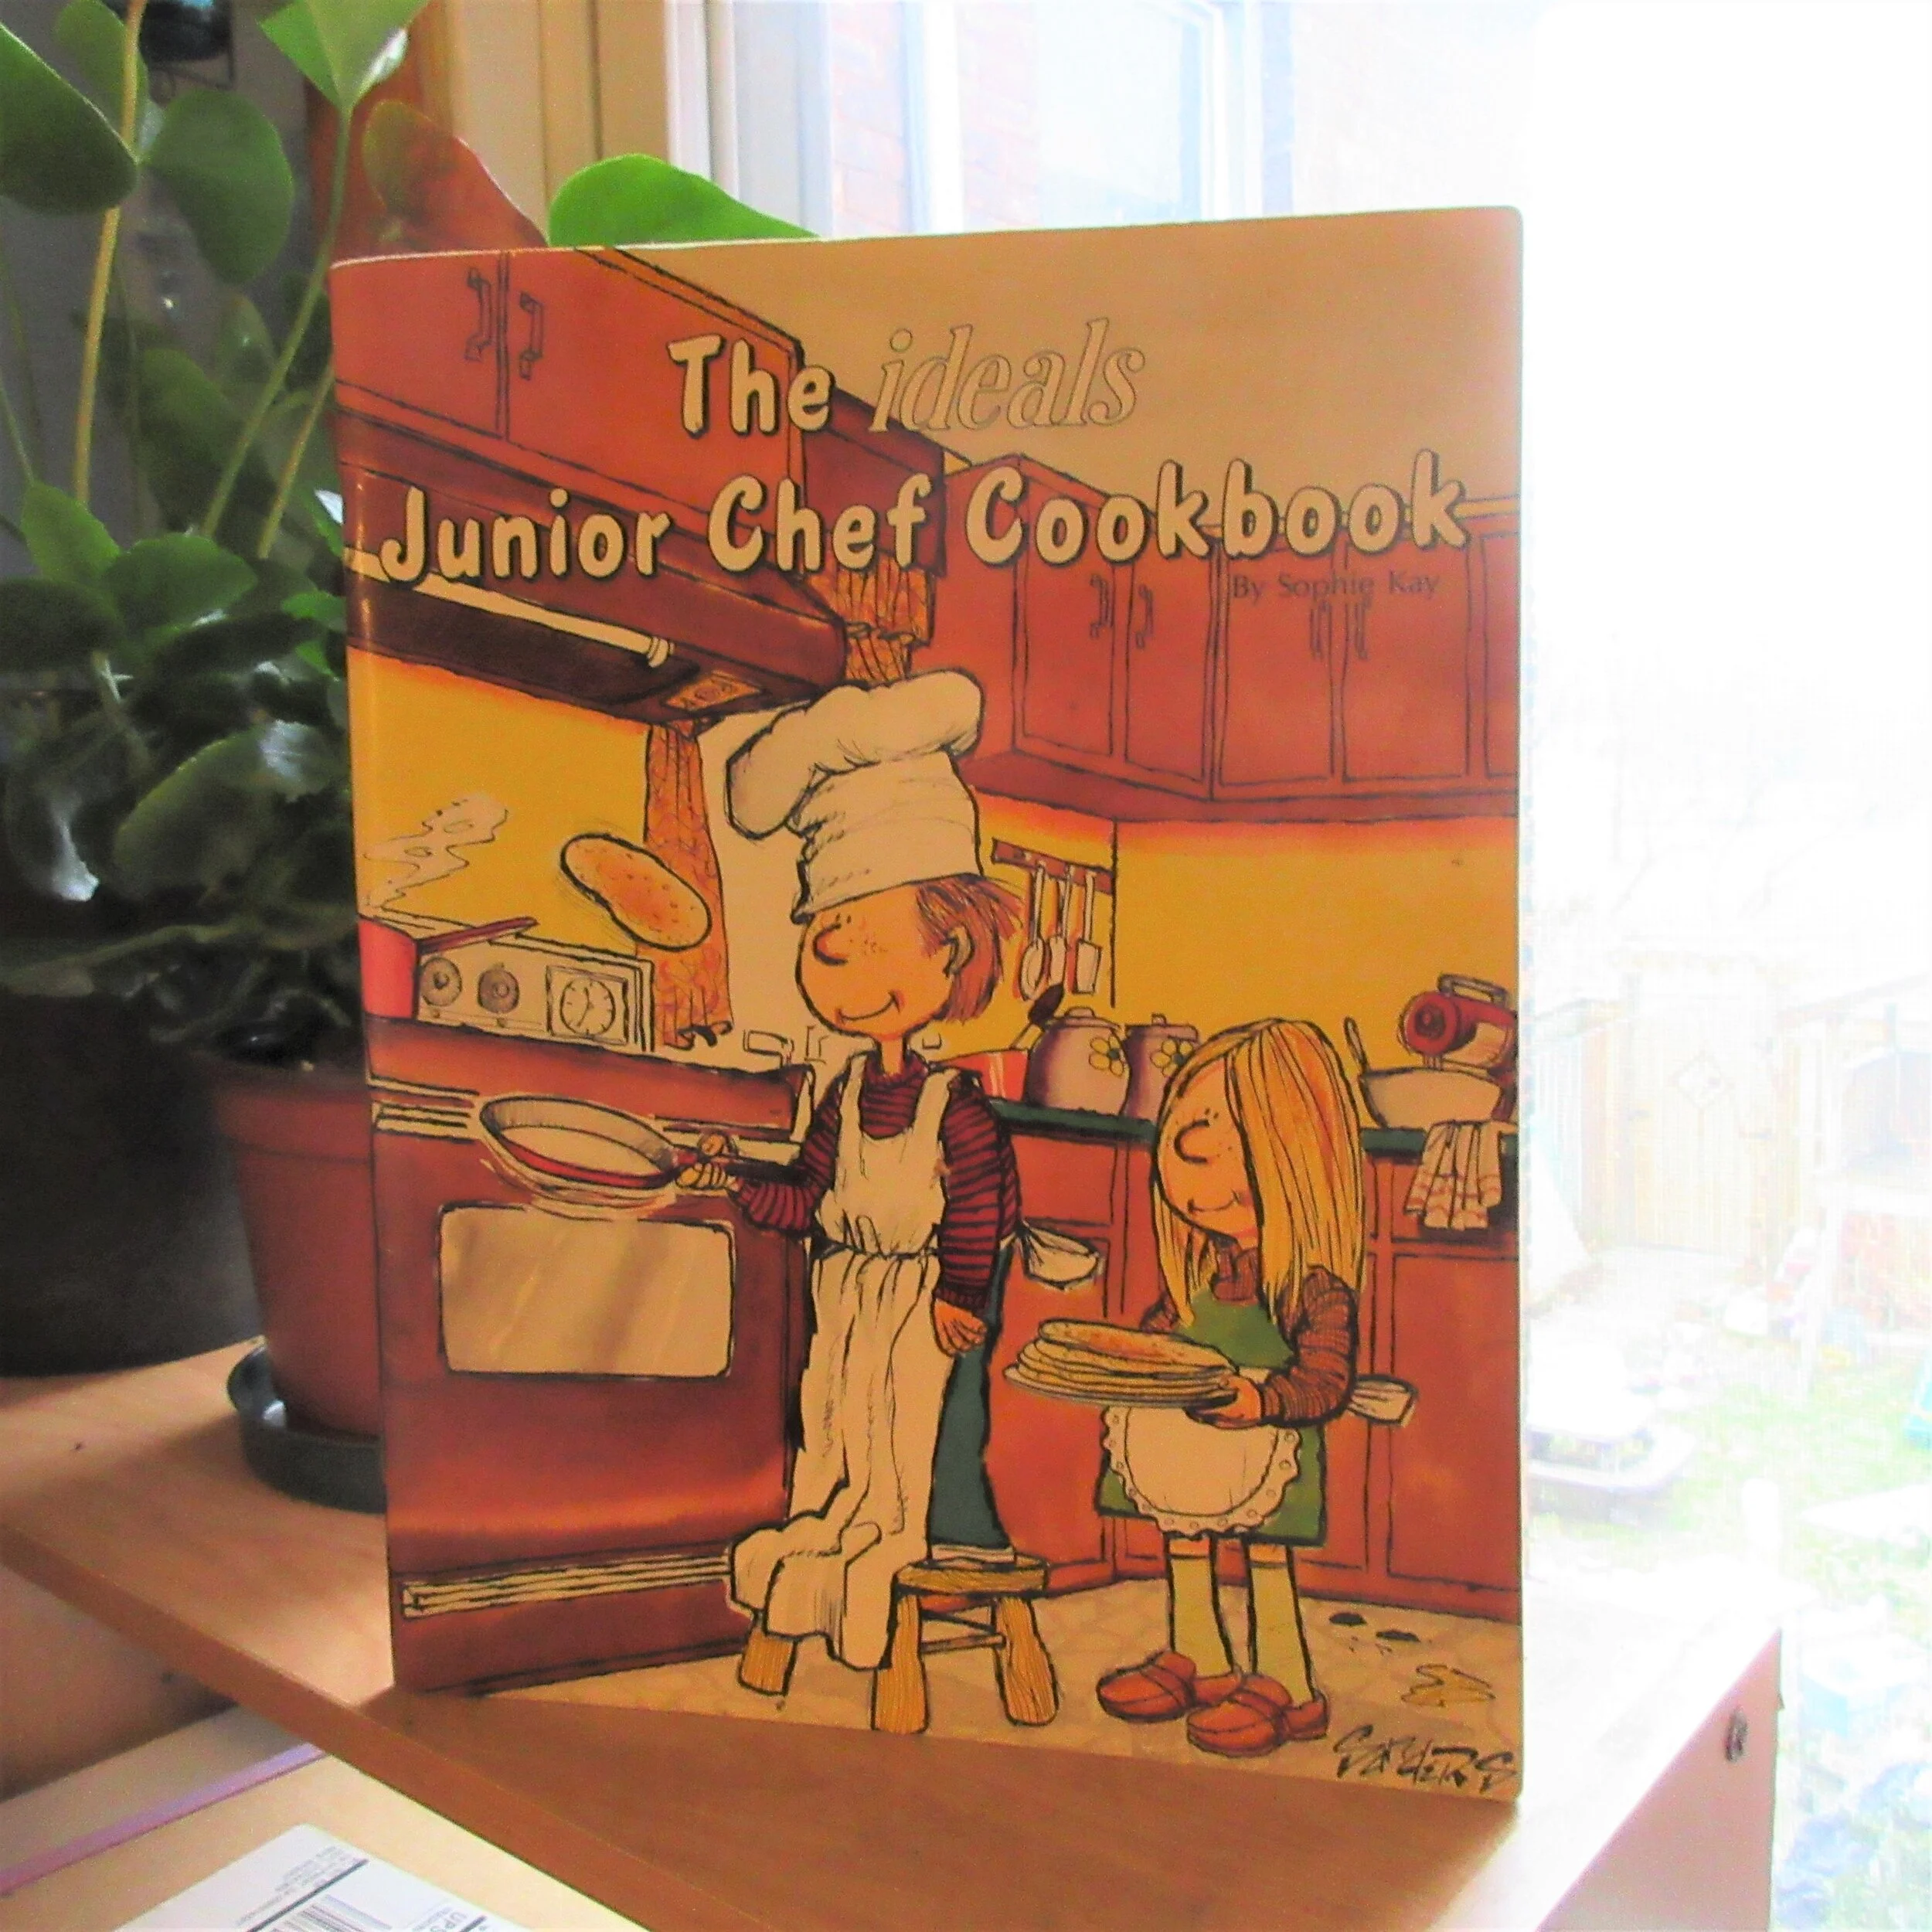
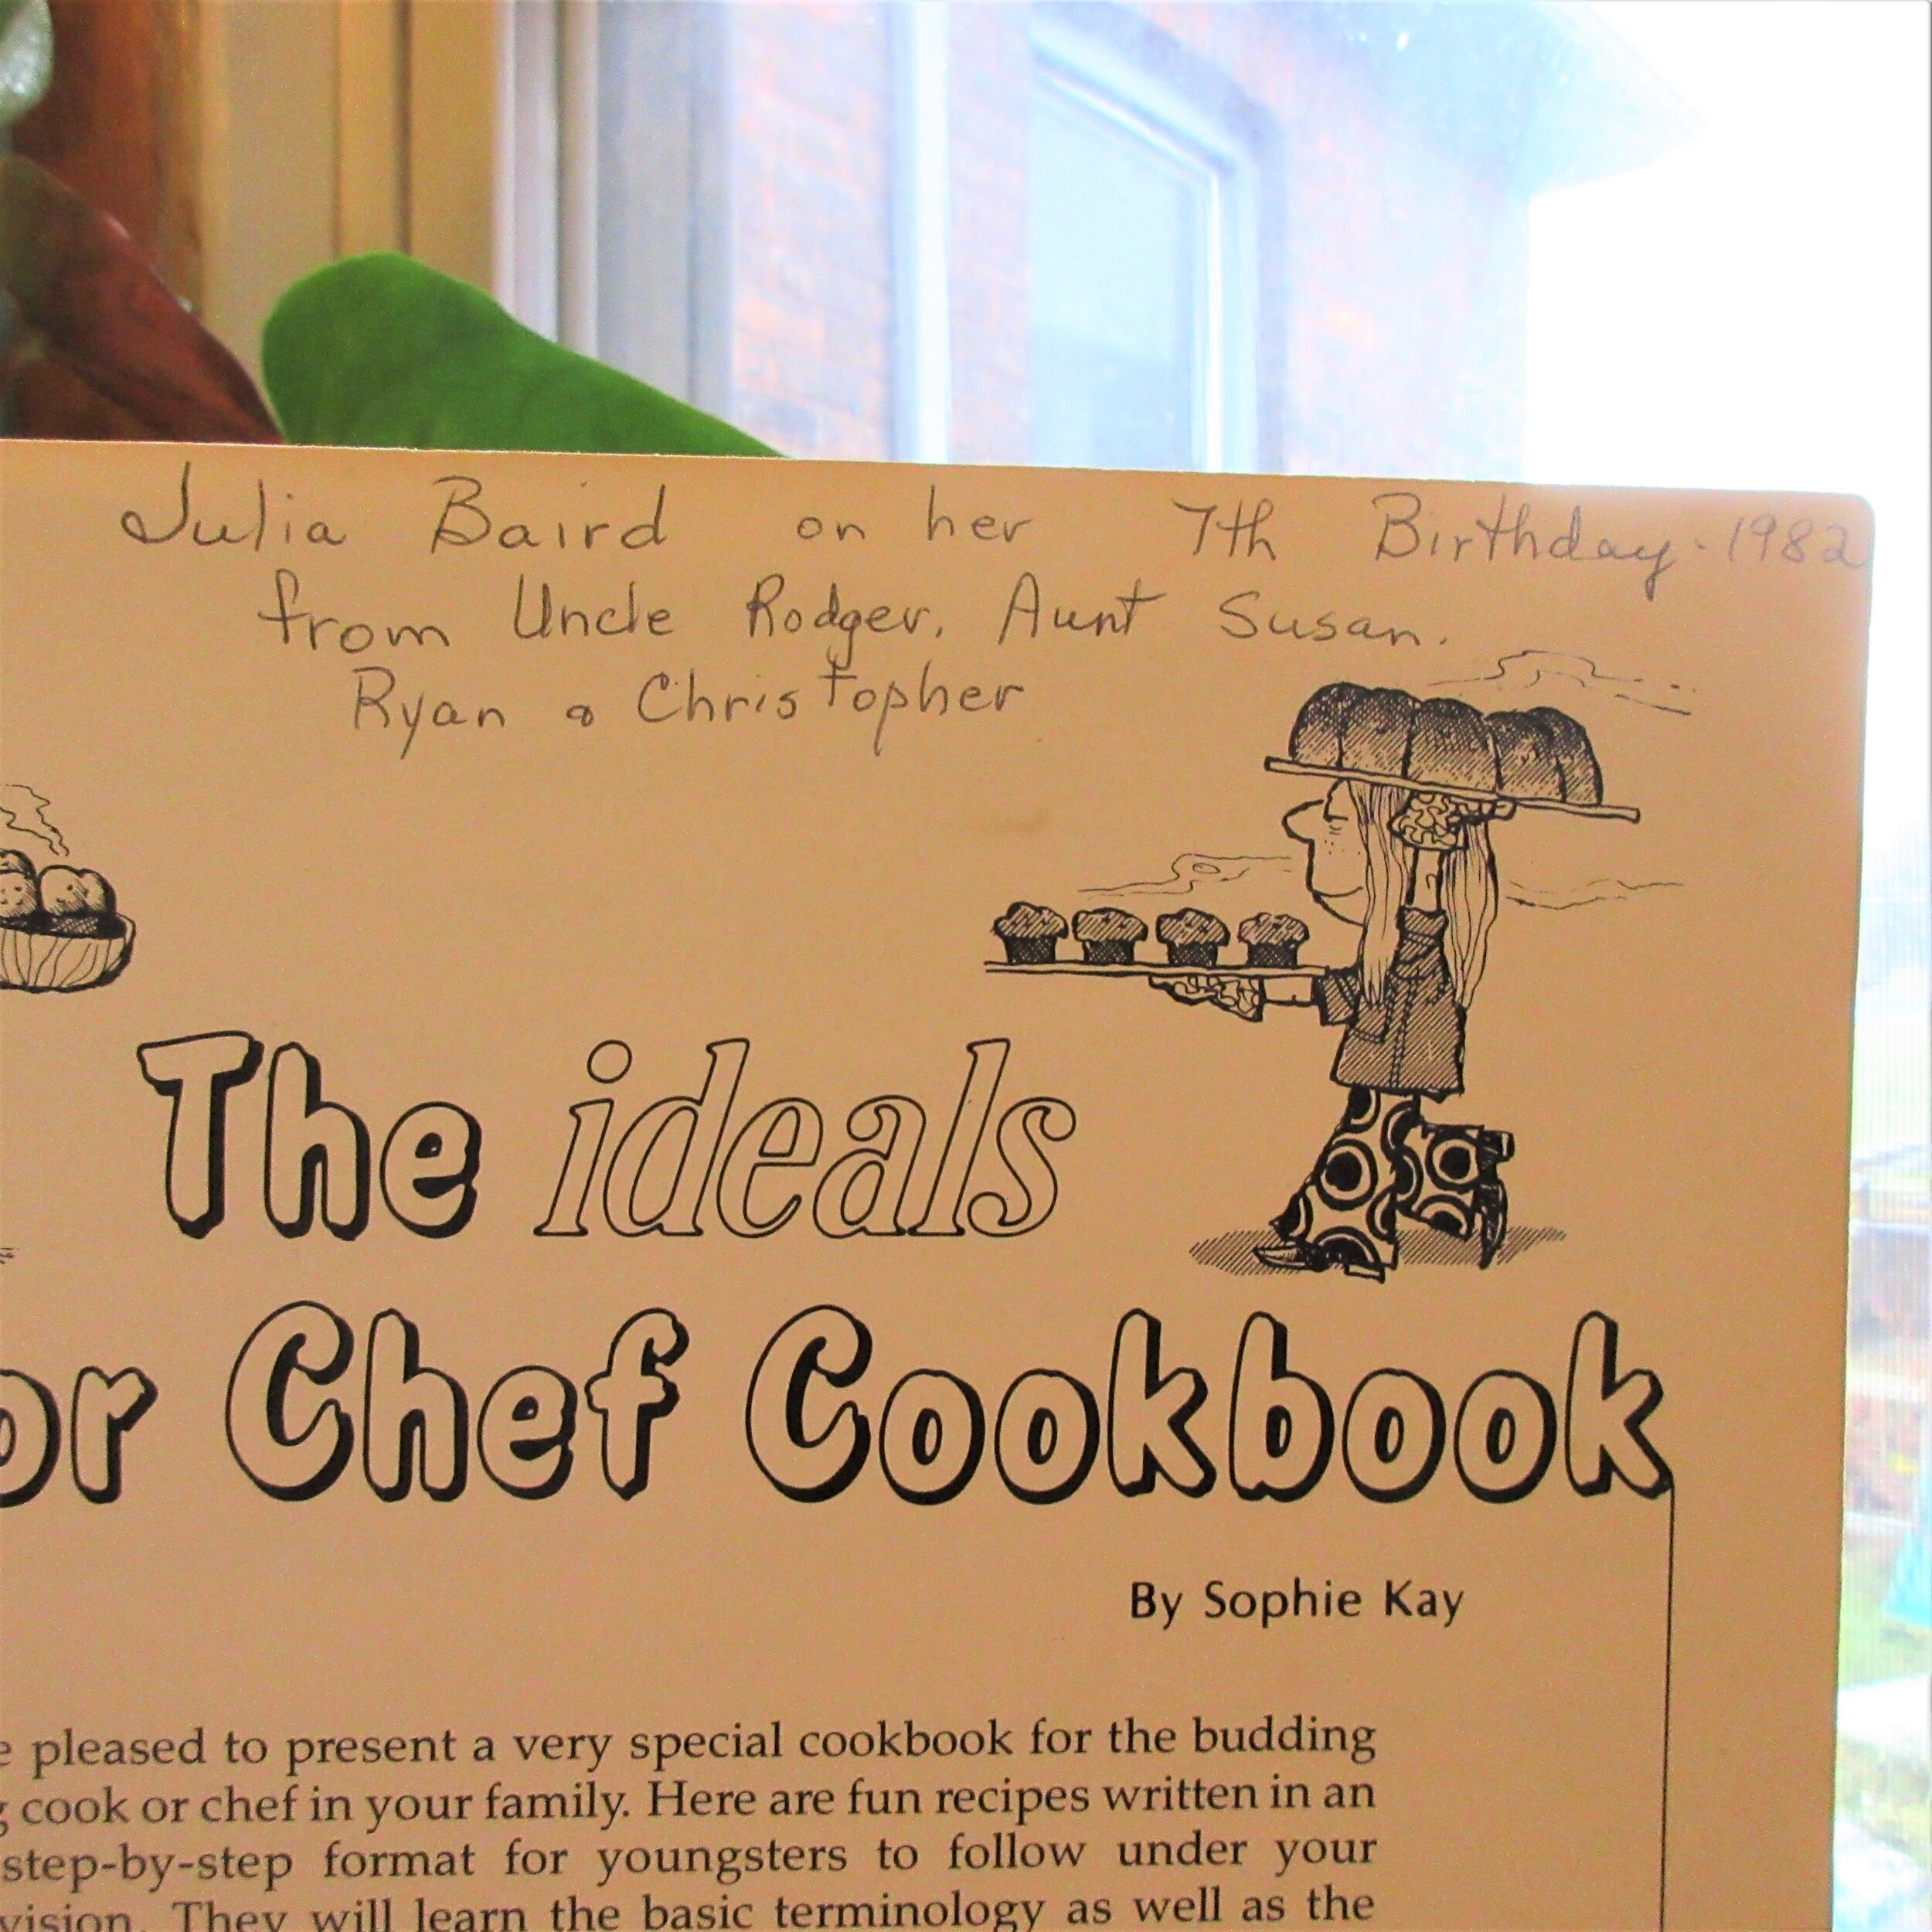
Hot Crabby Punch is a warm mulled apple cider and cranberry juice punch with cinnamon, cloves and allspice. The recipe’s got such a cute name because it’s from the 1977 The ideals Junior Chef Cookbook, which is from the first cookbook I’ve ever owned, given to me by my aunt and uncle on my 7th birthday.
I made Hot Crabby Punch for my family when we celebrated Christmas together at my brother’s house. They seemed to like having Hot Crabby Punch around, so maybe making mulled warm beverages will become a new Christmas tradition. The most sound-bite friendly review was coined by my niece: “Tastes like pie!” I was told “That punch is good, Julie” a few times, “It would be good with vodka” and also “I don’t normally like warm beverages that much, but I liked it”.

You’ll find this recipe in:
The ideals Junior Chef Cookbook
By: Sophie Kay
Milwaukee, 1977
HOT CRABBY PUNCH
YOU WILL NEED:
3-quart saucepan
liquid and dry measuring cups
measuring spoons
wooden spoon
slotted spoon
INGREDIENTS:
5 cups sweet apple cider
4 cups cranberry juice cocktail
¼ cup firmly packed light brown sugar
1 cinnamon stick
½ teaspoon whole allspice
½ teaspoon whole cloves
Apple slices and cinnamon for garnish
STEPS TO FOLLOW:
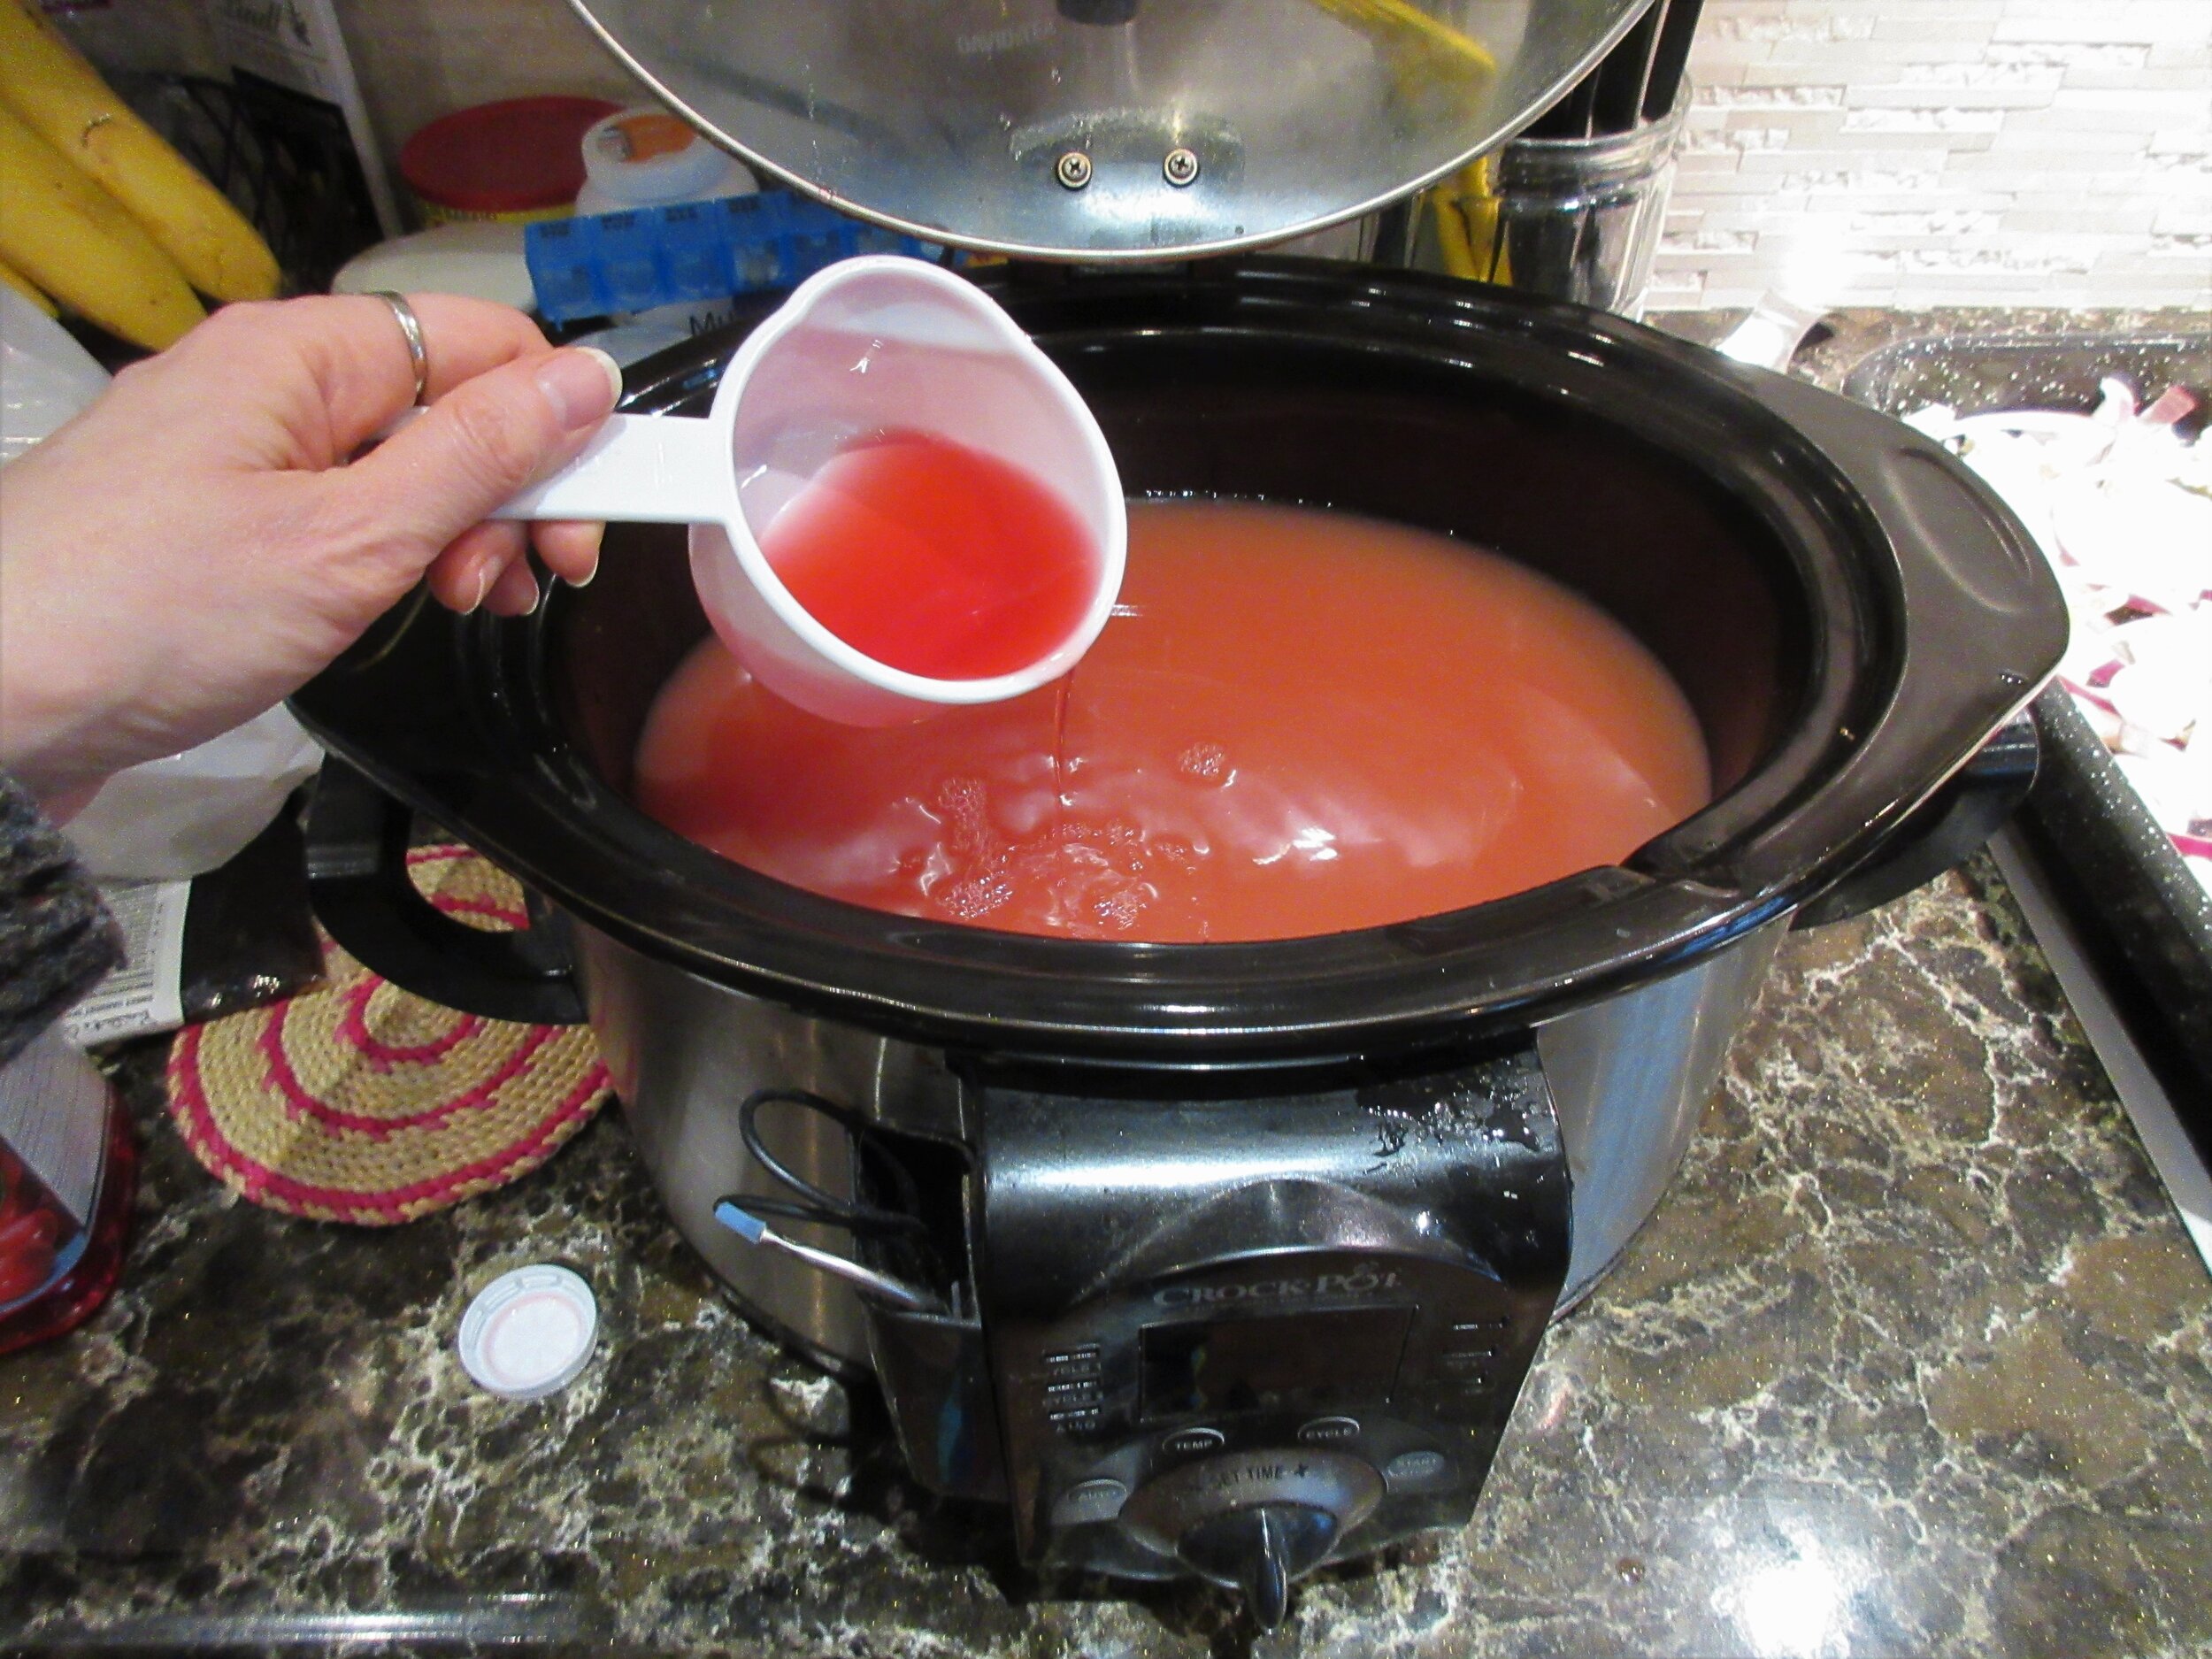
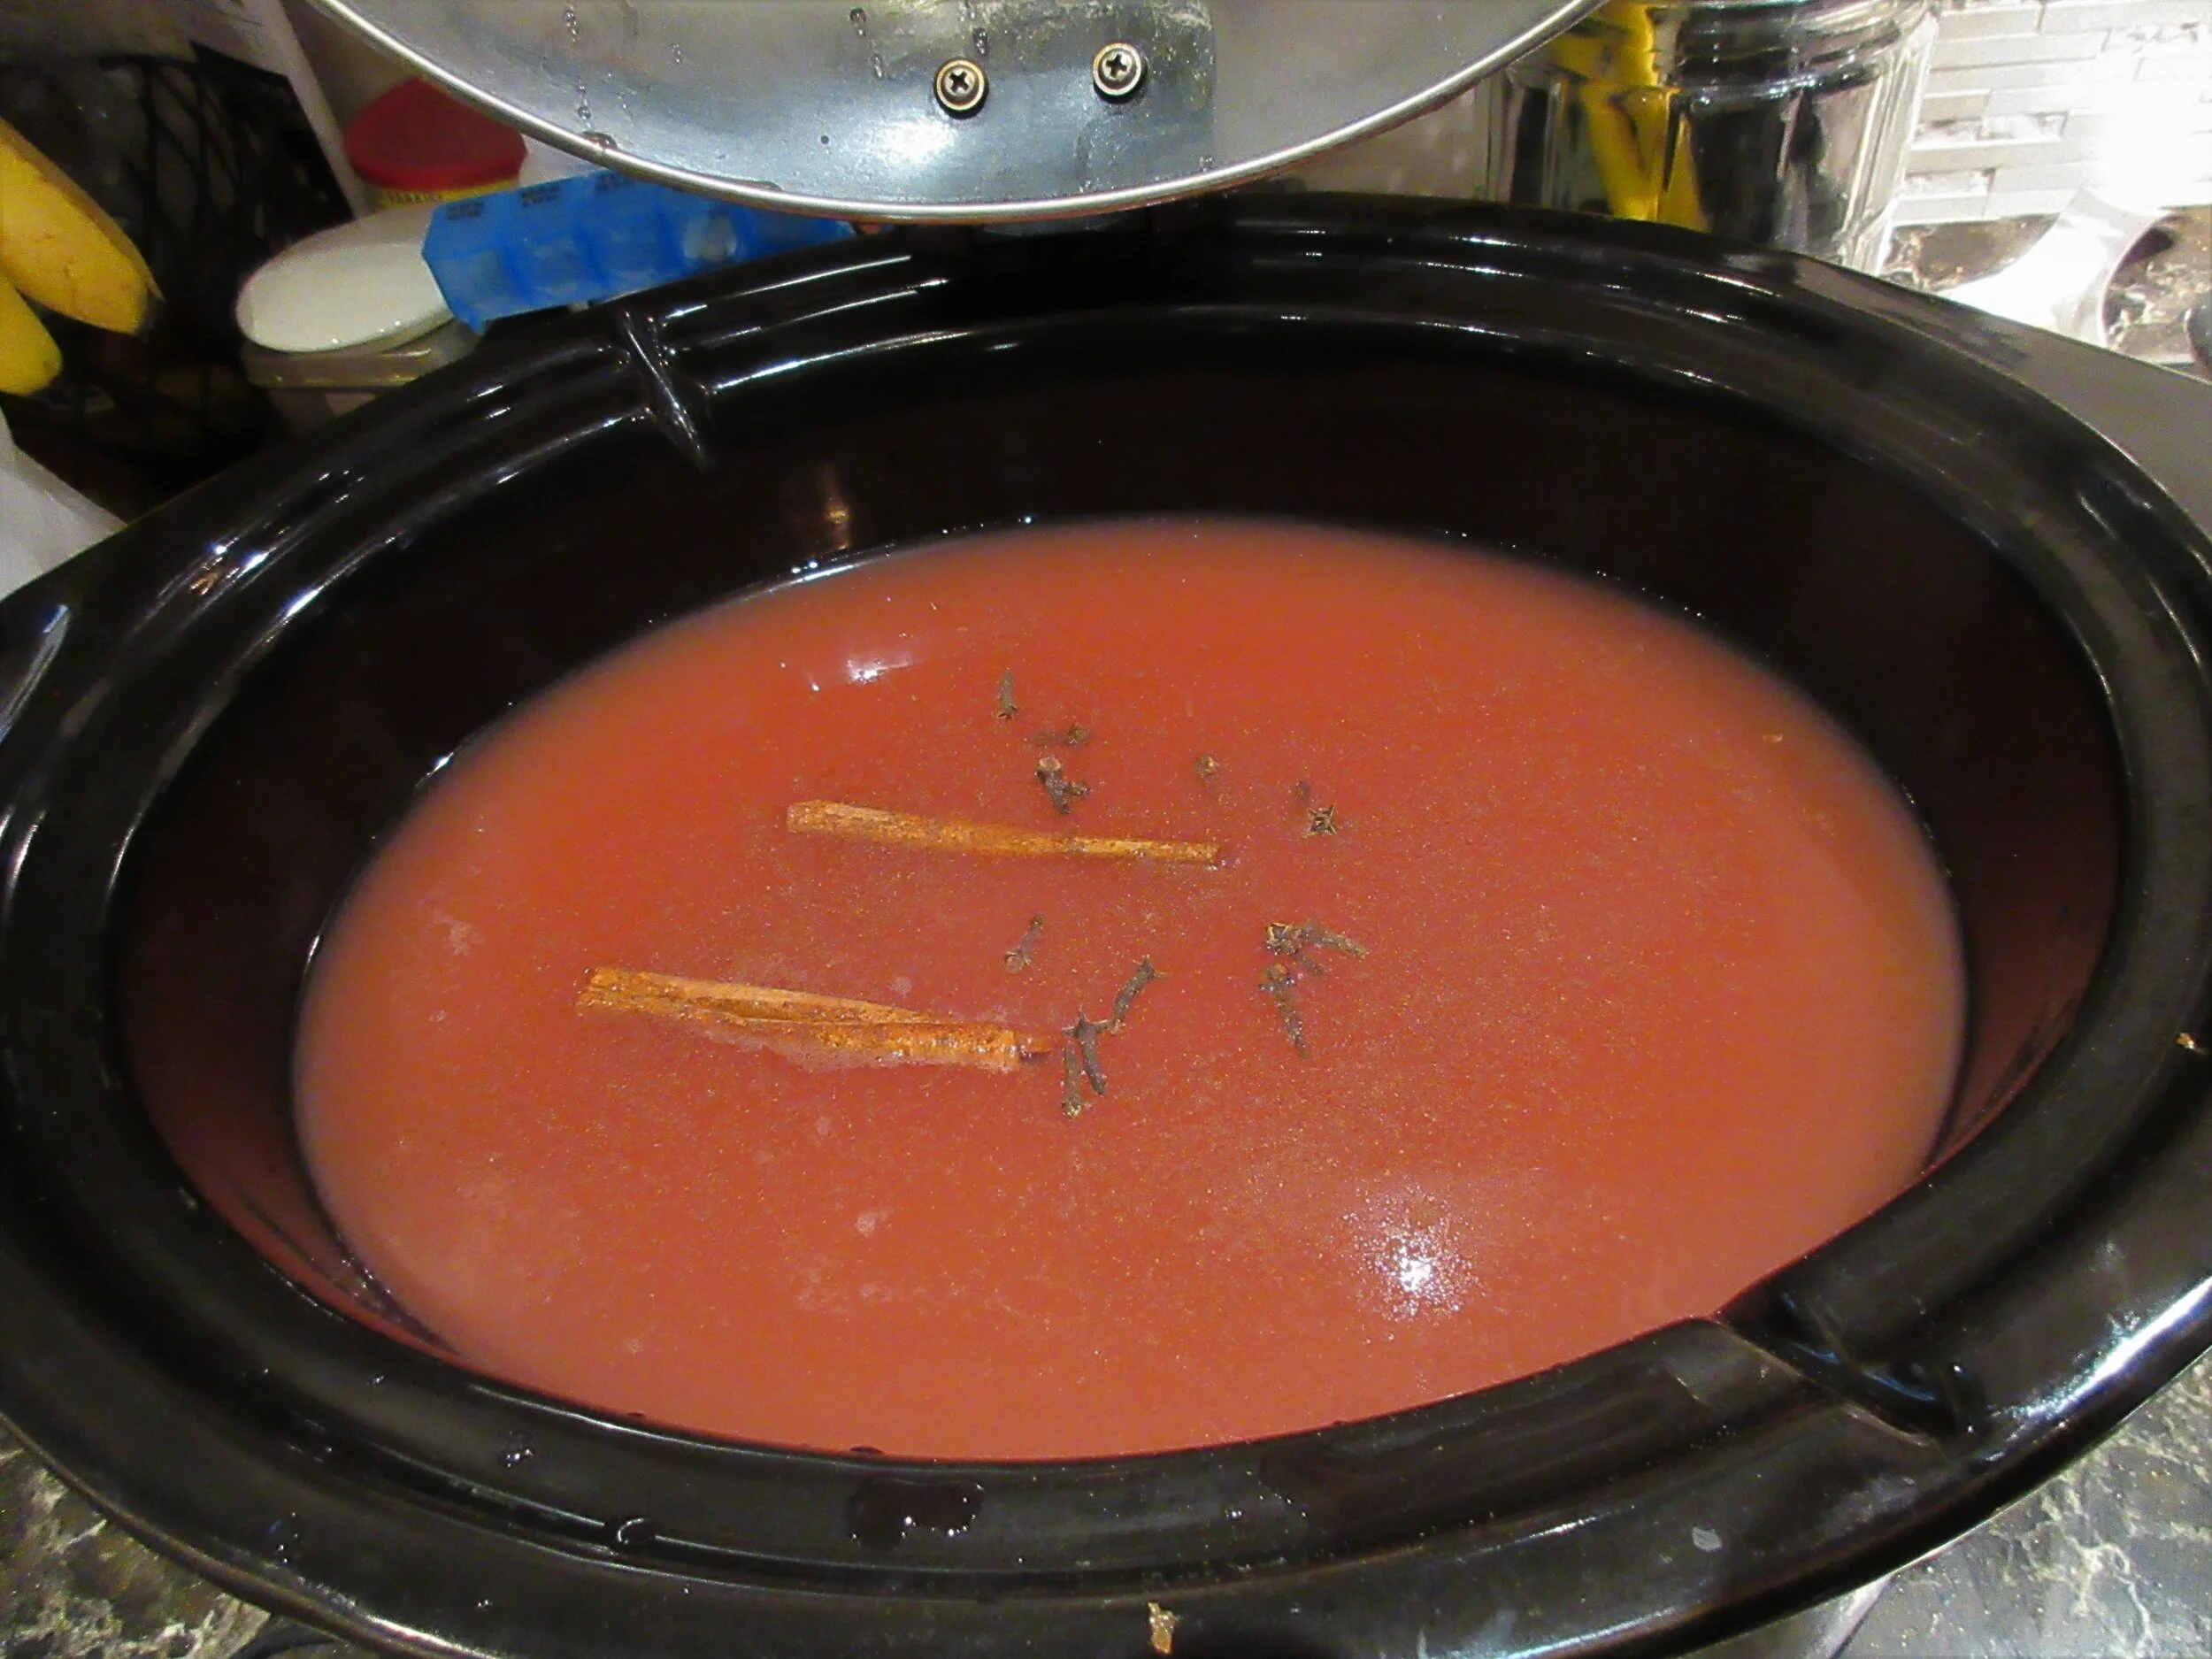
1. Measure cider, cranberry juice cocktail, brown sugar, cinnamon stick, allspice and cloves into 3-quart saucepan.
2. Place over medium-high heat and bring to a boil. (Do not cover pan.)
3. When punch begins to boil, turn heat to low and simmer 20 minutes.
4. With slotted spoon, remove spices before serving.
5. Decorate with apple slices and cinnamon sticks if you like.
About 9 cups or 12 ¾-cup servings

I haven’t made a recipe for Cloud 9 Cookery since August. My life in the past few months have been filled with hospital visits, funeral arrangements, grieving and figuring out how to be an executor, so this blog took a temporary back burner. But I’m back with Hot Crabby Punch from the 1977 The ideals Junior Chef Cookbook, which is from the first cookbook I’ve ever owned, given to me by my aunt and uncle for my 7th birthday. I remember how proud I was when I made scrambled eggs for myself independently by following the recipe in the book. Try adding a dash of Worcestershire Sauce to your scrambled eggs, it’s rather tasty!
Hot Crabby Punch is actually in the Halloween Party section of the cookbook, and my friend Dean selected this recipe a few months ago. I knew I wanted to make a recipe from this book and was having a hard time deciding on one, so I handed him the cookbook a few months ago. He said he picked Hot Crabby Punch because he had some mulled wine at a party at our house once and this recipe reminded him of that night.
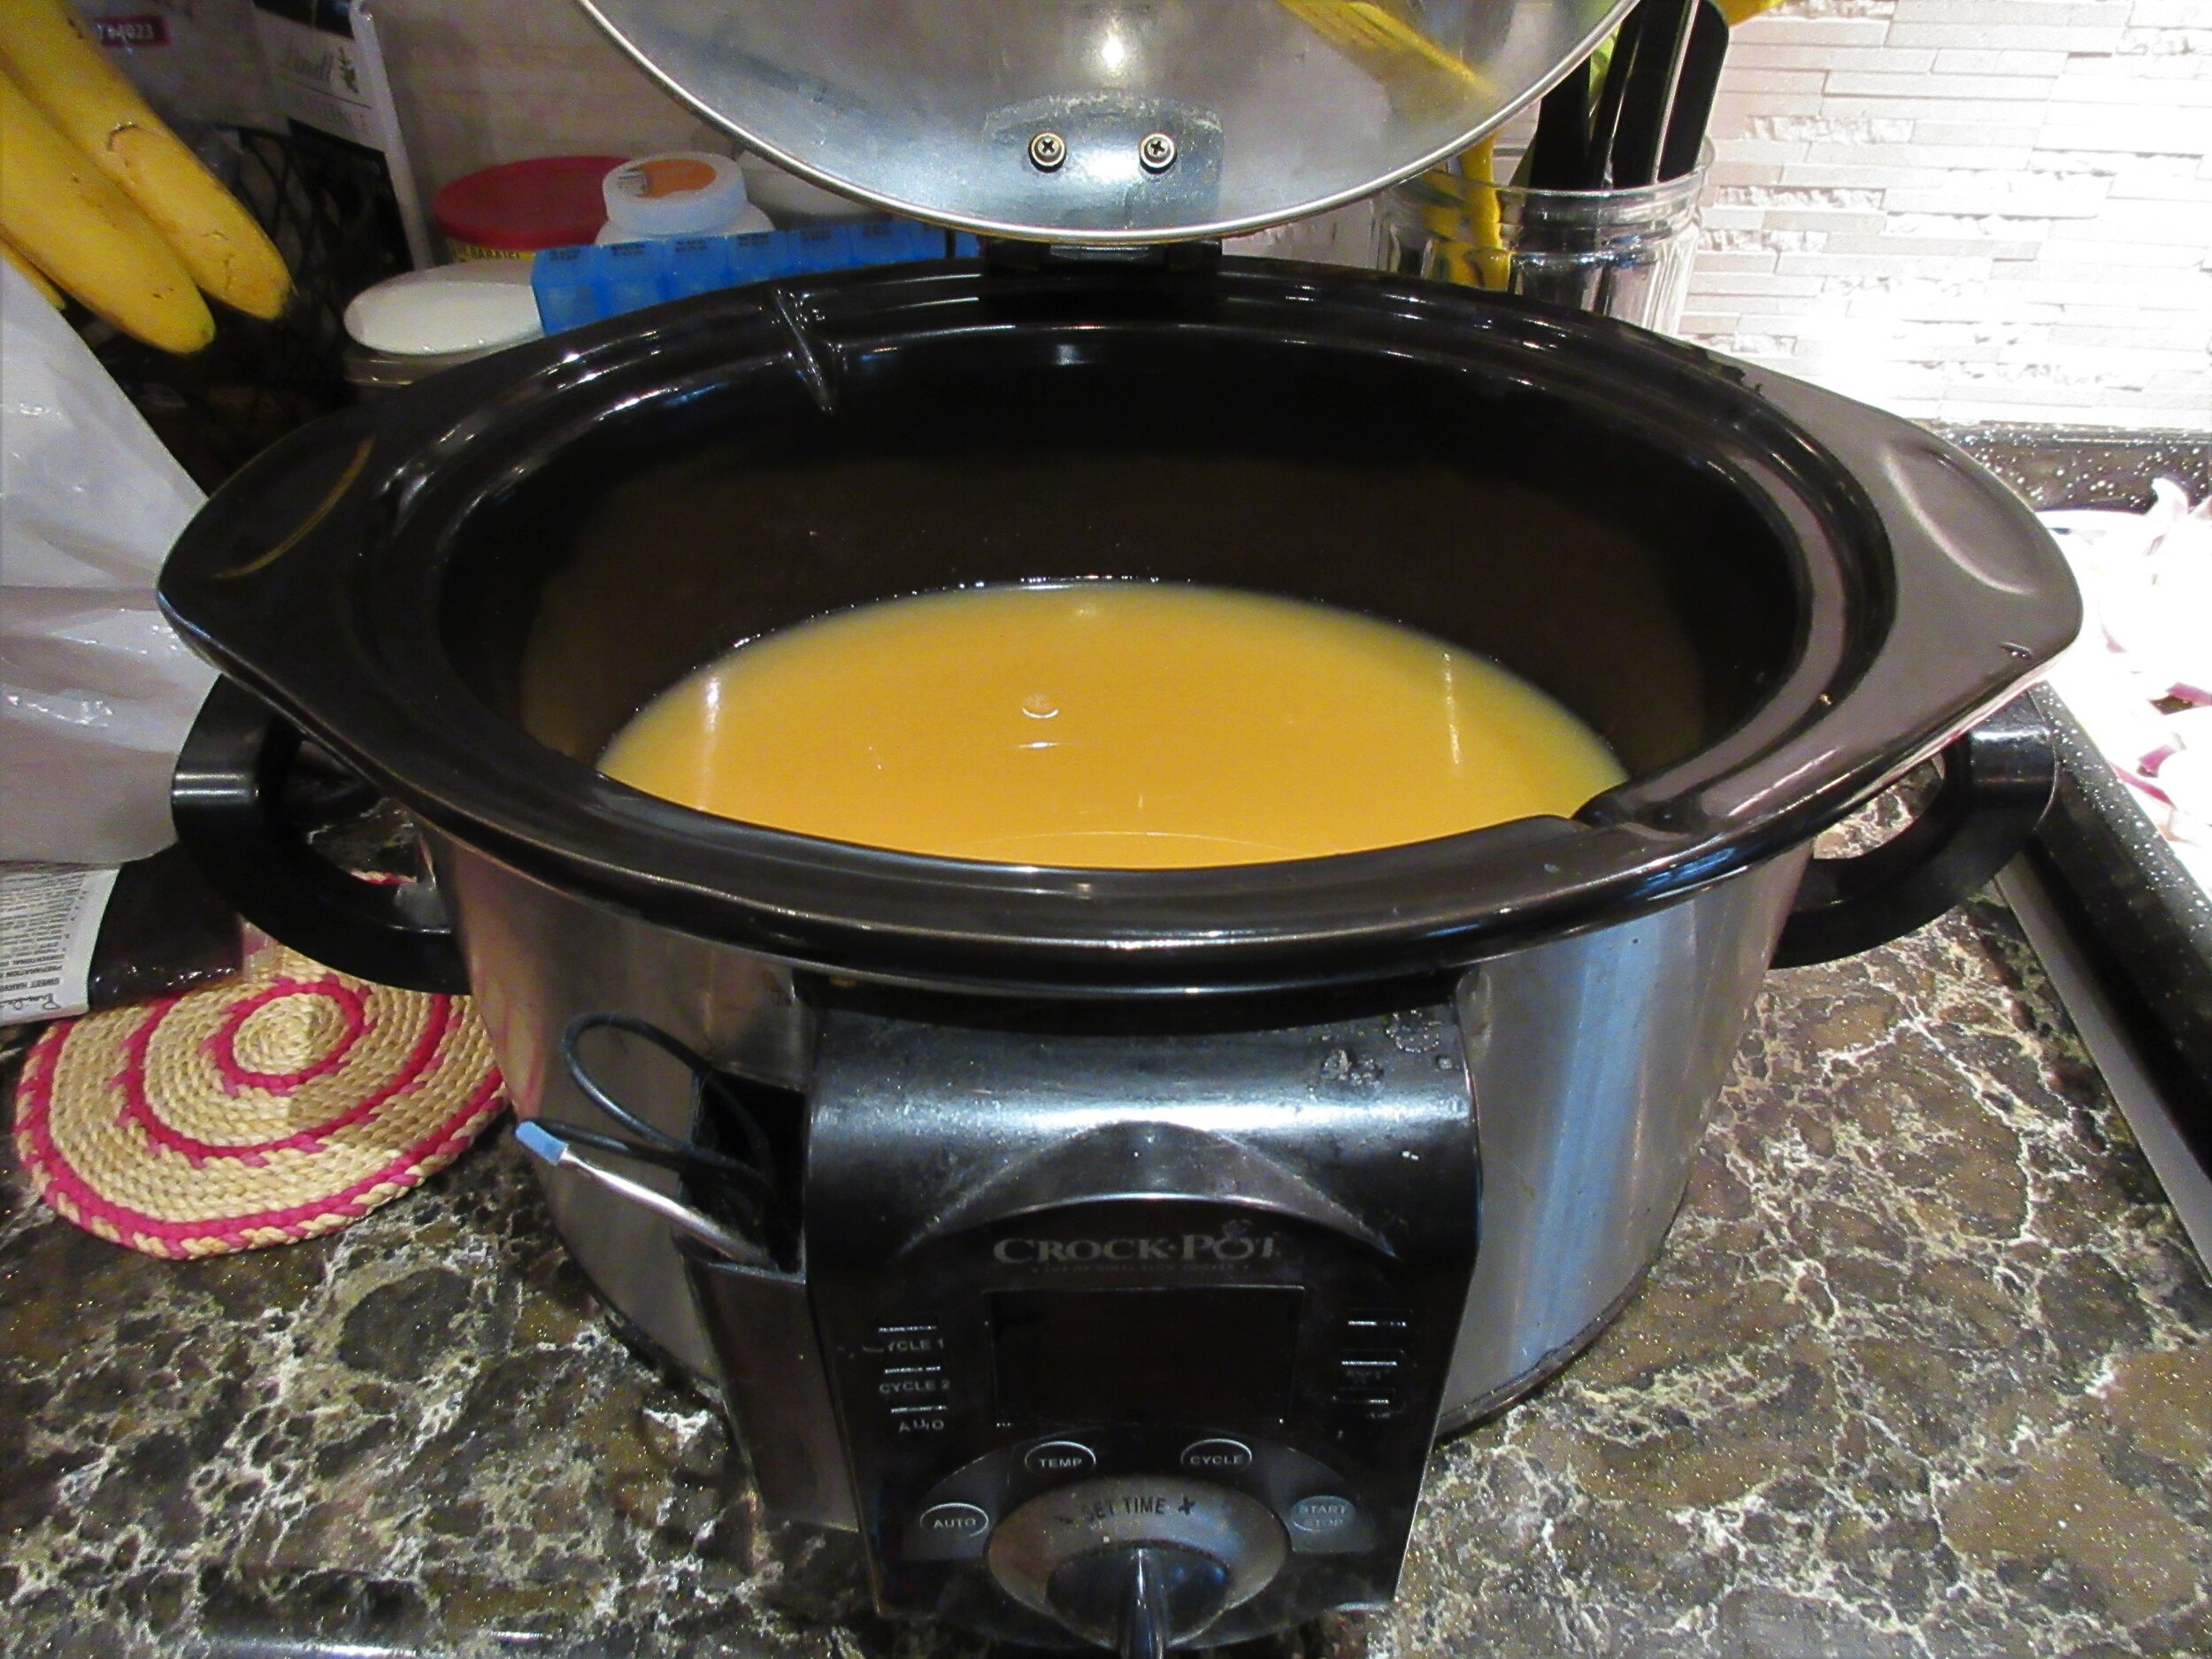
I made the punch for my family when we celebrated Christmas together at my brother’s house. Life is still a bit hectic, chaotic and sad, so I neglected to buy both brown sugar and whole allspice for the recipe. Luckily, my sister-in-law found a package of hard brown sugar in their kitchen for me to use and I just sprinkled in some powdered allspice instead. I used my slow cooker instead of a pot on the stove, so I wouldn’t have to babysit the pot and the punch would stay warm and delicious.
My family seemed to like having Hot Crabby Punch around, so maybe making mulled warm beverages will become a new Christmas tradition. The most sound-bite friendly review was coined by my niece: “Tastes like pie!” I was told “That punch is good, Julie” a few times, “It would be good with vodka” and also “I don’t normally like warm beverages that much, but I liked it”.
Read the Cookbook:
To make fine pippen Tarts
To make fine pippen Tarts is a handwritten recipe from an early 1700s English manuscript in the University of Pennsylvania Libraries. It’s a recipe I’ve wagered in the battle to use up apples from the gargantuan apple tree in my back yard, and also a recipe that was interpreted in 2017 on the food history blog Cooking in the Archives. On this blog, Dr. Marissa Nicosia recreates Early Modern recipes from 1500- 1800 for the contemporary kitchen, and she is also one of my most enthusiastic supporters on twitter! You’ll find Cooking in the Archives at https://rarecooking.com/ and on twitter and Instagram as @rare_cooking.
You’ll find this recipe in:
UPenn Ms. Codex 785
England, between 1705 and 1726

Historic Recipe:
To make fine pippen Tarts
Take a pound of flour and half a pound of butter a little sugar rul it in very small, wet it with Cold water, and two Eggs, make it into a Paste, roul it as thin as you can, and Couer your pattyes, then take henlish pippens and pare them and cut them in round slices, then lay a lay and two Spoonfulls of fine Sugar beaten and some Orange peel Chop’d Small and a lay of pippins and a lay of Sugar and lid them as thin as you can, and take care in breaking them, when they are bak’d, take them out of your pattyes and open the lids, and put into every one of them a spoonfull or two of Orange or Lemmon Juice strain’d then put down the lids & take a feather & some burnt butter lick over the lids, and sift some fine Sugar our them, you must not Couer your pippens, as you cut them put them into fair water


My recipe:
3 ¼ cups flour – 454 g
1 cup (½ lb) butter – 226 g
1 tbsp white sugar
¾ cups cold water – 175 mL
2 eggs
3 cups sliced apples – 400 g
Grated peel of one orange
White sugar (about ½ tsp per tart)
Orange or lemon juice (1 tsp per tart)
¼ cup butter – 55 g
White sugar to sift on top
1) Peel and slice your apples. The historic recipe suggests coring, peeling and slicing the apples into rounds, but apple rounds wouldn’t fit into my tart tins, so I cut the apples smaller. Put your apple pieces into cold water after you slice them.
2) Grate the peel of an orange. Juice your orange or lemon if you’re going for fresh juice and strain out the pulp.
3) Preheat your oven to 400 F (205 C). Measure out the flour and 1 tbsp white sugar for the pastry, then cut in your butter in small pieces. Pro tip: take your cold butter and grate it on a cheese grater before adding it to the flour! Doing this will make your pastry-making days happier. Mix the butter into the flour using a pastry cutter, or knives and forks.
4) Beat the eggs in a small bowl, then add to the flour, sugar and butter mixture. Add the cold water gradually while mixing. Stop adding water when the pastry dough has incorporated the flour, but is barely staying together. Some historic recipes suggest stopping adding water to pastry when the dough looks like a “ball of rags”, and I think this description applies even today. Does your pastry dough look like a t-shirt that you’re carrying around balled up in your hands? Then stop adding water.
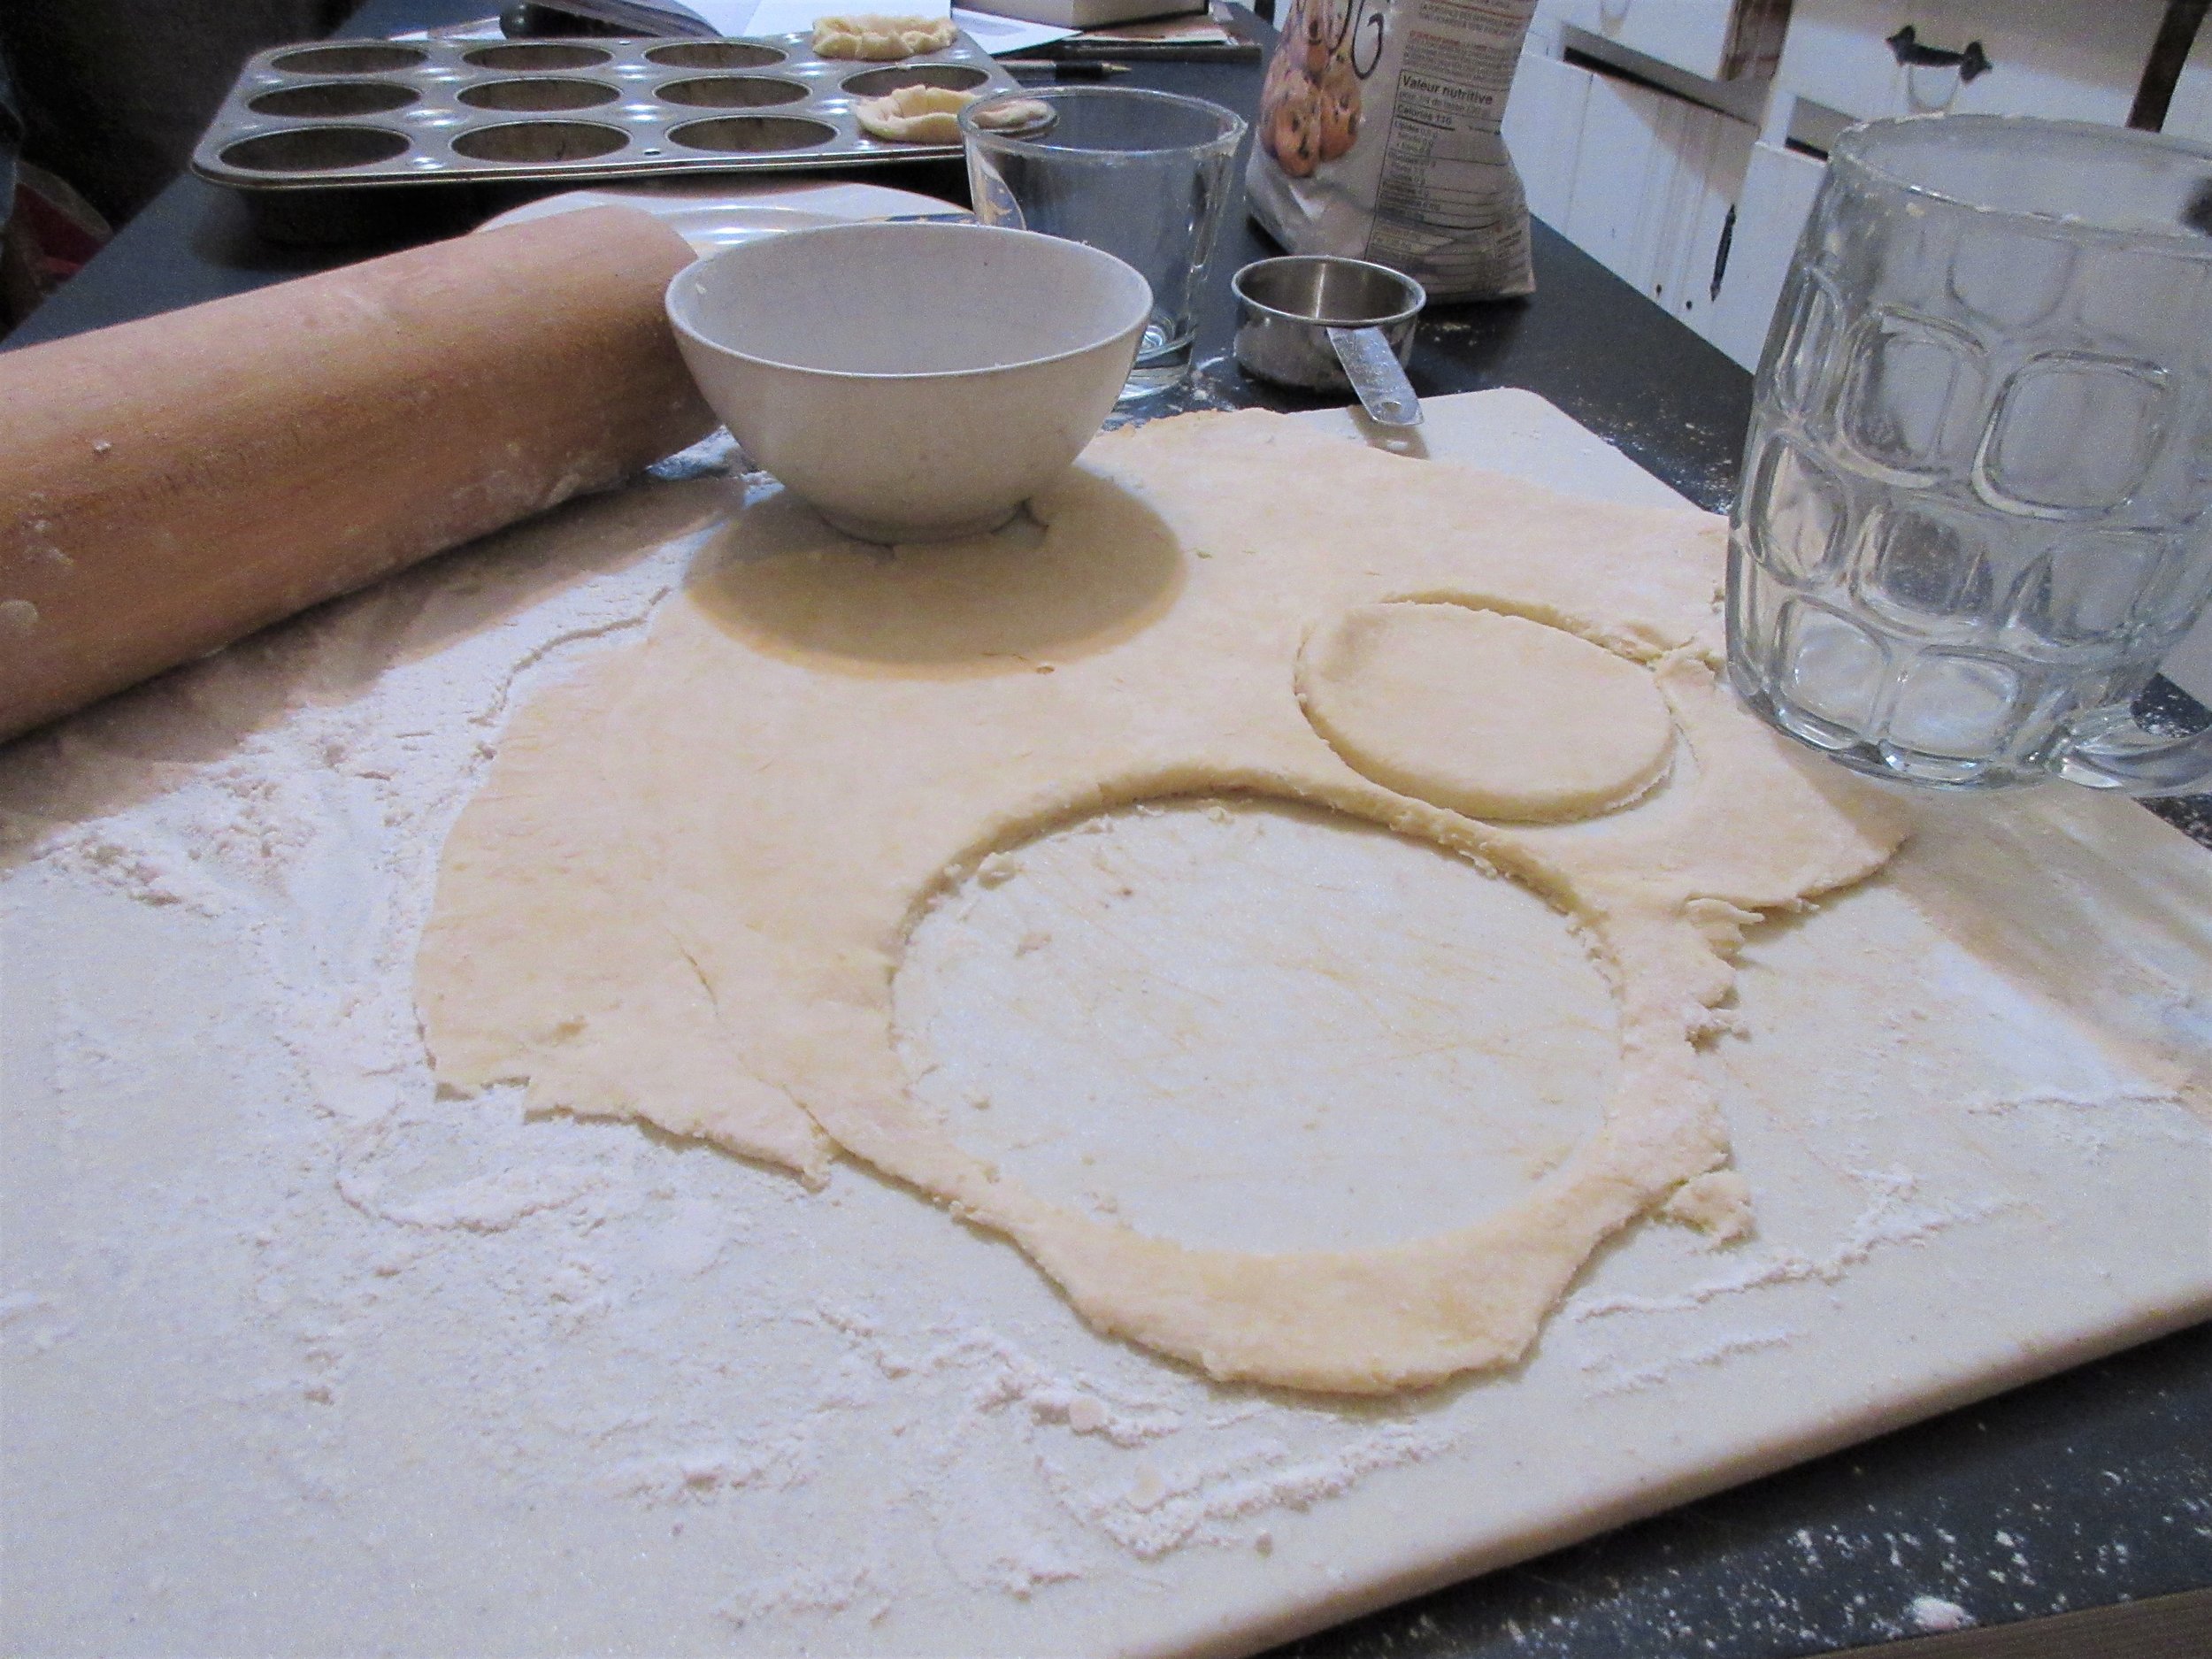
5) Spread flour out thinly on your rolling surface and rolling pin, then roll out your pastry “as thin as you can”. For each tart, you’ll need to cut out one bottom tart piece and one tart cover. I don’t make pastry much at home in my regular life (but I make it often in the historic kitchen at work), so it took some trial and error to find the perfect round things to cut out these tart pieces. In the end, I found a whiskey glass and a little bowl that were the perfect sizes.
6. Put the bottom tart pieces in your tins. Pile in your apples, then sprinkle in about ½ tsp white sugar and a pinch of grated orange zest. I would pile in more apples than I did, because they cook down.
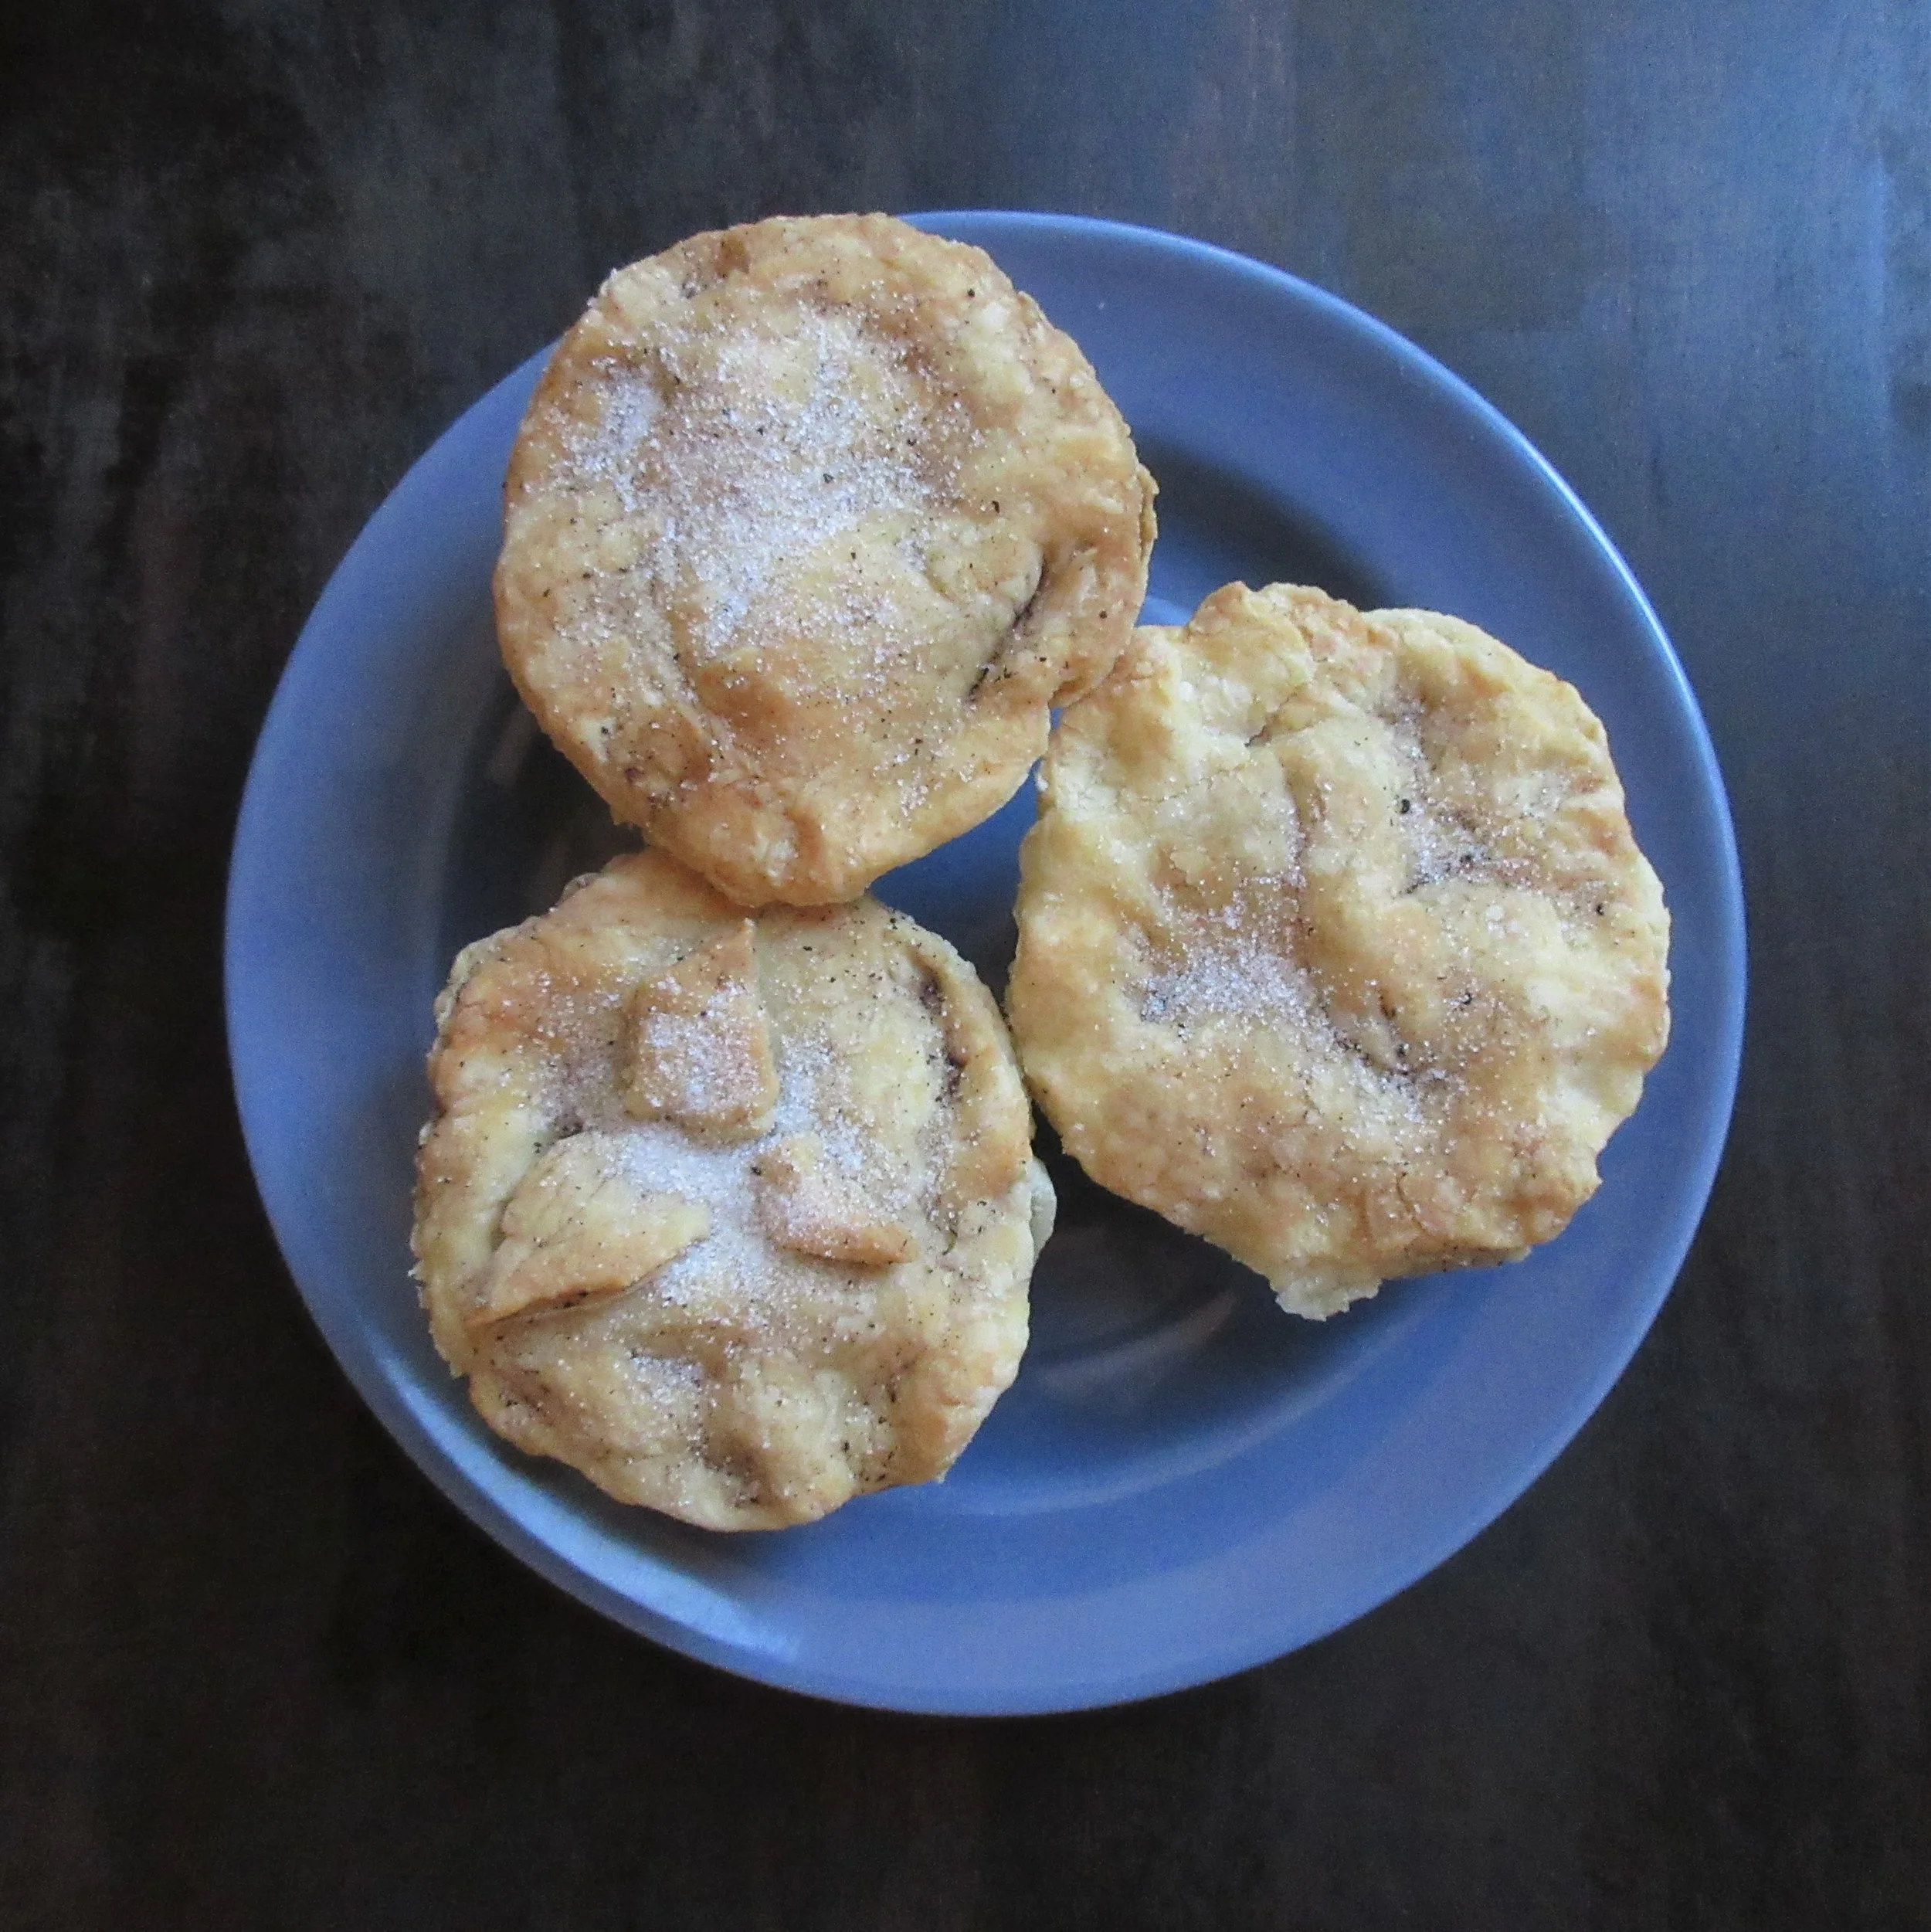
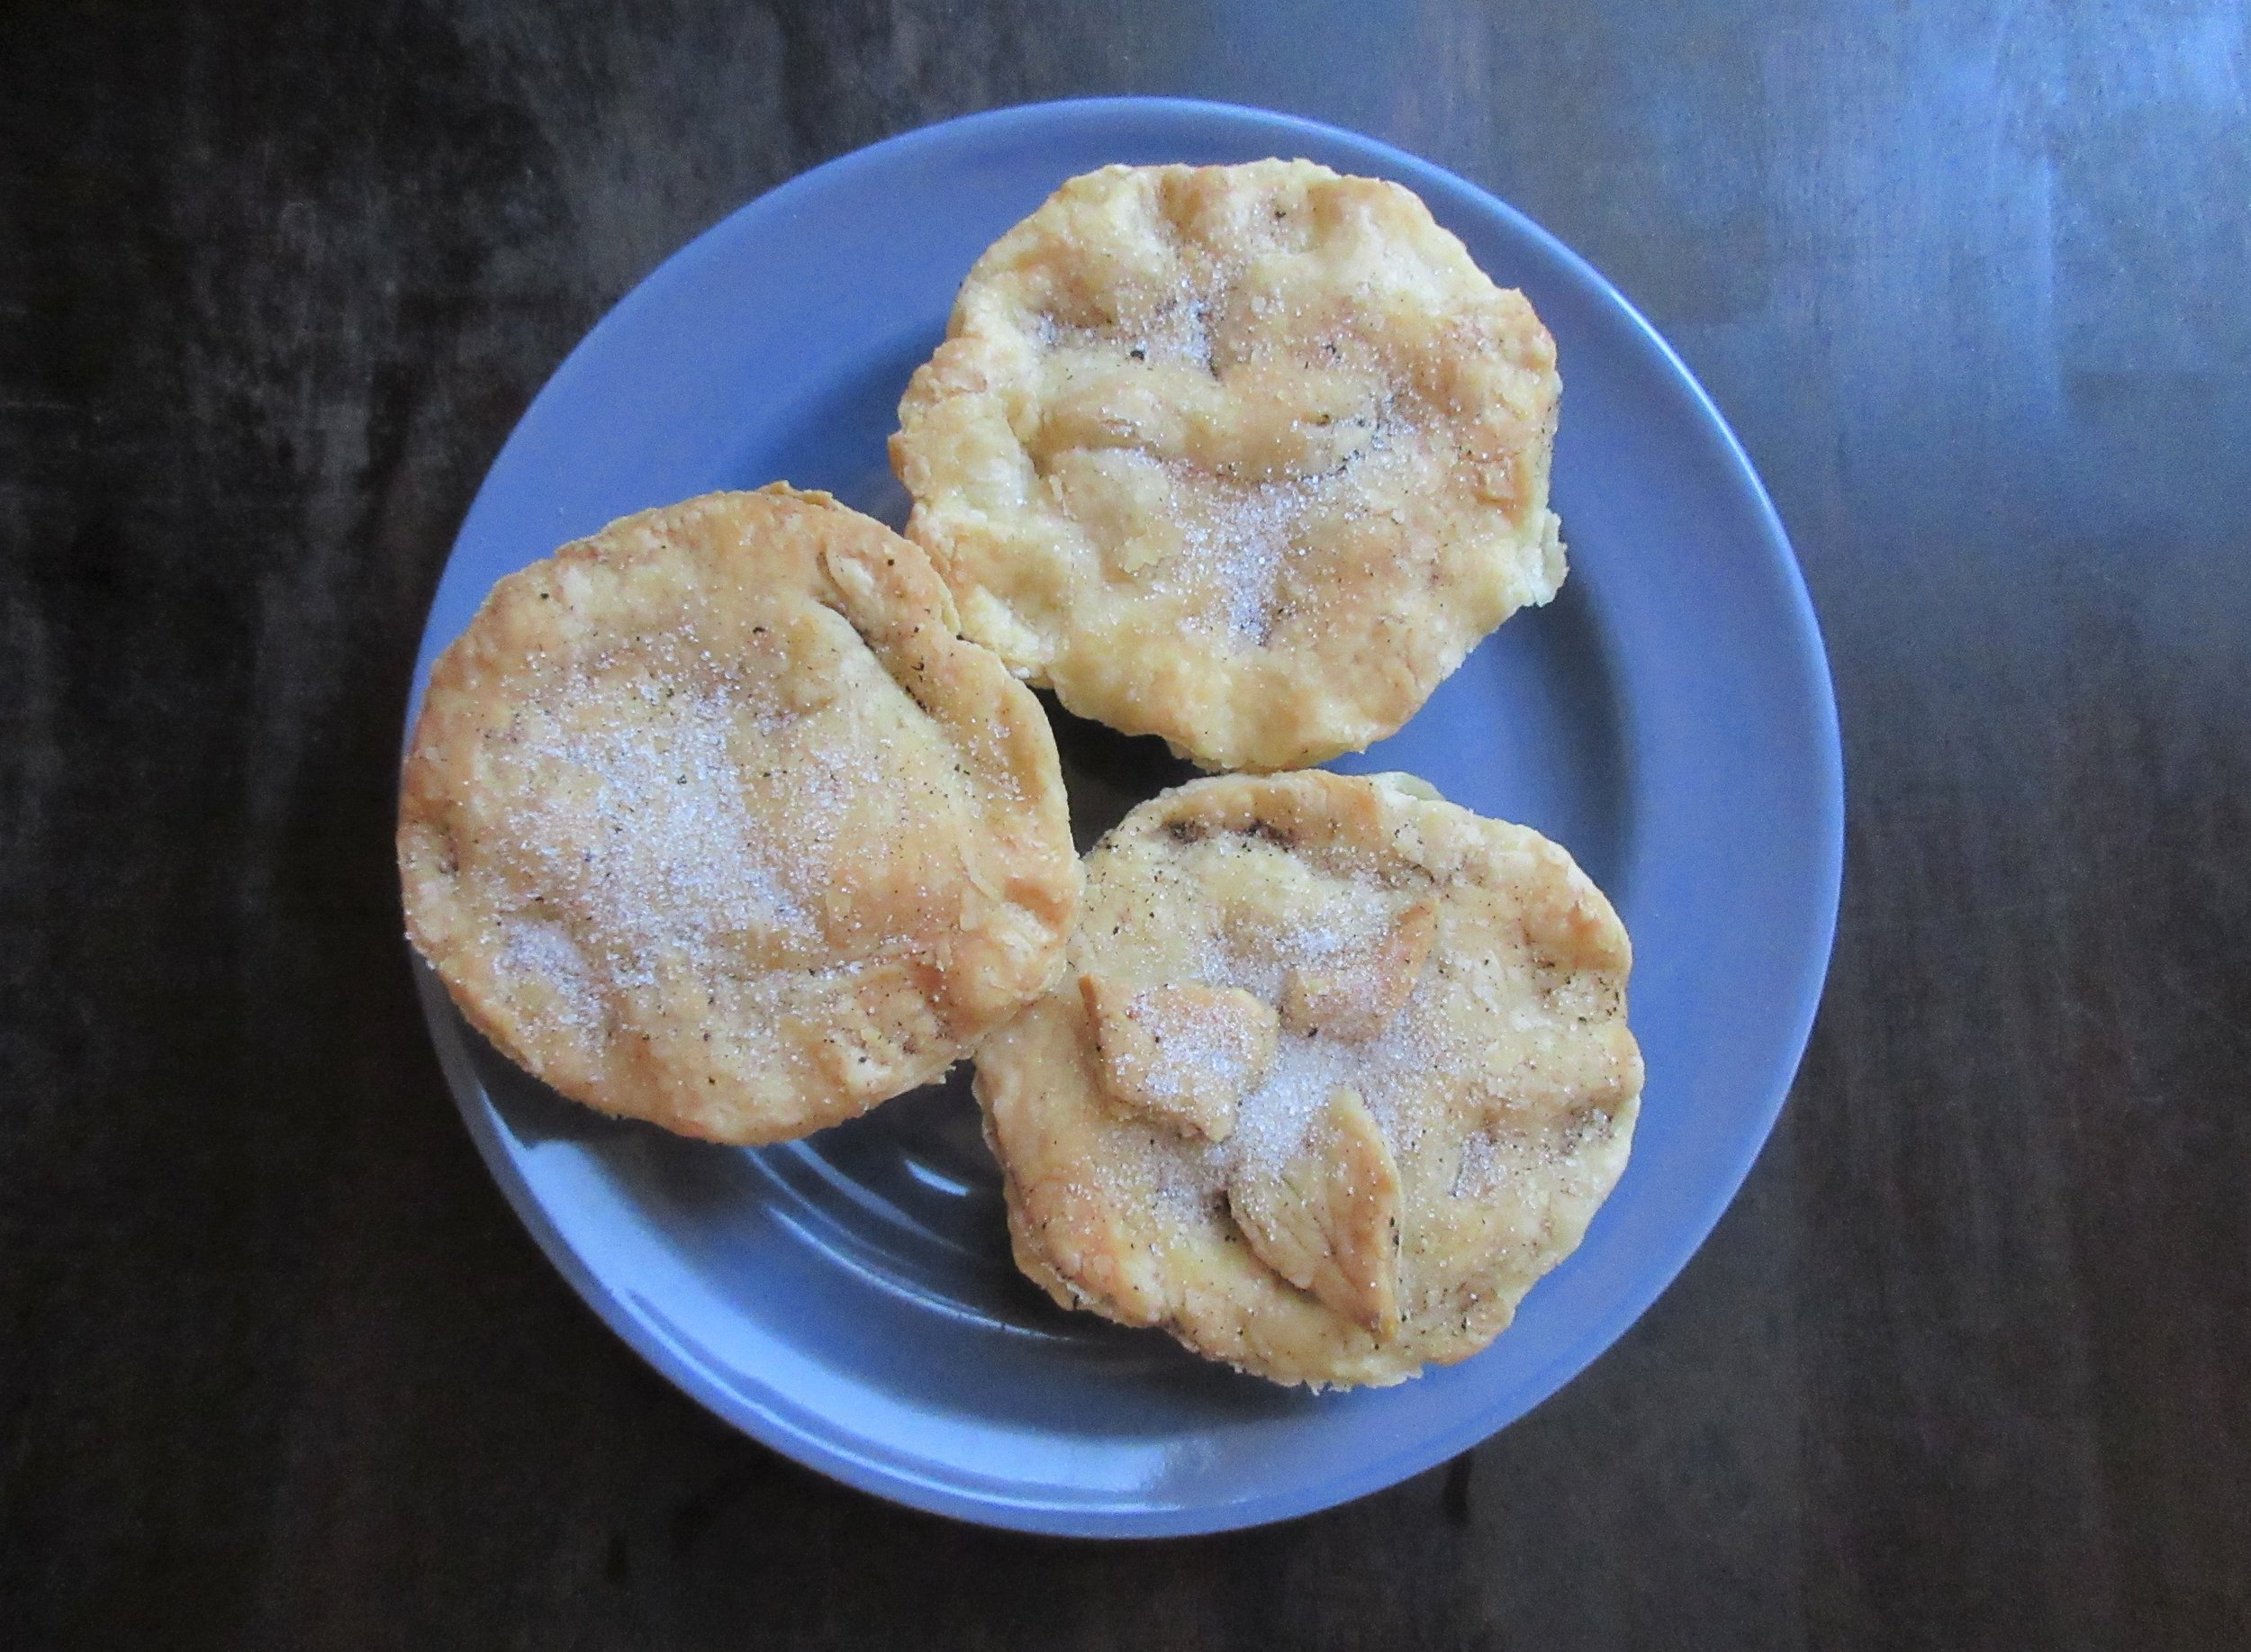
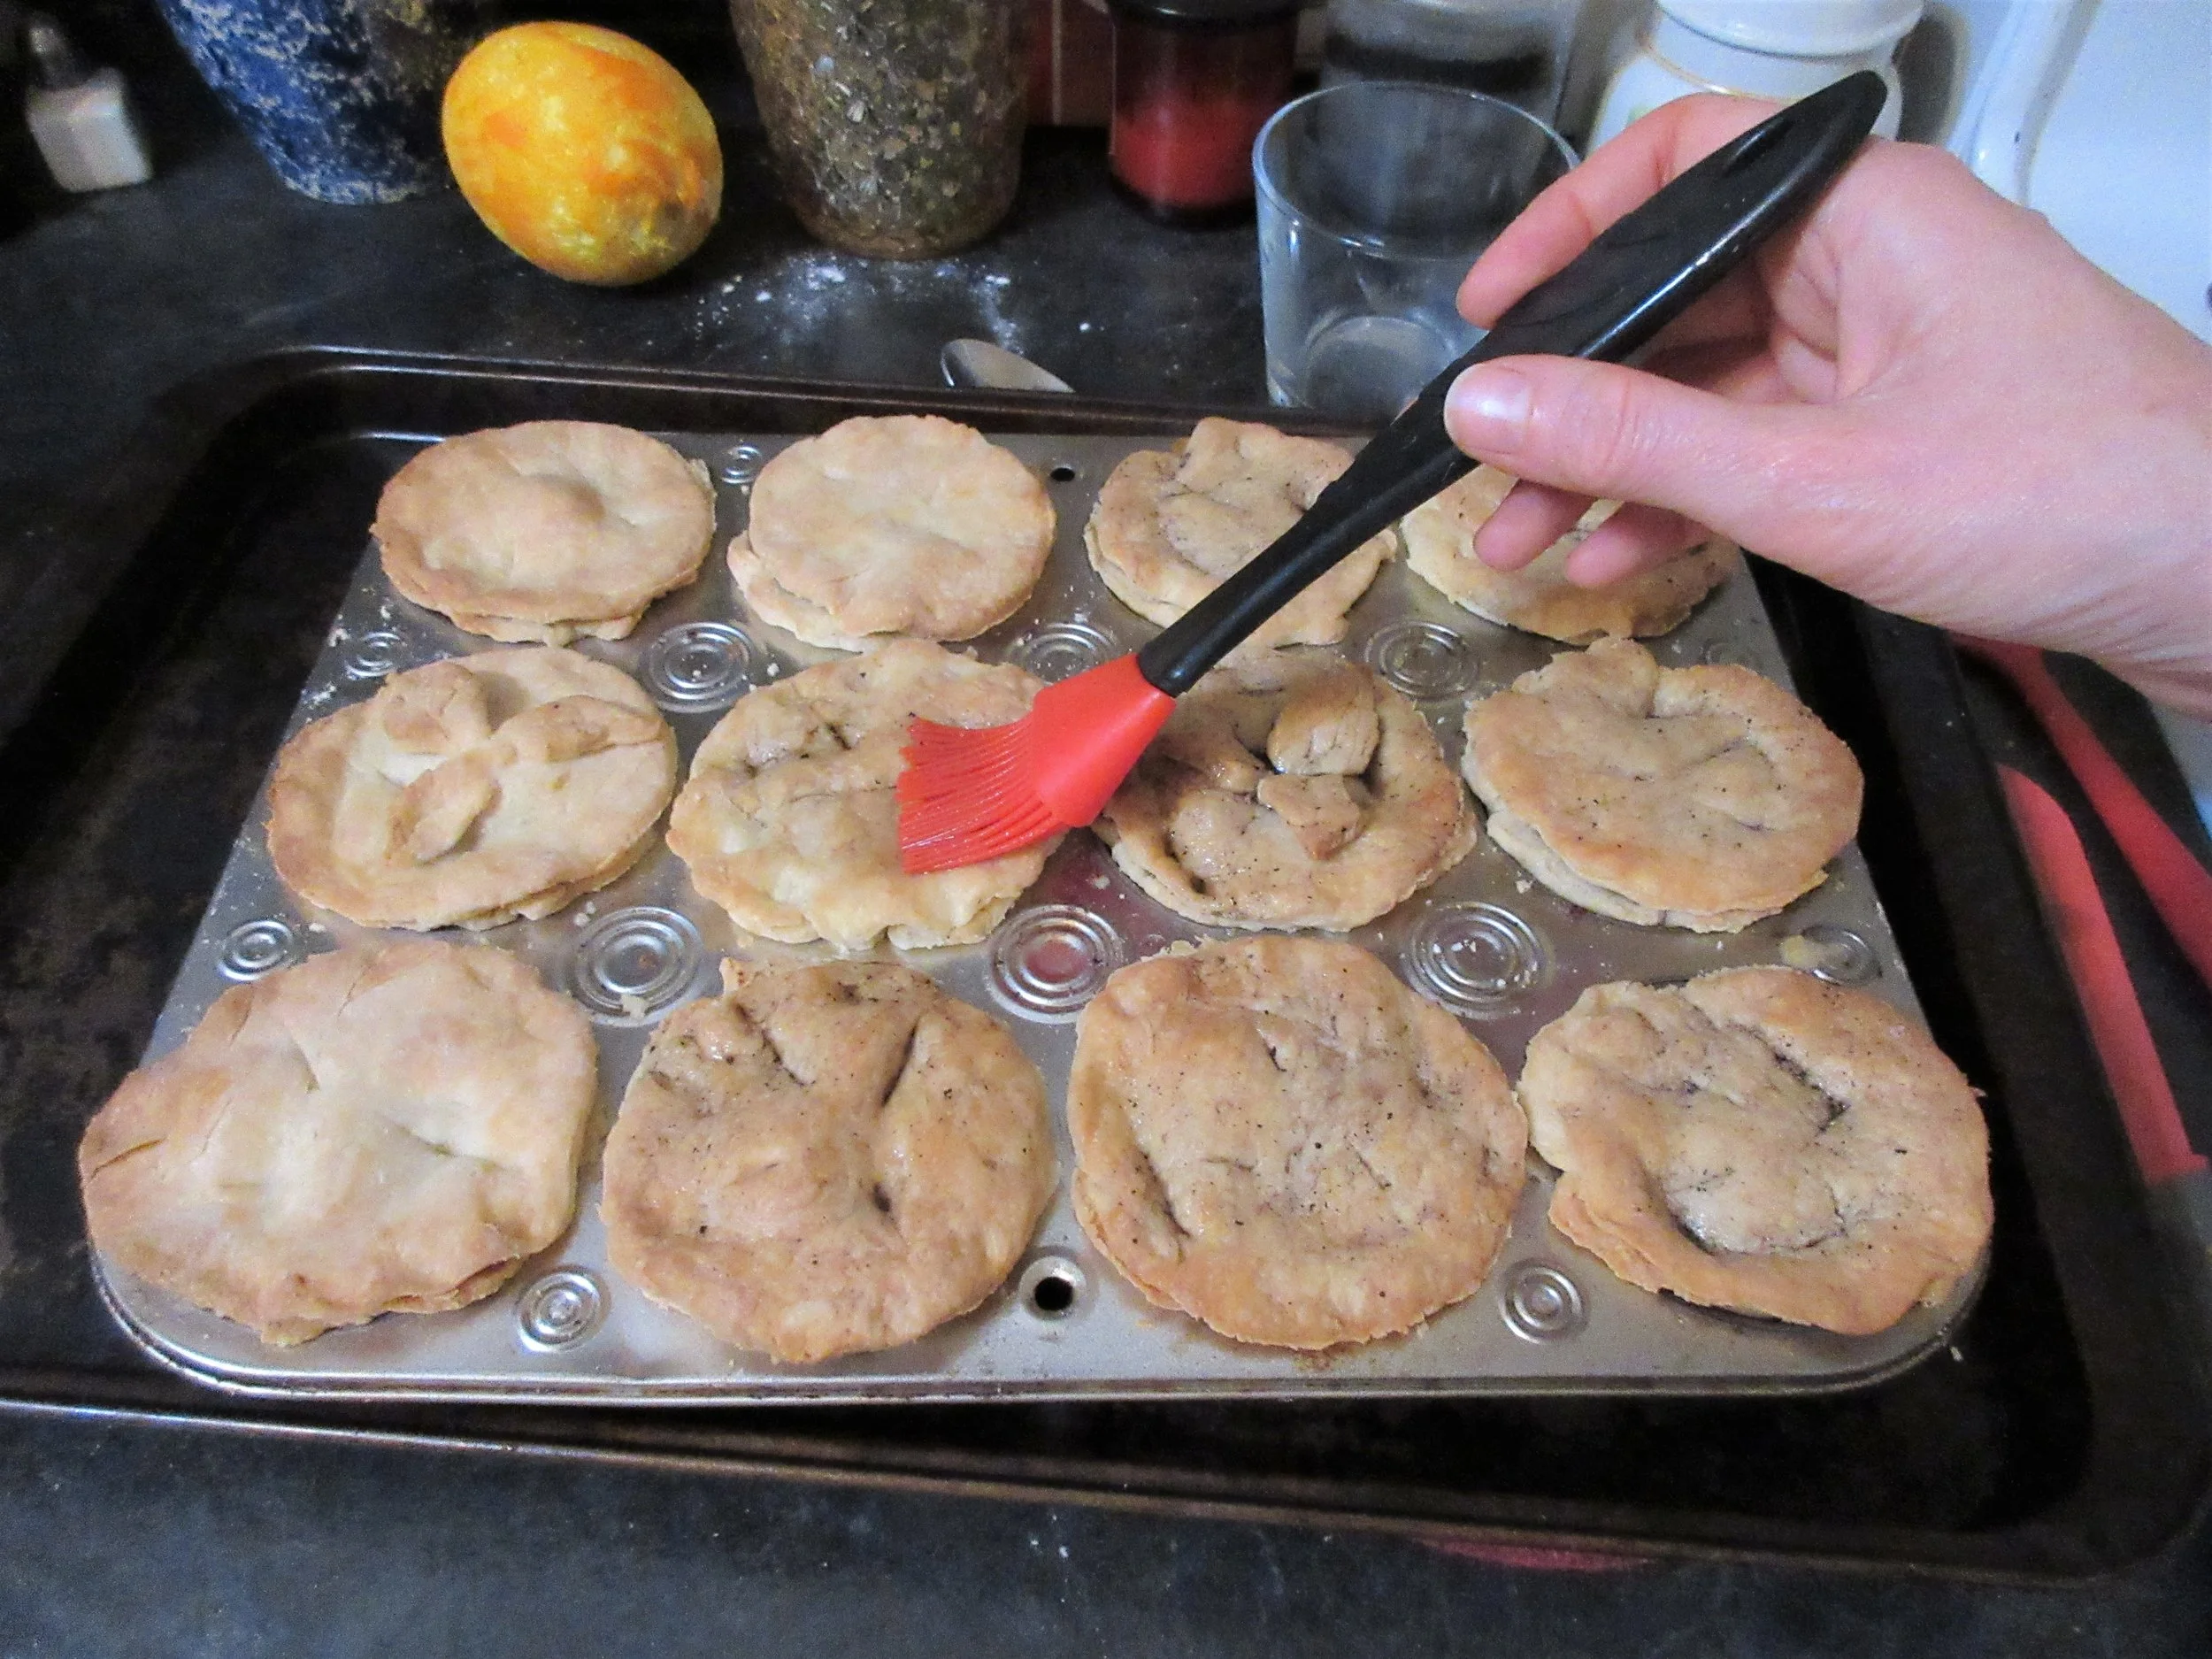
7. Add the tops to your tarts. You will need to detach the lids after the tarts are baked, so don’t attach the tops too firmly! I tapped around the outside with my fingers, then sliced in some air vents with a sharp knife. I had a bit of extra pastry dough, so I created some decorative pastry leaves on the top of some of the tarts (not mentioned in the historic recipe, but pretty).
8. Pop your tarts into your 400 F (205 C) oven. My tarts baked for roughly 25-30 minutes before they were golden on the top.
9. Once your tarts are baked and out of the oven, use a sharp knife to open the top of the tarts and add a teaspoon full of either lemon or orange juice. In a frying pan, simmer some butter until it becomes brown, brush it on the tops of the tarts and sprinkle the tarts with white sugar.

There is a backstory behind why I picked this recipe, besides the fact that every August I deal with a deluge of apples falling from the apple tree in my backyard.
I started this blog on March 31, 2018, and from that very first blog post I have been enthusiastically supported by Cooking in the Archives on twitter. You will find Cooking in the Archives (and Dr. Marissa Nicosia who is behind this food history blog) on both twitter and Instagram as @rare_cooking.
By enthusiastic support, I mean that @rare_cooking retweets every single food history blog recipe I’ve created since I started this blog. Considering that Cooking in the Archives has a much larger following than I do, I believe that Cooking in the Archives is one of the main drivers of new readers to my blog.
After this retweeting happened predictably for a while, the idea came to me: why not interpret a historic recipe that has already been interpreted by Dr. Nicosia?
I’ve mainly focused on recipes from published cookbooks on Cloud 9 Cookery, but Cooking in the Archives focuses on recipes found in handwritten manuscripts from the Early Modern Period, 1500-1800. I am quite comfortable working with recipes from the time period required by my museum life as a historic cook (early 1800s to 1860s), but part of the reason why I wanted to start this blog was to explore historic recipes from other time periods.
So in late July when the first apples started to fall from my tree, I did a search on Cooking in the Archives and found this delicious apple tart recipe. I sent Marissa a message to see if she was game, and she responded with an enthusiastic yes!
Before you read on, click on this link and look at what Dr. Nicosia did on the Cooking in the Archives blog when she made To make fine pippen Tarts in 2017.
In late July, I read the blog post and grabbed the manuscript scan and Dr. Nicosia’s transcription off her website. I waited a couple of weeks for the apples to really become prolific and made the tarts from the original instructions. Now that it’s done, I’ve gone back and looked at the Cooking in the Archives post.
Right off the bat, I will say that I certainly didn’t roll that pastry out “as thin as you can”. I thought that I did when I was making them, but I didn’t. The reason being, I made 12 tarts with a full pastry recipe, but 12 tarts were also made on Cooking in the Archives with a half pastry recipe! She also wrote that she had pastry dough leftover, and I only had enough extra pastry dough for a few decorative pastry leaves. Clearly I need to brush up on my pastry rolling skills.
I didn’t really enjoy my pastry, but Dr. Nicosia wrote that “The pastry was also delicious on its own. I’ll definitely be making it again when I come across recipes that simply request pastry, but don’t provide specifics. This one is delicious and as easy to make as my modern go-to.” I found my pastry to be tough, but perhaps it is more delightful if it is more delicate?
And lastly, I will say that I didn’t like the step at the end when you open up the top of the tart to spoon in some citrus juice. This step ruined the cohesiveness of the tarts and it meant that some of my tarts where split into 2 different pieces when they were being eaten. And that’s just strange. Why not just spoon the citrus juice into the tart shells at the same time as the apples, orange rind and sugar?
If you’re not familiar with Cooking in the Archives, go check out the website! If you enjoy my blog, you’ll enjoy what Dr. Nicosia is up to.
Read the Cookbook:

Apple Leather
If you have a look at all the recipes in the “Fruit” category on this blog, you’re going to notice that most of my fruit recipes feature apples. I just did the math, and as of today, we’re talking 62.5% of my fruit recipes. Here’s the reason why: when we moved into our current home in Hamilton, we didn’t realize that the giant tree in our backyard was in fact a very prolific old apple tree!
August is my unofficial Apple Month, when I try to keep as many apples out of the compost bin as possible. Do you want cooking apples next summer? Let me know if you do and they are yours! This Apple Leather recipe is from one of the Victorian cookbooks that I turn to again and again, Miss Leslie's Directions for Cookery from 1851.

You’ll find this recipe in:
Miss Leslie's Directions for Cookery
By: Eliza Leslie
Philadelphia, 1851
Historic Recipe:
PEACH LEATHER. - To six pounds of ripe peaches, (pared and quartered,) allow three pounds of the best brown sugar. Mix them together, and put them into a preserving kettle, with barely water enough to keep them from burning. Pound and mash them a while with a wooden beetle. Then boil and skim them for 3 hours or more, stirring them nearly all the time. When done, spread them thinly on large dishes, and set them in the sun for three or four days. Finish setting them in the oven after the bread is taken out, letting them remain till the oven is cold. Roll up the peach leather and put it away in a box.
Apple leather may be made in the same manner.


My Recipe:
2 cups apple chunks, cored and peeled – 225 g
¾ cup brown sugar – 110 g
½ cup water – 120 mL
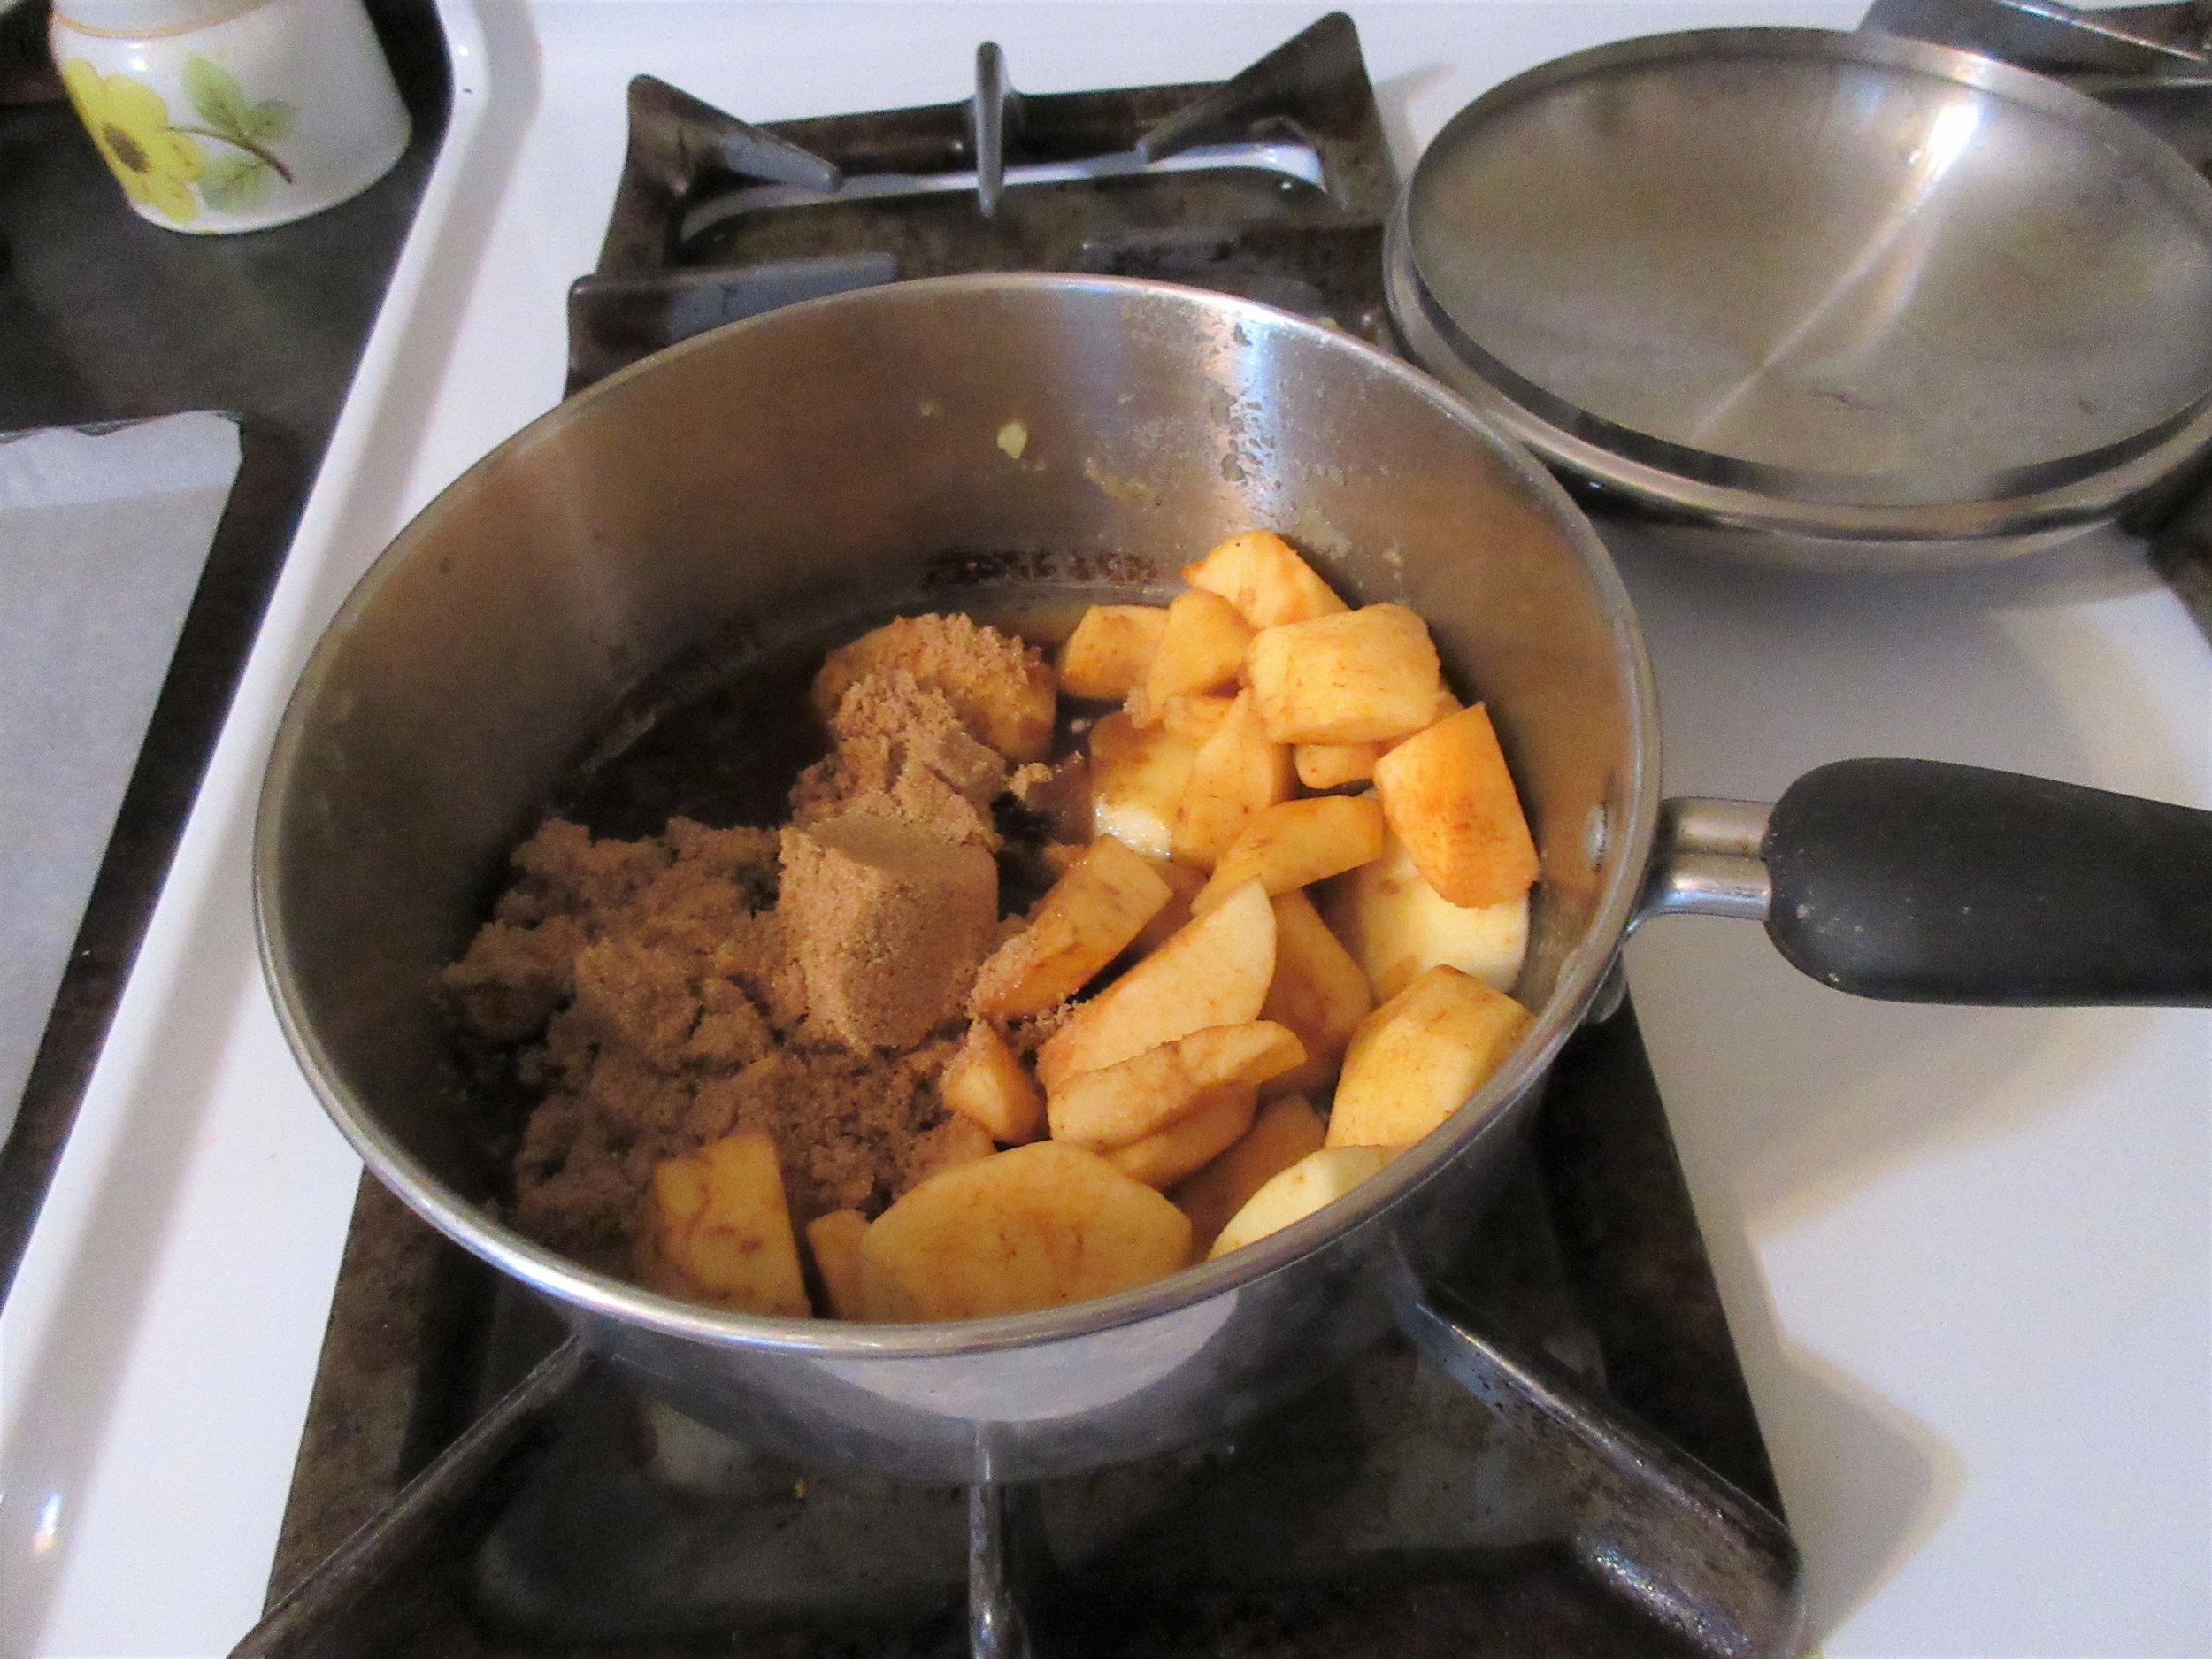
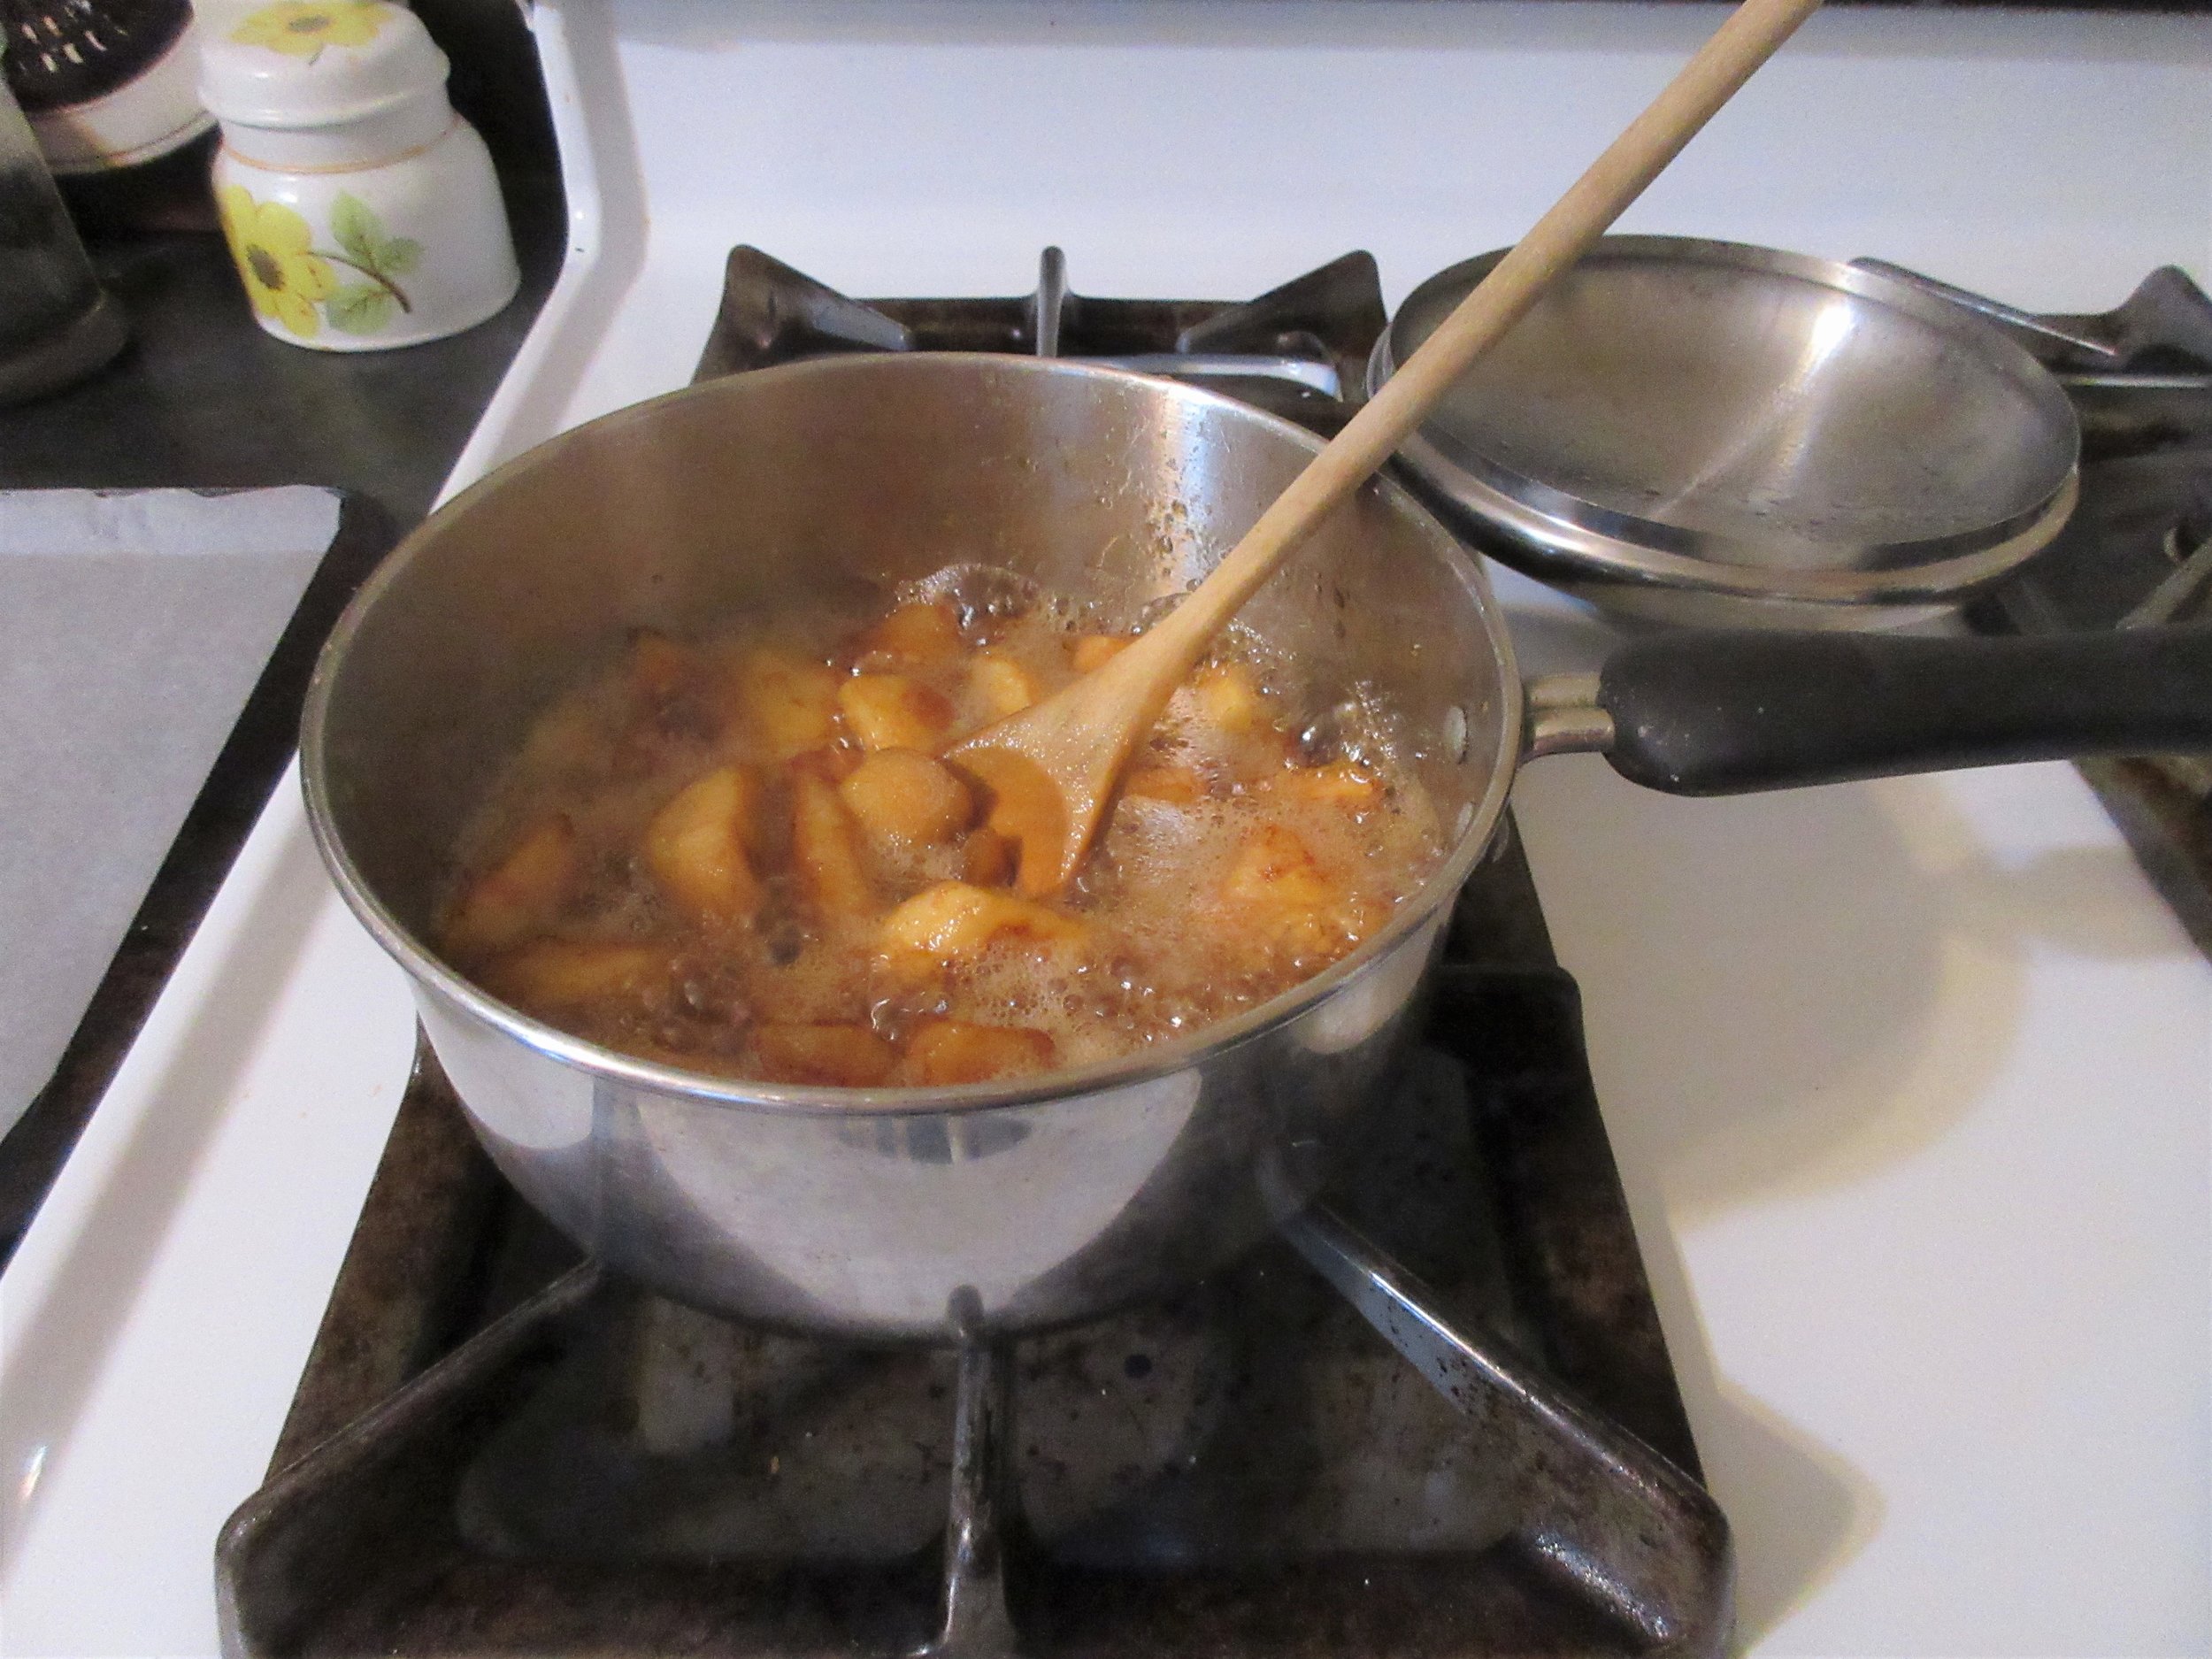
Put the apple chunks, brown sugar and water in a pot and simmer over medium low heat until the apples are mushy. In the meantime, cover a cookie sheet with parchment paper or prepare your dehydrator. Puree in a blender, then spread the mixture evenly (3 or 4 mm/1/8 inch thick) over the parchment paper or dehydrator sheets with a spatula.
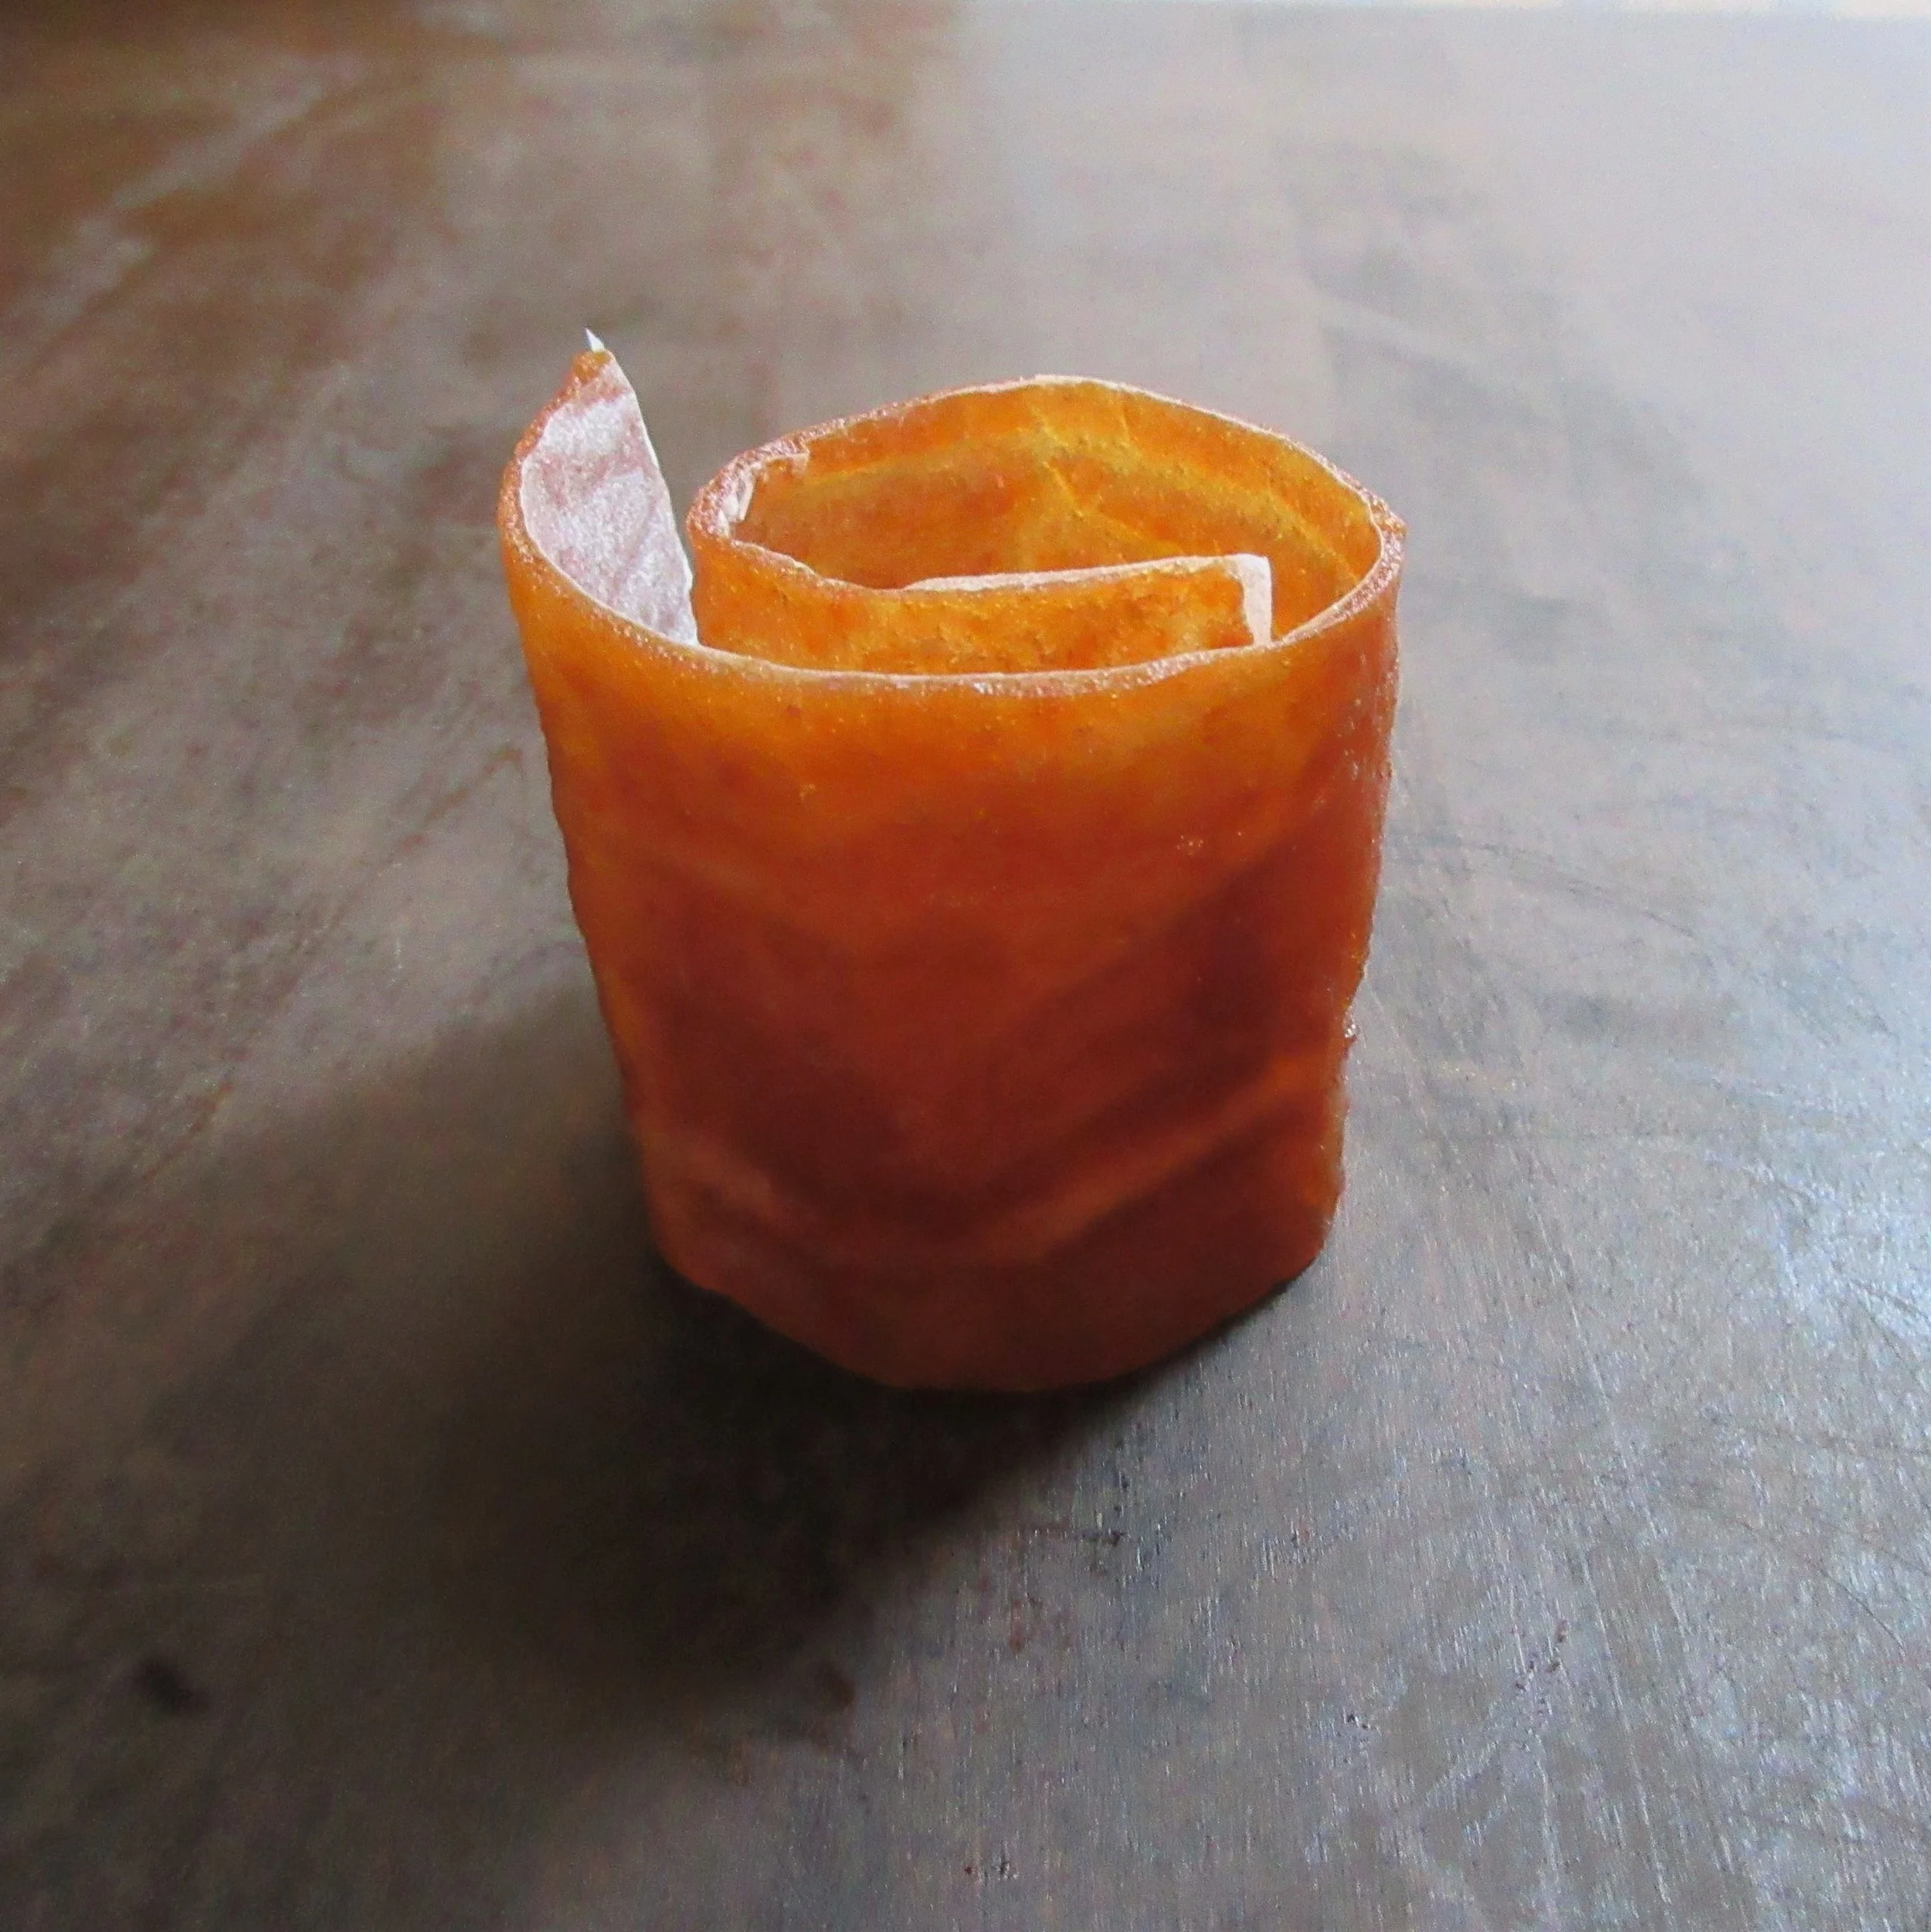
Pop the apple leather into your dehydrator or into your oven at a very low temperature. I dehydrated the apple leather in my oven at 220 F (93 C) for about 3 hours. It is finished when it is still slightly tacky when touched, but has structural integrity and doesn’t mush under your fingers.
You may want to make more apple leather than I did when I tested this recipe. I’ve never made a fruit leather before, so I decided to go small! 2 cups of apples mostly filled a small cookie sheet, although I definitely should have left it thicker in some areas. To help you gauge how much to make, contemporary recipes for fruit leather usually ask for 4 cups of apples to fill a large cookie sheet.


Right: a variety of wooden beetles, courtesy of Michigan State Universities Library
If you read the historic recipe and noticed that it instructs “Pound and mash them a while with a wooden beetle”, and you wondered why in the world anyone would mash apples with a wooden insect sculpture, let me show you what a beetle is. Have a look at the image above to see a selection of wooden beetles. A beetle would be used anytime I would grab a potato masher in my kitchen, and it’s just a sturdy wooden kitchen tool with a handle and a flat bottom. It’s perfect for mushing up soft ingredients.


If you have a look at all the recipes in the “Fruit” category on this blog, you’re going to notice that most of my fruit recipes feature apples. I just did the math, and as of today, we’re talking 62.5% of my fruit recipes. Here’s the reason why: when we moved into our current home in Hamilton, we didn’t realize that the giant tree in our backyard was in fact a very prolific old apple tree!
We have no idea what variety of apple we have, but it is by far the tallest apple tree I’ve ever seen. It’s an early apple that begins in late July and tapers off through the month of August. The apples are very sweet, but they are also very very dry so they are mandatory cooking apples. They are mostly green, small in size and as August goes on, some of the apples do develop a slight rosy blush, usually only on one side. Do you have a guess about the type of apple we’ve got? If you do, leave a comment!
August is my unofficial apple month and I’ve made up an Instagram hashtag so that I can see everything I’ve done with my apples over the years: #juliabattlesappletree. This year, I’ve made two huge batches of Apple Butter, To make fine pippen Tarts and this batch of Apple Leather. I’ve made Apple Cinnamon Oatmeal and eaten apples fried in butter with maple syrup drizzled on top. I’ve also “invented” Apple Smoothie Cubes, which is cooked apple puree, frozen in ice cube trays, that I’ll pop in my green smoothies.
The other morning when I was chopping up apples, I snapped a very cute photo of my cat Clementine supervising the proceedings, which of course I posted on Instagram. I honestly had no idea what I was going to do with the apples I was chopping, so I asked what people thought I should make!
There were some fantastic suggestions left in the comments: apple crisp, pickled apples, apple shortbread, apple pie, apple chutney, apple cake, steamed apple pudding, applesauce with peaches or nectarines...and apple leather. The last suggestion really appealed to me because I’ve never made a fruit leather before and also because Steve and I are leaving on a road trip on Wednesday and Apple Leather would make a perfect snack for the car.
I want to give a shoutout to the person who suggested Apple Leather, because I’m a big fan of what she’s up to on Instagram. Jaqu Edge, a.k.a. “Kiwi Nosh” is a food history enthusiast in New Zealand that I’ve been following for a while on Insta. She’s a big fan of anything sweet and usually bakes recipes from New Zealand community cookbooks. I love her cheeky and dry sense of humour, and I found that her pictures of her garden in full bloom were quite therapeutic to me last winter, which I found to be especially depressing! Check her out @kiwinosh.
Read the Cookbook:
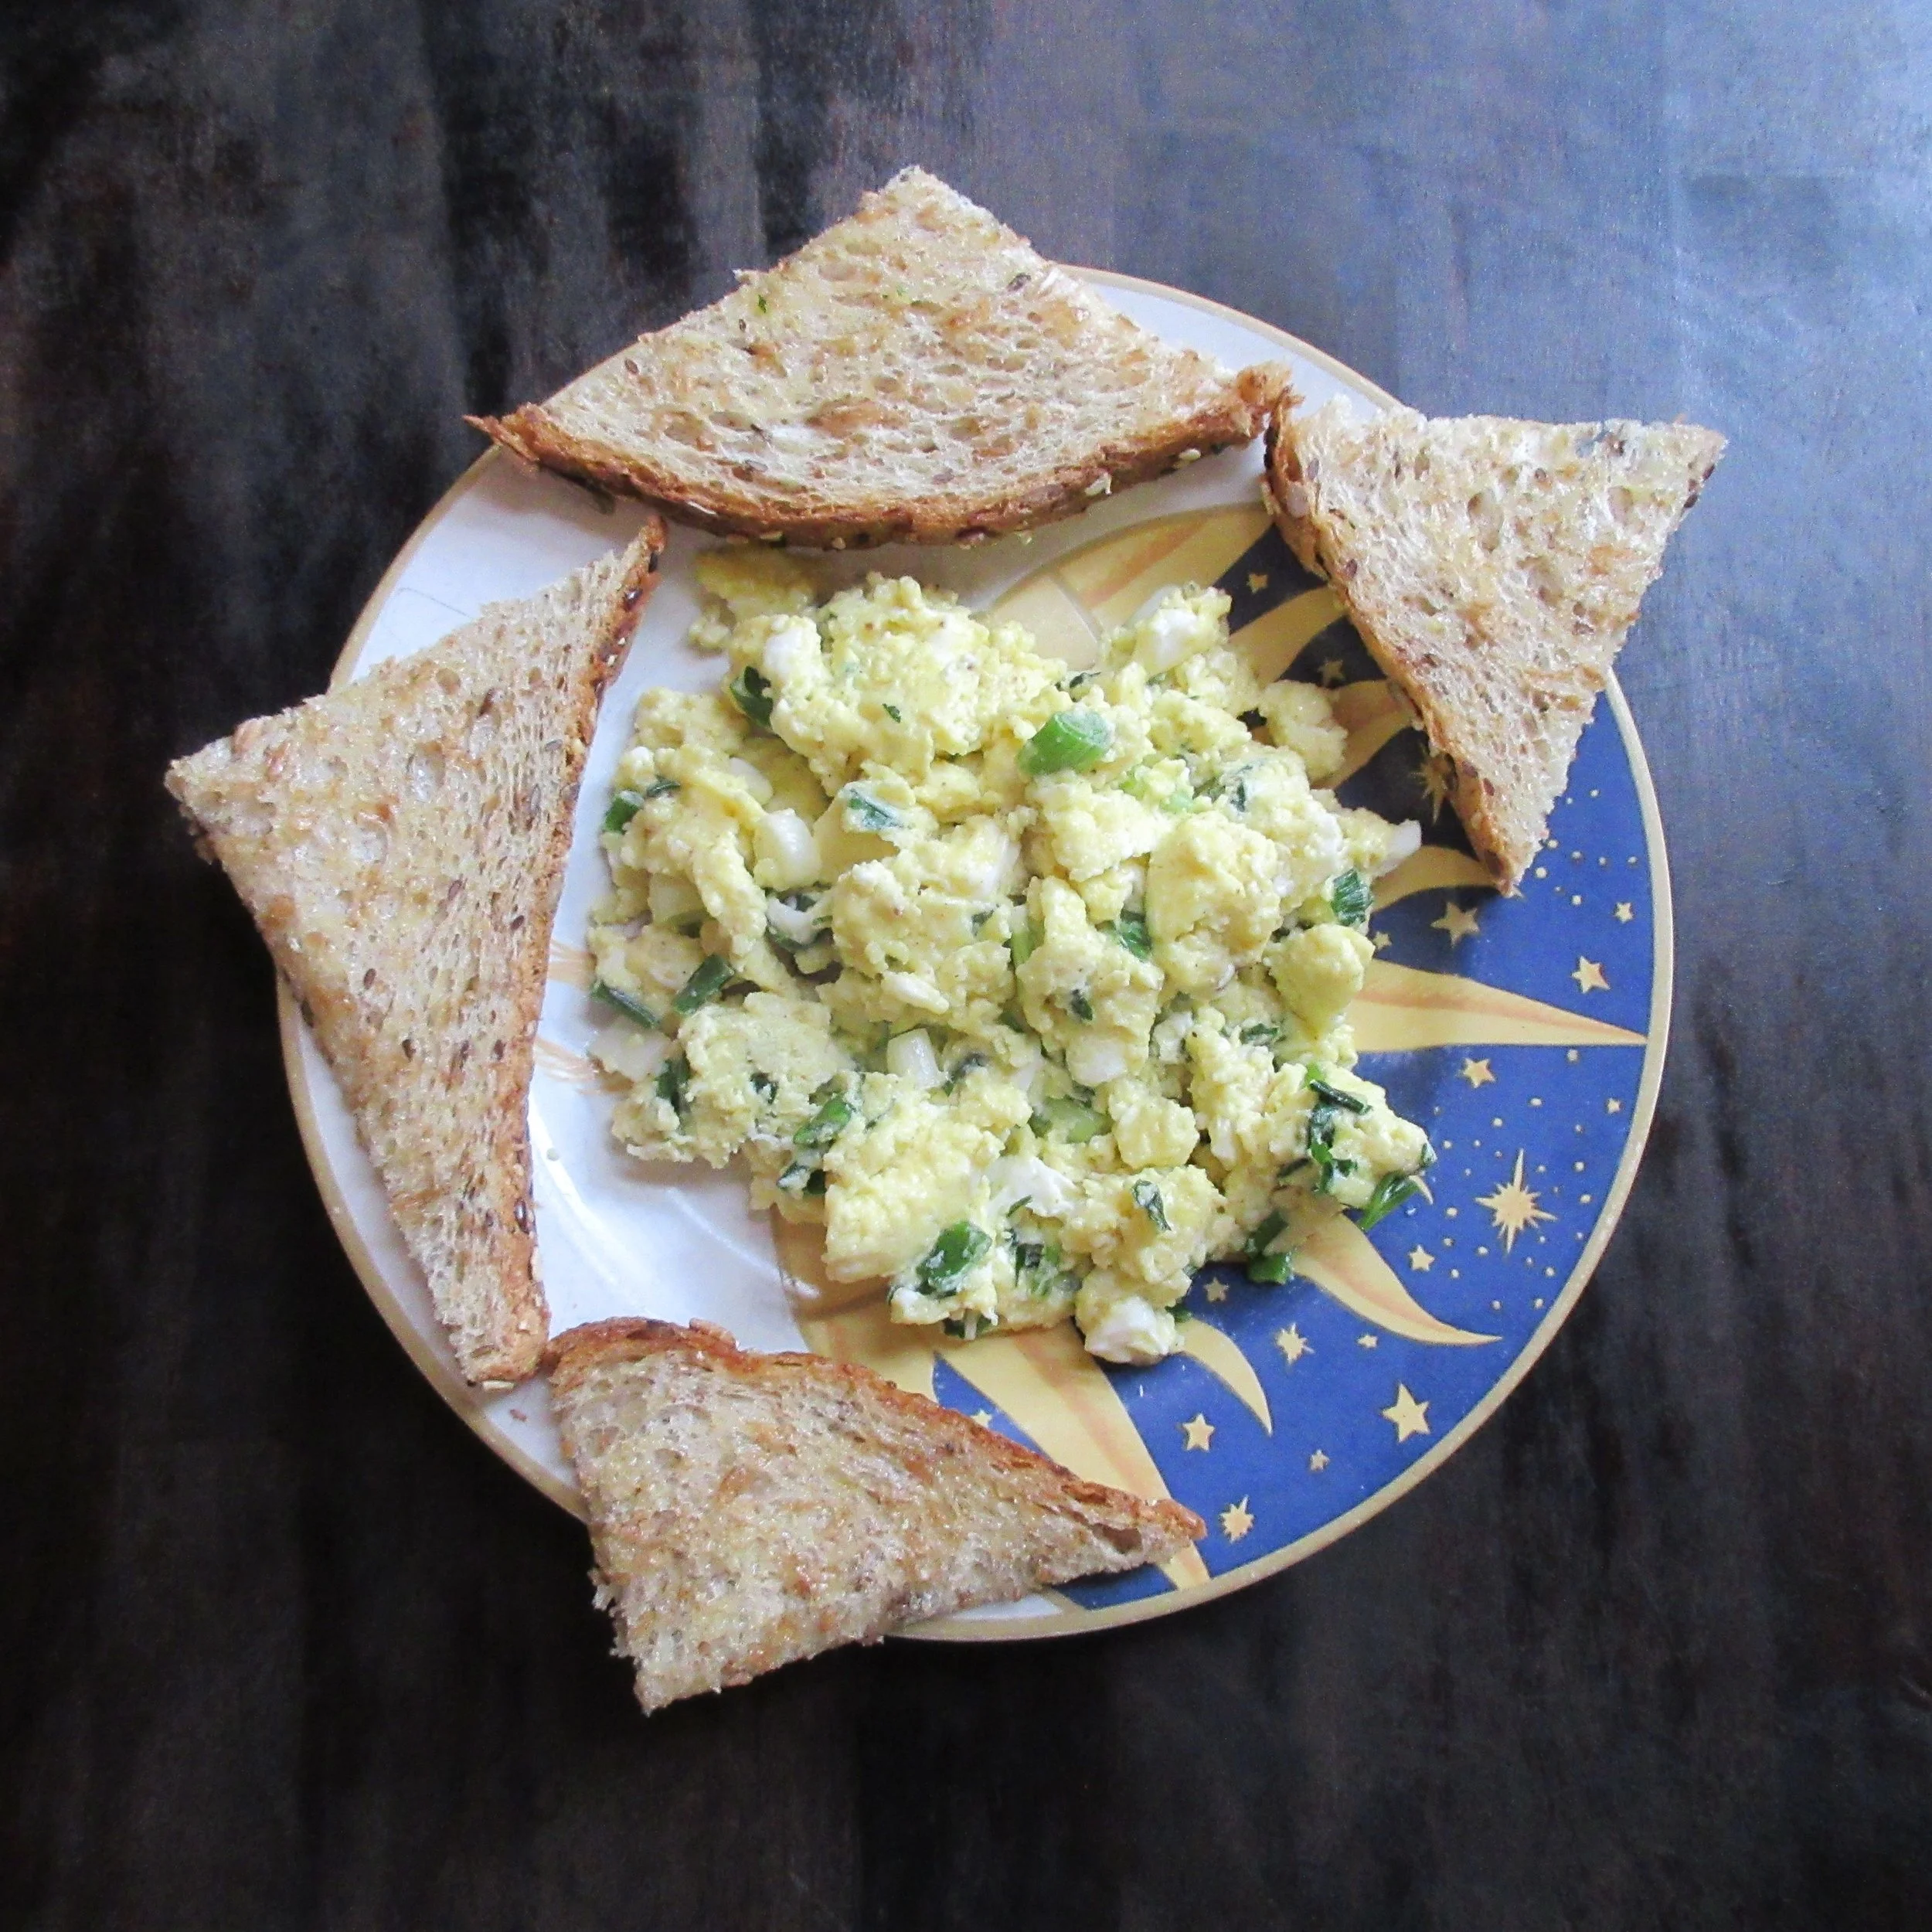
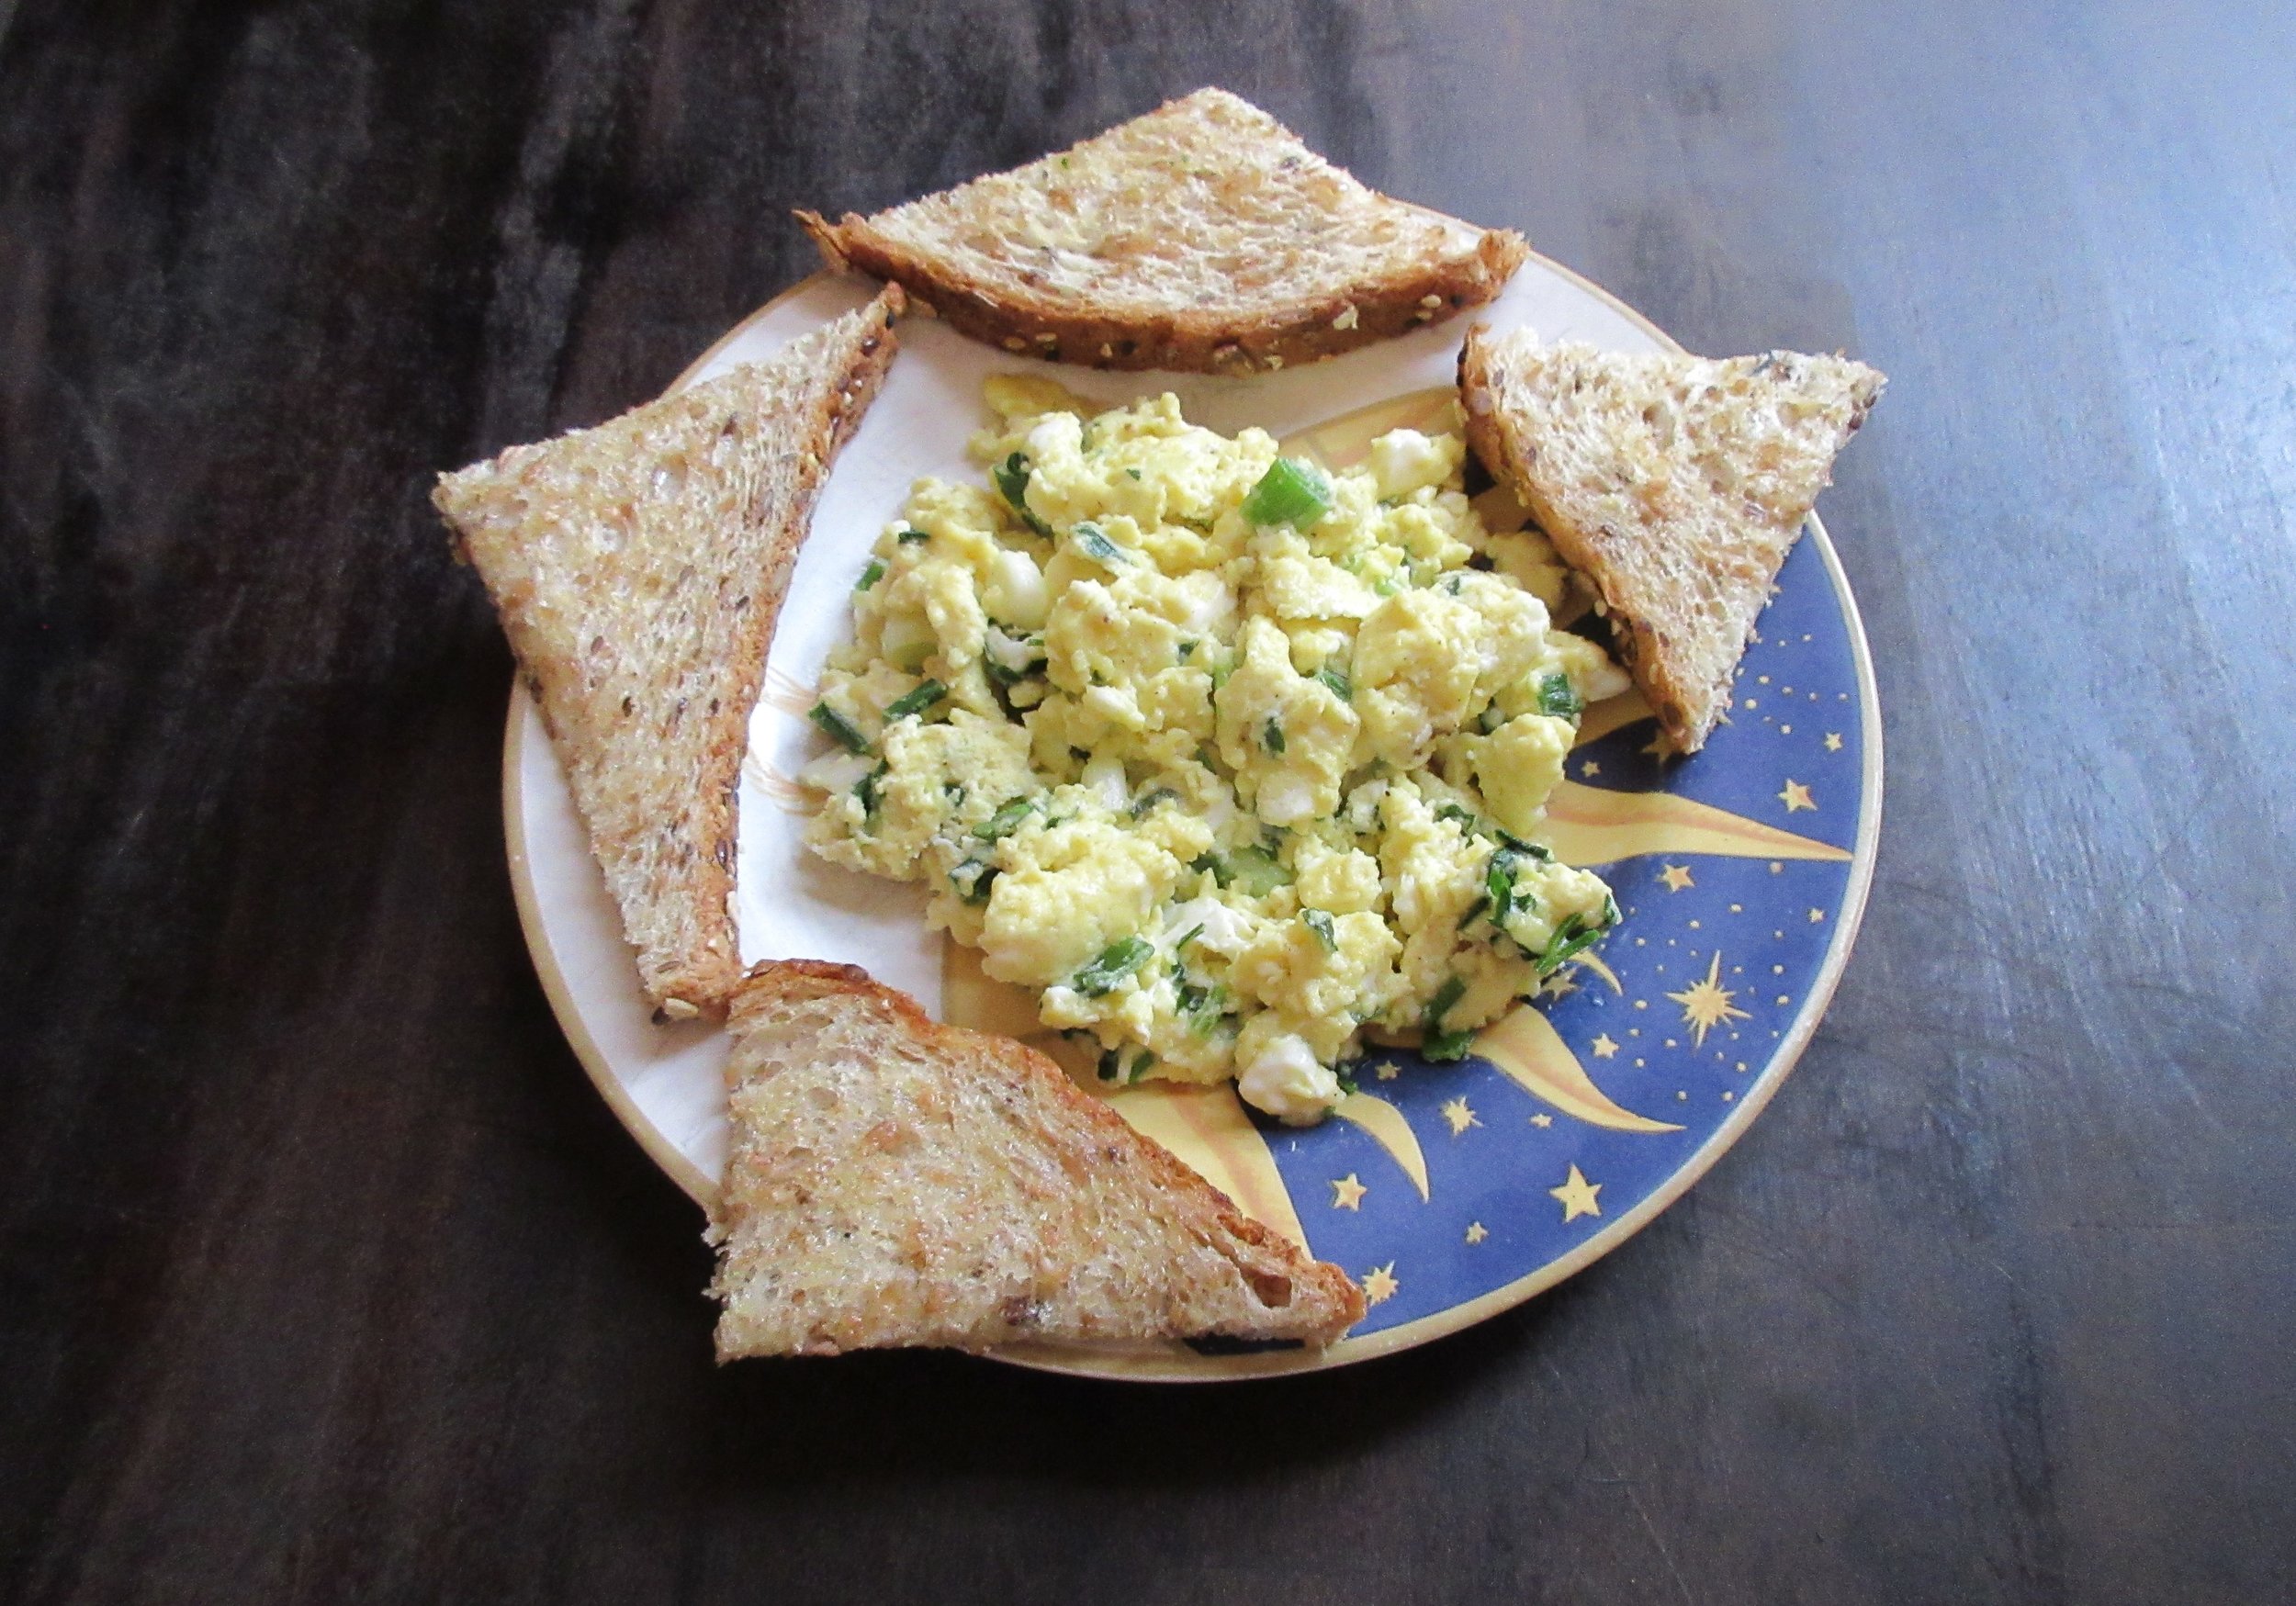
Oeufs au fromage
Oeufs au fromage (Eggs with Cheese) is probably the most delicious scrambled egg recipe I’ve ever made! The flavours of the Gruyere cheese, parsley, green onions, nutmeg and white wine combine beautifully and the recipe itself is simple to pull off. I found this recipe in the 1825 edition of La cuisinière bourgeoise, which was the first cookbook to be published in Canada and this is also my first bilingual post in both English and French.
Oeufs au fromage est probablement la plus délicieuse recette d’œufs brouillés que j’ai jamais préparée! Les saveurs du gruyère, du persil, des oignons verts, de la muscade et du vin blanc se marient à merveille et la recette est simple à réaliser. J'ai trouvé cette recette dans l'édition de 1825 de La cuisinière bourgeoise, le premier livre de recettes publié au Canada. C’est aussi mon premier poste bilingue en anglais et en français.
You’ll find this recipe in:
La cuisinière bourgeoise
Quebec City, 1825
Vous trouverez cette recette dans:
La cuisinière bourgeoise
Québec, 1825
Recette historique:
OEufs au fromage.
Mettez dans une casserole un quarteron de fromage de Gruyère râpé, gros, comme la moitié d'un oeuf, de beurre, persil, ciboule hachés, un peu de muscade, un demi-verre de vin blanc; faites bouillir à petit feu, en remuant jusqu'à ce que le fromage soit fondu, ensuite vous y mettrez six oeufs pour les brouiller et cuire à petit feu. Servez garni de mie de pain sur les bords du plat.
Historic Recipe:
Eggs with cheese.
In a saucepan, put a handful of coarsely grated Gruyere cheese, roughly the size of half an egg, some butter, parsley, chopped green onions, a little nutmeg, a half-glass of white wine; boil over a low fire, stirring until the cheese is melted, then add six eggs to be scrambled and cooked over a low fire. Serve garnished with bread on the edges of the plate.


My Recipe:
6 eggs
2 tbsp butter
1/4 cup grated Gruyere cheese – 20 g
1/4 cup chopped parsley
2 chopped green onions
1/4 tsp ground nutmeg
1/8 cup white wine – 30 mL
Crack the eggs into a bowl and whisk them together. Over medium-low heat, melt the butter in a frying pan, then add the grated Gruyere cheese, parsley, green onions, nutmeg and white wine. Stir until the cheese is melted, then add the eggs and stir until cooked.
Ma recette:
6 oeufs
2 c.à table de beurre
1/4 tasse de fromage Gruyère râpé – 20 g
1/4 tasse de persil haché
2 ciboules hachés
1/4 c. à thé de muscade
1/8 tasse du vin blanc – 30 ml
Casser les oeufs dans un bol et les fouetter ensemble. Faire fondre le beurre dans une poêle à feu moyen-doux, puis ajouter le gruyère râpé, le persil, les ciboules, la muscade et le vin blanc. Remuez jusqu’à ce que le fromage soit fondu, puis ajouter les oeufs et remuez jusqu’à cuisson complète.

Oeufs au fromage (Eggs with Cheese) is probably the most delicious scrambled egg recipe I’ve ever made! The flavours of the Gruyere cheese, parsley, green onions, nutmeg and white wine combine beautifully and the recipe itself is simple to pull off.
I found this recipe in the 1825 edition of La cuisinière bourgeoise, which was the first cookbook to be published in Canada. Sort of.
La cuisinière bourgeoise was first published in France in 1746 and was written by Menon, the pseudonym of an anonymous (but popular) cookbook author. This 1825 cookbook was the third edition of La cuisinière bourgeoise and it was written in and probably actually published in France, but the title page prominently states the name of Augustus Germain, a bookseller in Quebec City. As you can see, there’s a big grey area when it comes to the designation of The First Cookbook Published in Canada, but La cuisinière bourgeoise is the first cookbook that comes close to qualifying!
***A big thank you goes out to my friend Julie Grenier and translation software for helping me to clean up my rusty French.

Oeufs au fromage est probablement la plus délicieuse recette d’œufs brouillés que j’ai jamais préparée! Les saveurs du gruyère, du persil, des oignons verts, de la muscade et du vin blanc se marient à merveille et la recette est simple à réaliser.
J'ai trouvé cette recette dans l'édition de 1825 de La cuisinière bourgeoise, le premier livre de recettes publié au Canada. En quelque sorte.
La cuisinière bourgeoise a été publiée pour la première fois en France en 1746 et a été écrite par Menon, le pseudonyme d'un auteur populaire et anonyme de livre de cuisine. La cuisinière bourgeoise de 1825 a été la troisième édition et a été écrite et probablement effectivement publiée en France, mais la page du titre indique bien le nom d'Augustus Germain, libraire à Québec. Comme vous pouvez le voir, il y a une grande zone grise en ce qui concerne la désignation du premier livre de recettes publié au Canada, mais La cuisinière bourgeoise est le premier livre de cuisine qui se rapproche de la qualification!
*** Un grand merci à mon amie Julie Grenier et le logiciel de traduction pour m’aider à nettoyer mon français rouillé.
Read the Cookbook/ Lisez le livre de cuisine:
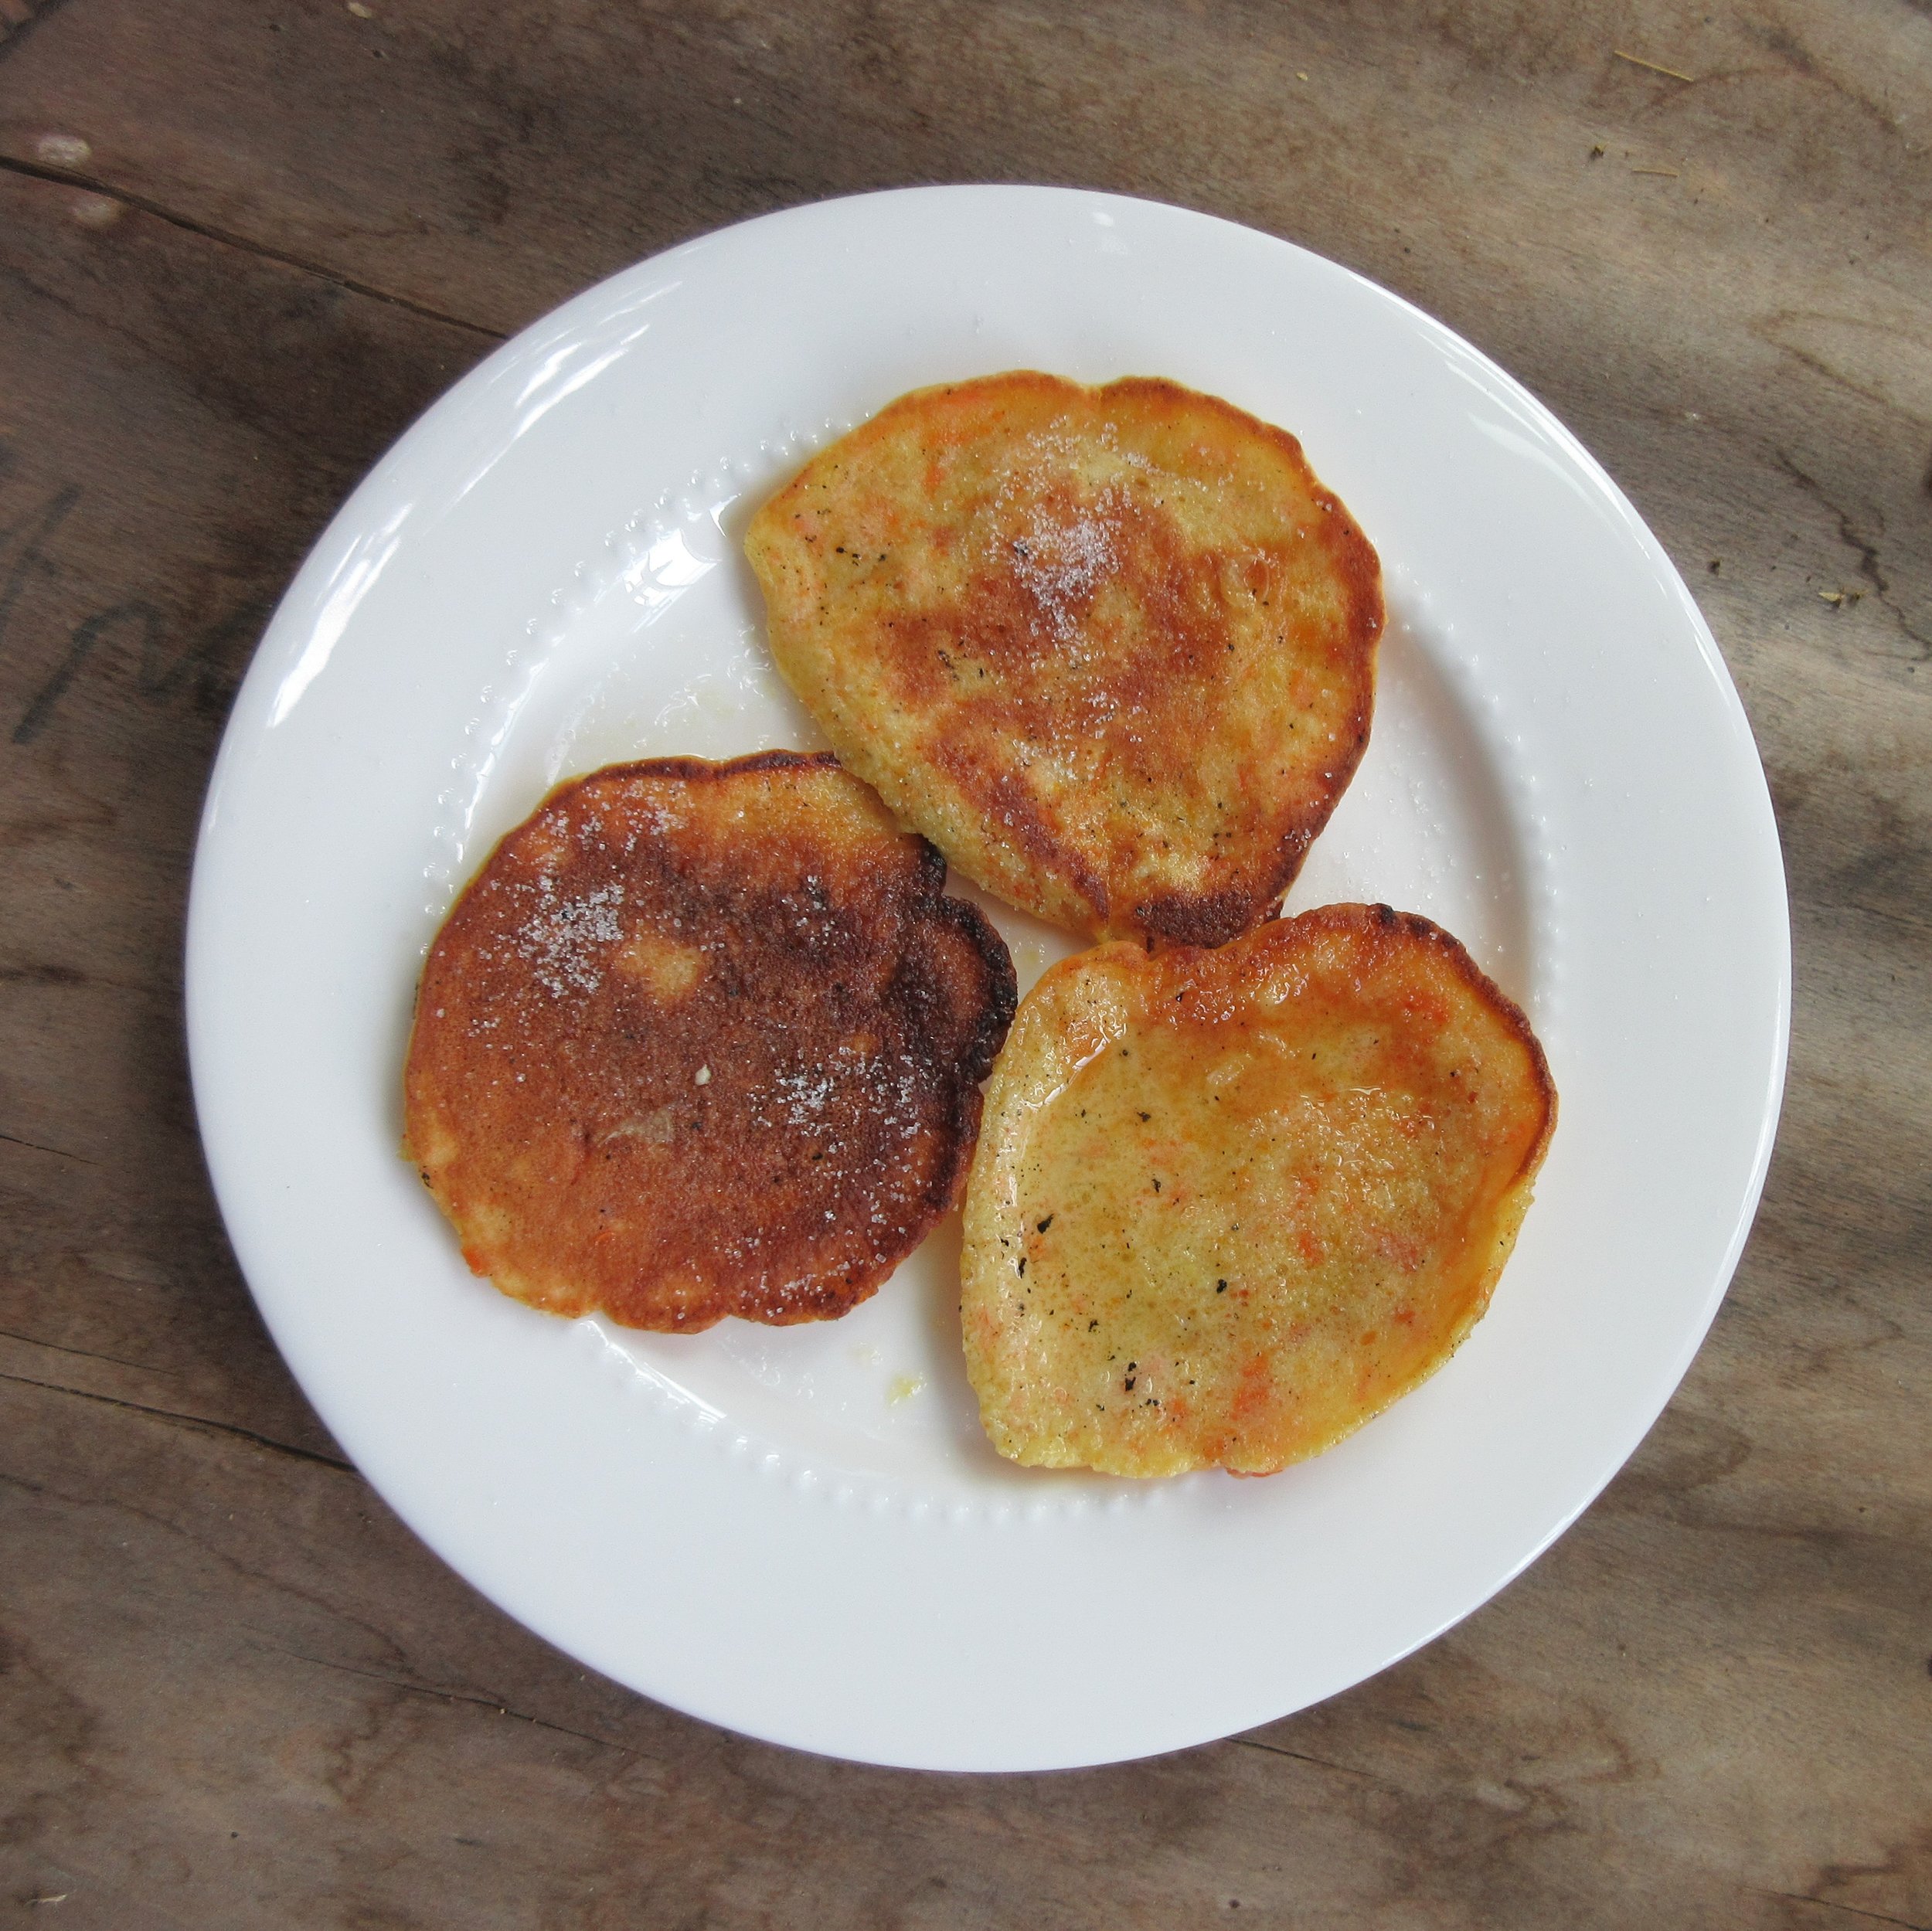
Carrot Fritters
Carrot Fritters are very delicious, but they taste like oranges, not carrots. I think sneaky parents of picky eaters could puree the carrots very smoothly, call them Orange Pancakes and use this recipe to get some vegetables into their kids.
I made this recipe from the 1787 The Lady’s Assistant for Regulating and Supplying the Table at a recipe testing day at Nelles Manor Museum in Grimsby, Ontario. I’ll be teaching 3 open hearth cooking classes on July 28 & 30 at Nelles Manor and as of today, there are still tickets available for all three classes. Contact Nelles Manor at info@nellesmanor.ca or 289 – 235 – 7755 to reserve your spots

You’ll find this recipe in:
The Lady’s Assistant for Regulating and Supplying the Table
By: Mrs. Charlotte Mason
London, 1787
Original Recipe:
Carrot Fritters.
TAKE two or three boiled carrots, beat them with a ſpoon till they are a ſmooth pulp; put to every carrot two or three eggs, a little nutmeg, to three carrots put a handful of flour; wet them with cream, milk or ſack; add to them as much ſugar as will ſweeten them; beat them well half an hour, and fry them in boiling lard; ſqueeze over them a Seville orange, and ſhake some fine ſugar over them.


My Recipe:
2 carrots
5 eggs
½ tsp nutmeg
½ cup white sugar – 60 g
½ cup milk – or cream, or sack (sherry) – 120 mL
¾ cup flour – 110 g
Butter or oil
1 orange (or orange juice)
white sugar (for sprinkling on top of the fritters)
1) Peel and chop the carrots and boil in a pot of water until very soft. Mash them in a bowl once they are cool.
2) Add the eggs, nutmeg and white sugar to the carrots. Next add your liquid (milk, cream or sack/sherry) and the flour. Whisk everything together. Juice the orange if you’re using fresh juice instead of purchased orange juice.
3) Fry the fritters in a frying pan in butter or oil. Once they’re fried on both sides, remove to a plate, spoon some orange juice on top and sprinkle the fritters with sugar.

Carrot Fritters are very delicious, but they taste like oranges, not carrots. I think sneaky parents of picky eaters could puree the carrots very smoothly, call them Orange Pancakes and use this recipe to get some vegetables into their kids.
If you’re a regular reader of my blog, you may have noticed a change in location from the kitchen in my house. I was lucky enough to spend a day preparing food at Nelles Manor Museum in Grimsby, Ontario and these Carrot Fritters were extra delicious because they were fried with a wood fire in the museum’s 230-year old open hearth!
I taught 4 sold-out open hearth cooking classes at Nelles Manor last autumn, and I’ll be teaching 3 more cooking classes on July 28 & 30. As of today, there are still tickets available for all three classes. Contact Nelles Manor at info@nellesmanor.ca or 289 – 235 – 7755 to reserve your spots.
This time around, we’ll be preparing recipes from the 1780s & 1790s (when Nelles Manor was a newly-built home) and we’ll be taking full advantage of the fresh garden produce that’s seasonally available to us Canadians in late July.
Nelles Manor has also acquired some new cooking implements, so we’ll be roasting chicken breasts in a reflector oven in front of the fire. I’ve also wanted a cast iron Salamander for a while, so I’m hoping to use these classes as an excuse to treat myself to one! If I do get one, expect a beautifully seared buttered breadcrumb topping on the chicken dish we’ll be preparing.
Of course, the day that I picked to come to Nelles Manor was 31 C, which felt like 38 C (100 F) with the humidity. So you can imagine that it was not an ideal day to be standing next to a fire. I brought a lot of water, but there’s a wall of screen doors next to the historic kitchen and we placed a fan strategically to suck the hot air out of the room. It was warm and I drank all the water I brought, but the air flow made the kitchen an alright place to be. Not bad for a worse-case-scenario hot day!


On this recipe testing day, I roasted the chicken breasts and prepared the chicken dish that we’ll be making at the classes (these recipes will be a blog post after the classes happen). I also wanted to settle how we’d be frying Strawberry Fritters at the classes, so I selected this similar Carrot Fritter recipe and I tried out the two methods that you see in the pictures.
The first method is to shovel hot coals under a trivet or stand and set a frying pan on top of the trivet. Frying method #2 is to hang a frying pan from the crane in the open hearth and fry the fritters directly over the fire. The hanging frying pan at Nelles Manor isn’t quite in cooking condition, so I used it as a handle and nestled one of my frying pans inside. I found the best results came from the trivet and hot coals, so that’s what we’ll be doing at the class.

It’s easy to quickly adjust the temperature for any cooking implement hanging off an open hearth crane in two ways: you can swing the crane back and forth, further away or closer to the fire. The second way to adjust temperature is to move the pot or pan up and down using hooks of different lengths.
In this picture, you’ll see a variety of hooks that can be used to make the pan hotter or cooler. I picked up the hooks that the frying pans are hanging from at Fort George in Niagara-on-the-Lake. I wasn’t sure how I was going to use these handmade hooks when I bought them, but most of the time I hang my frying pans off them in my kitchen and they’ve come in very handy when I teach open hearth cooking!

I had to replenish the hot coals once while I was frying my fritters, but frying fritters on a trivet (or stand) & hot coals had a much more even temperature than the other method. To do this, you temporarily move the burning wood aside in your fire and use a shovel to create a pile of hot coals. Place the trivet and frying pan on top of the pile, and Bob’s your Uncle! Then take a moment to remake your fire by pushing the wood back together and adding one or two new pieces of wood. As you can see, the trivet at Nelles Manor also has a handy support to hold the frying pan handle!
Read the Cookbook:
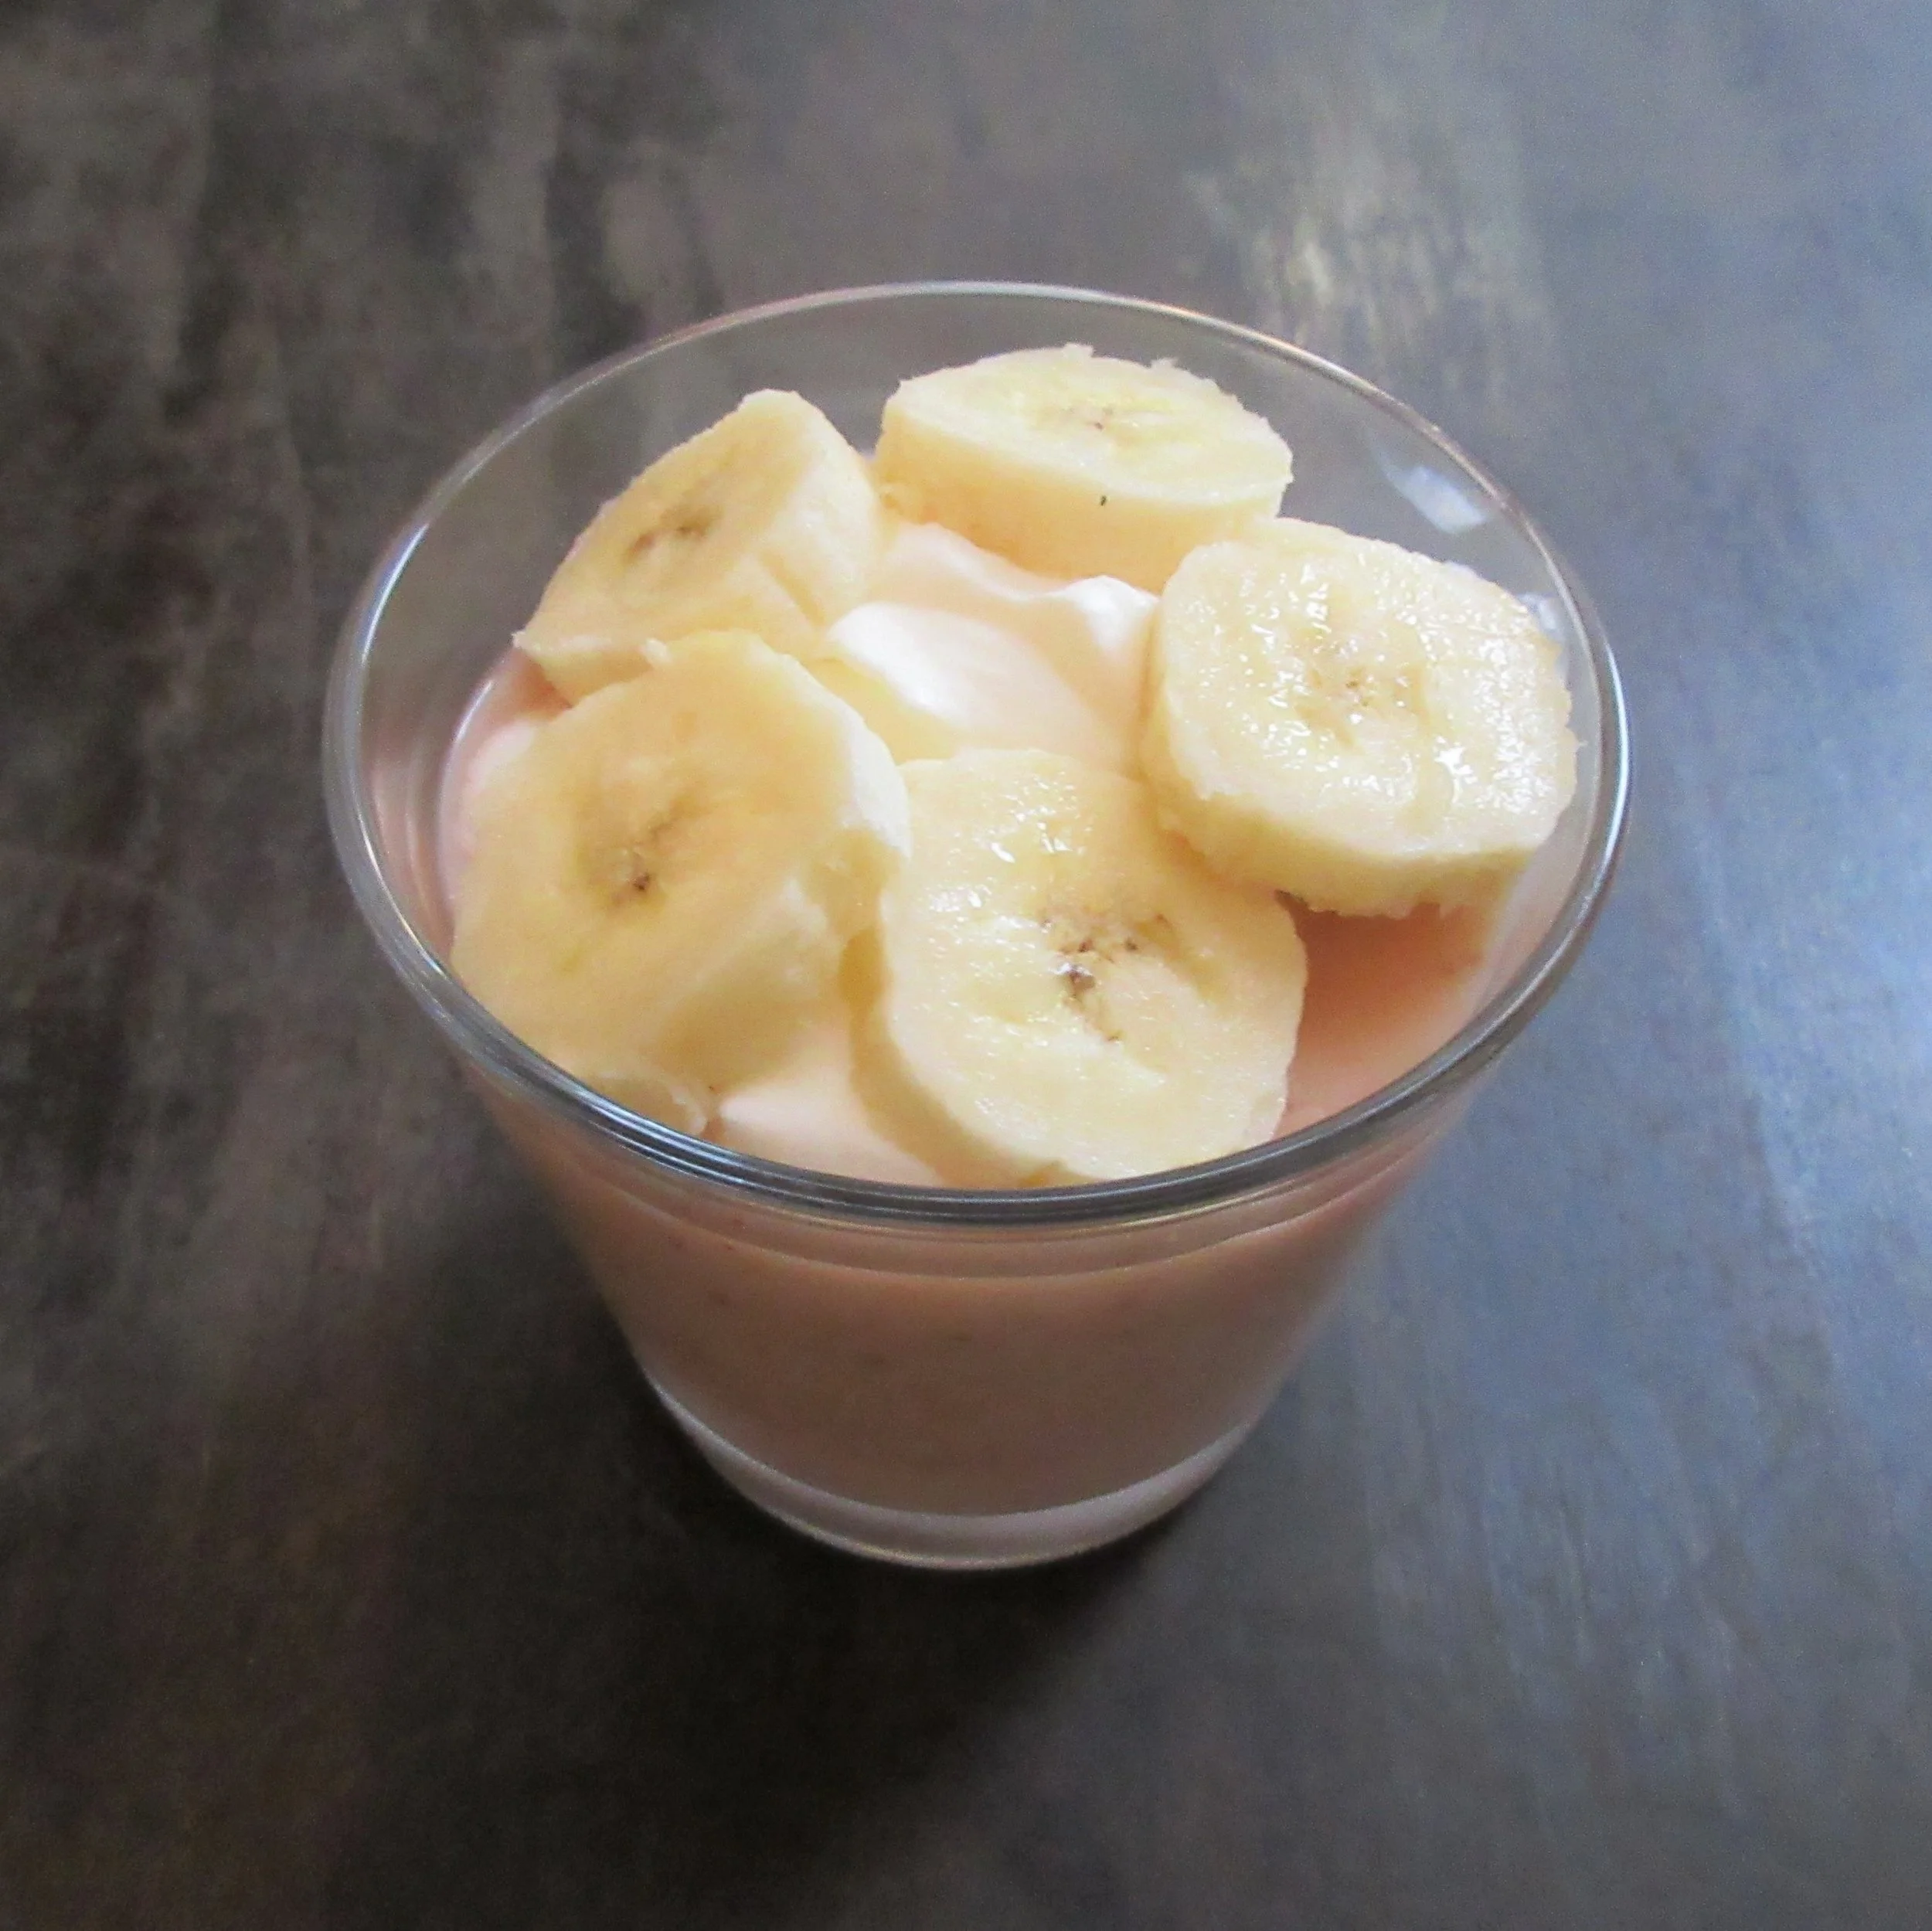
Rhubarb and Banana Fool
One evening recently, I found myself driving home from visiting my Mom with a small harvest of fresh rhubarb from her garden in the passenger seat. Basically as soon as I set foot in my door, I searched for a historic rhubarb recipe that wasn’t Rhubarb Jam, Stewed Rhubarb or Rhubarb Pie (the things I do for fun!). Rhubarb and Banana Fool, from the 1900 cookbook Mrs. Beeton’s Cold Sweets, was the most intriguing to me.
A good description of this recipe in today’s terms would be a low-sugar banana and rhubarb smoothie, with a suggested whipped cream topping. Discovering the Rhubarb and Banana Fool recipe made me wonder: “When did people start eating bananas in North America?”, so I delve into answering that question by having a look at American and Canadian cookbooks and the establishment of the Boston Fruit Company. You’ll also find a bit of bonus info about Cochineal, an insect used as a red dye.

You’ll find this recipe in:
Mrs. Beeton’s Cold Sweets
London, 1900
Stewed Rhubarb - Original Recipe:
One of the ingredients in Rhubarb and Banana Fool is stewed rhubarb. If you don’t already have stewed rhubarb, here’s a recipe from the same cookbook:
STEWED FRUIT.
To 1 lb. Of fruit allow 4 oz. of sugar and ½ a pint of water. Sufficient for 3 or 4 persons.
Apples and pears intended for stewing should be peeled, quartered and cored. Gooseberries should have the tops and tails cut off; rhubarb is usually sliced, and if at all old the stringy outer skin is stripped off. Other fruit, such as cherries and plums, should have the stalks removed, but the stones may be taken out or not, as preferred. Bring the water and sugar to the boil, add the fruit, and stew very gently until tender. Or, place the fruit, water and sugar in a jar, stand the jar in a saucepan of boiling water, and cook until tender.
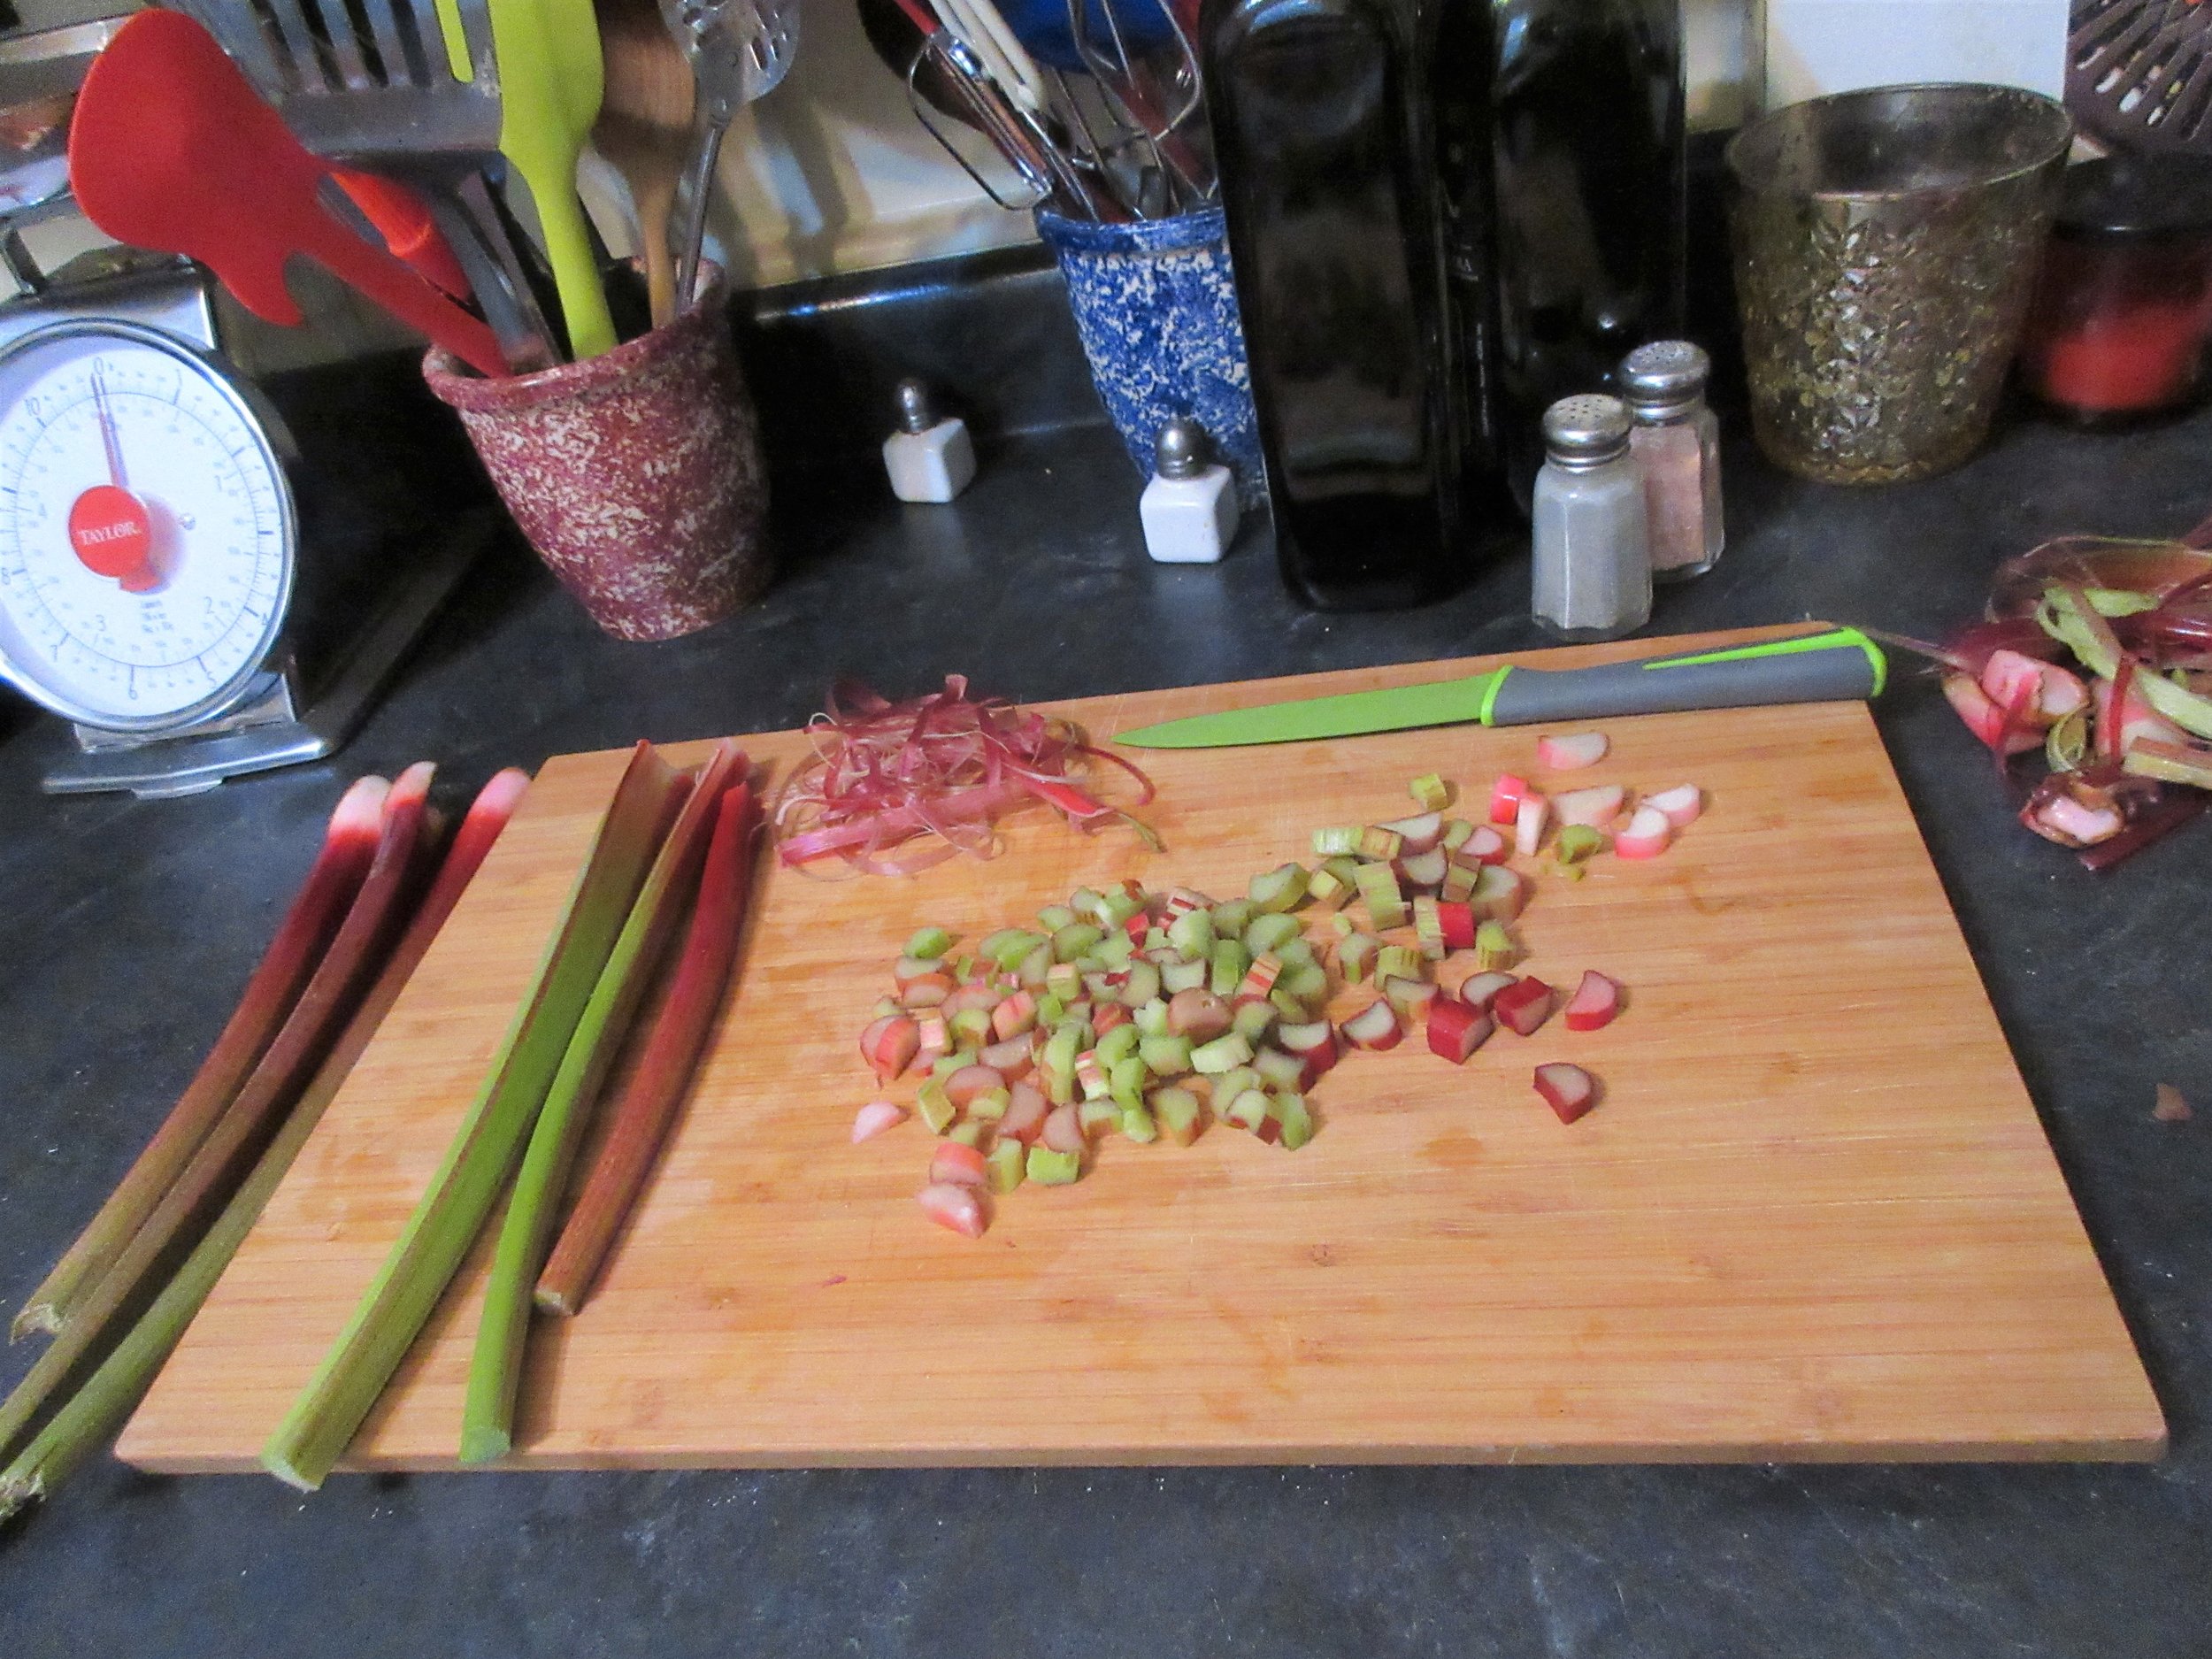
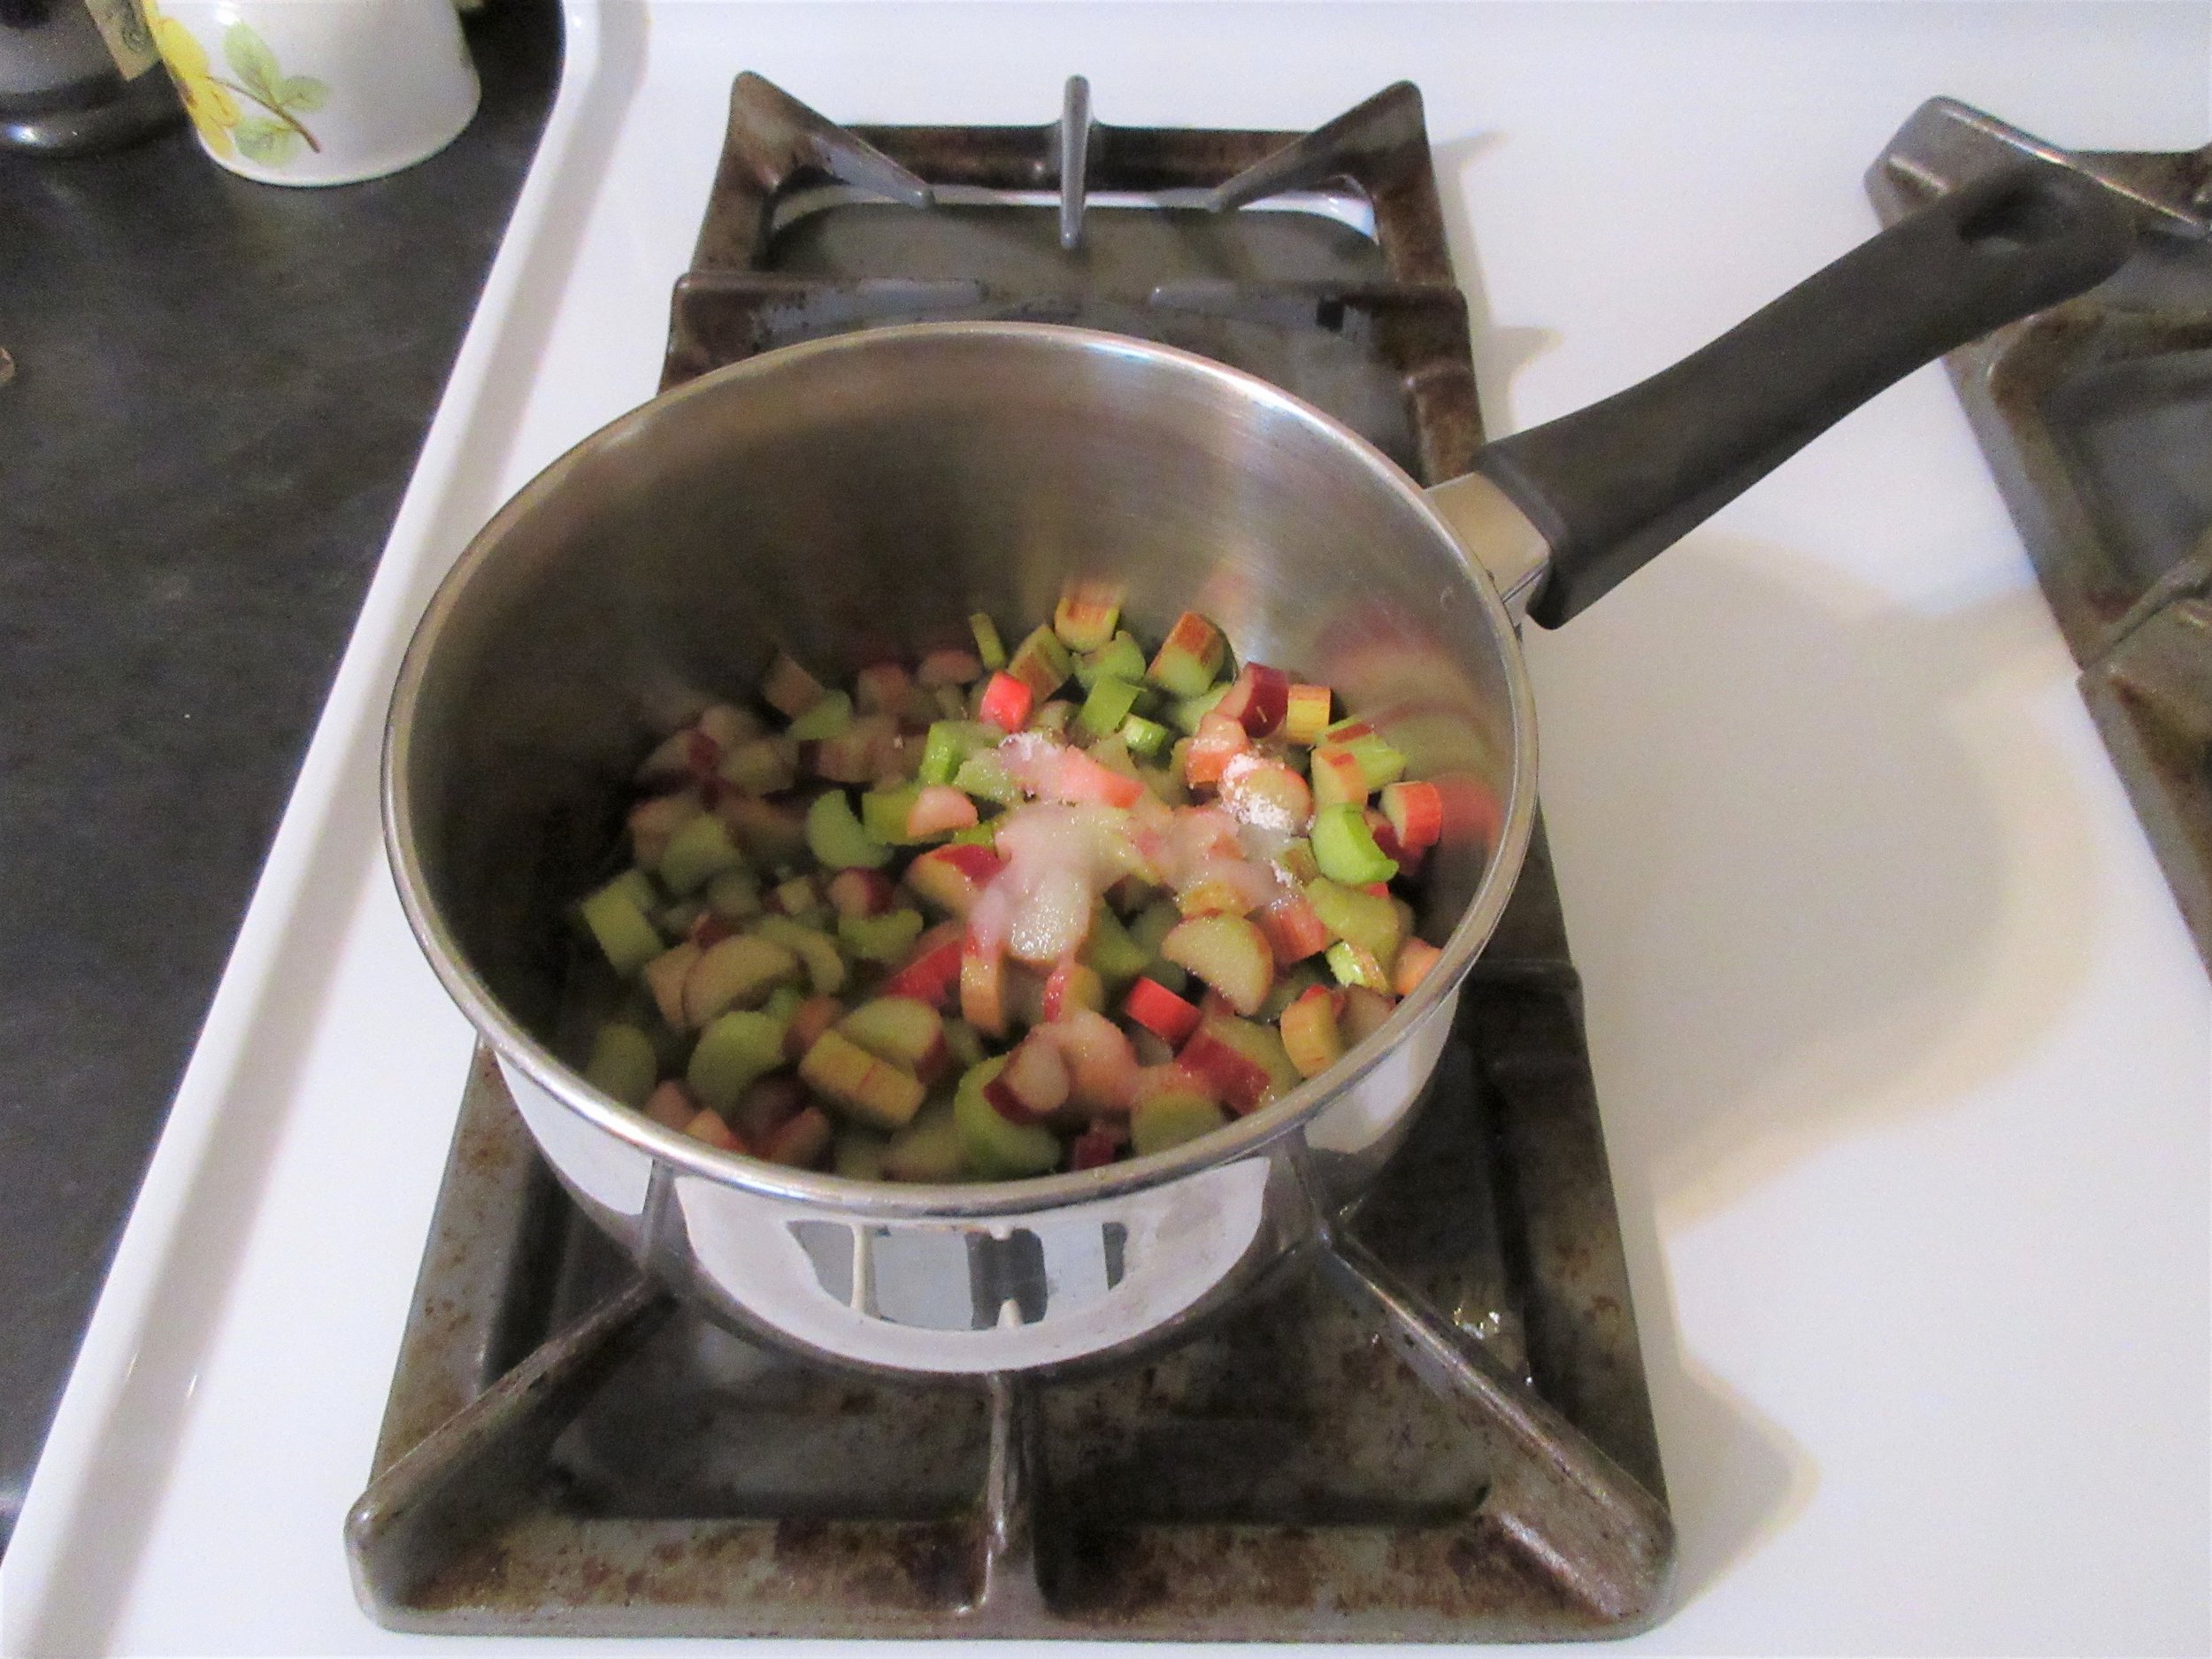
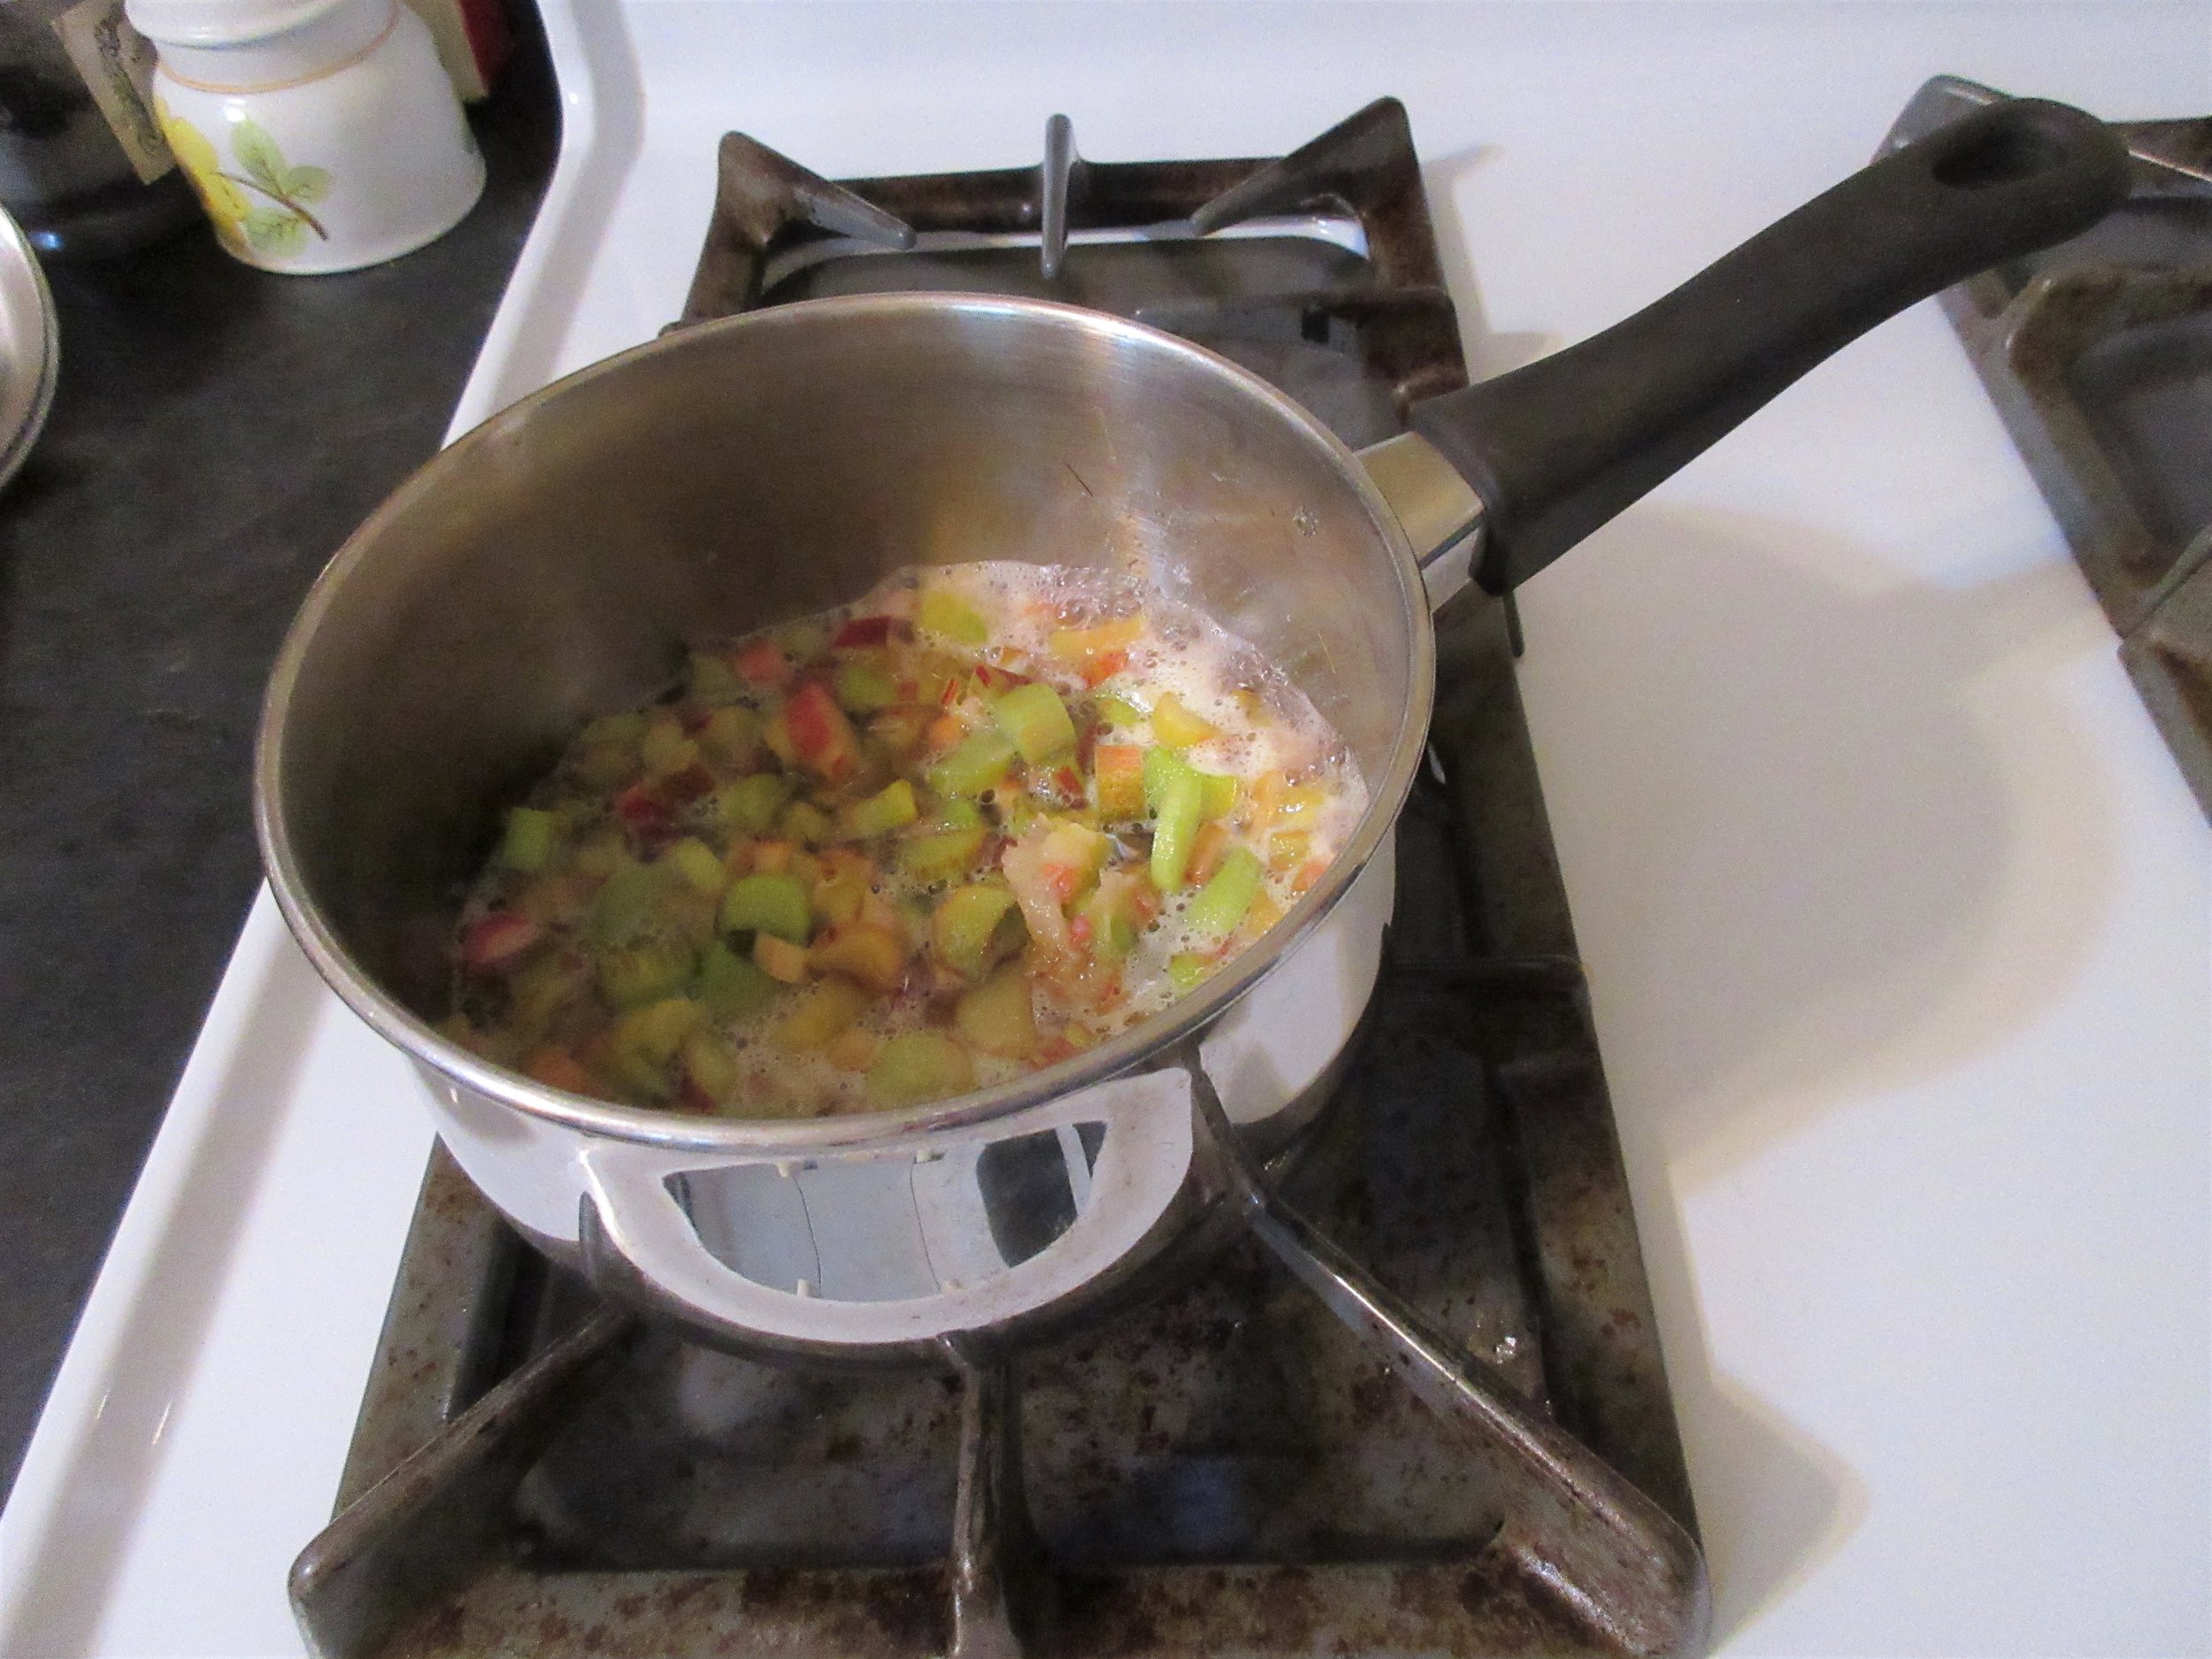
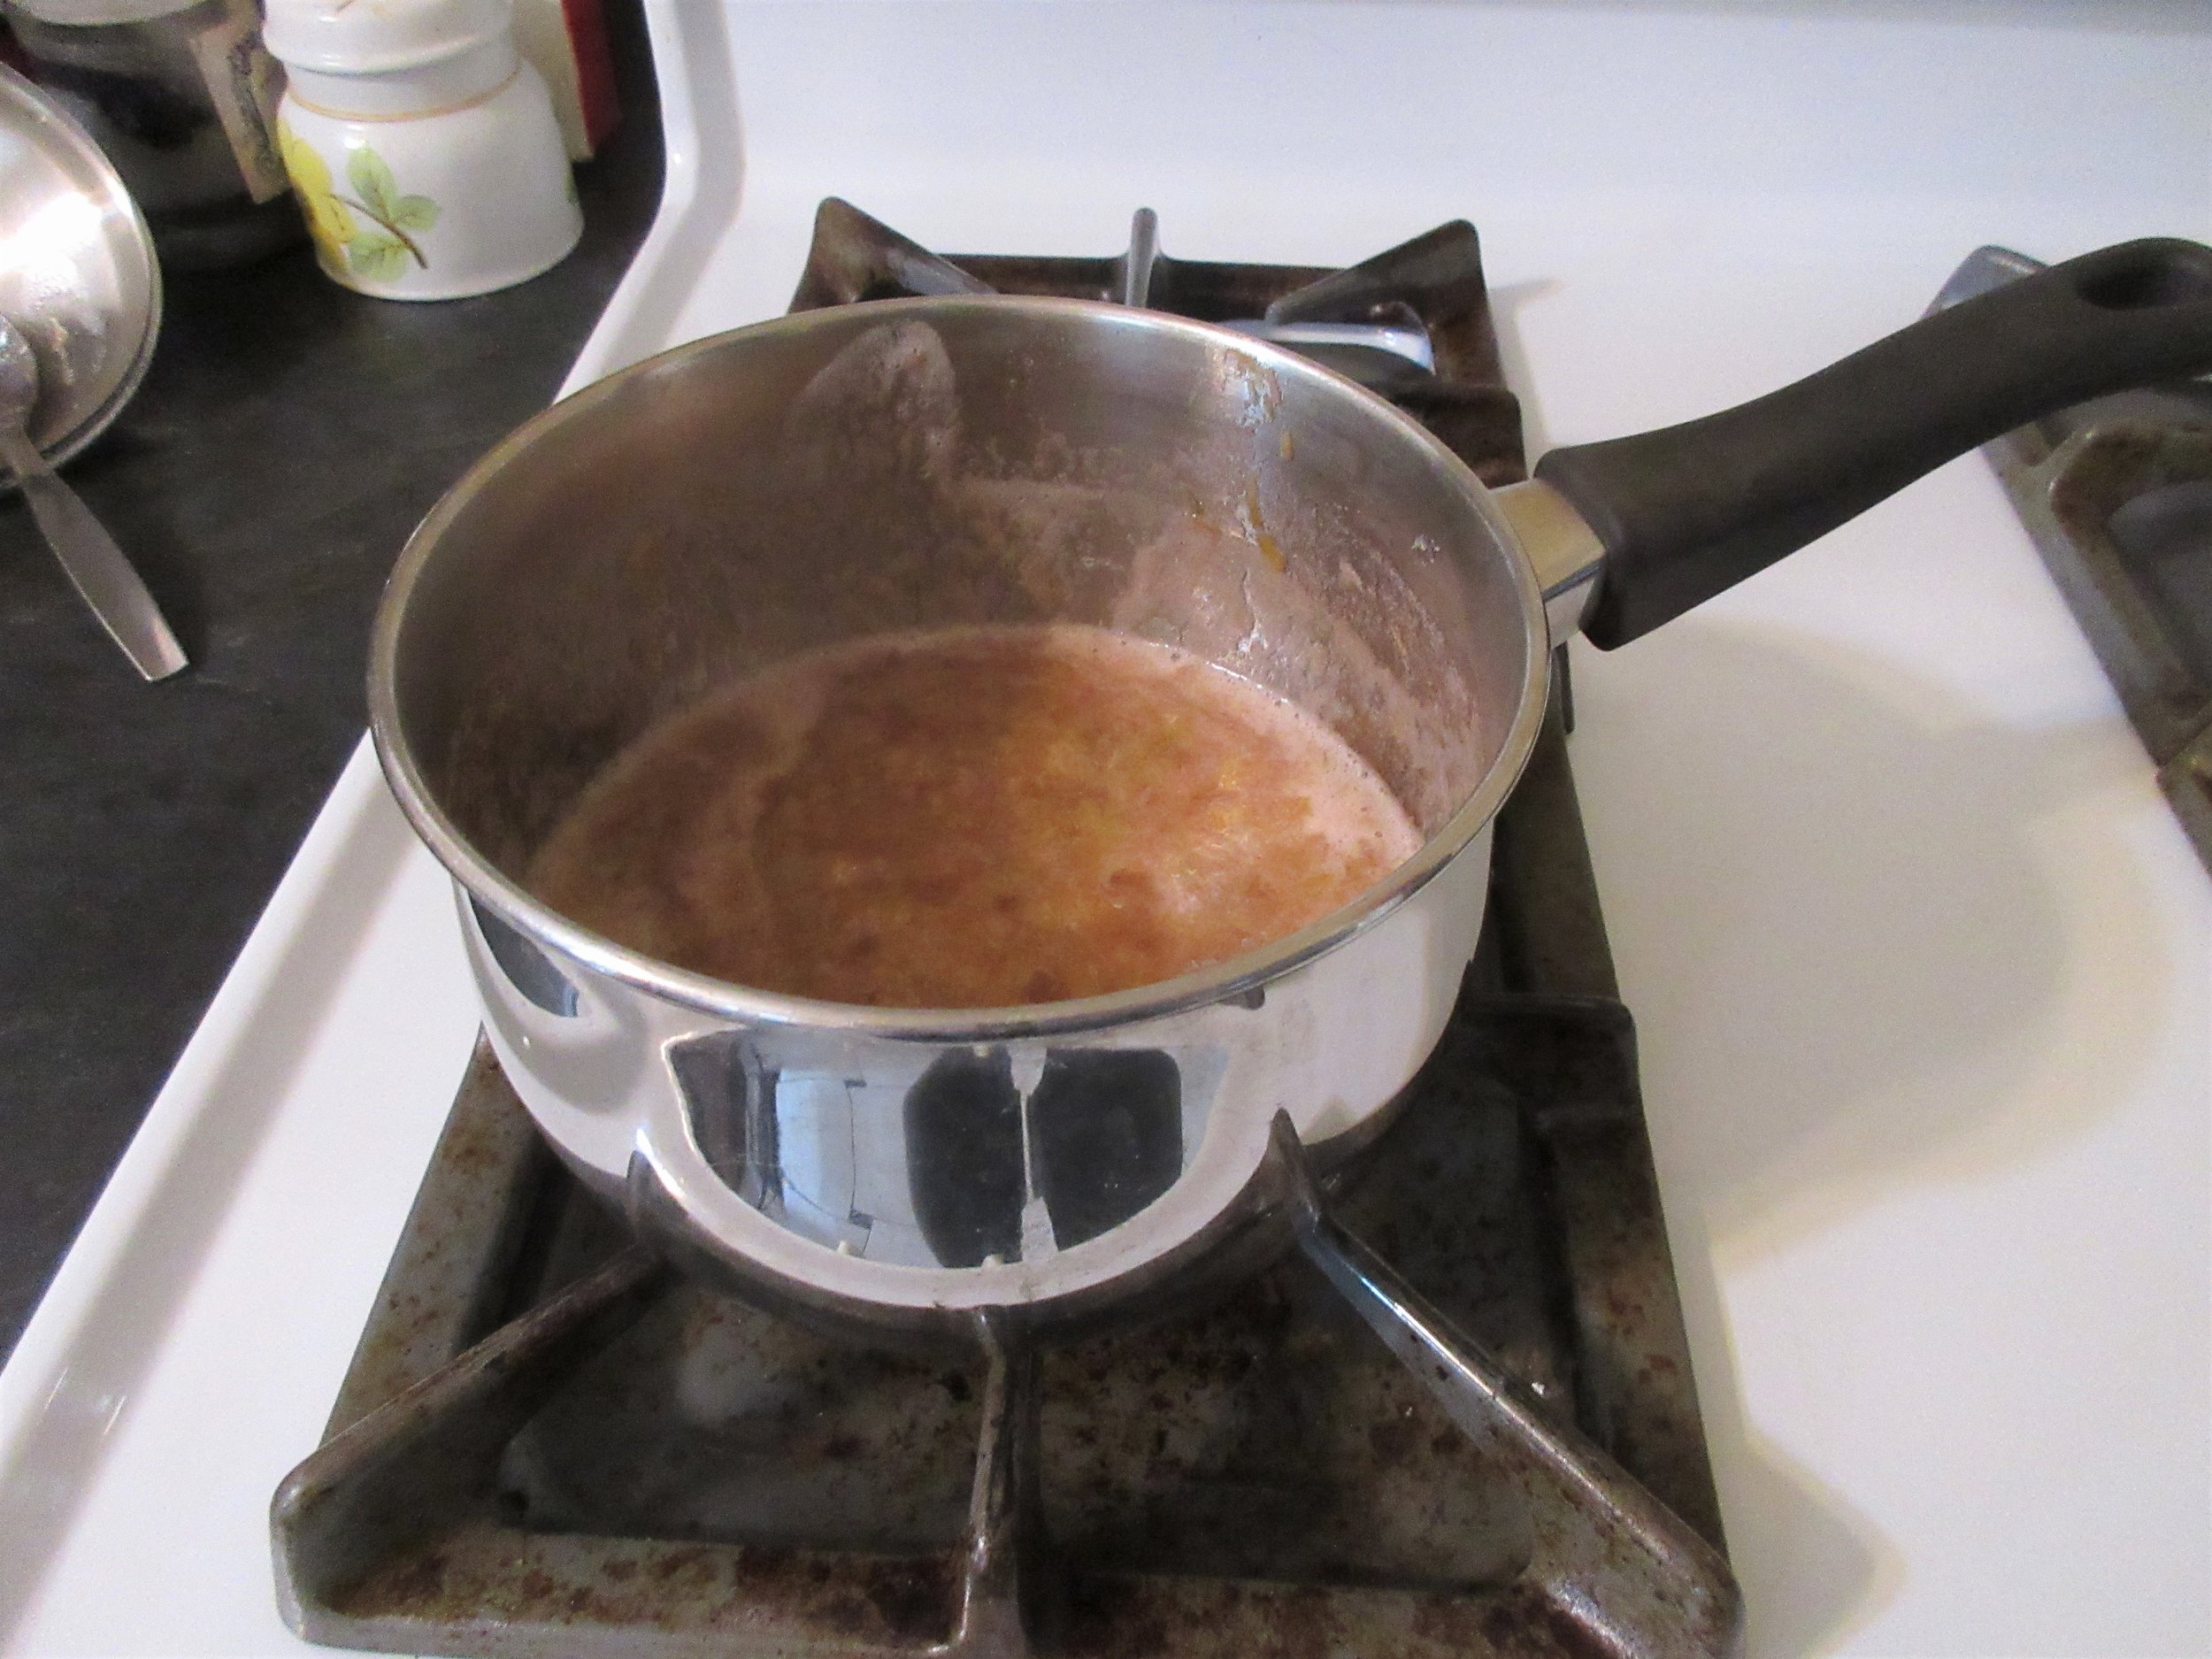
Stewed Rhubarb - My notes:
I ended up having ¾ lb (340 g), which amounted to roughly 3 cups chopped rhubarb. Since the historic recipe calls for 1 lb of fruit, I reduced the ingredient amounts by ¾. I added ½ cup (85 g) of sugar and ¾ cup (175 mL) of water to the pot. I guess I didn’t read the directions closely enough and I didn’t bring the water and sugar to a boil before I added the rhubarb, but it turned out just fine. I let it bubble for about 10-15 minutes and ended up with 1 ¾ cups (415 mL) of stewed rhubarb.
Rhubarb and Banana Fool - Original Recipe:
RHUBARB AND BANANA FOOL.
Have ready 5 or 6 bananas, ½ a pint of stewed rhubarb purée or pulp, about 1 gill of cream, or custard may be used if preferred, cochineal, and sugar to taste. Sufficient for 5 persons.
Peel the bananas, and rub them through a fine sieve. Add to this the rhubarb purée, and the cream or custard. Sweeten to taste, and colour with a little cochineal. Serve in a glass bowl or in custard-glasses. Decorate the surface with whipped cream and thin slices of bananas.
Rhubarb and Banana Fool - My Recipe:
5 or 6 bananas
½ cup cream- 118 mL
1 cup stewed rhubarb – 236 mL
A few drops red food colouring
White sugar to taste (I added ¼ cup – 40 g)
35% whipping cream
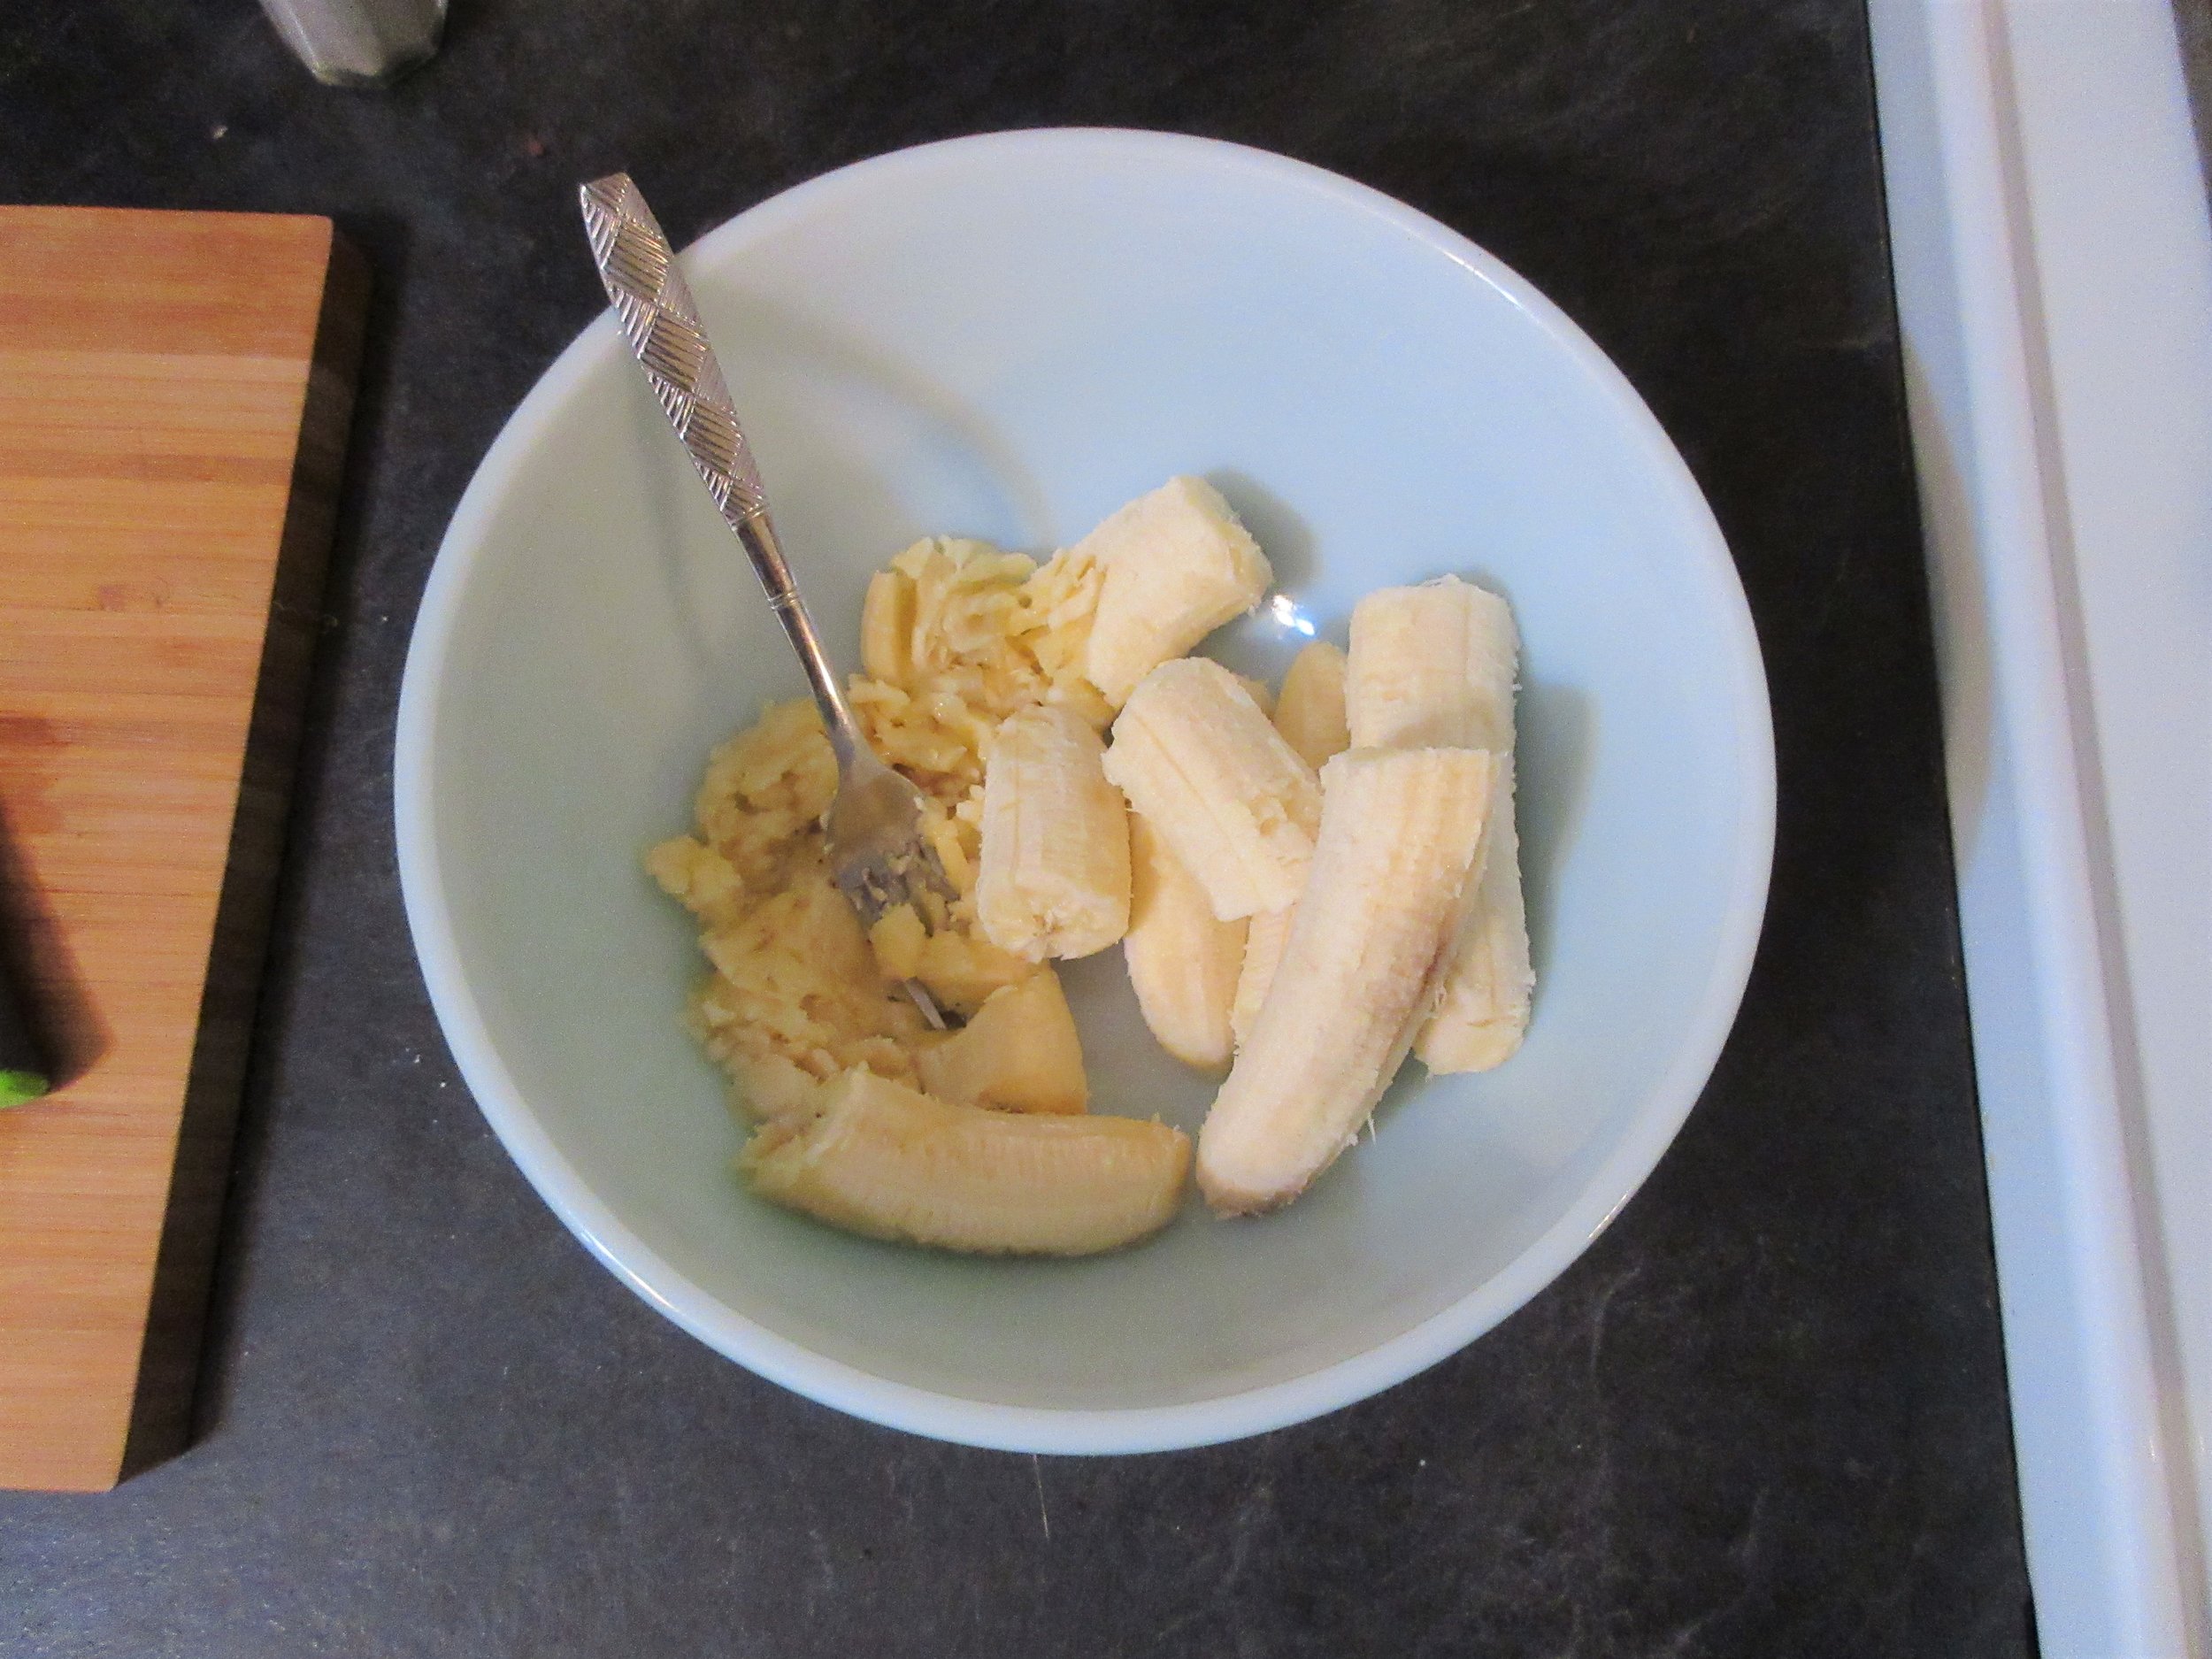
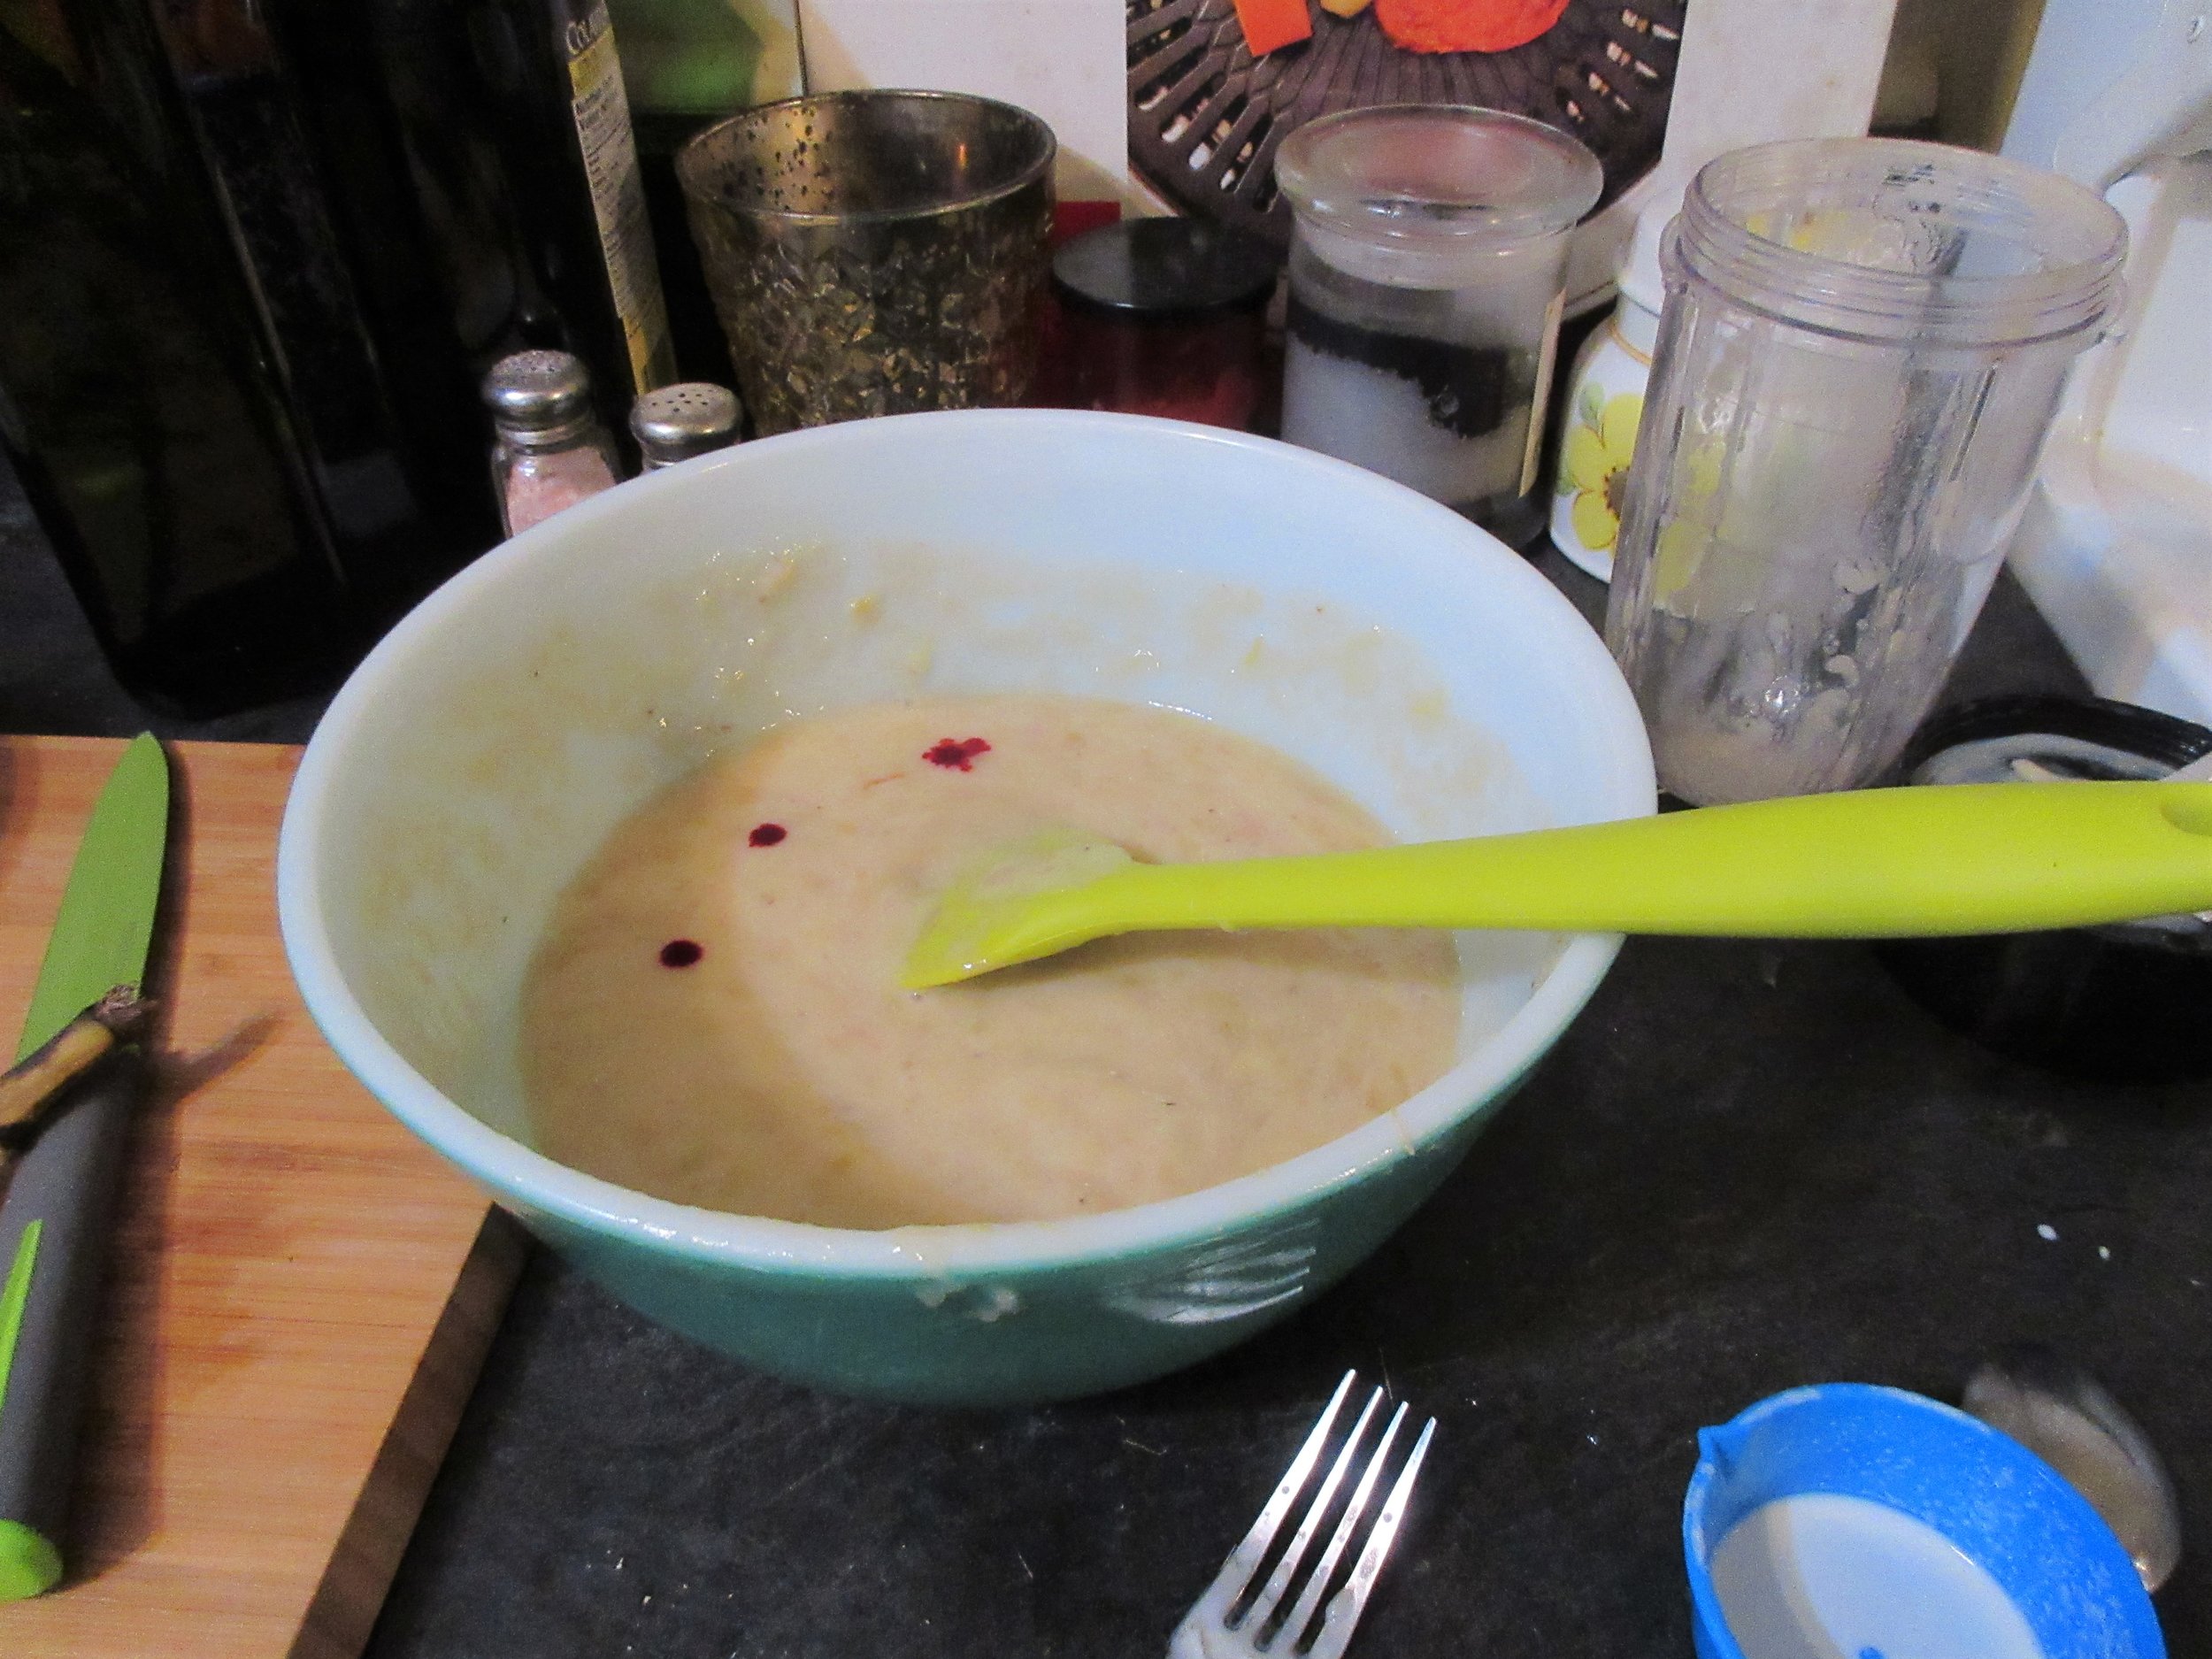
1) Slice a portion of one banana for garnishing if desired, then roughly mash the bananas in a bowl. I only had 5 bananas, so that’s what I used (minus the slices) and it was a tad on the thin side, but still delicious.
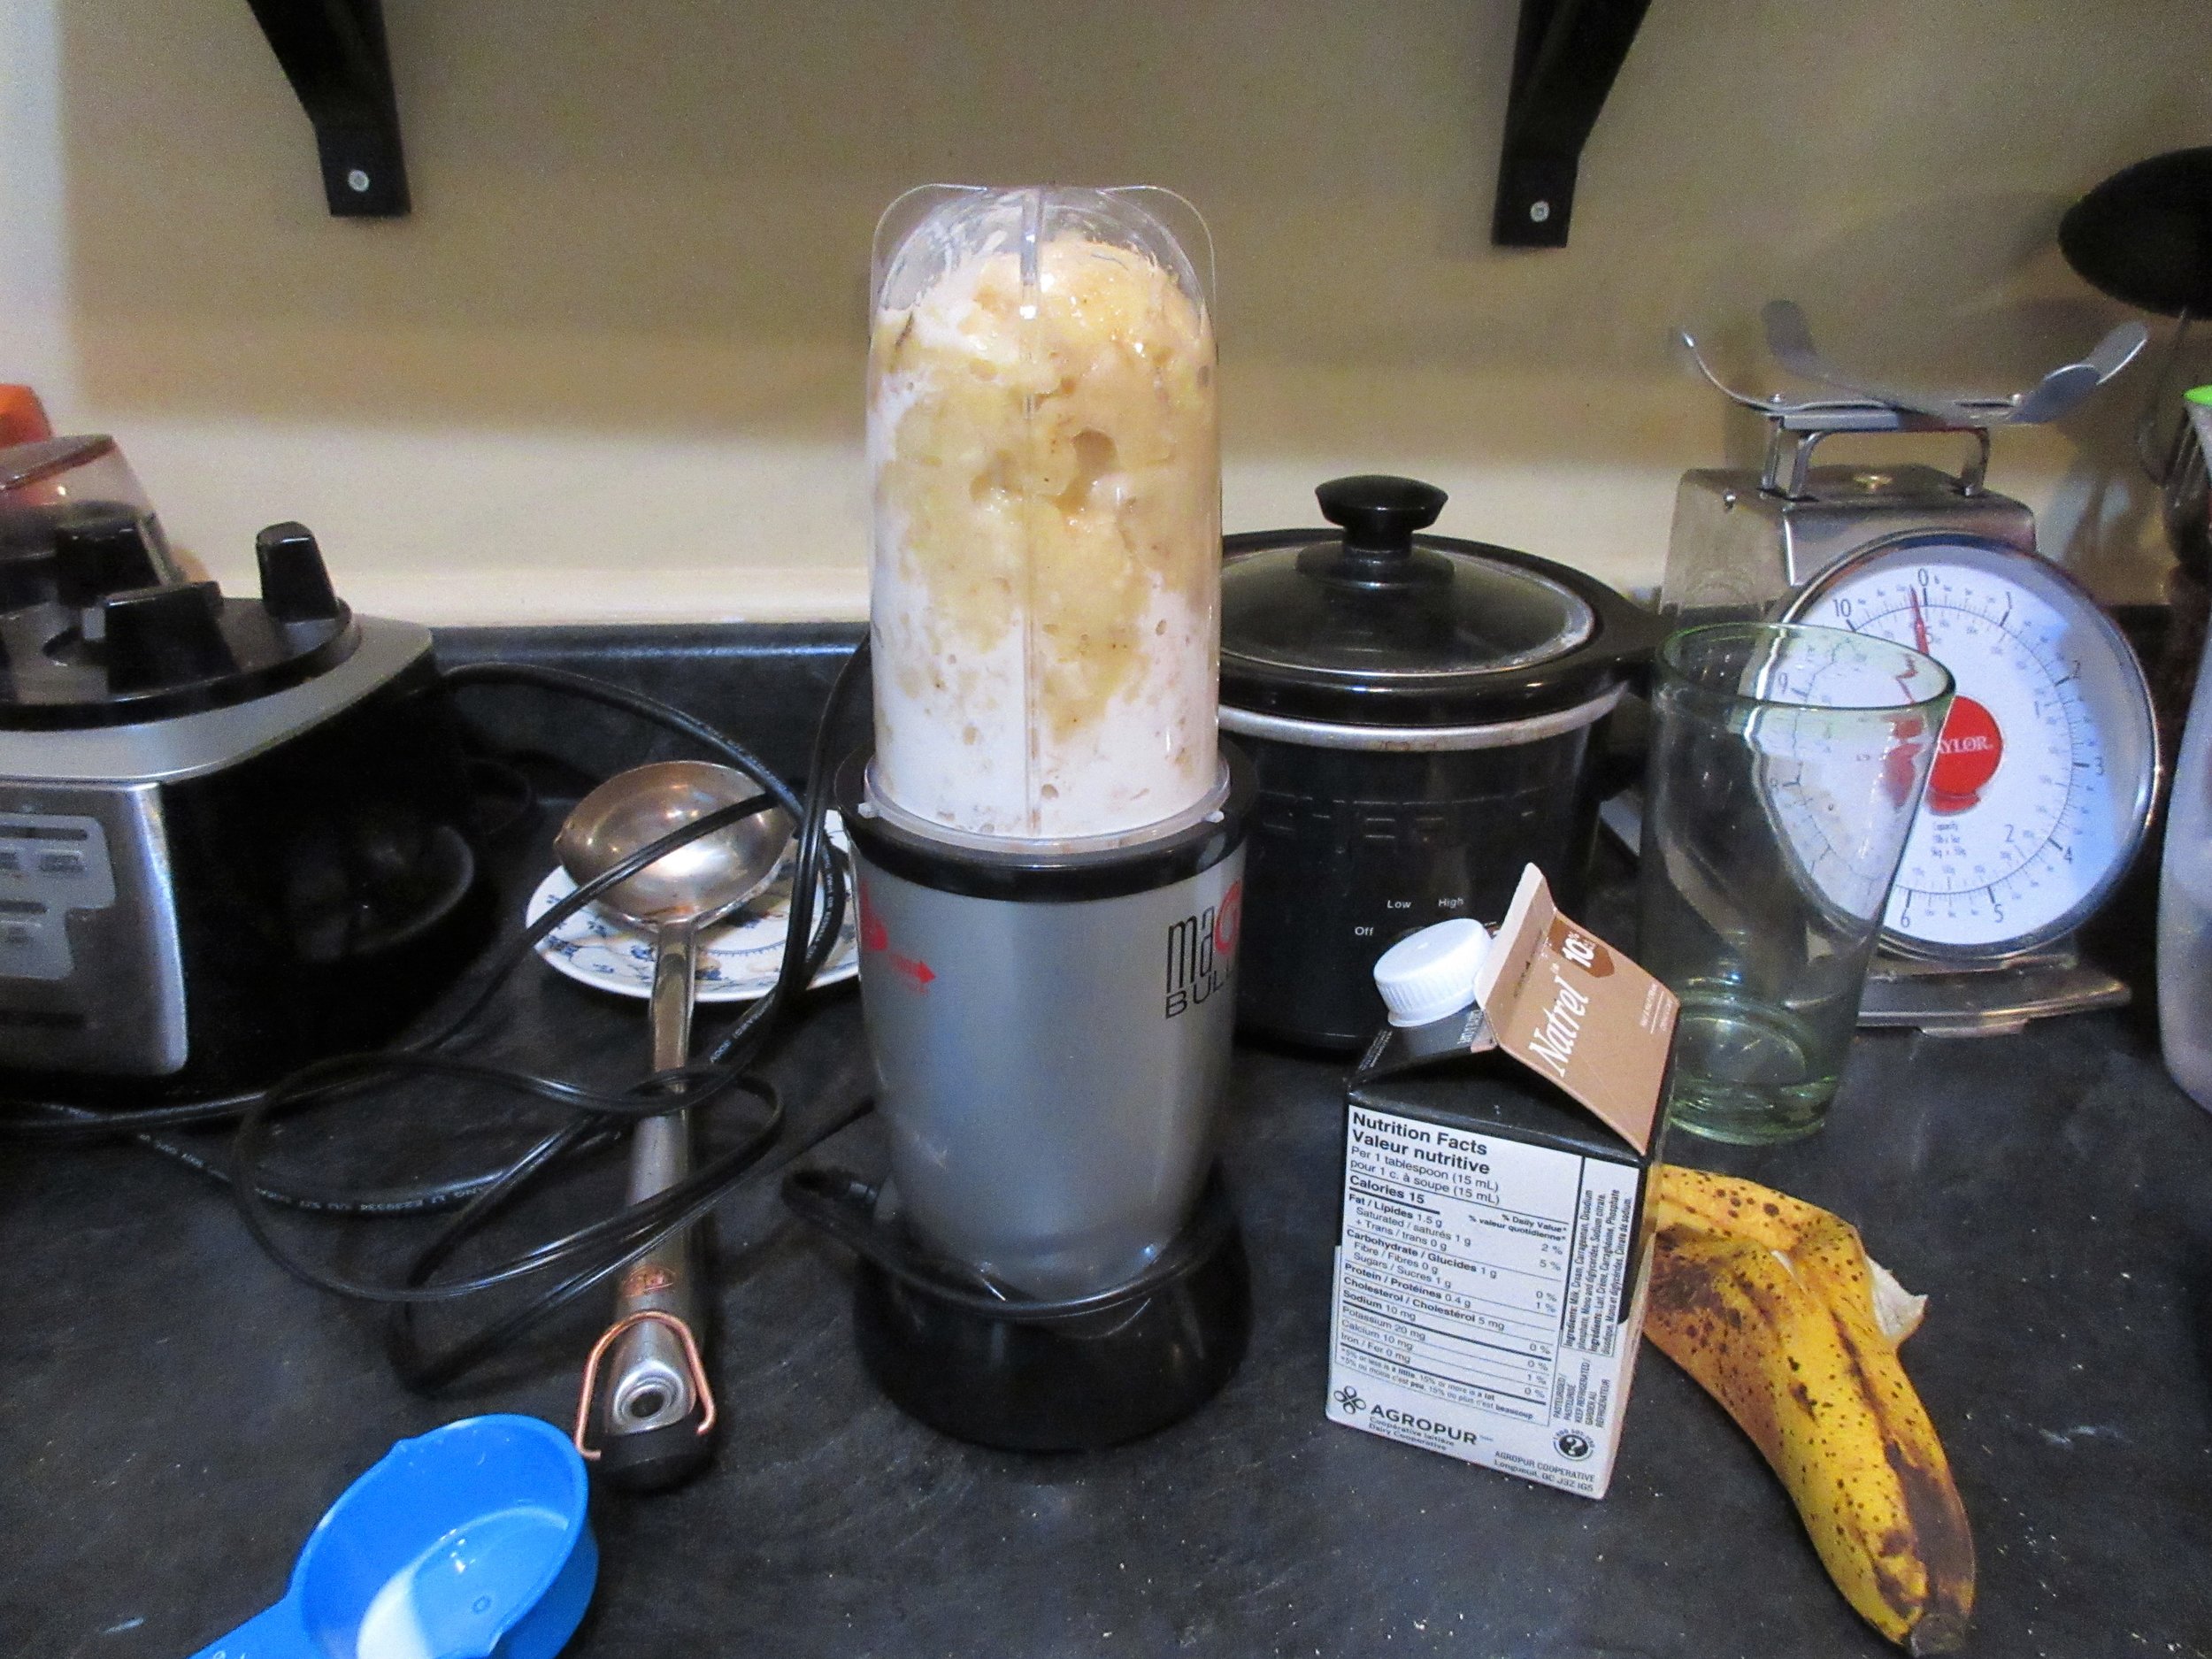
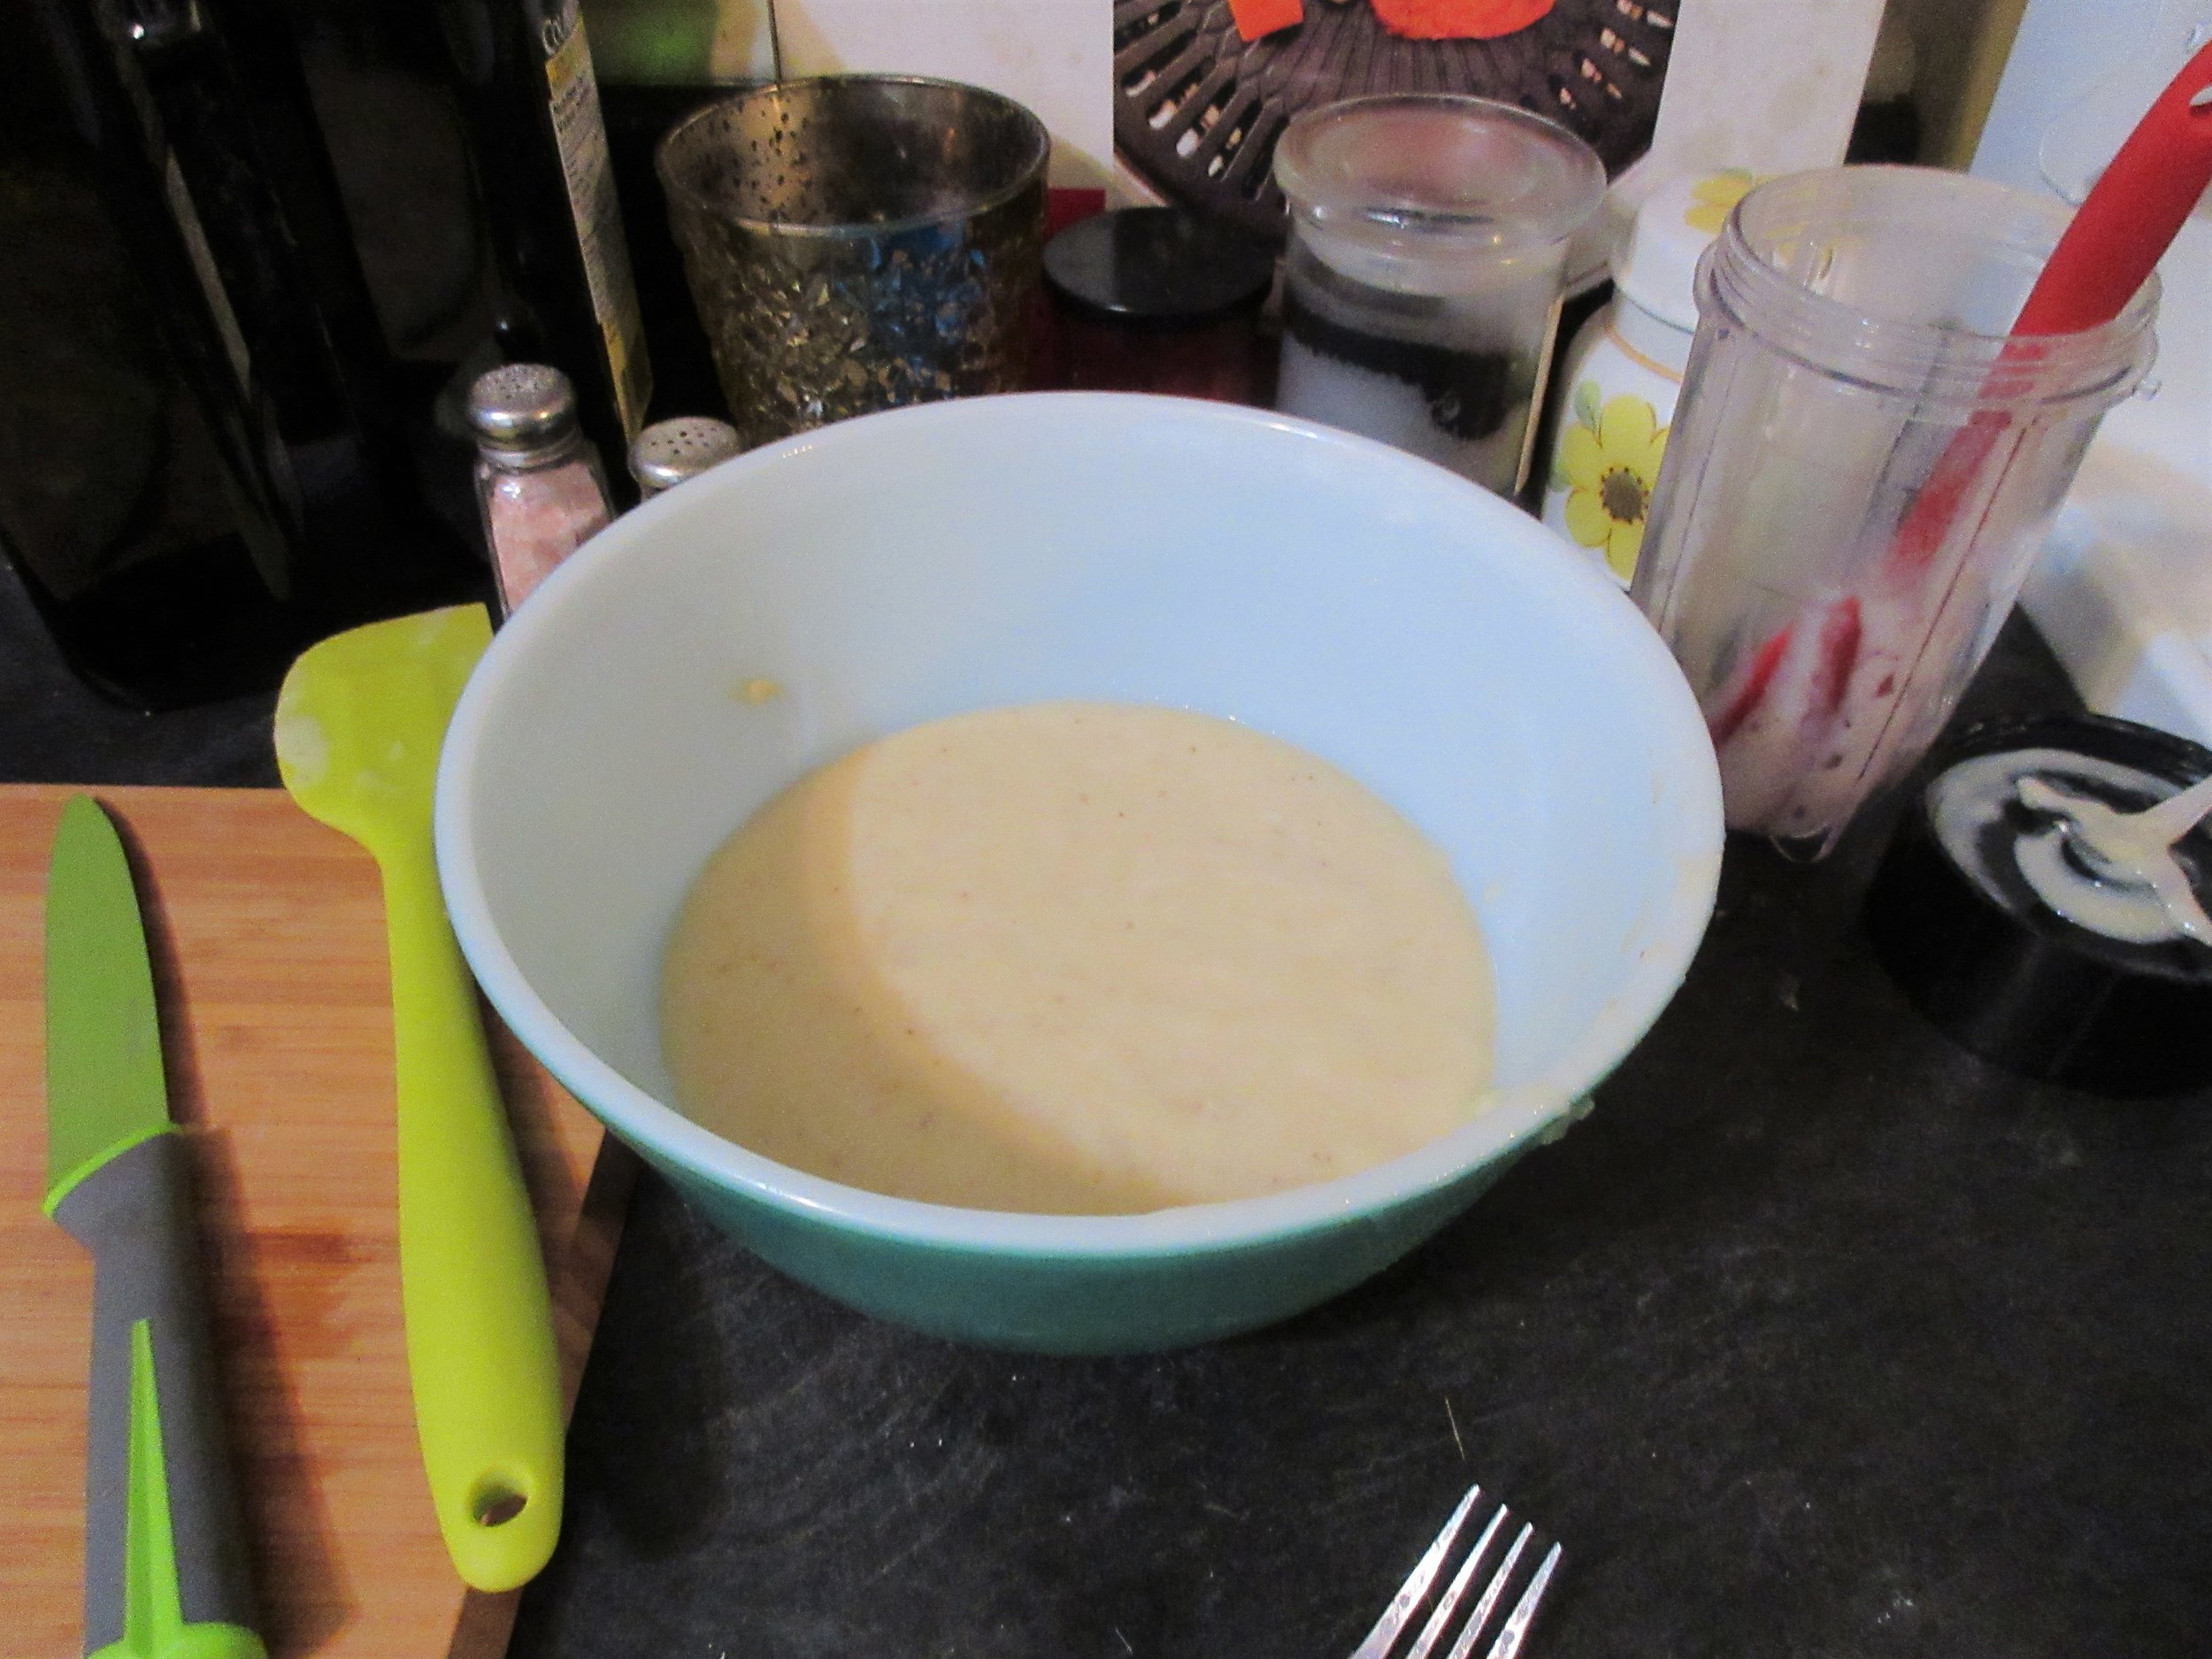
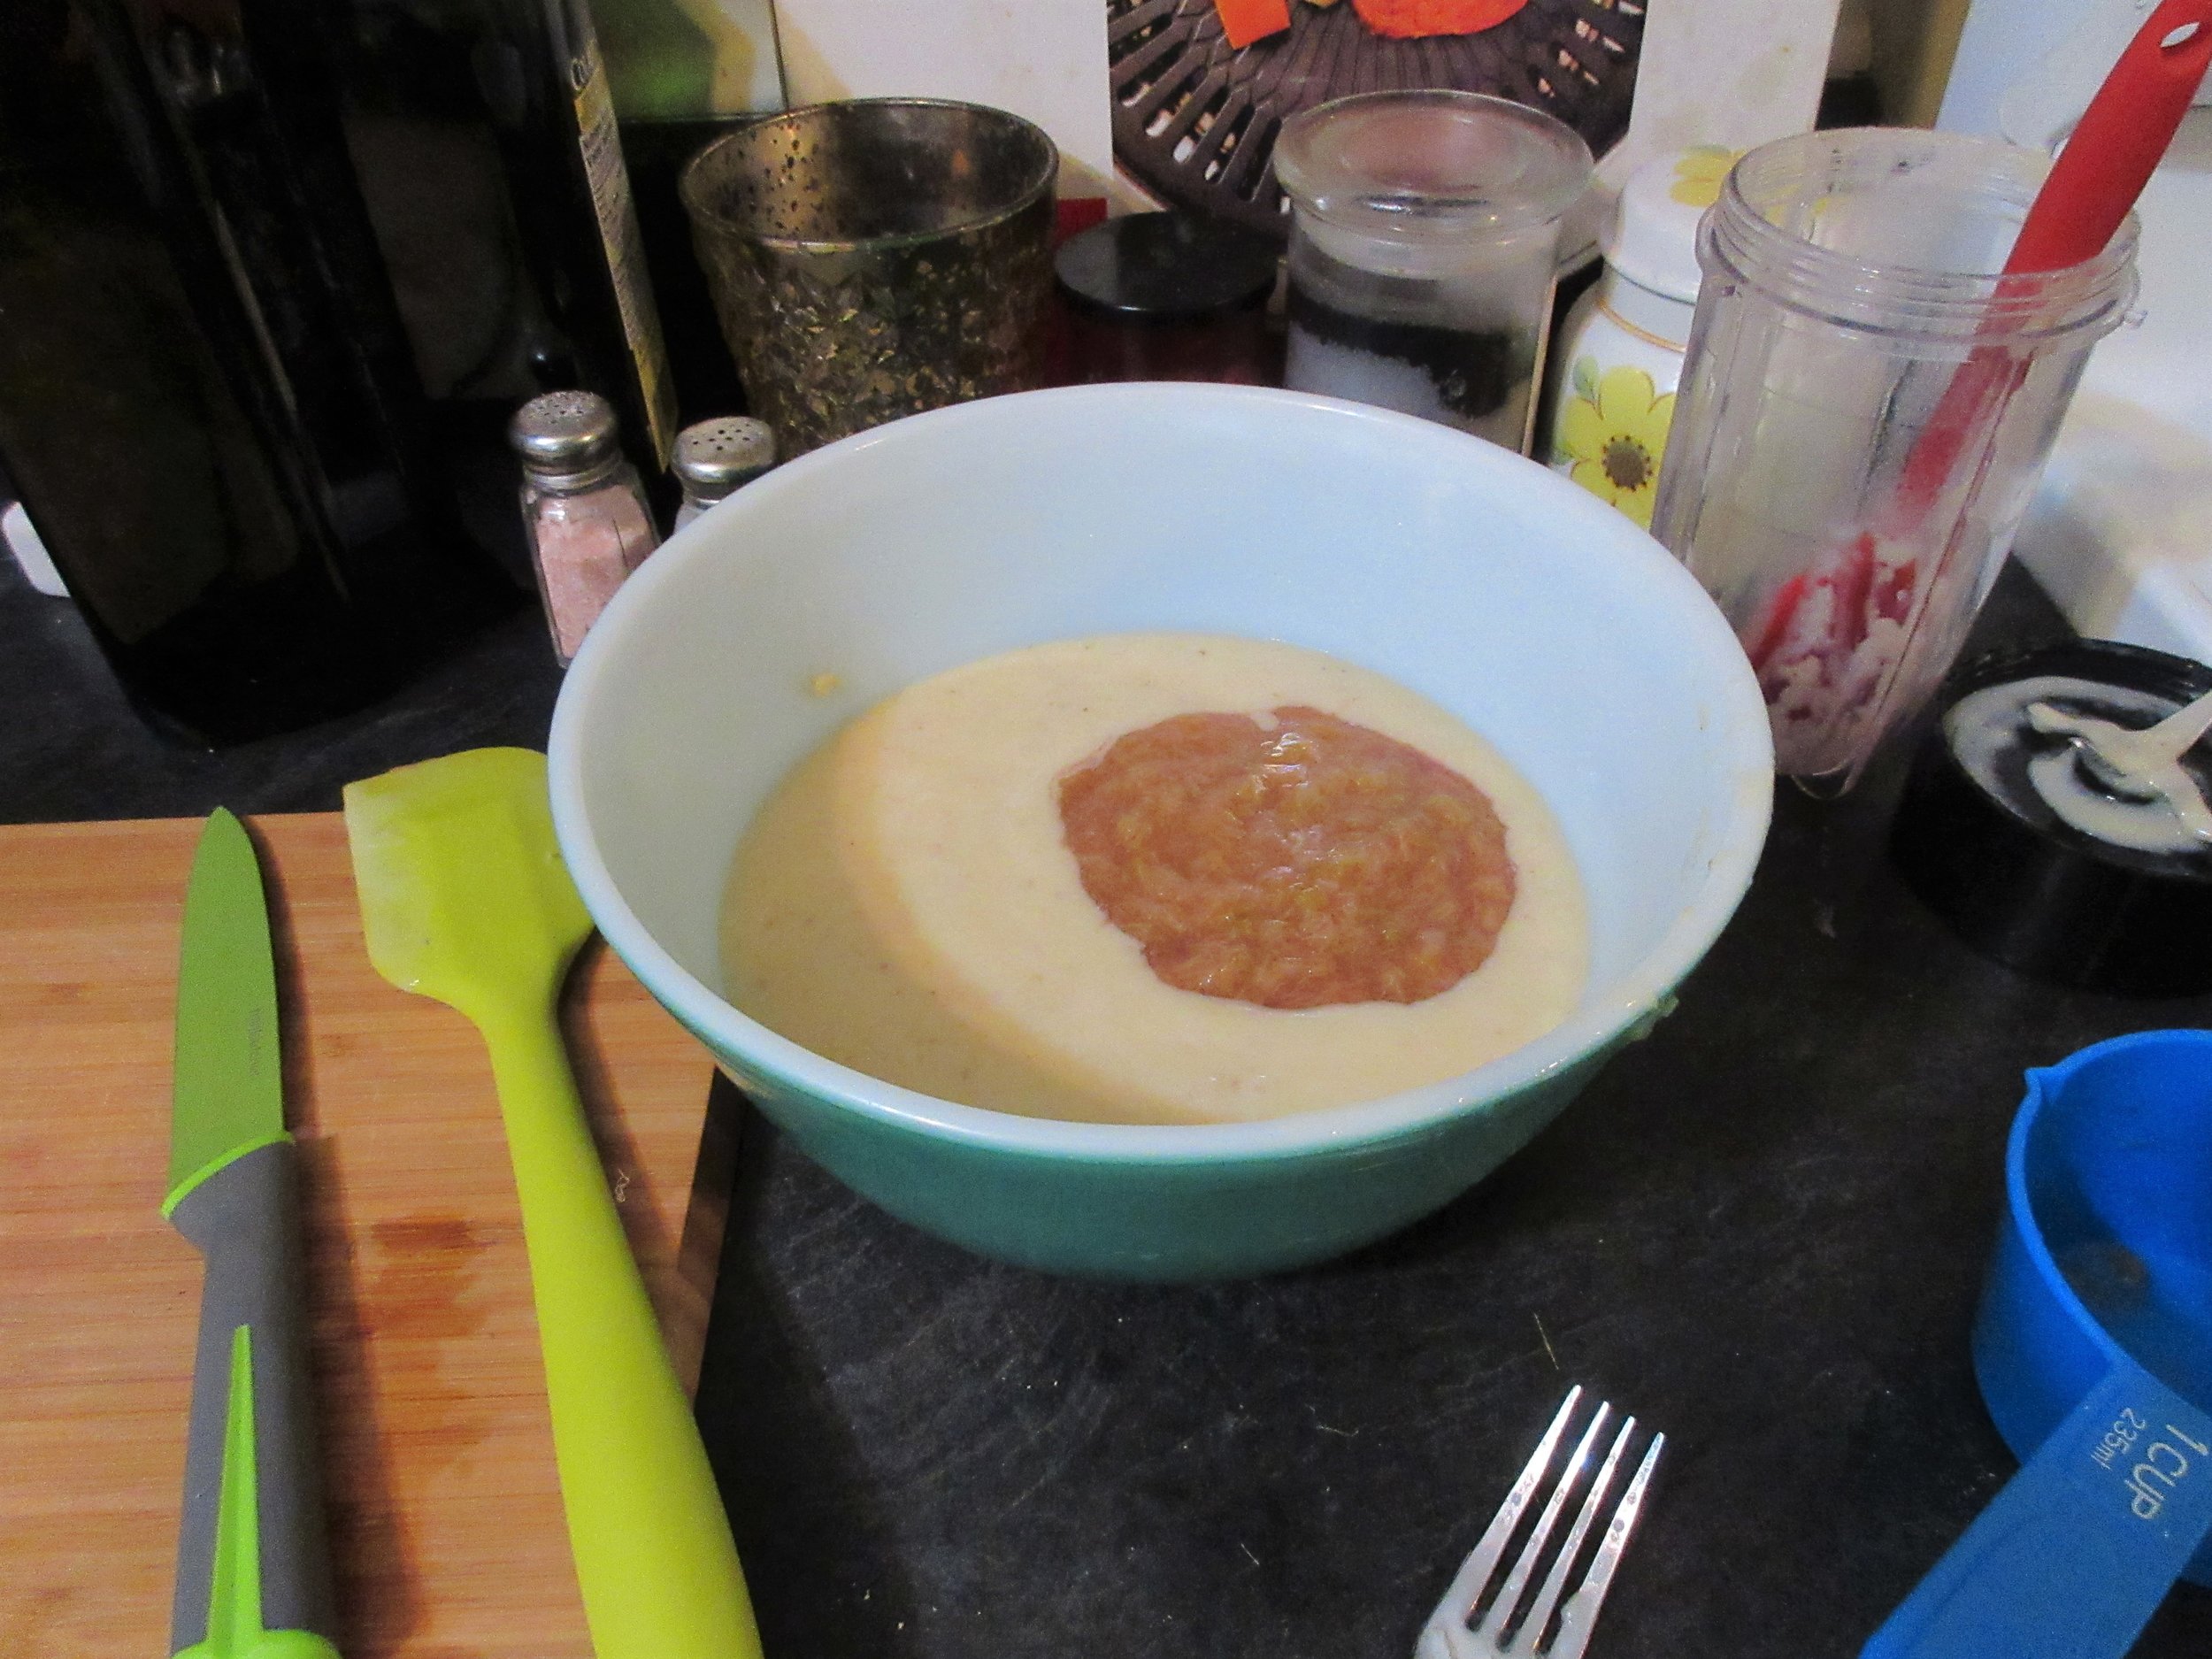
2) Transfer the banana mush to a blender, add the cream and buzz the two ingredients together. Put the banana and cream mixture back into the bowl and stir in the stewed rhubarb and a few drops red food colouring (optional). Stir in sugar to taste. I added ¼ cup, but you might find that it’s already sweet enough for your palate.
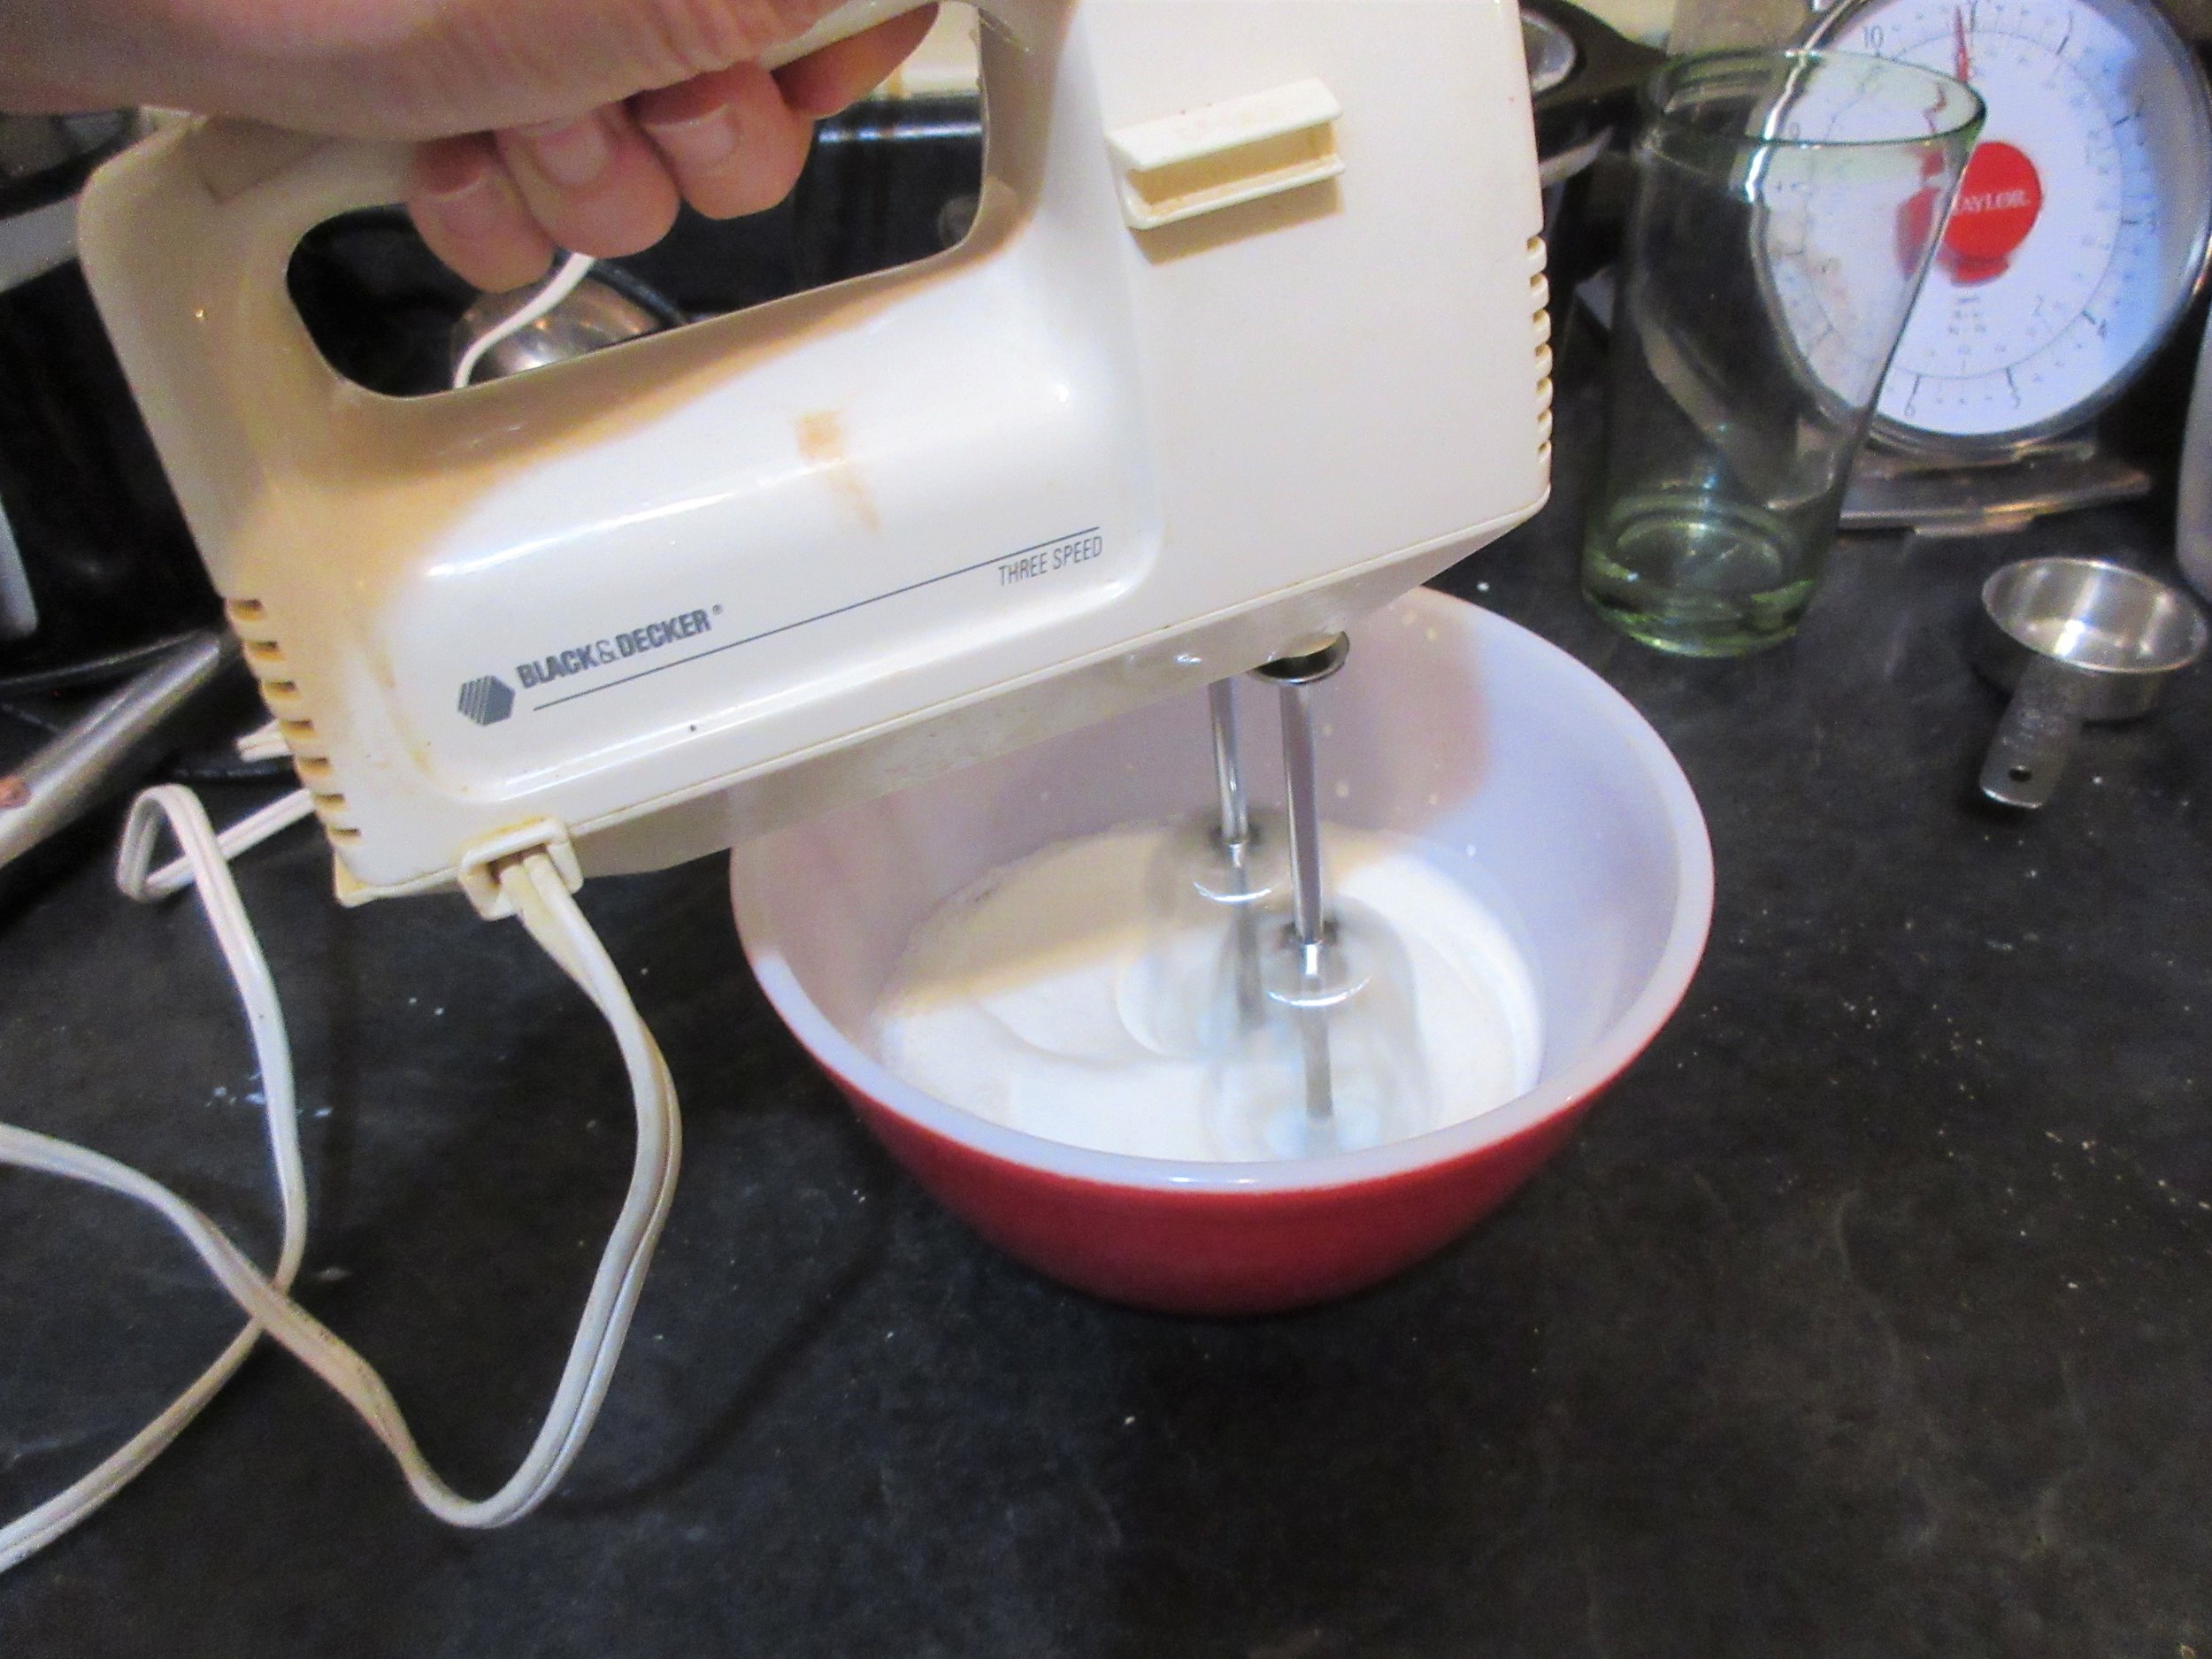
3) Whip the whipping cream until stiff. I whipped about 1 cup (236 mL) of 35% whipping cream and it created enough whipped cream to top three Rhubarb and Banana Fools in glasses.
4) Pour the Fool into glasses or bowls and top with whipped cream and banana slices.

One evening recently, I found myself driving home from visiting my Mom with a small harvest of fresh rhubarb from her garden in the passenger seat. Basically as soon as I set foot in my door, I searched for a historic rhubarb recipe that wasn’t Rhubarb Jam, Stewed Rhubarb or Rhubarb Pie (the things I do for fun!). Rhubarb and Banana Fool, from the 1900 cookbook Mrs. Beeton’s Cold Sweets, was the most intriguing to me.
A good description of this recipe in today’s terms would be a low-sugar banana and rhubarb smoothie, with a suggested whipped cream topping. Discovering the Rhubarb and Banana Fool recipe made me wonder: “When did people start eating bananas in North America?”, so I delve into answering that question by having a look at American and Canadian cookbooks and the establishment of the Boston Fruit Company. You’ll also find a bit of bonus info about Cochineal, an insect used as a red dye.
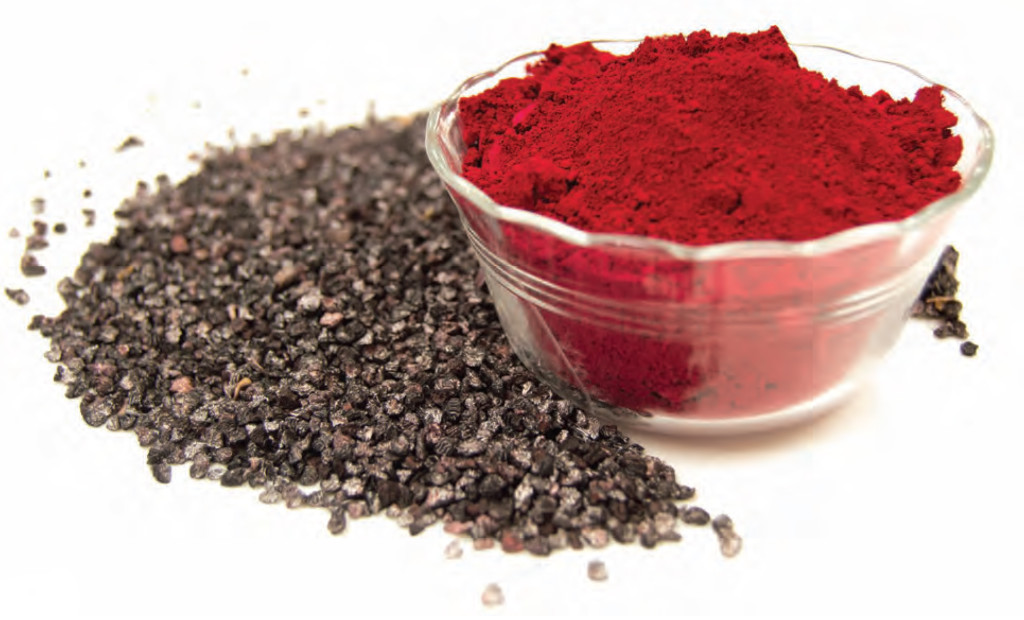
If you didn’t notice any mention of bugs in the historic Rhubarb and Banana Fool recipe, have another read. The anonymous recipe author (Isabella Beeton passed away 35 years before Mrs. Beeton’s Cold Sweets was published in 1900) suggests that we “colour with a little cochineal”. Being fresh out of cochineal in my kitchen, I substituted in red food colouring instead.
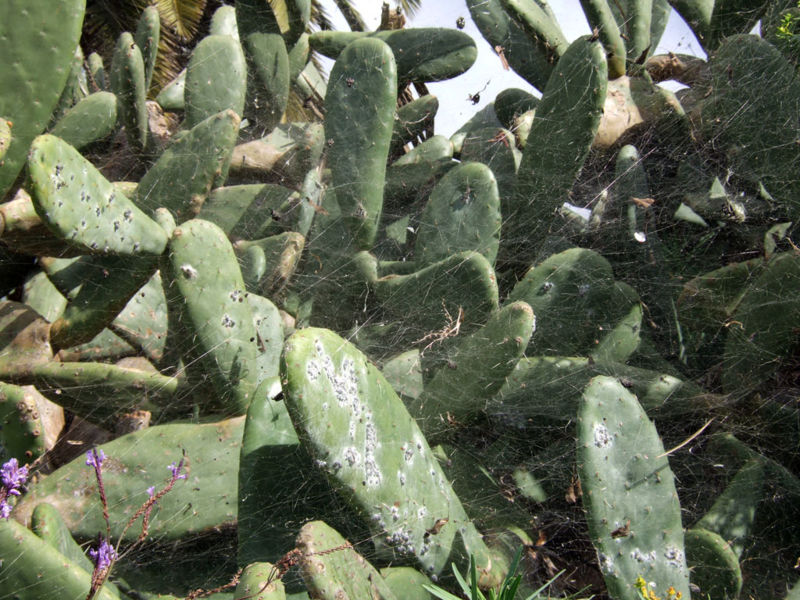
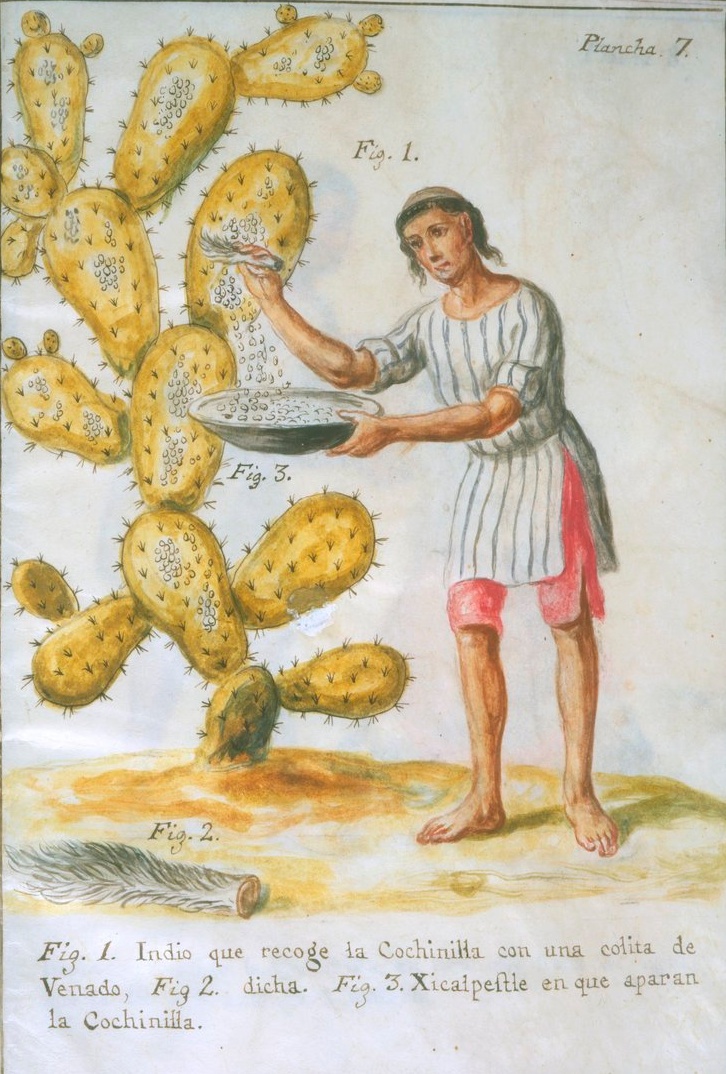
If you aren’t familiar with cochineal, they are indeed insects. They are small, red, round and usually female insects that are native to Mexico and Southwestern America and live on prickly pear cacti. The Maya and Aztecs used died and ground cochineal as a dye and after European contact, the demand for cochineal’s brilliant red grew.
Cochineal’s popularity declined in the nineteenth-century with the advent of chemical dyes, but it is experiencing a renaissance thanks to interest in using natural dyes in food and make-up. You might find cochineal in your ingredient list as cochineal extract, carminic acid, carmine, crimson lake, natural red 4 or E120.
Want to read more about cochineal? Read the Smithsonian Magazine article The Bug That Had the World Seeing Red.
Left to right: cochineal on prickly pear cacti, Mexican Indian Collecting Cochineal with a Deer Tail by José Anotonio de Alzate y Ramírez (1777), dried and ground cochineal
…Orange you glad I didn’t say Banana?
And now to have a look at when North Americans began to eat bananas. First, I turned to Feeding America), The Historic American Cookbook Project, and I did an ingredient search for bananas. The earliest banana recipe I found in an American cookbook was from 1844. The Complete Confectioner by Eleanor Parkinson, published in Philadelphia, features a recipe for Banana Bread and also suggests eating bananas “undressed” or raw and also “fried in slices like fritters”.
Then it seems like there may have been a 23 year drought for banana recipes in an American cookbook. Buckeye Cookery by Estelle Woods Wilcox was published in 1877 in Minneapolis and this cookbook showcases 7 banana recipes. Woods Wilcox notes that “The banana is the most nutritious of all fruits, and is becoming more popular every year”.
Not quite every year, it seems. The next banana recipe I could find is in Miss Parloa’s New Cook Book and Marketing Guide , which was published in Boston in 1880 and has a recipe for Banana Ice Cream. I could locate 4 other cookbooks from that decade that have 2 to 5 banana recipes and one in the early 1890s with a Banana Ice Cream recipe. Then in 1896, the very popular The Boston Cooking-School Cook Book was published. This cookbook, written by Fanny Farmer, has 9 recipes with bananas listed as an ingredient. After the year 1900, it seems that banana recipes become commonplace in American cookbooks.

A photograph taken in 1902 of a banana cart in Detroit, from the Library of Congress
For Canadian cookbooks, there isn’t an equivalent website like Feeding America where I can do a simple search, but we do have Liz Driver’s book Culinary Landmarks: A Bibliography of Canadian Cookbook, 1825 – 1949. It took me much longer to look into the Canadian cookbooks of the same era, but it seems that Canadians were slow to jump on the Banana Train when you compare Canadian cookbooks to their American counterparts. Is it because of the extra distance from where bananas are grown? That could be the explanation for many parts of Canada, but I only live about 110 km (70 miles) from Buffalo, New York. Perhaps trade agreements are also to blame.
Keep in mind that my search of Canadian cookbooks from the late 19th-century was certainly not all-encompassing. I couldn’t locate scans of quite a few of the cookbooks online and human error may have factored in as well. I was able to locate 4 Canadian cookbooks during that time period with banana recipes. If you know of any that I’ve missed, please comment and share your knowledge!
The first Canadian cookbook that I found to mention bananas is The Dinner Year Book by Marion Harland, published in Toronto in 1879. The Dinner Year Book features a recipe for Tropical Snow, which is a fruit salad recipe made of red bananas, oranges, coconut, sugar and sherry. There were very similar recipes for Tropical Snow in a few of the American cookbooks I found.
Next up is The Church of England Institute Receipt Book, edited by Mrs. William Lawson and Miss Alice Jones and published in Halifax in 1888, with a Banana Pudding recipe. Fast forward to about the year 1895, to the Silico Standard Cook Book, published probably somewhere in Ontario. This book promotes Silico Abrasive Soap and probably features more testimonials about Silico Soap than it does recipes, but there’s a Banana Fritter recipe nestled amongst the accolades.
The last banana-mentioning Canadian cookbook from the 19th-century that I could locate is The New Galt Cook Book, a community cookbook published in 1898 in Cambridge, Ontario. I’m quite familiar with this cookbook because I prepared 10 recipes from it last May at a Victorian Tea event put on by the Fashion History Museum in Cambridge. I’ve also made three recipes from The New Galt Cook Book here on my blog: Scalloped Turnips, Ammonia Cakes and Icing for Cake. I’ve never made a banana recipe from this cookbook, though, and there are two: Banana Cream and Baked Bananas.

Except for one errant 1844 banana bread recipe, both Canadian and American cookbooks began incorporating a banana recipe or two at the end of the 1870s, and the frequency of banana recipes increased in America especially during the last two decades of that century. Refrigeration, steam ships, unscrupulousness and ambition seem to be the reasons why bananas became more popular and available during that time period. Let’s have a look at the early years of the company that we know today as Chiquita.
The three main characters in this story are as follows: in the early 1870s, American businessman, cattle rancher and railroad tycoon Minor Keith began planting bananas beside the railroad tracks of the National Railroad of Costa Rica that was under construction at that time. During that decade, Captain Lorenzo Baker began importing bananas to the United States via schooners and the bananas that made their way to Boston were sometimes distributed by Andrew Preston.
In 1882, Andrew Preston, Captain Lorenzo Baker and a handful of investors established the Boston Fruit Company. The company began establishing banana plantations in Jamaica. The variety of banana that was cultivated in this era was mostly the Gros Michel banana, which looks similar to our bananas today, but had a sweeter taste. The Gros Michel variety of banana became mostly extinct by the 1950s because of Panama Disease, a fungus that lives in the soil. The Cavendish banana, which is the banana we eat today, was found to be immune to Panama Disease and was planted on the same land where Gros Michel was previously grown. In recent years, however, a mutation of this fungus has begun to infect the Cavendish banana.
Back to the Boston Fruit Company. In 1883, steamships were added to the company’s fleet of schooners. The fleet was painted white to deflect the sun and eventually refrigerated steam ships, refrigerated railroad box cars and a network of refrigerated warehouses contributed to the banana’s enlarged distribution reach.
Meanwhile in Costa Rica, the railroad network was completed in 1890 and at some point Minor Keith created the Tropical Trading and Transport Company, shipping his bananas via steamboat to New Orleans. He also expanded his banana trade into Columbia and Panama. In 1899, Keith lost $1.5 million when the broker corporation Hoadley and Company declared bankruptcy, which was a big factor leading to merger discussions with the Boston Fruit Company.
In 1899, the Tropical Trading Company joined forces with the Boston Fruit Company to form the United Fruit Company, which later became known as Chiquita.
What I’ve written here is just the tip of the ice berg. I haven’t even touched upon the unscrupulousness I hinted at, or the banana “propaganda” that was produced during this time period. If I’ve wet your appetite, here’s some suggested further reading:
The United Fruit Historical Society
The Miracle of the Modern Banana (National Geographic)
The Improbable Rise of the Banana, America’s Most Popular Fruit (Vox)
Humans Made the Banana Perfect – But Soon, It’ll Be Gone (Wired)
Read the Cookbook:
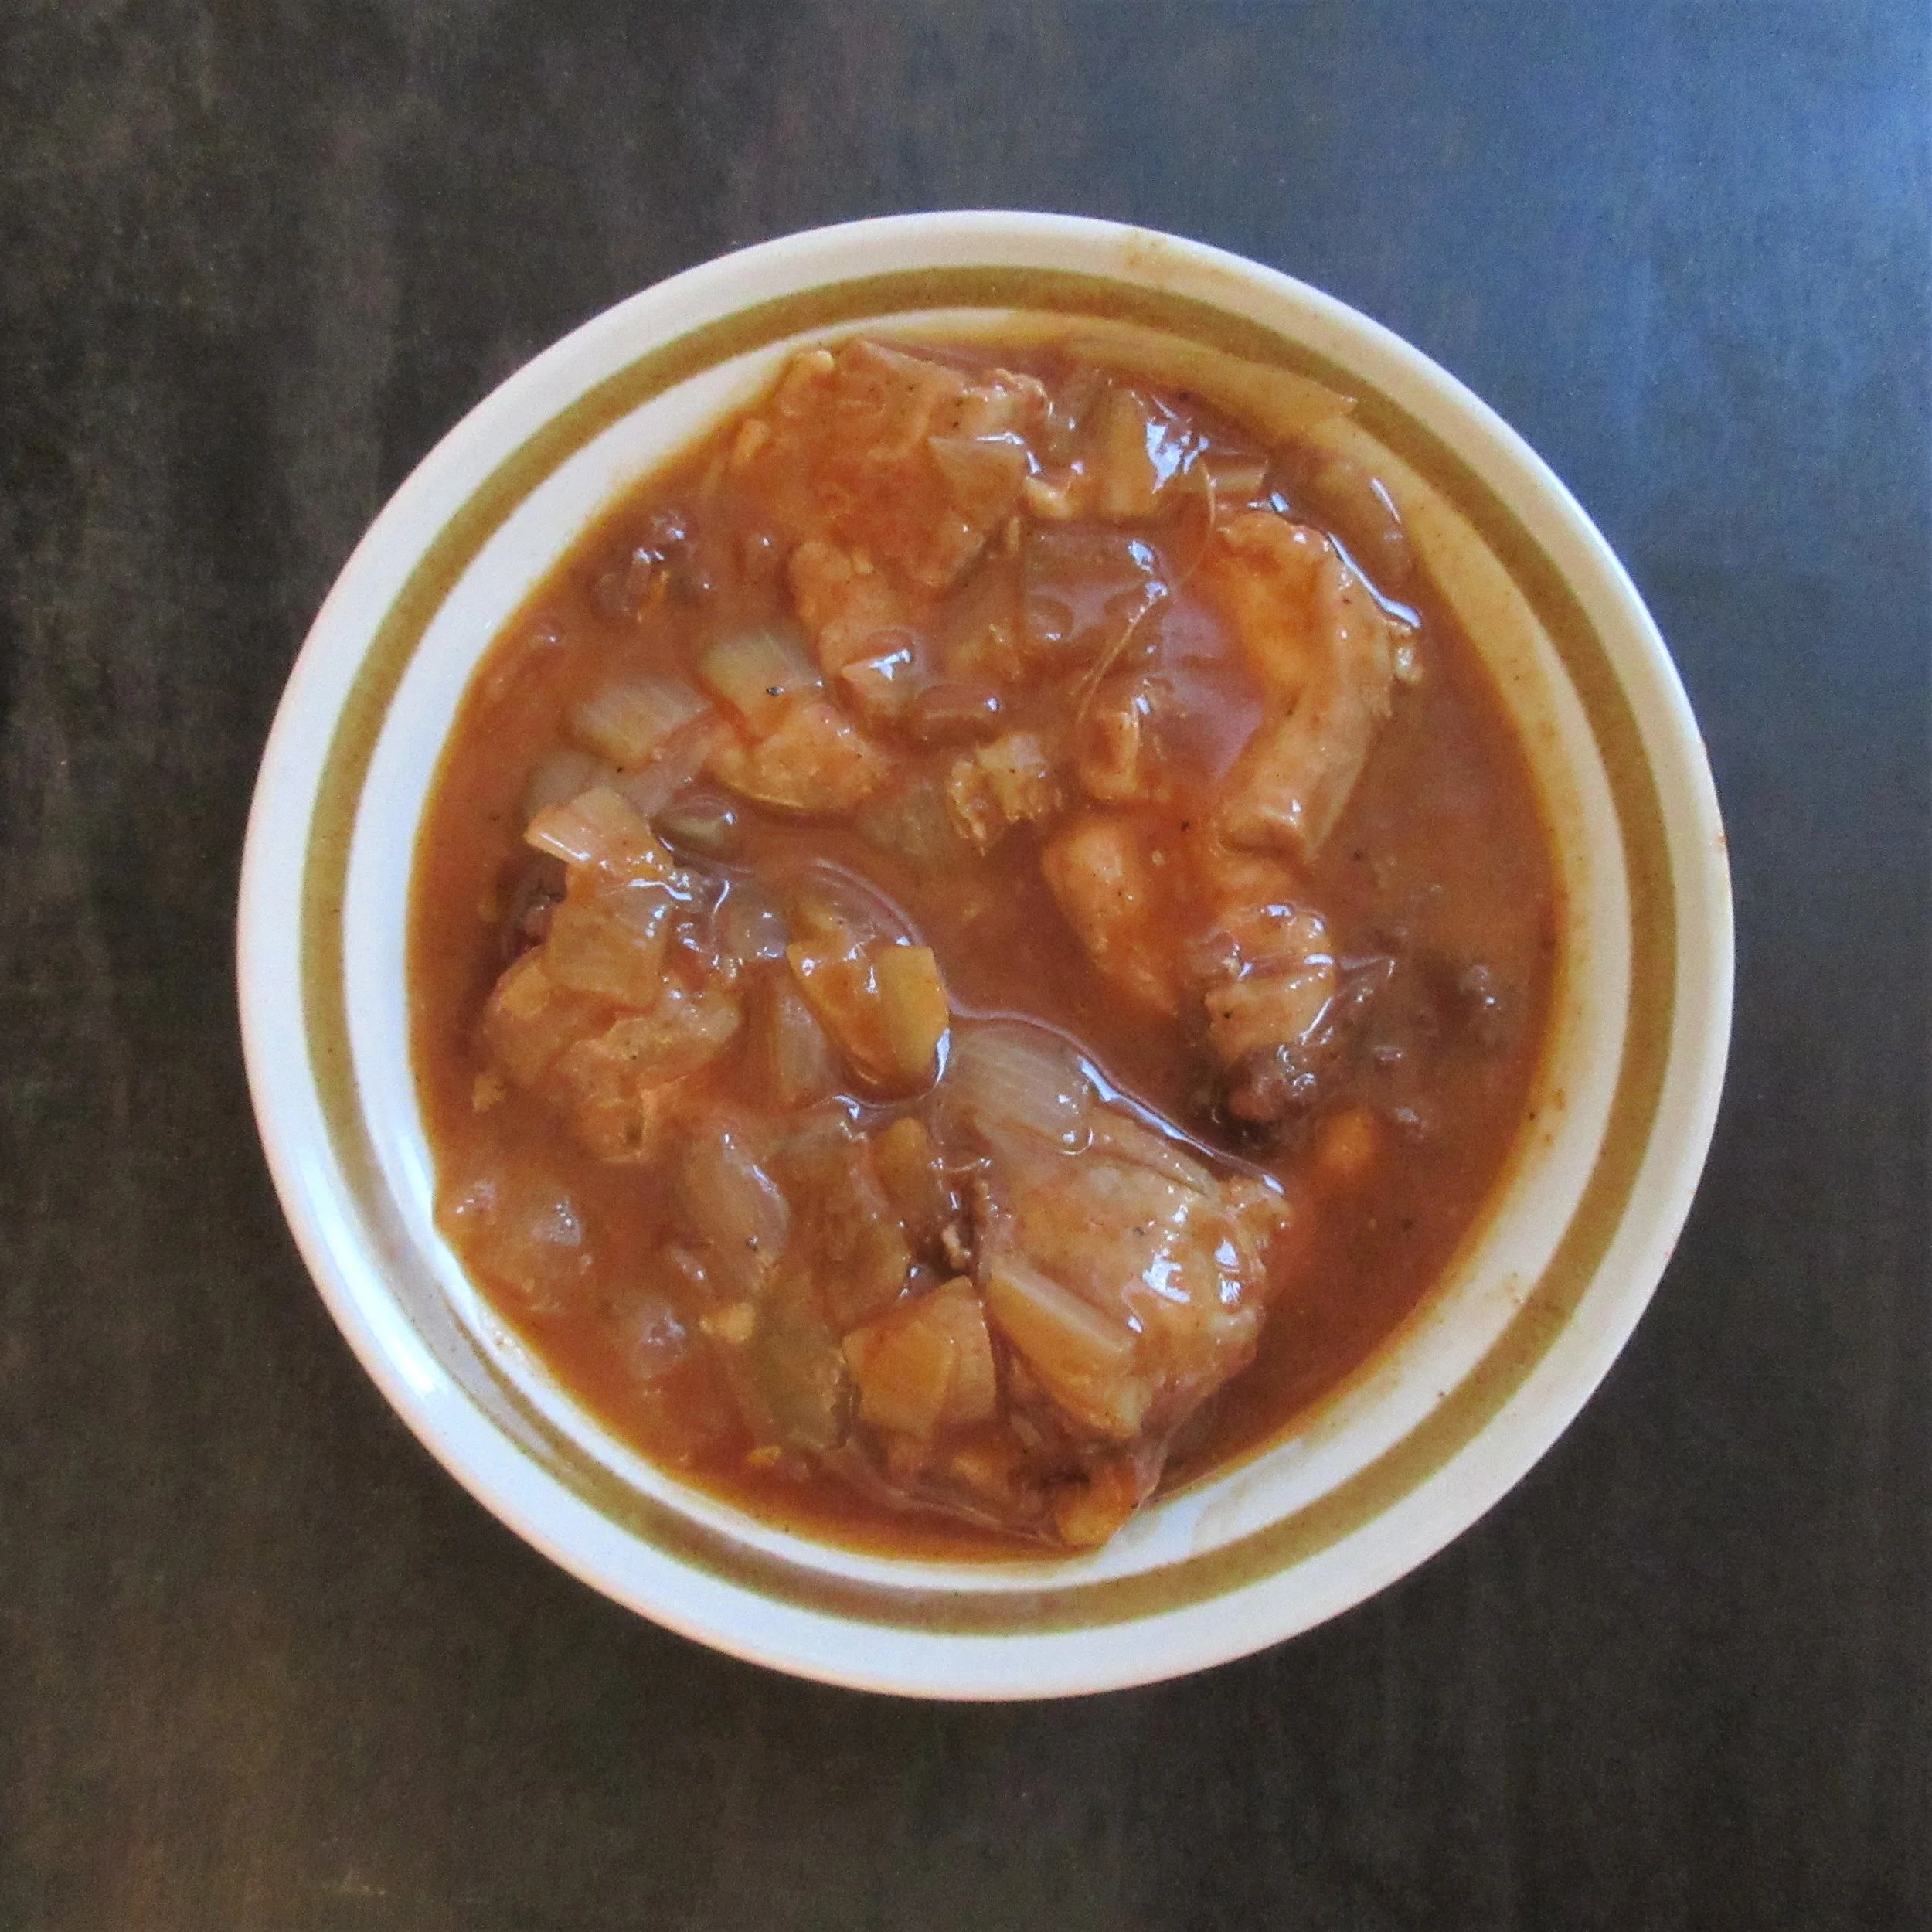
Chicken with Chili
If you ask me over to your house to babysit, I will snoop in your kitchen while your baby sleeps and search for old cookbooks. That’s where I found The Hundred Menu Chicken Cookbook from 1972, which has the tagline “One-pot chicken recipes that are easy-to-make and a treat to serve” and boasts that it contains recipes from over 20 countries.
Chicken with Chili is a warming full-flavoured chicken dish that would be an excellent slow-cooker recipe. I was intrigued by Chicken with Chili because it claimed to be an Ethiopian recipe and I was skeptical about how accurate it would be, but it turns out that it is reasonably similar to Doro Wat! A couple of ingredients that are typically served in Doro Wat are missing and the traditional spices have been substituted for spices that would have been found in the kitchens of most American families in 1972. What you end up with Chicken with Chili is an echo of Doro Wat without the spicy heat.

You’ll find this recipe in:
The Hundred Menu Chicken Cookbook
By: Robert Ackart
New York, 1972
Original Recipe:
Chicken with Chili – I
Ethiopian
Like many dishes requiring several strong spices, this one is of elusive flavor.
You will need…
2 Tbs butter
2 Tbs oil
Serving-pieces of chicken for 6 persons
6 onions, chopped
1 - 3” piece stick cinnamon
Grated rind and juice of 1 lemon
4 Tbs tomato paste
2 Tbs chili powder
1 tsp ginger
1 tsp salt
½ tsp pepper
½ cup red wine
1 ½ cups chicken broth
2 Tbs cornstarch
2 Tbs chopped fresh ginger root (optional)
Preparation…
In a casserole, heat butter and oil and brown chicken. Remove.
In remaining fat, cook onions until translucent. Add cinnamon stick.
Combine and blend well these ten ingredients.
To onions, add liquid mixture and cook over high heat, stirring, until sauce thickens. (Sauce will not be heavy; for thicker sauce, use an additional Tbs cornstarch). Add ginger root. Replace Chicken.
At this point you may stop and continue later.
Cooking…
Bake, covered, at 350º for one hour, or until chicken is tender.
From The Hundred Menu Chicken Cookbook’s Introduction:
I prefer the second joint, or thigh, it is more flavorful and moist than the other parts of the chicken, and much less expensive than the “socially acceptable” breast, which can be dry, stringy and flavorless.
To brown chicken, place the skin side down, season the up side with salt and pepper, when the chicken is turned, the seasoning will cook into the meat.
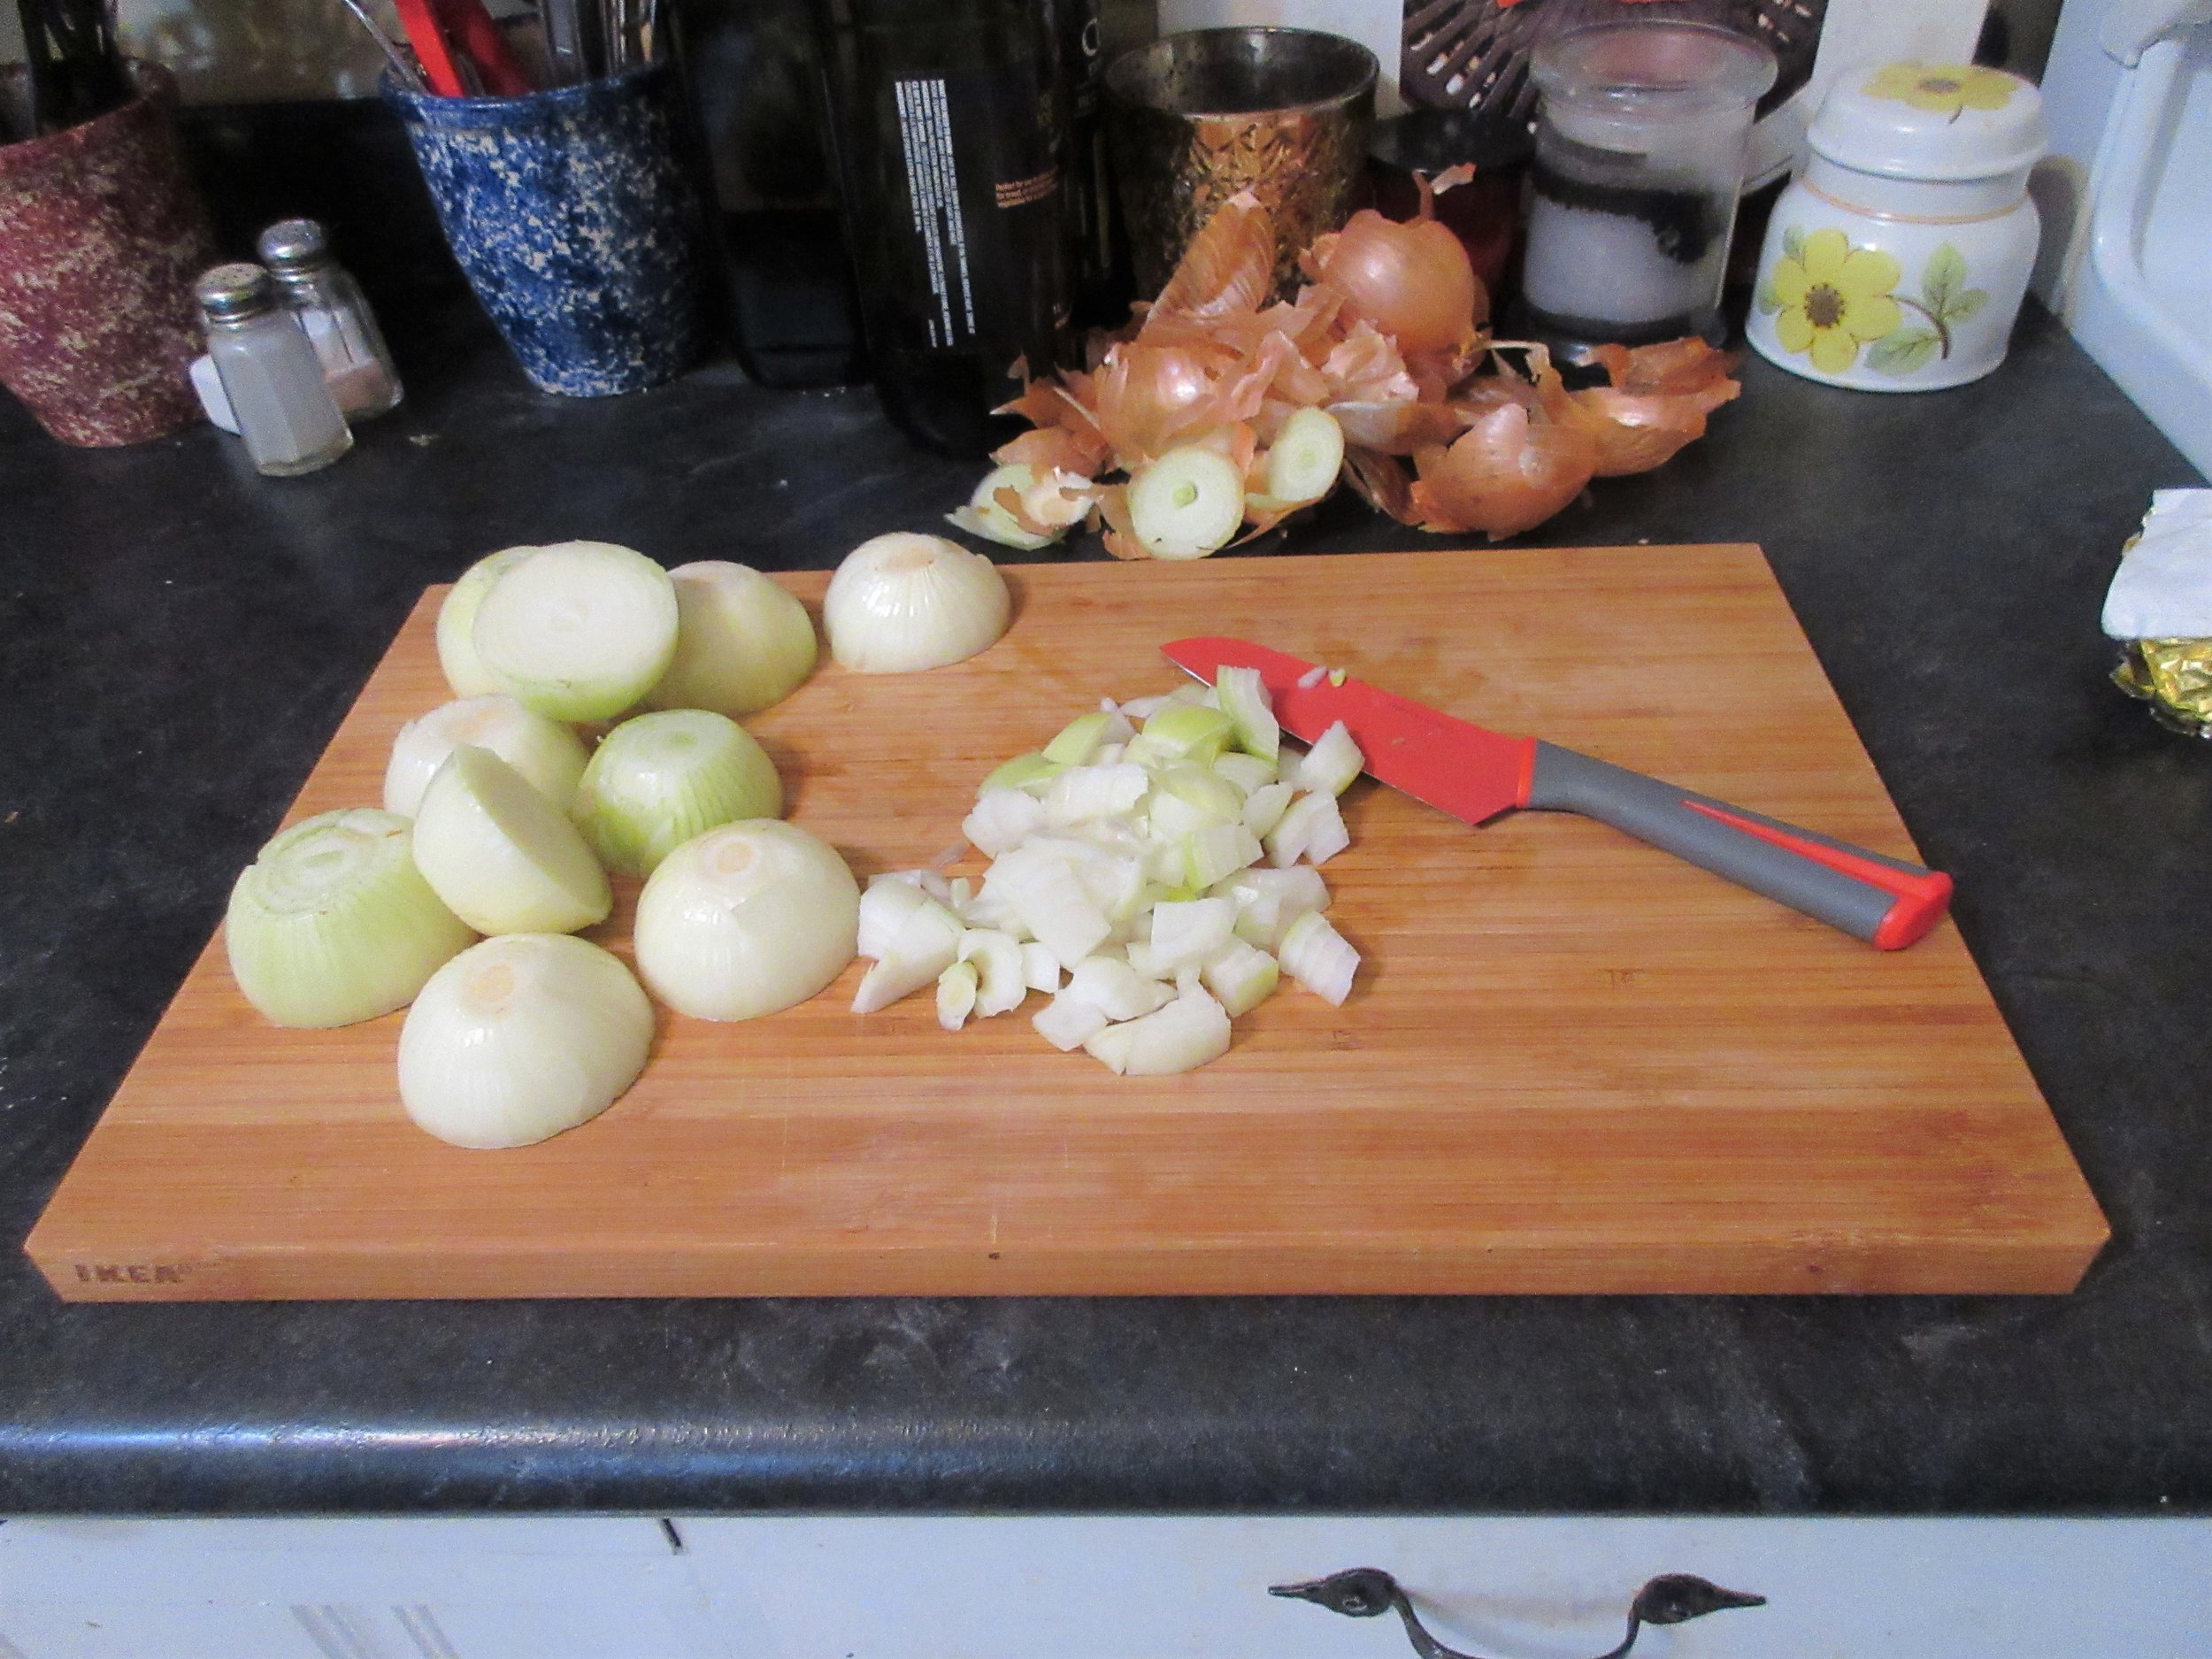
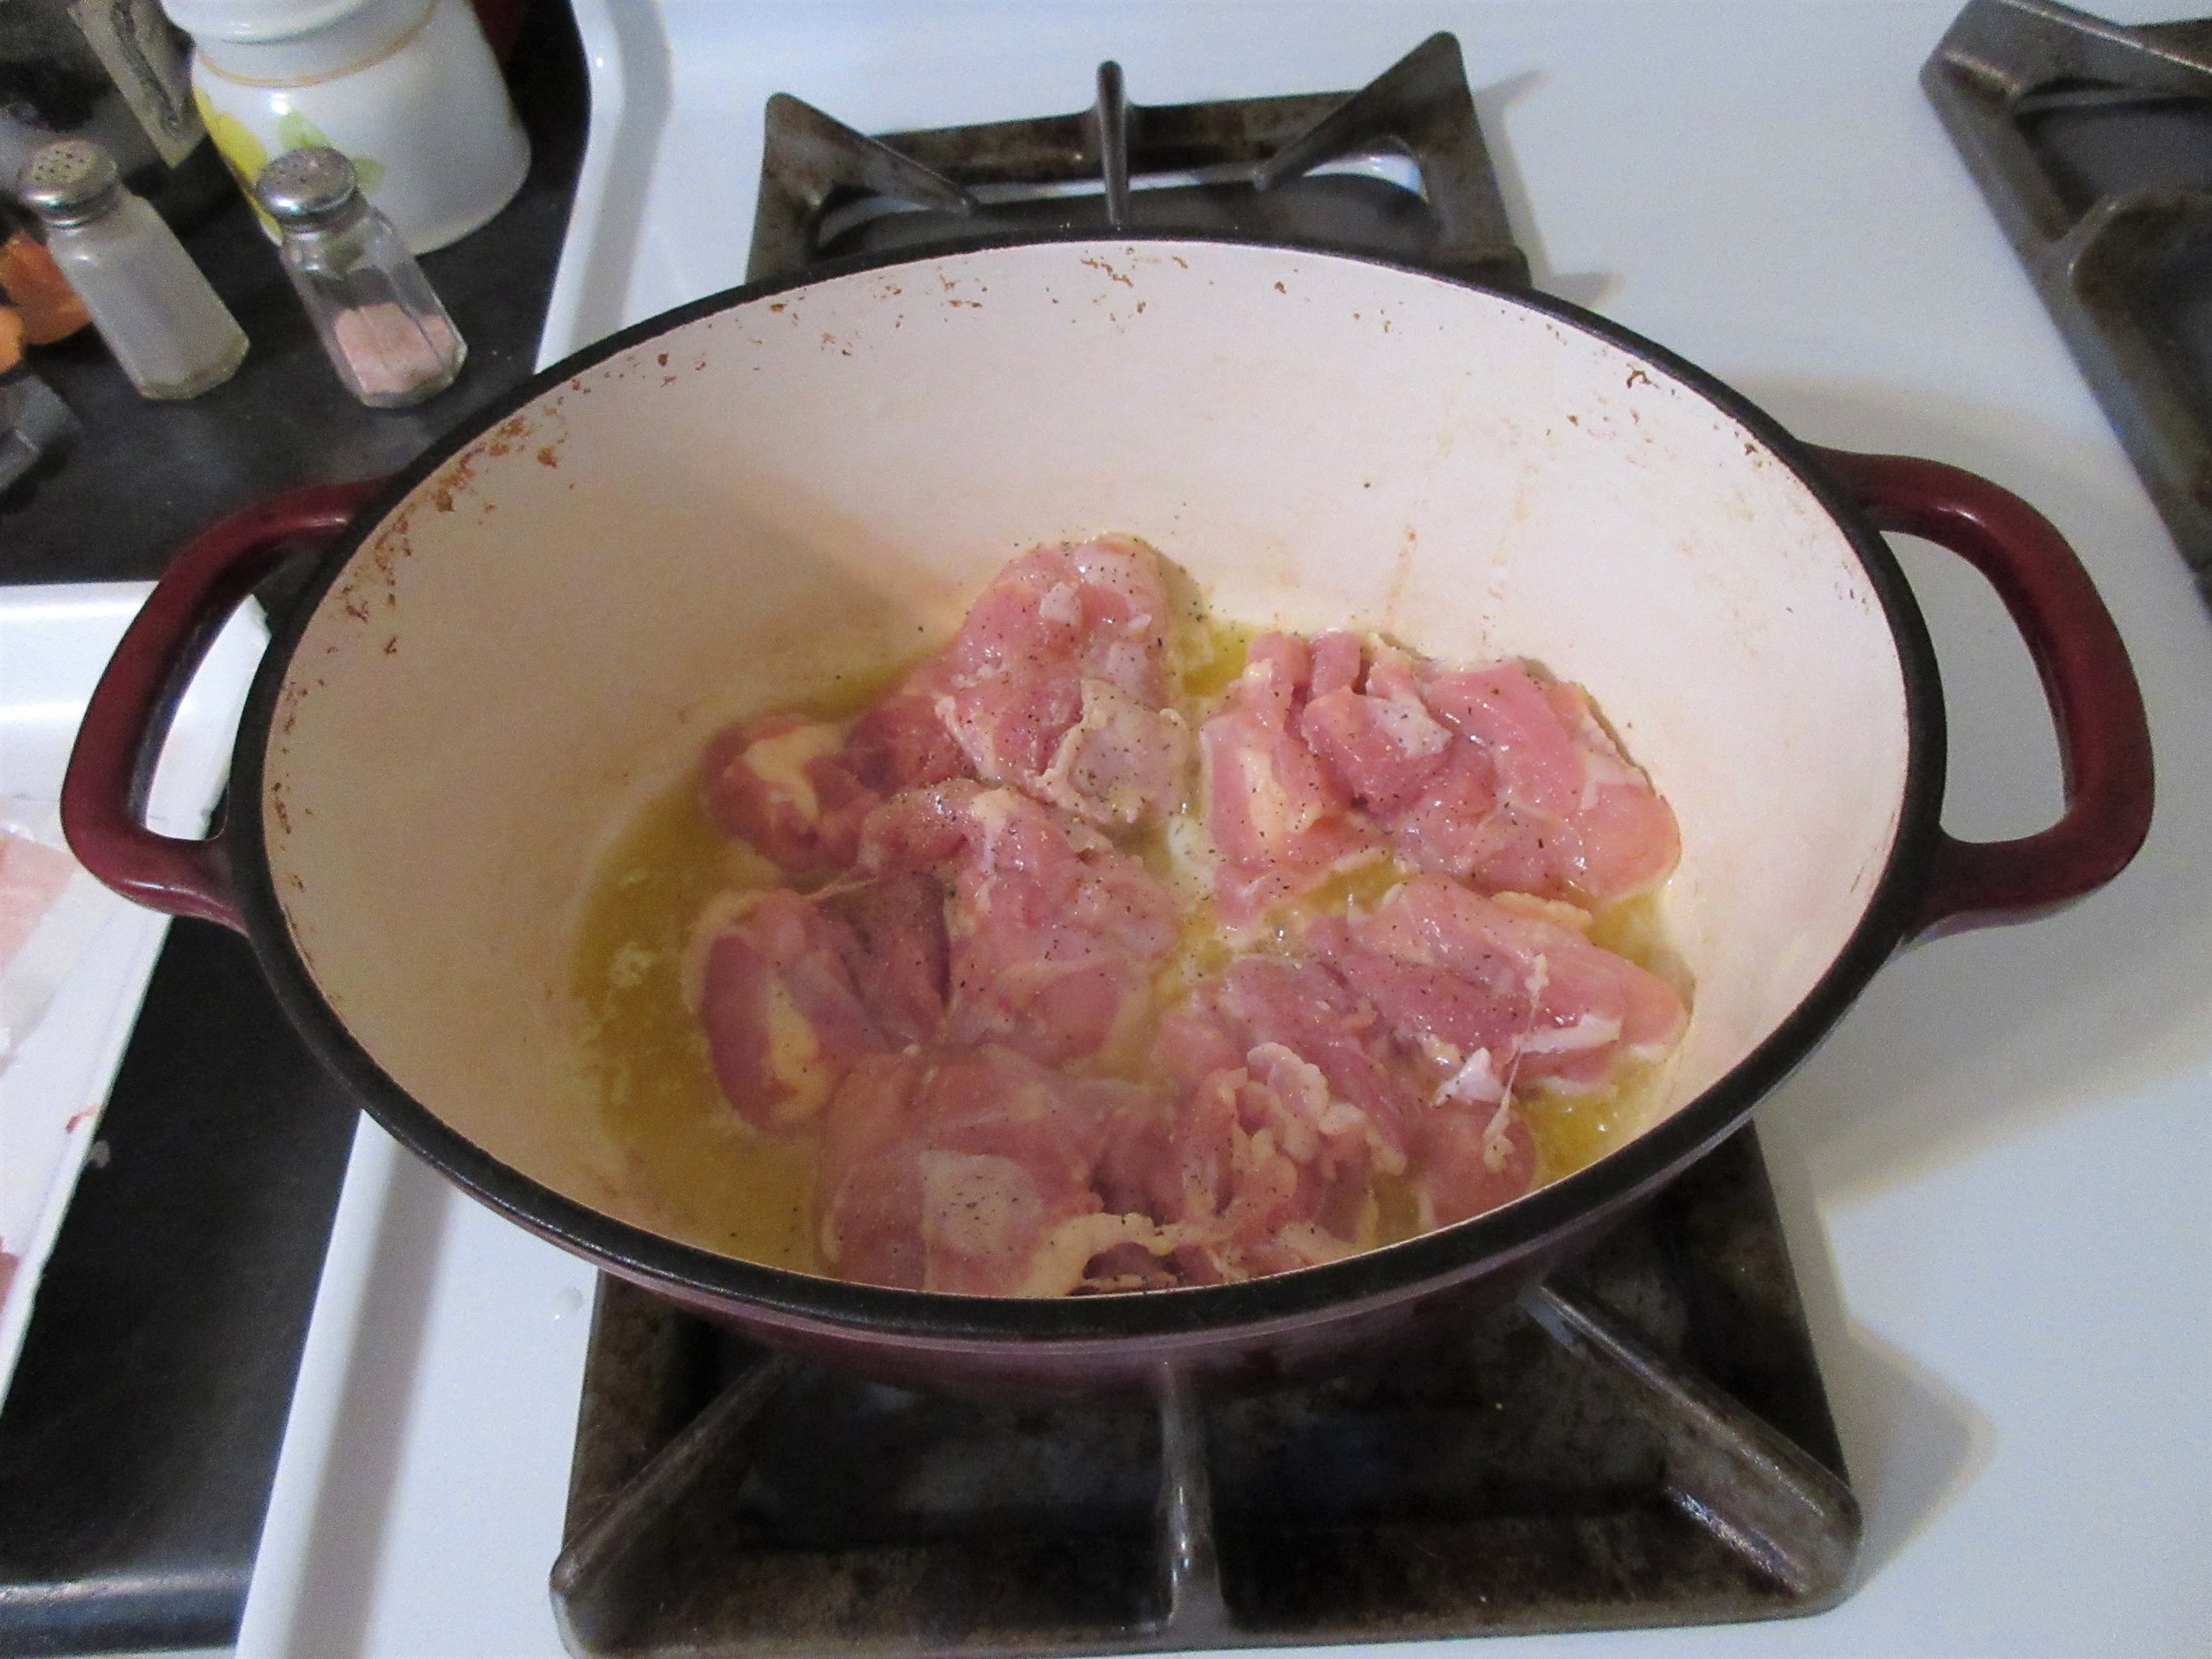
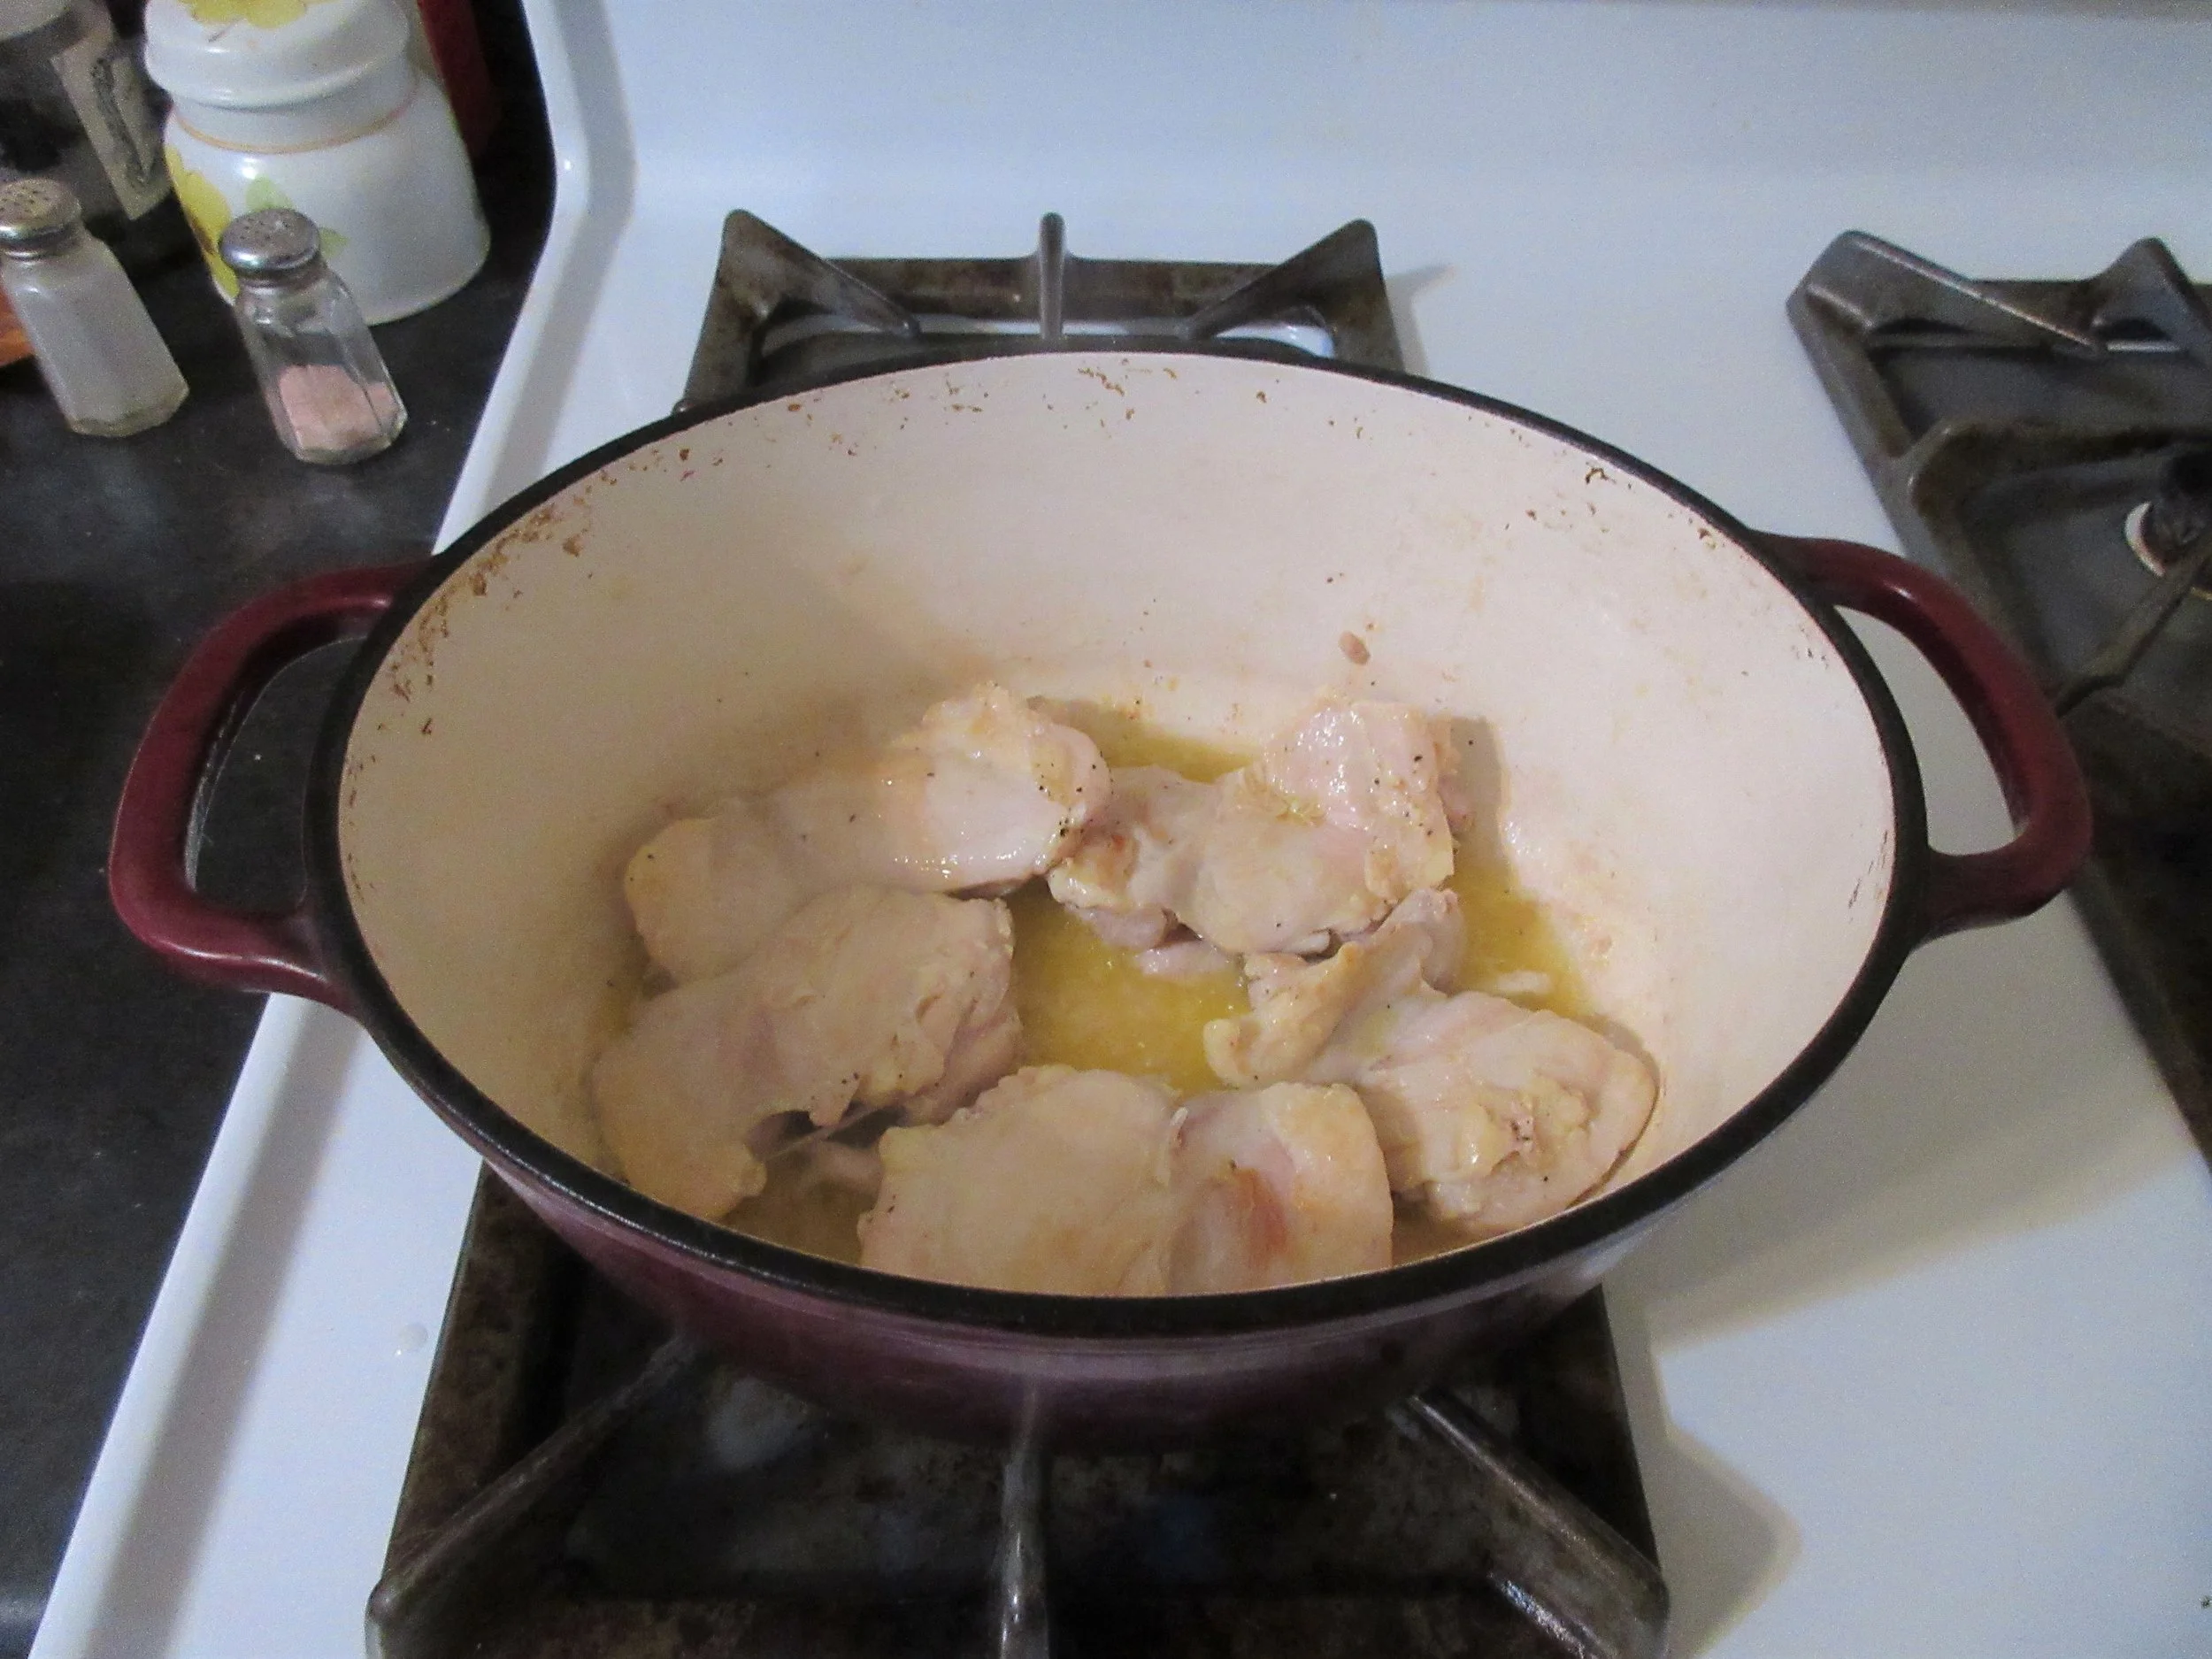
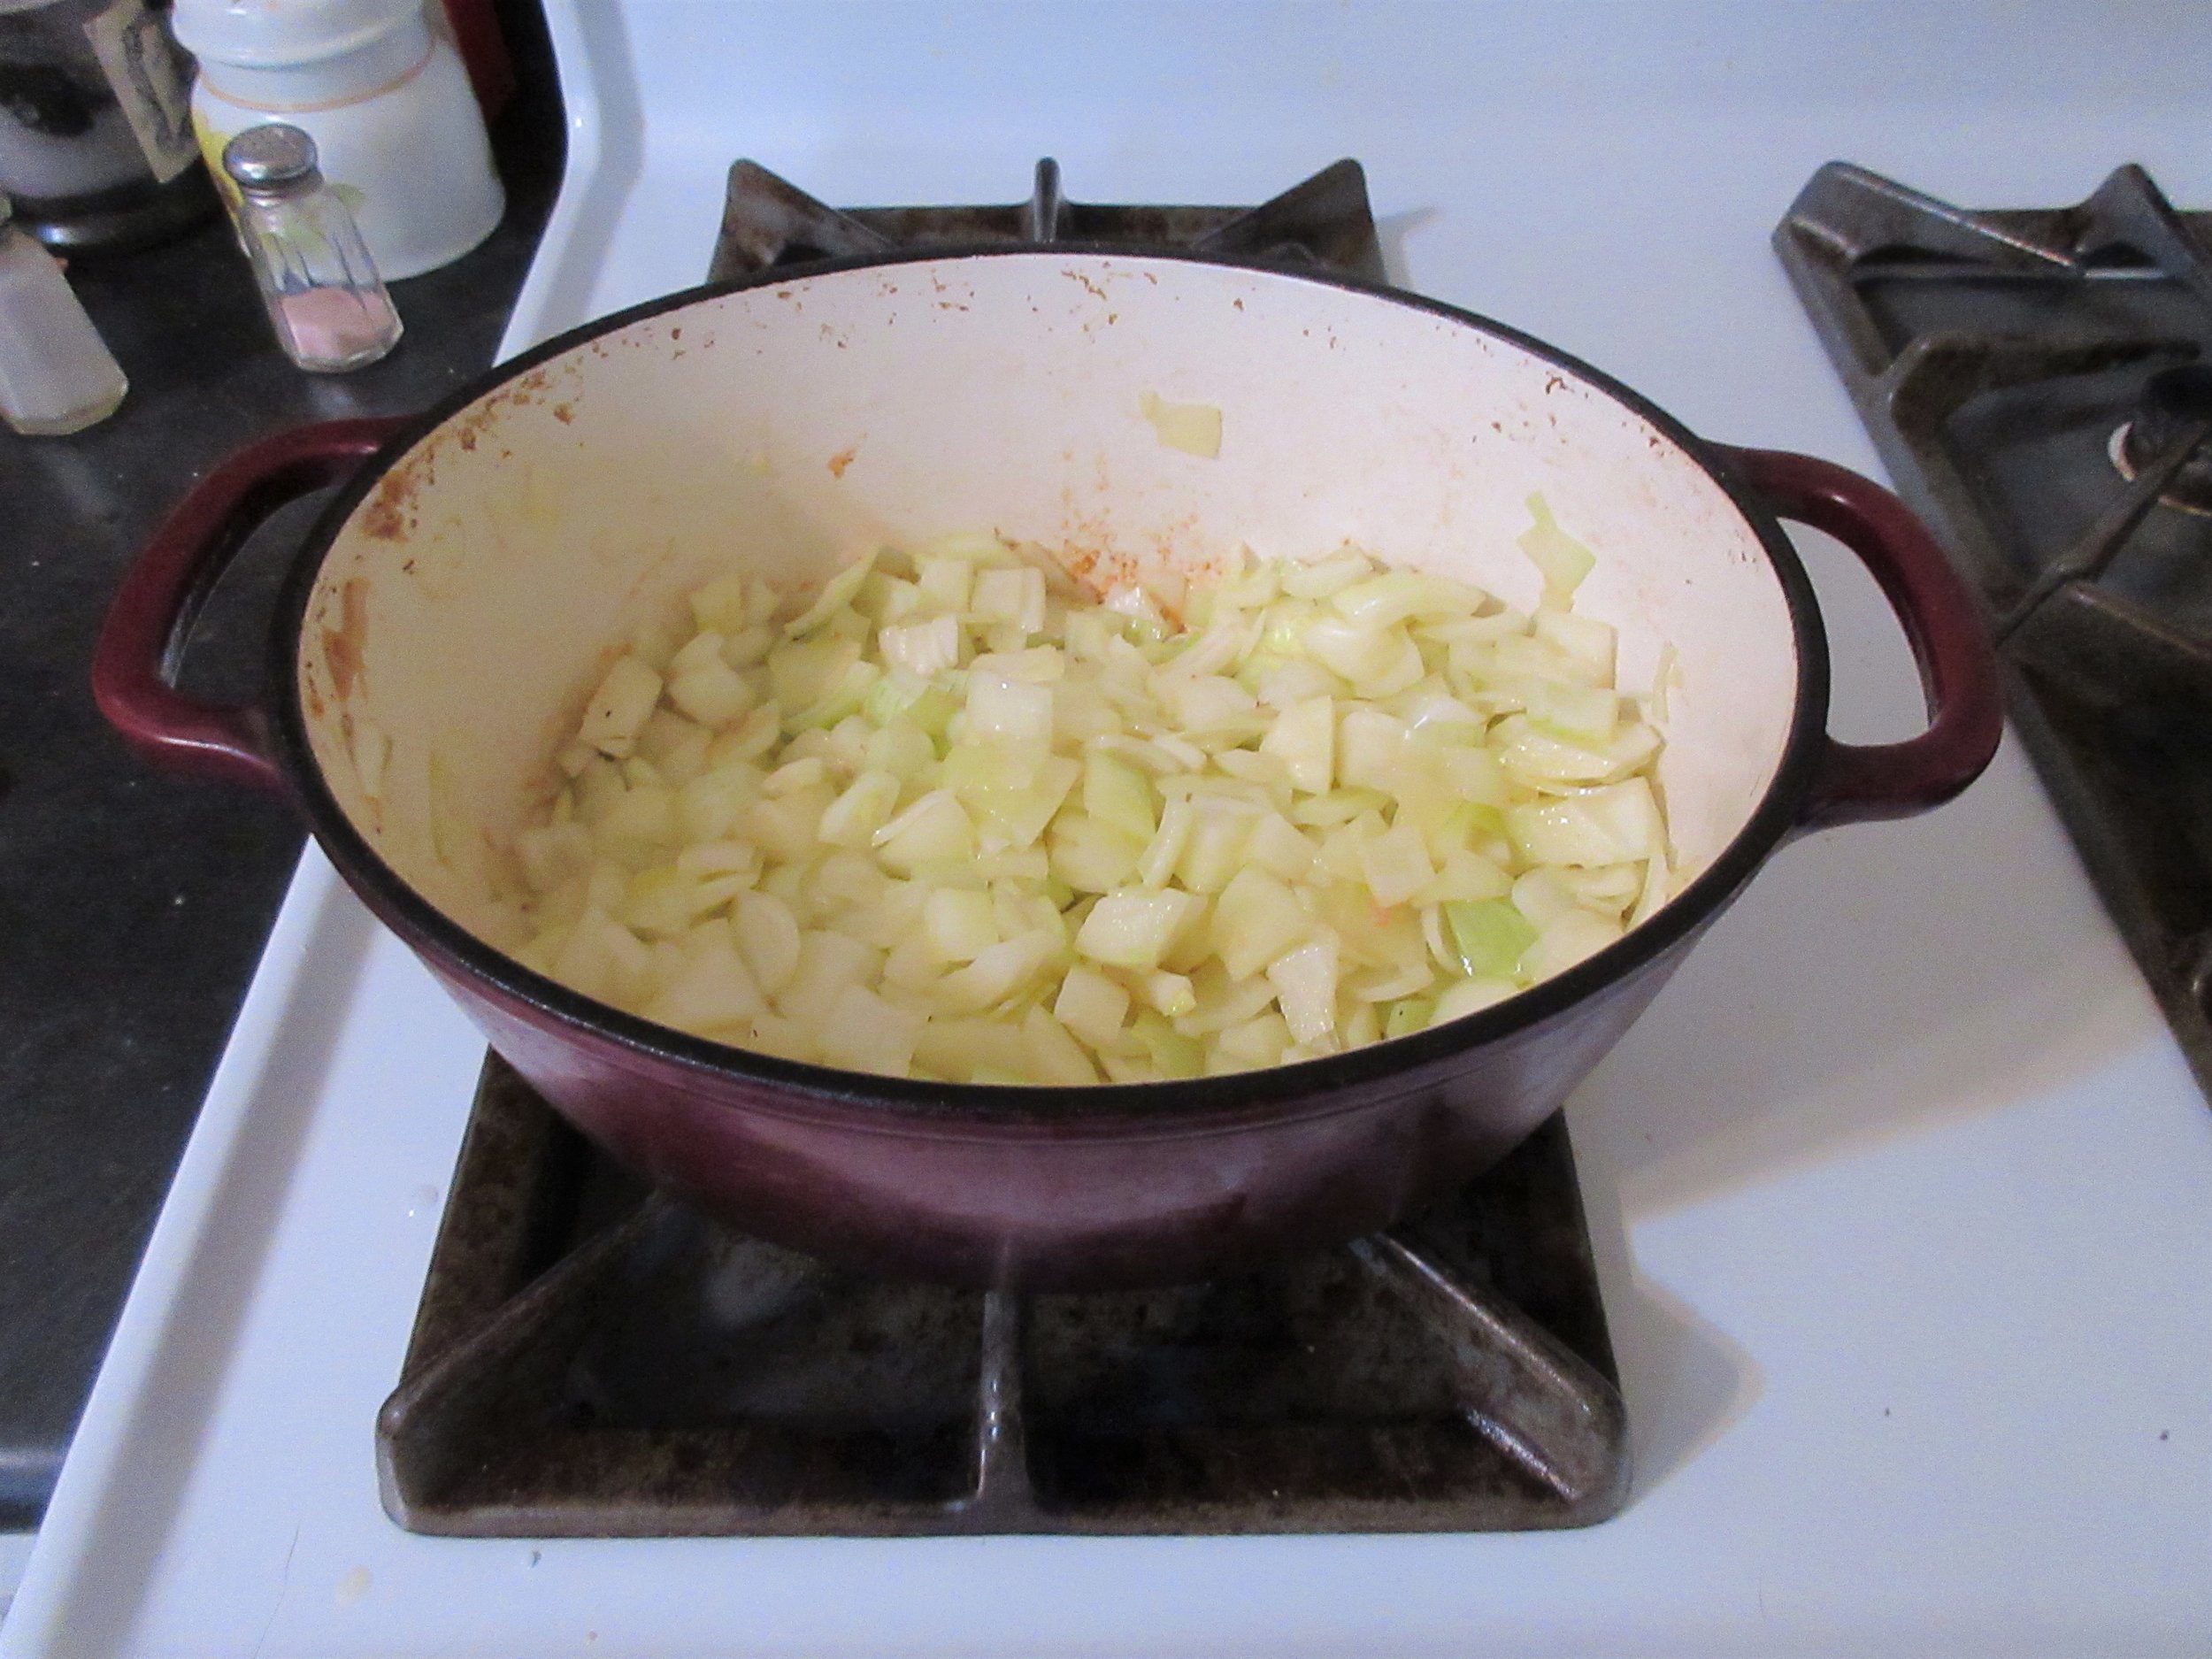
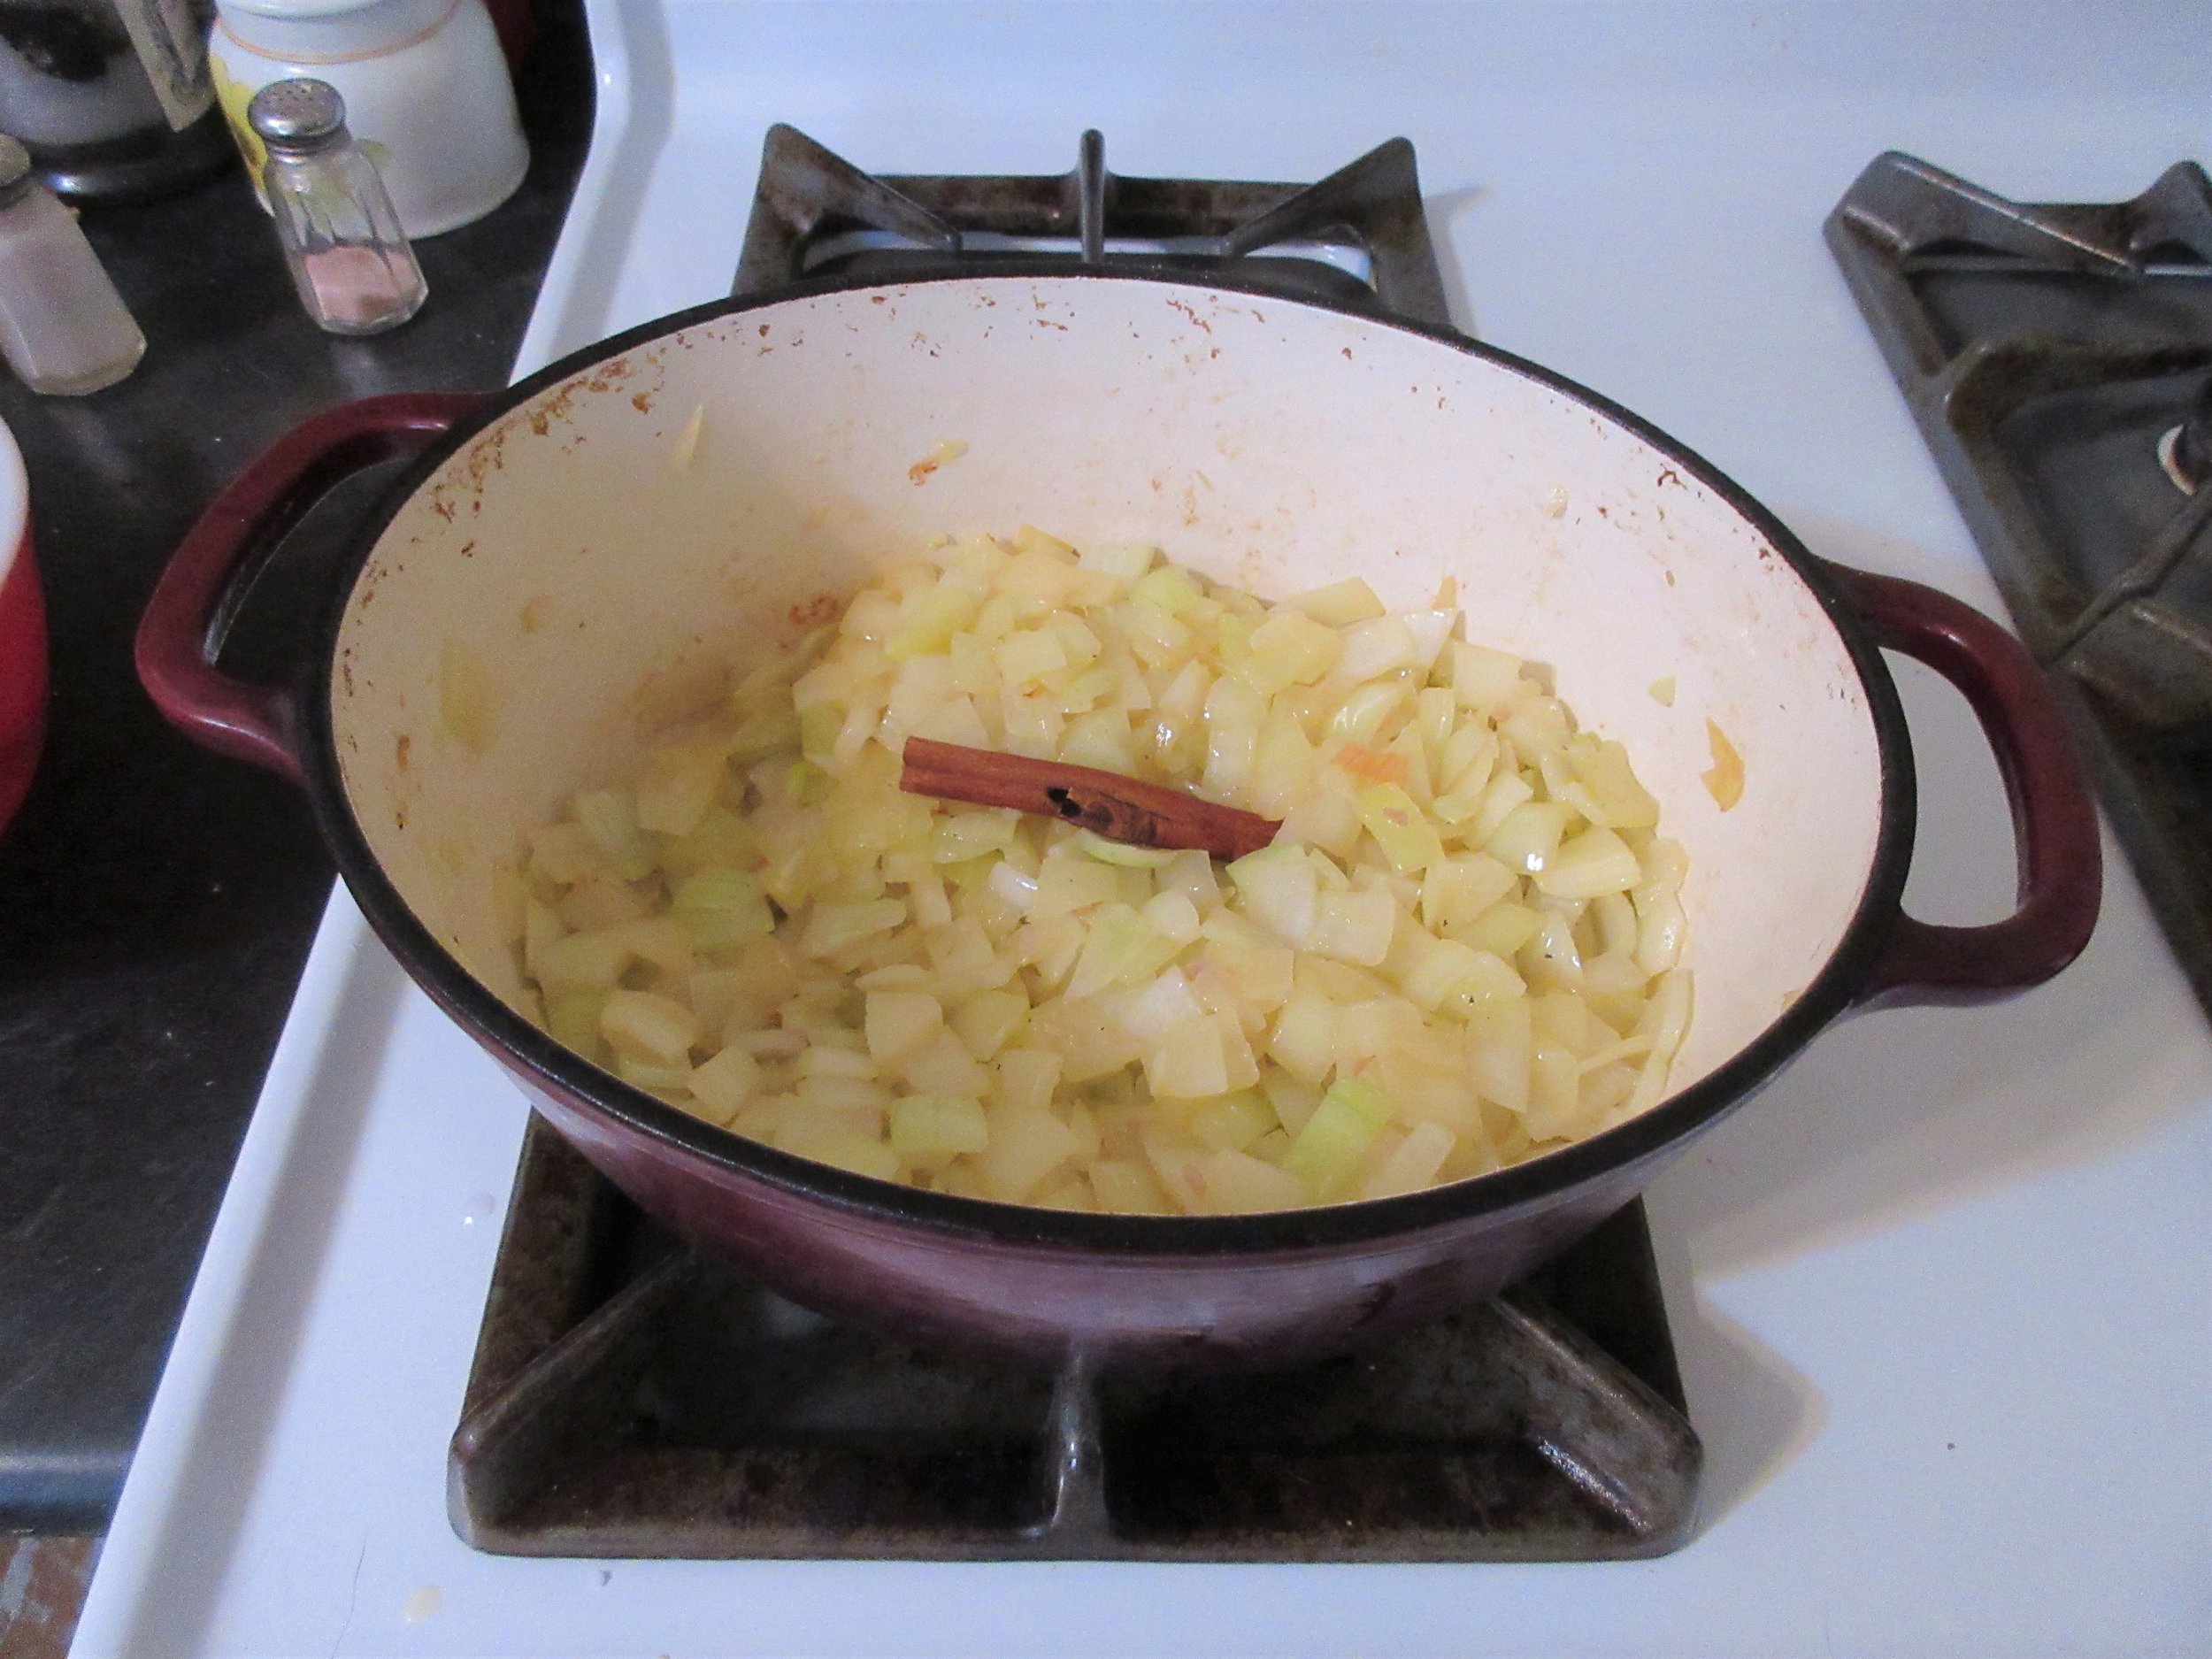
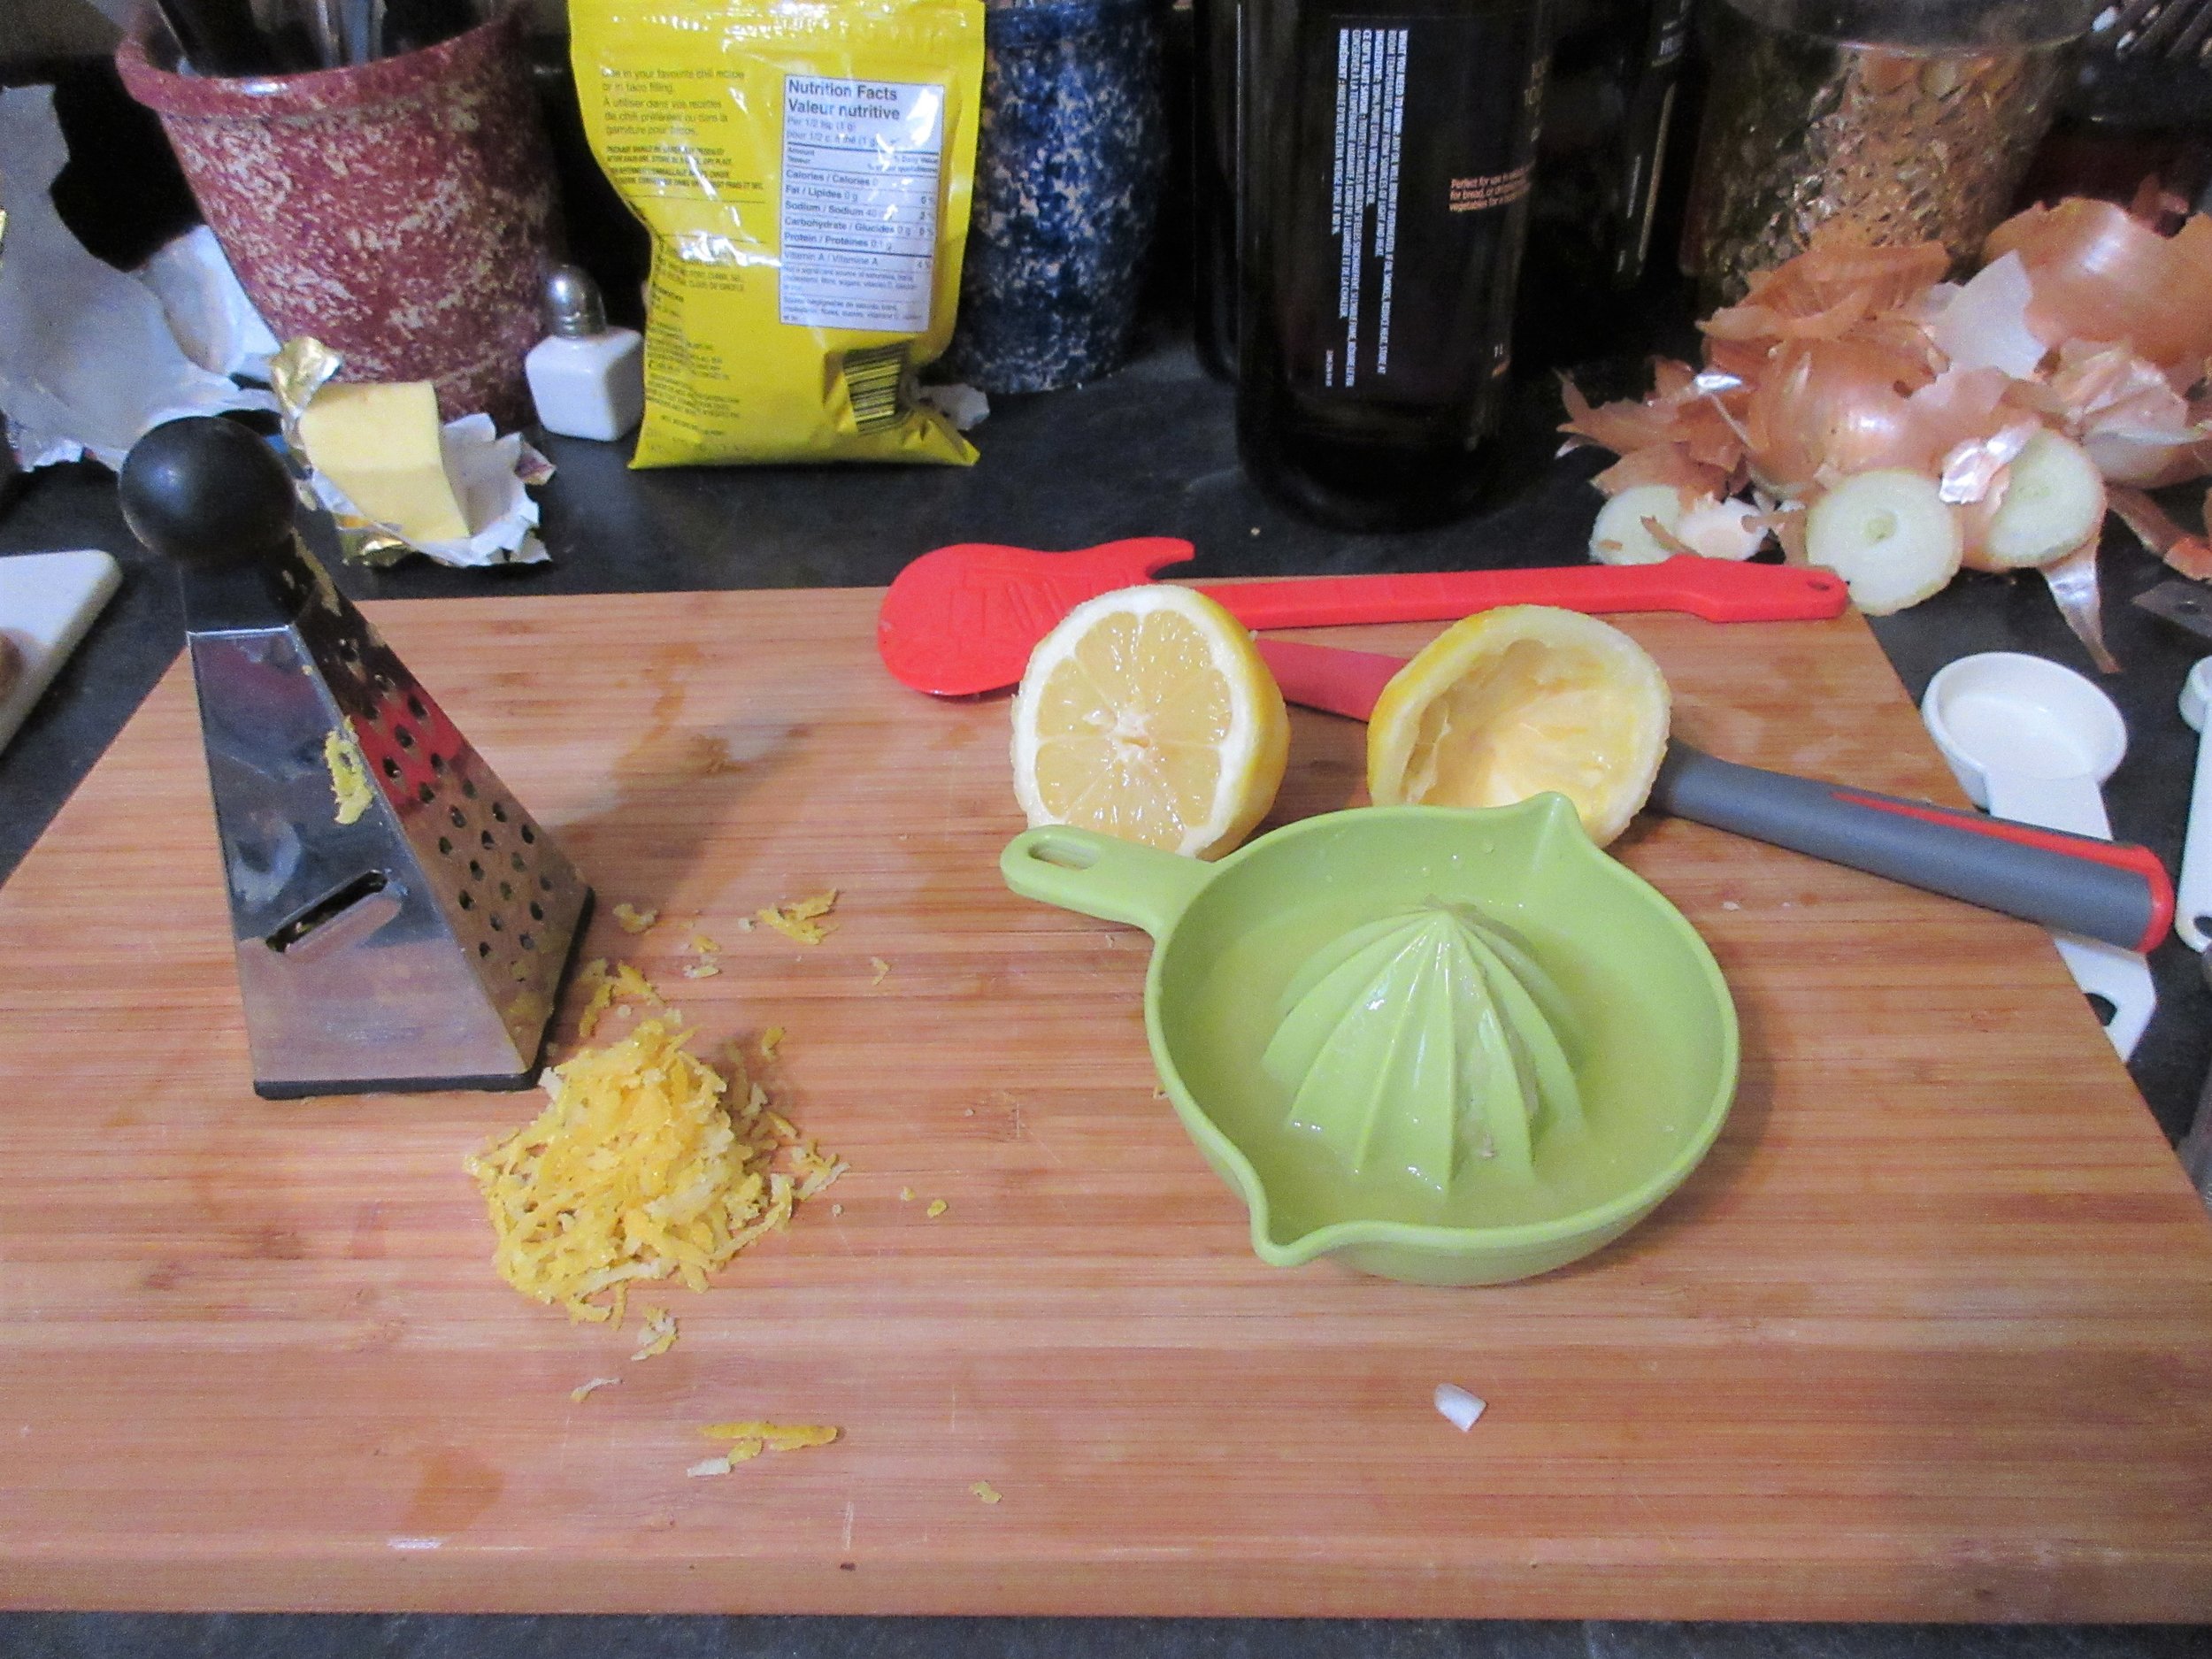
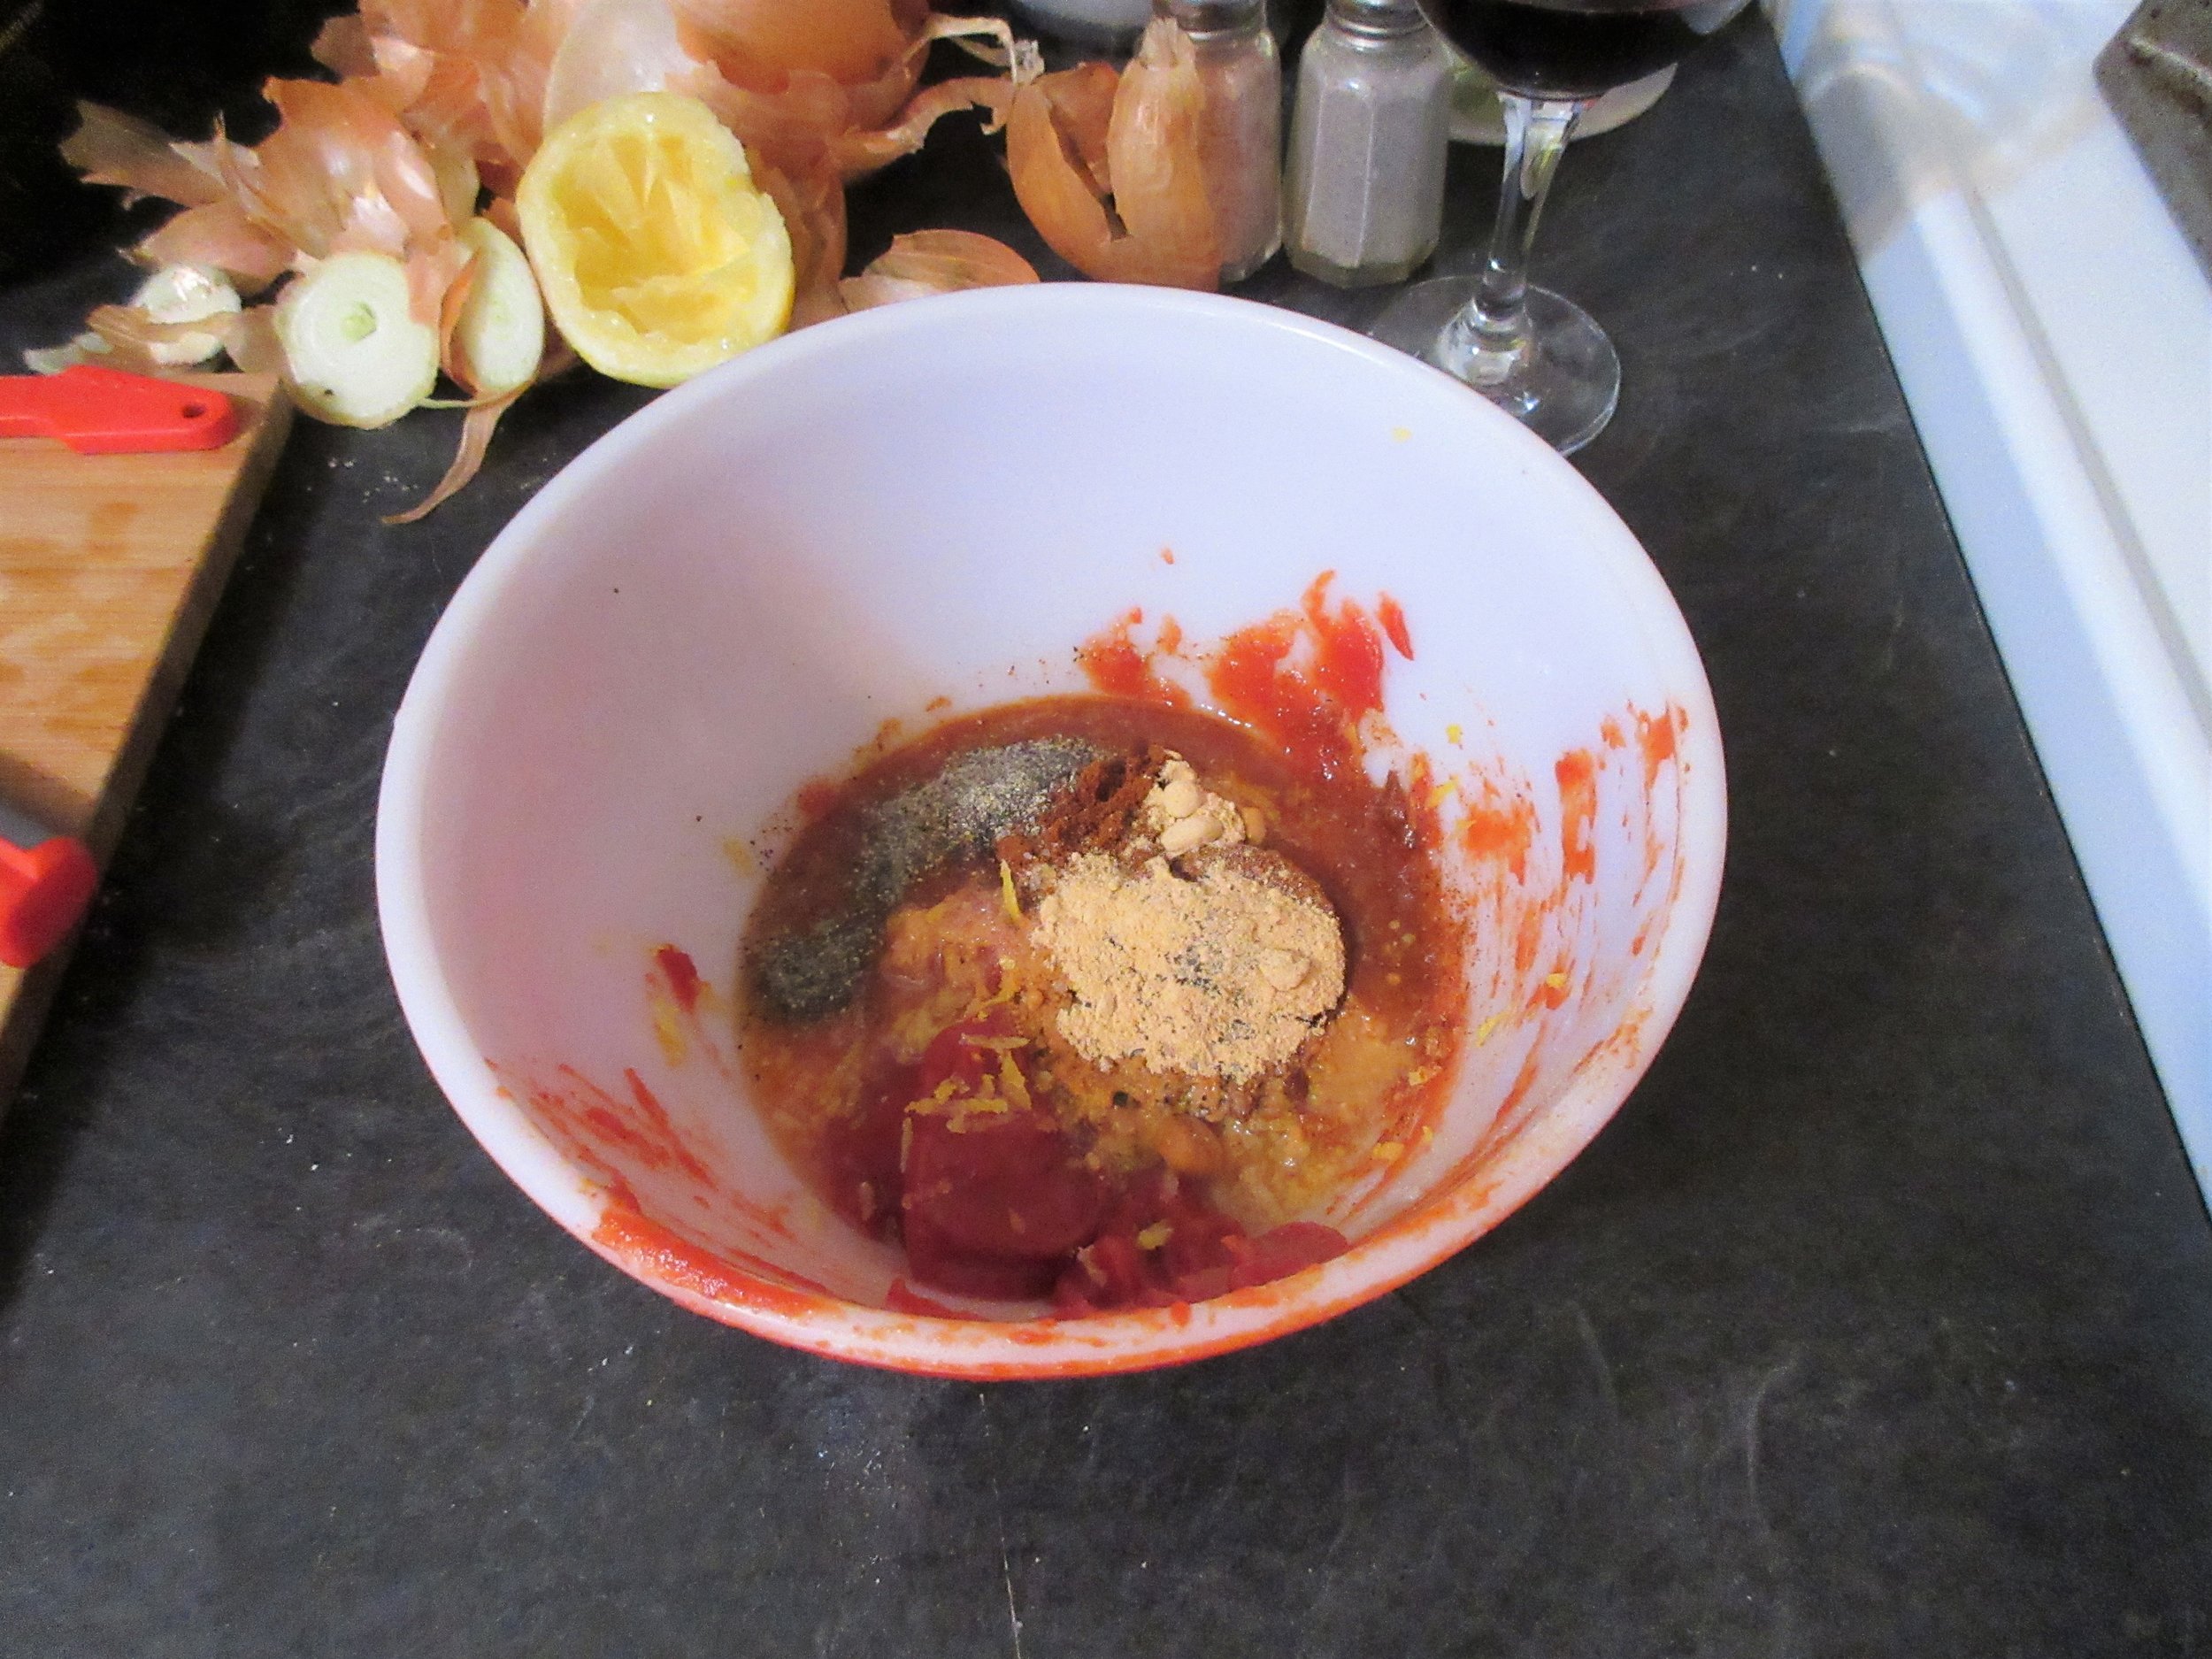
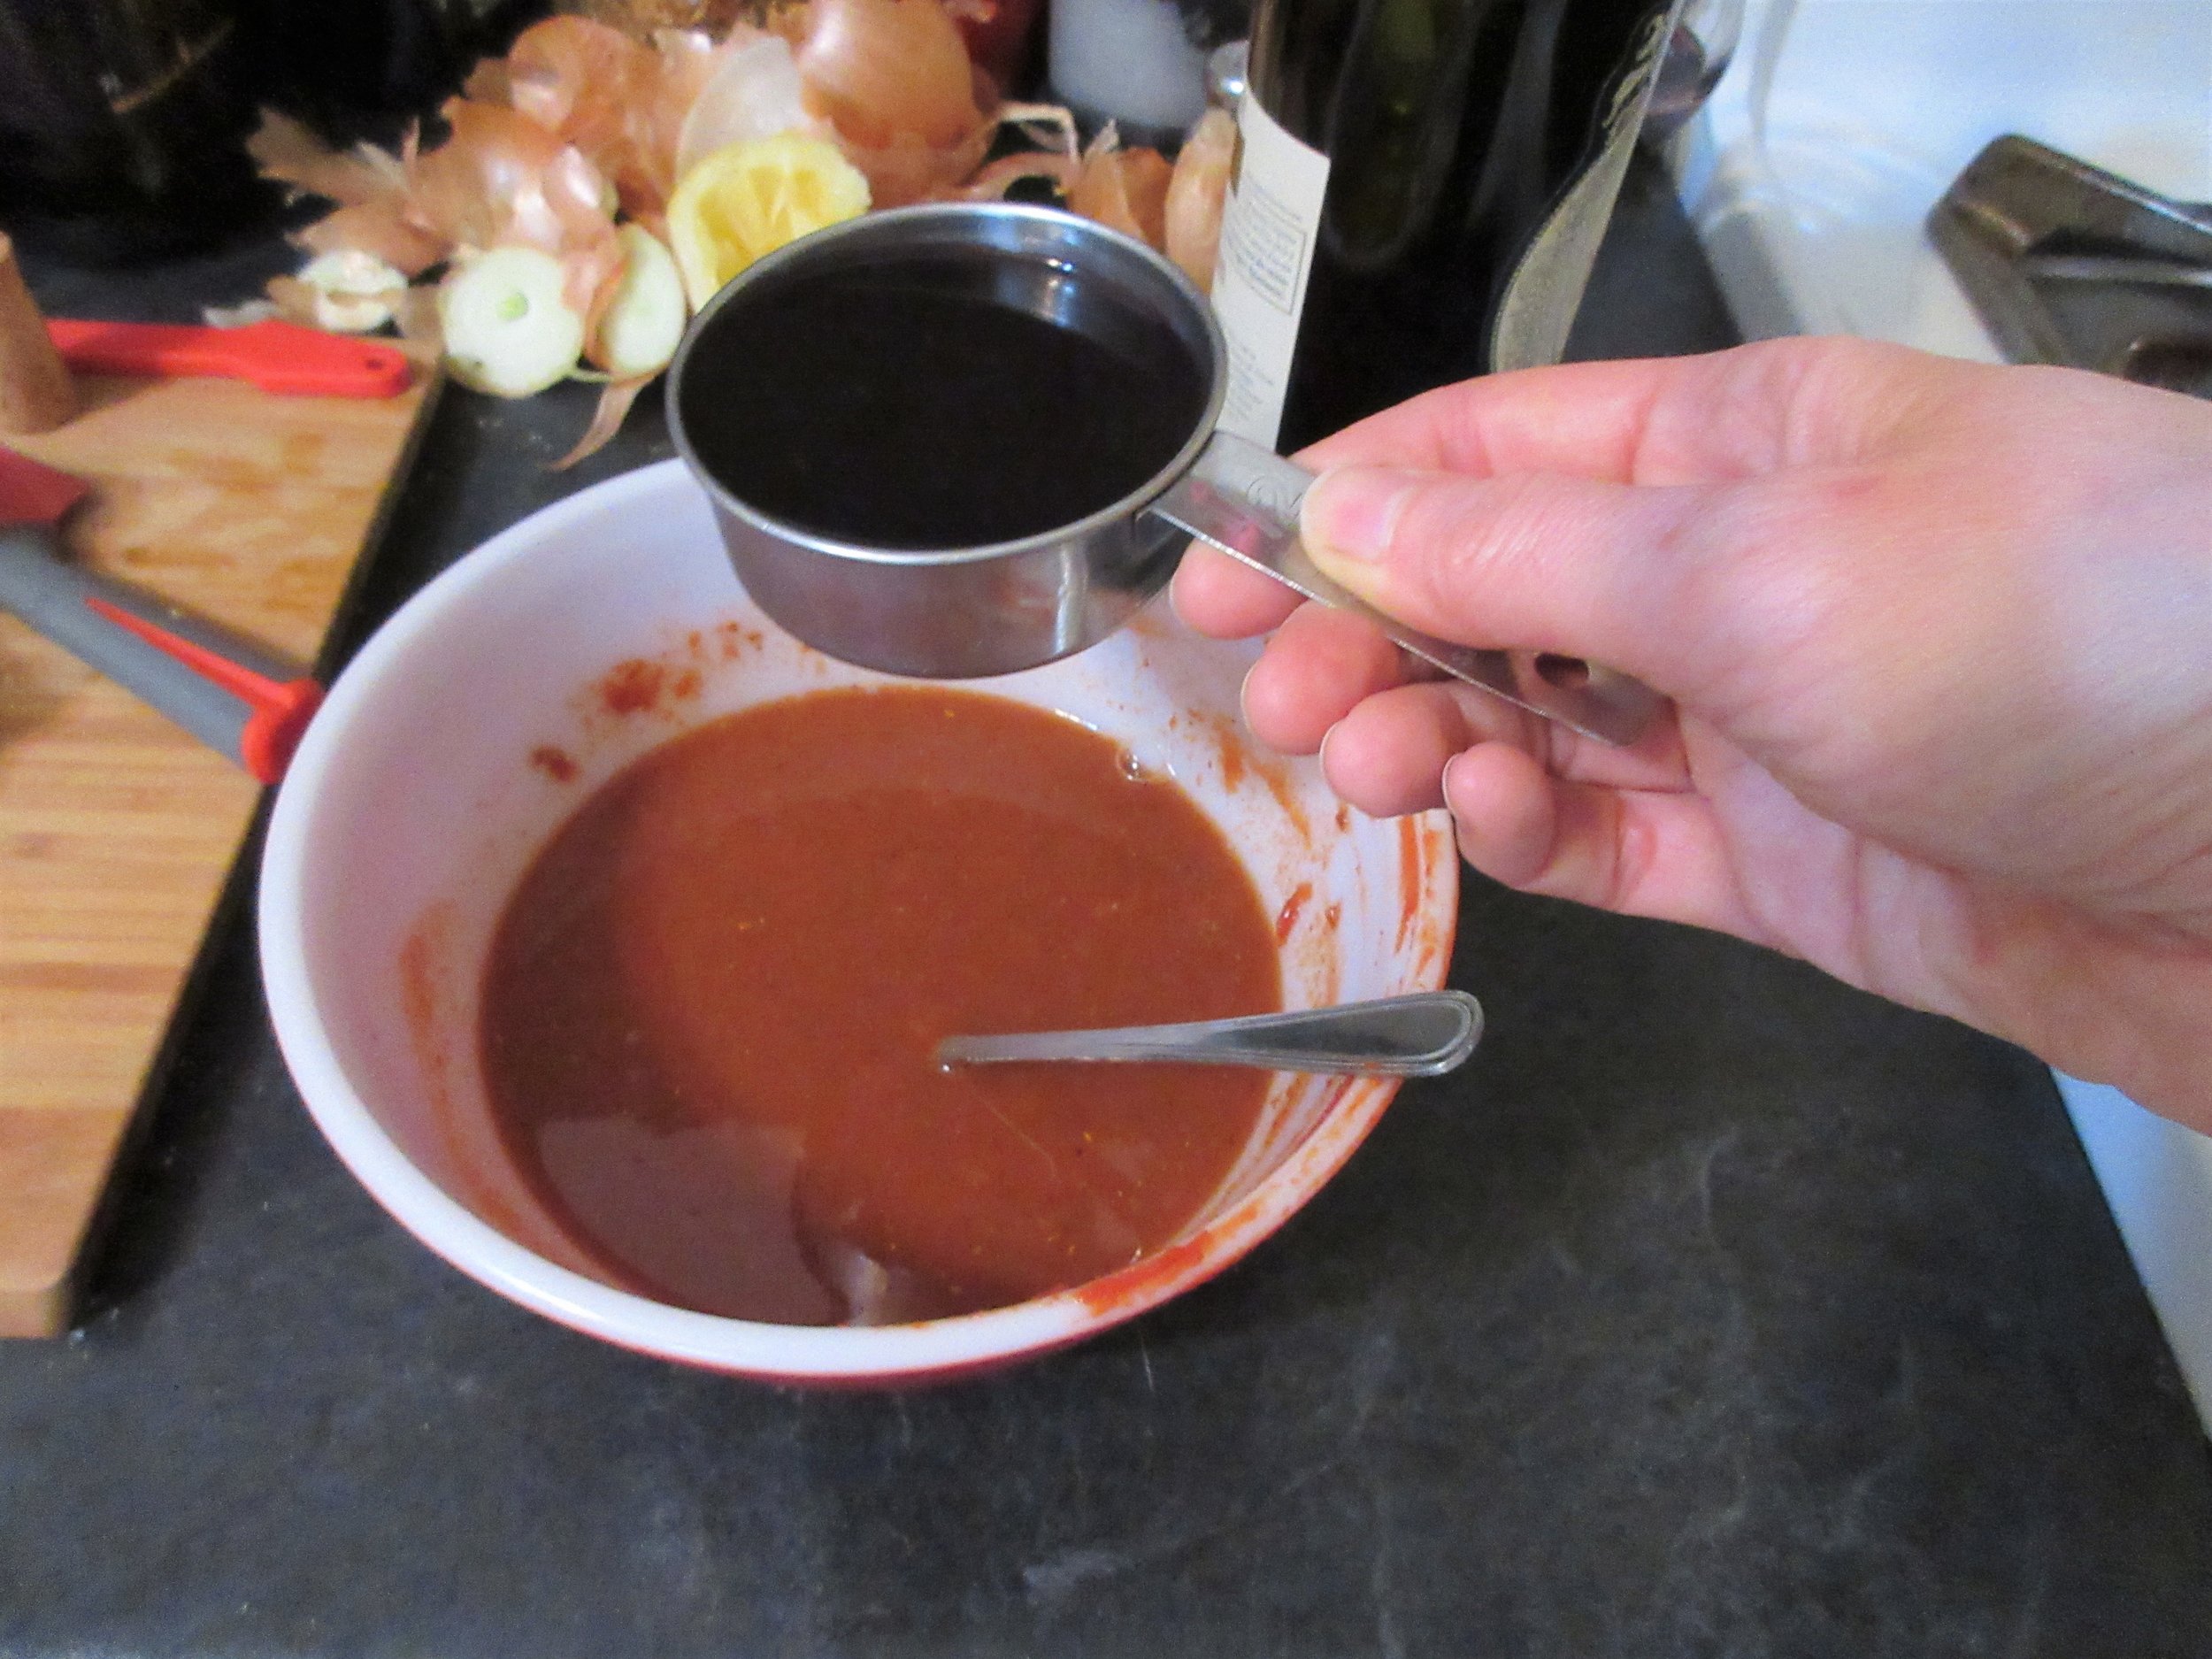
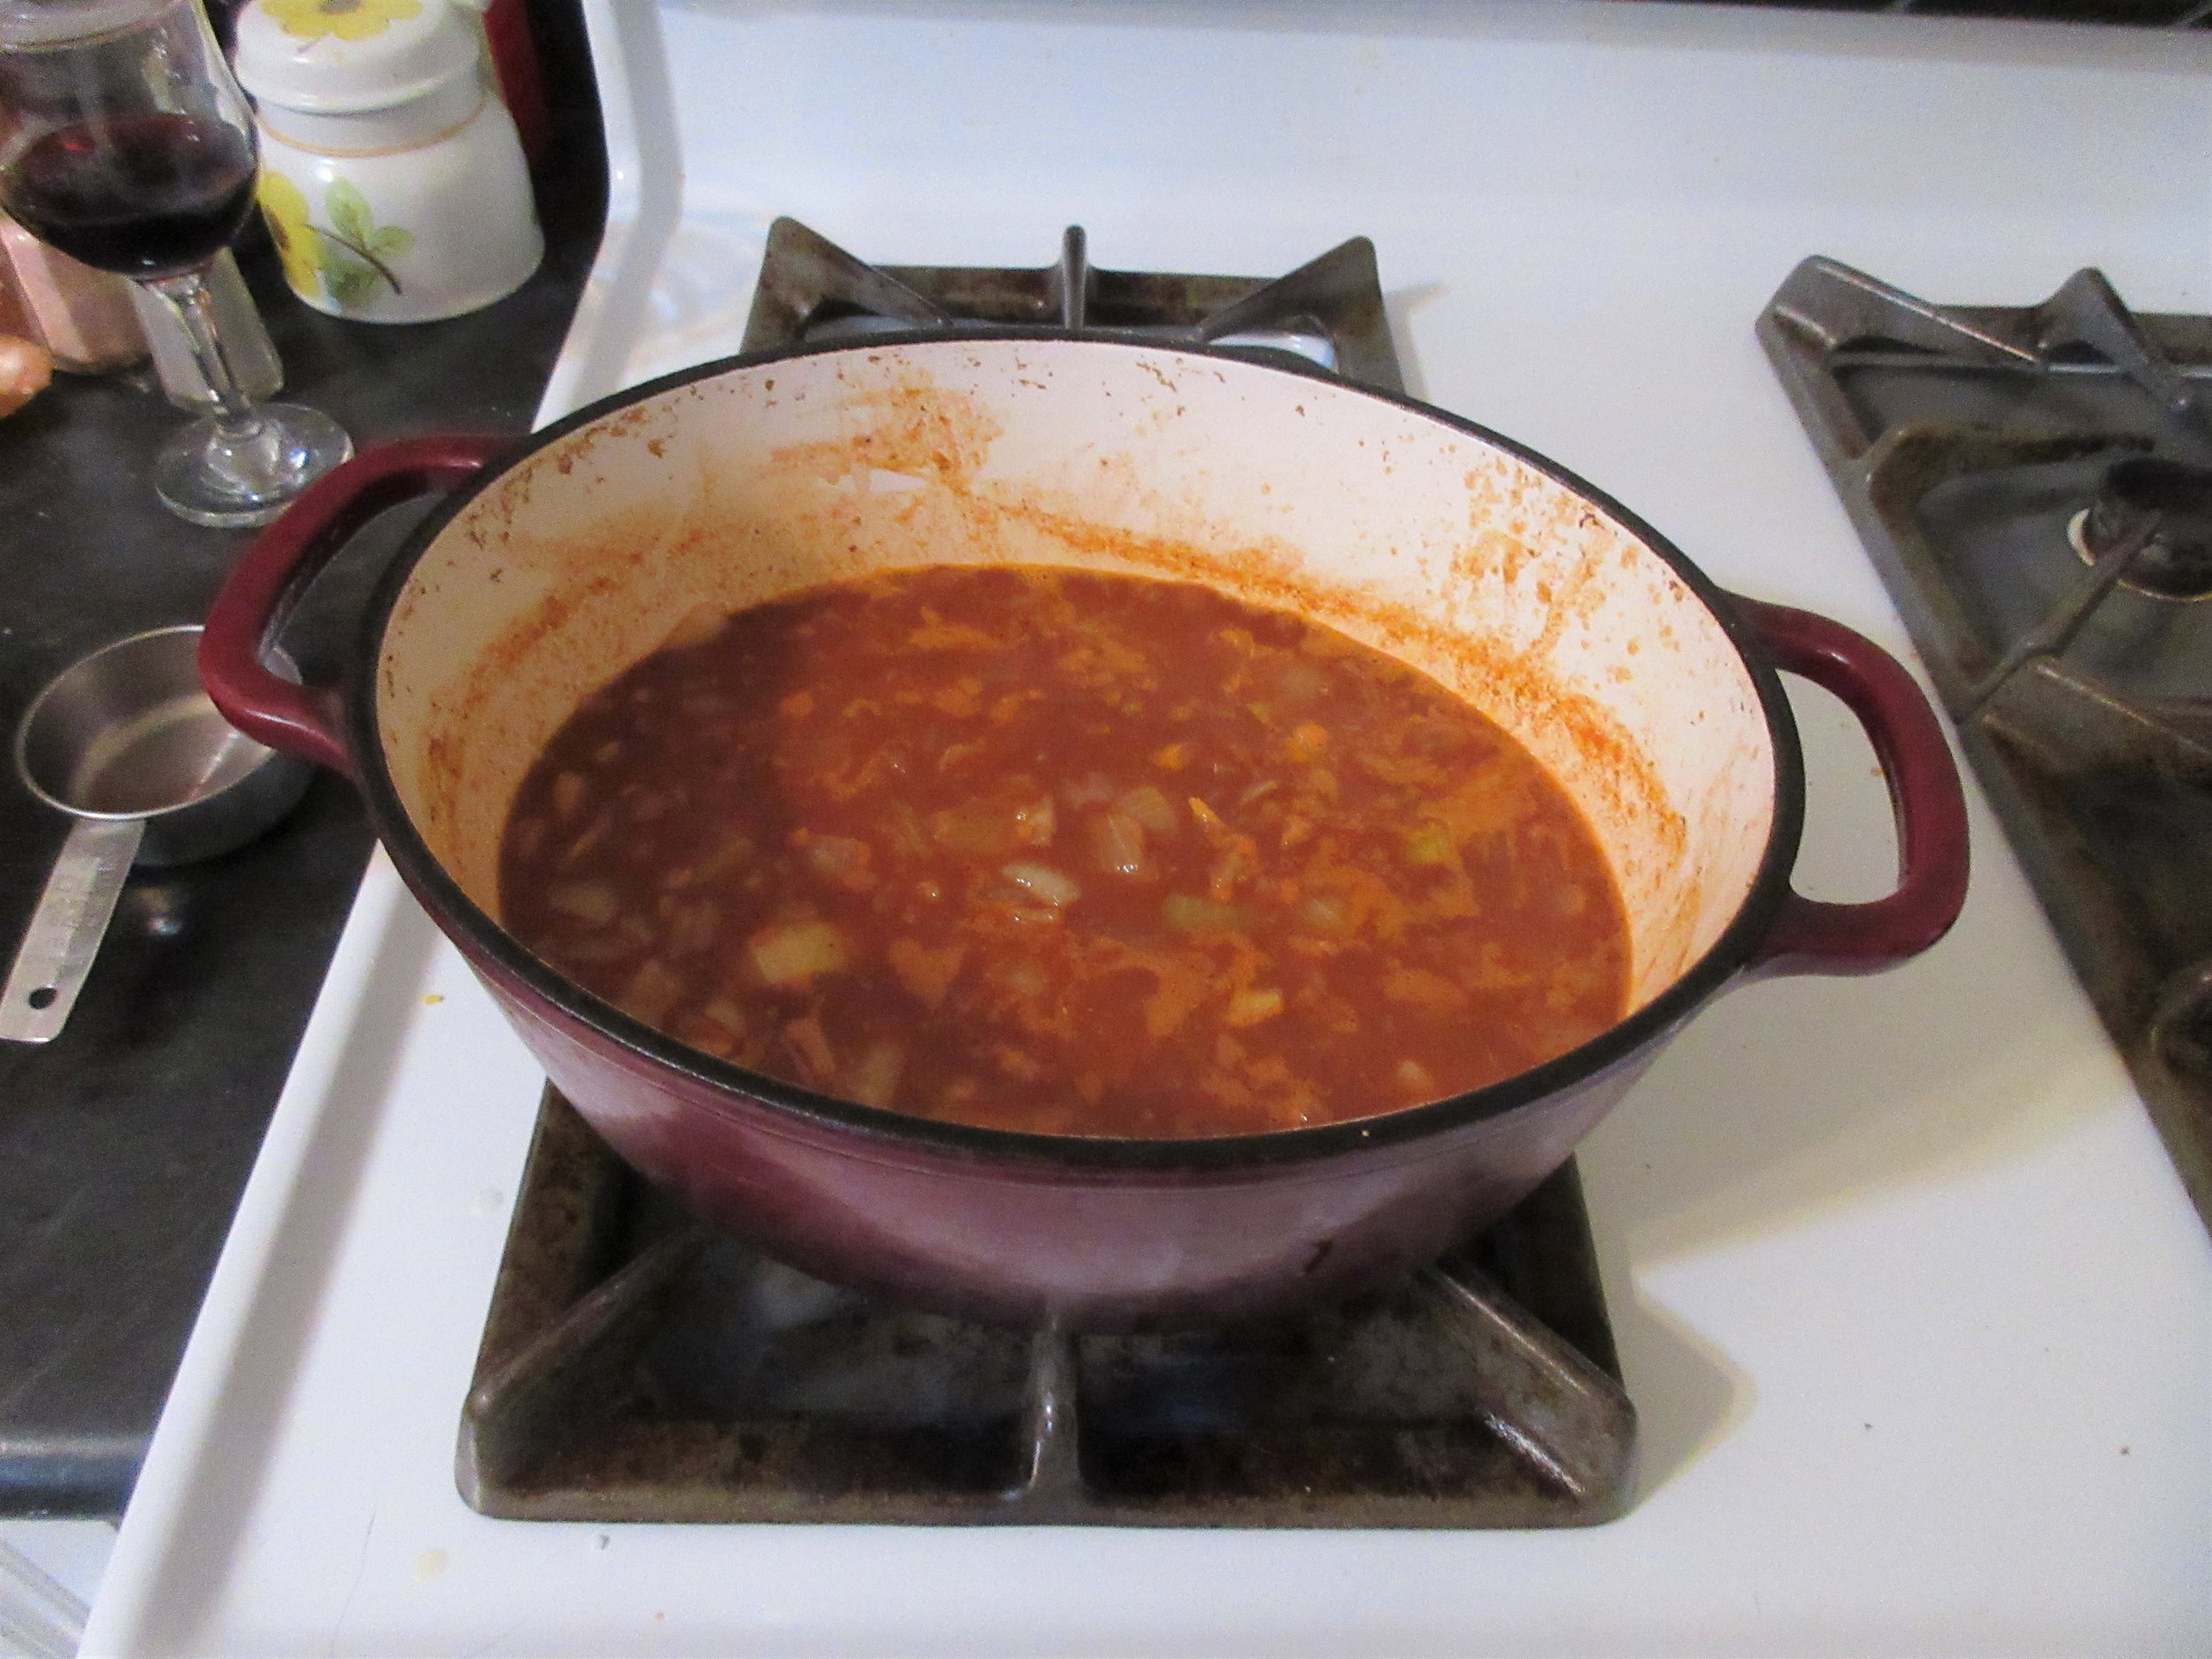
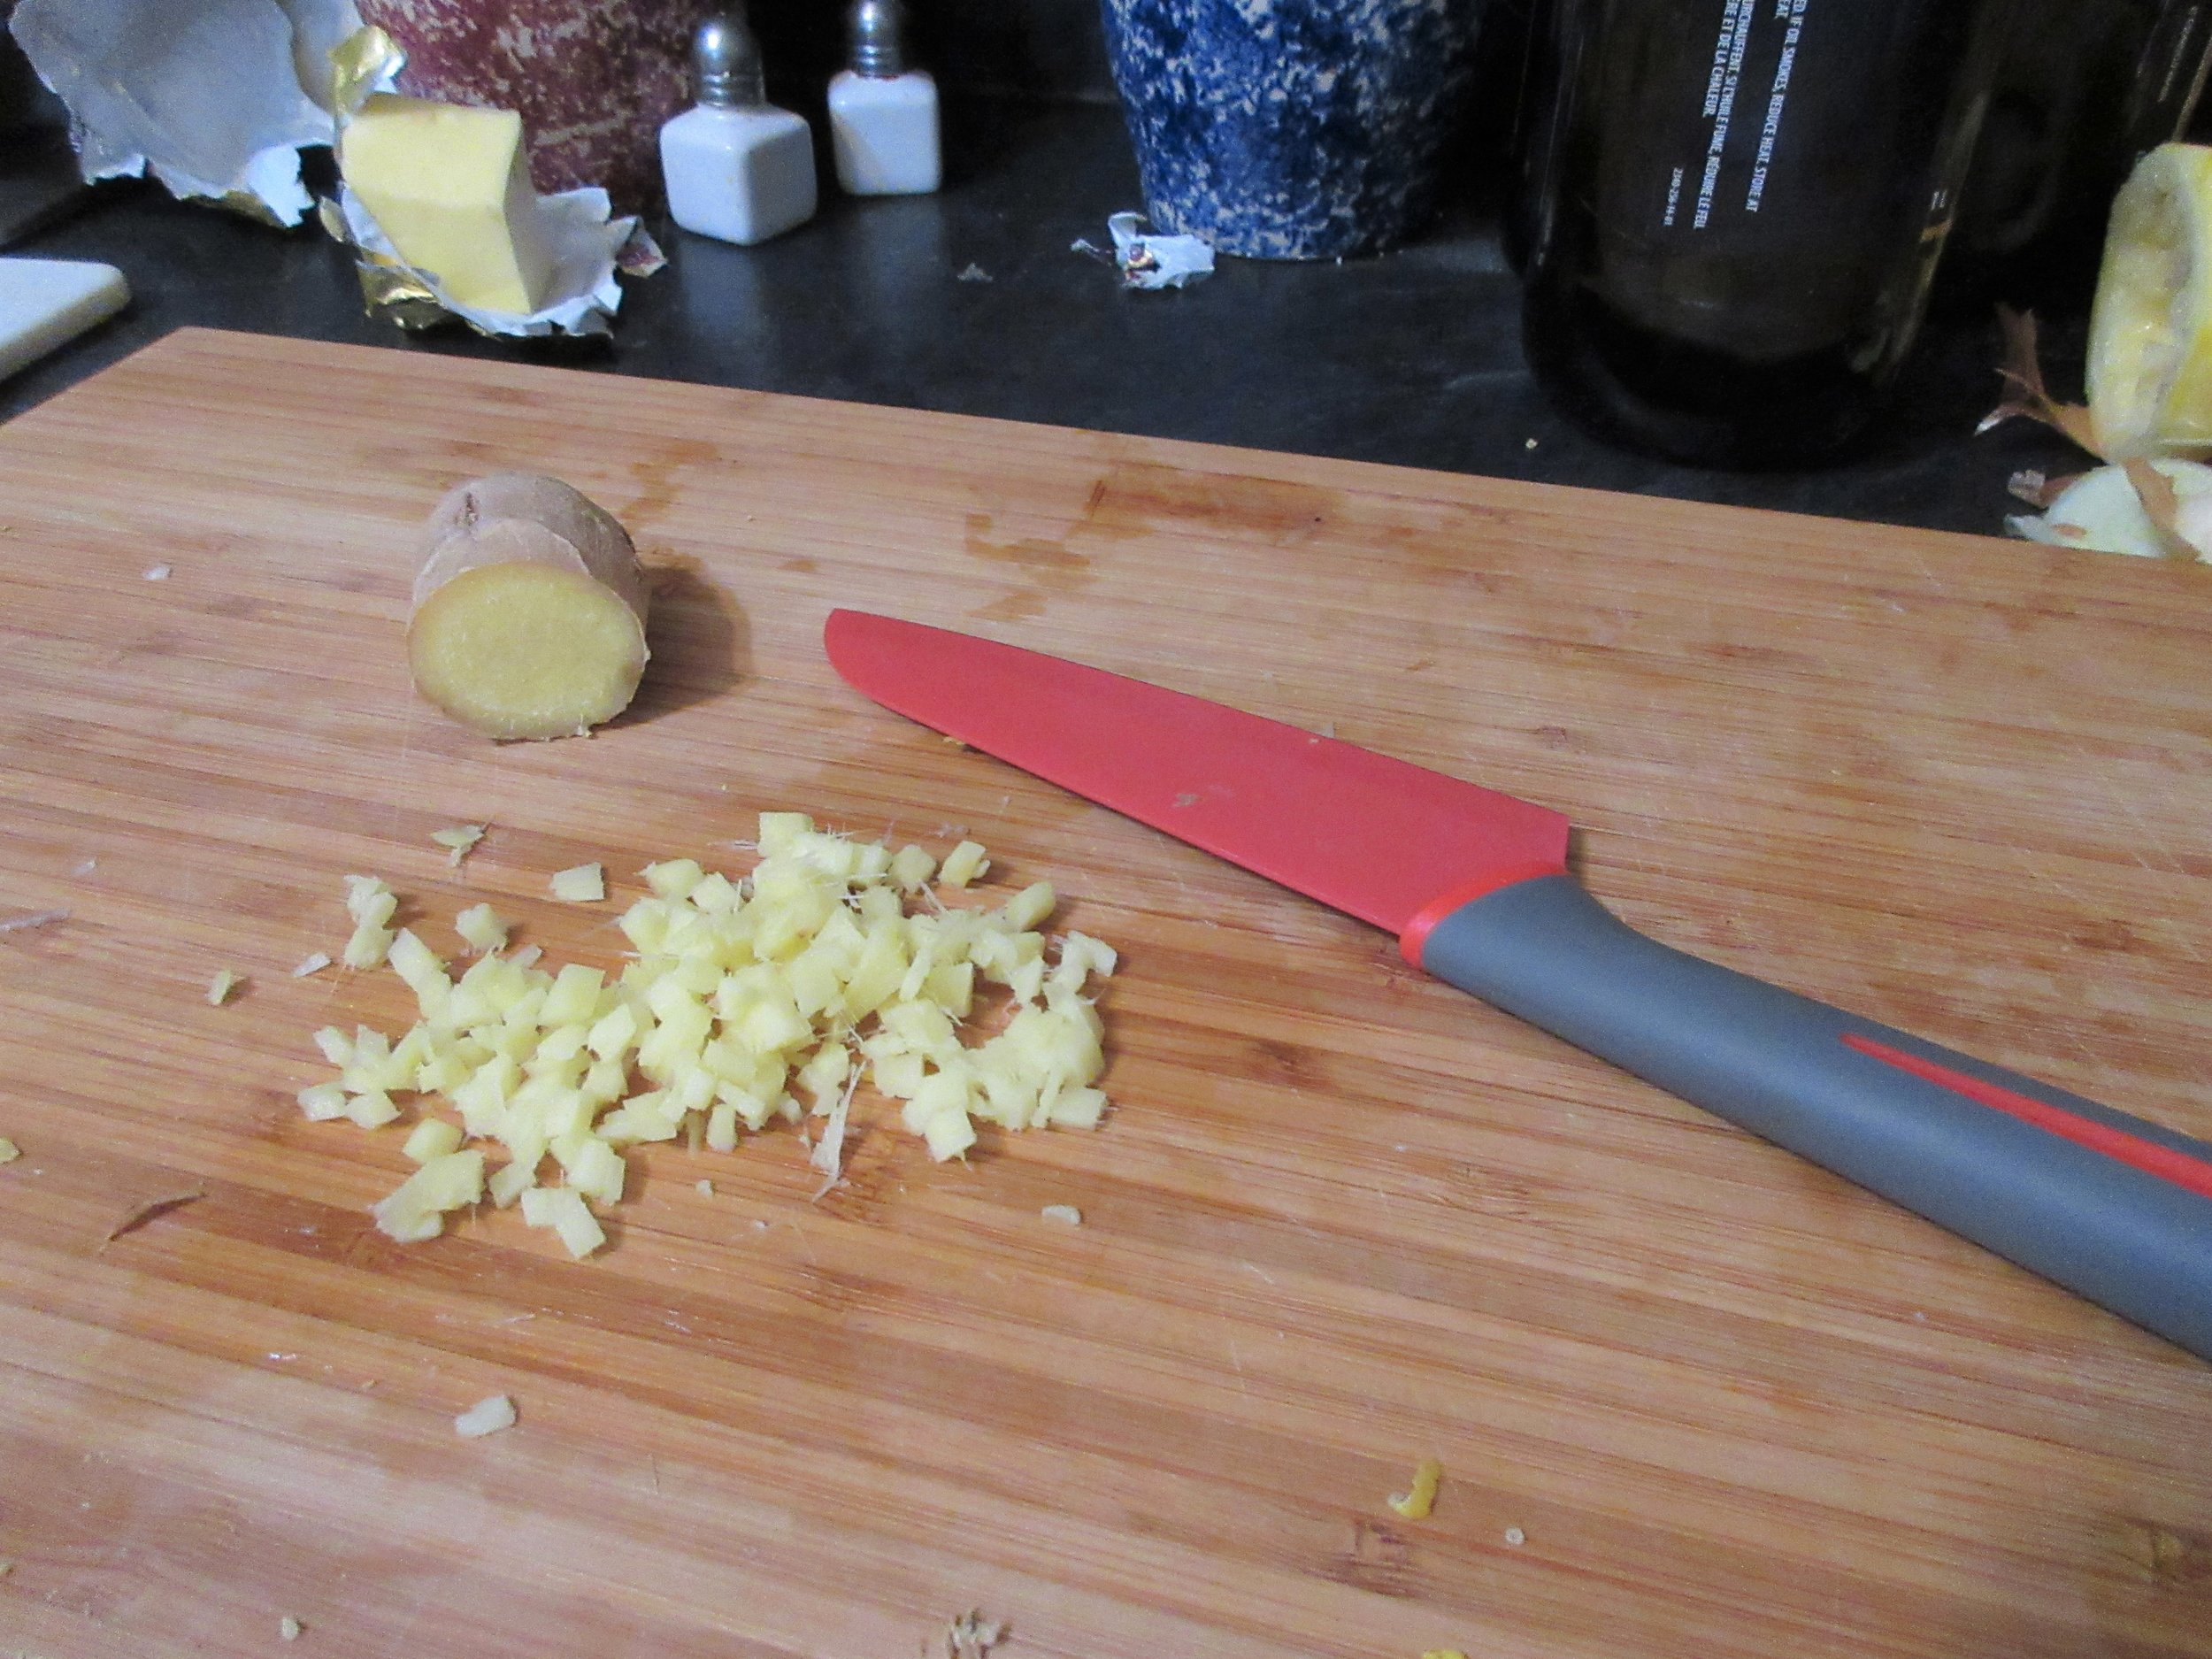
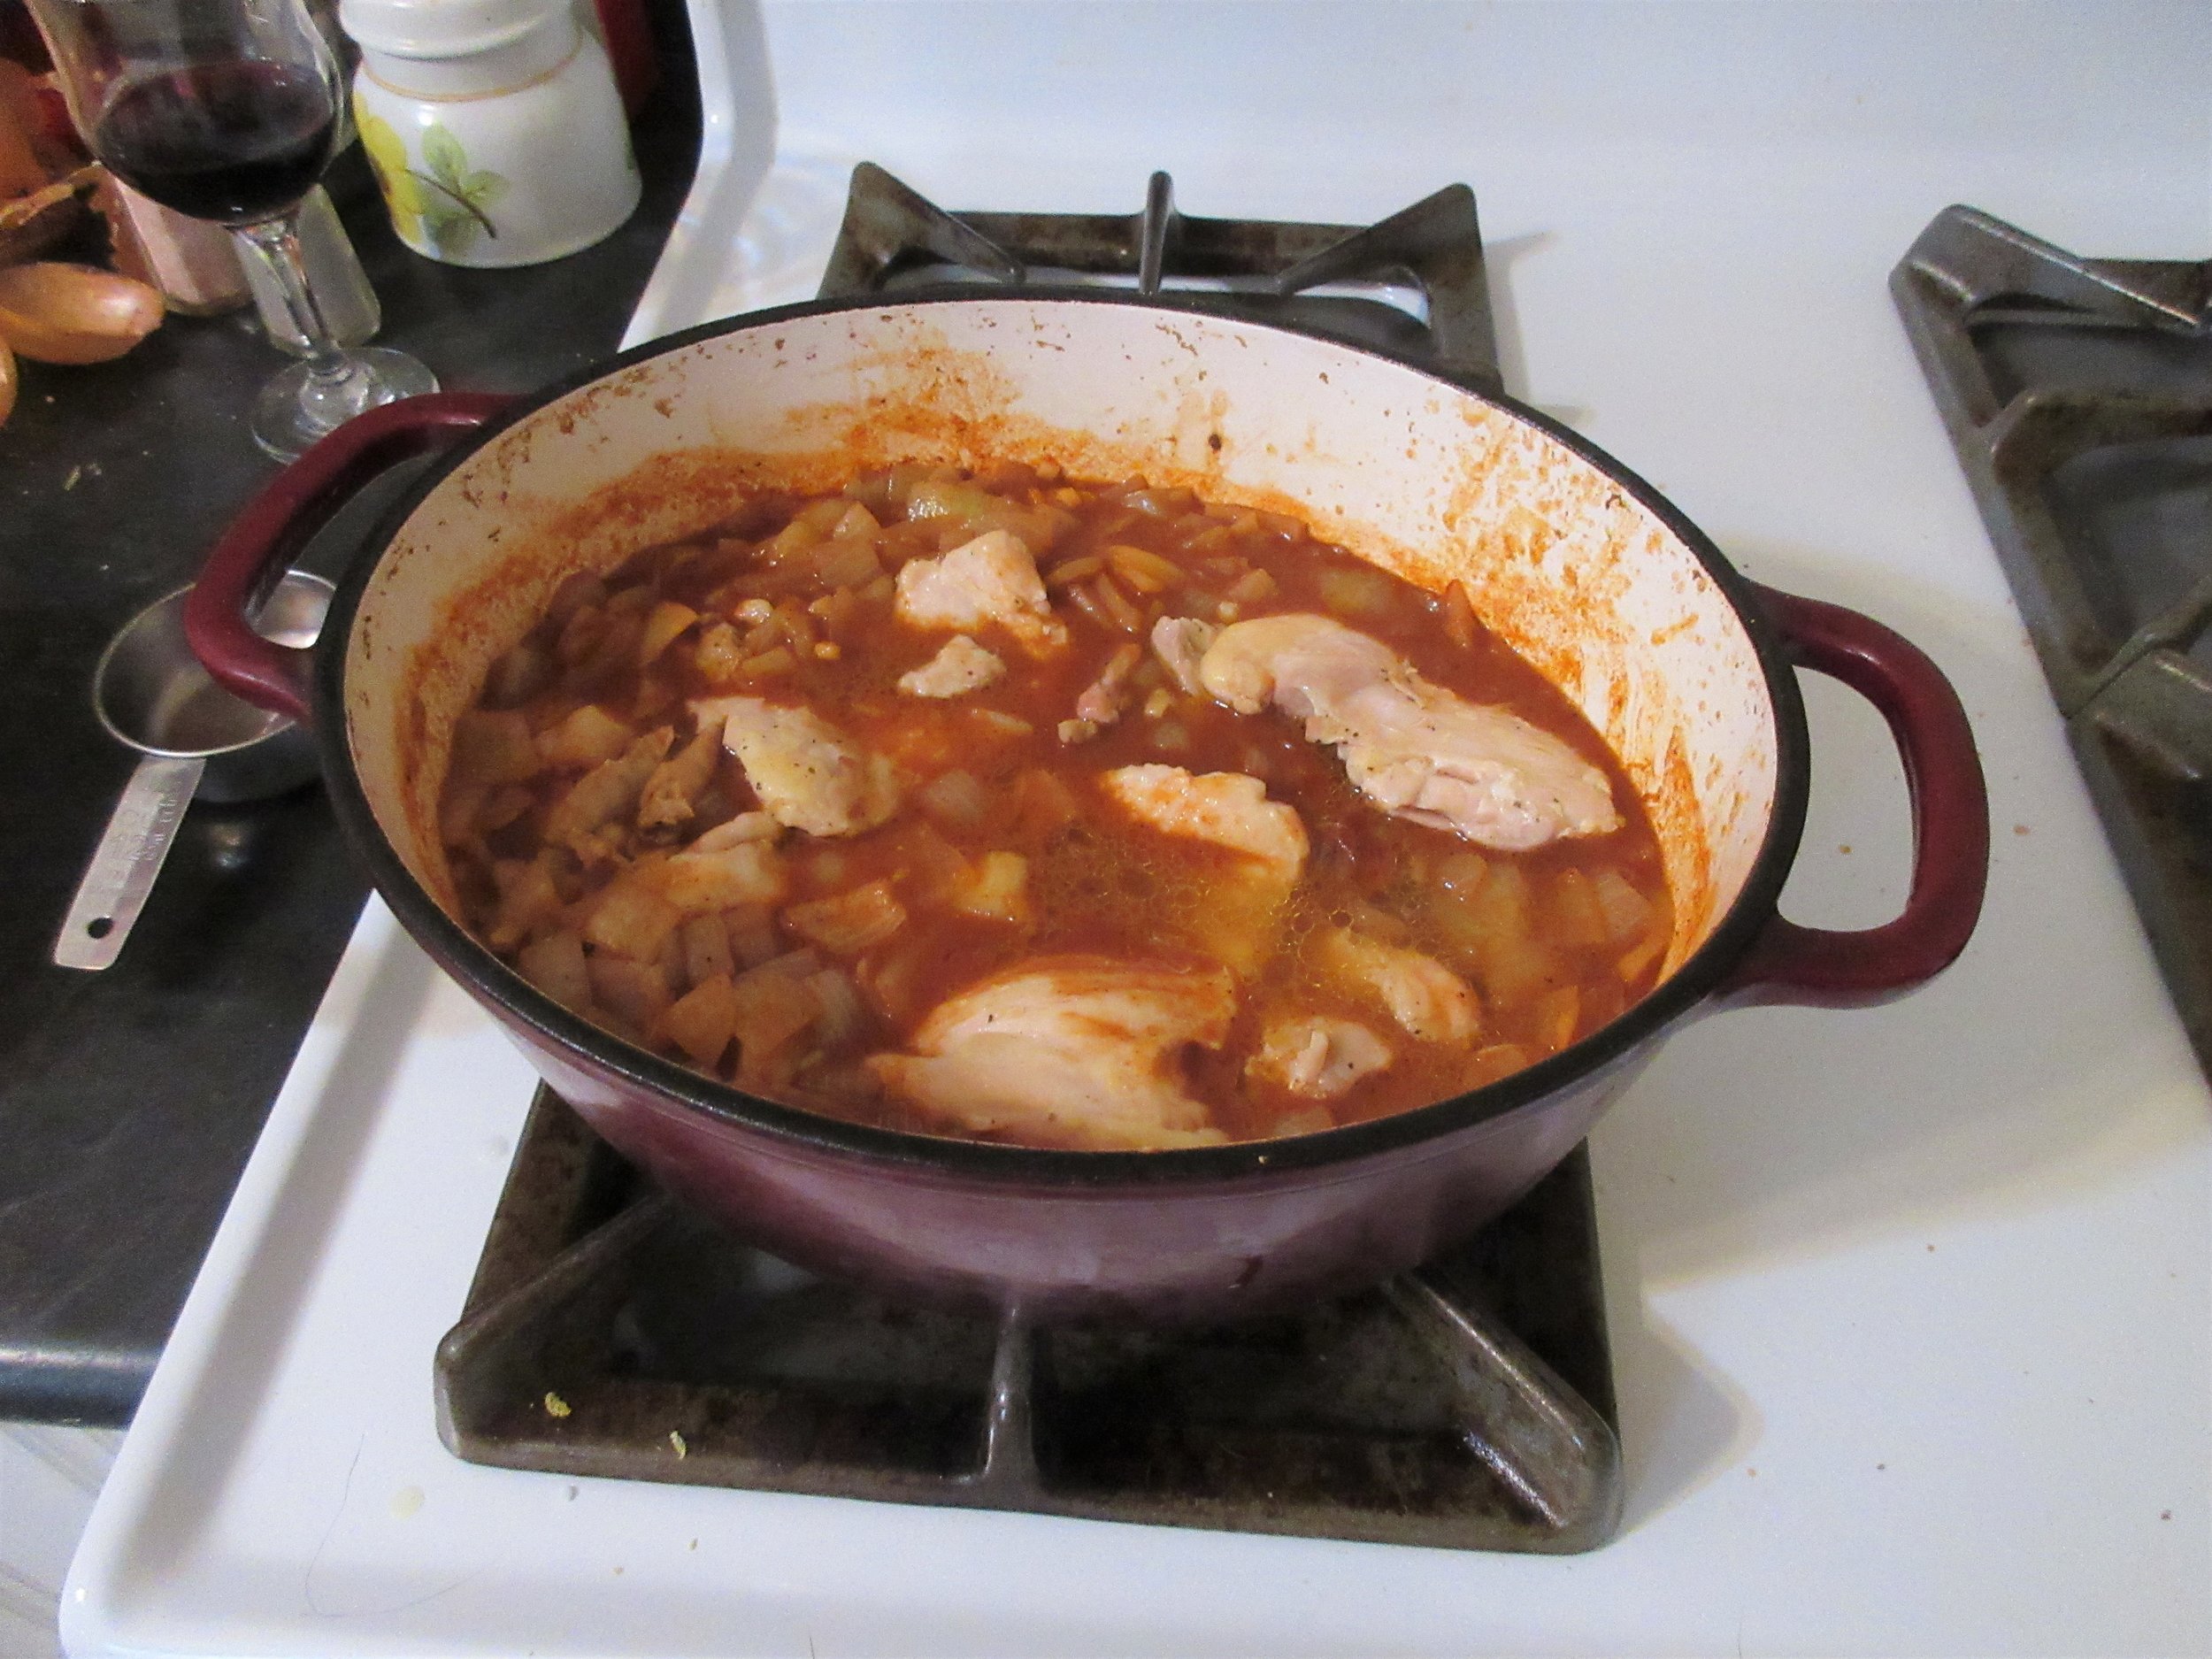
My Notes:
Following Robert Ackart’s advice, I decided to use chicken thighs for this recipe but “Serving-pieces of chicken for 6 persons” is a vague amount. I ended up purchasing 10 chicken thighs, but could have put 16 to 18 thighs in this recipe. The next day, I bought more chicken thighs, fried them and served them with the extra sauce.

If you ask me over to your house to babysit, I will snoop in your kitchen while your baby sleeps and search for old cookbooks. That’s where I found The Hundred Menu Chicken Cookbook, nestled in my friends’ kitchen while baby Felix dreamt upstairs and I listened to Ralphie the dog’s belly gurgle.
I’ll be making Chicken with Chili again. It’s a warming full-flavoured chicken dish that I think I’d enjoy even more on a dark and cold winter’s night. The Hundred Menu Chicken Cookbook has the tagline “One-pot chicken recipes that are easy-to-make and a treat to serve”, so the recipe instructs us to both fry and bake this recipe in the same dish (I used my enameled Dutch oven), but I think Chicken with Chili would be an excellent slow-cooker recipe.
I was intrigued by Chicken with Chili because it claimed to be an Ethiopian recipe and I was skeptical about how accurate it would be, but it turns out that Chicken with Chili is reasonably similar to Doro Wat! If you compare ingredient lists of the two recipes, you’ll find they are mostly the same. Chicken with Chili doesn’t feature fresh garlic or the hard boiled eggs that are typically served in Doro Wat and the traditional spices have been substituted for spices that would have been found in the kitchens of most American families in 1972.
Chicken with Chili uses Chili Powder instead of Berbere, the Ethopian spice mix. A big difference between these two spice mixes is that Berbere packs the heat and not many people would call Chili Powder spicy. Since you’re putting 2 tablespoons of Chili Powder in Chicken with Chili, it creates a flavourful dish without the heat if you’re not a fan of spicy hot food.
Chili Powder is usually a combination of cayenne pepper, cumin, garlic powder, oregano, paprika and sometimes onion powder. Narrowing down the list of spices you may find in Berbere from English-language sources was a more difficult task. I’ve found Berbere recipes that call for a variety of spice combos containing chili peppers, garlic, ginger, basil, korarima, rue, ajwain, nigella, fenugreek. coriander, cumin, cardamom, allspice, cloves, black pepper, paprika, salt, cinnamon, nutmeg, turmeric, star anise and onion flakes or powder.
Maybe there isn’t a definitive list of what spices to put in “authentic” Berbere. It could be that everyone’s Berbere is slightly different. It may also be the same case that we’ve found in Chicken with Chili: spices that traditionally would have been found in Berbere have been substituted for similar spices that are easier to source.
Feel free to add in your two cents. If you use Berbere powder or paste in your kitchen, comment and let us know what spices you like to use.
