Fillets of Chickens, with Bechamel-ſauce and Bread-crumbs
/
You’ll find this recipe in:
The Practice of Modern Cookery
By: George Dalrymple
Edinburgh, 1781
Historic Recipes:
Filets des Poulettes á la Bechamel pannée.
Fillets of Chickens, with Bechamel-ſauce and Bread-crumbs.
CUT the hind part of two or three chickens off, meaning the legs and the rumps, they will ſerve for another diſh; roaſt the breaſts; when done and cold, cut the meat in fillets, mix them with a bechamel ſauce, and put it in the diſh that you intend for table; ſtrew bread-crumbs over it; baſte with a little melted butter, and give it a colour in a oven or with a ſalamander. You will find the ſauce in Sauce-articles. The breaſts of cold roaſted chickens, fowls, capons, or turkies, will anſwer the ſame.
Sauce à la Bechamel. Begamel Sauce.
PUT in a ſtew-pan a few ſlices of veal, ham, a few muſhrooms and ſhallots, two cloves, a laurel-leaf, a little good butter; ſoak all together without letting it take colour; add a little good broth and cream, according to the quantity of ſauce you want; ſimmer it half an hour, and ſift it through a ſieve; you may add ſcalded parſley chopped very fine.
If you’re wondering about the letter that looks a bit like an ‘f’, but appears sometimes where an ‘s’ would go, head over to my To boil green Peas recipe, where I wrote a short history of the Long S.

My version of the recipe:
Chicken Fillets with Bechamel Sauce and Breadcrumbs
5 chicken breasts (or leftover chicken or turkey)
2 or 3 slices of ham and/or veal
4 or 5 mushrooms
1 or 2 shallots
2 whole clove buds
1 bay leaf
1/3 cup butter – 75 g
3 cups cream – 710 mL
3 cups broth – 710 mL
1 cup breadcrumbs – 125 g
A handful of fresh parsley
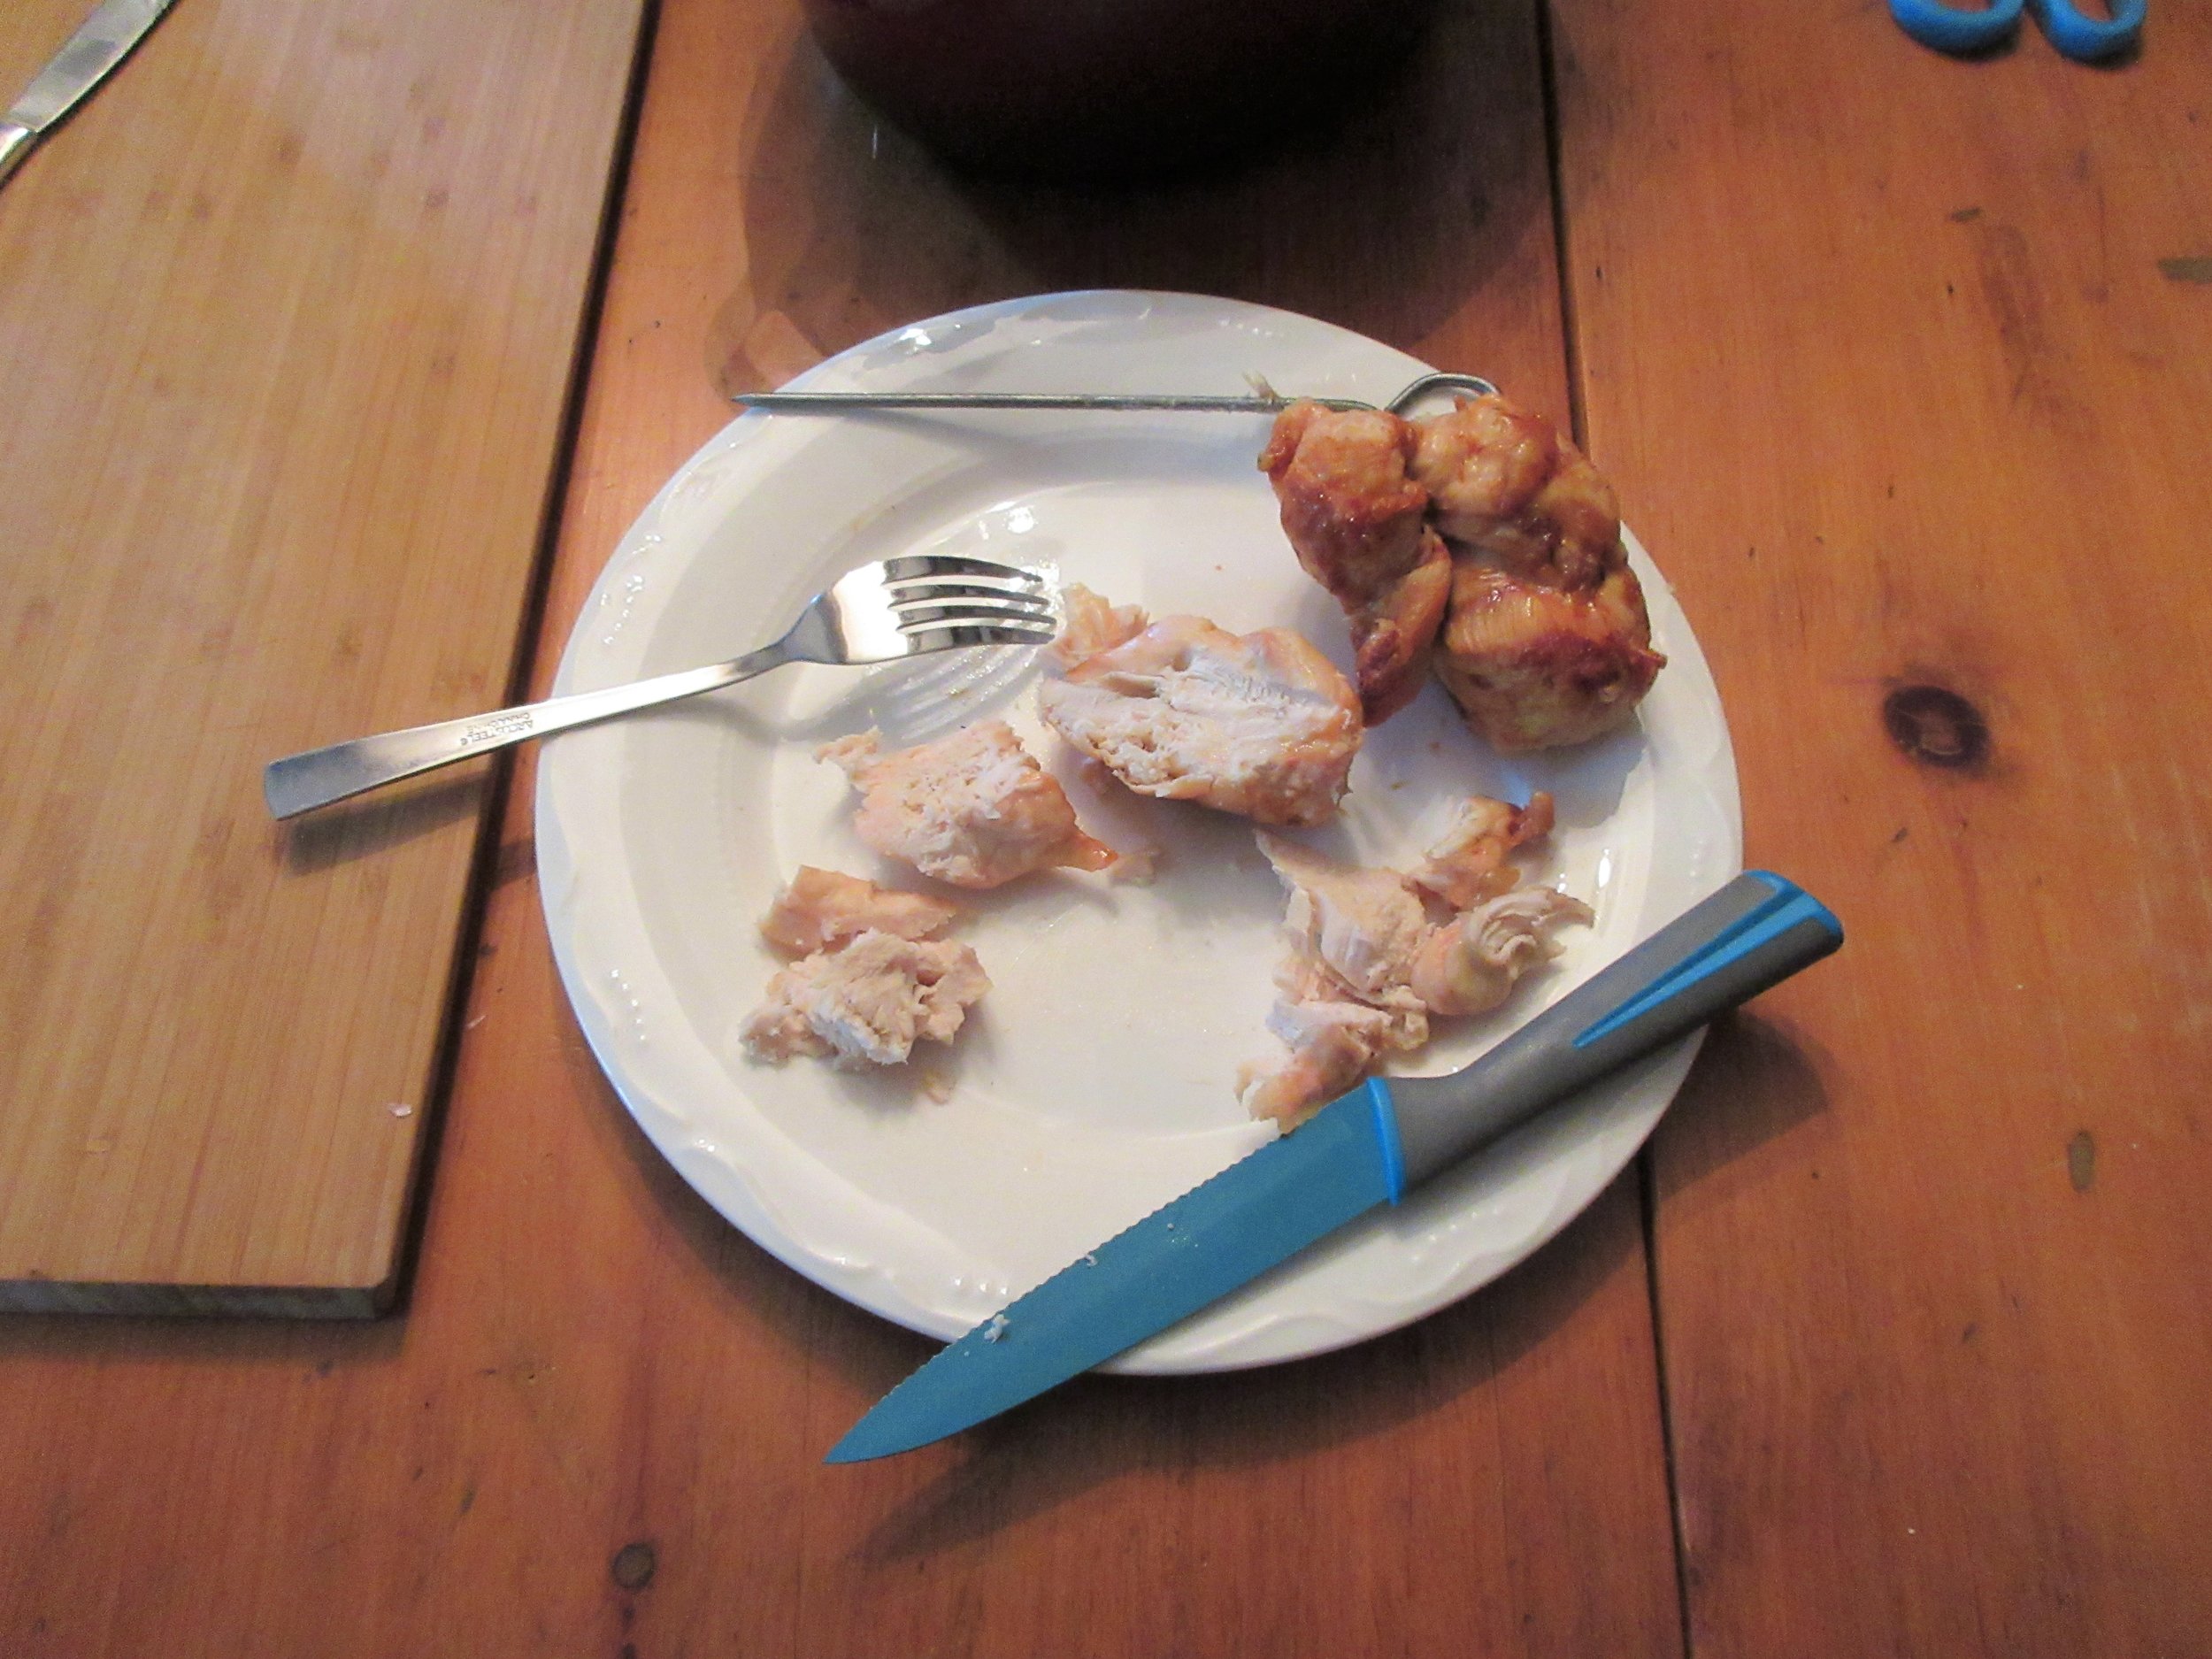
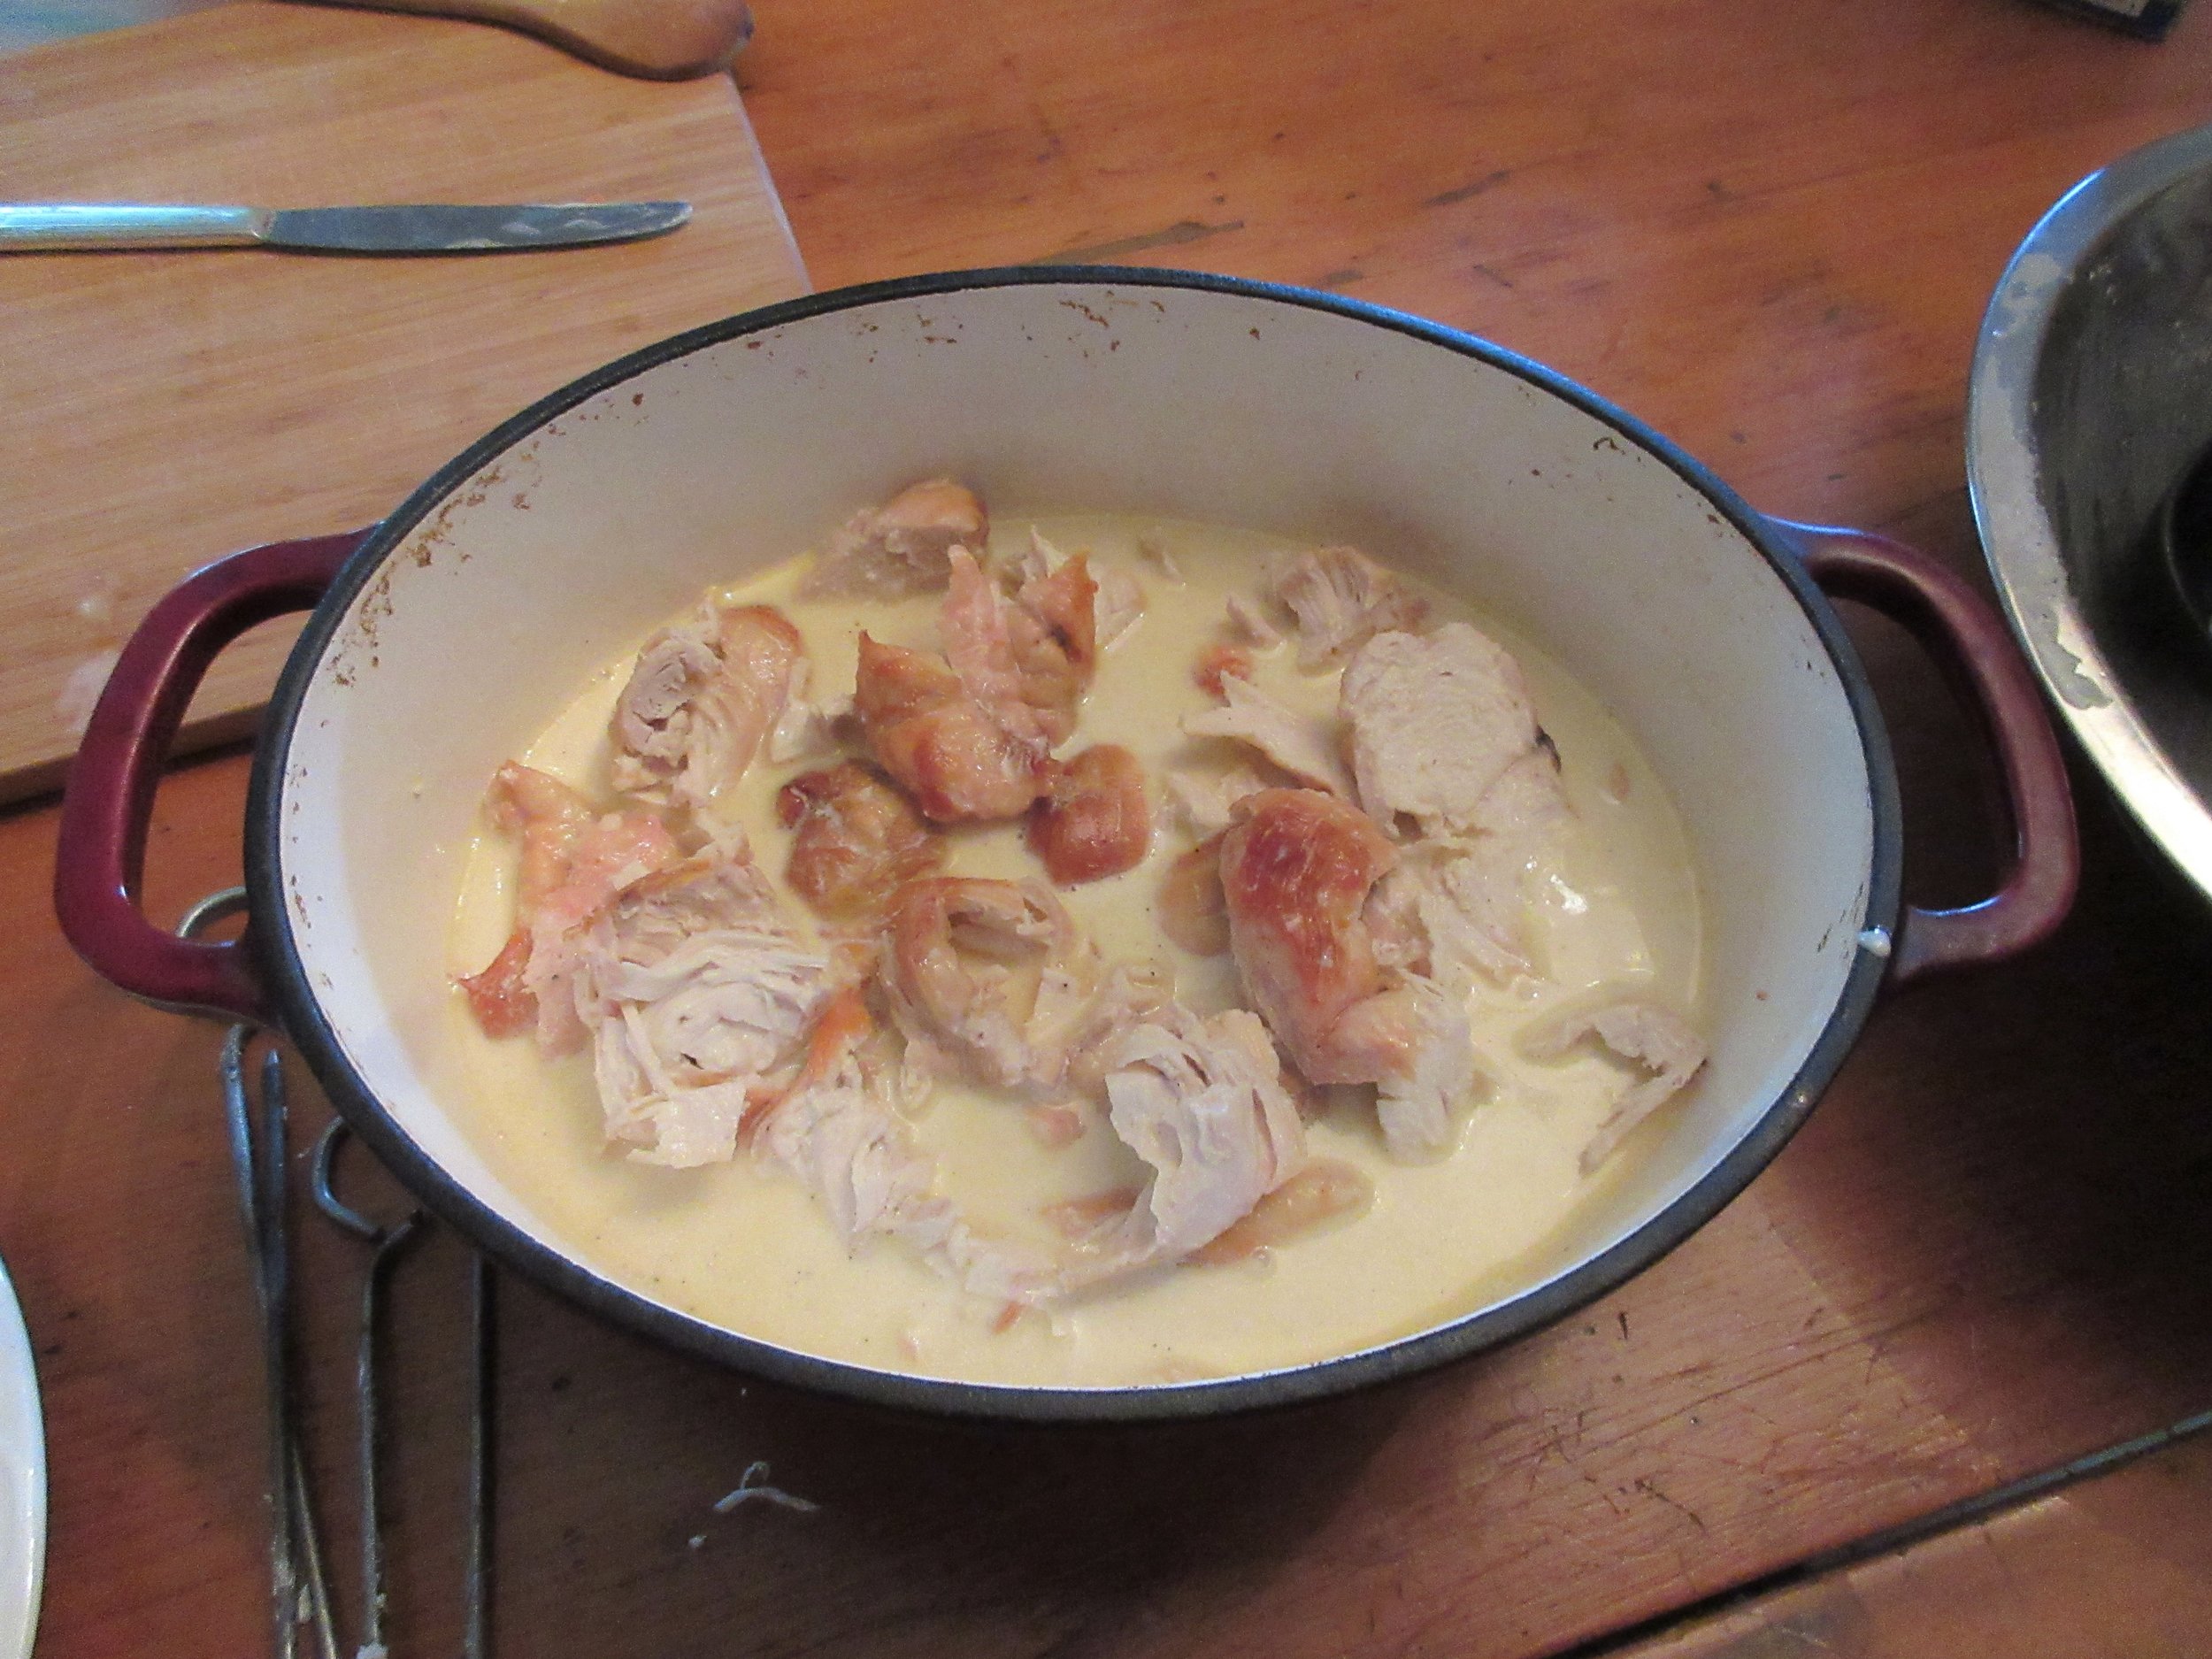
1) Roast the chicken breast or use leftover chicken or turkey in this recipe. Slice into fillets, place in your serving dish and set aside until you’ve made the sauce.
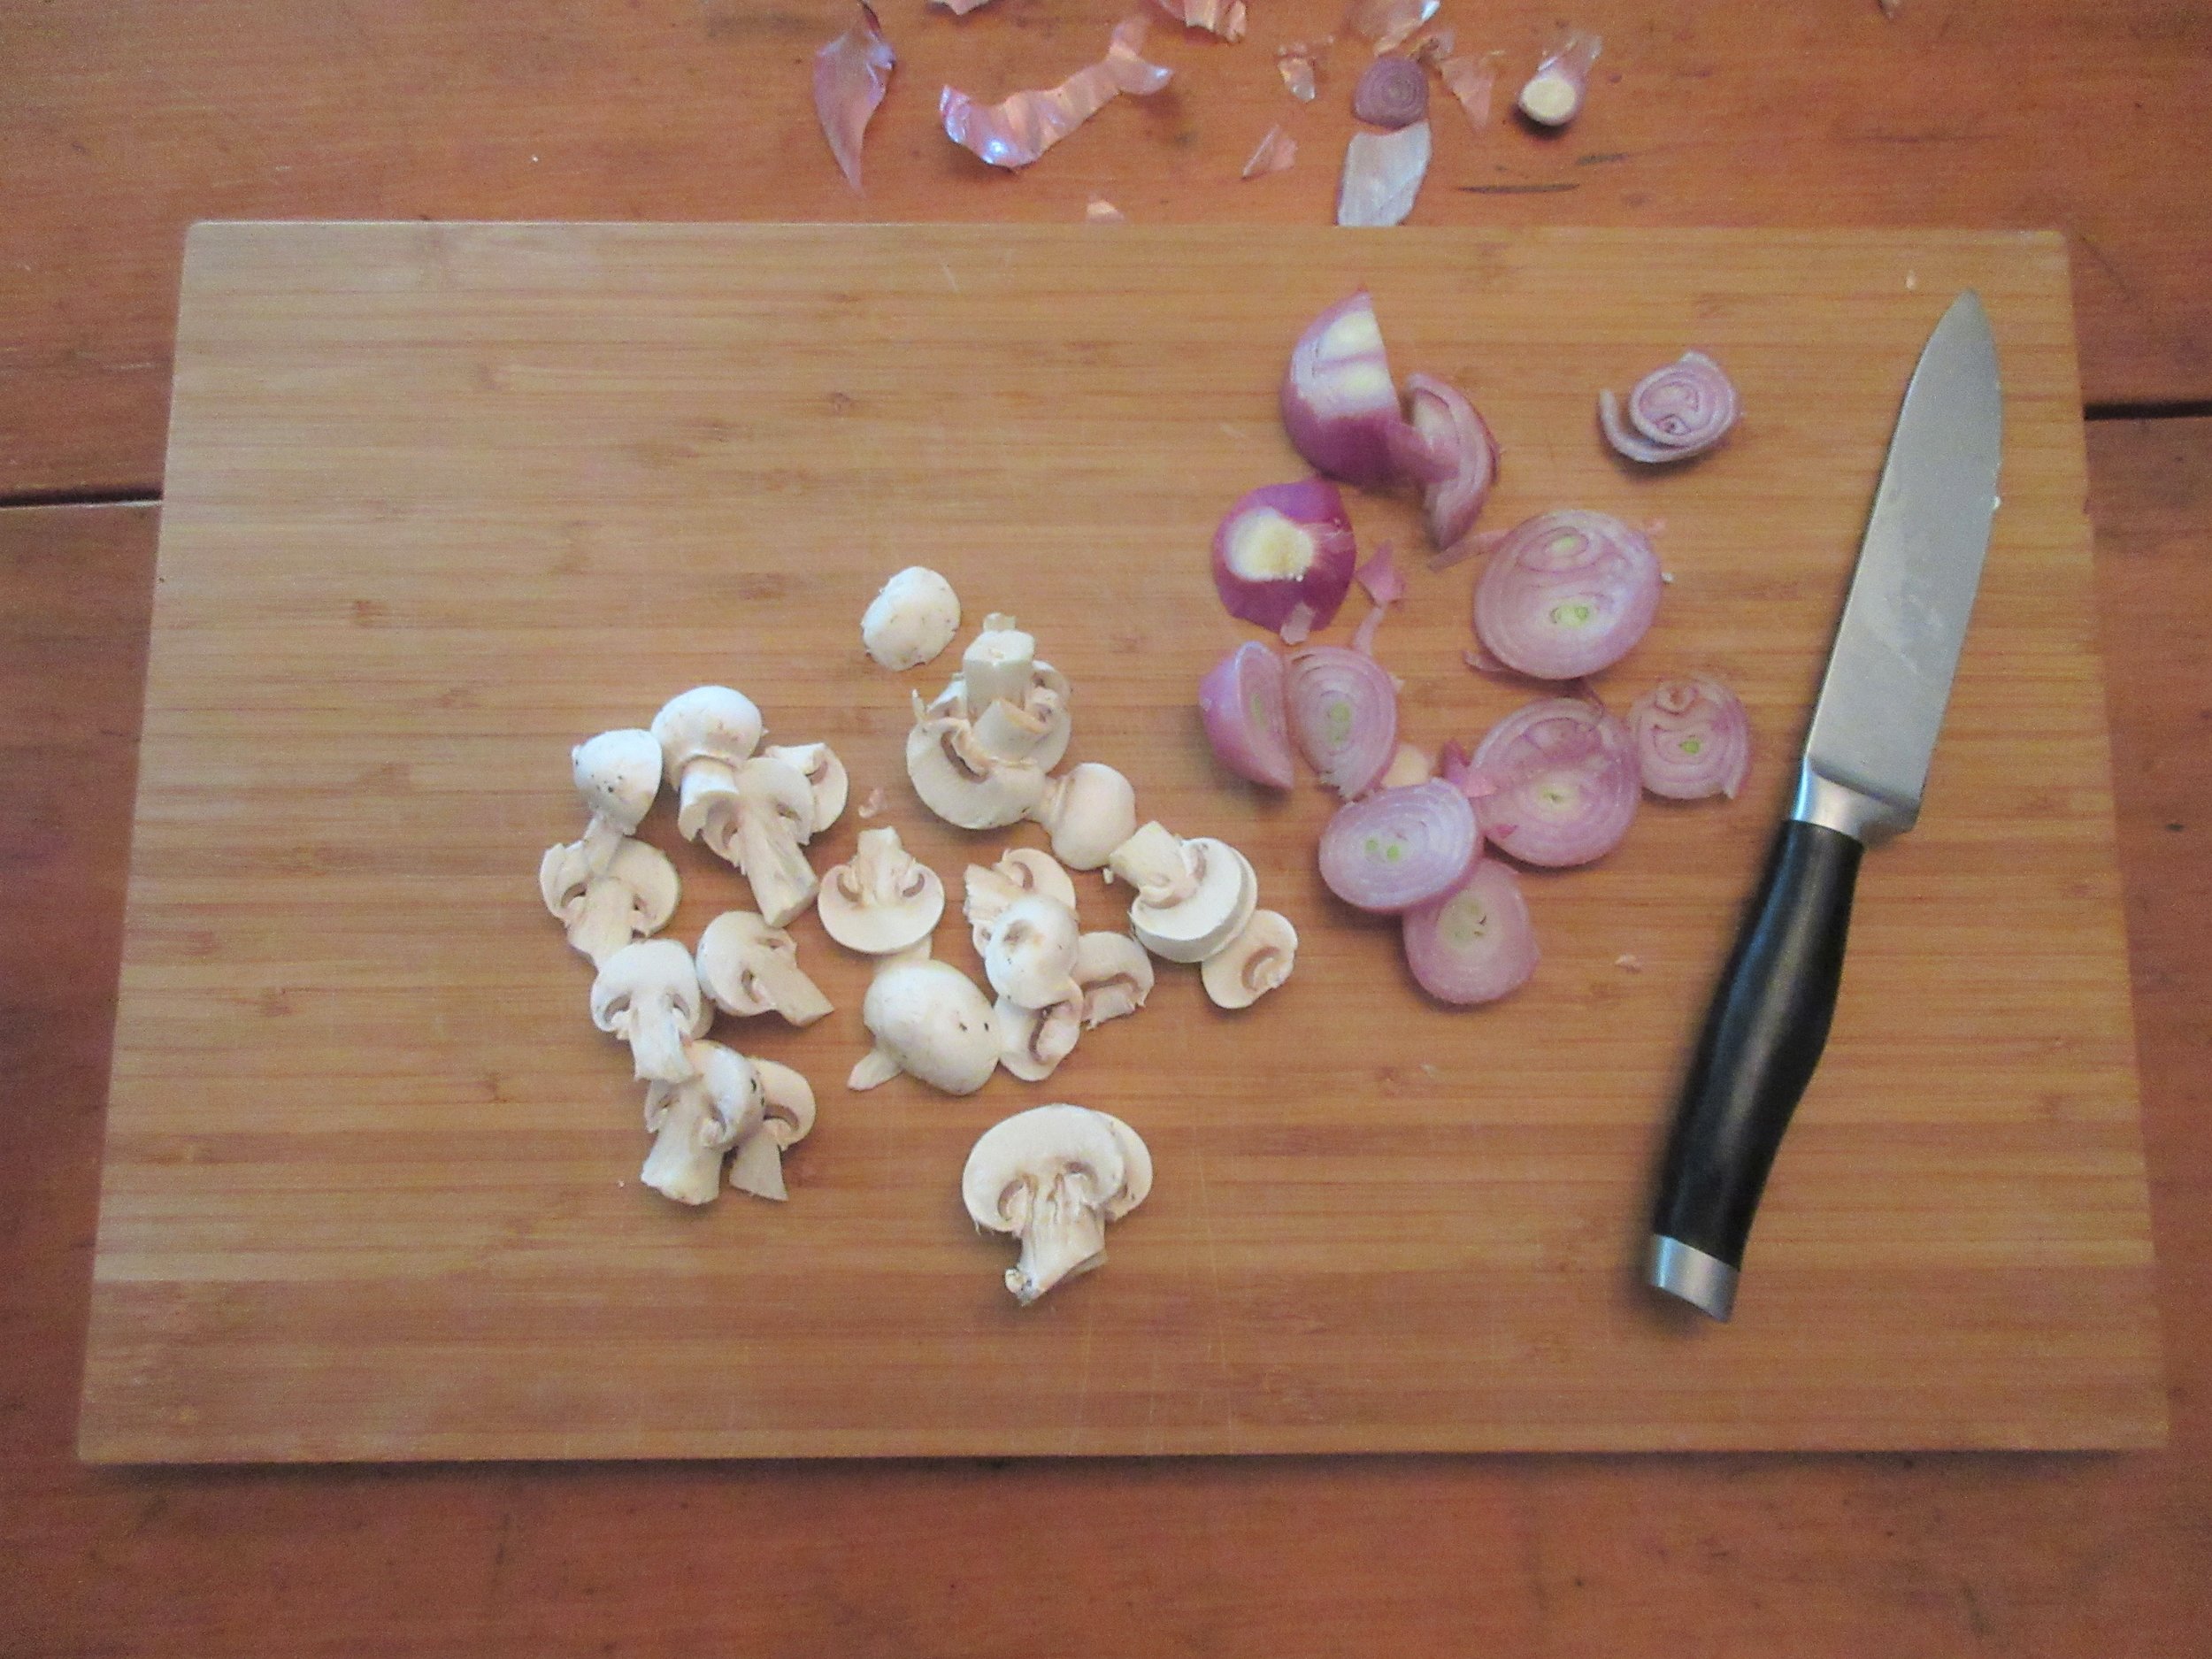
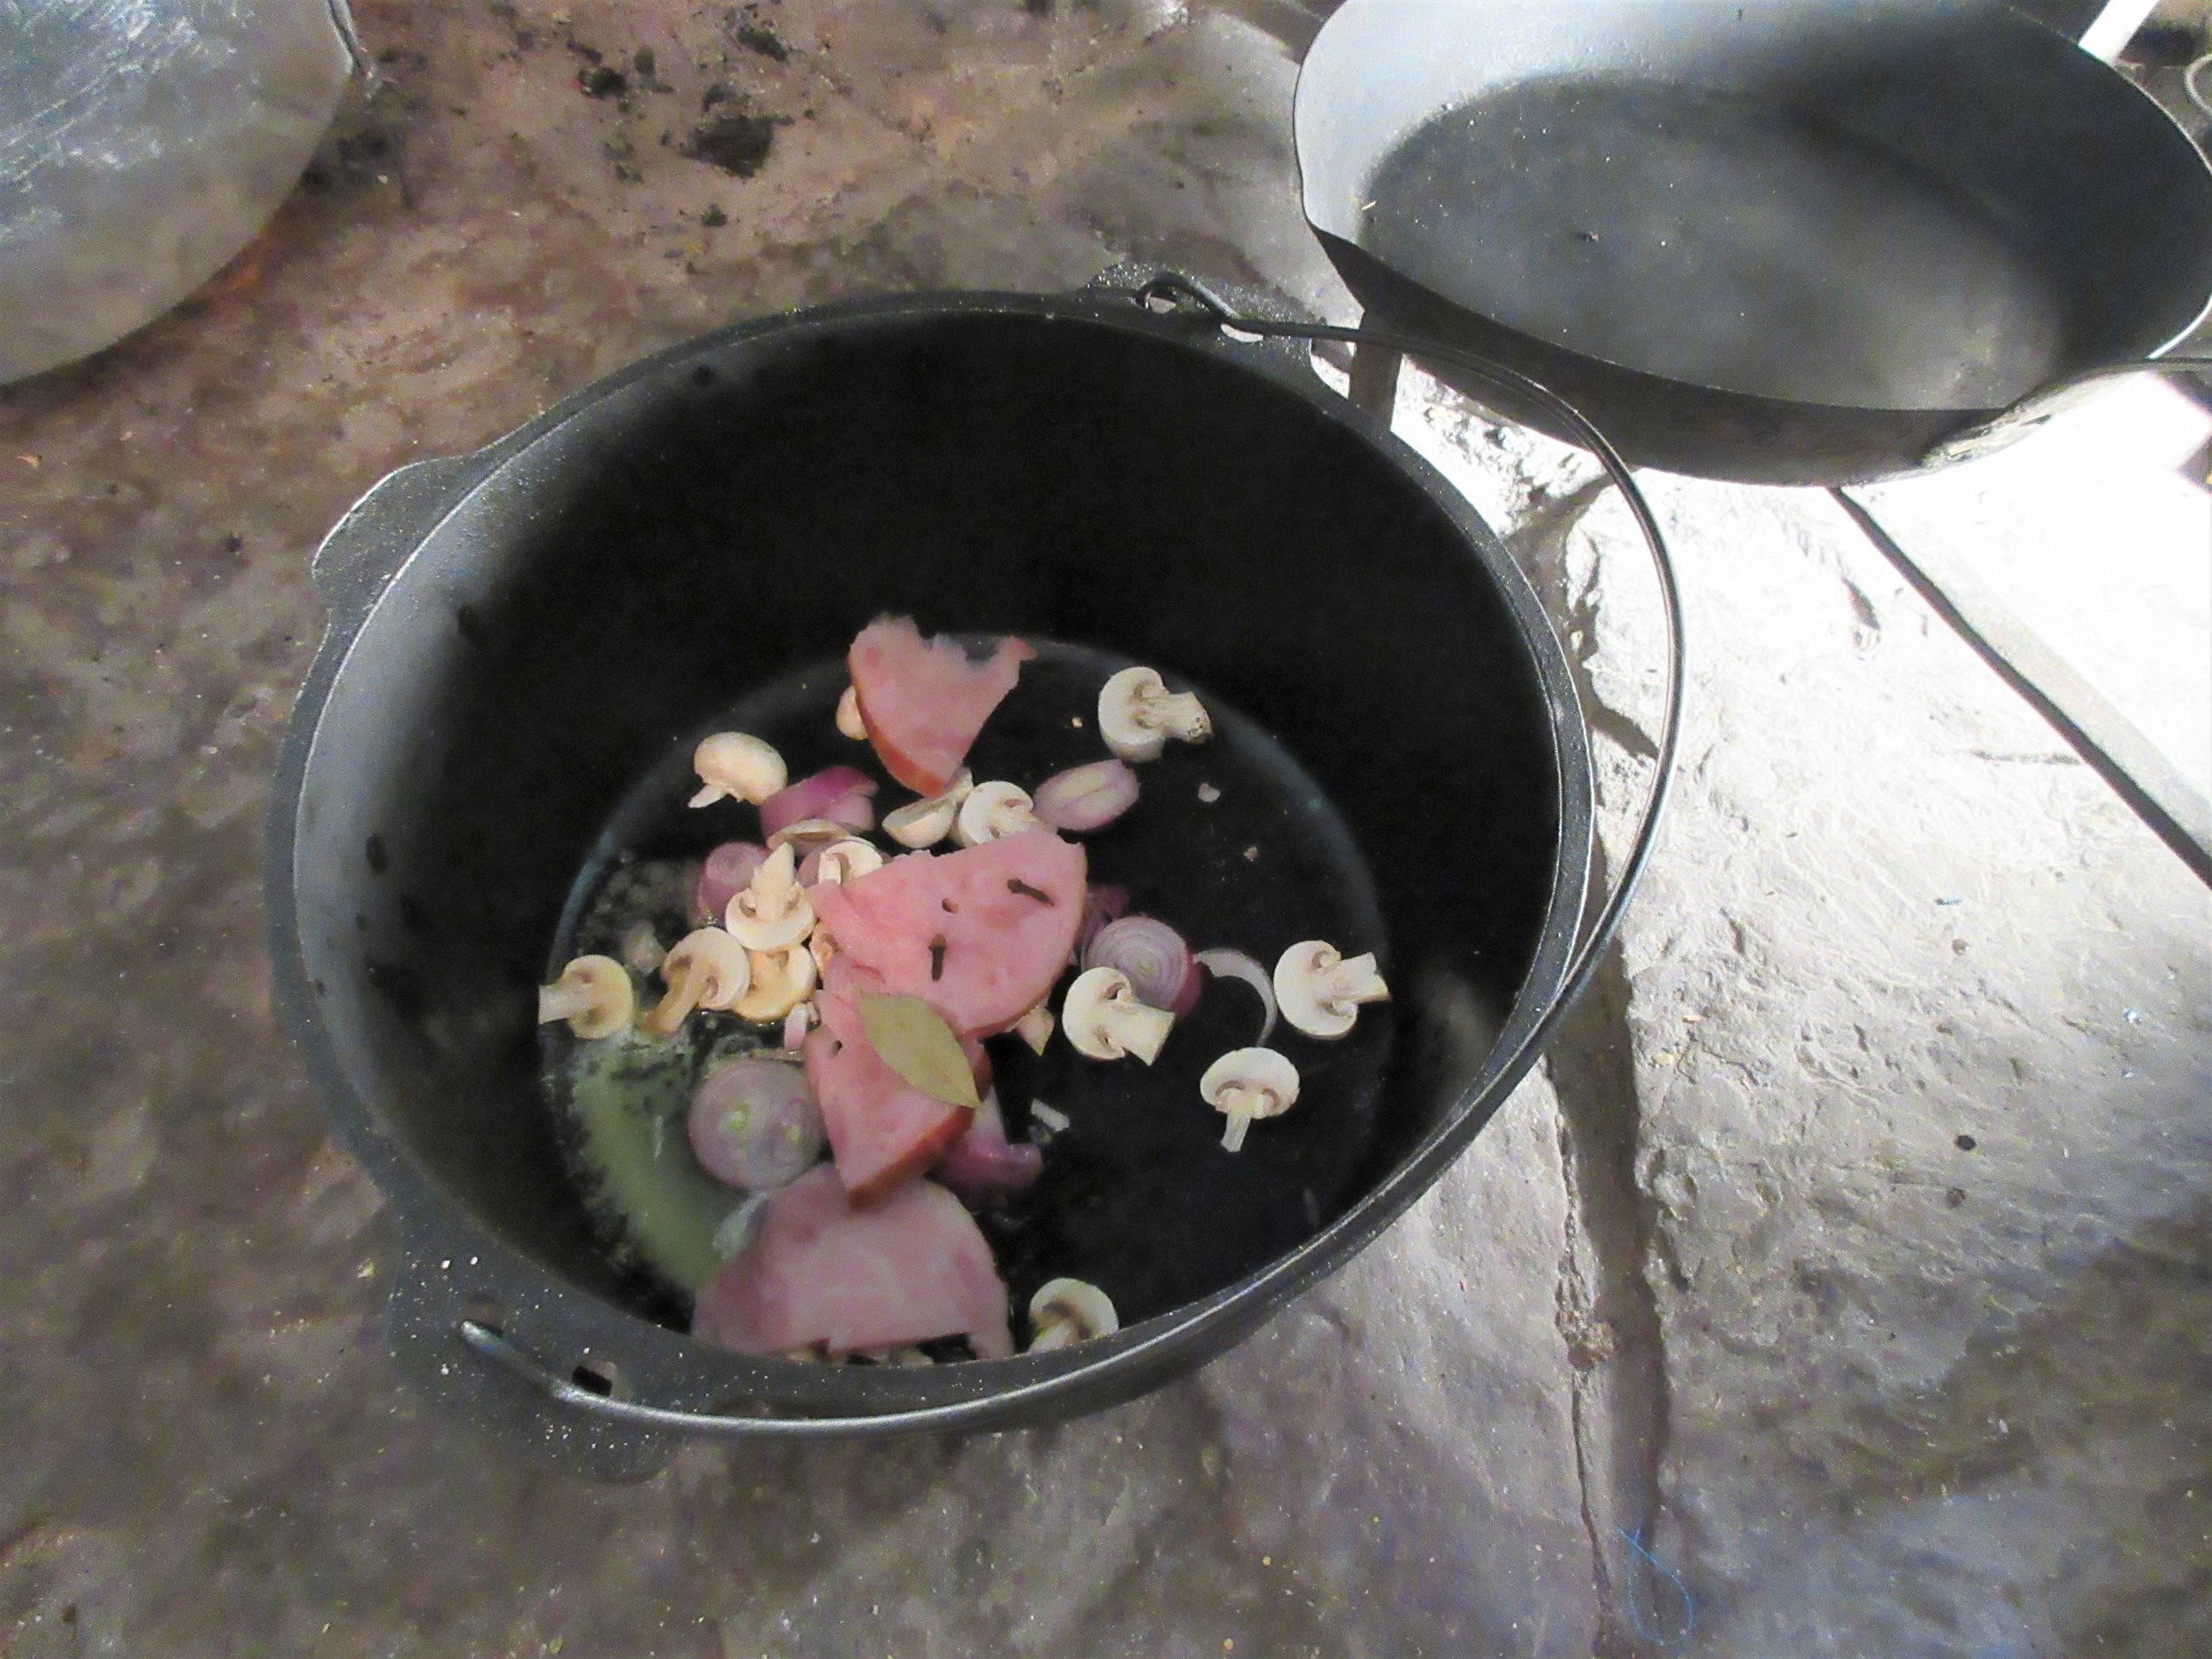
2) While roasting the chicken, slice the veal, ham, mushrooms and shallots. Melt 2 tablespoons of the butter in a large sauce pan and add the veal, ham, mushrooms, shallots, cloves and bay leaf. Simmer gently over low heat until the shallots and mushrooms are soft.
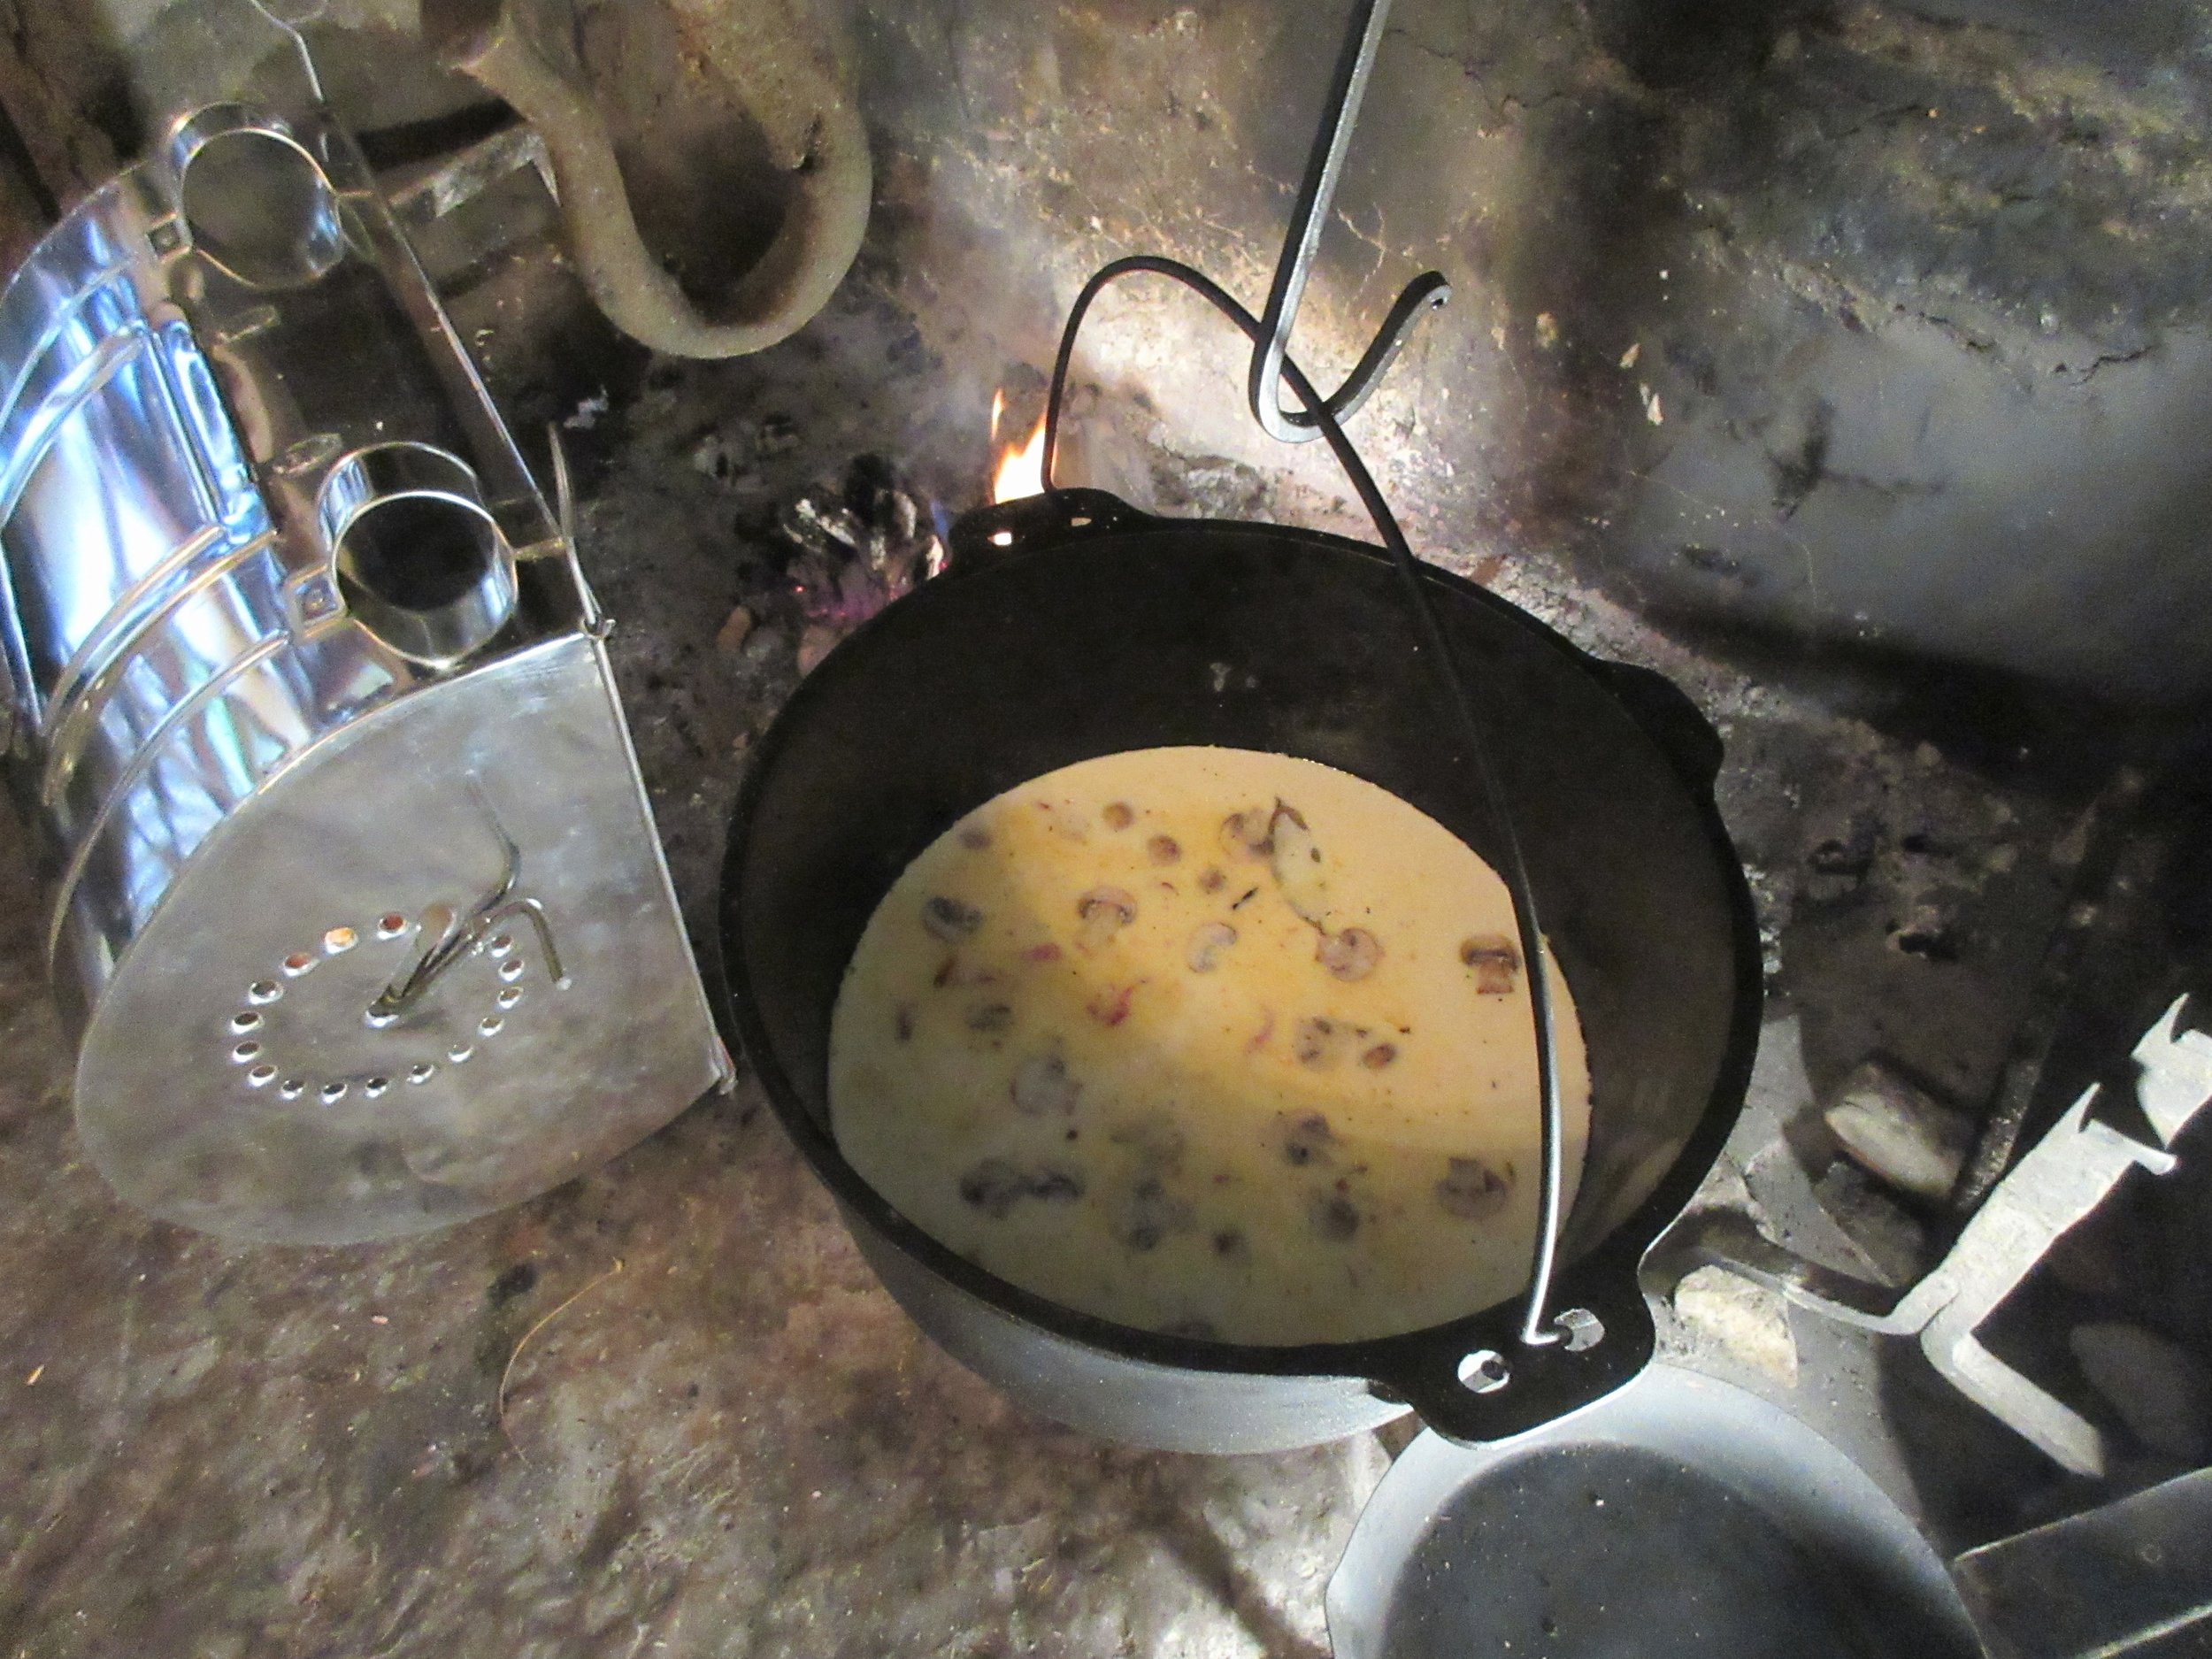
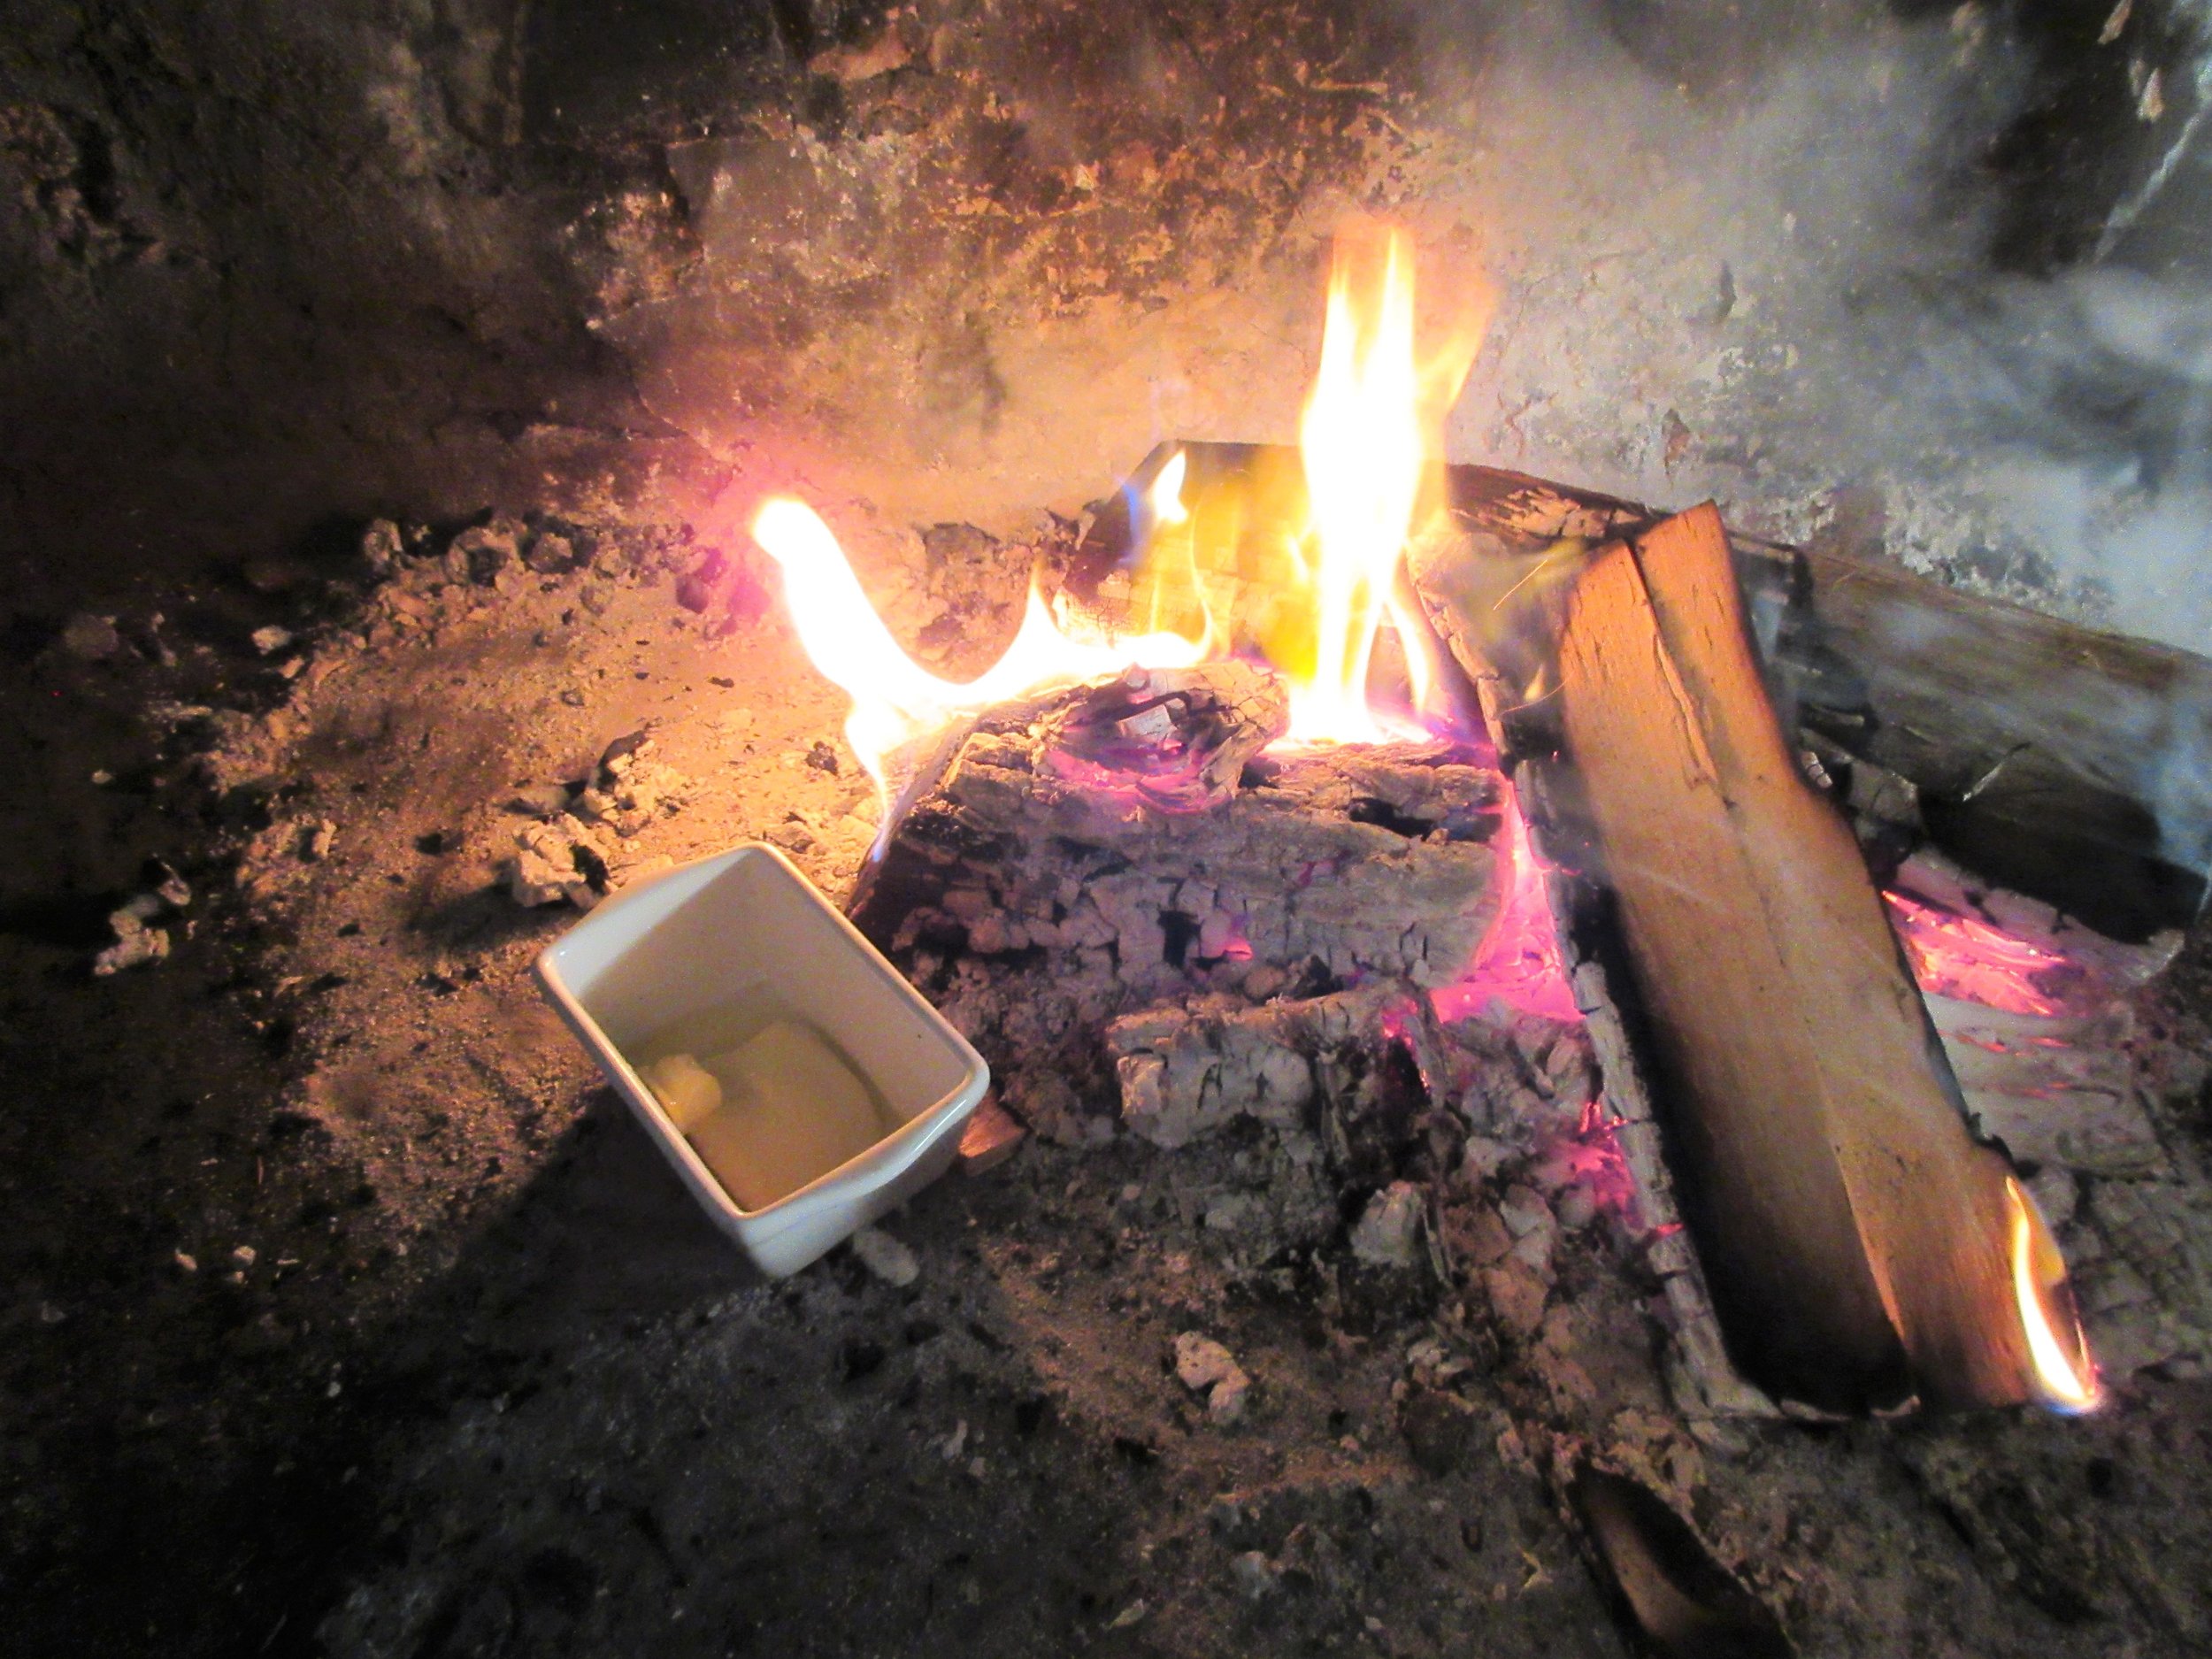
3) Add the cream and broth to the sauce pan and turn the heat up to medium. Allow it to bubble away for about 30 minutes to reduce and allow the flavours to mix. Chop a handful of fresh parsley and melt the remainder of the butter.
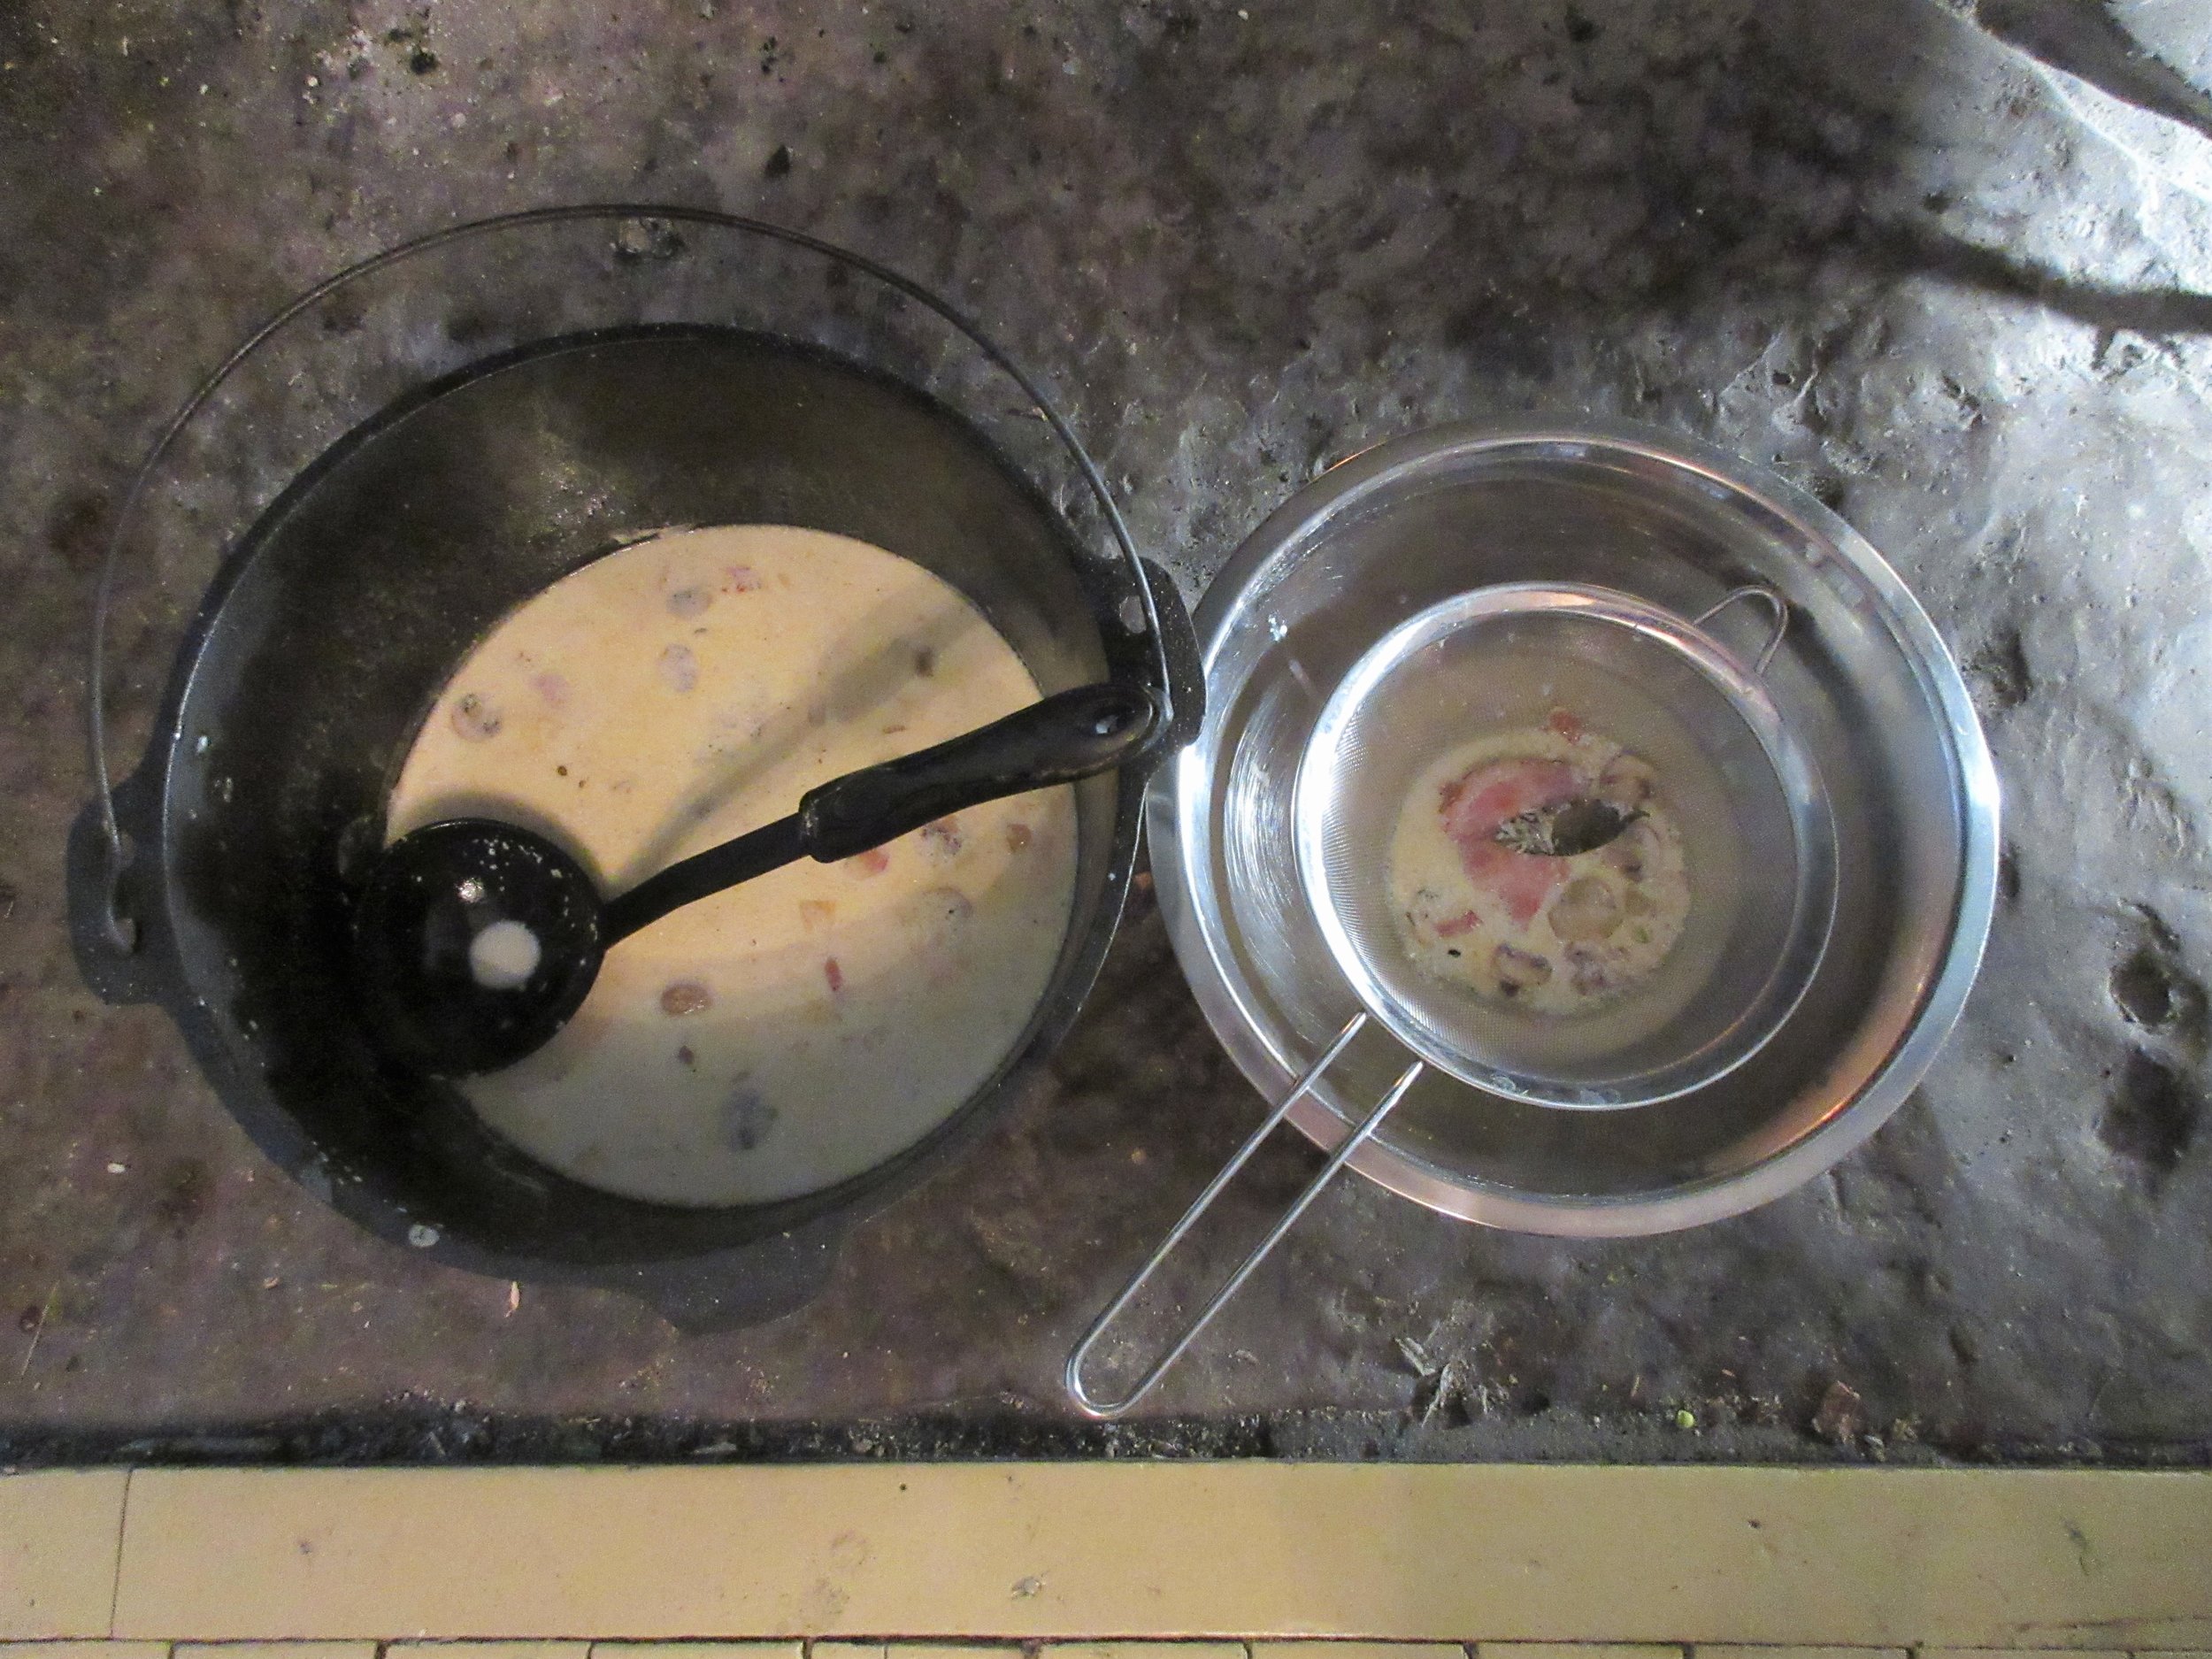
4) Strain the sauce through a sieve into the serving dish with the meat, then add the chopped parsley. Mix the melted butter with the breadcrumbs and layer on top of the sauce and chicken.
5) If your chicken is still warm from roasting, you may broil in the oven until the breadcrumbs are brown (or if you have a salamander, you can use that to brown the top). If your meat is cold, bake uncovered at 350F or 175C for 20-30 minutes. Switch to broil at the end to brown the breadcrumbs if needed.
Optional, but delicious: Slice the ham or veal into small pieces and remove the cloves and bay leaf. The ham, veal, mushrooms and shallots are tasty as a side dish or as a garnish with this dish.


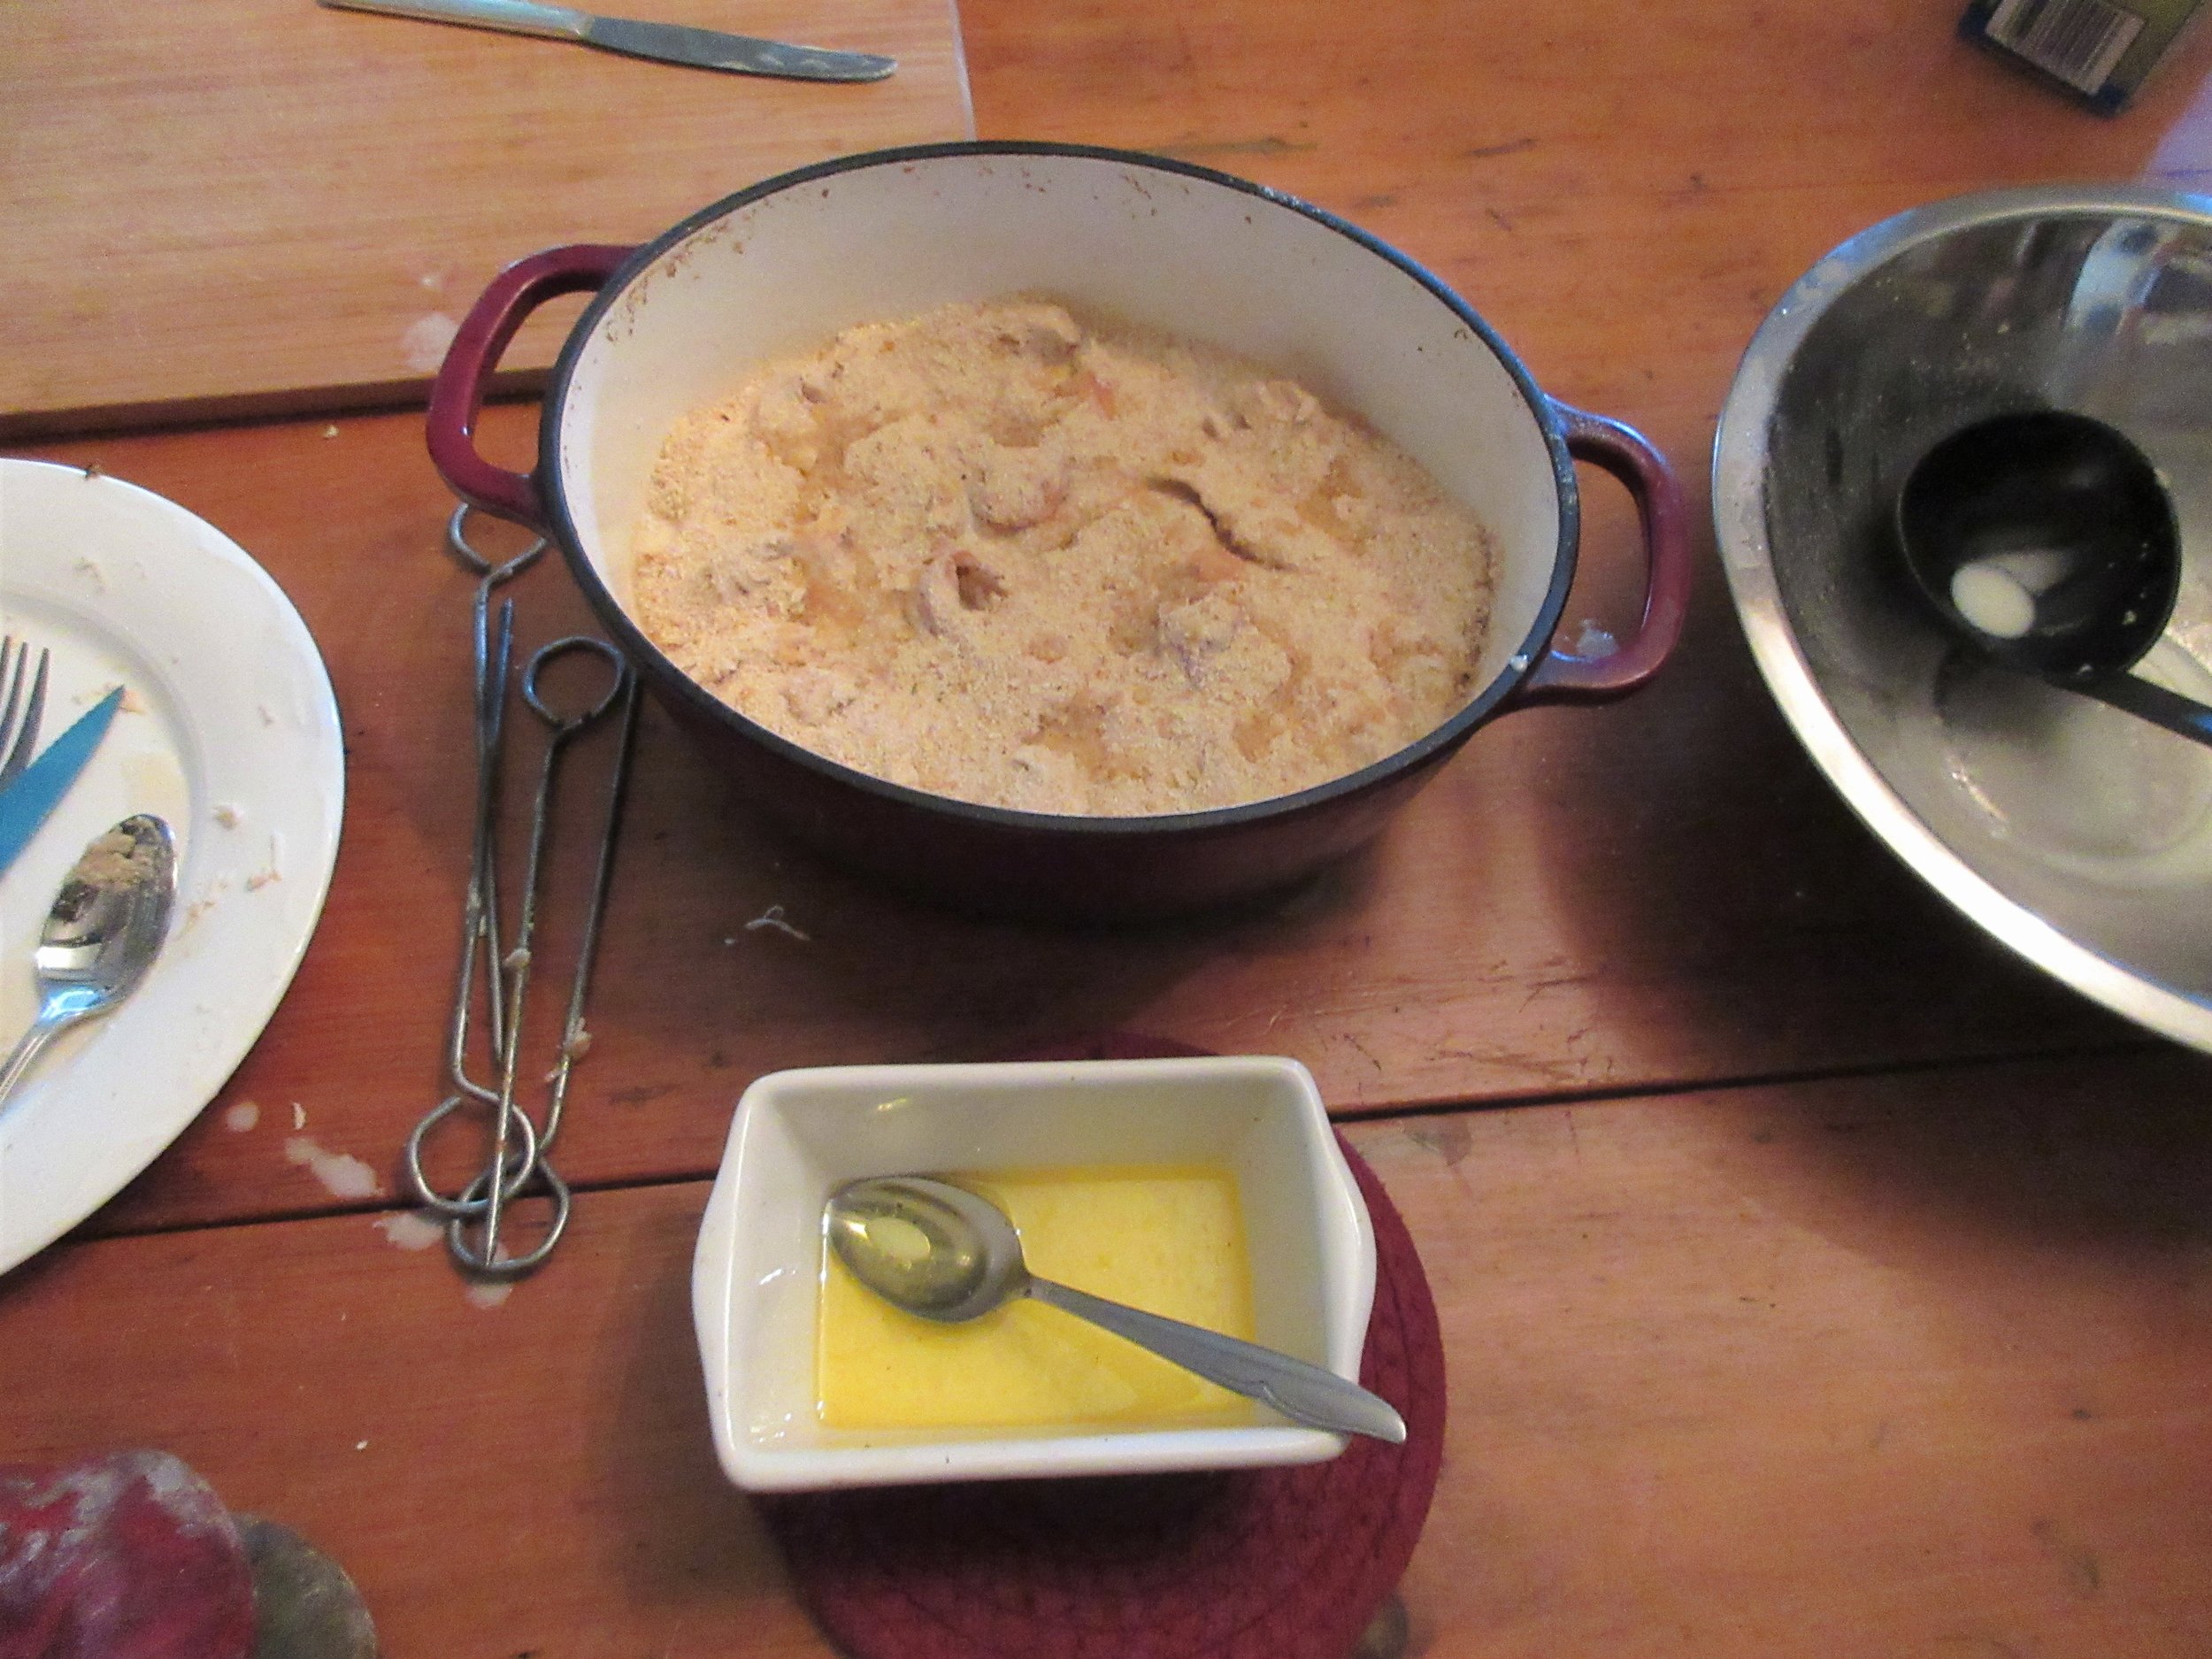
It’s been a while since I made Fillets of Chickens, with Bechamel-ſauce and Bread-crumbs at Nelles Manor Museum. I made it twice in the summer of 2019, which was the last time that I was able to teach an open hearth cooking class there. The recipe’s from the 1781 cookbook The Practice of Modern Cookery by George Dalrymple and at this class, we made recipes that would have been popular when the house was newly constructed using fresh garden produce and some newly purchased open hearth cooking implements.
Above, the plate of Fillets of Chickens, with Bechamel-ſauce and Bread-crumbs on the left was cooked on recipe testing day, when I forgot both string and parsley. The picture of the plate on the right was snapped by a class attendee. You’ll also see To ragoo French Beans on the plate and you can just make out a glass of Freſh Raſpberry Water at the top. We finished off with some Strawberry-fritters for dessert.
If you’re curious about cooking with fire, keep reading to learn about some open hearth cookery techniques: using a salamander and a couple of different styles of reflector ovens. I also share some ideas for creating DIY reflector ovens using common items that you can use in front of a fireplace or campfire.
Salamanders
One of the final steps in our recipe is to “give it a colour in a oven or with a ſalamander”. Keep reading to find out how to brown a breadcrumb top in an oven in open hearth cookery, but our other option is to use a salamander. This recipe isn’t instructing us to brown the breadcrumbs by using a small lizard, though. A salamander is a metal tool used used to brown or caramelize the tops of dishes before being served. Today, a salamander is a small broiling oven that’s used for the same purpose.
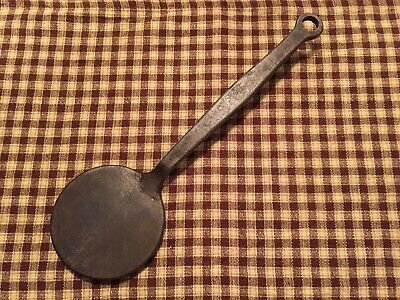
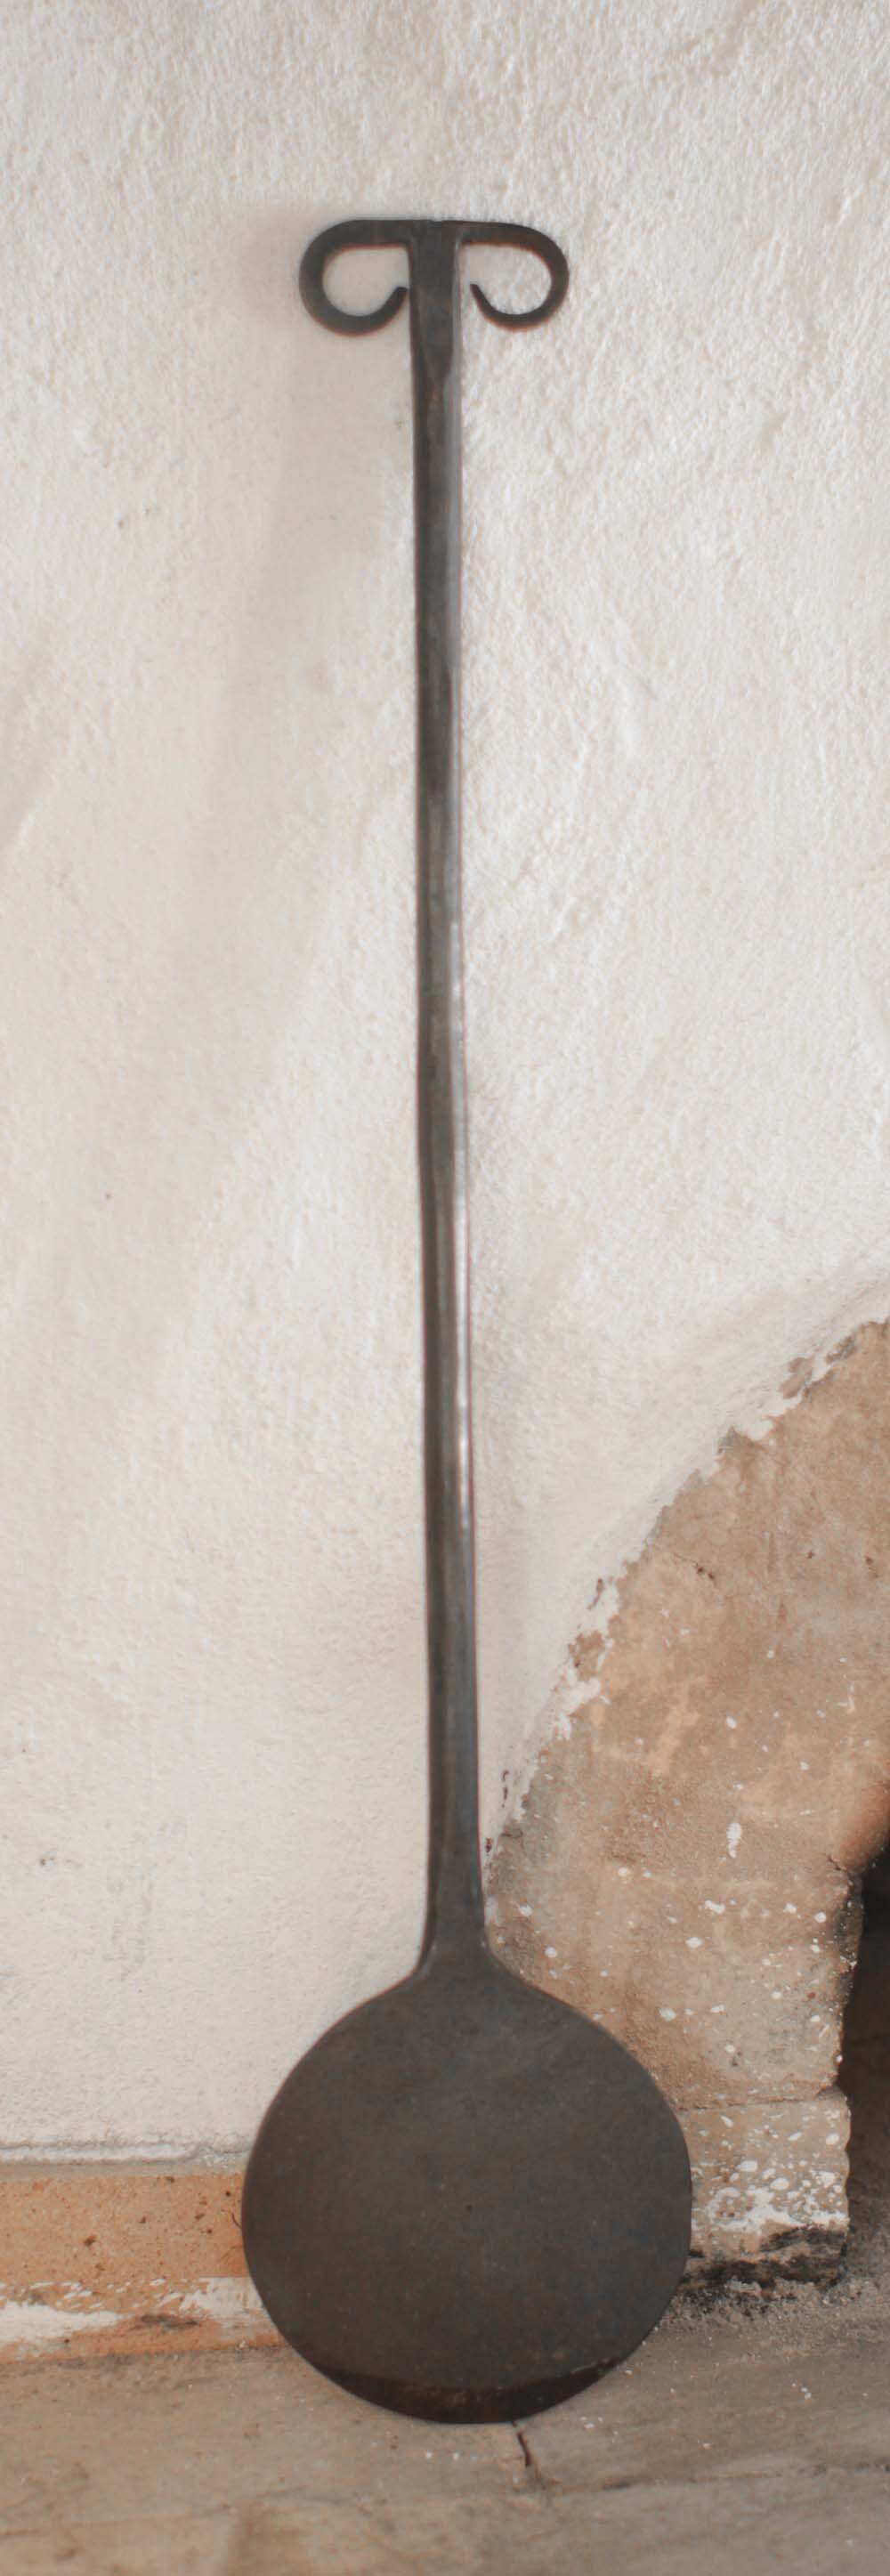

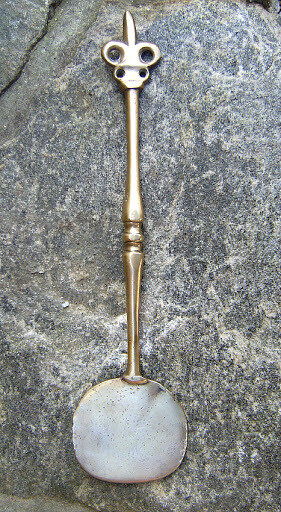
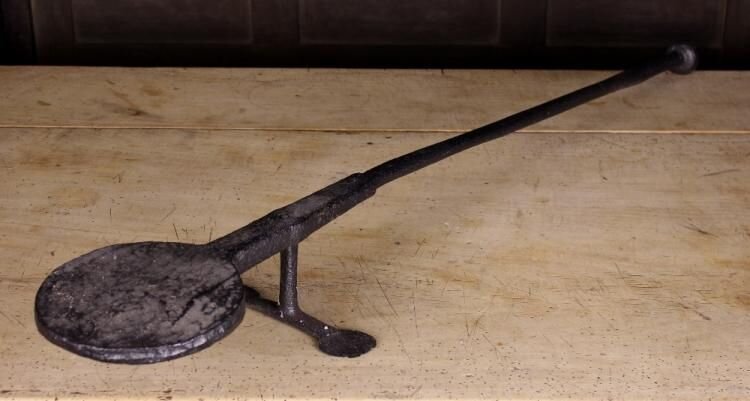
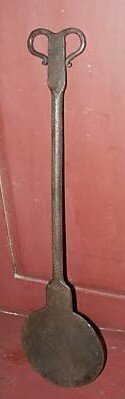
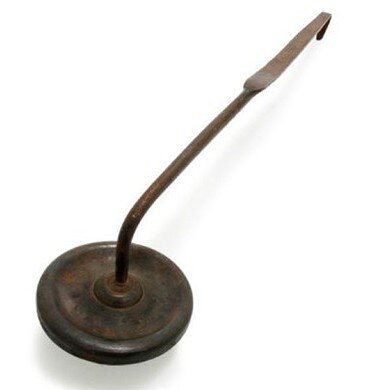
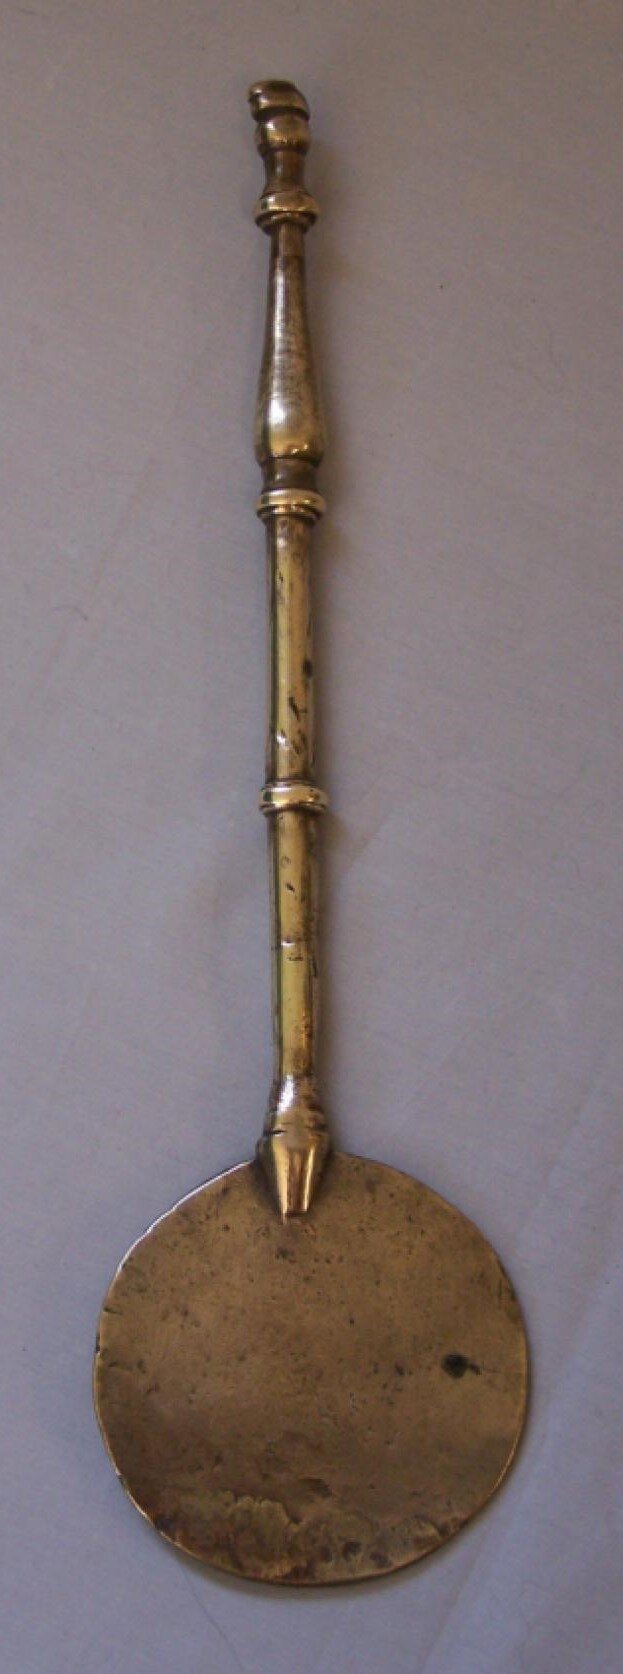
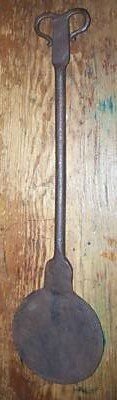
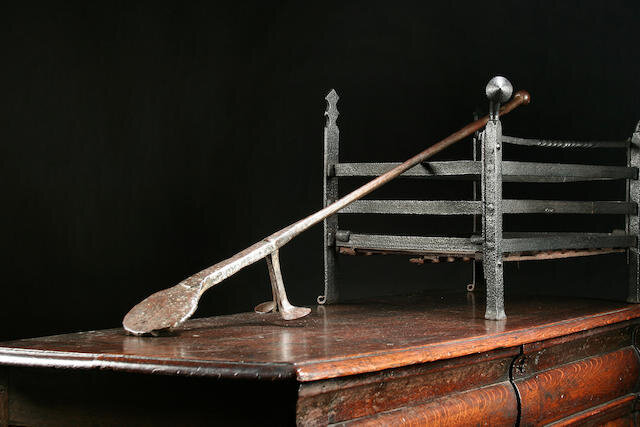
Traditional salamanders have a round metal piece at the end of a long handle. Sometimes salamanders also have little feet to help keep it in place when it’s being heated. If you didn’t have a salamander, you’d also have the option to use a small metal shovel.
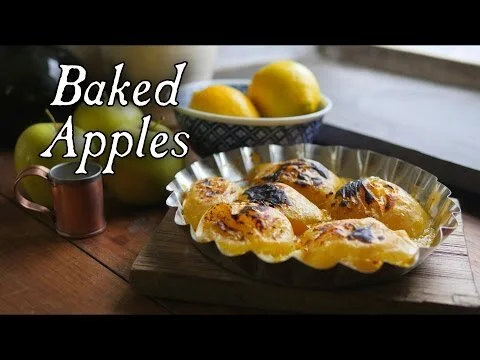
Salamanders (or shovels) would be heated until they’re red hot by either burying the round end in hot coals or sticking its end in the fire. The salamander would be waved overtop or pressed on the area to brown, blacken and caramelize. To see these principals in action, have a look at the videos below from the Townsends youtube channel. Close to the end, he utilizes a salamander to caramelize the top of a bread pudding and in the other video, he uses a hot shovel to blacken the tops of baked apples.
Reflector Ovens
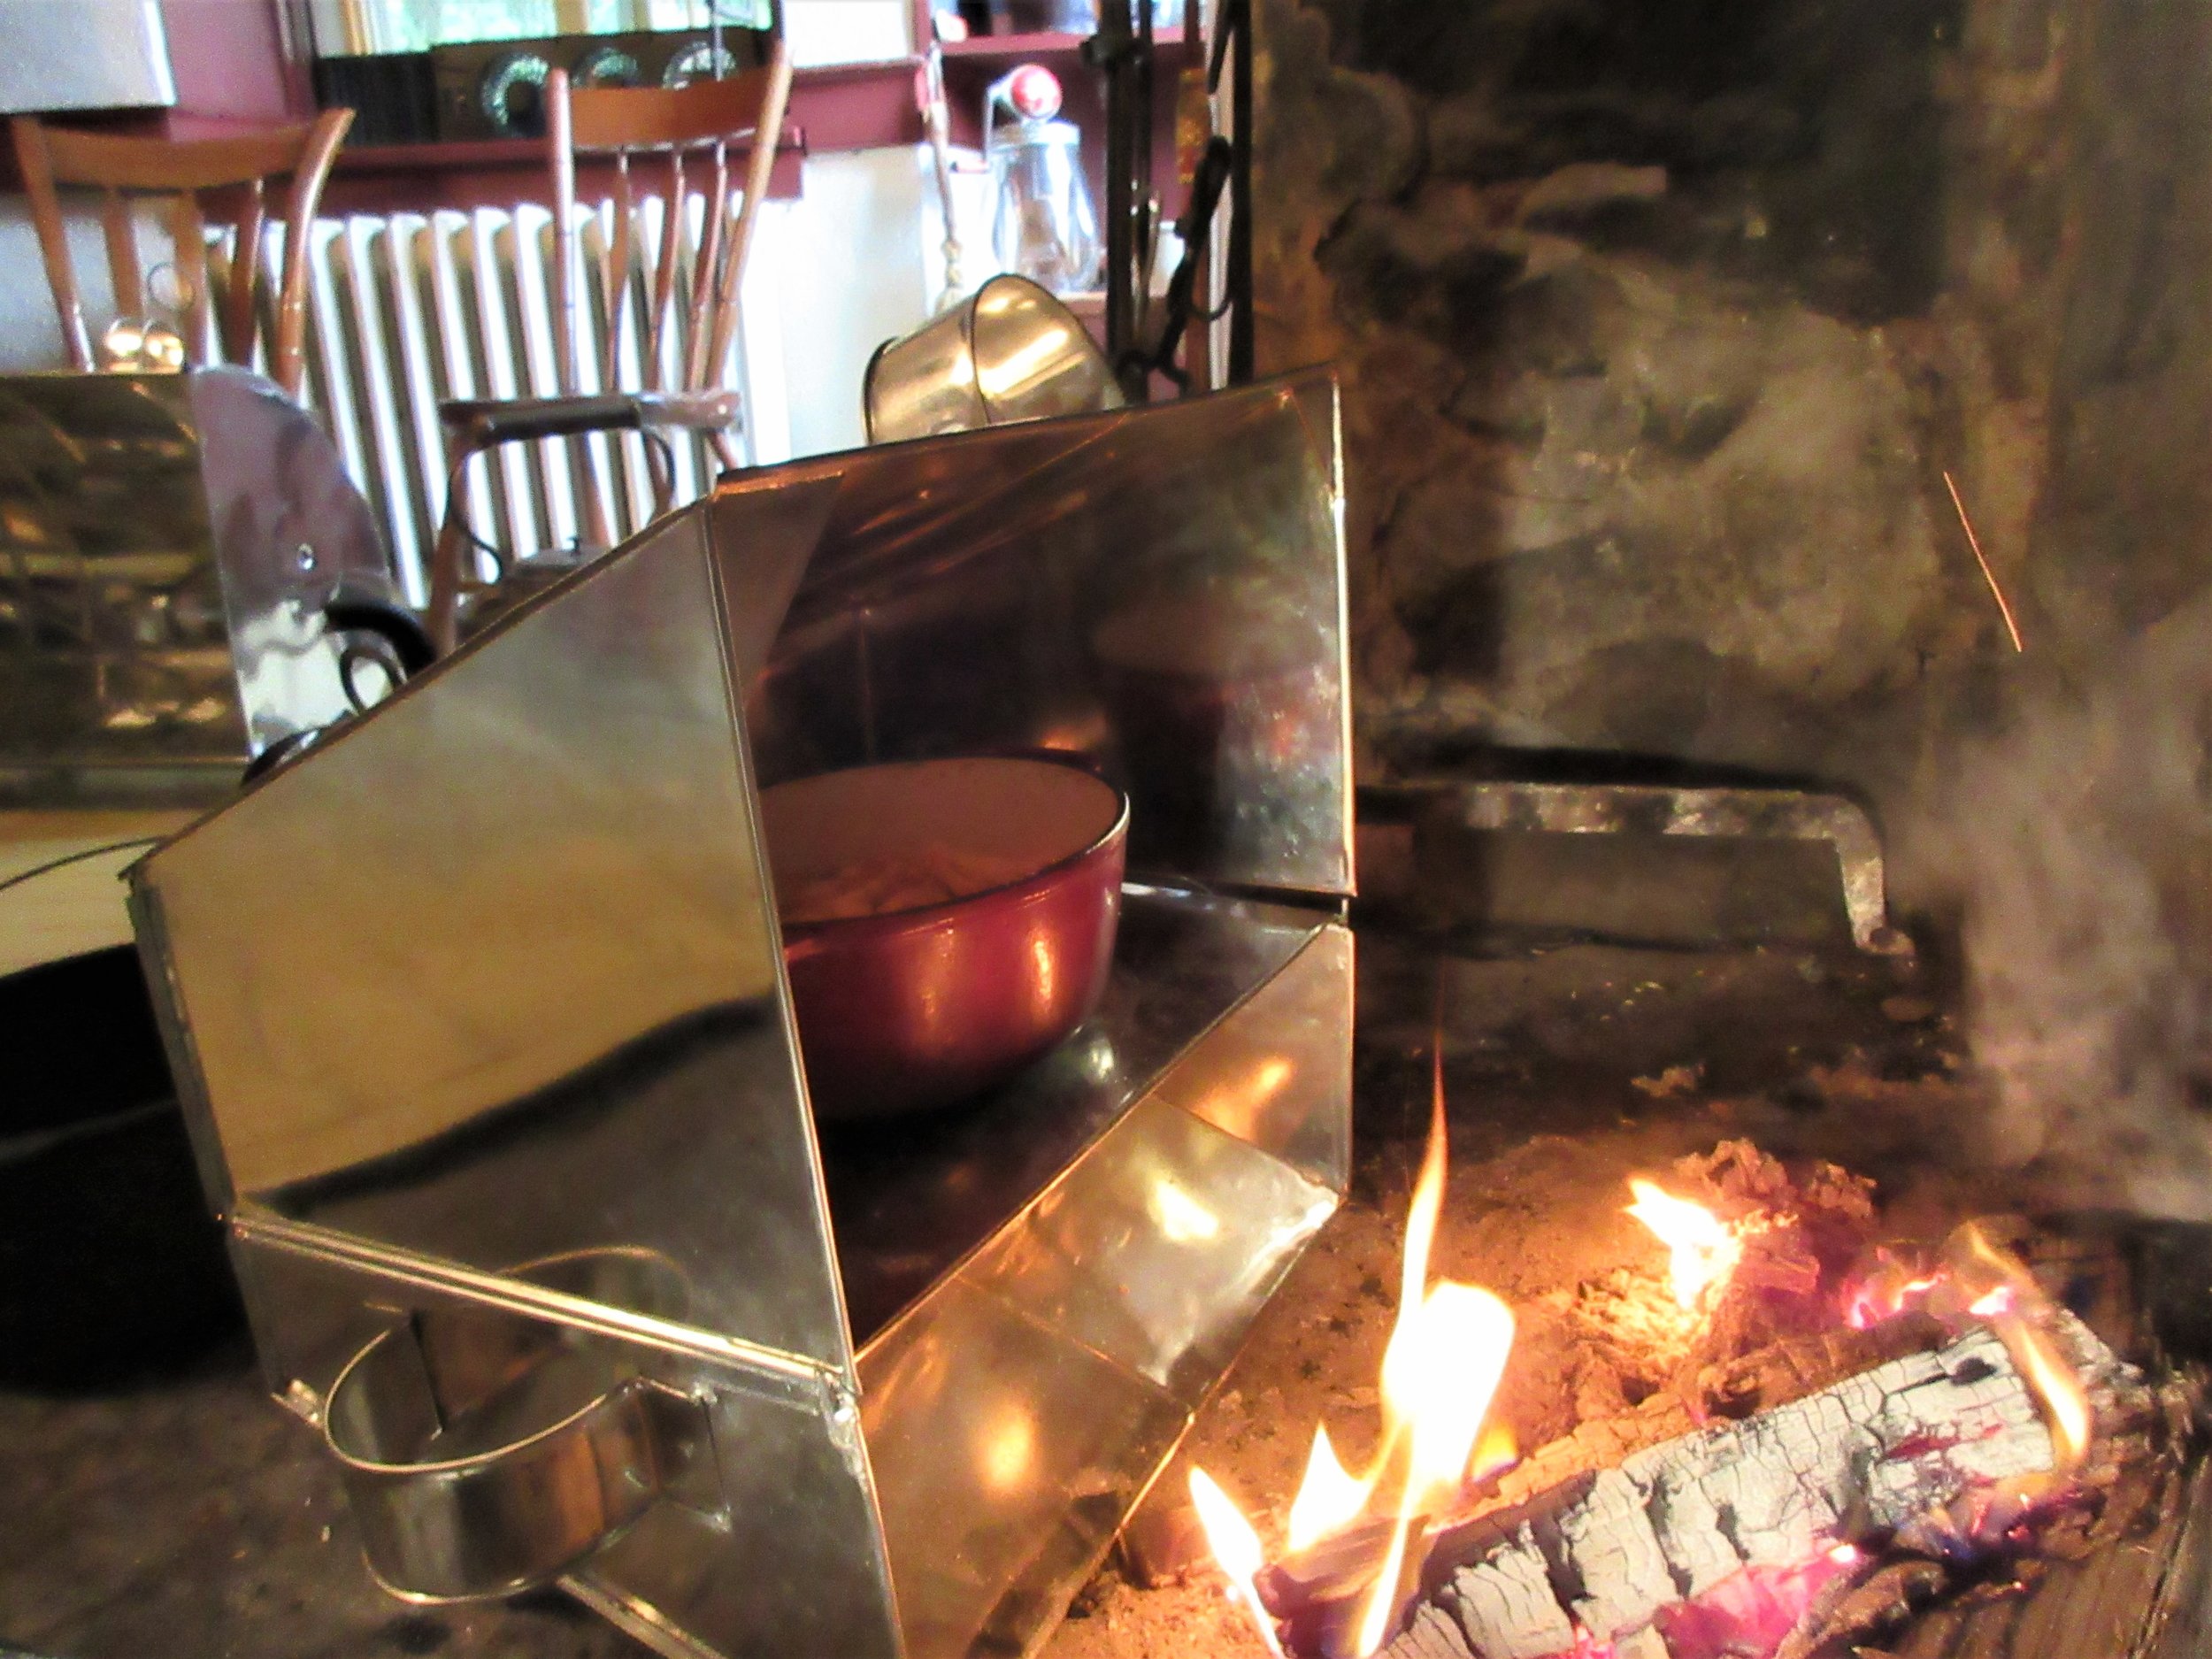
Reflector ovens are sometimes also called hastening ovens or tin kitchens and they are metal containers, traditionally made out of tin, meant for roasting and baking. Tin kitchens amplify, focus and reflect the heat from the fire. I used two types of reflectors to prepare Fillets of Chickens.
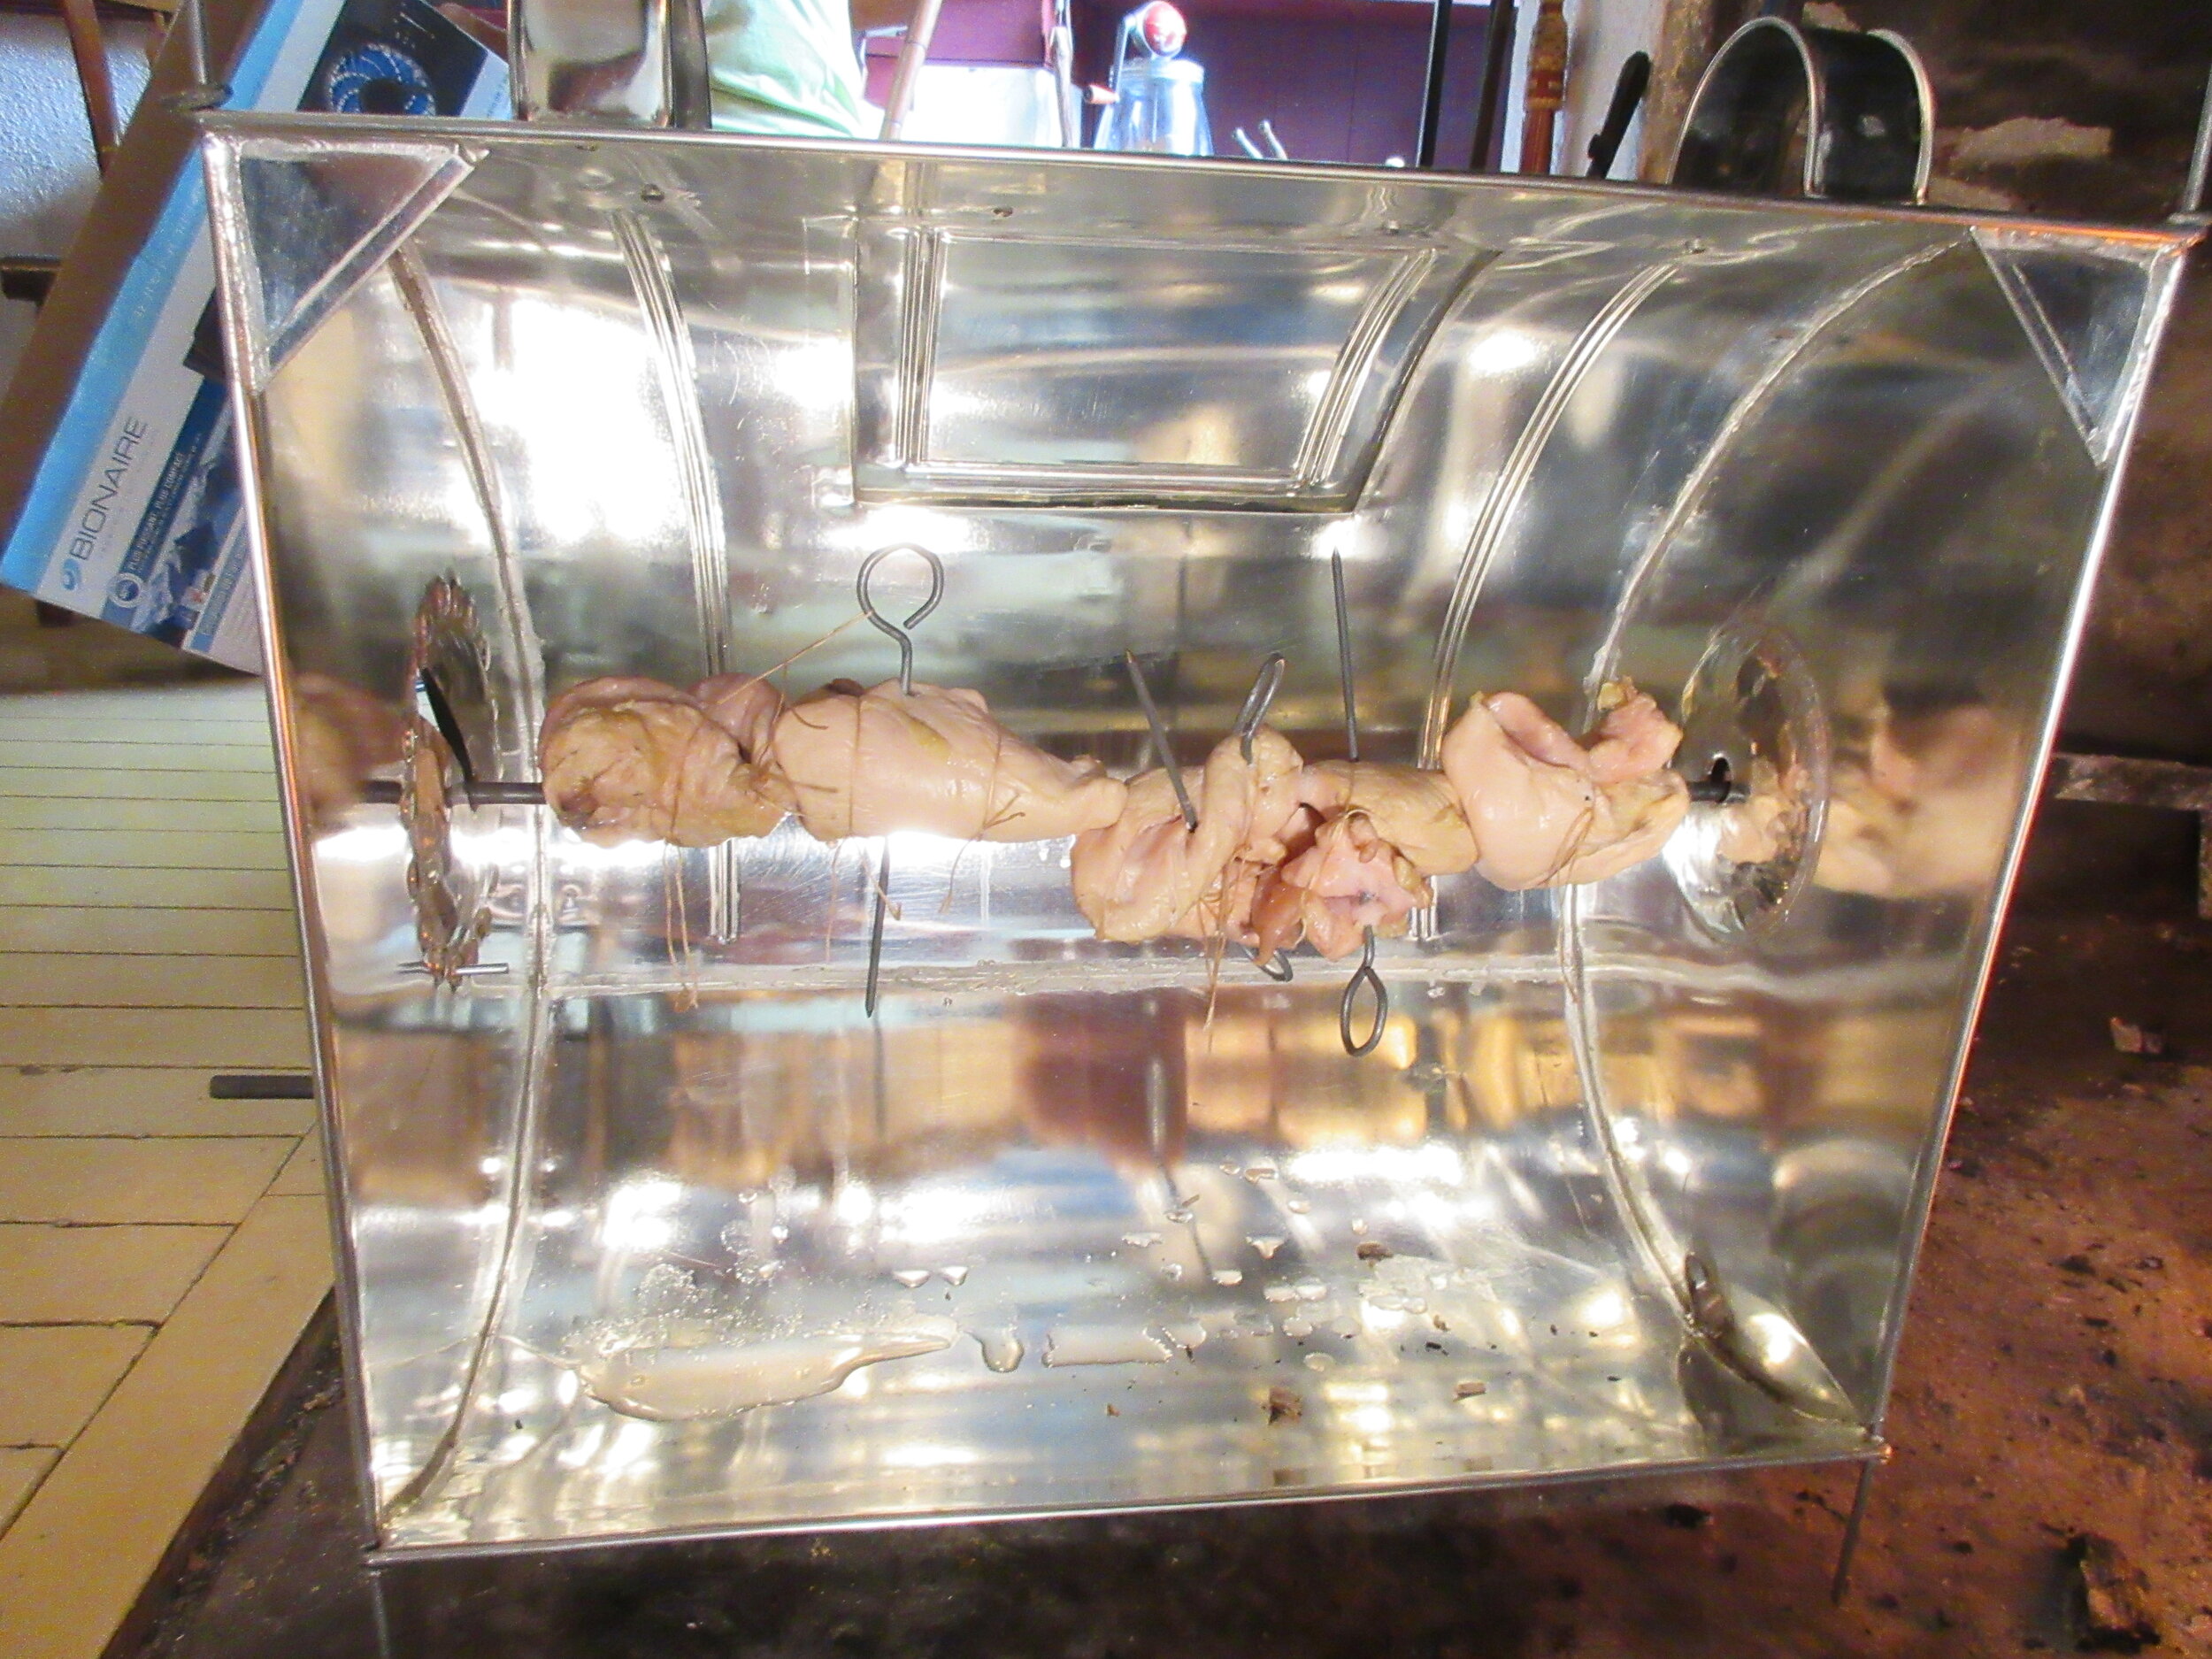
To roast my chicken breasts, I trussed them up to a reflector oven with a spit and at the end of the recipe, I used the more box-like hastening oven to brown the breadcrumb topping. If I didn’t have a rotisserie reflector oven, I would have still been able to roast my chicken breast in a dish or pan in the box reflector oven.


The key to trussing up your meat, vegetable or whatever you’re roasting is to securely attach it to the spit with string. It’s important that when you’re turning the spit, the meat turns with the spit. For even roasting, it’s not great if the spit turns inside the meat and the meat stays in the same position. It’s helpful to have an extra set of hands, tight knots and some good sturdy string to get the job done.
I’ve already mentioned that I forgot string on my recipe testing day, which wasn’t ideal. We found some white embroidery floss in the museum office and some skewers in the prep kitchen and I gave it a go. You’ll see my results on the left. What I ended up with worked, but it definitely wasn’t perfect and tidy.
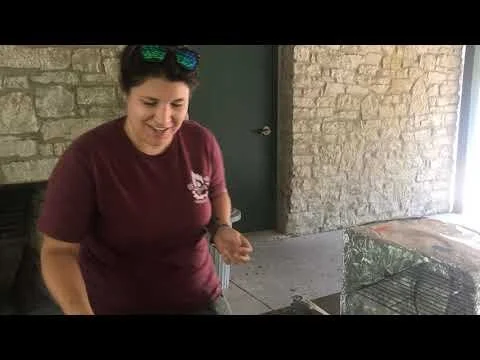
The picture on the right of me holding the reflector oven was taken on the day of our open hearth cooking class. I wanted to show off what a wonderful job the class participants did of tying those chicken breasts to the spit! If you ever try this out for yourself, aim for what you see in the picture on the right.
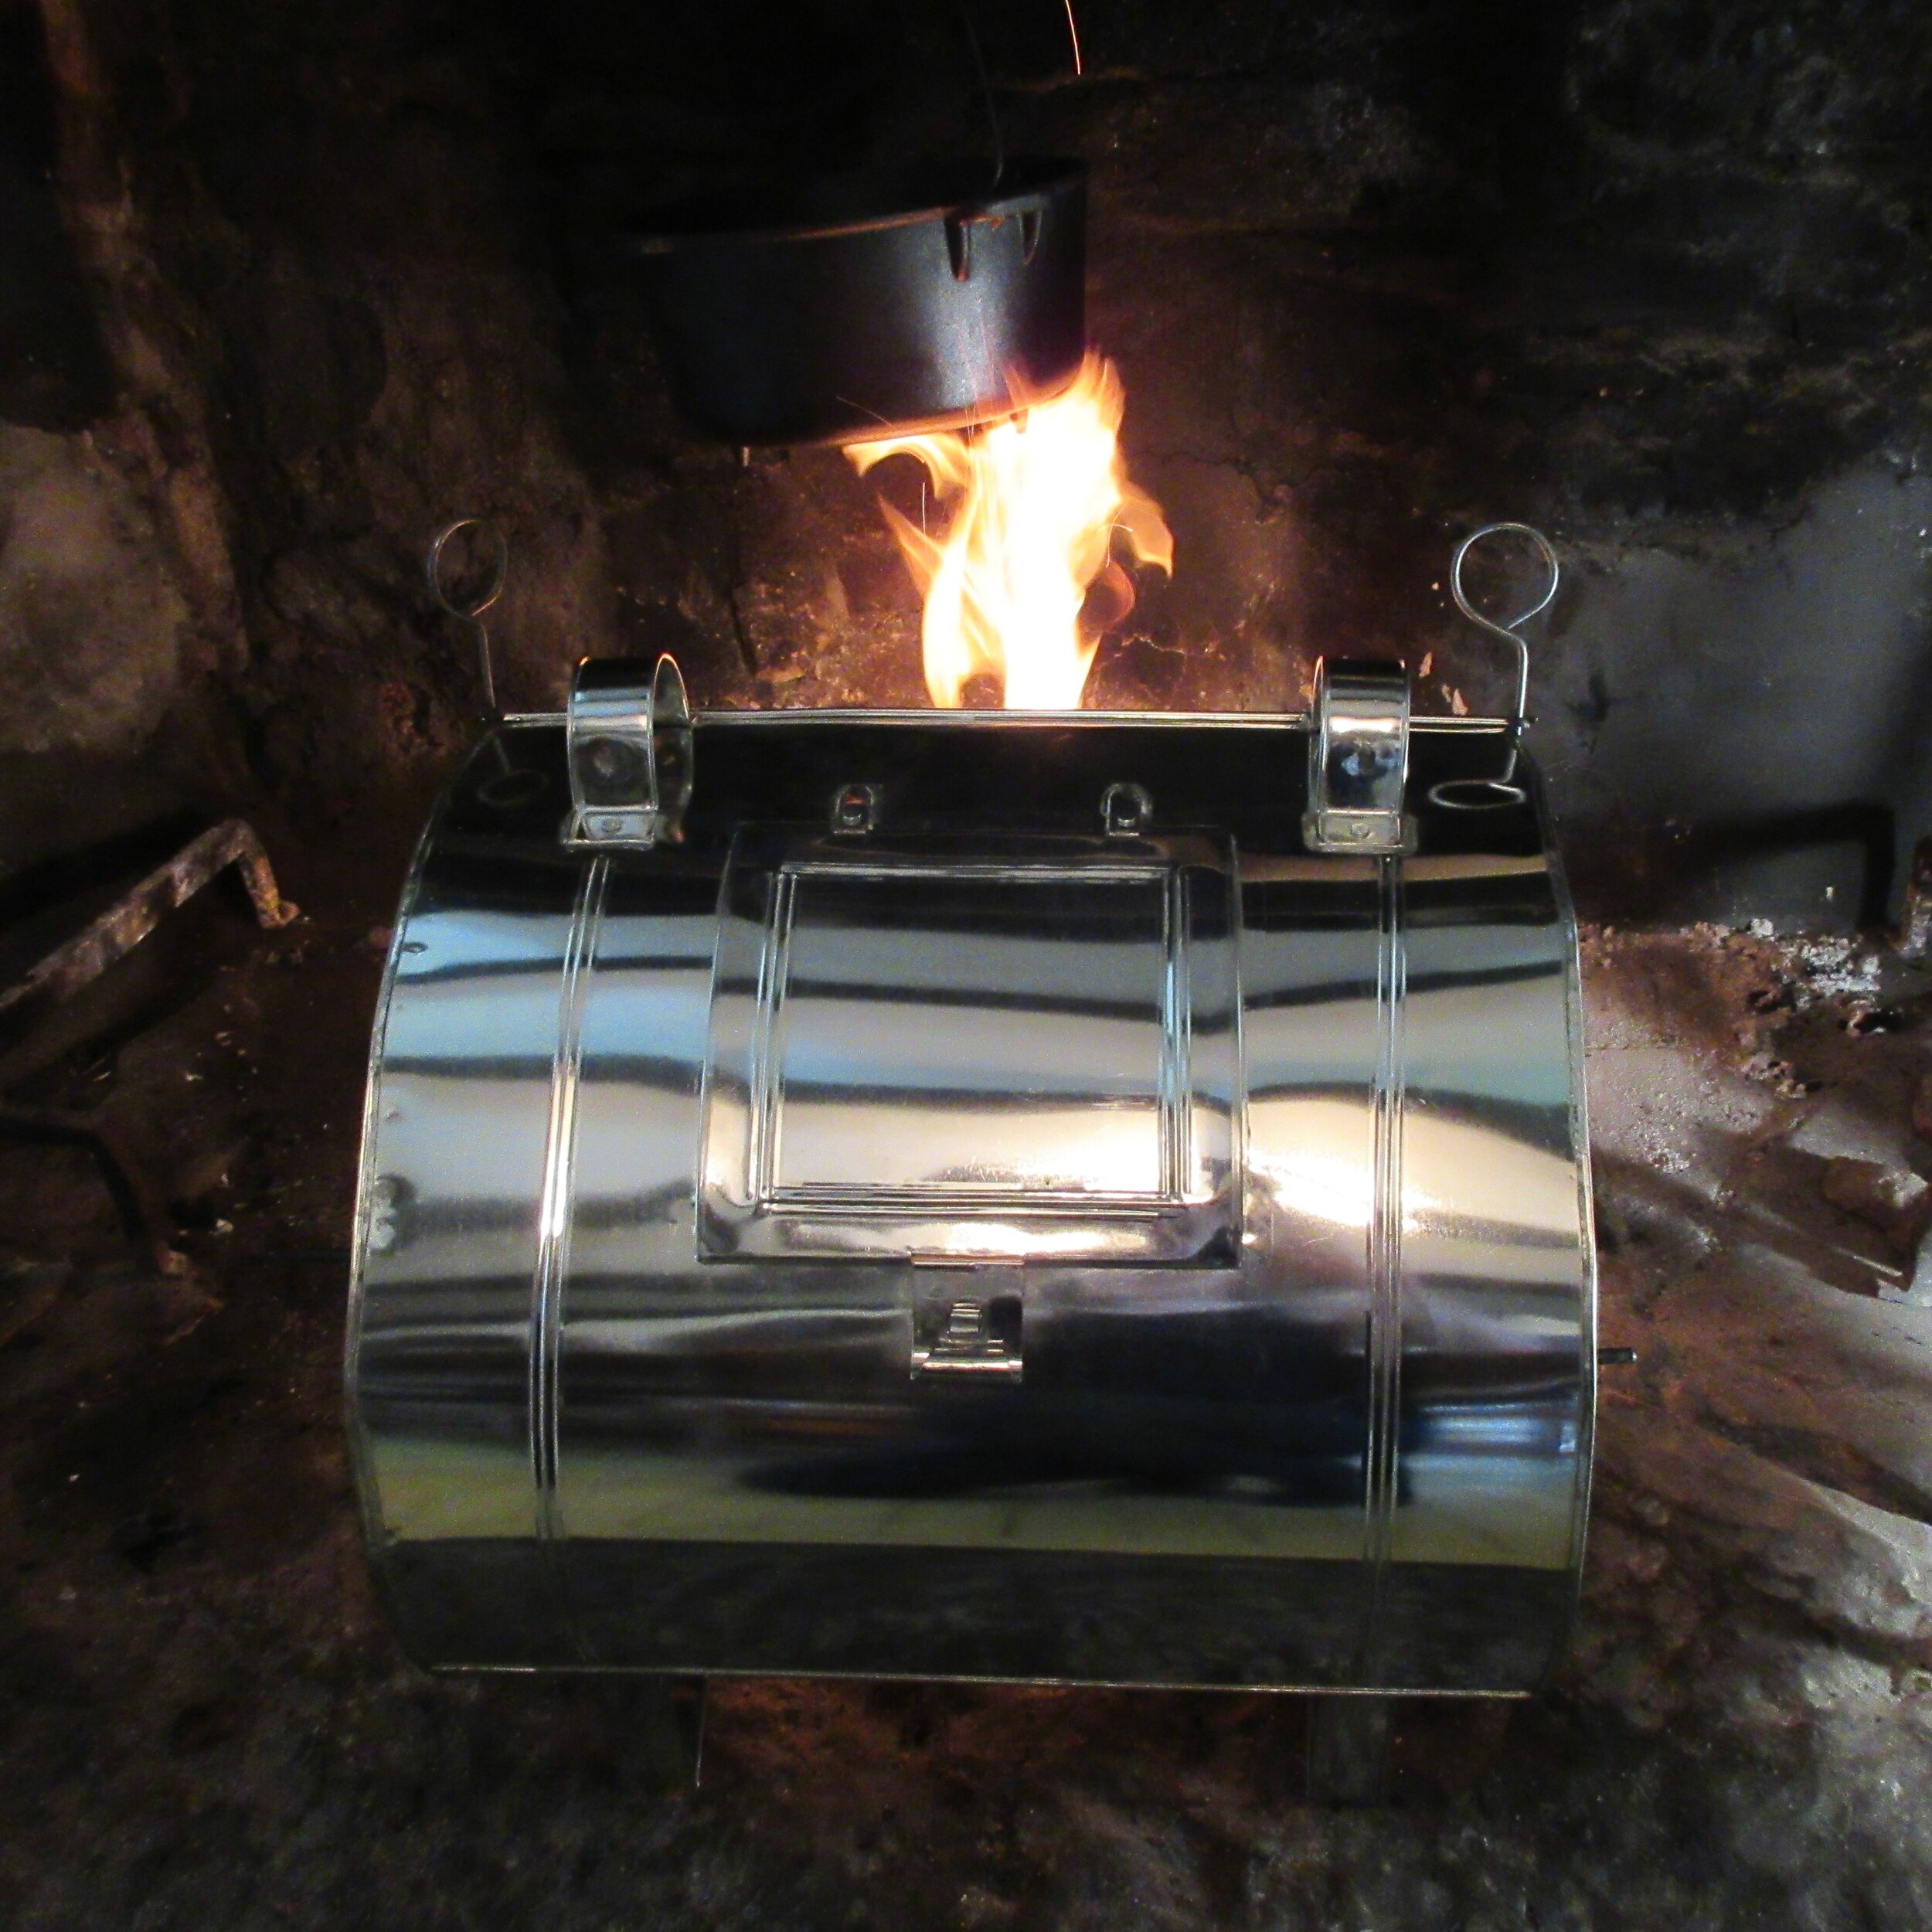
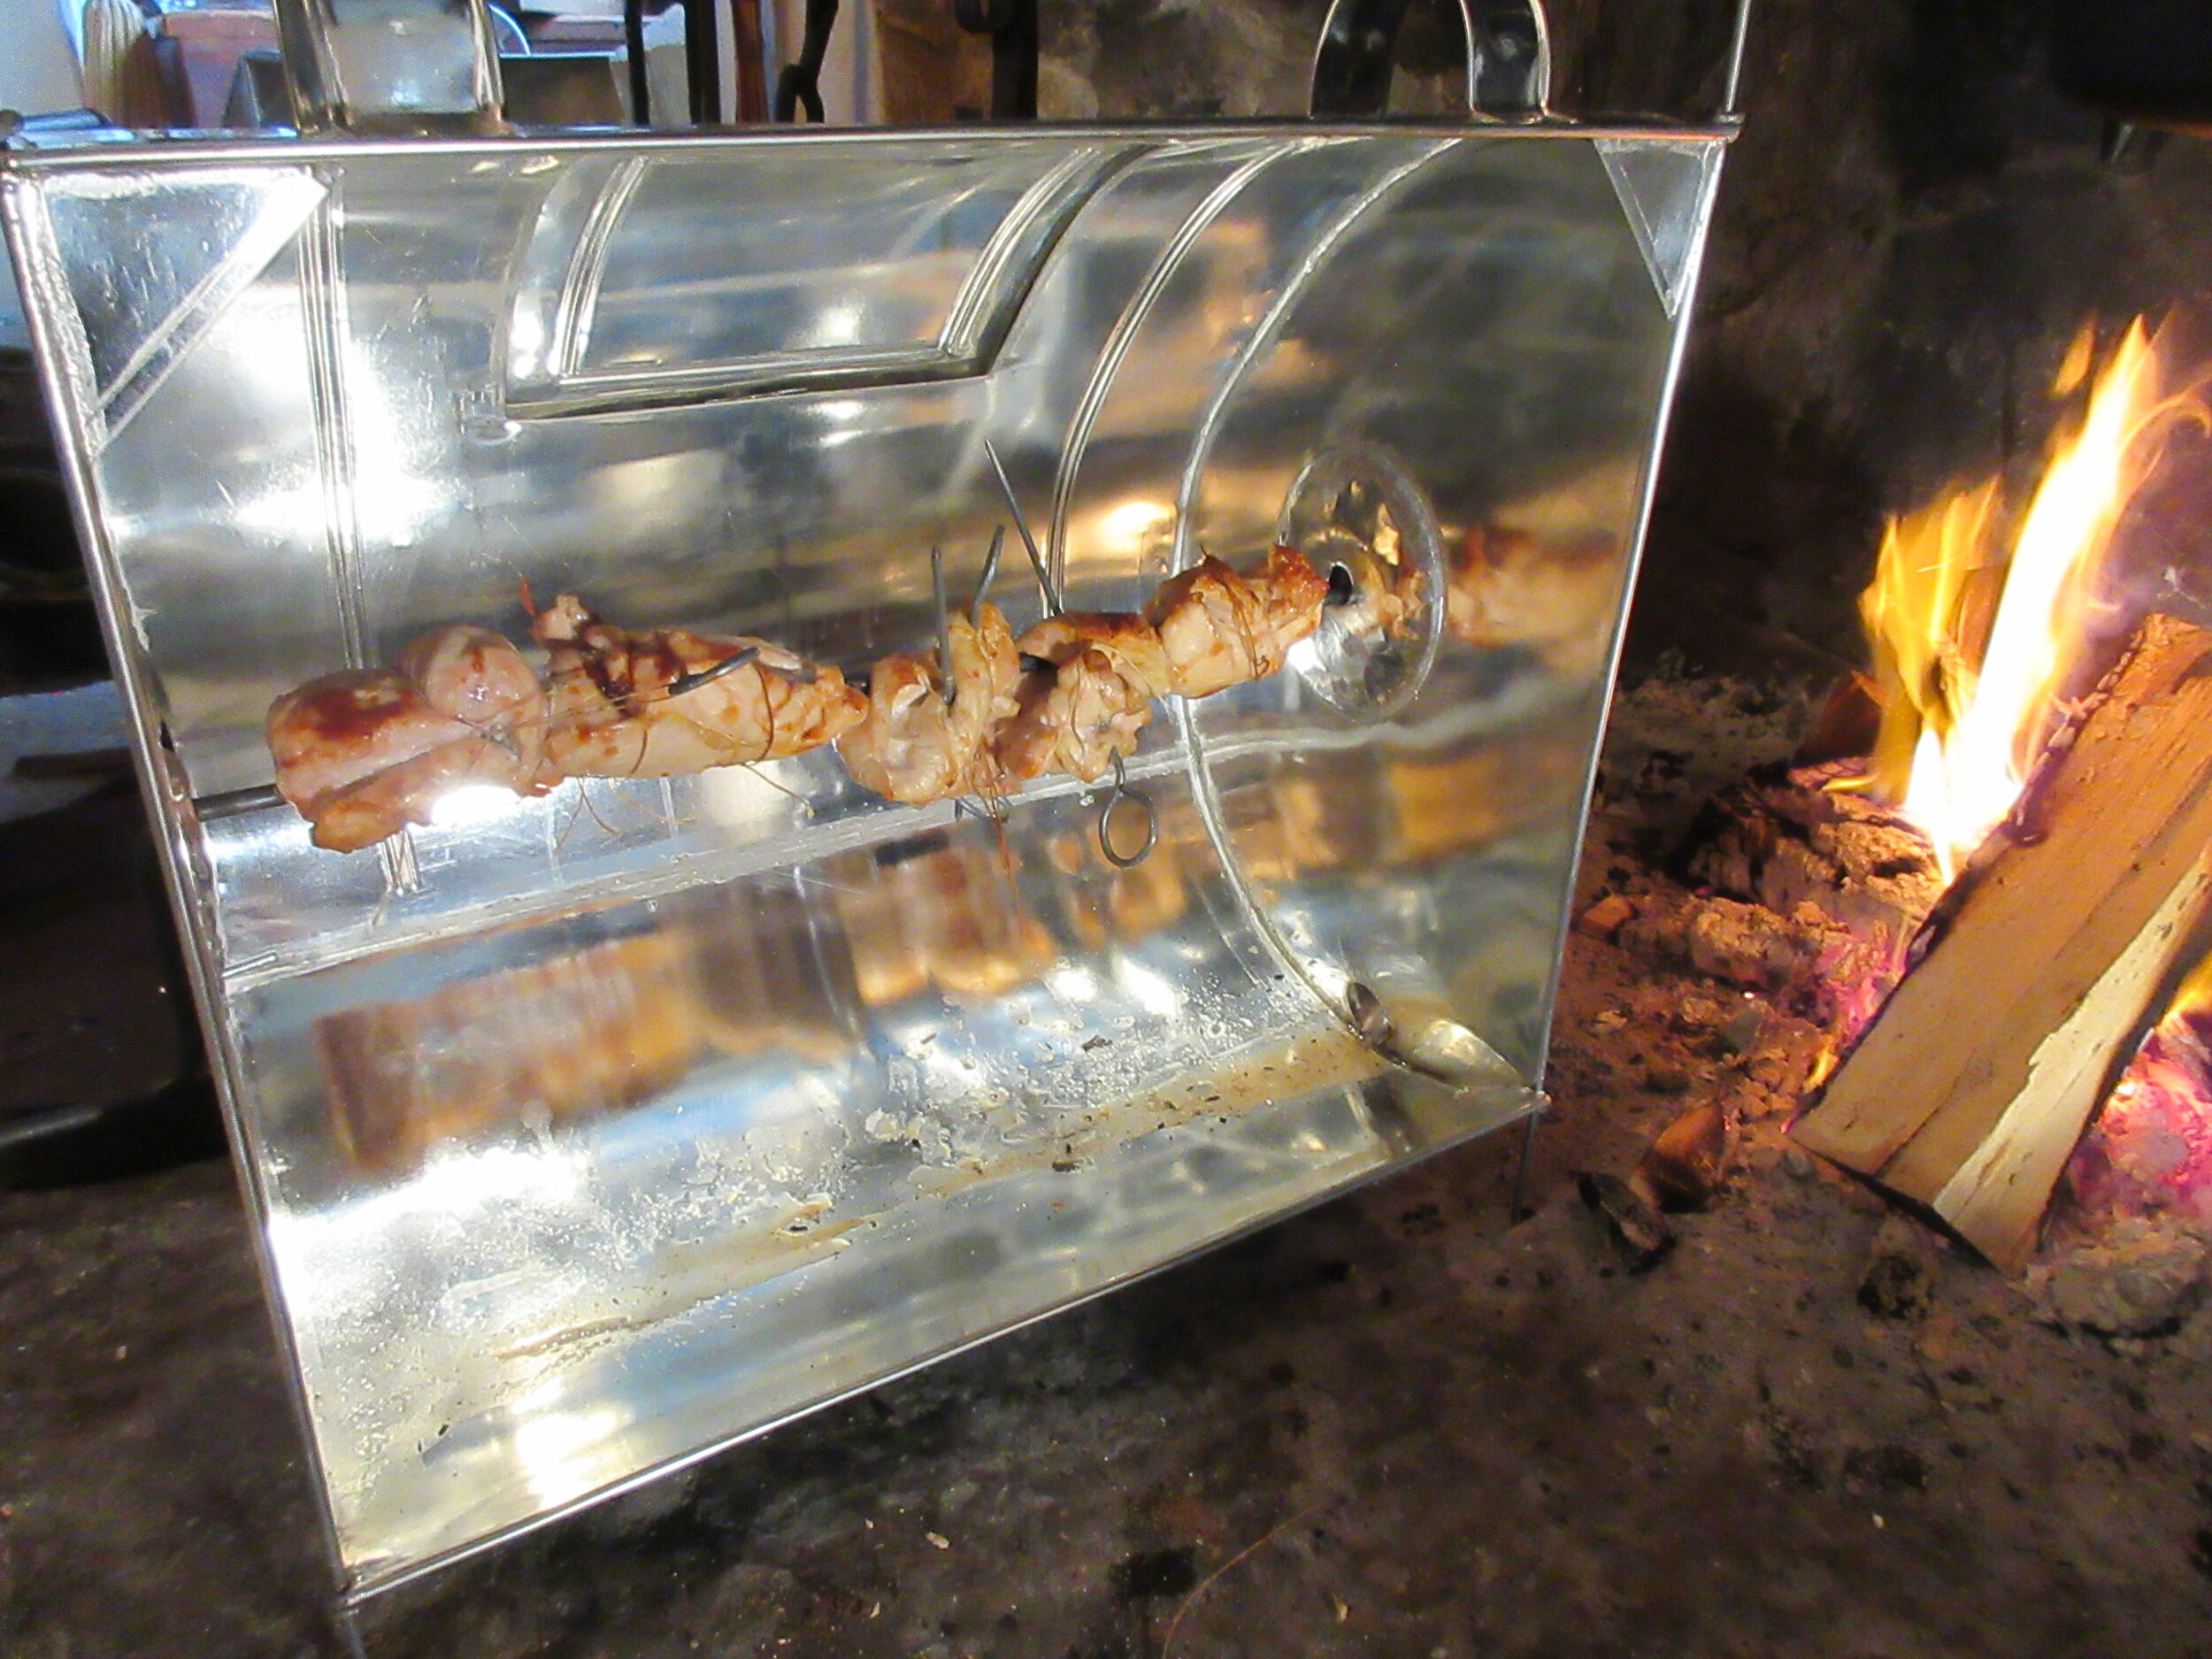
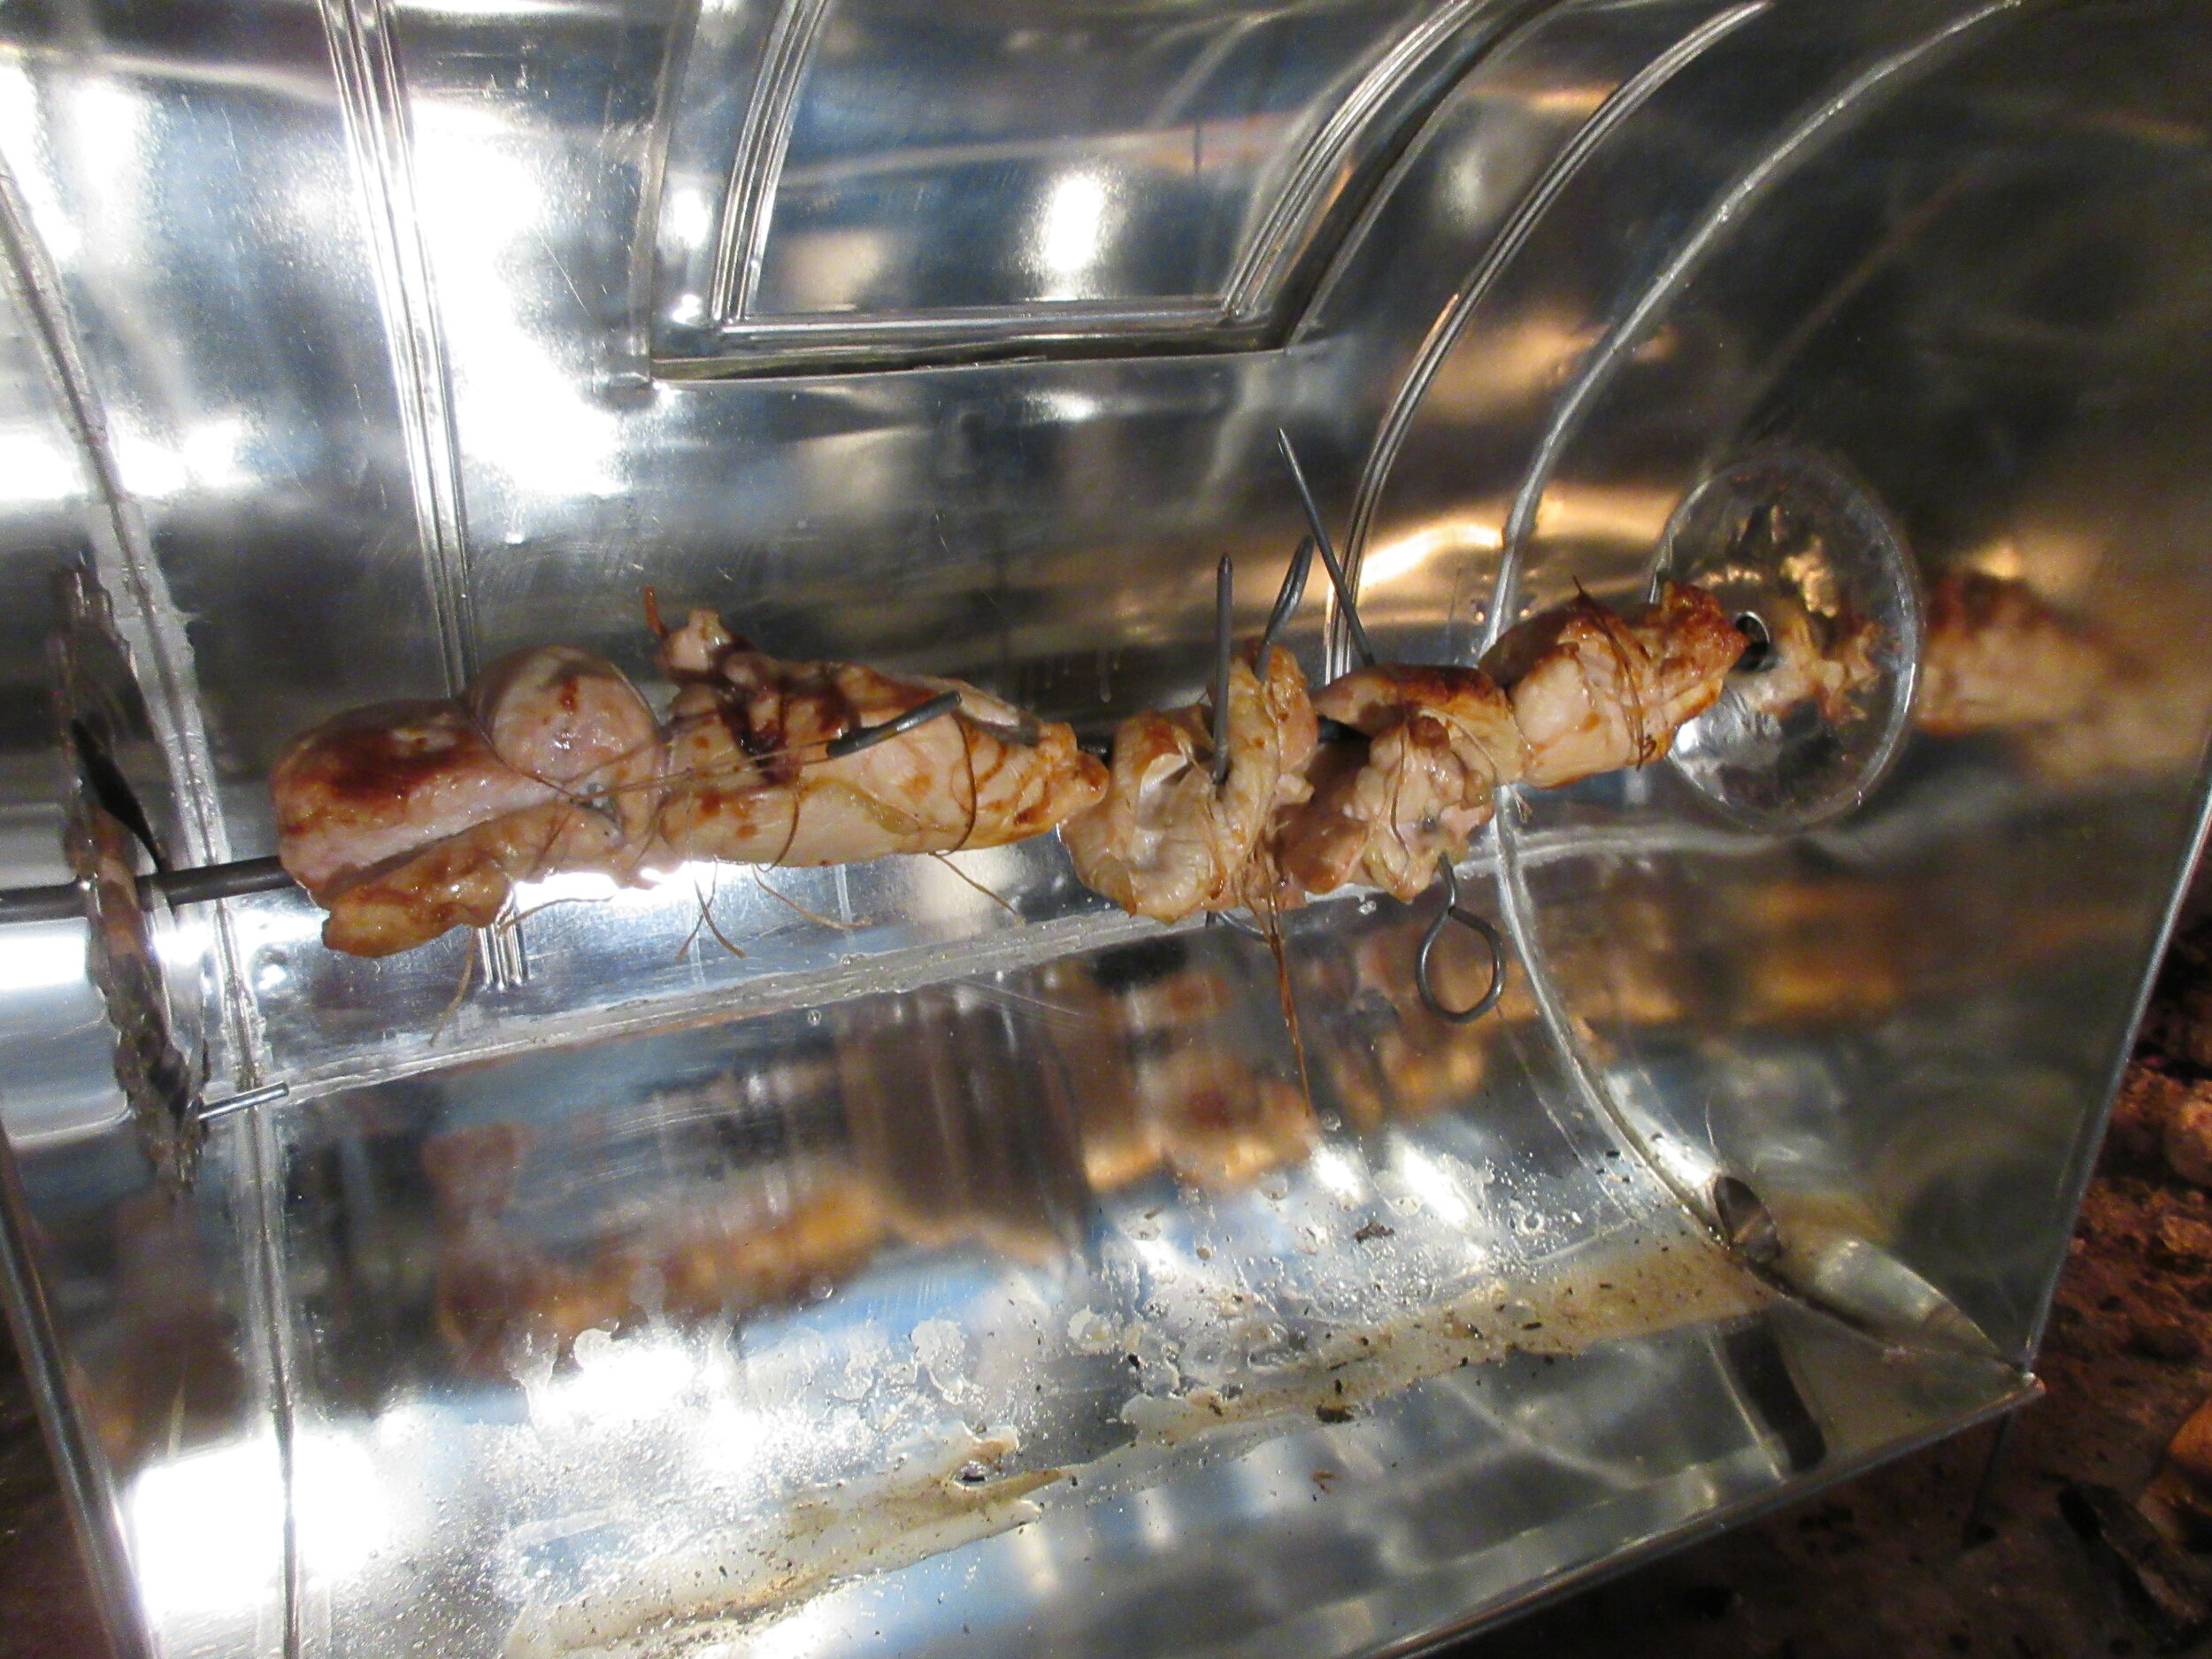
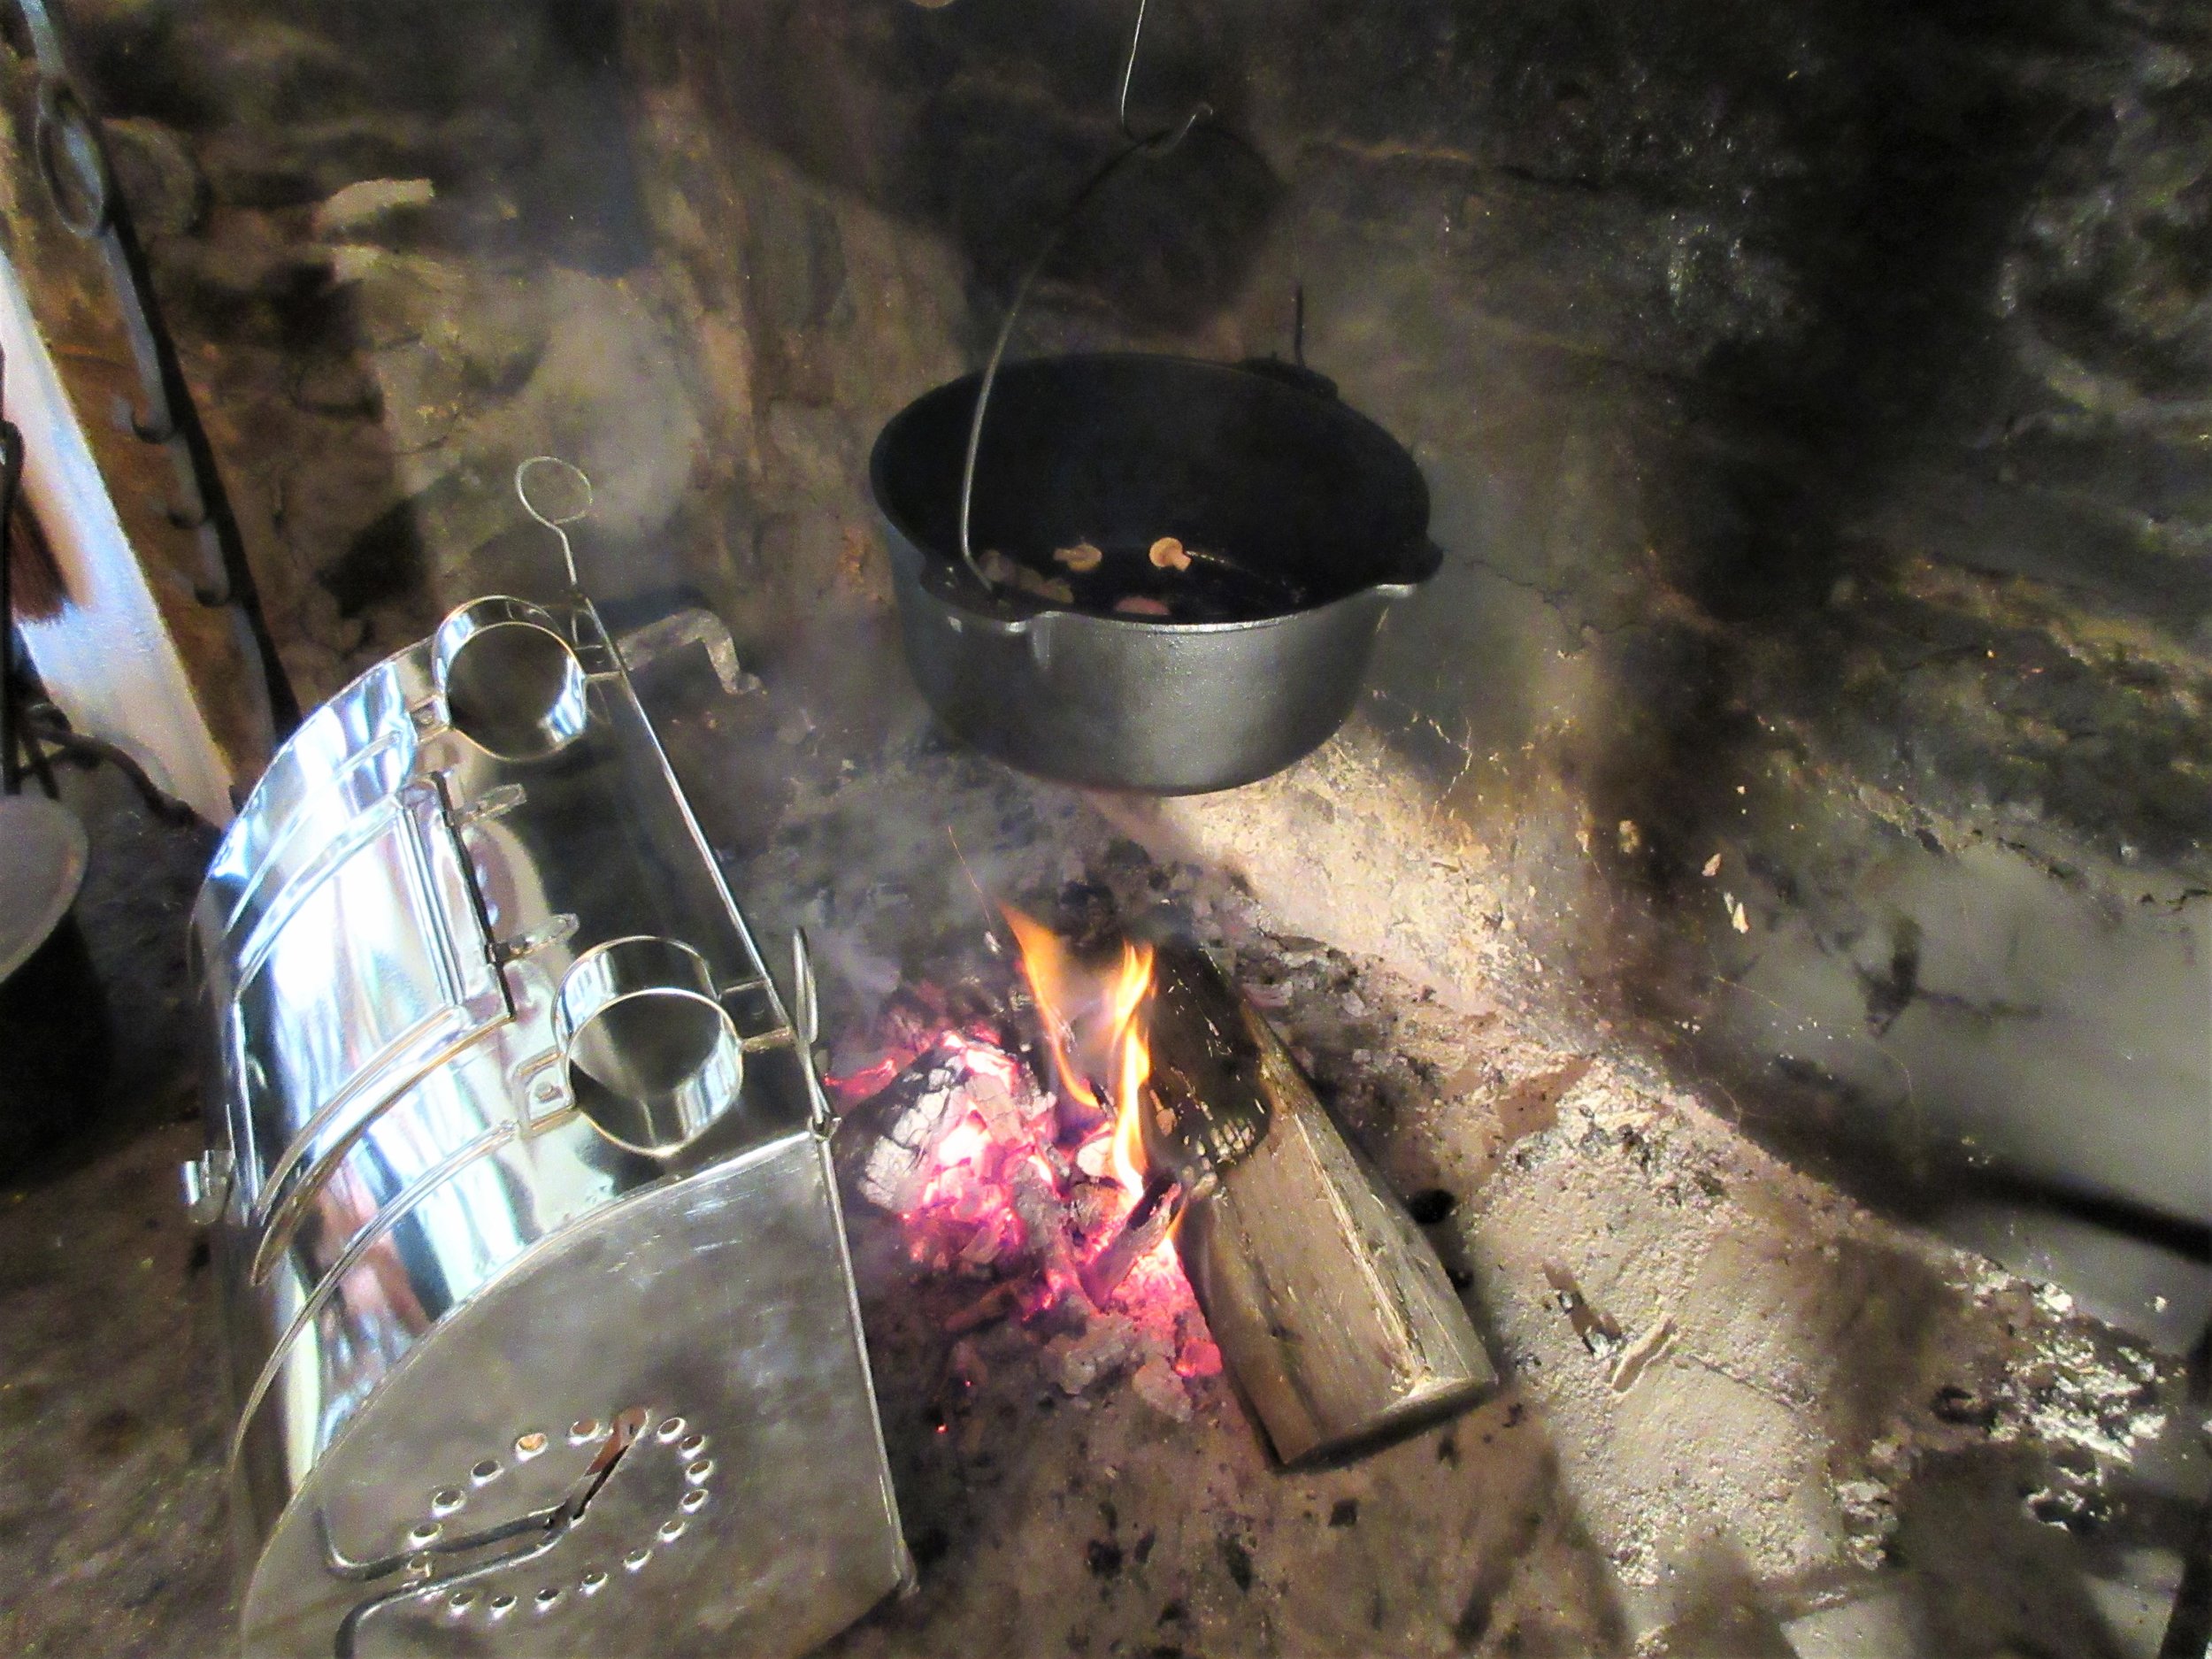
Scroll through the pictures above and see if you can pick out the features of the rotisserie reflector oven. There are handles on top to help you to move it around, which is one of the ways to control the temperature. You’re able to adjust the temperature of a reflector oven by either making adjustments to the fire (adding wood, redistributing the wood in the fire) and by changing how close it is to the fire.
The meat will actually brown the fastest on the side away from the fire because the metal is reflecting the heat, so you’ll see that there often is a little door on the back of the reflector. This allows you to check your food’s progress and helps you to decide when you’d like to change the position of the spit.
You don’t need to continuously turn the spit. On the side, there’s many holes in a clock-like formation where you can slip in a little notch on the end of the rotisserie. Depending on the temperature, you may choose to leave the meat in one position for 5 to 10 minutes before rotating the notch to the next slot.
These rotisserie reflector ovens are roughly half cylinders in shape, which helps to collect the juices that drip from the meat. If you look closely, you’ll see that there is a little hole that lines up perfectly with the bottom of the cylinder. That hole leads to a little spout that can be used to pour the juices out of the reflector oven so they can be used to make gravies and sauces.


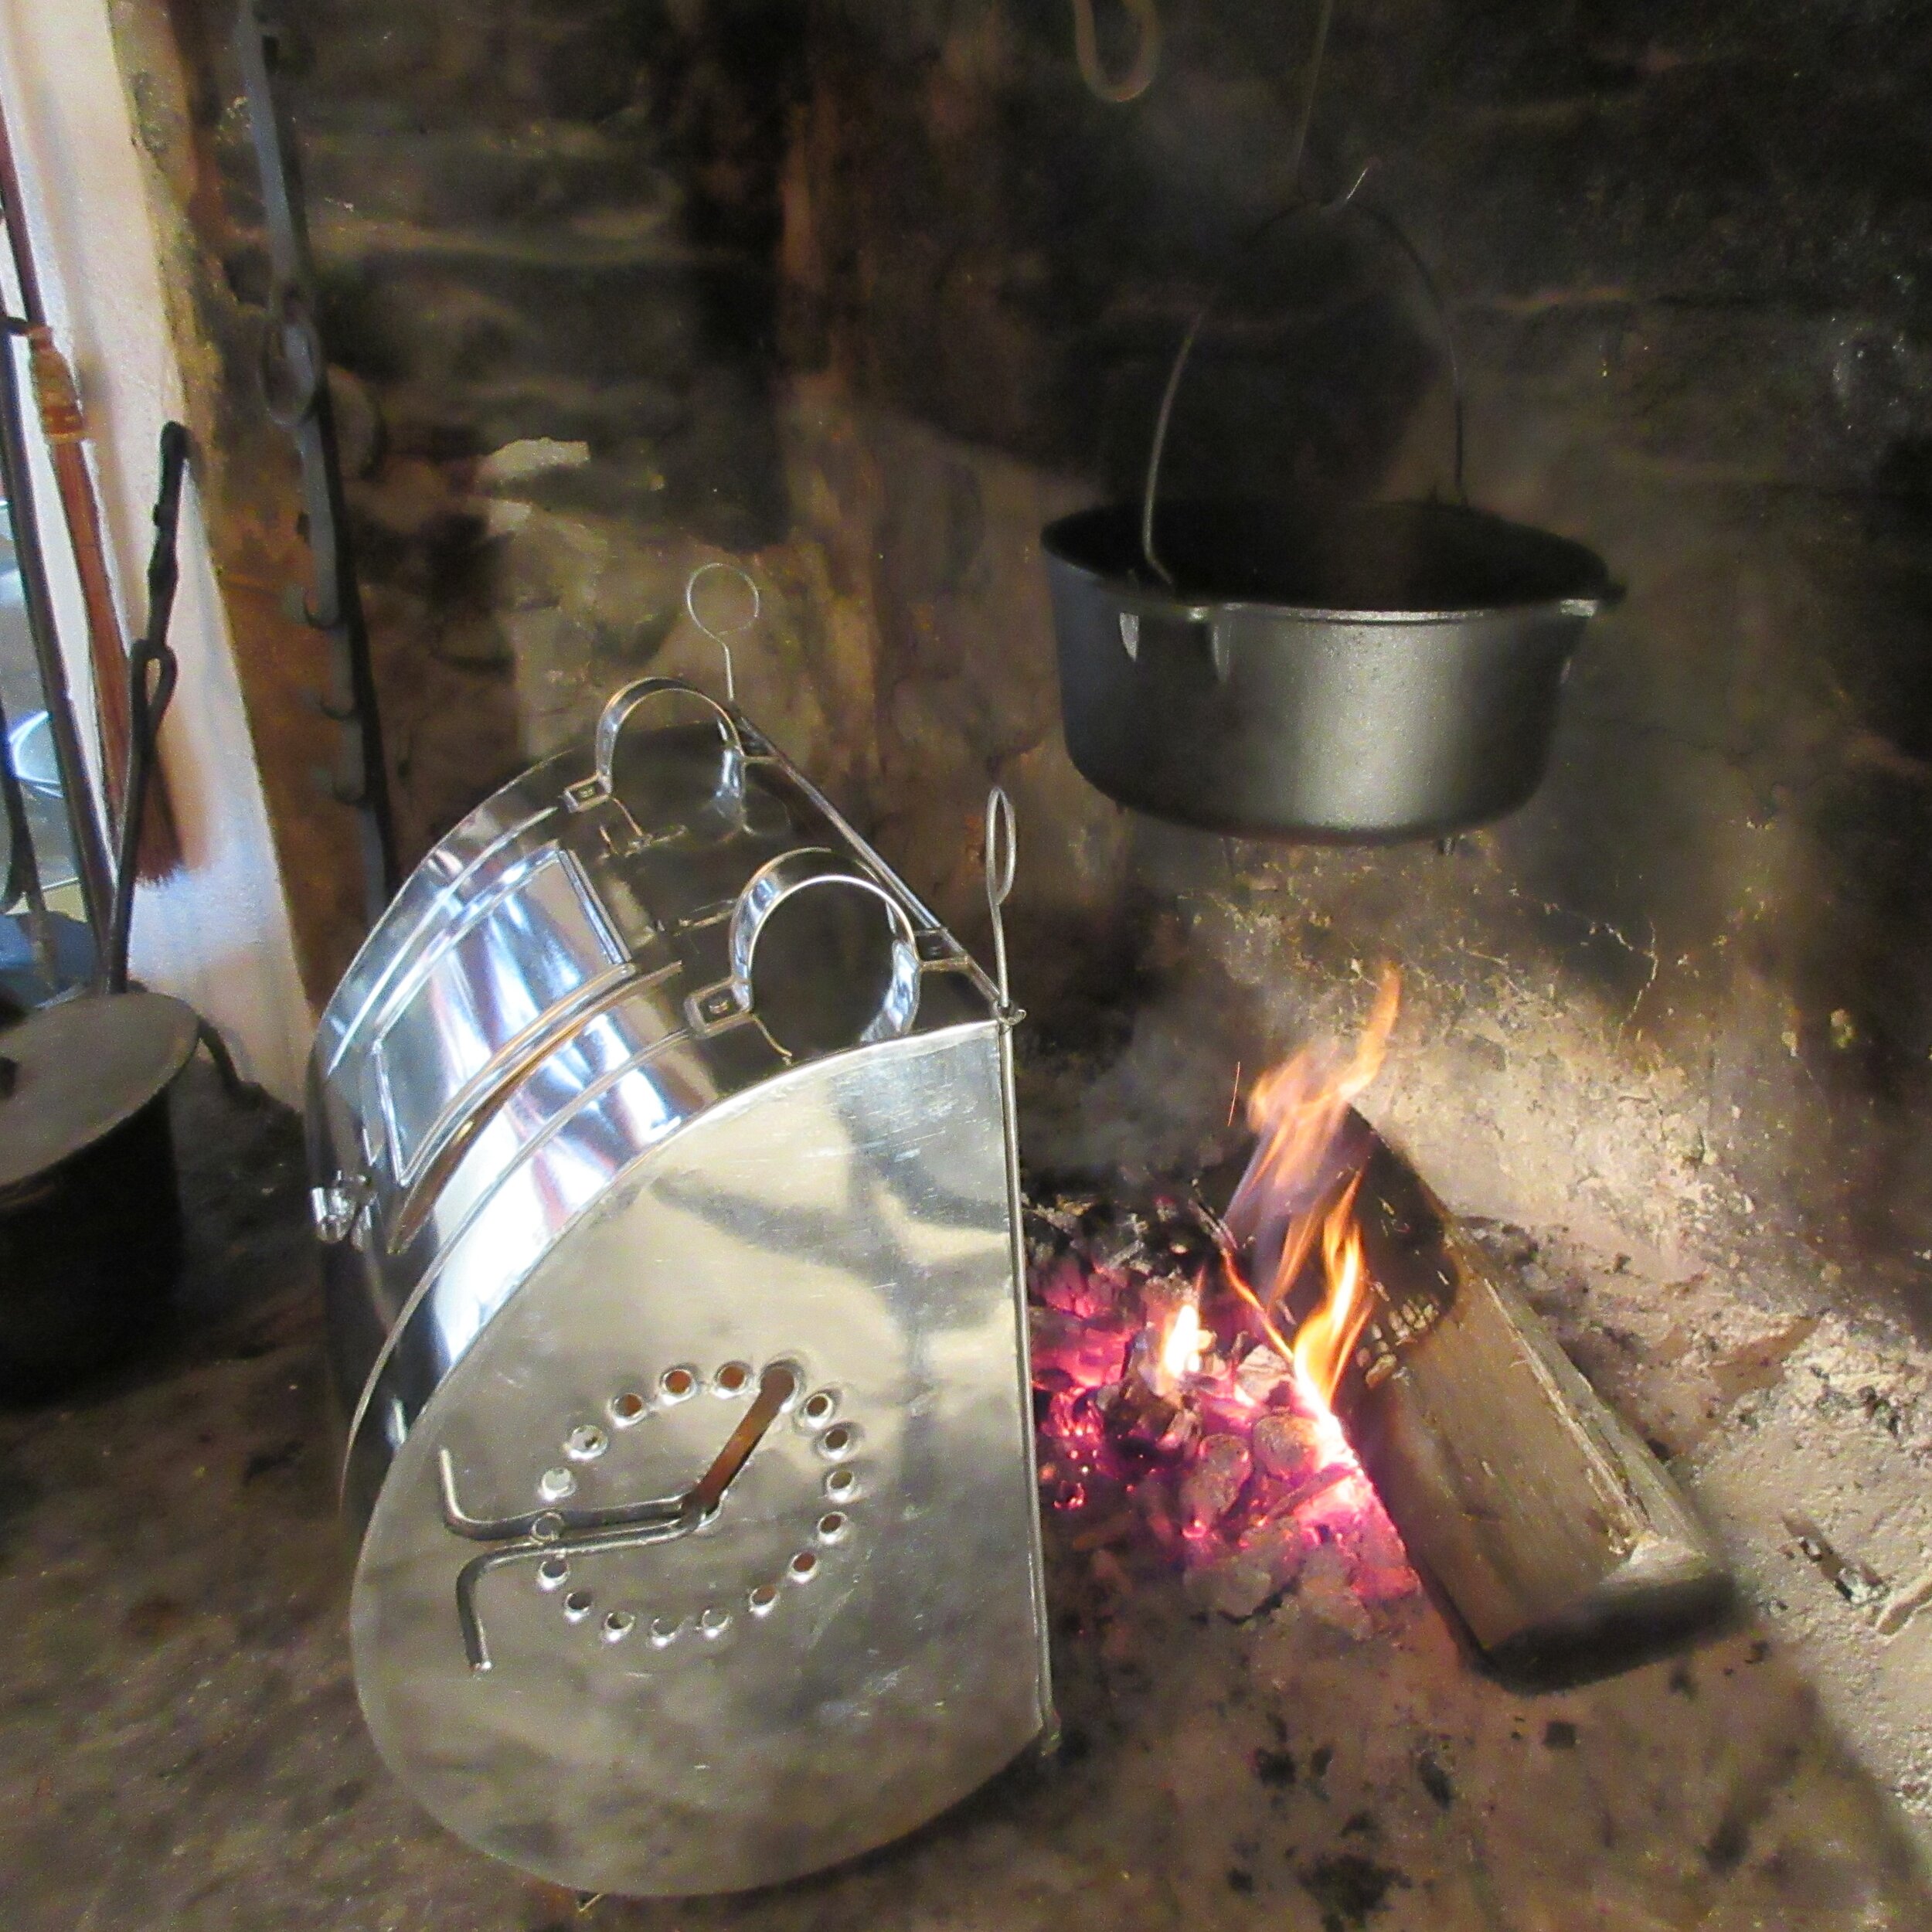
Instead of using a salamander, I used the other reflector oven to brown the breadcrumbs on top of Fillets of Chickens. This reflector is box-like in shape and can be used more like a traditional oven. You may use baking dishes or place food directly on the tin surface (but grease the surface first). I’ve also included a picture that I took when I baked some coconut macaroons on another recipe testing day at Nelles Manor Museum.
This reflector oven also features handles on the top and the side so you can move it closer to or further from the fire to adjust the temperature. Be careful about using the handle on the top, though! As you can see from the picture, the entire top of this oven flips back so that you can easily monitor, rearrange and flip your food.
Don’t worry, you don’t need to buy a reflector oven to try out these techniques. Have a look at these videos to glean some ideas about how you could build a DIY reflector oven using common items that you can use in front of a fireplace or campfire.
If you’d like to learn more about open hearth cooking techniques, check out what I wrote about Carrot Fritters. I recommend these fritters for breakfast or brunch and I also explain two different options for frying food over and around an open hearth.
