
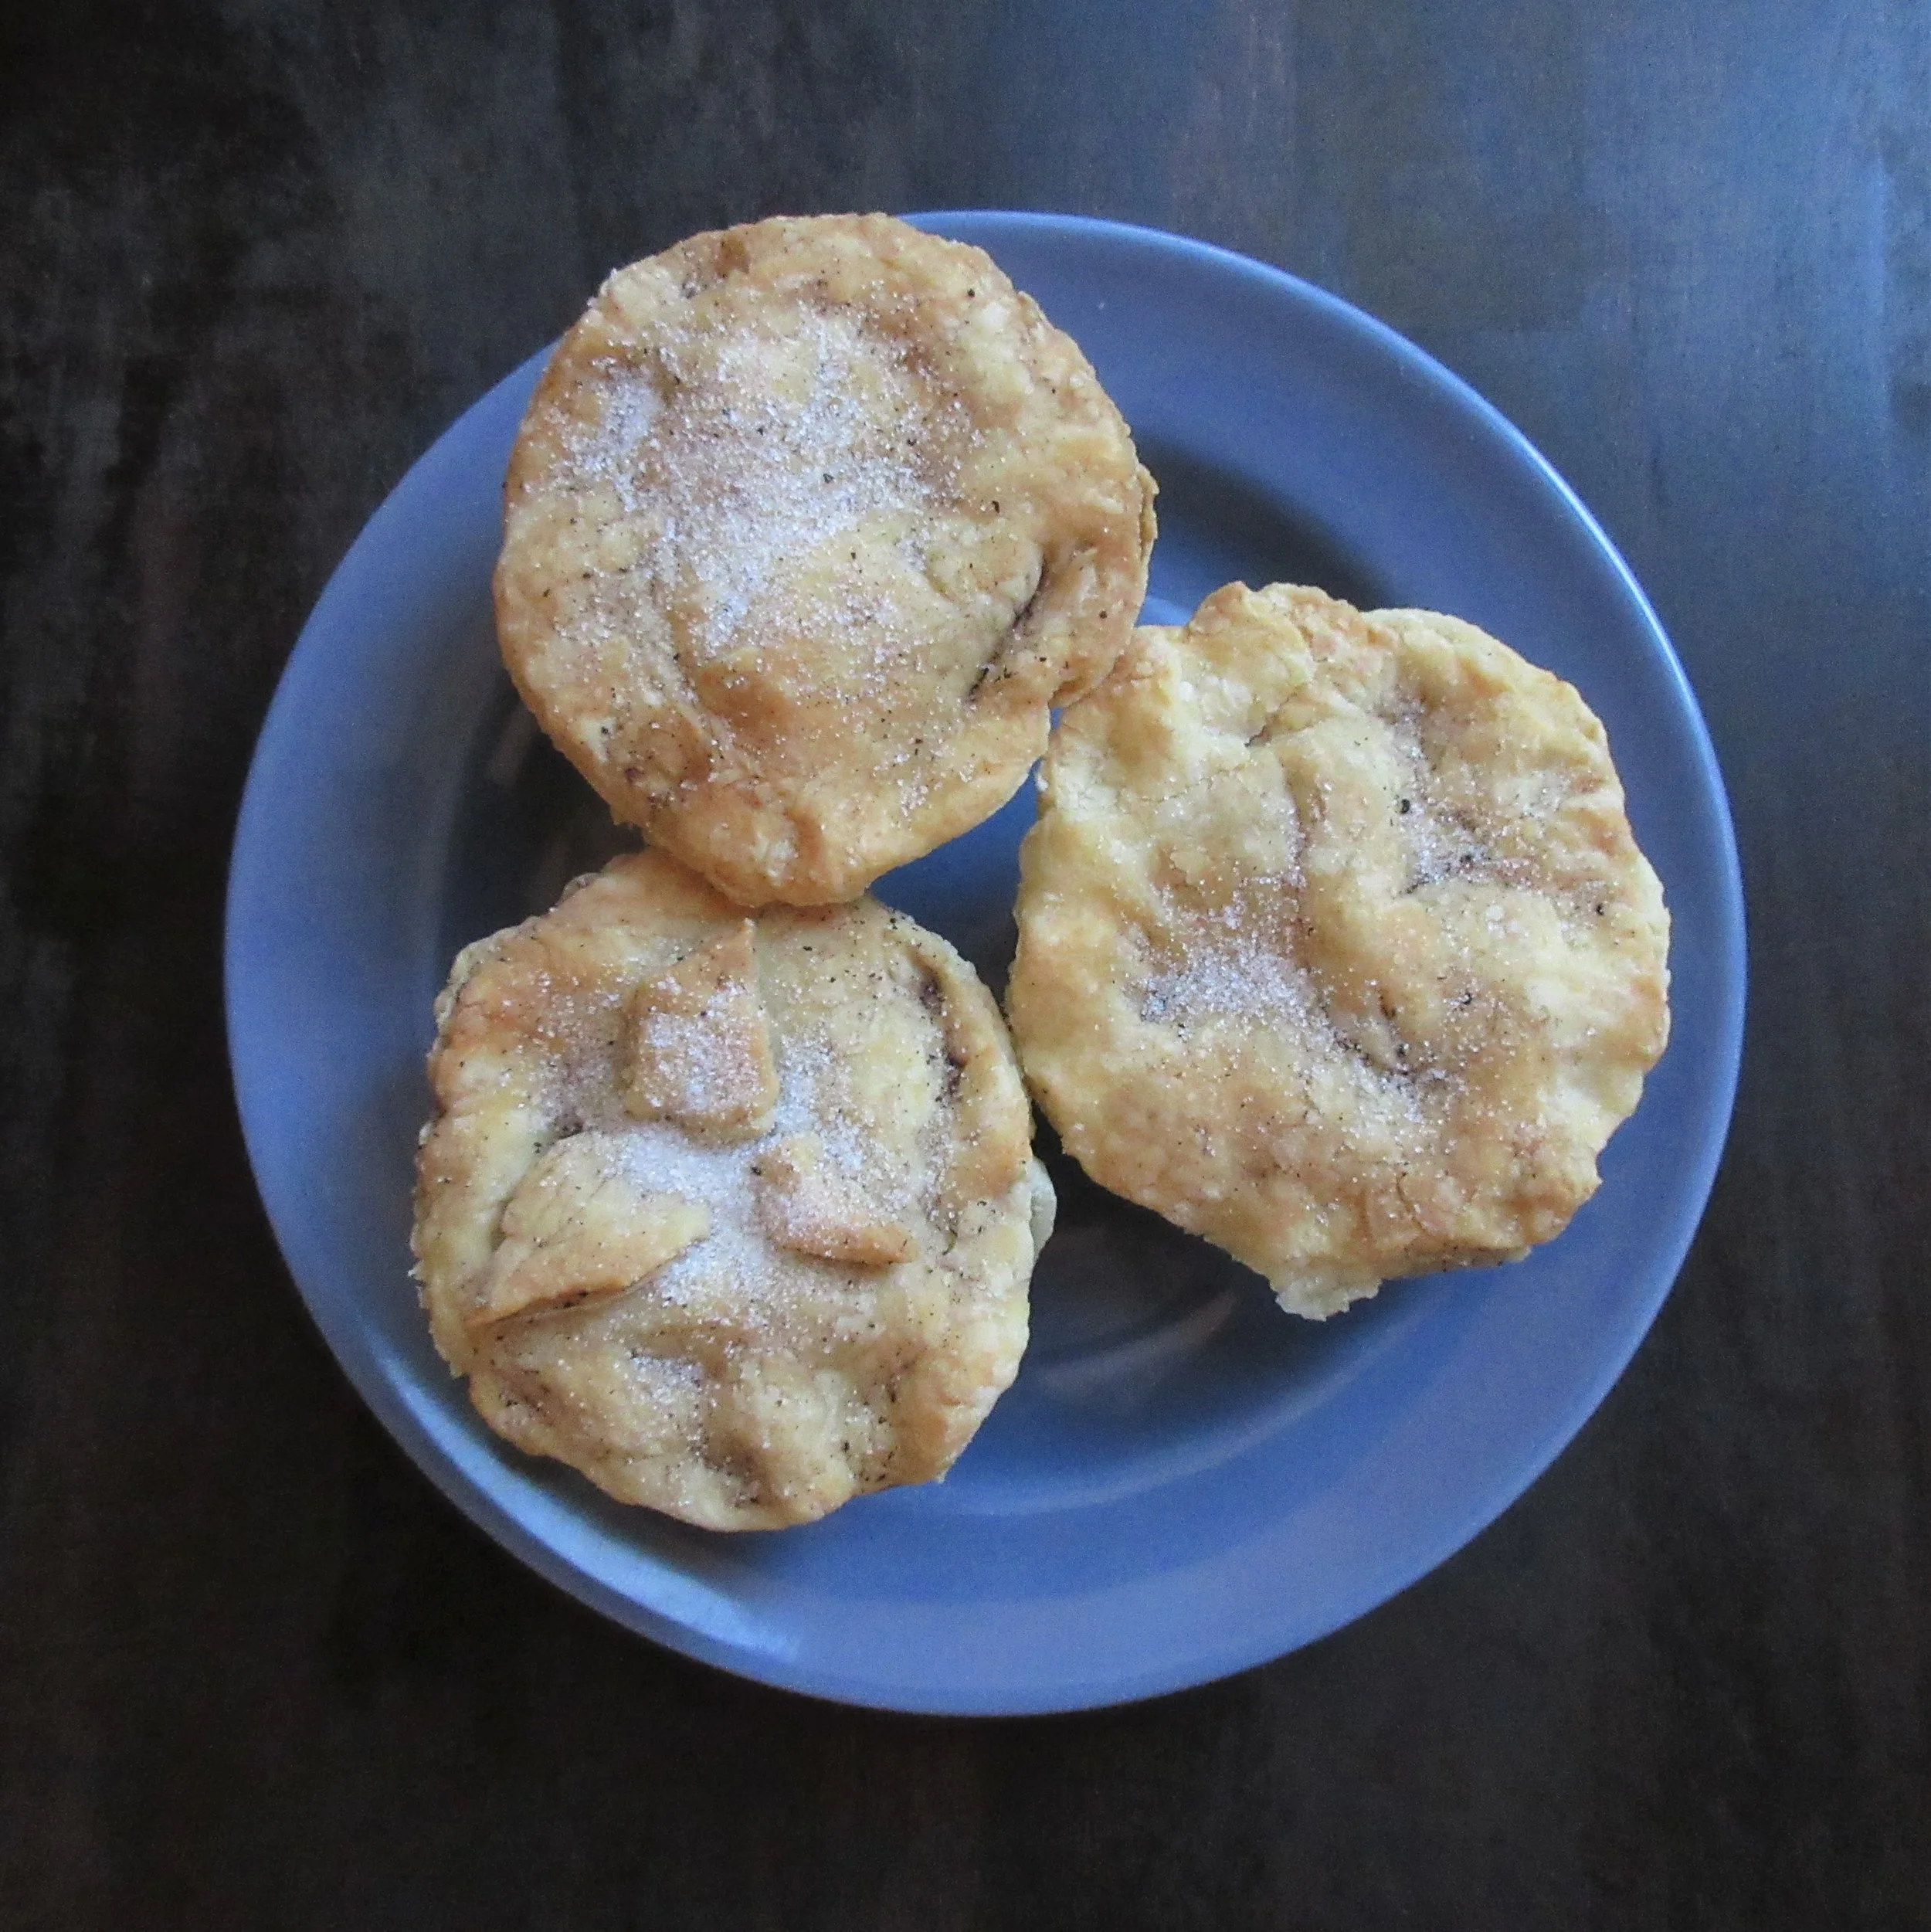
To make fine pippen Tarts
To make fine pippen Tarts is a handwritten recipe from an early 1700s English manuscript in the University of Pennsylvania Libraries. It’s a recipe I’ve wagered in the battle to use up apples from the gargantuan apple tree in my back yard, and also a recipe that was interpreted in 2017 on the food history blog Cooking in the Archives. On this blog, Dr. Marissa Nicosia recreates Early Modern recipes from 1500- 1800 for the contemporary kitchen, and she is also one of my most enthusiastic supporters on twitter! You’ll find Cooking in the Archives at https://rarecooking.com/ and on twitter and Instagram as @rare_cooking.
You’ll find this recipe in:
UPenn Ms. Codex 785
England, between 1705 and 1726

Historic Recipe:
To make fine pippen Tarts
Take a pound of flour and half a pound of butter a little sugar rul it in very small, wet it with Cold water, and two Eggs, make it into a Paste, roul it as thin as you can, and Couer your pattyes, then take henlish pippens and pare them and cut them in round slices, then lay a lay and two Spoonfulls of fine Sugar beaten and some Orange peel Chop’d Small and a lay of pippins and a lay of Sugar and lid them as thin as you can, and take care in breaking them, when they are bak’d, take them out of your pattyes and open the lids, and put into every one of them a spoonfull or two of Orange or Lemmon Juice strain’d then put down the lids & take a feather & some burnt butter lick over the lids, and sift some fine Sugar our them, you must not Couer your pippens, as you cut them put them into fair water


My recipe:
3 ¼ cups flour – 454 g
1 cup (½ lb) butter – 226 g
1 tbsp white sugar
¾ cups cold water – 175 mL
2 eggs
3 cups sliced apples – 400 g
Grated peel of one orange
White sugar (about ½ tsp per tart)
Orange or lemon juice (1 tsp per tart)
¼ cup butter – 55 g
White sugar to sift on top
1) Peel and slice your apples. The historic recipe suggests coring, peeling and slicing the apples into rounds, but apple rounds wouldn’t fit into my tart tins, so I cut the apples smaller. Put your apple pieces into cold water after you slice them.
2) Grate the peel of an orange. Juice your orange or lemon if you’re going for fresh juice and strain out the pulp.
3) Preheat your oven to 400 F (205 C). Measure out the flour and 1 tbsp white sugar for the pastry, then cut in your butter in small pieces. Pro tip: take your cold butter and grate it on a cheese grater before adding it to the flour! Doing this will make your pastry-making days happier. Mix the butter into the flour using a pastry cutter, or knives and forks.
4) Beat the eggs in a small bowl, then add to the flour, sugar and butter mixture. Add the cold water gradually while mixing. Stop adding water when the pastry dough has incorporated the flour, but is barely staying together. Some historic recipes suggest stopping adding water to pastry when the dough looks like a “ball of rags”, and I think this description applies even today. Does your pastry dough look like a t-shirt that you’re carrying around balled up in your hands? Then stop adding water.
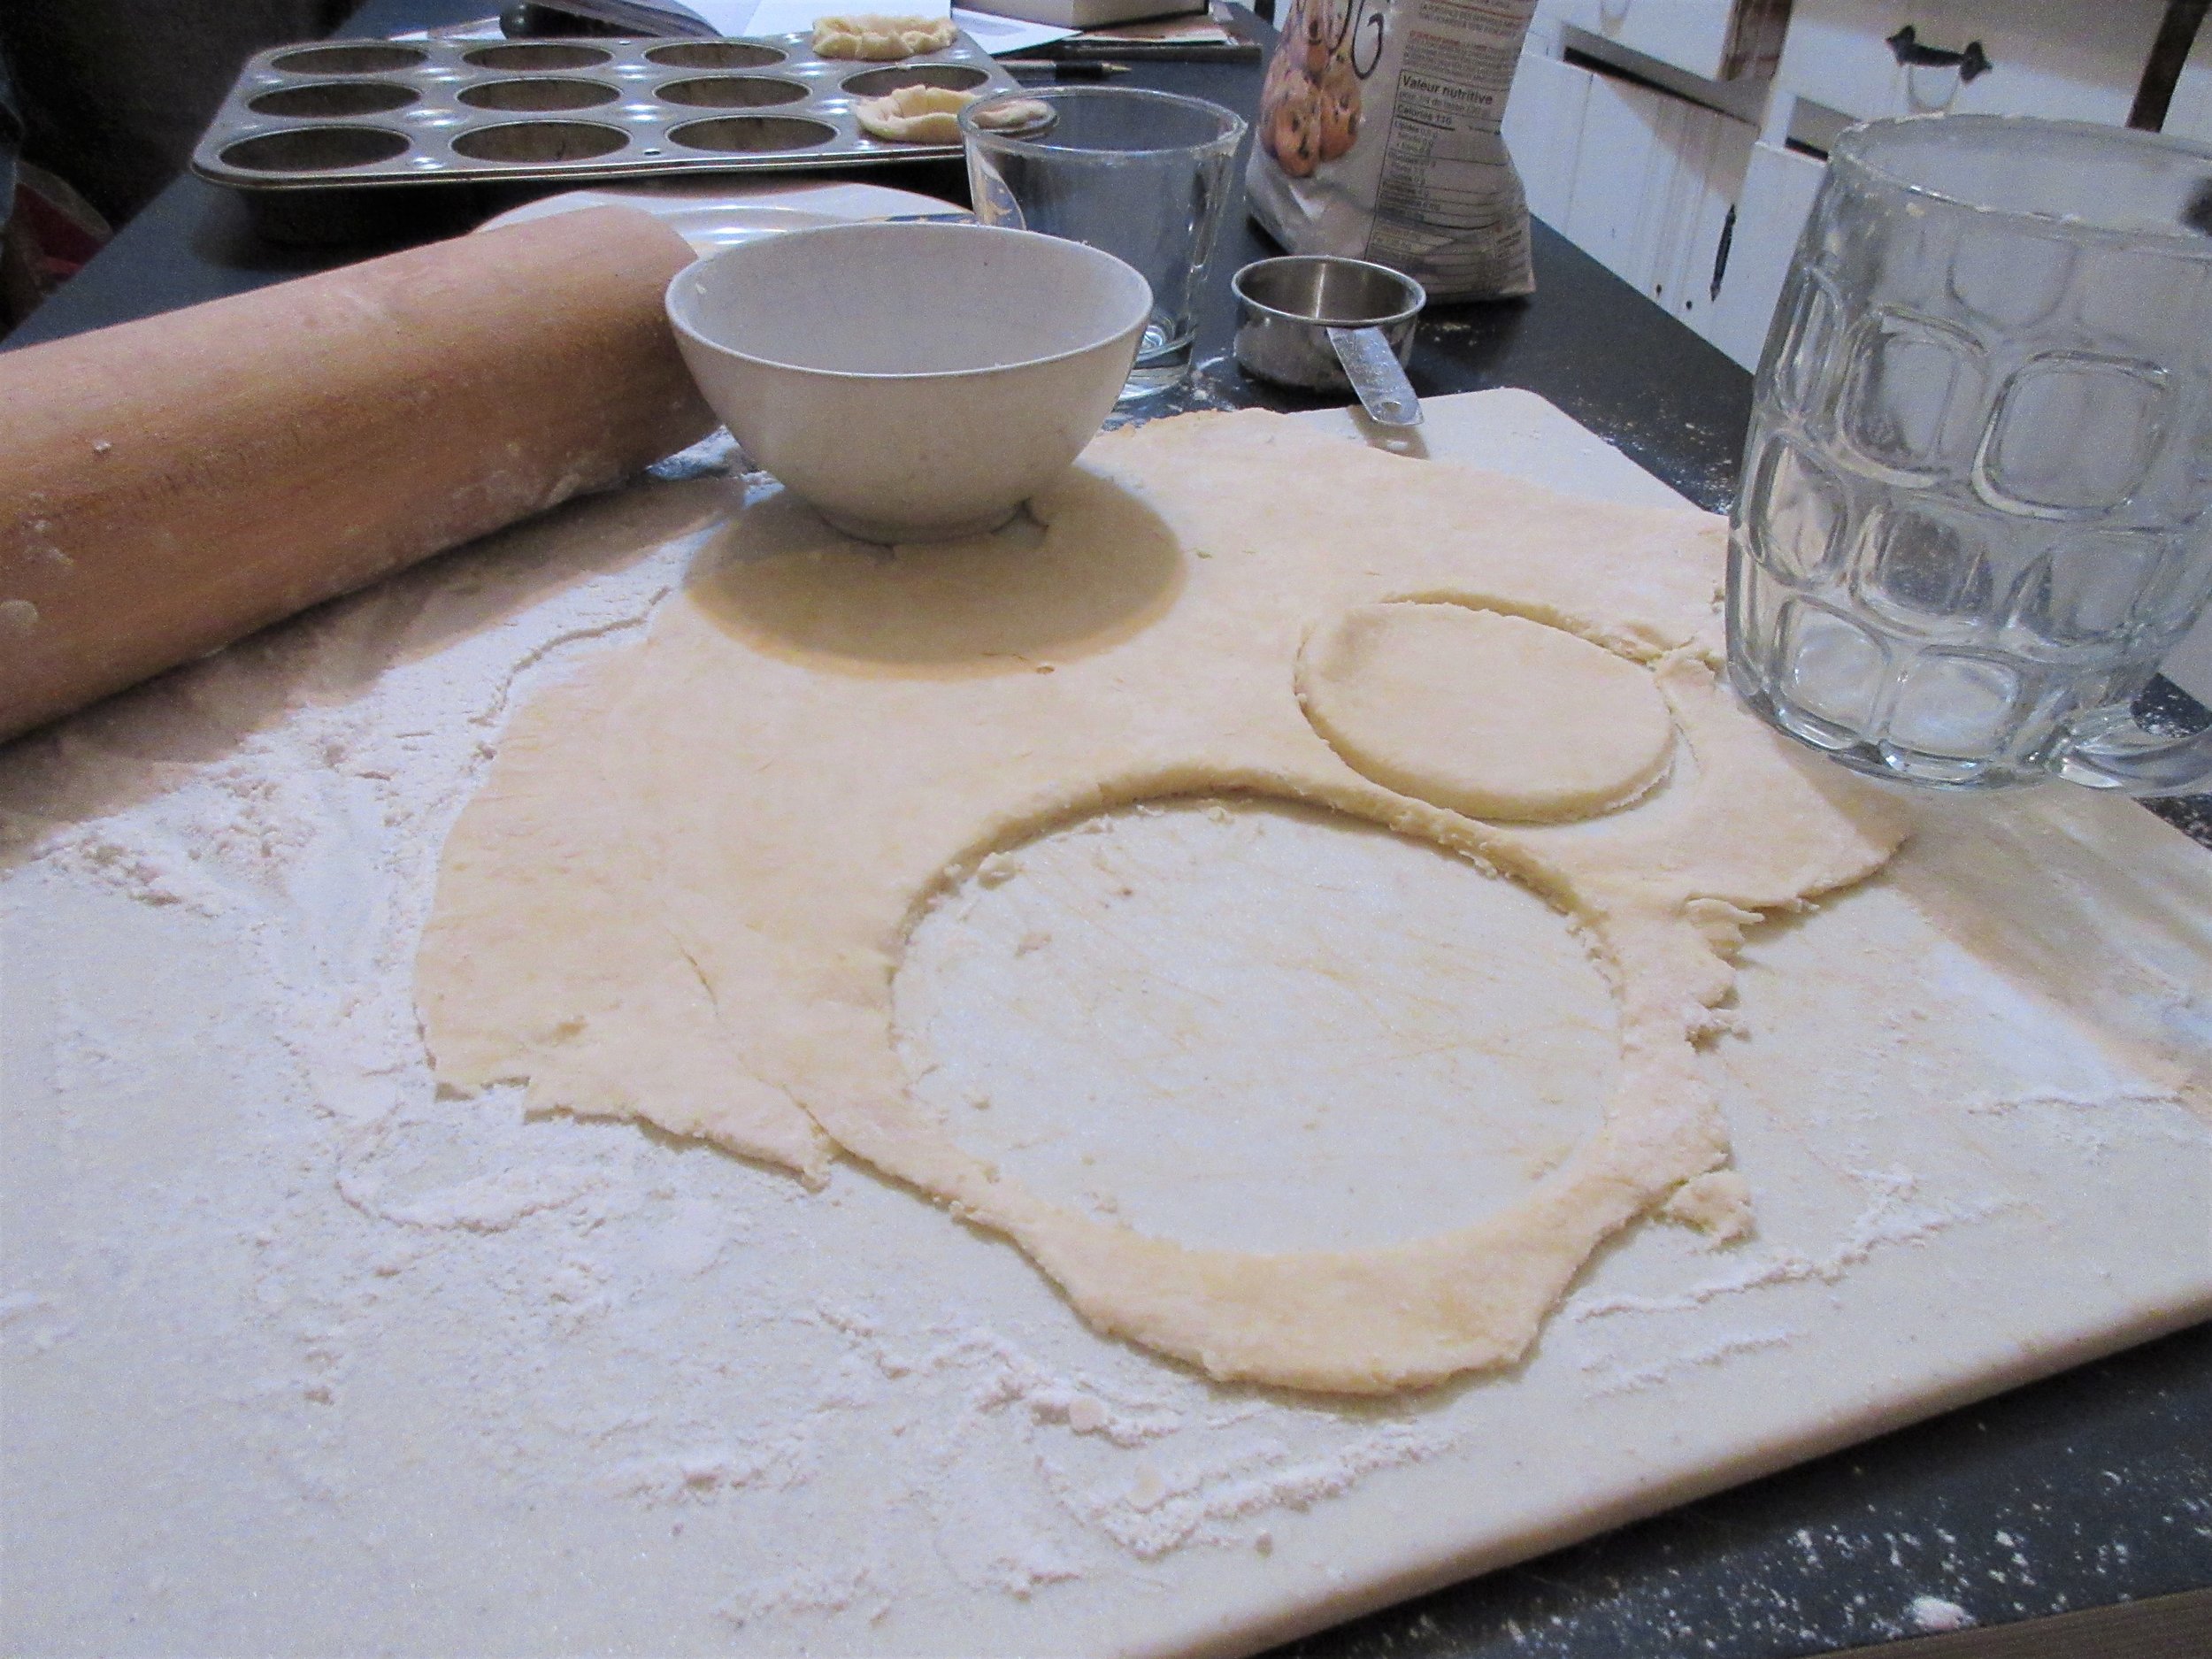
5) Spread flour out thinly on your rolling surface and rolling pin, then roll out your pastry “as thin as you can”. For each tart, you’ll need to cut out one bottom tart piece and one tart cover. I don’t make pastry much at home in my regular life (but I make it often in the historic kitchen at work), so it took some trial and error to find the perfect round things to cut out these tart pieces. In the end, I found a whiskey glass and a little bowl that were the perfect sizes.
6. Put the bottom tart pieces in your tins. Pile in your apples, then sprinkle in about ½ tsp white sugar and a pinch of grated orange zest. I would pile in more apples than I did, because they cook down.
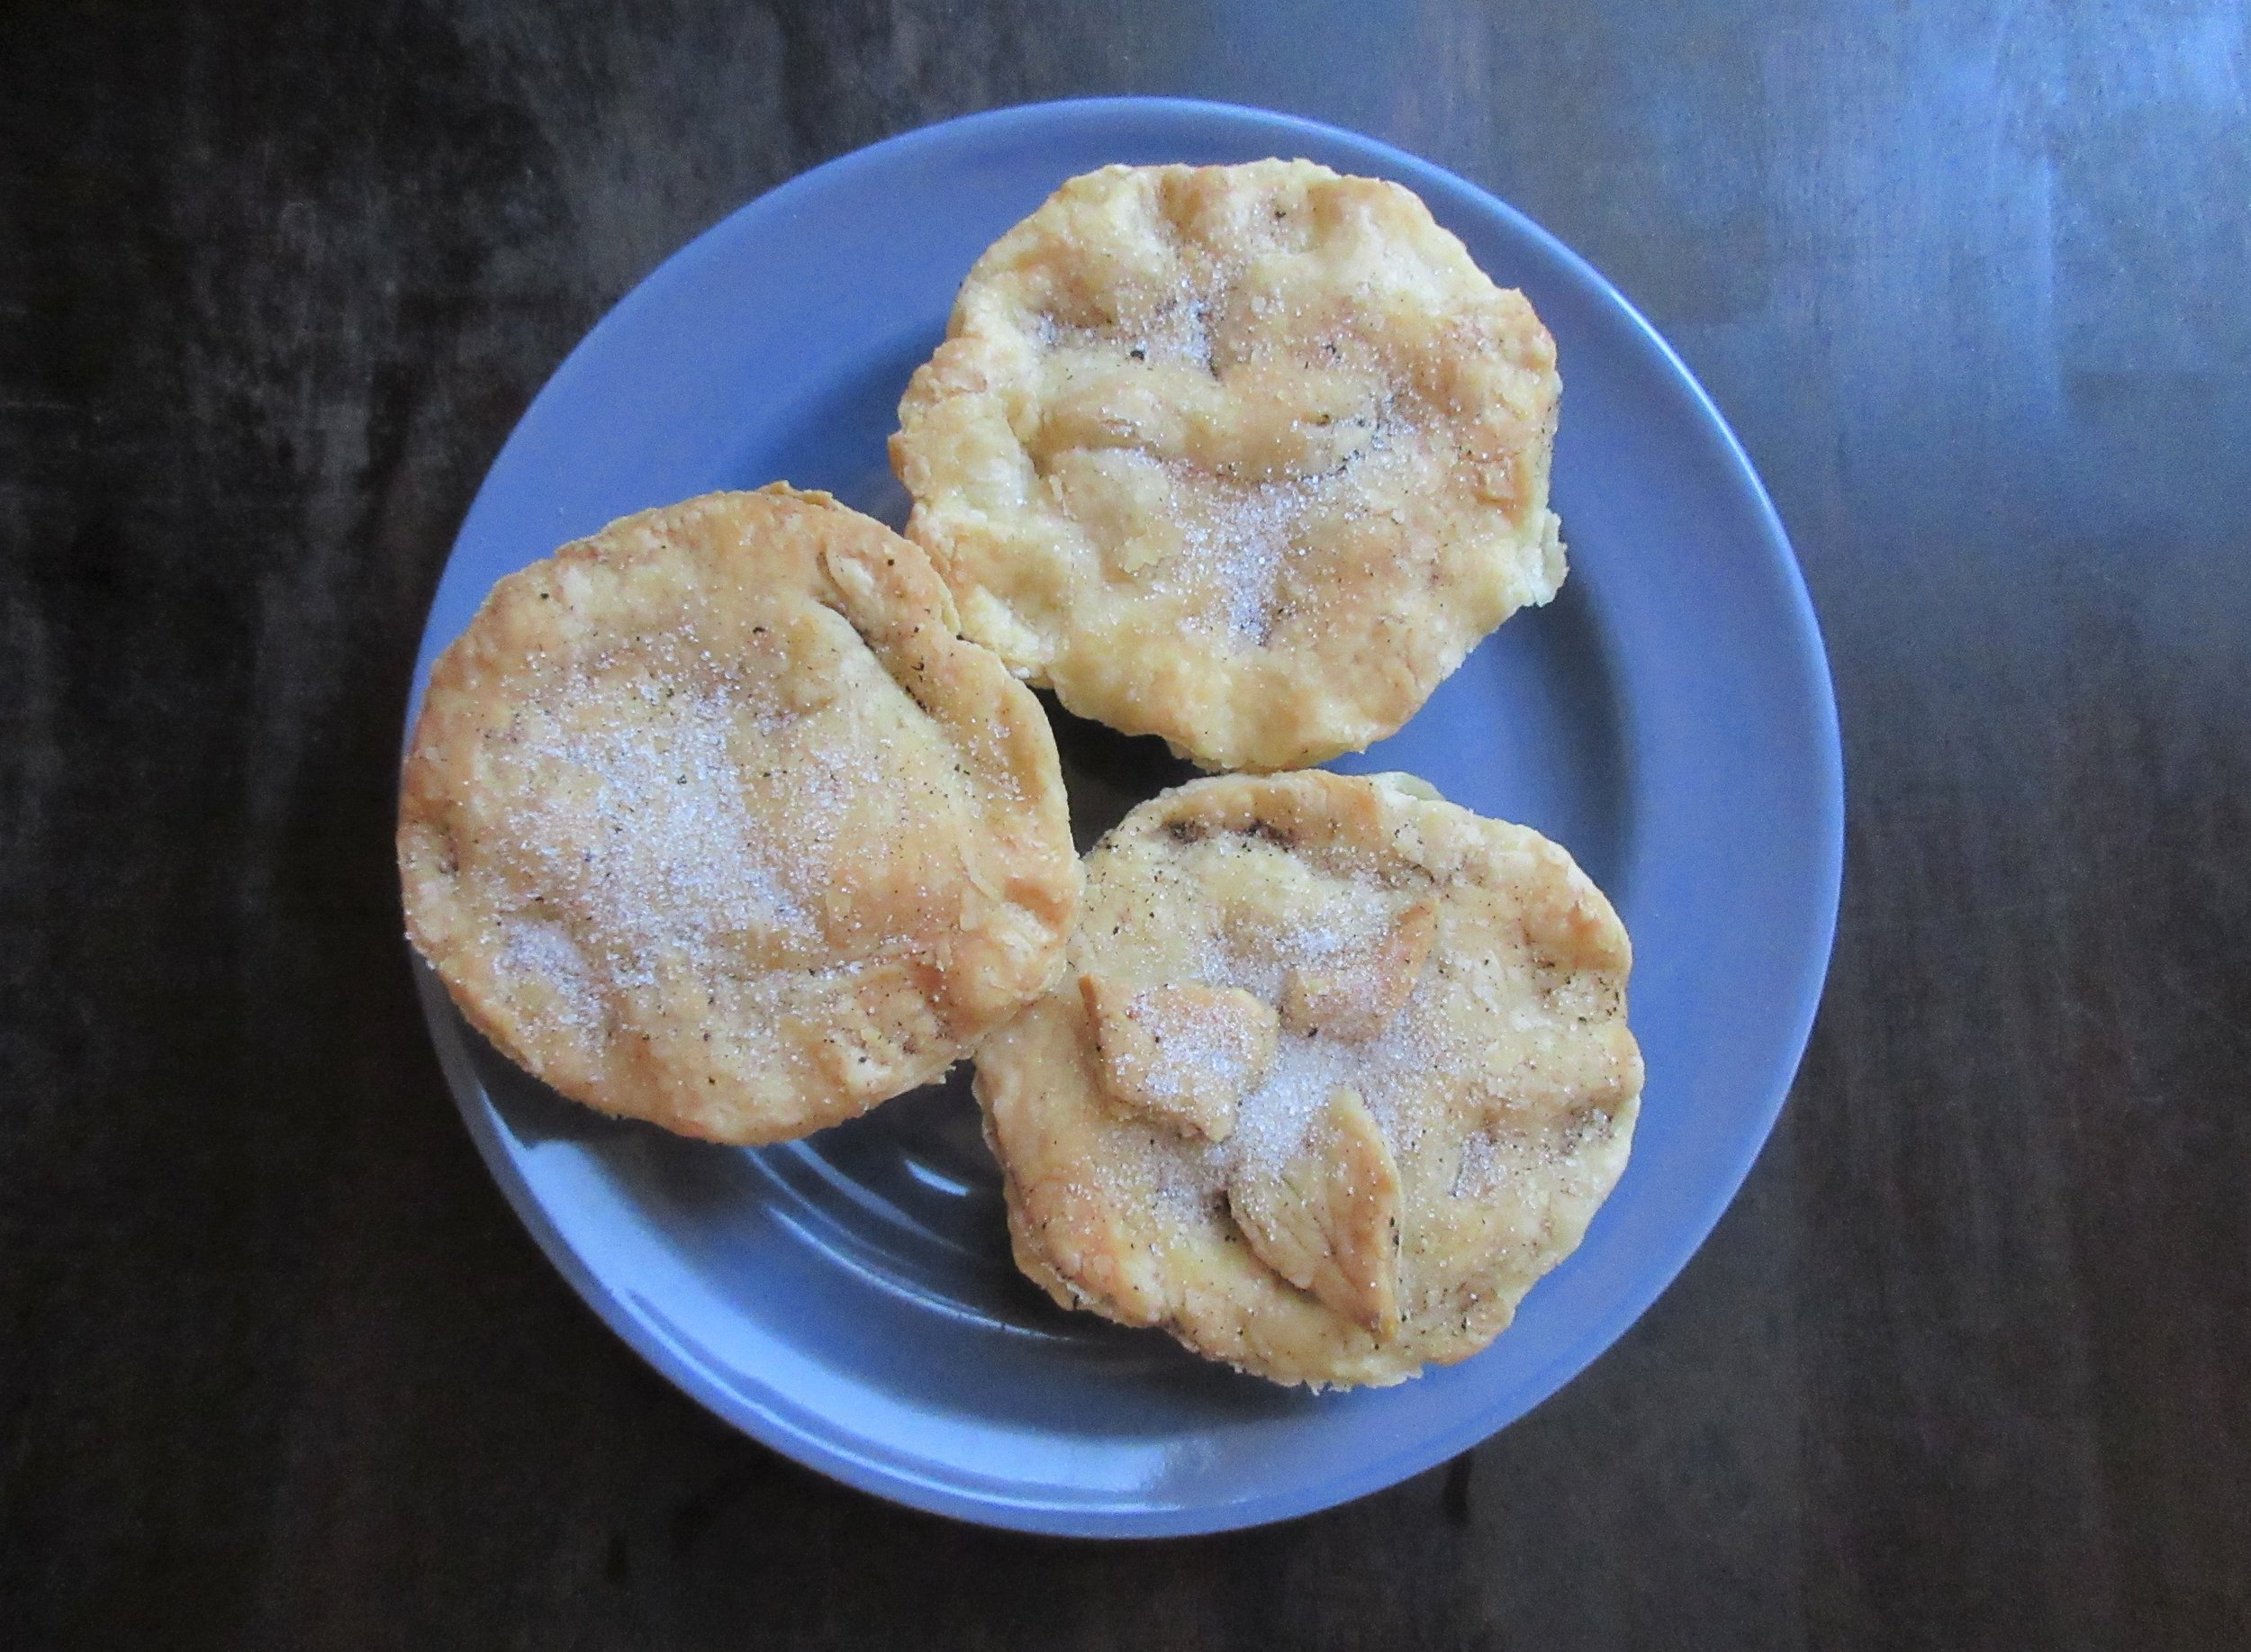
7. Add the tops to your tarts. You will need to detach the lids after the tarts are baked, so don’t attach the tops too firmly! I tapped around the outside with my fingers, then sliced in some air vents with a sharp knife. I had a bit of extra pastry dough, so I created some decorative pastry leaves on the top of some of the tarts (not mentioned in the historic recipe, but pretty).
8. Pop your tarts into your 400 F (205 C) oven. My tarts baked for roughly 25-30 minutes before they were golden on the top.
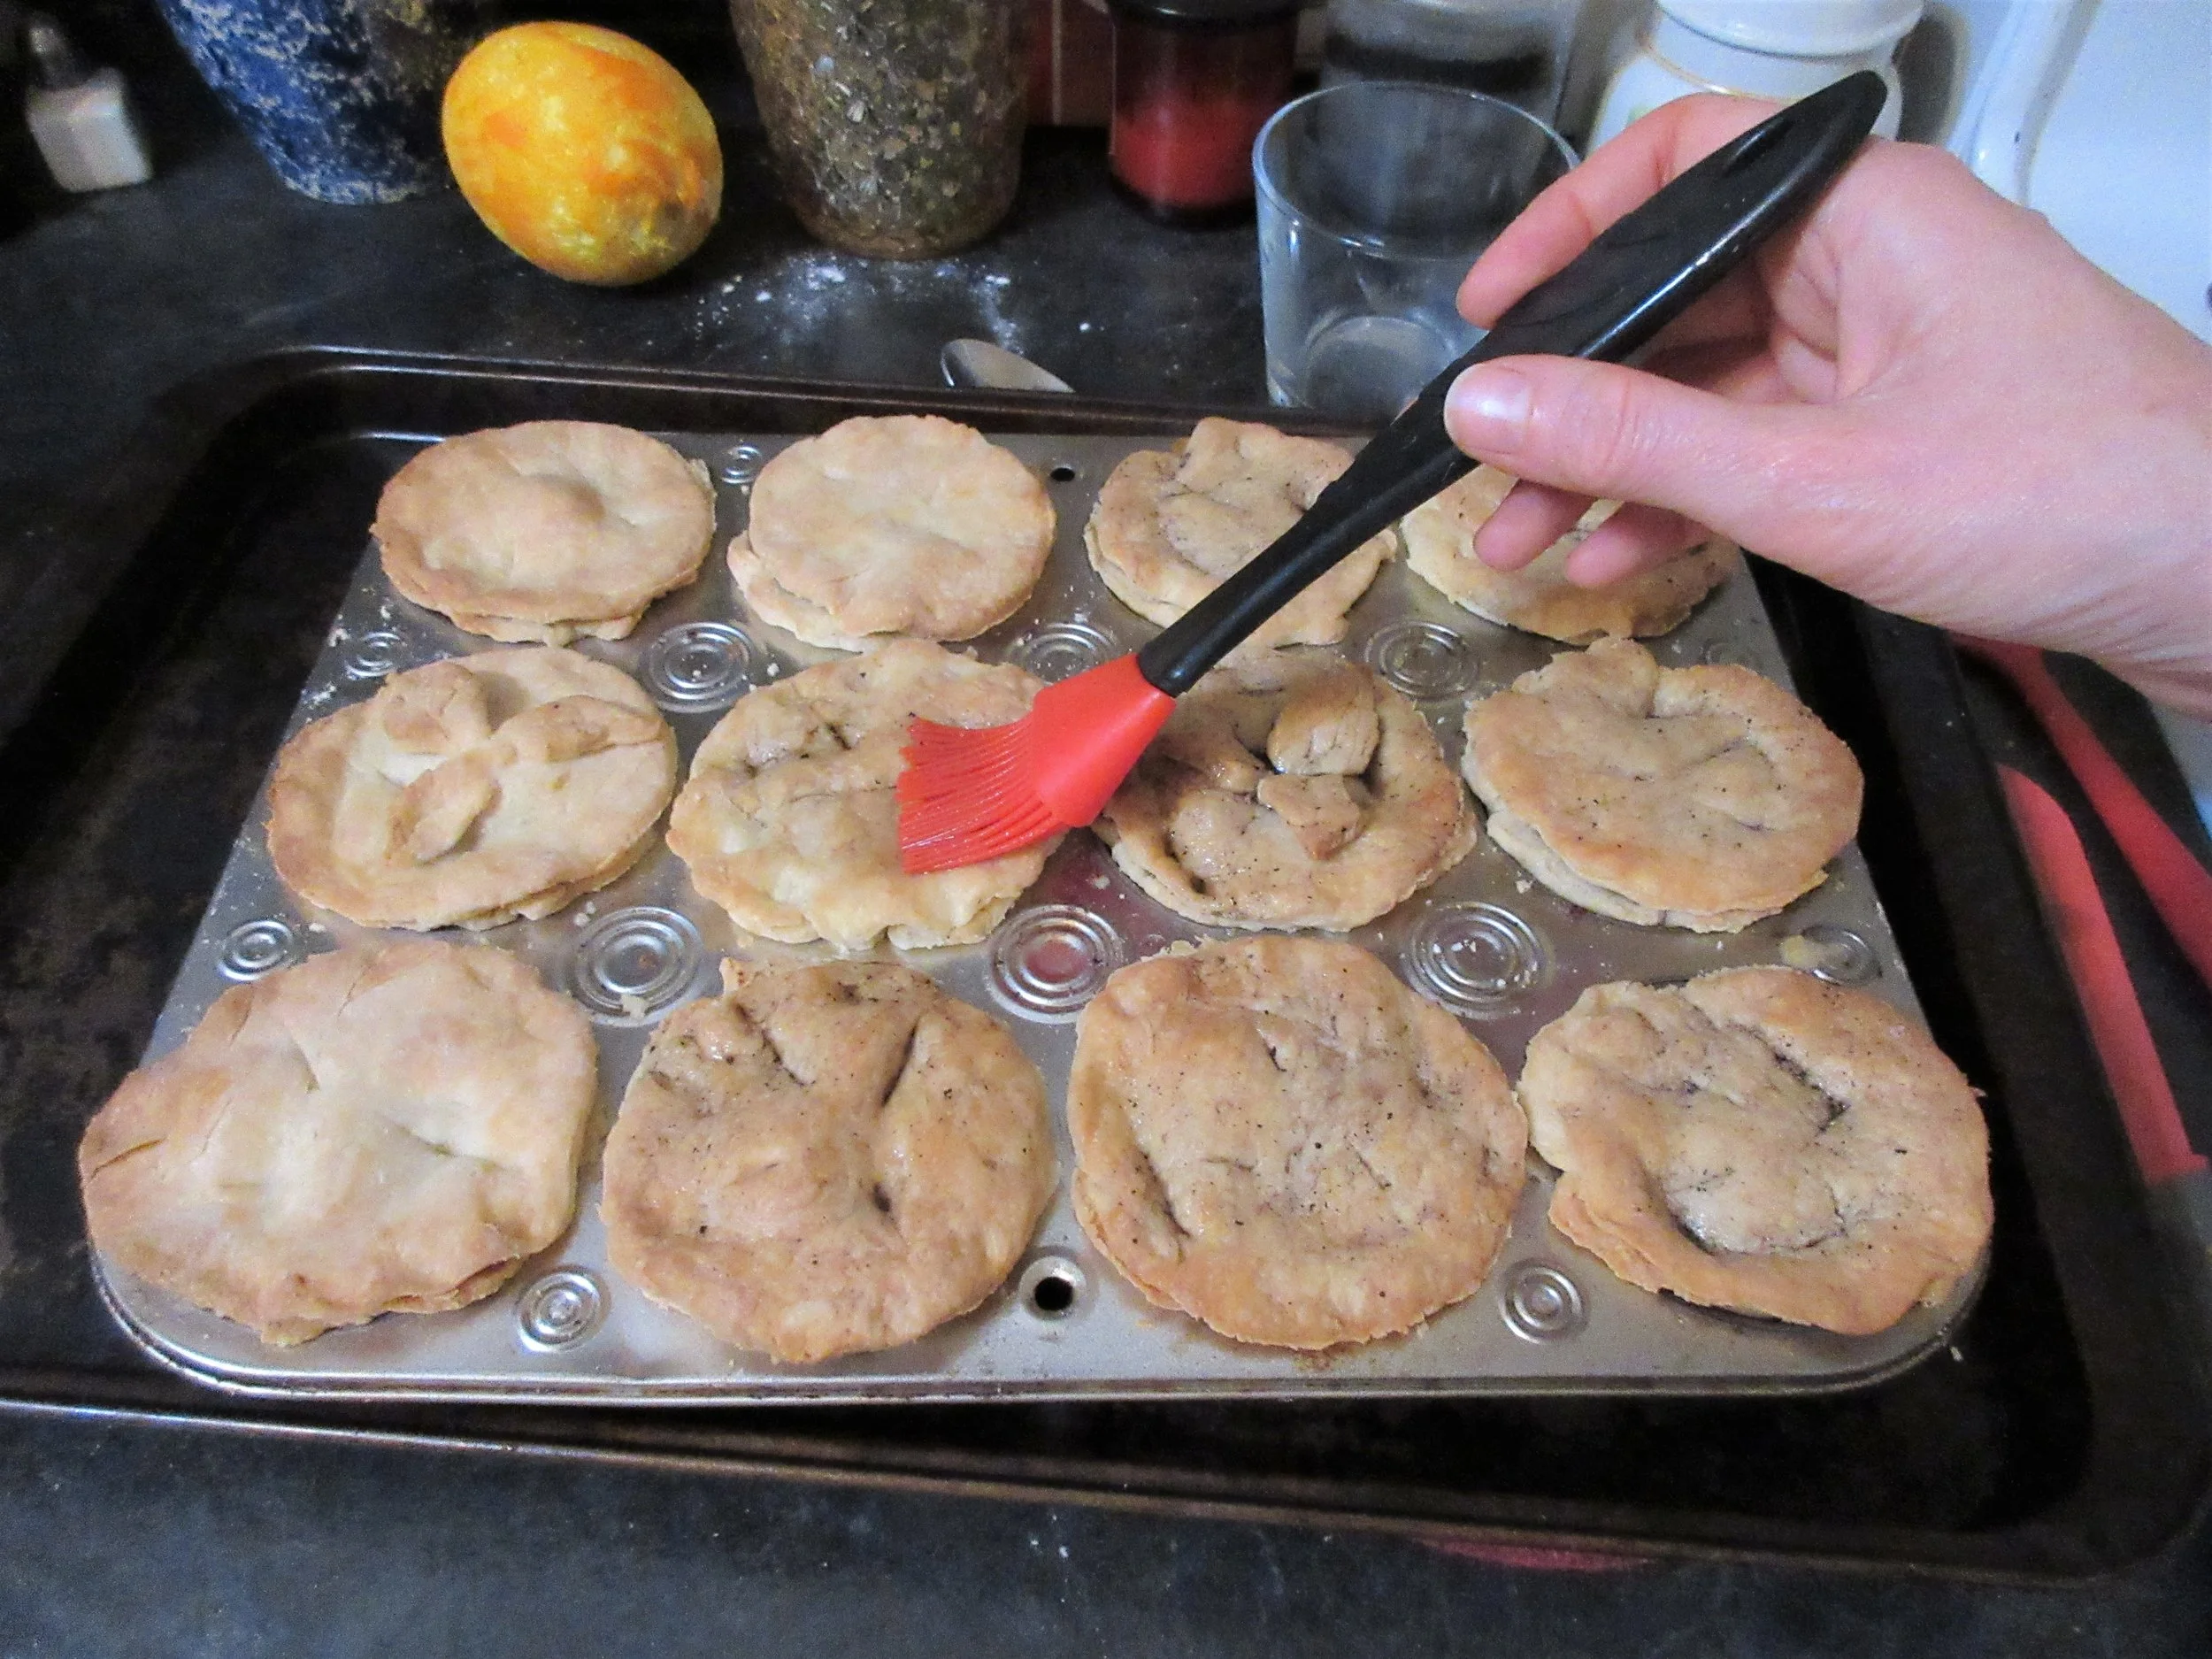
9. Once your tarts are baked and out of the oven, use a sharp knife to open the top of the tarts and add a teaspoon full of either lemon or orange juice. In a frying pan, simmer some butter until it becomes brown, brush it on the tops of the tarts and sprinkle the tarts with white sugar.

There is a backstory behind why I picked this recipe, besides the fact that every August I deal with a deluge of apples falling from the apple tree in my backyard.
I started this blog on March 31, 2018, and from that very first blog post I have been enthusiastically supported by Cooking in the Archives on twitter. You will find Cooking in the Archives (and Dr. Marissa Nicosia who is behind this food history blog) on both twitter and Instagram as @rare_cooking.
By enthusiastic support, I mean that @rare_cooking retweets every single food history blog recipe I’ve created since I started this blog. Considering that Cooking in the Archives has a much larger following than I do, I believe that Cooking in the Archives is one of the main drivers of new readers to my blog.
After this retweeting happened predictably for a while, the idea came to me: why not interpret a historic recipe that has already been interpreted by Dr. Nicosia?
I’ve mainly focused on recipes from published cookbooks on Cloud 9 Cookery, but Cooking in the Archives focuses on recipes found in handwritten manuscripts from the Early Modern Period, 1500-1800. I am quite comfortable working with recipes from the time period required by my museum life as a historic cook (early 1800s to 1860s), but part of the reason why I wanted to start this blog was to explore historic recipes from other time periods.
So in late July when the first apples started to fall from my tree, I did a search on Cooking in the Archives and found this delicious apple tart recipe. I sent Marissa a message to see if she was game, and she responded with an enthusiastic yes!
Before you read on, click on this link and look at what Dr. Nicosia did on the Cooking in the Archives blog when she made To make fine pippen Tarts in 2017.
In late July, I read the blog post and grabbed the manuscript scan and Dr. Nicosia’s transcription off her website. I waited a couple of weeks for the apples to really become prolific and made the tarts from the original instructions. Now that it’s done, I’ve gone back and looked at the Cooking in the Archives post.
Right off the bat, I will say that I certainly didn’t roll that pastry out “as thin as you can”. I thought that I did when I was making them, but I didn’t. The reason being, I made 12 tarts with a full pastry recipe, but 12 tarts were also made on Cooking in the Archives with a half pastry recipe! She also wrote that she had pastry dough leftover, and I only had enough extra pastry dough for a few decorative pastry leaves. Clearly I need to brush up on my pastry rolling skills.
I didn’t really enjoy my pastry, but Dr. Nicosia wrote that “The pastry was also delicious on its own. I’ll definitely be making it again when I come across recipes that simply request pastry, but don’t provide specifics. This one is delicious and as easy to make as my modern go-to.” I found my pastry to be tough, but perhaps it is more delightful if it is more delicate?
And lastly, I will say that I didn’t like the step at the end when you open up the top of the tart to spoon in some citrus juice. This step ruined the cohesiveness of the tarts and it meant that some of my tarts where split into 2 different pieces when they were being eaten. And that’s just strange. Why not just spoon the citrus juice into the tart shells at the same time as the apples, orange rind and sugar?
If you’re not familiar with Cooking in the Archives, go check out the website! If you enjoy my blog, you’ll enjoy what Dr. Nicosia is up to.
Read the Cookbook:


Squash Puff
If you asked anyone in my family about our traditional family recipes, probably the first dish listed by everyone would be Squash Puff. I'd describe Squash Puff as a cross between squash pudding and soufflé. It is light, fluffy and very flavourful considering it doesn't contain any onions or herbs. My Mom cut the recipe out of a newspaper at some point and it's been in her giant binder of recipe clippings ever since I can remember. Give Squash Puff a try at your next Thanksgiving, potluck or family gathering...or when you've got a hankering for some satisfying comfort food.

Recipe Origins:
An Ontario newspaper
Probably clipped in the 1960s-1970s
The Original Recipe:
Squash Puff
(Serves six to eight)
2 ½ pounds Hubbard or pepper squash – three cups mashed.
One-half cup chopped mild onion.
Two tablespoons butter.
Two large eggs – yolks and whites separated.
One-quarter cup milk.
Three tablespoons flour.
Three teaspoons baking powder.
Three-quarter teaspoon salt.
One-eighth teaspoon pepper.
One-half cup buttered crumbs (see below).
Cut up squash with heavy knife and steam until tender on rack in large shallow pot with boiling water underneath, covered. Scoop and scrape flesh from skin and mash using electric or rotary beater. You should have three cups.
Gently saute onion in butter until limp but not brown. Add to squash. Beat in egg yolks and milk until smooth. Stir in flour, baking powder, salt and pepper. Fold in stiffly beaten egg whites.
Turn into buttered six-cup baking dish. Top with buttered crumbs. (This last step is important – stir one tablespoon melted butter into one-half cup fine breadcrumbs.)
You may break it now at 375 degrees for 25 minutes or until lightly browned OR you may refrigerate it for 24 hours and bake it a little longer.


A couple of notes about the recipe:
As the recipe says, the buttered bread crumbs are key. If you're using a shallow dish with more surface area, make sure you use more buttered bread crumbs so it has a generous coating on top.
The recipe lists that you'll need 2 ½ lbs of squash, which will produce 3 cups of cooked & mashed squash. When I went grocery shopping, I assumed that the 2 ½ lbs was referring to raw squash. I wanted to make a double batch so we had plenty (it is VERY popular with my family), so I bought a 4 kg (almost 9 lb) squash, thinking that I'd have enough squash for a double recipe and some left over. But once it was cooked and mashed, I ended up with only 4 cups, so I showed up to my family's Thanksgiving with only a single batch. The lesson learned: buy more squash!

If you asked anyone in my family – my Mom, brother, sister, nieces, nephews & spouses – about our traditional family recipes, probably the first dish listed by everyone would be Squash Puff. This recipe is so popular that when my family gets together for Thanksgiving or Christmas, one of the first things that is settled is "Who is making the Squash Puff?" Most of us were able to gather for Canadian Thanksgiving earlier this month, so this time I volunteered to make it.
Squash Puff is a cross between a squash pudding and souffle. It is light, fluffy and very flavourful considering it doesn't contain any onions or herbs. My Mom cut the recipe out of a newspaper at some point and it's been in her giant binder of recipe clippings ever since I can remember.
I asked my Mother about iconic moment that she clipped the Squash Puff recipe out of the newspaper at Thanksgiving. The truth is that she clipped it out of desperation. She said that she decided to save the recipe because her children hated squash and she was always on the lookout for a way to get us to eat vegetables. We hated squash, but we loved Squash Puff. That's what I remember as a child. I dreaded when squash was on the menu, but I rejoiced when I knew that Squash Puff would be on the dinner table!
I always remember Squash Puff being served at special occasions, but my oldest sister remembers Squash Puff making its debut in the early 1970s. Who knows which southern Ontario newspaper it came from, but if I had to bet I'd place my money on the Kitchener-Waterloo Record.
Give Squash Puff a try at your next Thanksgiving, potluck or family gathering...or when you've got a hankering for some satisfying comfort food. And while you're enjoying it, raise a glass to the Baird family, my Mom's practically and her brood of picky eaters.


Apple Bread
In my backyard is a giant apple tree, so for as long as I call this house my home, you'll find apple recipes on Cloud 9 Cookery this time of year. Apple Bread is surprisingly not sweet. This bread is very flavourful thanks to a longer prefermentation process and the apples add a little je ne sais quoi to the complex flavour of this moist bread. I took both the very large loaves this recipe yielded to a gathering along with some butter. I thought that there would be leftovers and there most definitely were not!

You'll find this recipe in:
Nebraska Pioneer Cookbook
By: Kay Graber
University of Nebraska Press
Lincoln, 1974
This recipe is probably from the 1860s or 1870s
The Original Recipe:
APPLE BREAD
Weigh out one pound of fresh, juicy apples; peel, core and stew them into a pulp, being careful to use a porcelain kettle or a stone jar placed in a kettle of boiling water. Mix the pulp with two pounds of the best flour; put in the same quantity of yeast you would use for common bread, and as much water as will make it a fine, smooth dough. Put it into a pan and place it in a warm place to rise, and let it remain for twelve hours at least. Form it into rather long-shaped loaves, and bake in a quick oven.
My Recipe:


The Apples:
Roughly chop 4 cups (450 g) of peeled & cored apples. Simmer the apples & 1 ½ cups (355 mL) water over medium-low or low heat until mushy. Add a bit more water as it simmers if needed. In the end, you'll want an apple puree, the consistency of a thick apple sauce.
If you don't want to bother with this step, I think you could substitute already-prepared apple sauce. The 4 cups of chopped apples created about 2 cups of apple puree. Apple sauce will probably be runnier than the homemade puree, so you'll need to add less water when combining the ingredients to make the bread dough.


The Dough:
1 tbsp or 1 package active dry yeast
1 tsp white sugar
¼ cup warm water
In a small bowl, combine the active dry yeast, sugar and warm water. Let it sit and bubble for about 10 minutes before adding to the dough.
6 cups (900 g) flour
2 cups apple puree or apple sauce
Yeast solution
2 cups water (use less if you are using apple sauce)
In a large container or mixing bowl, mix the flour and apple puree. After the yeast has been bubbling for 10 minutes, stir it into the flour & apple mixture, then add the water. Cover with the lid or with a tea towel and allow to rise. The historic recipe suggested to let it rise 12 hours, so I prepped the dough before bed and baked it after breakfast. If you have less time, you'll end up with a nice bread after letting the dough rise for a couple of hours.
Reading between the lines:
If you look at the original Apple Bread recipe, you'll notice that there's no mention of kneading the bread dough at all! Often in historic recipes, it was just assumed that the reader had a basic level of cooking & baking skills, so this recipe is an example of needing to read between the lines to get the full picture.
I took the suggestion to allow the dough to rise for at least 12 hours and the advice to add flour until it became "a fine, smooth dough" as clues that this bread recipe uses the sponge method. As well, when you make bread with yeast or sourdough, kneading your bread dough is really a non-negotiable step. If you don't knead, you'll be making a bread-like nonedible brick! So I assumed that the kneading the dough was just implied in the instructions to "form it into rather long-shaped loaves". I also referred to a favourite recipe of mine from The Female Emigrant's Guide (a.k.a. The Canadian Settler's Guide) for Potato Bread because Catharine Parr Traill explains the process in full detail.
A sponge is a prefermentation that produces a very flavourful bread. When you make a sponge, you add water, your yeast (or sourdough) and some of the flour and allow to ferment before adding the remaining flour and kneading the dough.
Have a look at my pictures below. I think my sponge is looking rather * ahem * soupy. It's definitely runnier than I would like. I added 3 cups of water (instead of the 2 cups I'm now suggesting) to the flour because that's about what I'd typically add to this amount of flour to create a sponge, but I didn't take into consideration that the apples would also be adding moisture. I had to add about 4 cups of flour to to the dough until I could begin kneading! The bread was still scrumptious, so it wasn't a crisis.


Adding the Remaining Flour, Kneading & Baking:
Before I begin, I like to pre-pour containers of flour so that I can easily add flour to my sponge without my goopy hands covering everything with slop. If you have enough space in your bowl to add more flour to the sponge, please do. Sprinkle a thin layer of flour on top of your sponge and stir in this a spatula or wooden spoon. Continue doing this until you either run out of room, or it becomes a bit difficult to stir. I didn't have extra space to add flour in my container, so I turned out the sponge directly onto my kneading surface and added the flour there.
Flour your kneading surface well. If you haven't already added flour to your sponge, do so by sprinkling flour on the top and keeping the surface well floured. Mix in the flour by using your hands to lightly fold and turn the dough. Use a dough scraper, knife or spatula to scrape off the dough that sticks to the surface. To remove the dough that will stick to your fingers, add flour to your hands and rub together. Keep adding flour to the sponge until it is begins to look like a dough. What I mean by that is...it will keep its shape and not spread when it sits. It will still be sticky, but it won't continually attach itself to your hands and the surface like slime.
Now you can begin kneading the bread, and you want to stop adding flour at this point. Use your dough scraper, knife or spatula to scrape the dough off the surface if it sticks. If you've never kneaded bread before, check out the videos below – they'll show you how it's done! I usually find that I need to knead for about 10 minutes.
Form your dough into loaves. You can use loaf pans if you'd like – just be sure to butter or oil the pan before putting in the dough. I baked my loaves on cookie sheets lined with parchment paper. I roughly formed them into the shapes I wanted while kneading the last few pushes.
Allow the loaves to rise for about an hour. I didn't have this extra time, so I just preheated my oven and popped my loaves in the oven when it came to temperature. I routinely have to skip this step at work because of the logistics of when I start work and when museum visitors arrive to the kitchen for a snack. The bread will be perfectly good if you don't rise it again, but it will be tastier if you do!
Bake. Preheat your oven to 375 F (190 C). I would normally bake bread at a higher temperature, but I went with this temperature because of the sugar content of the apples. Scoring the top of the loaves right before putting them in the oven allows the bread to continue to rise in the initial baking stages. I baked my Apple Bread for 55 minutes until it was golden. Pick up your bread and tap it on the bottom. If it sounds hollow, your bread is fully baked.

In my backyard is a giant apple tree, so for as long as I call this house my home, you'll find apple recipes on Cloud 9 Cookery this time of year. Apple Bread is surprisingly not sweet. This bread is very flavourful thanks to a longer prefermentation process and the apples add a little je ne sais quoi to the complex flavour of this moist bread. I took both the very large loaves this recipe yielded to a gathering along with some butter. I thought that there would be leftovers and there most definitely were not!
Apple Bread is from the historic recipe compilation called The Nebraska Pioneer Cookbook, which I picked up in the gift shop at Scotts Bluff National Monument in Nebraska about a year ago. I almost didn't buy this cookbook, actually, because the food history nerd in me wasn't satisfied with how the cookbook was referenced. But then I told myself to suck it up, because I didn't know when I'd ever find myself in Nebraska again and the book is an interesting snapshot of culinary history in another part of North America.
Unfortunately, I don't know where this recipe for Apple Bread was originally from. It is found in the chapter "The Sod-House Period" and it's not clearly stated in the chapter when this period occurs, although with some reading between the lines, I think the recipes in the chapter are probably circa the 1860s & 1870s. Kay Graber does note before the recipes in this chapter that "All of the following are taken from authentic Nebraska sources of the sod-house era; most appeared in the Nebraska Farmer or local newspapers, a few are from the cookbooks of homestead wives."
Scotts Bluff National Monument is gorgeous. As it always goes with a roadtrip, I wish we had more time to enjoy the scenery and soak in the atmosphere. When we were getting ready to leave, I started chatting with a woman in the parking lot. She asked me if I was British, which I thought was funny. I don't think I have a strong accent, but I suppose my Ontario accent stood out to her. She was from the area, but had never been to Scotts Bluff until the day before, and she was back because of the intense spiritual experience she had while hiking. I completely understood why she was drawn to return so soon and I wish I could go back, but that will wait for another trip.


